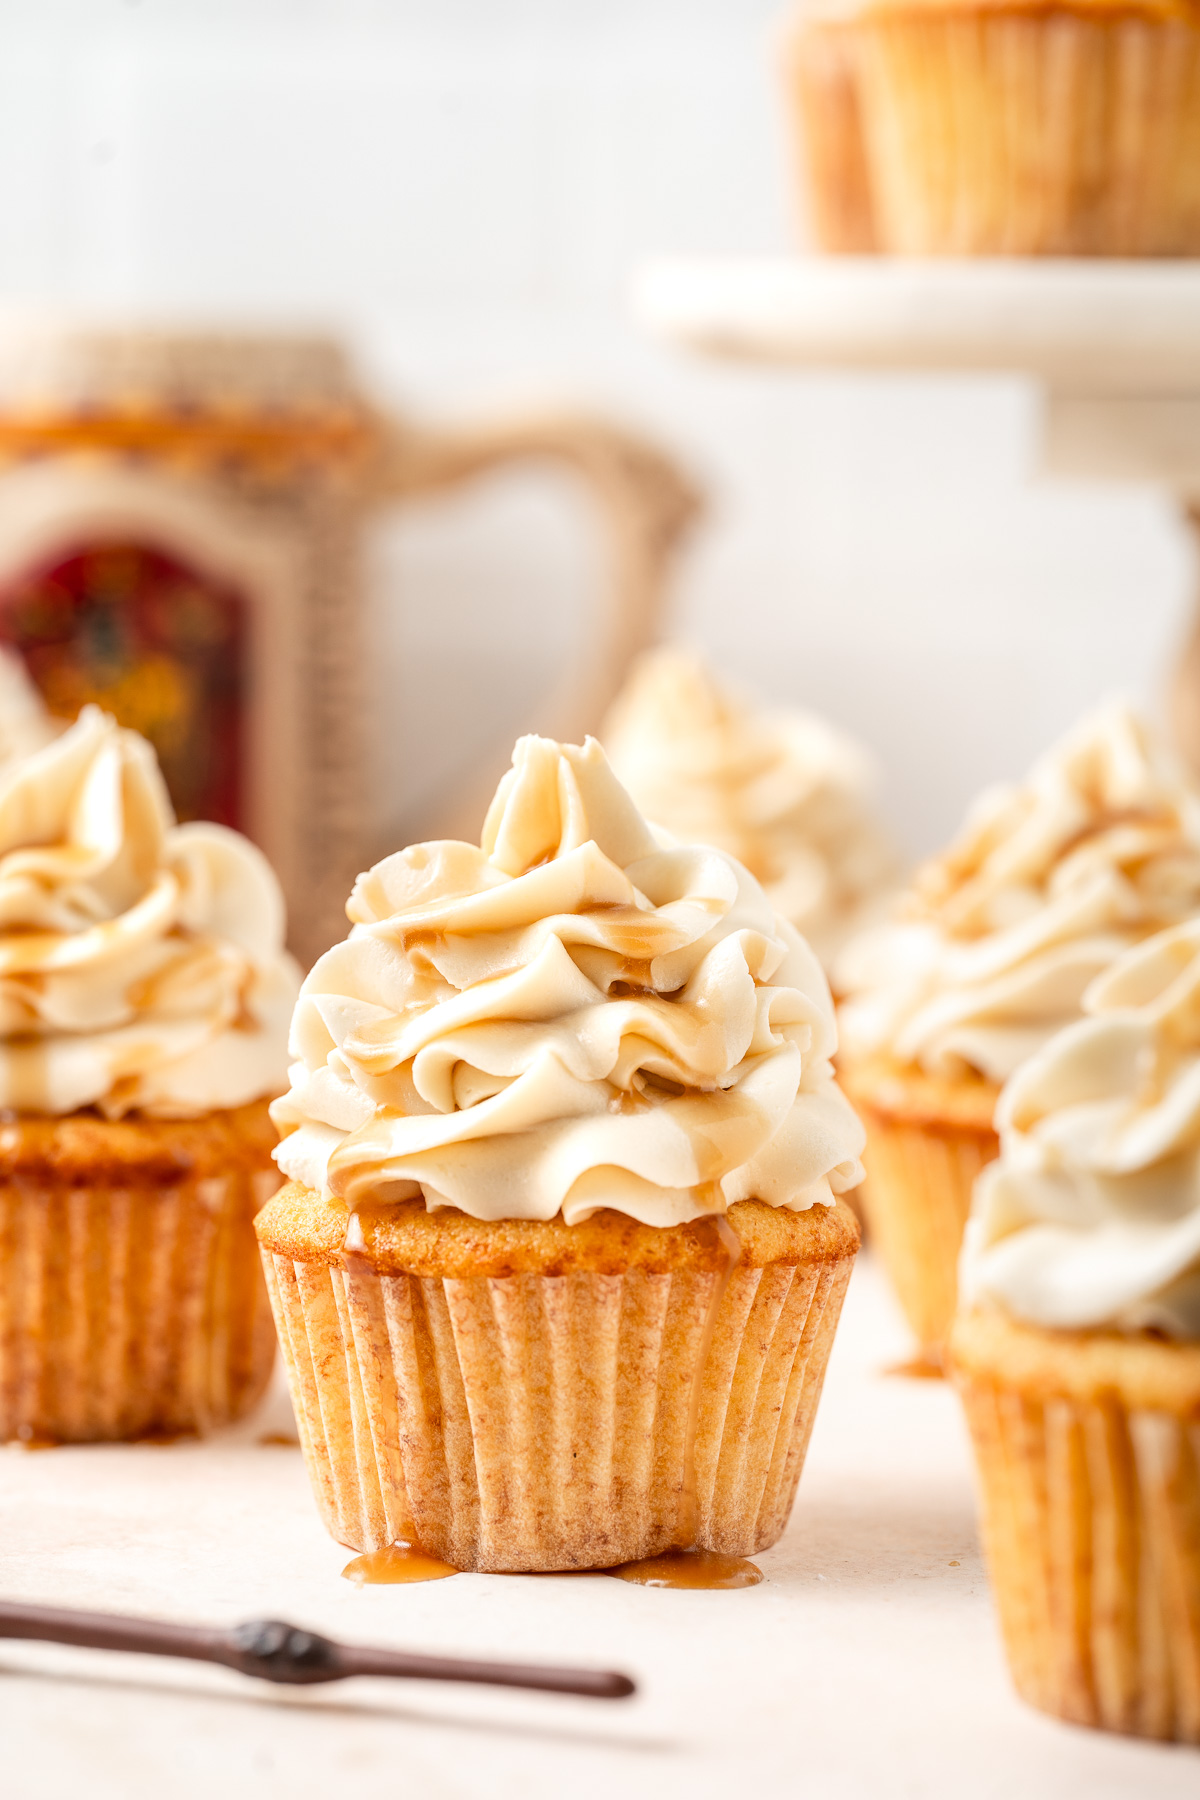
Transport yourself to Hogsmeade and indulge in these magical Harry Potter butterbeer cupcakes. Inspired by the flavours of butterscotch and creaming soda, these soft and delicious dairy free cupcakes are topped with a creamy, sweet butterscotch frosting. These cupcakes are unlike anything you’ve had before, but they might just become your new favourite.
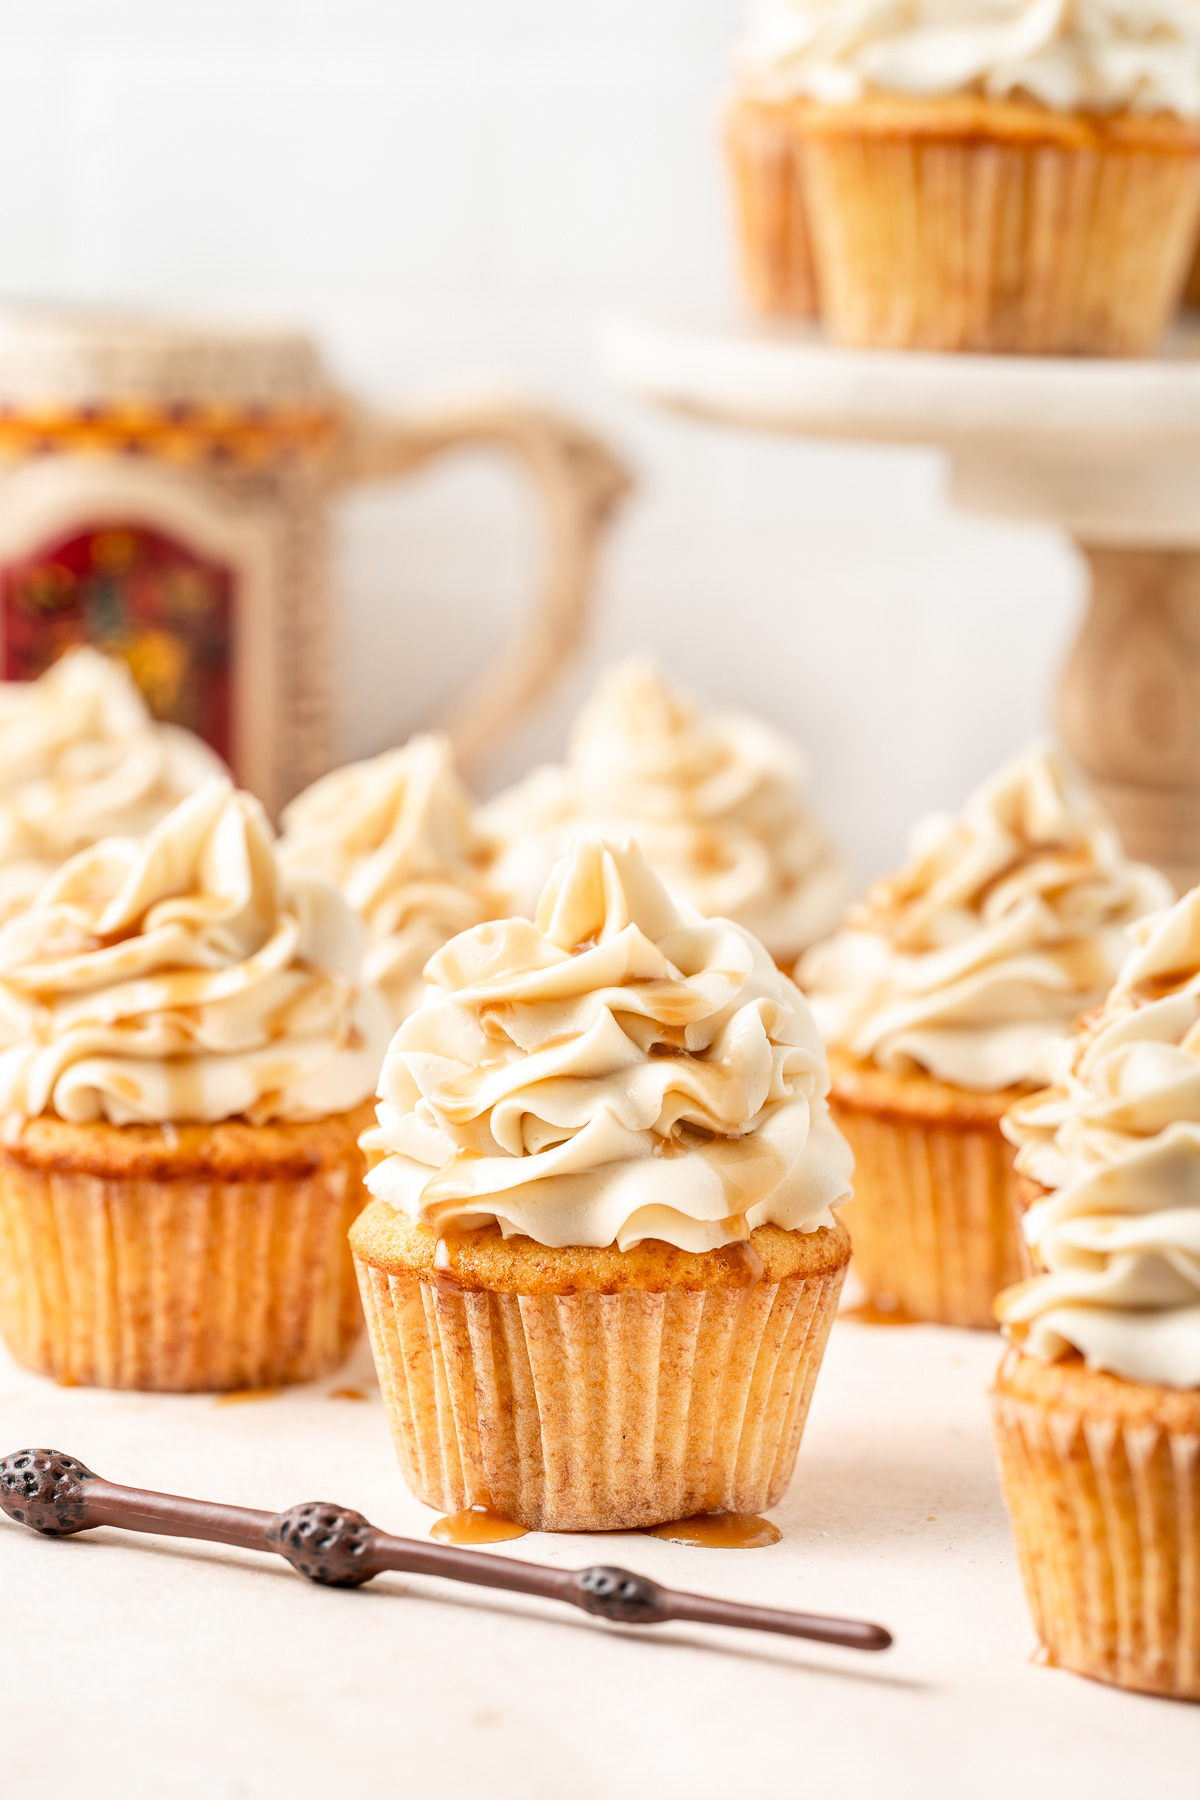
To say that I am a little Harry Potter obsessed would probably be putting it lightly…I mean I own multiple wands (seriously). It all started when my primary school librarian handed me the first book. At the time, there were only 2 books published, so I quite literally grew up with the characters.
But it’s something that people don’t usually know about me, not that I keep it a secret, it just doesn’t tend to come up in most conversations. So, it’s about time really that I acknowledge this part of my life by immortalising it in a recipe on the website. And what better way than with butterbeer cupcakes!
I first tried butterbeer when I was at Universal Studios in Orlando visiting The Wizarding World of Harry Potter, which makes sense of course because it’s technically a fictional drink that was brought into reality as part of the Hogsmeade experience.
The flavour of Butterbeer is a combination of butterscotch and creaming soda – so that’s exactly what we have added to flavour our basic butter cake cupcakes.
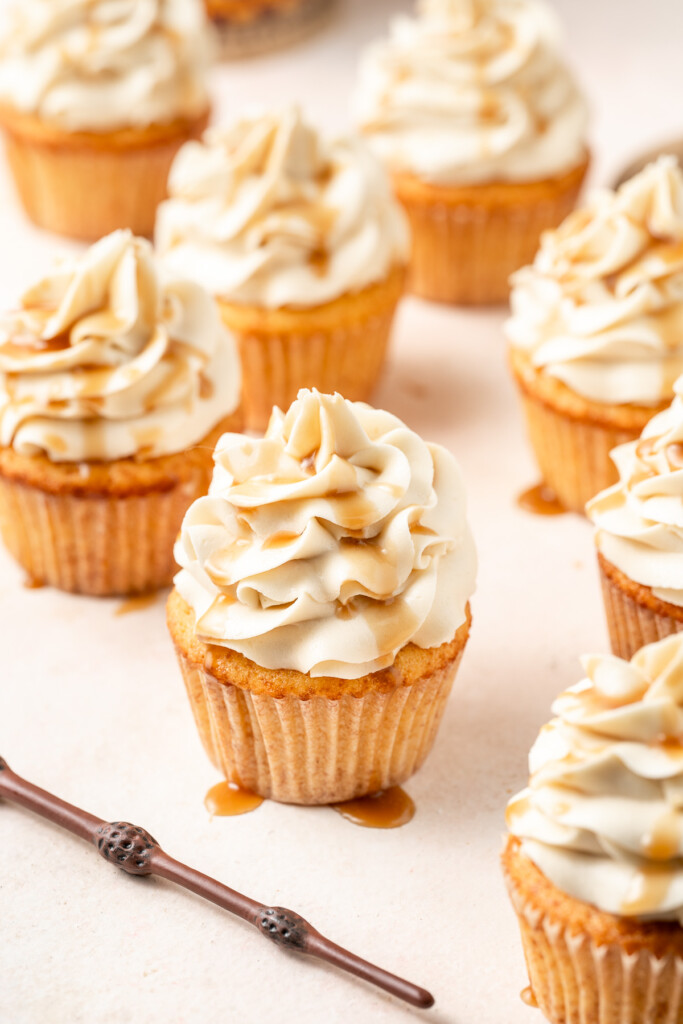
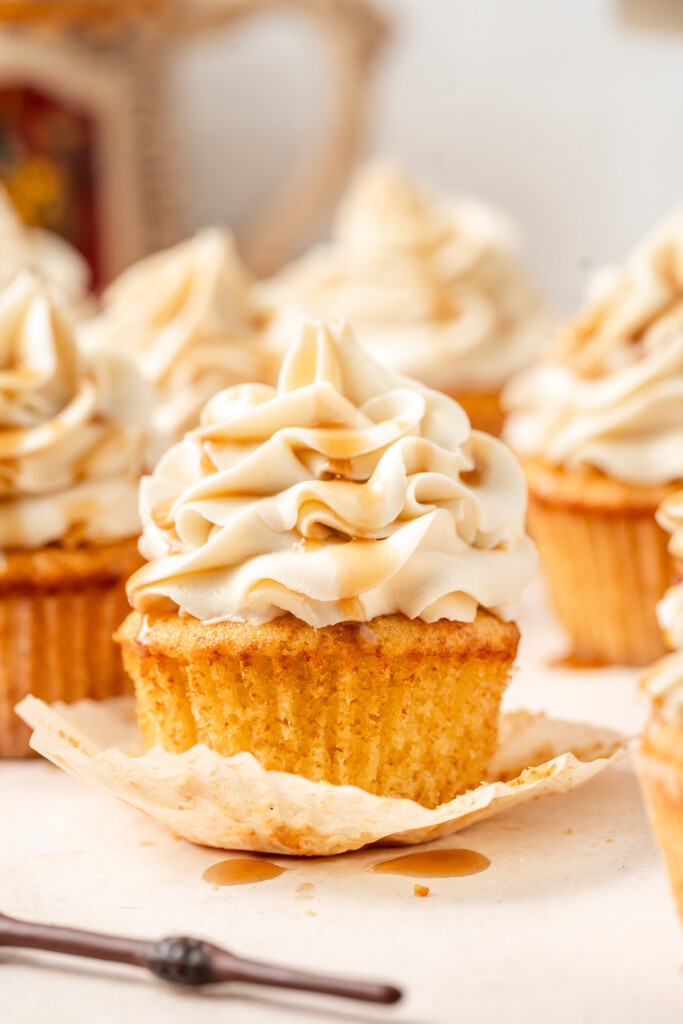
The cupcakes are then topped with a super creamy butterscotch buttercream, which you can think of as the ‘creamy’ component to an actual butterbeer, and then topped with a drizzle of more butterscotch sauce because why not!
If you’re feeling that it’s about time to re-watch the Harry Potter movies (as many do at this time of year, myself included), then this is the perfect on-theme treat.
Key Ingredients
There are three components to this recipe, but you can use store bought butterscotch sauce to keep things simpler.
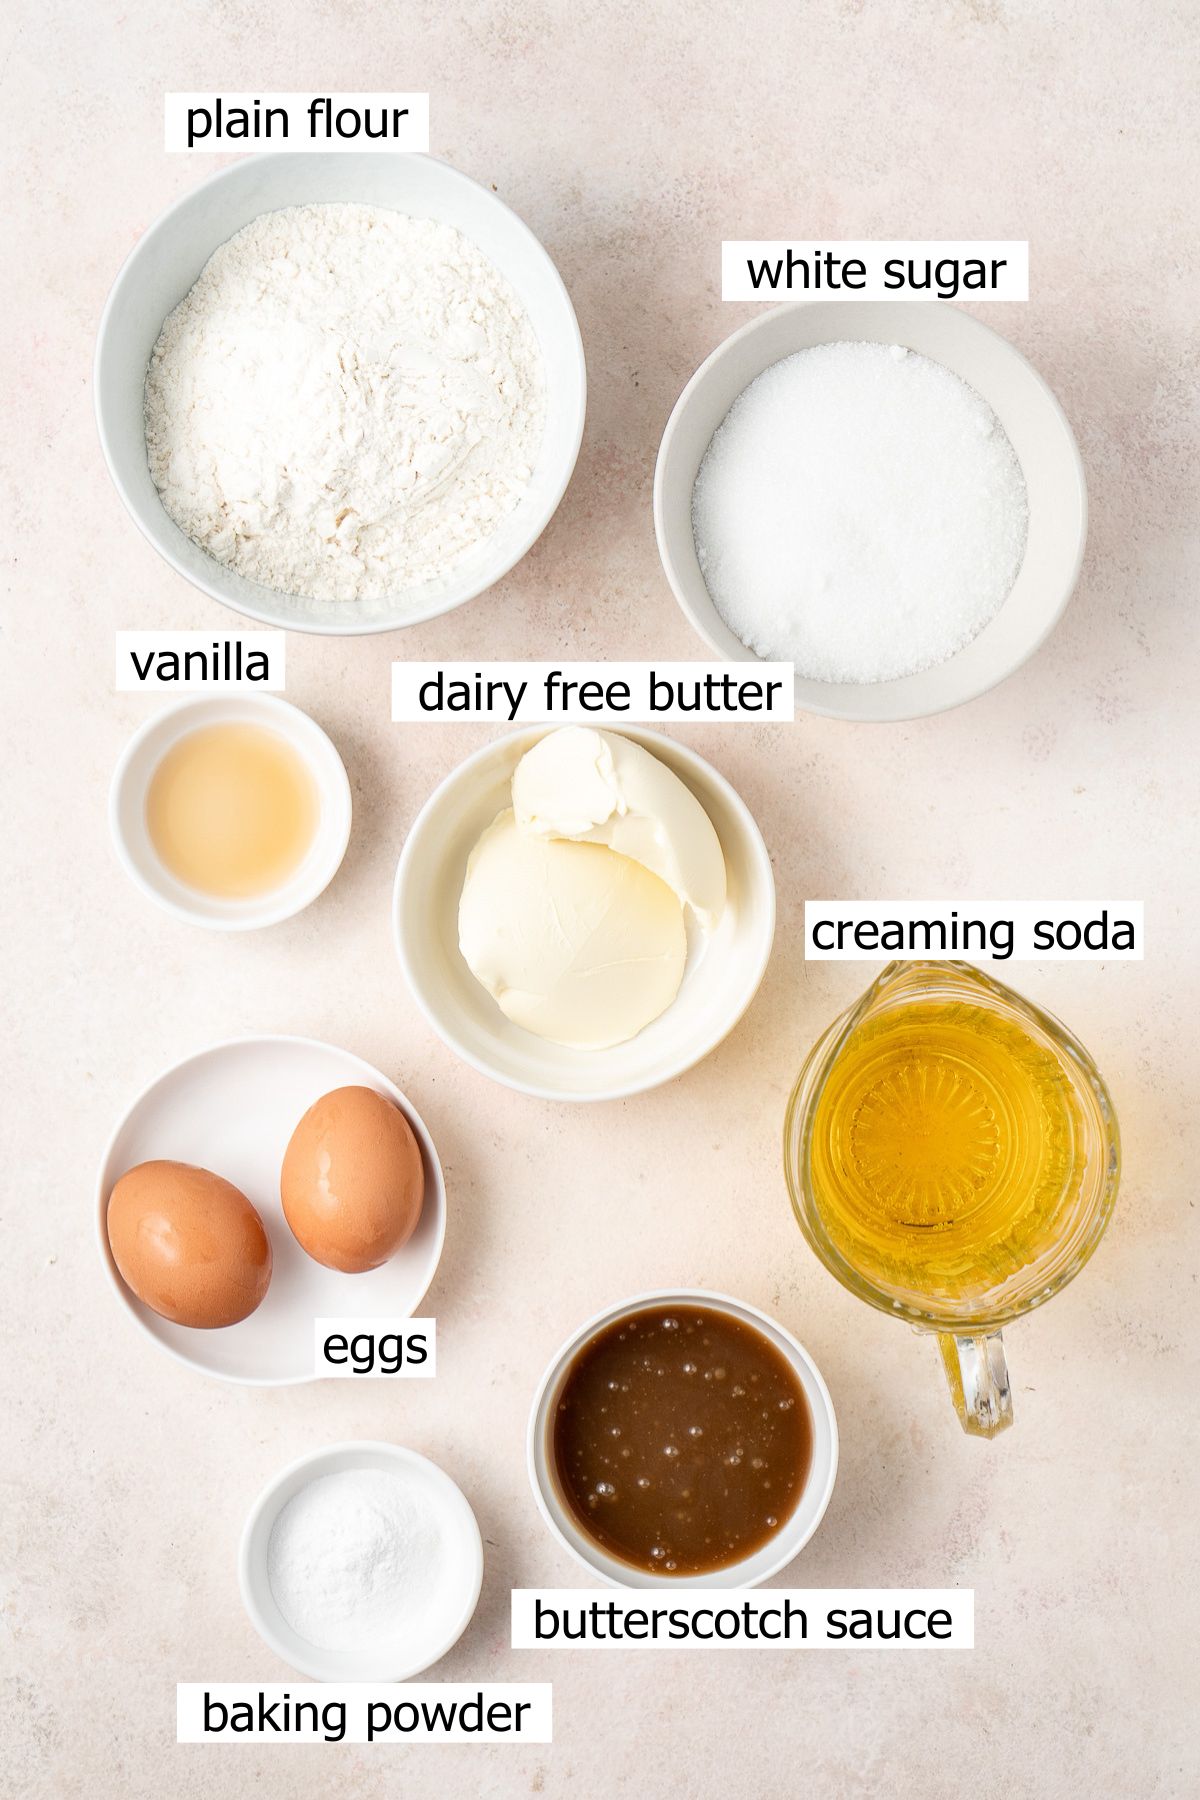
Note all ingredients and their quantities are laid out in the recipe card at the bottom of this post.
- Creaming soda – to get the best flavour I recommend using classic creaming soda which is either brown or yellow and reducing it in a saucepan so you get a concentrated, sticky syrup which will add better flavour to your cupcakes.
- Butterscotch sauce – you can use any butterscotch you like, however I find it can be quite challenging to get a store bought brand that is dairy free, therefore I prefer to make my own. It’s much simpler to make than caramel as well so don’t be intimidated!
- Eggs – giving these cupcakes structure and keeping them soft and moist.
- Baking powder – to allow the cupcakes to rise as they bake.
- Dairy-free butter – I recommend using a quality dairy-free butter substitute here for the best flavour. I love and always use Nuttelex Buttery which is an Australian product. In the US, the closest alternative is Earth Balance which I understand to be very similar.
- Plain flour – also known as all purpose flour in the US.
- Vanilla extract – just a little bit helps to enhance the flavours from the butterscotch.
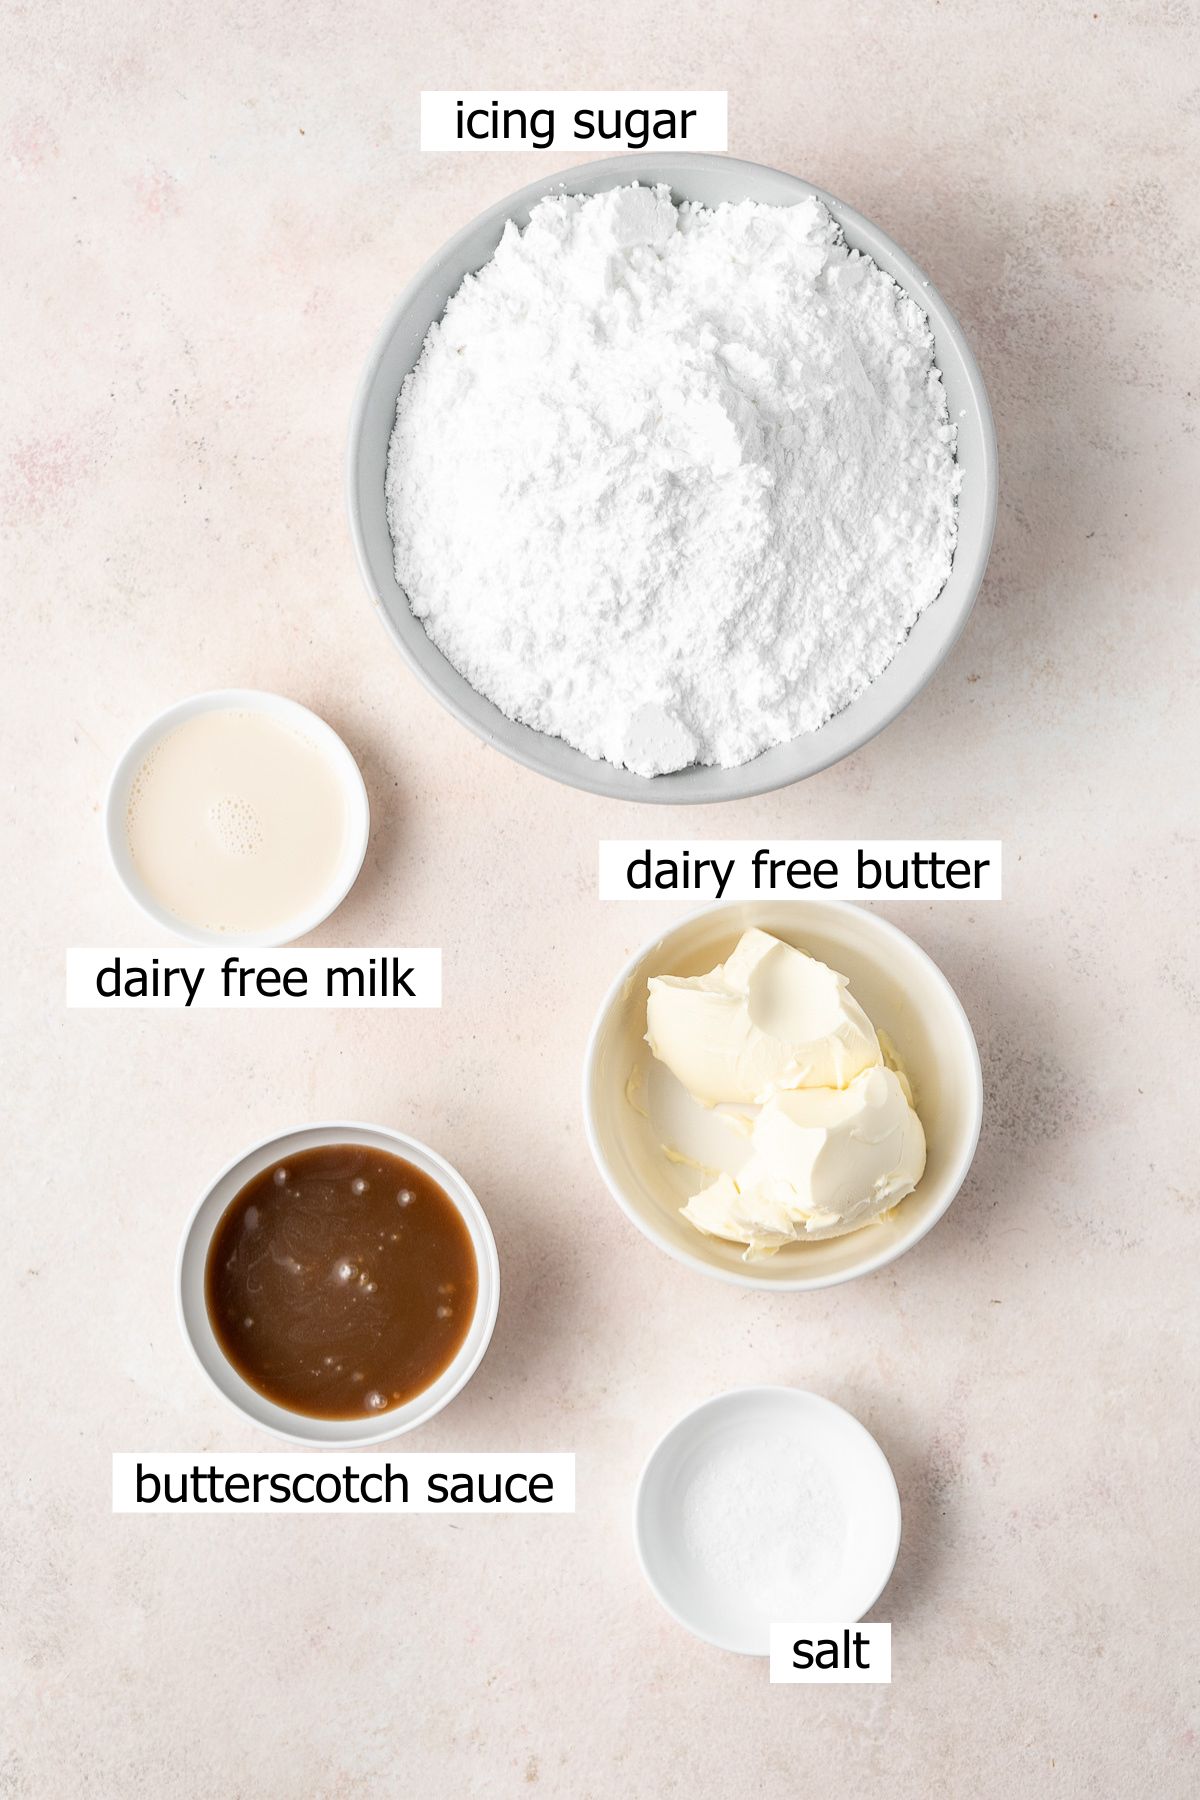
To finish these cupcakes, we’re making a creamy butterscotch buttercream which is based on the buttercream from my vegan caramel cake recipe. You’ll need:
- Dairy free butter – again a quality dairy-free butter substitute here is going to give you the best flavour.
- Icing sugar – I use the icing sugar mixture from the supermarket, not the pure icing sugar. The only difference is the mixture has a little bit of cornflour added which means it’s less likely to clump together and turn rock solid.
- Butterscotch sauce – again, feel free to use a store bought sauce or use the homemade version in the recipe card below.
- Dairy free milk – just a little bit makes this buttercream super creamy. I usually use oat milk but any dairy free milk will work.
- Salt – this buttercream is quite sweet, so a little salt will cut that edge and balance it.
Equipment & Tools
This section may contain affiliate links which means I make a small commission on any purchase made with no extra cost to you.. If you’re considering purchasing on Amazon I’d be so grateful if you would do so by first clicking one of these links. Thank you for your ongoing support.
- Cupcake / muffin tin – I always recommend using light coloured baking pans as they allow for a much more even heat distribution. My favourite is this USA Pan muffin pan.
- Handheld electric mixer
- Measuring cups and spoons – accurate measurements are crucial for baking, as even small differences can affect the texture and taste.
- Paper muffin liners – these are the ones I use and honestly they are expensive but they are the best paper liners I’ve used. They will not stick to your cupcakes and are the perfect size giving your cupcakes that professional finish.
- Cooling rack
- Piping bags – I prefer to use disposable piping bags just to keep clean up super easy.
- Wilton 1M Piping tip
Step-By-Step Instructions
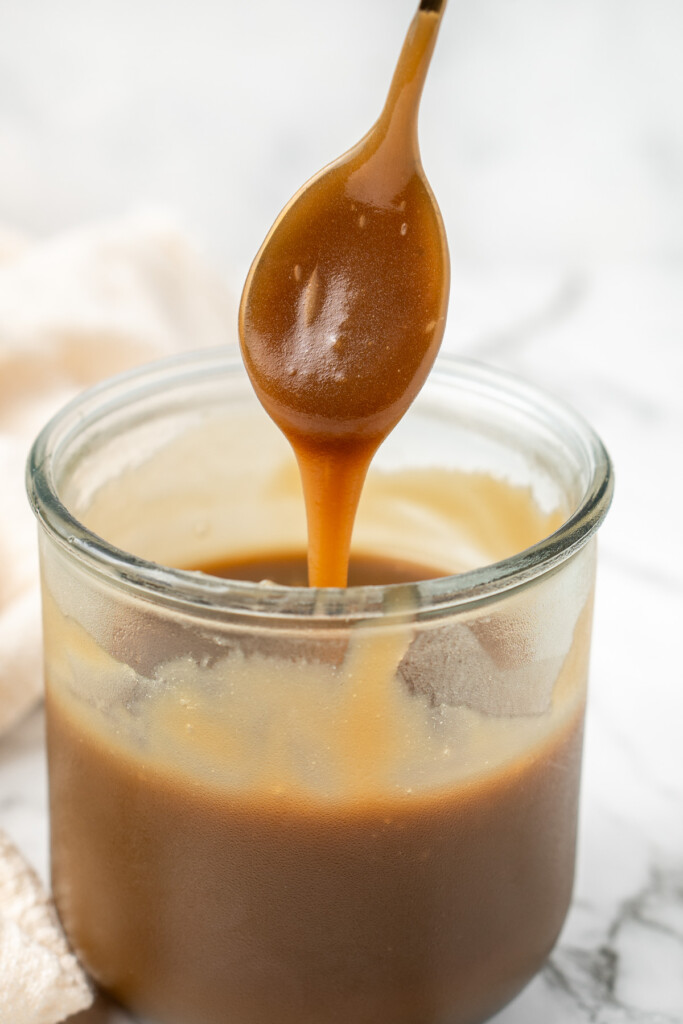
As mentioned, this recipe has three components with the first being making the butterscotch sauce if you’re wanting to make that from scratch. I recommend doing this the day before as for the best results you’ll need to let it set in the fridge overnight to thicken.
To start, you’ll want to reduce the creaming soda to really concentrate that buttery, sweet, vanilla flavour. Pour a cup of creaming soda into a saucepan and let it gently simmer until it reduces down to half a cup. This takes about 10 minutes.
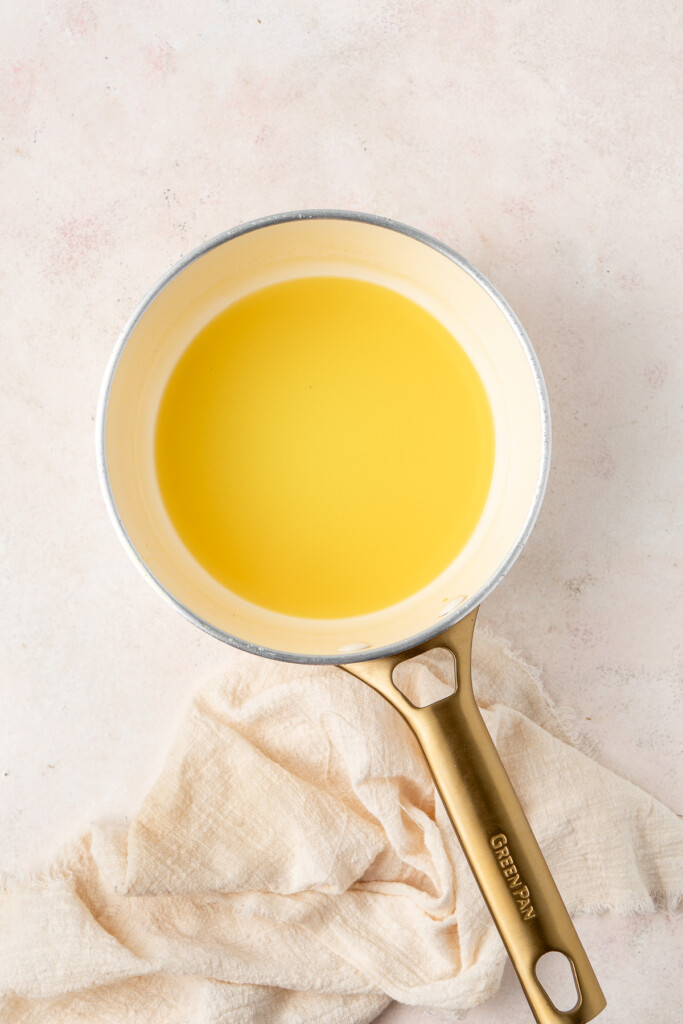
While the creaming soda cools, preheat the oven to 180°C / 350°F and line a 12-cup muffin pan with cupcake liners. In a mixing bowl, beat the dairy-free butter with sugar until it’s light and fluffy using handheld electric beaters. One at a time, add in the eggs, then mix in the vanilla and some of the homemade butterscotch sauce.
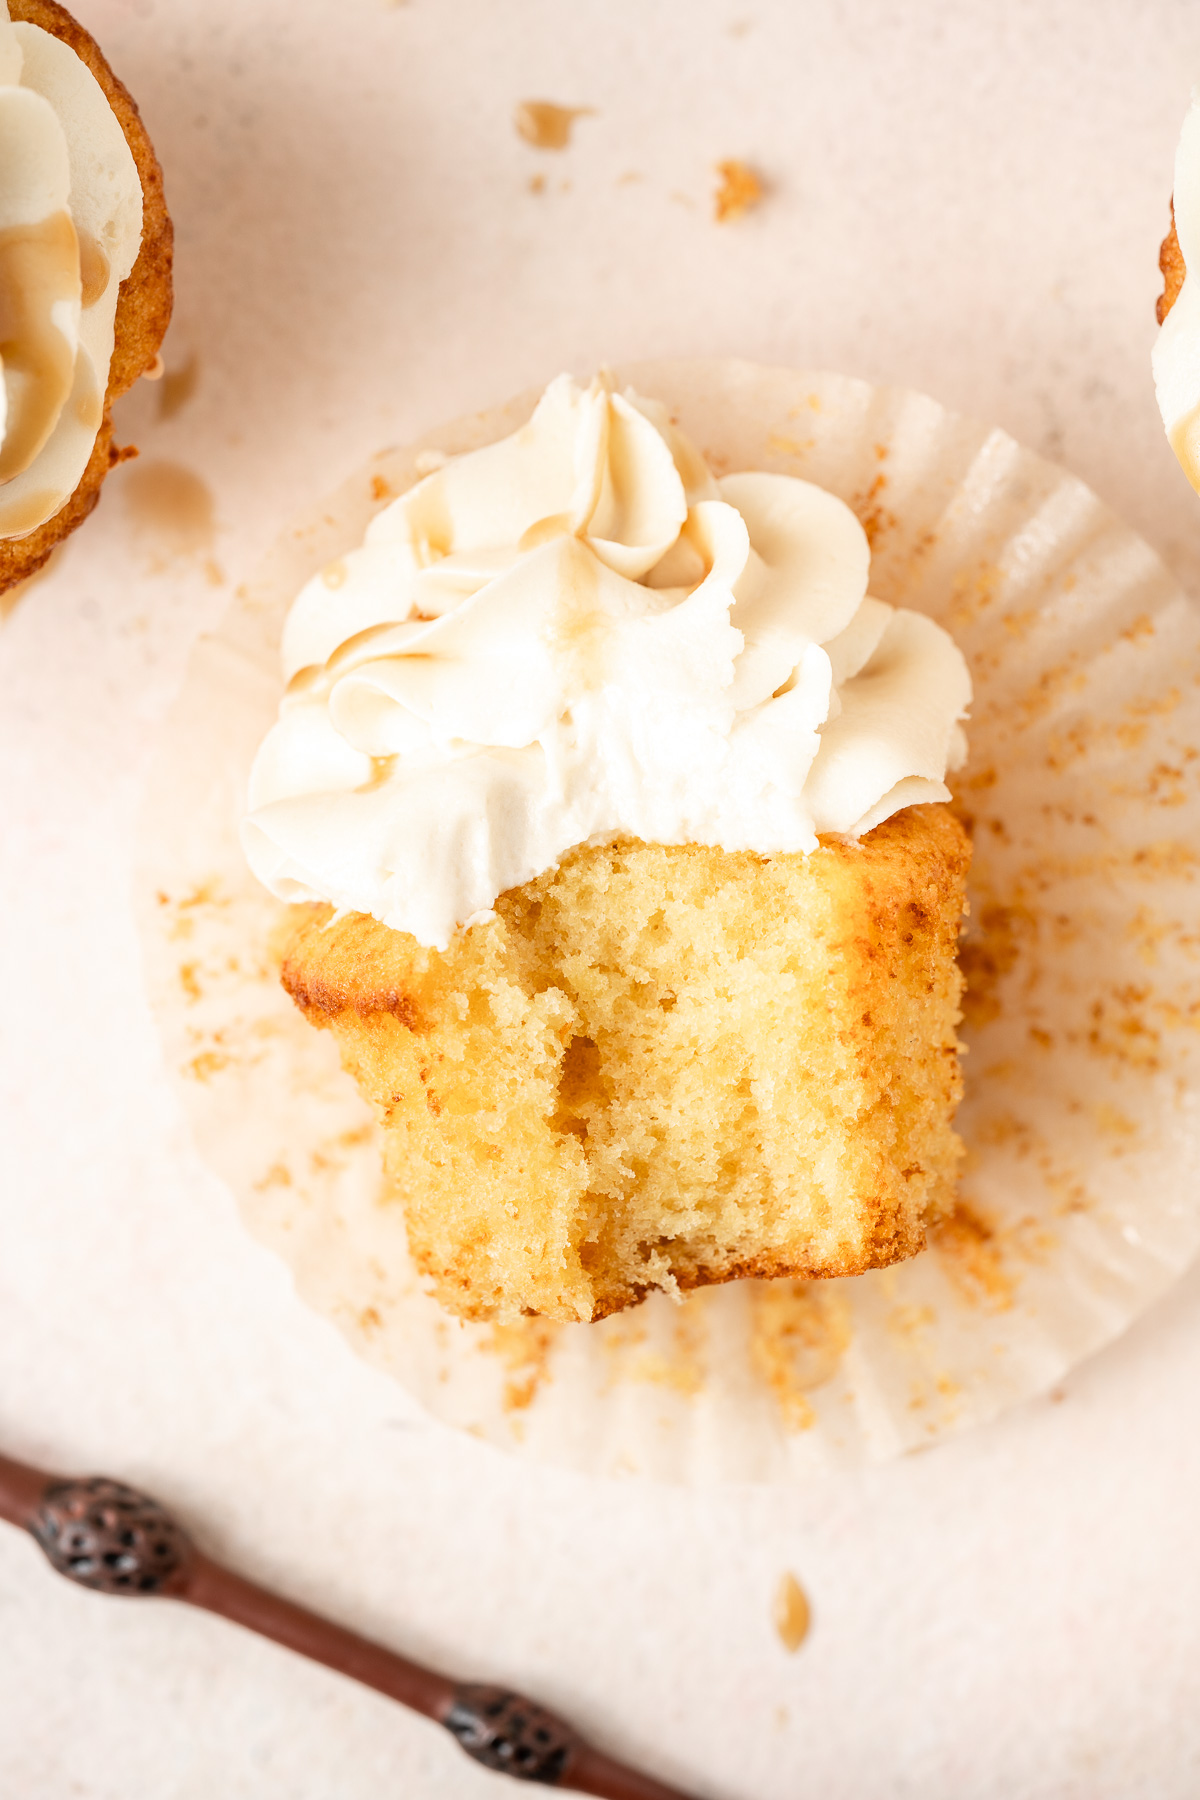
Sift in the flour and baking powder, and then slowly pour in the reduced creaming soda, mixing just until a thick, smooth batter forms. Divide the batter evenly among the cupcake liners, filling each about ¾ full. Pop them in the oven, bake for about 20-22 minutes. Once baked, let them cool on a wire rack before frosting.
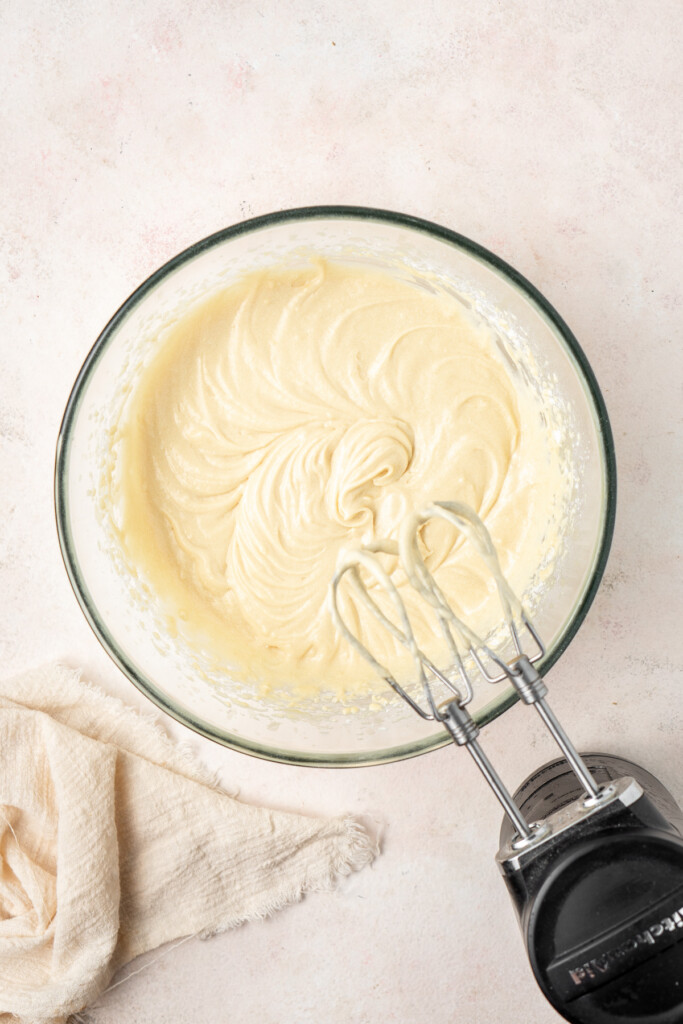
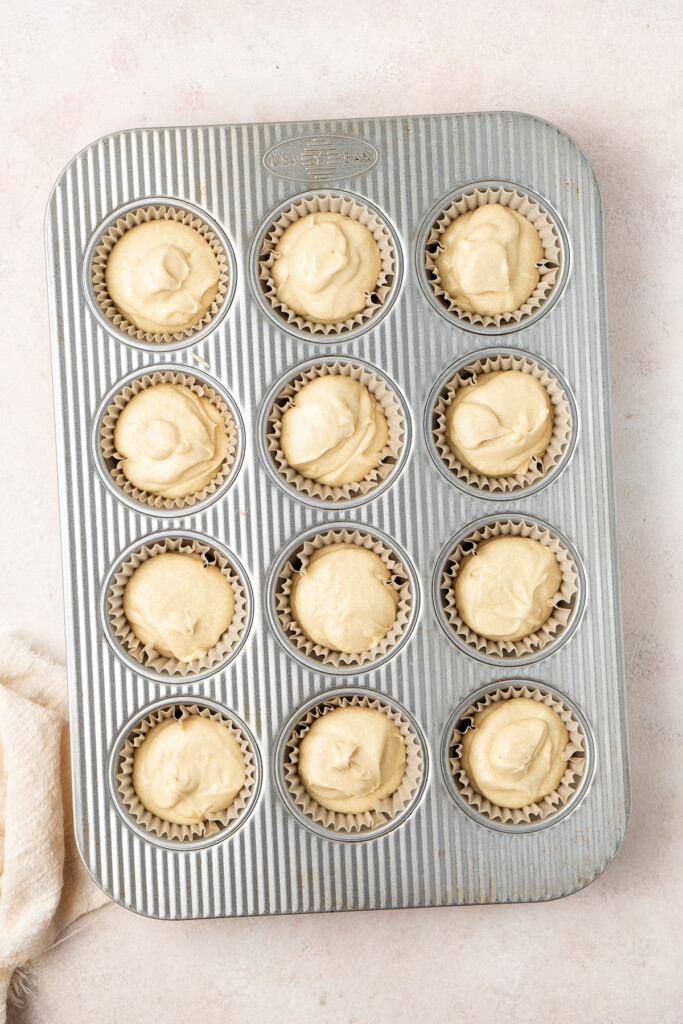
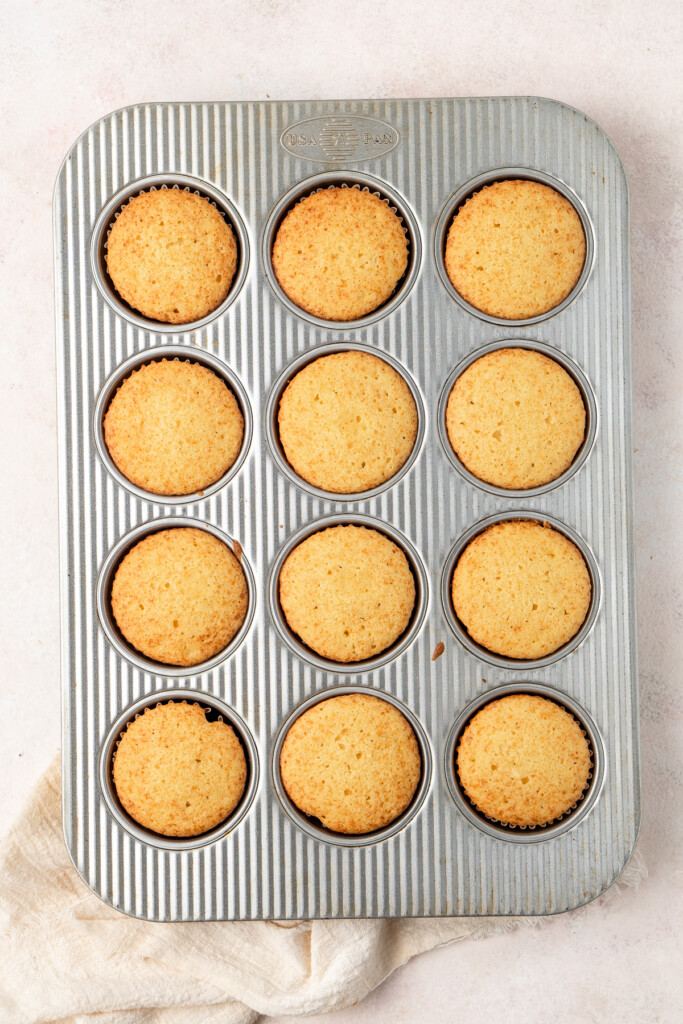
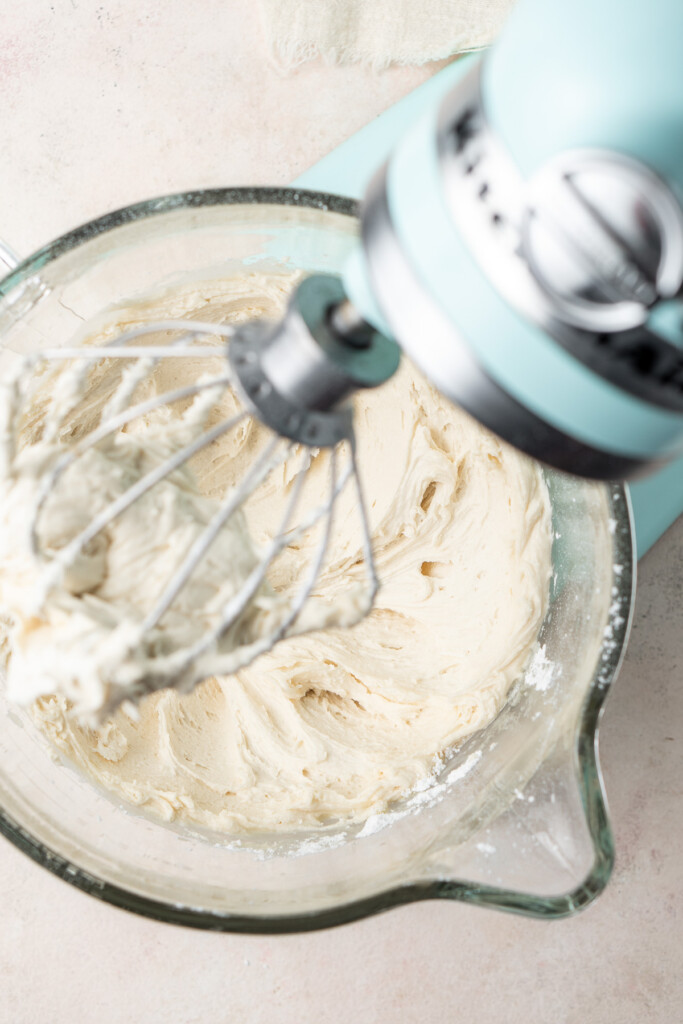
While the cupcakes are cooling, you can make the buttercream. In a stand mixer or with a hand mixer, beat together the dairy-free butter and butterscotch sauce until creamy. Add a couple of cups of icing sugar and a splash of dairy-free milk if needed, then keep beating until it’s smooth and luscious.
Continue adding icing sugar and milk until you reach the perfect thick-but-pipeable consistency. This buttercream is sweet, so you can add salt to tone it down a little.
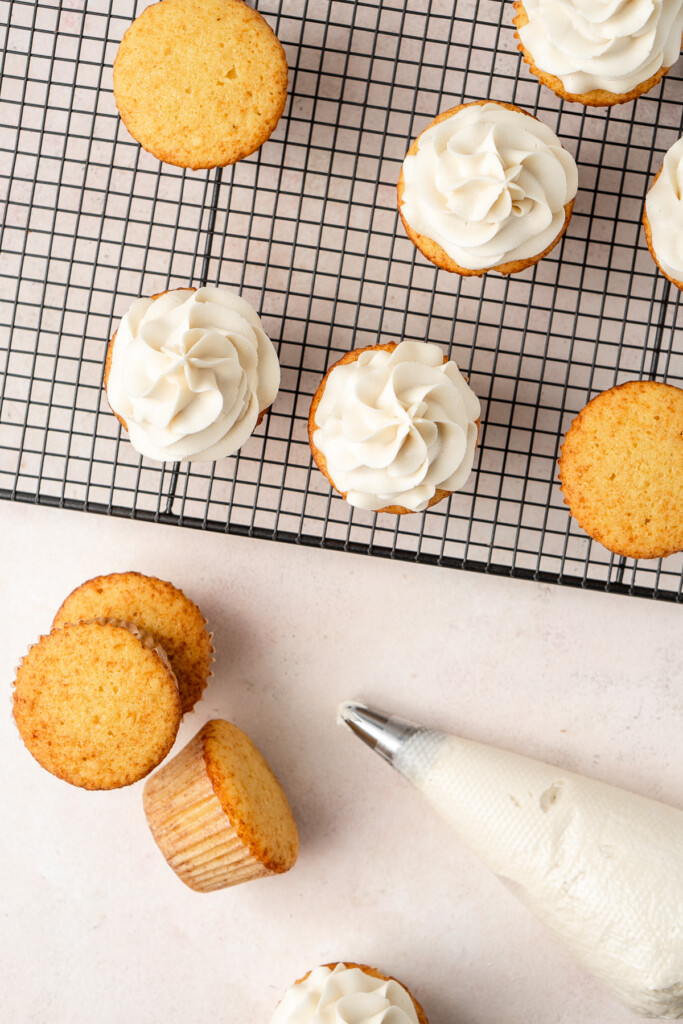
Once your cupcakes are cool, it’s time to decorate. Spoon the buttercream into a piping bag fitted with an open star tip (I am using the Wilton 1M tip as usual), then swirl it generously on top of each cupcake. Add an extra drizzle of butterscotch sauce for that little bit extra.
Recipe FAQs
For the classic Butterbeer flavour, use a golden or caramel-coloured creaming soda if possible. This will help give the cupcakes a warm, buttery sweetness. If you only have clear or pink creaming soda, that works too—it won’t change the flavour much.
Store the frosted cupcakes in an airtight container at room temperature for up to 2 days, or in the fridge for up to 5 days. If you’re making them in advance, you can also freeze unfrosted cupcakes for up to 2 months. Just let them thaw and frost them fresh when you’re ready to serve!
Yes! Substitute the plain flour with a good-quality gluten-free flour blend that has a 1:1 ratio with regular flour. This should give you similar results without compromising the texture.
More cupcake recipes:
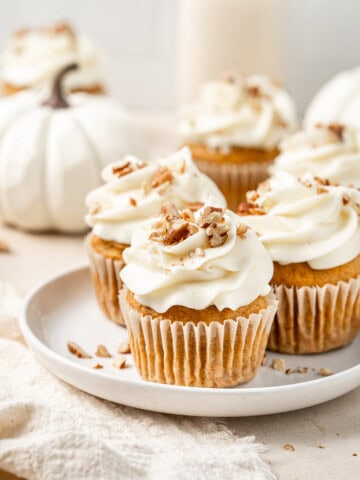
Vegan Pumpkin Cupcakes
Vegan Gingerbread Cupcakes
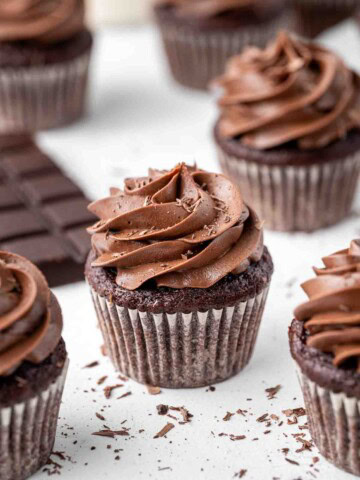
Black Velvet Cupcakes
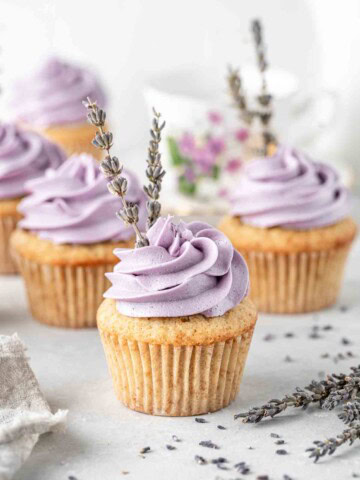
Earl Grey Lavender Cupcakes
Harry Potter Butterbeer Cupcakes
Ingredients
For the Butterscotch Sauce:
- 75 grams dairy-free butter
- ⅔ cup brown sugar
- ½ cup coconut milk
- 1 teaspoon flaky sea salt
- ½ teaspoon vanilla extract
For the Butterbeer Cupcakes:
- 1 cup classic creaming soda
- 125 grams dairy-free butter
- ½ cup white sugar
- 2 eggs room temperature
- 1 teaspoon vanilla extract
- ¼ cup butterscotch sauce
- 1 ¼ cups plain flour
- 2 teaspoons baking powder
For the Butterscotch Buttercream:
- 125 grams dairy-free butter
- ¼ cup butterscotch sauce
- 4-5 cups icing sugar
- ½-1 tablespoon dairy-free milk
- Pinch of salt
Instructions
For the Butterscotch Sauce:
- It's recommended to make the sauce the day before to allow it to set and thicken overnight in the fridge.
- In a small saucepan over medium heat, melt the dairy-free butter. Add the brown sugar and coconut milk, whisking well to combine.
- Allow the mixture to come to a slow boil, reducing the heat if necessary. Boil for 3-4 minutes. The sauce will be thin initially but will thicken as it cools.
- Remove the sauce from heat and whisk in the sea salt and vanilla extract. Allow it to cool to room temperature before transferring it to an airtight container and refrigerating until fully chilled.
For the Butterbeer Cupcakes:
- Reduce the creaming soda: In a small saucepan, bring the creaming soda to a boil over medium heat. Let it boil for about 10 minutes until it reduces to ½ cup. Set aside to cool completely.
- Preheat the oven to 180°C / 350°F and line a 12-cup muffin pan with cupcake liners.
- With an electric mixer, beat the dairy-free butter and sugar together until creamy. Add the eggs one at a time, followed by the vanilla and butterscotch sauce, and continue beating until light and creamy.
- Add the flour and baking powder to the mixture and start to mix, gradually pouring in the reduced creaming soda until a thick batter forms.
- Using a cookie scoop or tablespoon, divide the batter evenly among the cupcake liners, filling each about ¾ full.
- Bake for 20-22 minutes or until golden on top and springy to the touch.
- Allow the cupcakes to cool completely on a wire rack before frosting.
For the Butterscotch Buttercream:
- Using a hand mixer or a stand mixer with the paddle attachment, beat the dairy-free butter and butterscotch sauce for 1-2 minutes until creamy.
- Add 2 cups of icing sugar and beat on medium until combined. Add dairy-free milk as needed to reach a smooth consistency.
- Add an additional 2 cups of icing sugar and more milk as necessary until the buttercream is smooth, creamy, and thick enough for piping.
- If the buttercream is too thin, add an extra ½-1 cup of icing sugar until it reaches the desired consistency. Add a pinch of salt to balance the sweetness.
- Fill a piping bag fitted with an open star tip with the butterscotch buttercream. Pipe swirls on top of the cupcakes and drizzle extra butterscotch sauce on top if desired.
Nutrition
Nutritional information is provided as a guide only and is calculated using automated online tools, therefore we cannot guarantee the accuracy. We encourage you to make your own calculations based on the actual ingredients used in your recipe.

Made this recipe? Leave a review!