These homemade dairy free waffles are so easy to make! With soft and airy insides and crispy edges, these waffles are perfect for all your favourite toppings. Made with a dairy free buttermilk substitute to ensure the best texture, these waffles will be on regular rotation for slow weekend mornings.
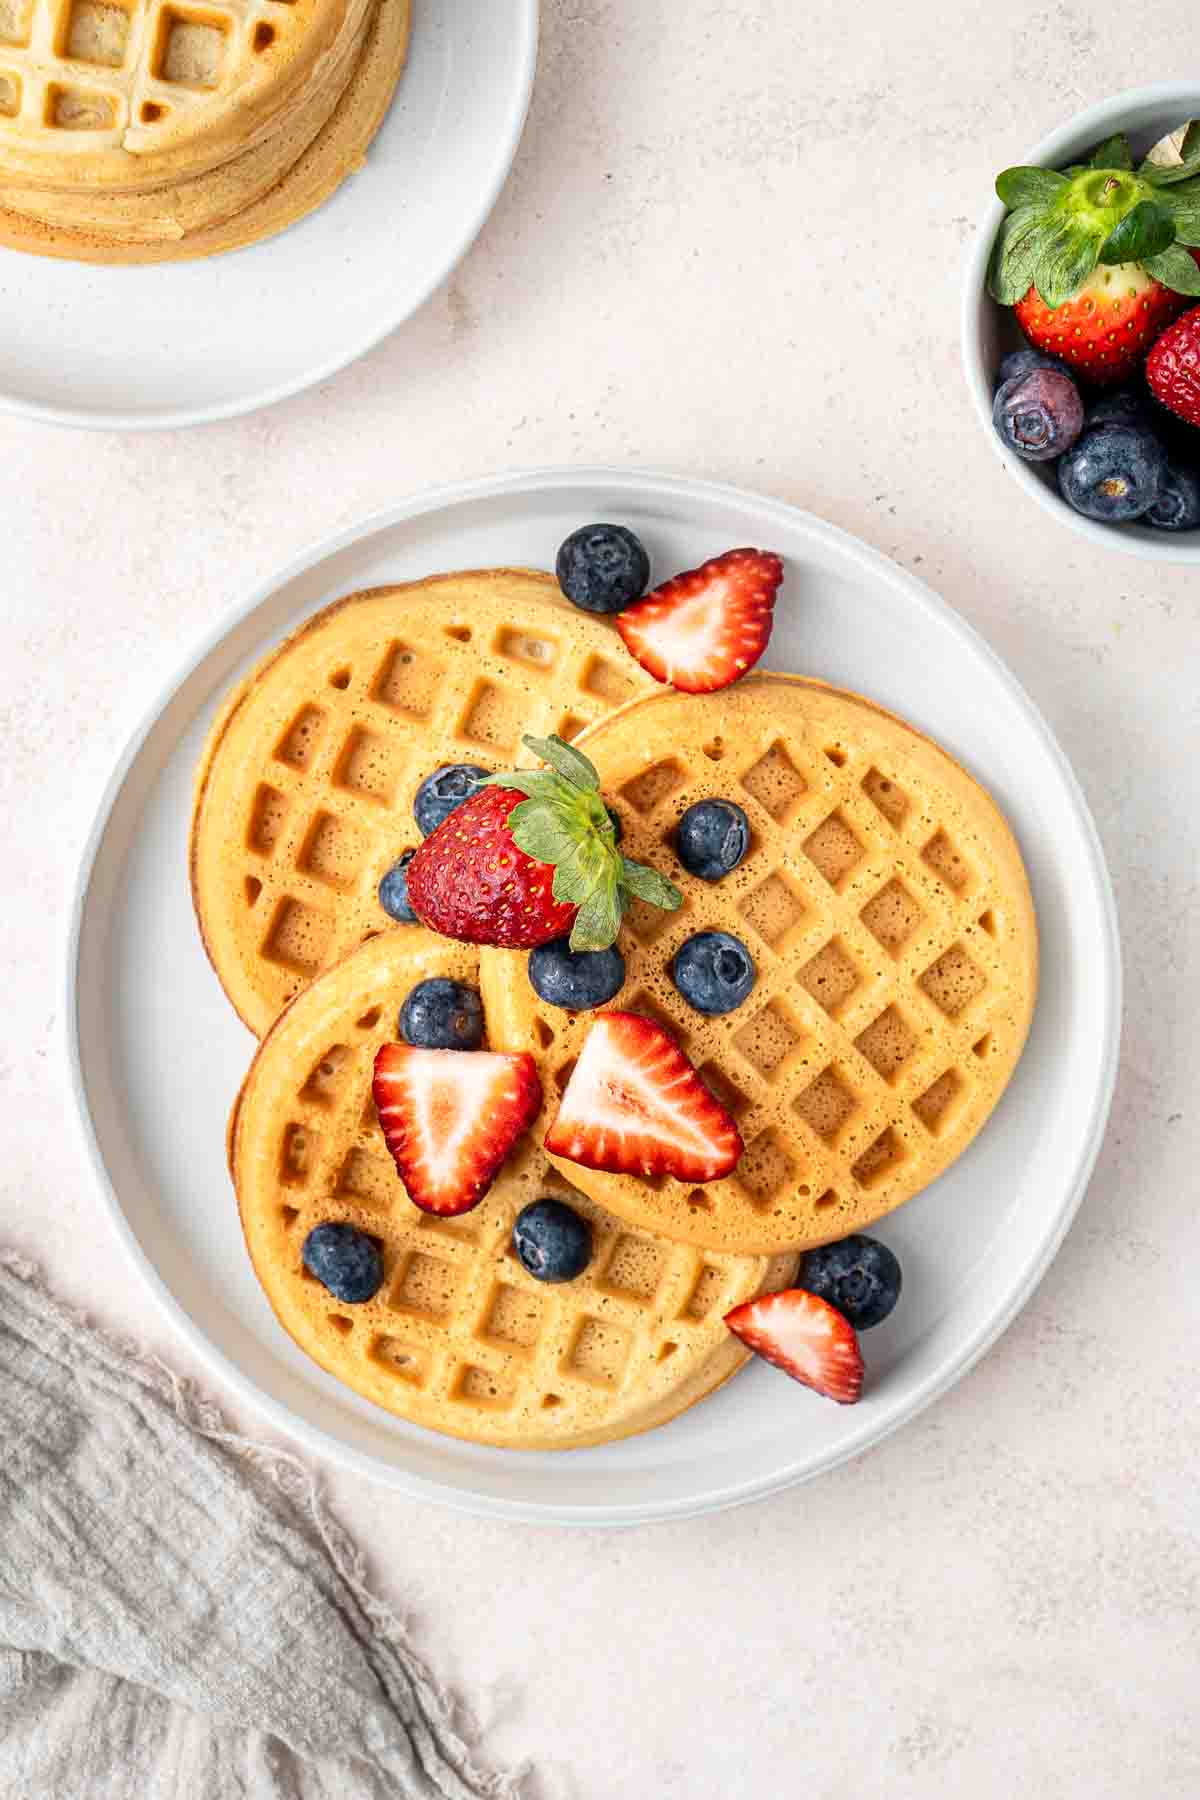
Ever since I added a $15 mini waffle maker to my collection of appliances, breakfast time has just felt more fun. When I am craving something sweet for Sunday breakfast, I usually love my dairy free blueberry buttermilk pancakes, but at the moment, I am having a moment with waffles.
These waffles are just like what you would expect from a local café but made completely dairy free. They are light and airy with crispy edges. Served stacked with lots of fresh berries and maple syrup, you just can’t go wrong!
The best part of this recipe is that they freeze so well, meaning you can make a batch and put them in the freezer. When you’re ready to eat, just pop a couple into the toaster, and you have perfectly crispy waffles that are just as good as when made fresh.
I usually always have a few waffles in the freezer for emergency breakfast situations!
Key Ingredients
Just like my favourite buttermilk pancakes, this recipe uses a few ingredients to achieve perfect, soft and light, café-quality dairy free waffles that everyone will love!
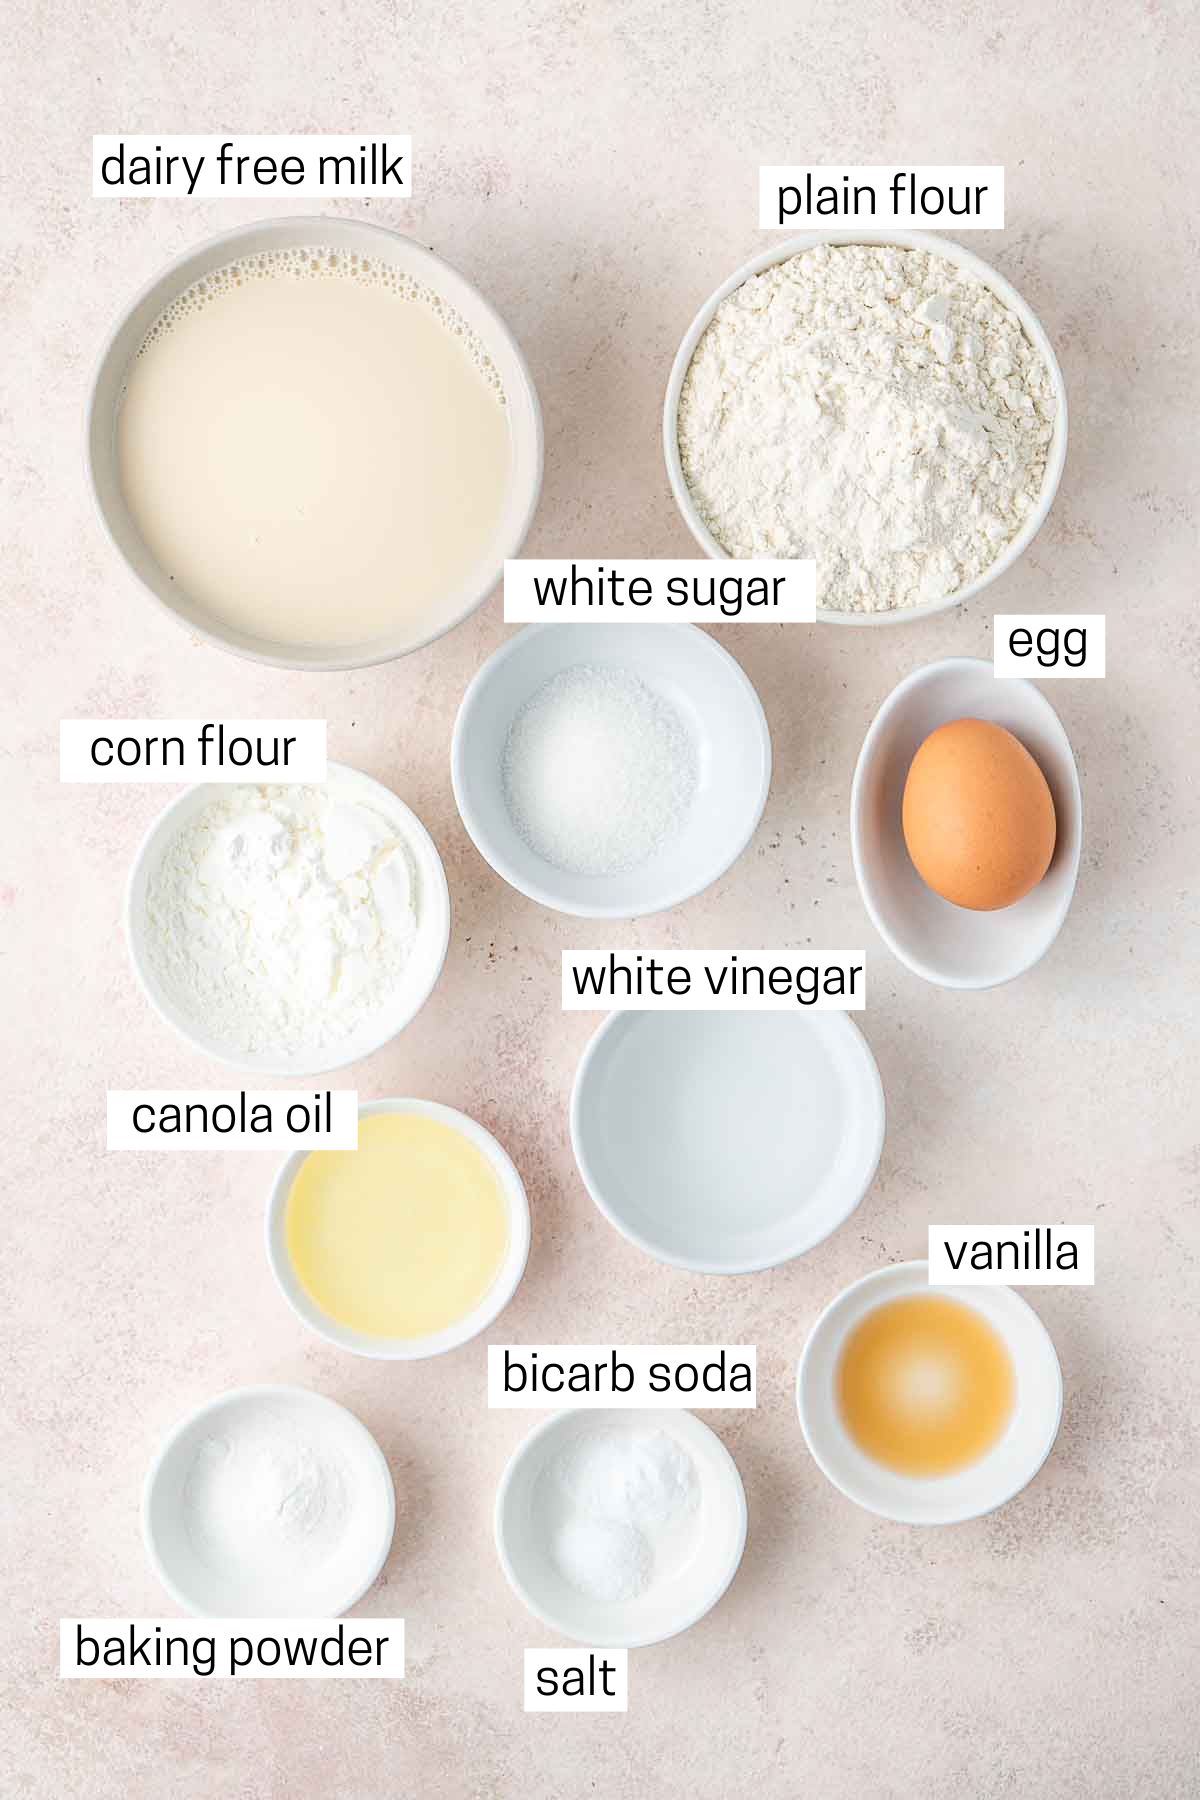
Note all ingredients and their quantities are laid out in the recipe card at the bottom of this post.
- Dairy free milk – I use oat milk in these waffles as that’s what I prefer using in my cooking, but you could also substitute with any dairy free milk you prefer, such as soy milk or almond milk, for similar results.
- White vinegar – This is added to the milk, creating a ‘buttermilk’ substitute that is going to keep our waffles soft and tender.
- Plain flour – Also known as all-purpose flour in the US.
- Corn flour – Also known as cornstarch in the US, helps give the waffles the best, soft texture.
- Baking powder and bicarbonate of soda (baking soda) – Gives the waffles rise and keeps them light and soft.
- White sugar – Just a little makes these a sweet rather than savoury waffle, without being too sweet, so you can still add toppings such as maple syrup.
- Egg – Keeps the batter together so the waffles hold their shape.
- Canola oil – Helps prevent the batter sticking and helps create crispy edges.
- Vanilla – Just a little for flavour so the waffles aren’t bland.
Step-By-Step Instructions
To make these dairy free waffles, you will, of course, need a waffle iron. Any you have will work; just adjust the amount of batter per waffle as needed. I have a mini waffle maker from Kmart, which is not only inexpensive but works perfectly. This one from Amazon is very similar. It does just take me a little extra time to make them as I’m doing one small waffle at a time, but it doesn’t really bother me.
To make the dairy free waffles, we’ll start by combining the dairy free milk and white vinegar. This creates a dairy free buttermilk substitute that is going to ensure these waffles are super light in texture.
Next, everything comes together in just one bowl, making it super easy. Start by whisking together the plain flour, corn flour, white sugar, baking powder, bicarbonate of soda, and salt until well combined.
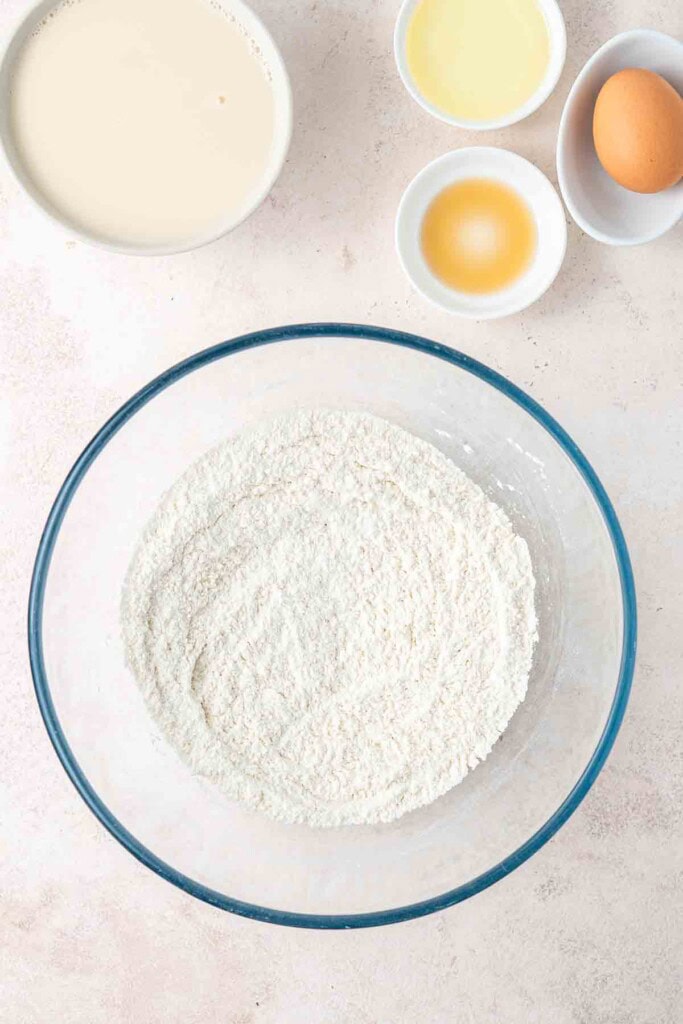
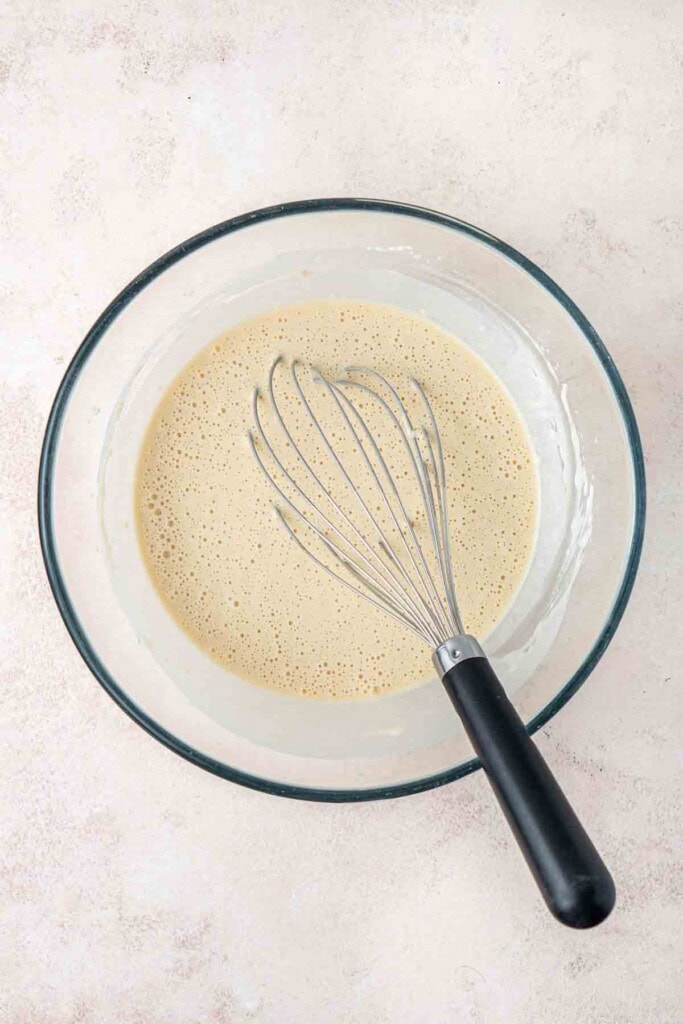
Make a well in the centre of the dry ingredients and crack in the egg. Add the vanilla extract, canola or vegetable oil, and the buttermilk substitute. Use a whisk to gently mix the wet ingredients into the dry until a batter forms.
Preheat your waffle iron and, once the waffle iron is hot, lightly grease it with a little cooking oil spray.
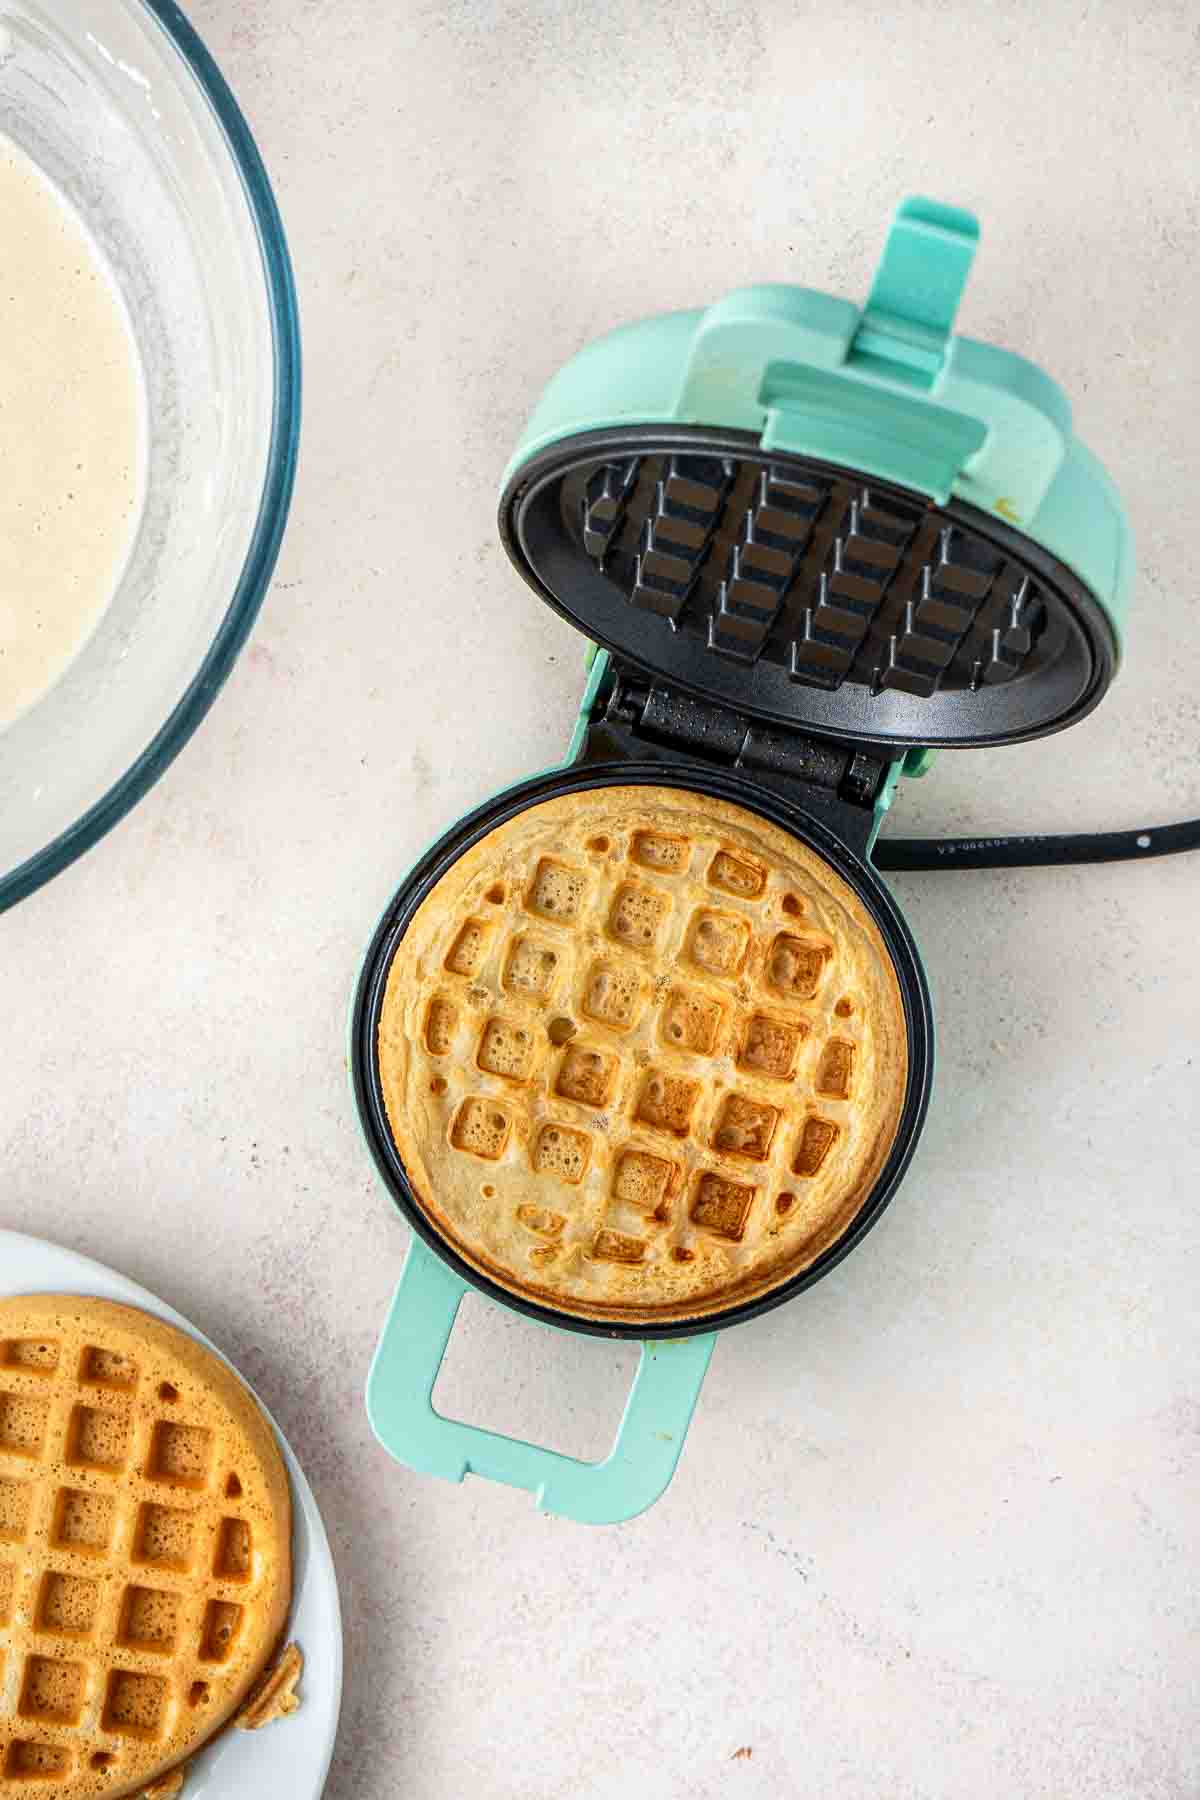
For my mini waffle maker, ¼ cup of the waffle batter is the perfect amount, but your amount will depend on your waffle maker. Use just enough to cover the waffle grid as you don’t want to overfill. This batter puffs up quite a bit, so go with less rather than more if you’re unsure.
Cook the waffles for about 3-5 minutes, or until the waffles are golden brown and crisp. Carefully remove the waffles from the iron and repeat until all the batter has been used.
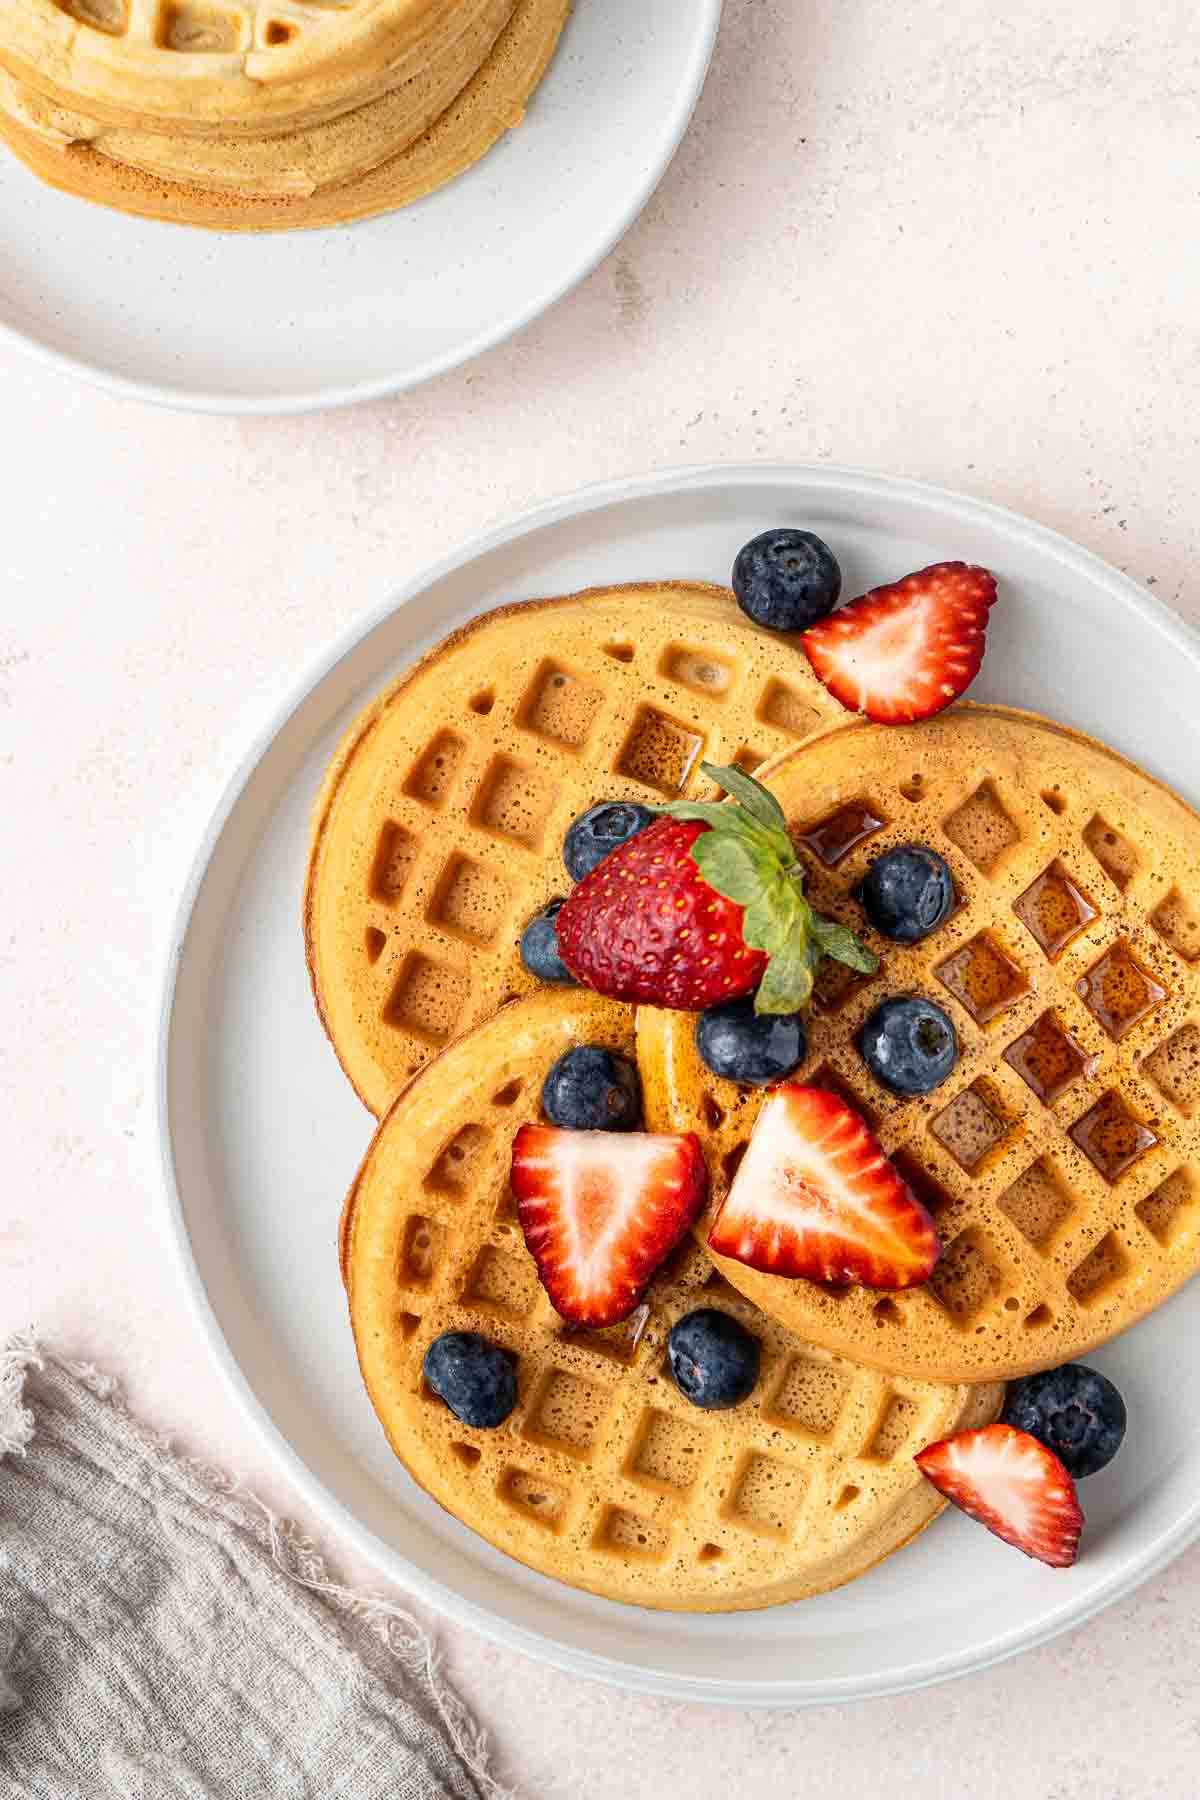
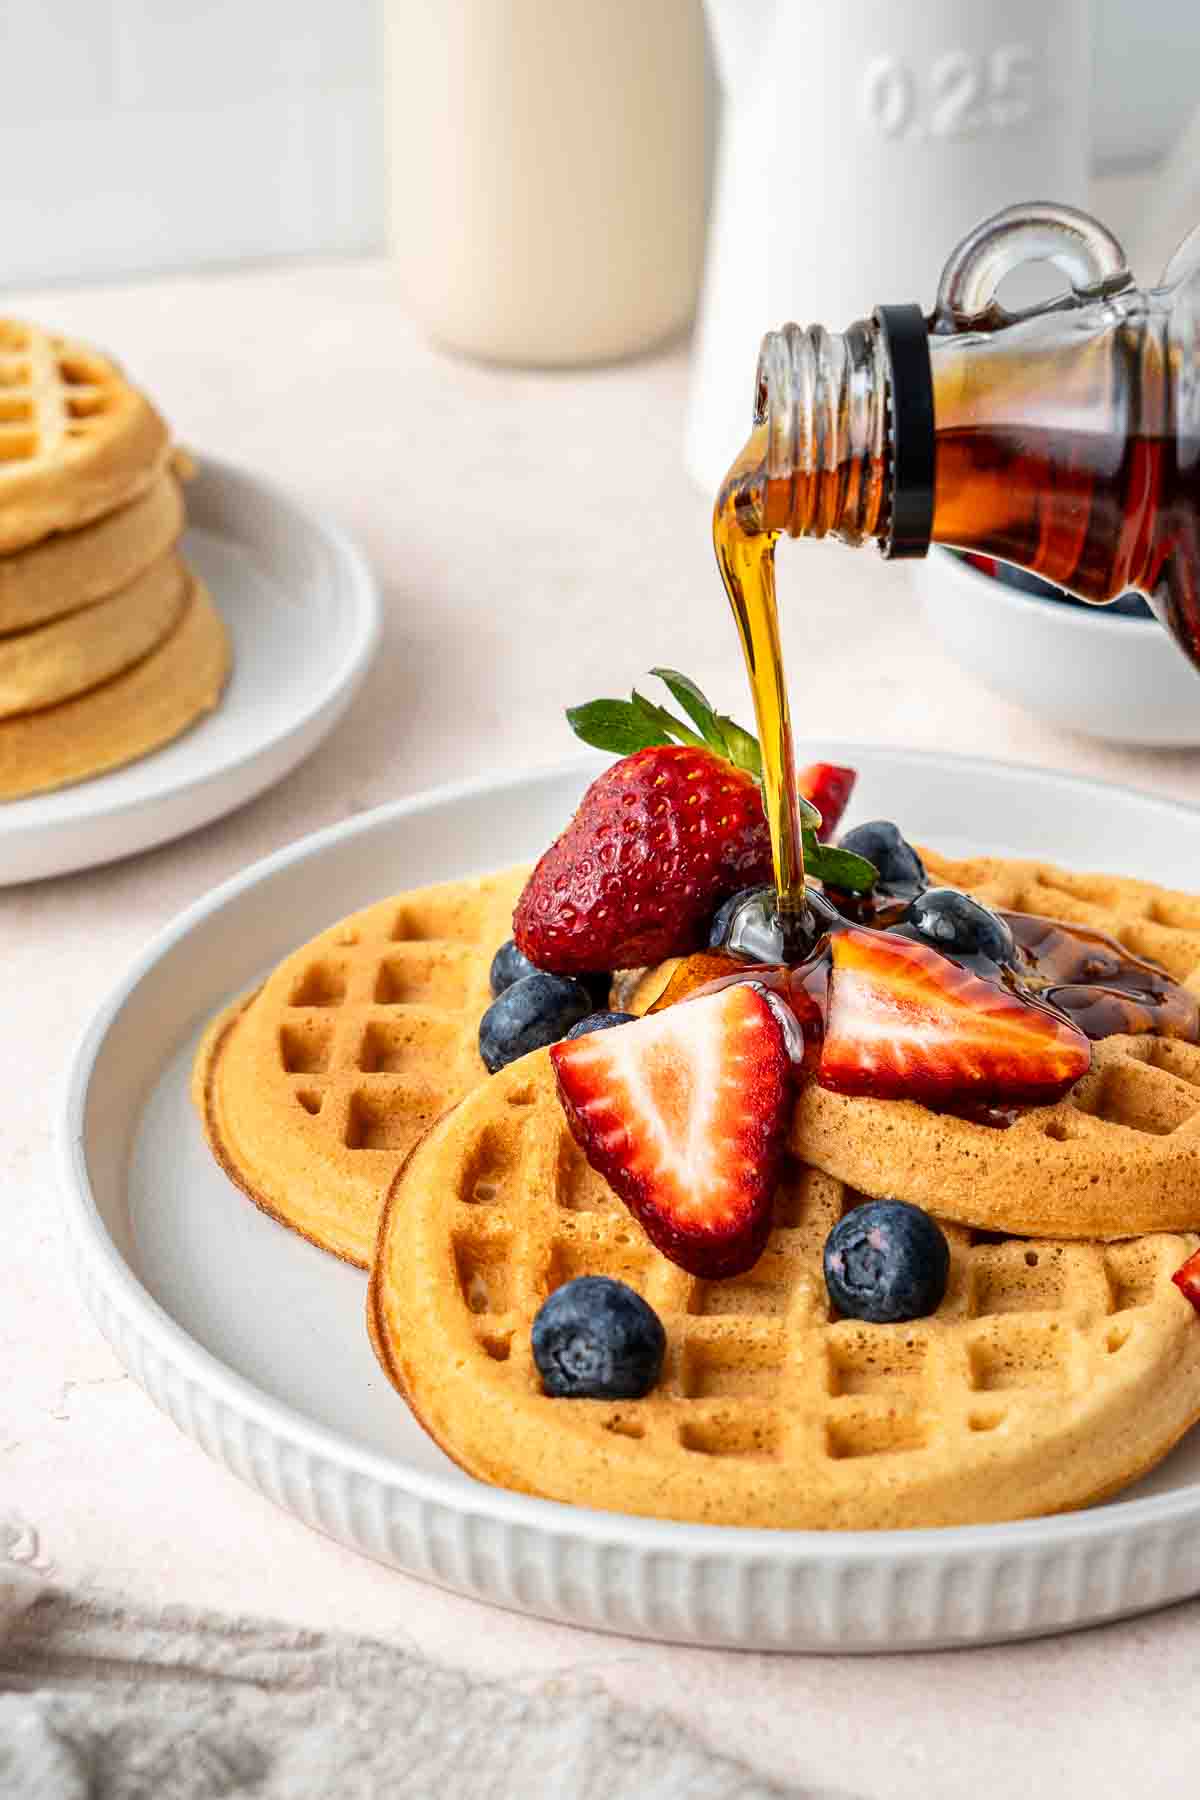
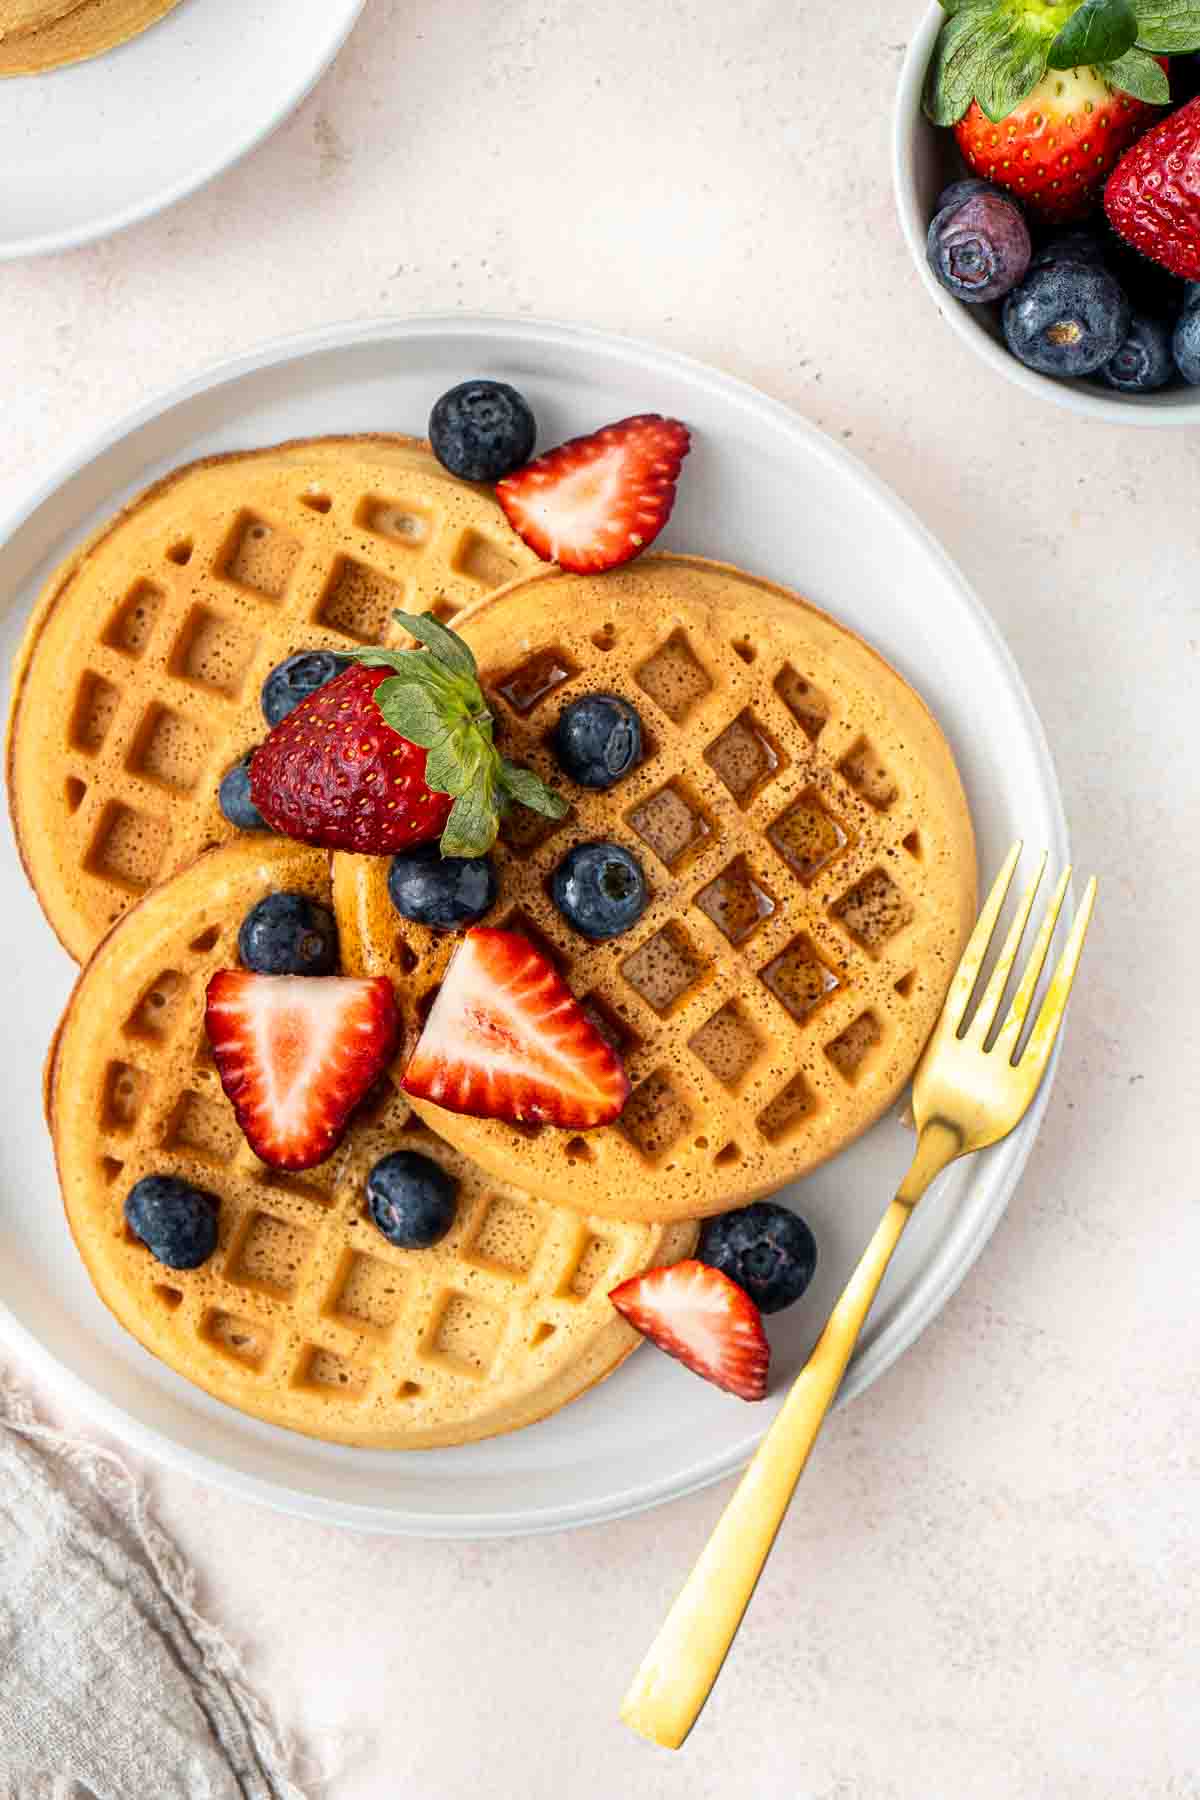
Serve the waffles immediately while warm and crispy with fresh fruit and maple syrup. You can also top them with a scoop of dairy free vanilla ice cream!
Freezing and storage instructions
Once the waffles have cooled completely, you can either freeze them or put them in the fridge for later. This is a great option if you have leftover waffles or are wanting to meal prep them in advance.
- Fridge: Place the cooled waffles in an airtight container or resealable plastic bag for up to 3 days.
- Freezer: Lay the cooled waffles in a single layer on a baking tray and place the tray in the freezer for about 1-2 hours, or until the waffles are frozen solid. This prevents the waffles from sticking together. Alternatively, you can layer the waffles between sheets of baking paper. Once frozen, transfer the waffles to a resealable plastic bag or airtight container and store in the freezer for up to 3 months.
- Reheating: Add the waffles straight from the fridge or freezer to the toaster until they are hot and crispy. You can also pop them in the air fryer for a couple of minutes with the same result!
Recipe FAQs
Any extra waffles that have been stored in the fridge or freezer are best reheated in the toaster. This ensures that they warm through but also makes the outside extra crispy, which is so delicious. I often just enjoy a toasted waffle plain without topping!
The waffles are done when they are golden brown and crisp. Most waffle irons have an indicator light that shows when the waffles are ready. If not, cook for about 3-5 minutes and check for doneness.
While I haven’t tested it myself, you can try substituting the egg with a flax egg (1 tablespoon ground flaxseed mixed with 3 tablespoons water) or a commercial egg replacer.
More dairy free breakfast recipes:
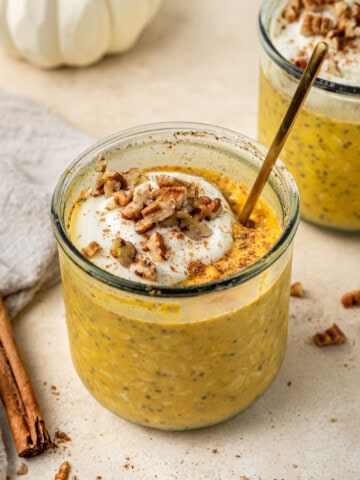
Vanilla Overnight Oats
Vegan Chocolate Pancakes
Smashed Avocado on Toast
The BEST Vegan Banana Bread

Dairy Free Waffles
Equipment
Ingredients
- 1 cup dairy free milk
- 2 tablespoons white vinegar
- 1 cup plain flour
- ¼ cup corn flour
- 2 teaspoons white sugar
- ½ teaspoon baking powder
- ¼ teaspoon bicarbonate of soda
- ¼ teaspoon salt
- 1 egg
- ¼ teaspoon vanilla extract
- 1 tablespoon canola or vegetable oil
Instructions
- In a small bowl, combine the dairy free milk and white vinegar. Stir well and let it sit for about 5 minutes. This will create a dairy free buttermilk substitute.
- In a large bowl, whisk together the plain flour, corn flour, white sugar, baking powder, bicarbonate of soda, and salt until well combined.
- Make a well in the centre of the dry ingredients and crack in the egg. Add the vanilla extract, canola or vegetable oil, and the buttermilk substitute. Use a whisk to gently mix the wet ingredients into the dry until a batter forms.
- Preheat your waffle iron according to the manufacturer’s instructions. Once the waffle iron is hot, lightly grease it with a little oil or non-stick spray.
- Pour the batter into the waffle iron, using enough to just cover the waffle grid (the amount will vary depending on the size of your waffle iron. For my mini waffle maker it’s ¼ cup per waffle).
- Close the waffle iron and cook according to the manufacturer’s instructions, usually for about 3-5 minutes, until the waffles are golden brown and crisp. Carefully remove the waffles from the iron and repeat until all the batter has been used.
- Serve the waffles immediately while warm and crispy with fresh fruit and maple syrup.
Notes
Nutrition
Nutritional information is provided as a guide only and is calculated using automated online tools, therefore we cannot guarantee the accuracy. We encourage you to make your own calculations based on the actual ingredients used in your recipe.


Made this recipe? Leave a review!