
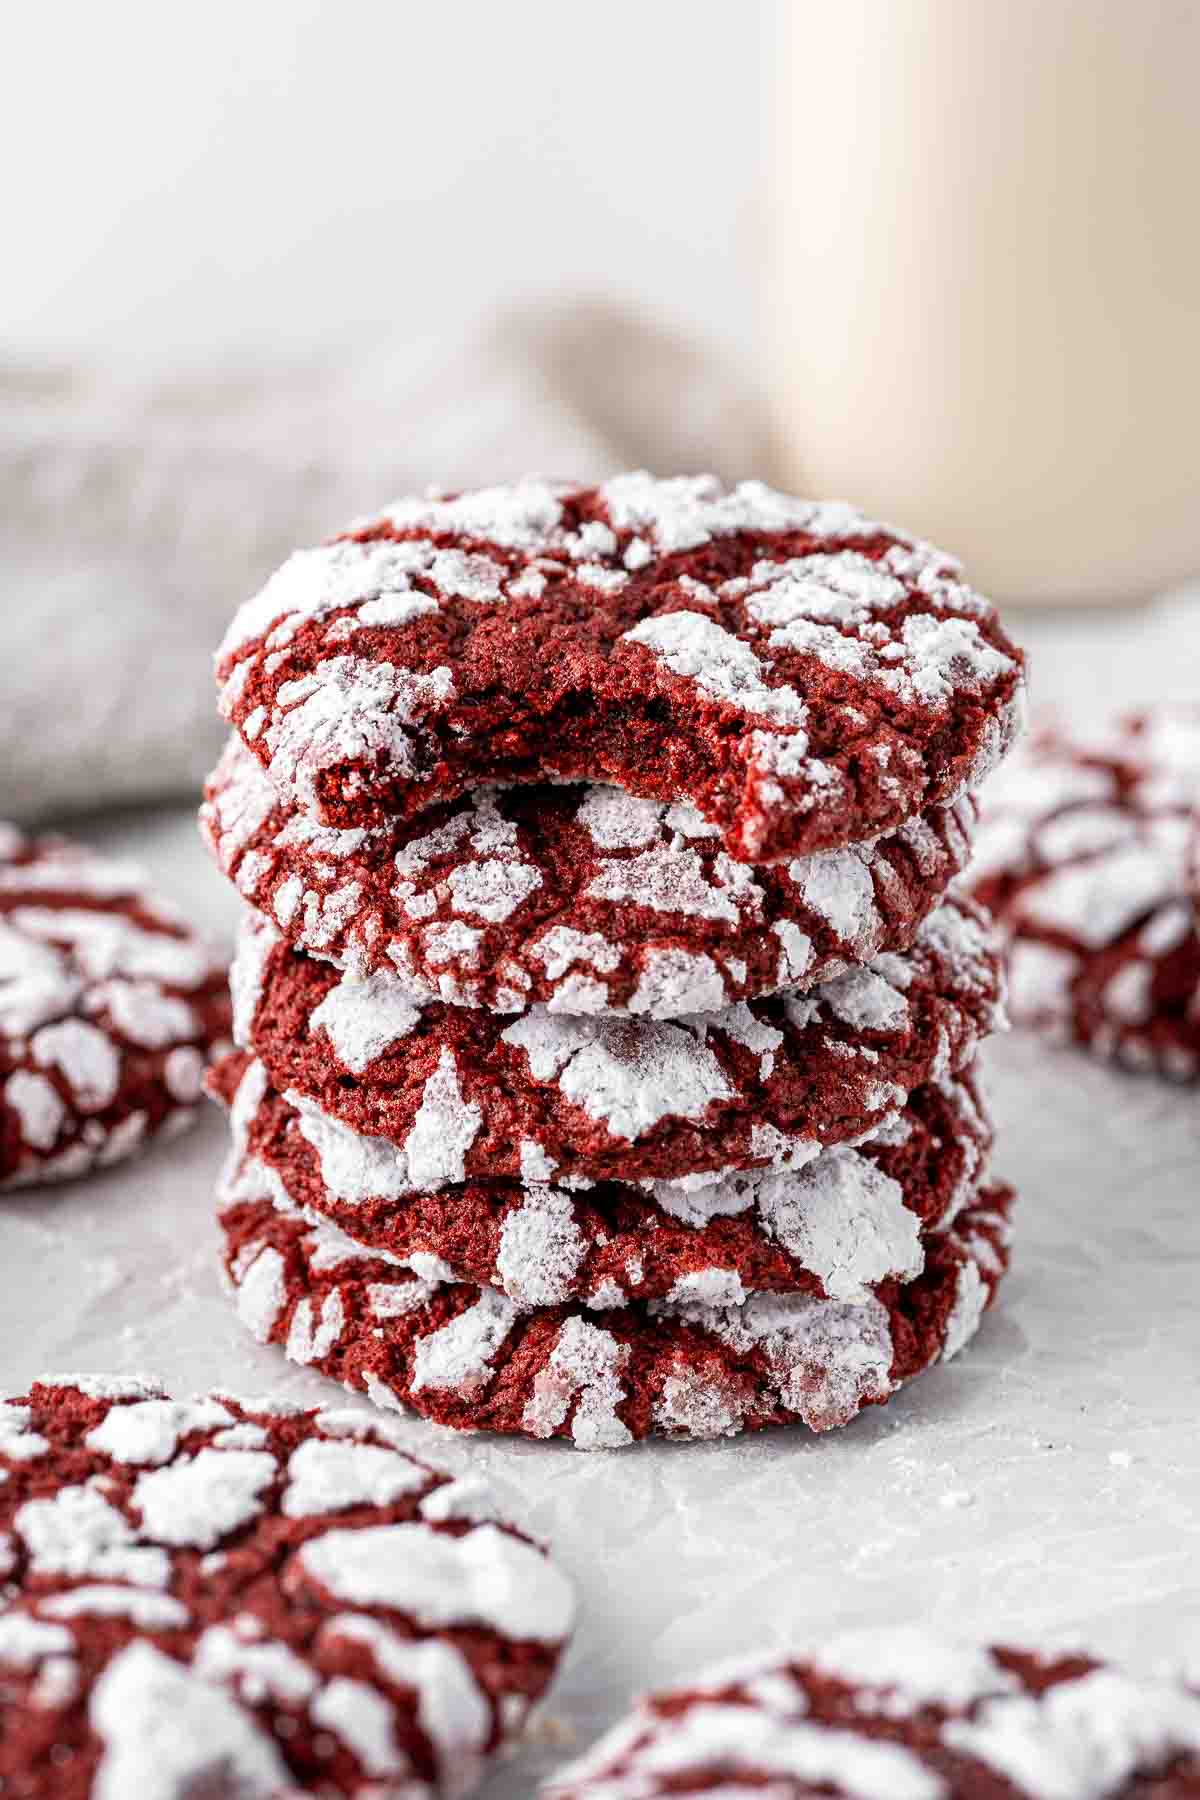
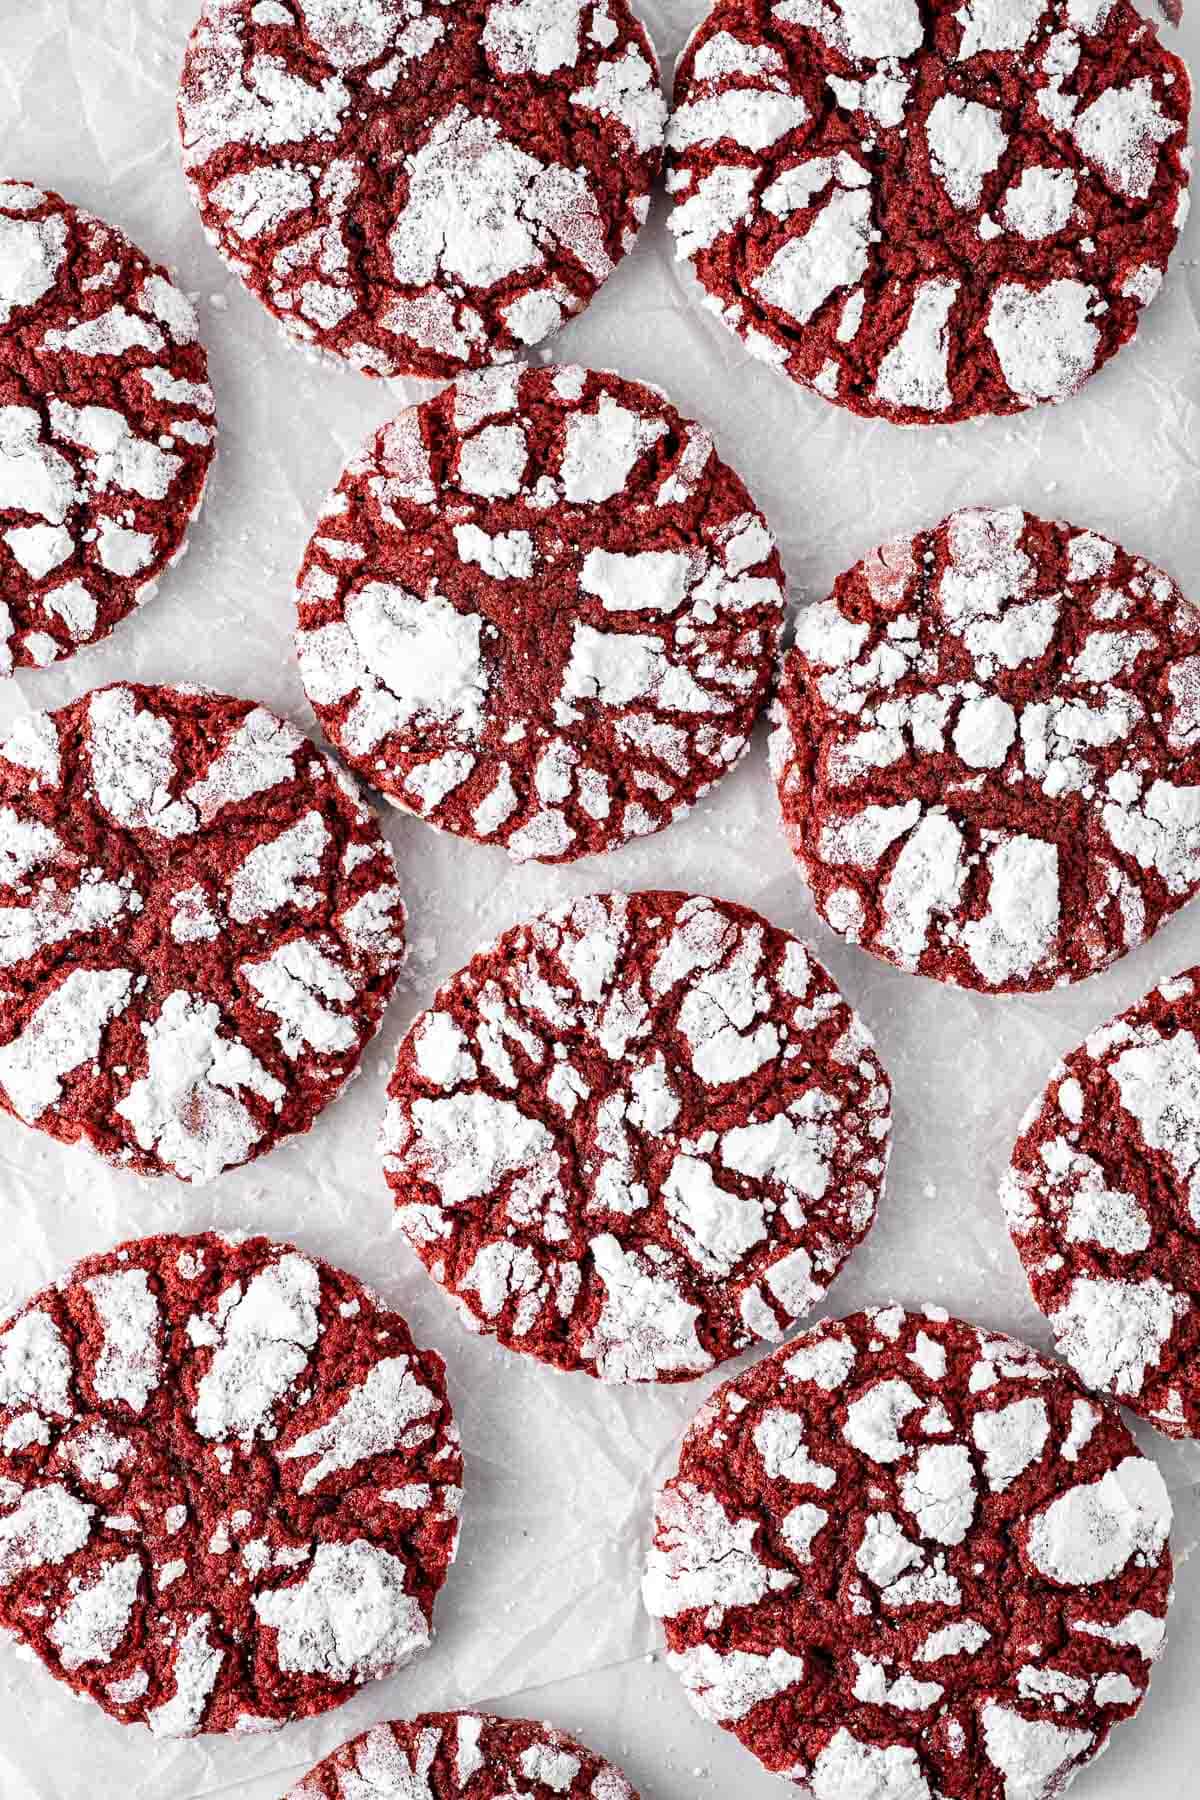
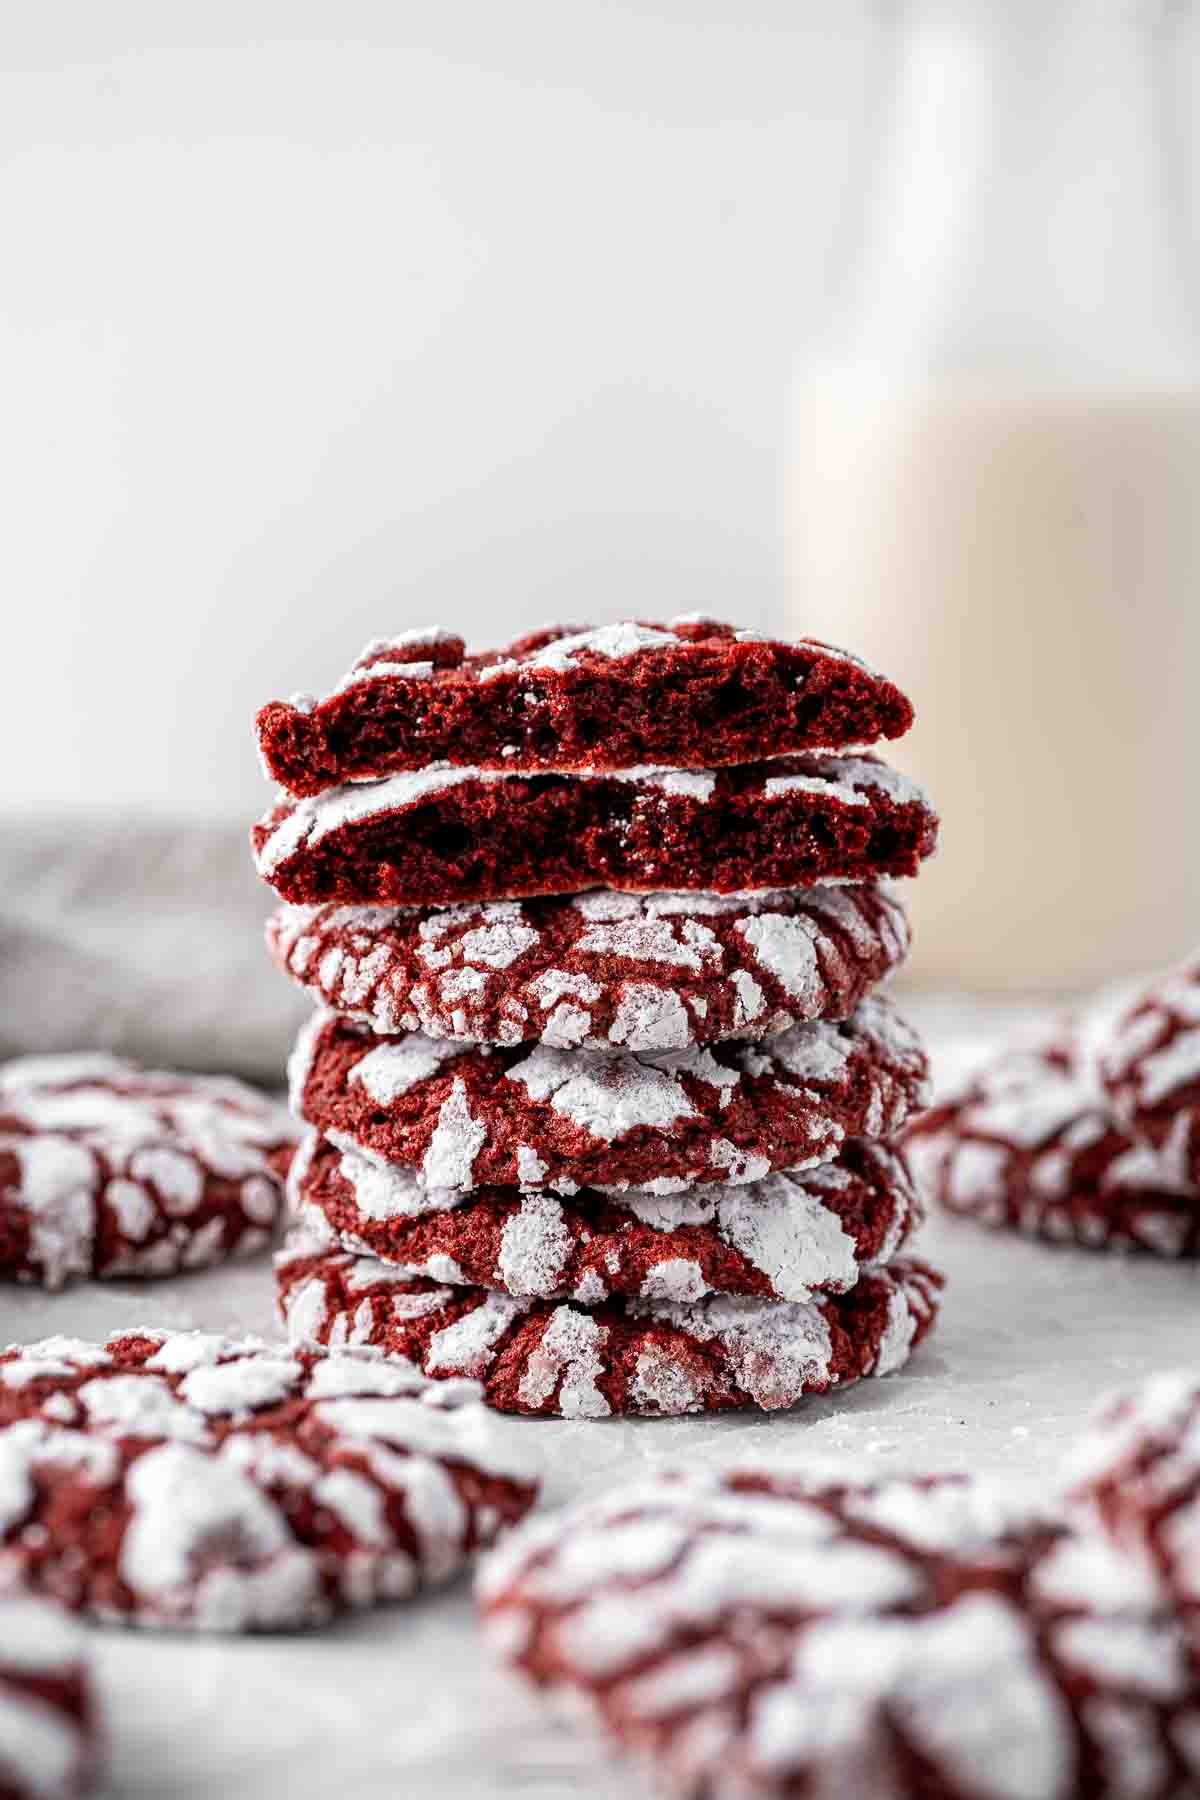
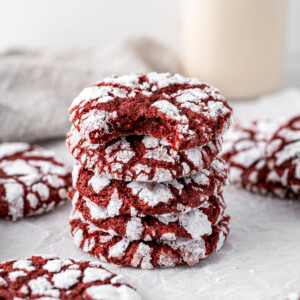
Festive and fun red velvet crinkle cookies are perfect for Christmas baking. With a snowy coating of icing sugar, a perfectly crinkled top and the combination of chocolate with an undertone of vanilla, these pretty holiday cookies will be sure to be a crowd favourite.
Don’t get me wrong, I love a chocolate crinkle cookie, but I love red velvet crinkle cookies more.
Crinkle cookies always seem to make an appearance come December and I am here for it. They are so pretty and decedent being categorised by the snowy coating of icing sugar on the outside, the crackled top, and a soft, fudgy cookie texture.
Red velvet is the perfect Christmas flavour, I mean red desserts definitely deserve a place centre stage over the holidays. If you are looking for more red velvet desserts, why not try this red velvet cake or these vegan red velvet cupcakes.
And before you ask, isn’t red velvet just chocolate dyed red, the answer is no. The flavour of red velvet is the perfect combination of BOTH vanilla and chocolate. It is not one or the other, it is both working together.
Key Ingredients
Crinkle cookies are so simple to make, using a few pantry staple ingredients.
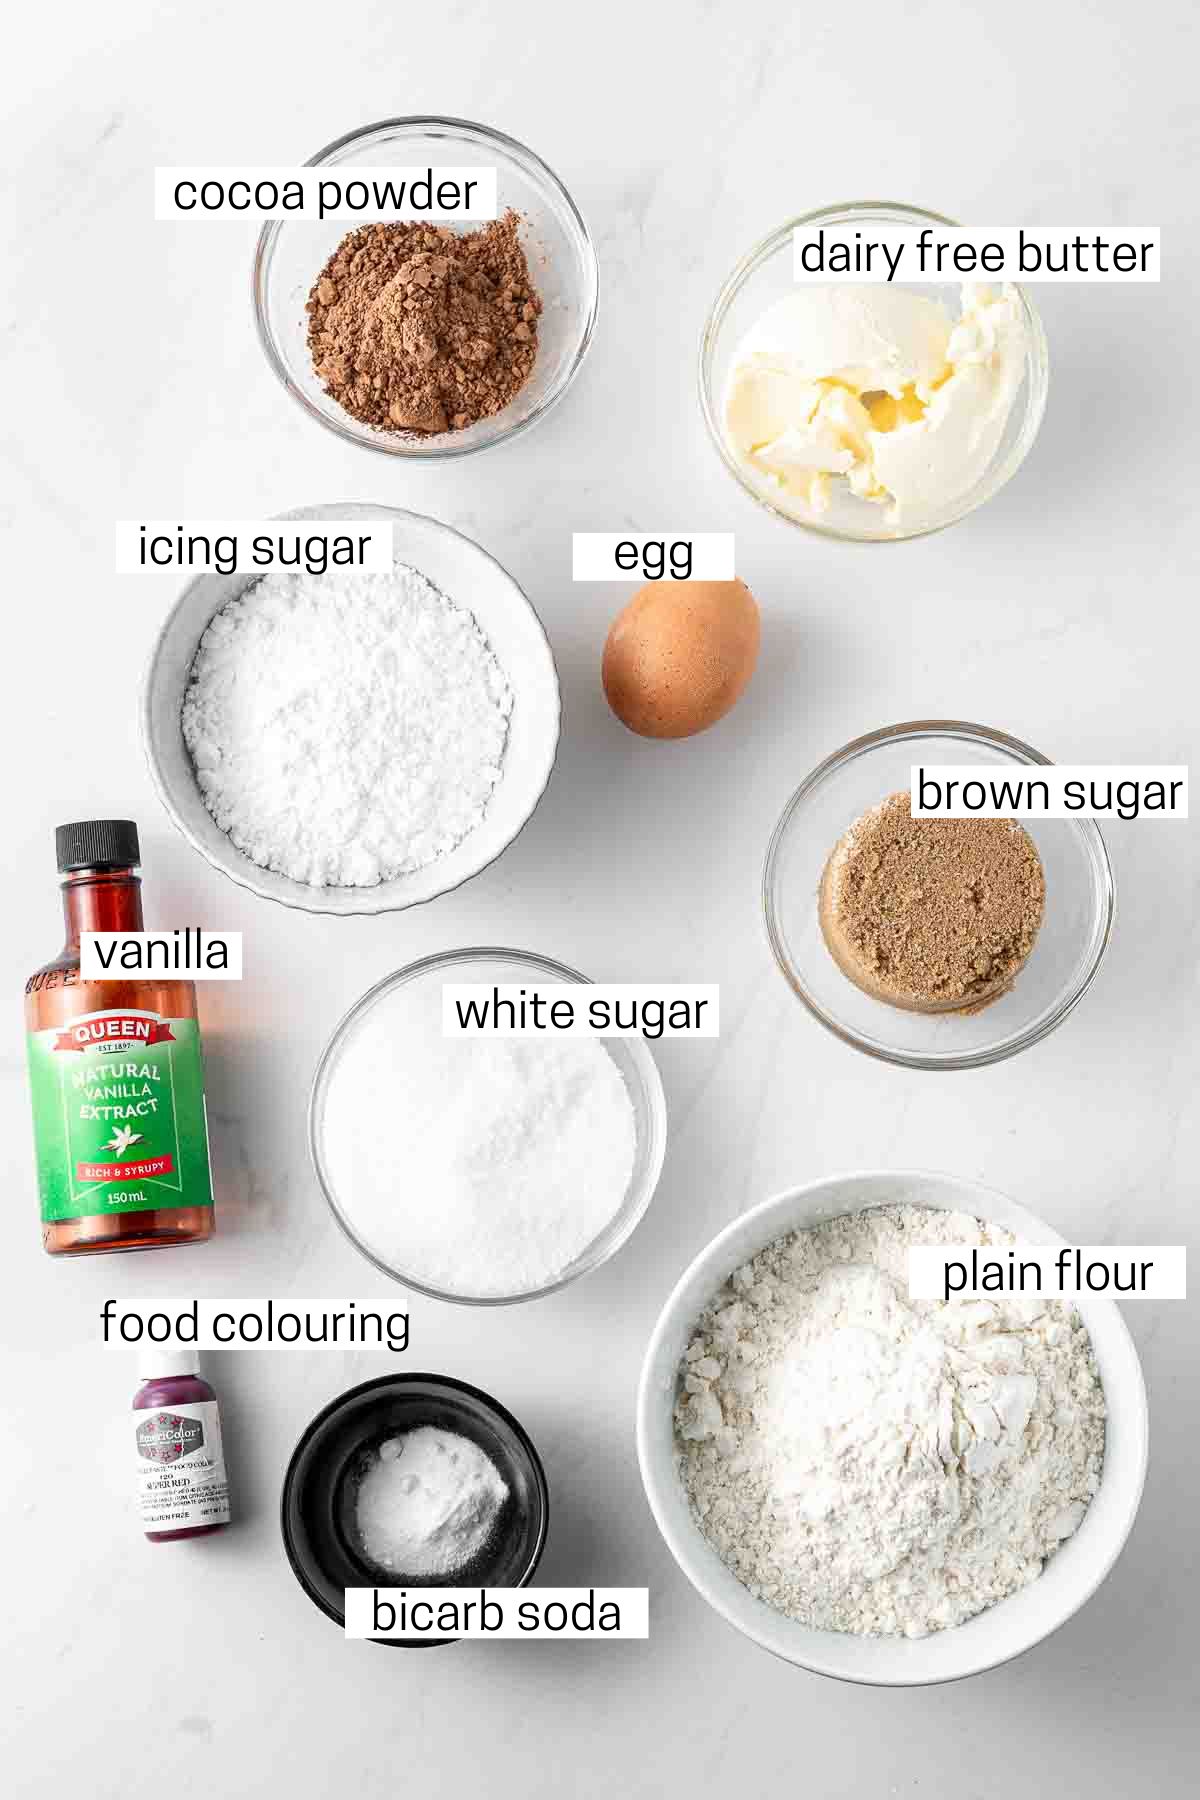
Note all ingredients and their quantities are laid out in the recipe card at the bottom of this post.
- Dairy-free butter – I use Nuttelex Buttery in replace of butter in most of my recipes as it is the best replacement I have found for flavour and texture, however any dairy-free spread will work. In the US I believe the best alternative is Earth Balance.
- Brown sugar – adds a rich caramel flavour to the cookies and helps give the cookies that soft and chewy centre.
- White sugar – in addition to the brown sugar, white sugar helps ensure the cookies do spread slightly while baking and gives them that crispy edge.
- Egg – binds the cookie together so it holds its shape and helps give that soft and chewy texture.
- Vanilla extract – once of the key flavour additions to this recipe. Make sure to use pure vanilla extract not imitation vanilla for the best flavour.
- Plain flour – also known as all purpose flour in the US.
- Cocoa powder – just a small amount of cocoa powder gives these cookies that chocolate undertone without overpowering the vanilla flavour.
- Bicarbonate of soda – known as baking soda in the US, helps out cookies puff up and spread while baking creating that crinkle pattern.
- Red food colouring – now this is completely optional as it doesn’t impact the flavour but part of the fun of red velvet is the unnatural vibrant red colour. For this I always use Americolor food gels as they give incredible colours and the gel ensures that the texture of your food won’t change.
- White sugar and icing sugar – you’ll need some extra white sugar plus the icing sugar for coating as you’ll roll the dough balls in each to ensure a crisp white coating for maximum crinkle effect.
How to make red velvet crinkle cookies
I am such a fan of simple cookie recipes. It is so hot in Australia throughout December, so really the last place you really want to be is in front of the oven. But with the air conditioner turned up, you can whip up a batch of these cookies in about 30 minutes. And trust me, it’s totally worth it.
To make this recipe, you’ll need some mixing bowls, baking trays, a spatula and a cookie scoop and an electric handheld or stand mixer.
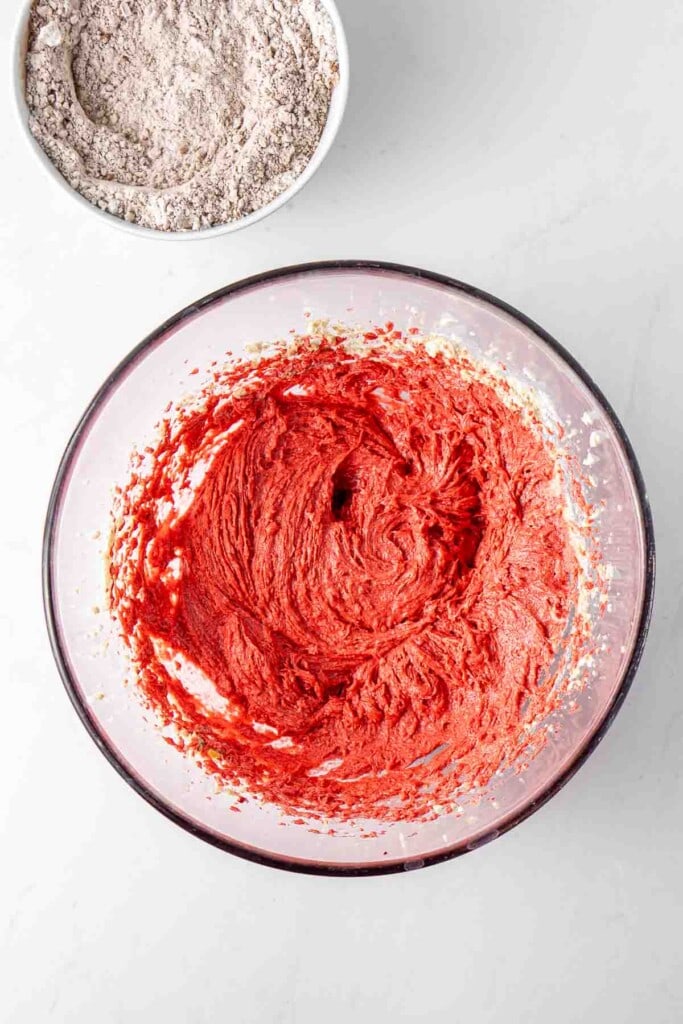
You start by mixing together your dairy-free butter and sugars until creamy, and then add in the egg and vanilla. This is also where you can tint the batter a bright shade of red, remembering that when you add the dry ingredients, the cocoa powder will dull down the colour.
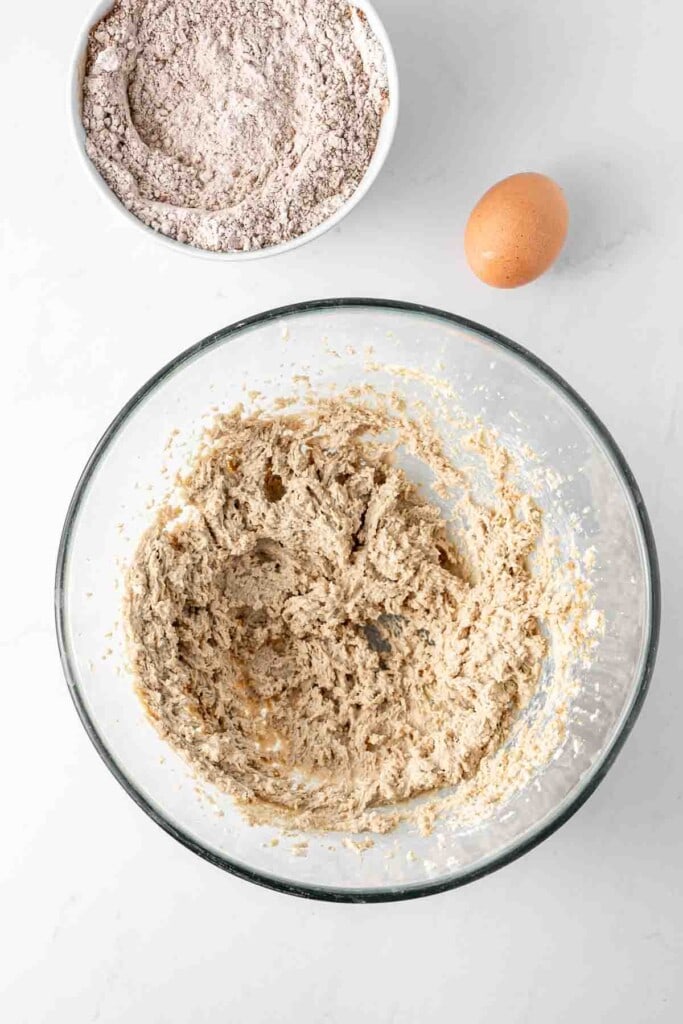

Add in your sifted dry ingredients and mix everything together until a soft dough forms.
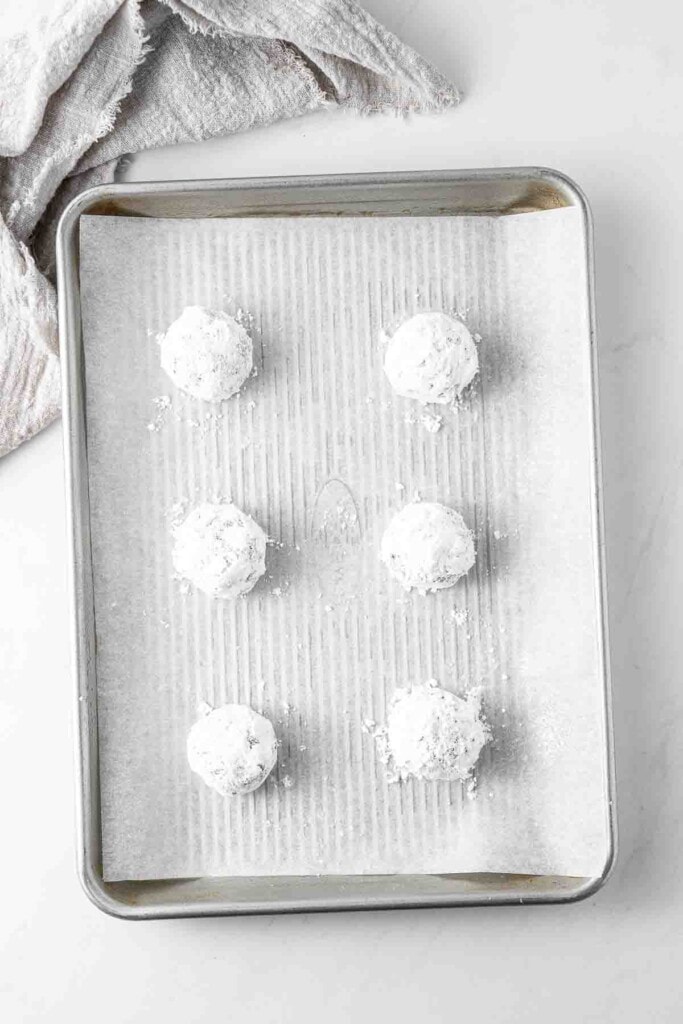
From here, depending on how warm it is, you can chill your dough in the fridge for 30 minutes if it’s too sticky, otherwise roll tablespoons of dough into balls and coat first in white sugar, then in icing sugar to get that iconic snowy exterior.
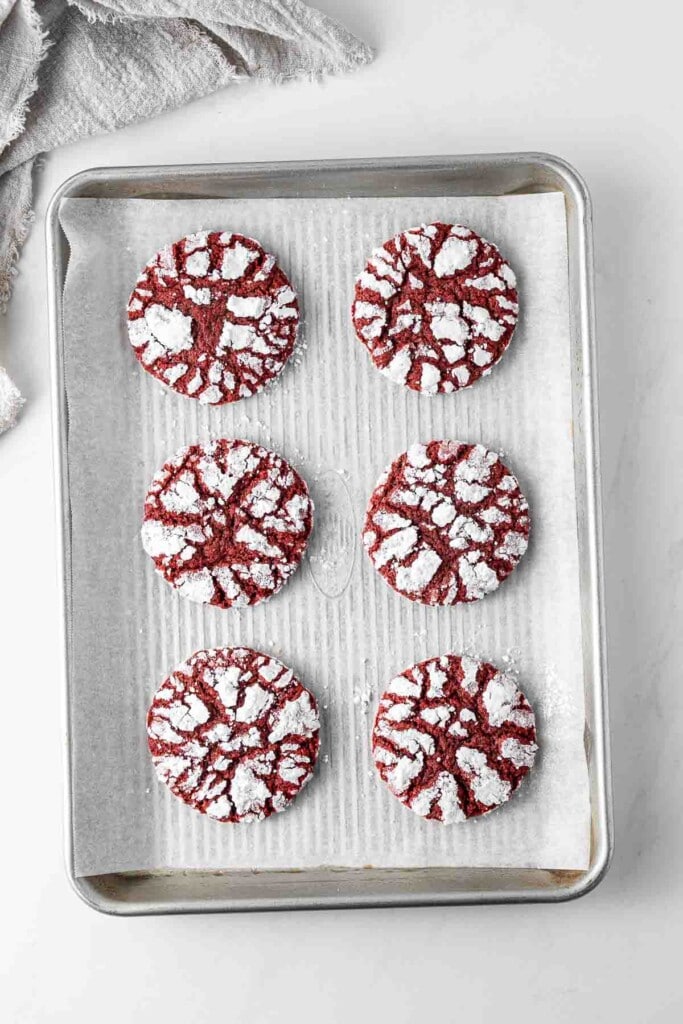
Place your balls of snowy covered cookie dough onto a tray and bake for 10-12 minutes, depending on your definition of a perfect cookie.
Mine is slightly underbaked, with a little crunch on the edge, but a soft middle. 10 minutes is perfect for that. Remember your cookies will firm up as they cool, so if they still seem soft when you pull them out of the oven, that is totally ok!
Tips for perfect red velvet crinkle cookies
- Use a combination of brown and white sugar for the perfect chewy centre and crispy edges.
- Roll the balls of cookie dough first in white sugar before the icing sugar. This little tip will make sure the icing sugar doesn’t soak into the cookie as it bakes, leaving you with a perfectly white powdery coating.
- No need to chill the cookie dough. These cookies are meant to spread so bake them up right away, or if you are making the dough ahead of time, let it come back to room temperature before rolling out your cookies. If like me you live in a VERY hot climate, room temperature may be still a little too hot however, so in that case you can chill the dough for 30 minutes first if you do find the dough too sticky to handle.
- Use gel food colouring like Americolour for the best results. With gel colouring, a little goes a long way and the Americolour gels have a rich and vibrant colour so you will use much less than a liquid colouring, plus the gel won’t alter the texture of the dough.
If you do make this recipe, please be sure to leave a comment and ⭐⭐⭐⭐⭐ rating below! And tag any of your creations on Instagram with @eightforestlane as I would love to see.
More holiday cookie recipes:
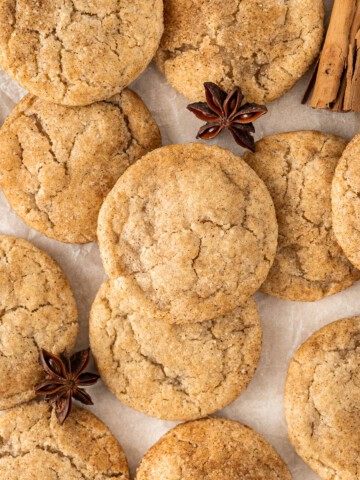
Snickerdoodle Cookies
Classic Ginger Snap Biscuits
Snowflake Sugar Cookies
Raspberry Thumbprint Cookies
Red Velvet Crinkle Cookies
Ingredients
- ½ cup (125 grams) dairy-free butter
- ½ cup brown sugar
- ½ cup white sugar/granulated sugar
- 2 teaspoons vanilla extract
- 1 egg room temperature
- red food colouring
- 1 ½ cups plain flour/all purpose flour
- 2 tablespoons cocoa powder
- 1 teaspoon bicarbonate of soda/baking soda
For rolling
- ½ cup white sugar/granulated sugar
- ½ cup icing sugar
Instructions
- Preheat oven to 180°C and line 2 large baking trays with baking paper.
- In a large bowl, beat dairy-free butter, brown and white sugar until creamy with an electric hand mixer or a stand mixer with the paddle attachment fitted. Add in the egg and vanilla and continue to beat until light and fluffy. Beat in desired amount of red food colouring to give the mixture a bright red colour.
- In a separate bowl, sift flour, cocoa powder and bicarb together and stir to combine. Add the dry ingredients to the wet, and mix until a dough forms.
- Using a tablespoon or a cookie scoop, roll balls of dough before first rolling the dough ball in a small bowl of white sugar to coat, and then into a bowl of icing sugar, until the outside of the ball is coated.
- Place the balls of dough evenly apart on the baking tray, ensuring there is enough space for the cookie to spread. Bake for 10-12 minutes. The cookies will still be soft when removed from the oven, so let them cool on the tray for 10 minutes before transferring to a wire rack to cool completely.
- These cookies are best eaten on the day of baking, but can be stored in an airtight container in a cool, dry place for up to three days if required.
Notes
Nutrition
Nutritional information is provided as a guide only and is calculated using automated online tools, therefore we cannot guarantee the accuracy. We encourage you to make your own calculations based on the actual ingredients used in your recipe.


Andrea says
I make chocolate crinkle/snow cookies often, but have never thought to try red velvet! Can’t wait to try these with my kids.
Sally says
Hope you enjoy making them Andrea!
Robyn says
These look so fun and festive! I cannot wait to try them!
Sally says
Thanks Robyn!
Sylvie says
These cookies remind me so much of my time in the US! They are perfect for Christmas (though I will probably eat a couple of batches before that 😉 )
Sally says
Haha very guilty of that myself!