

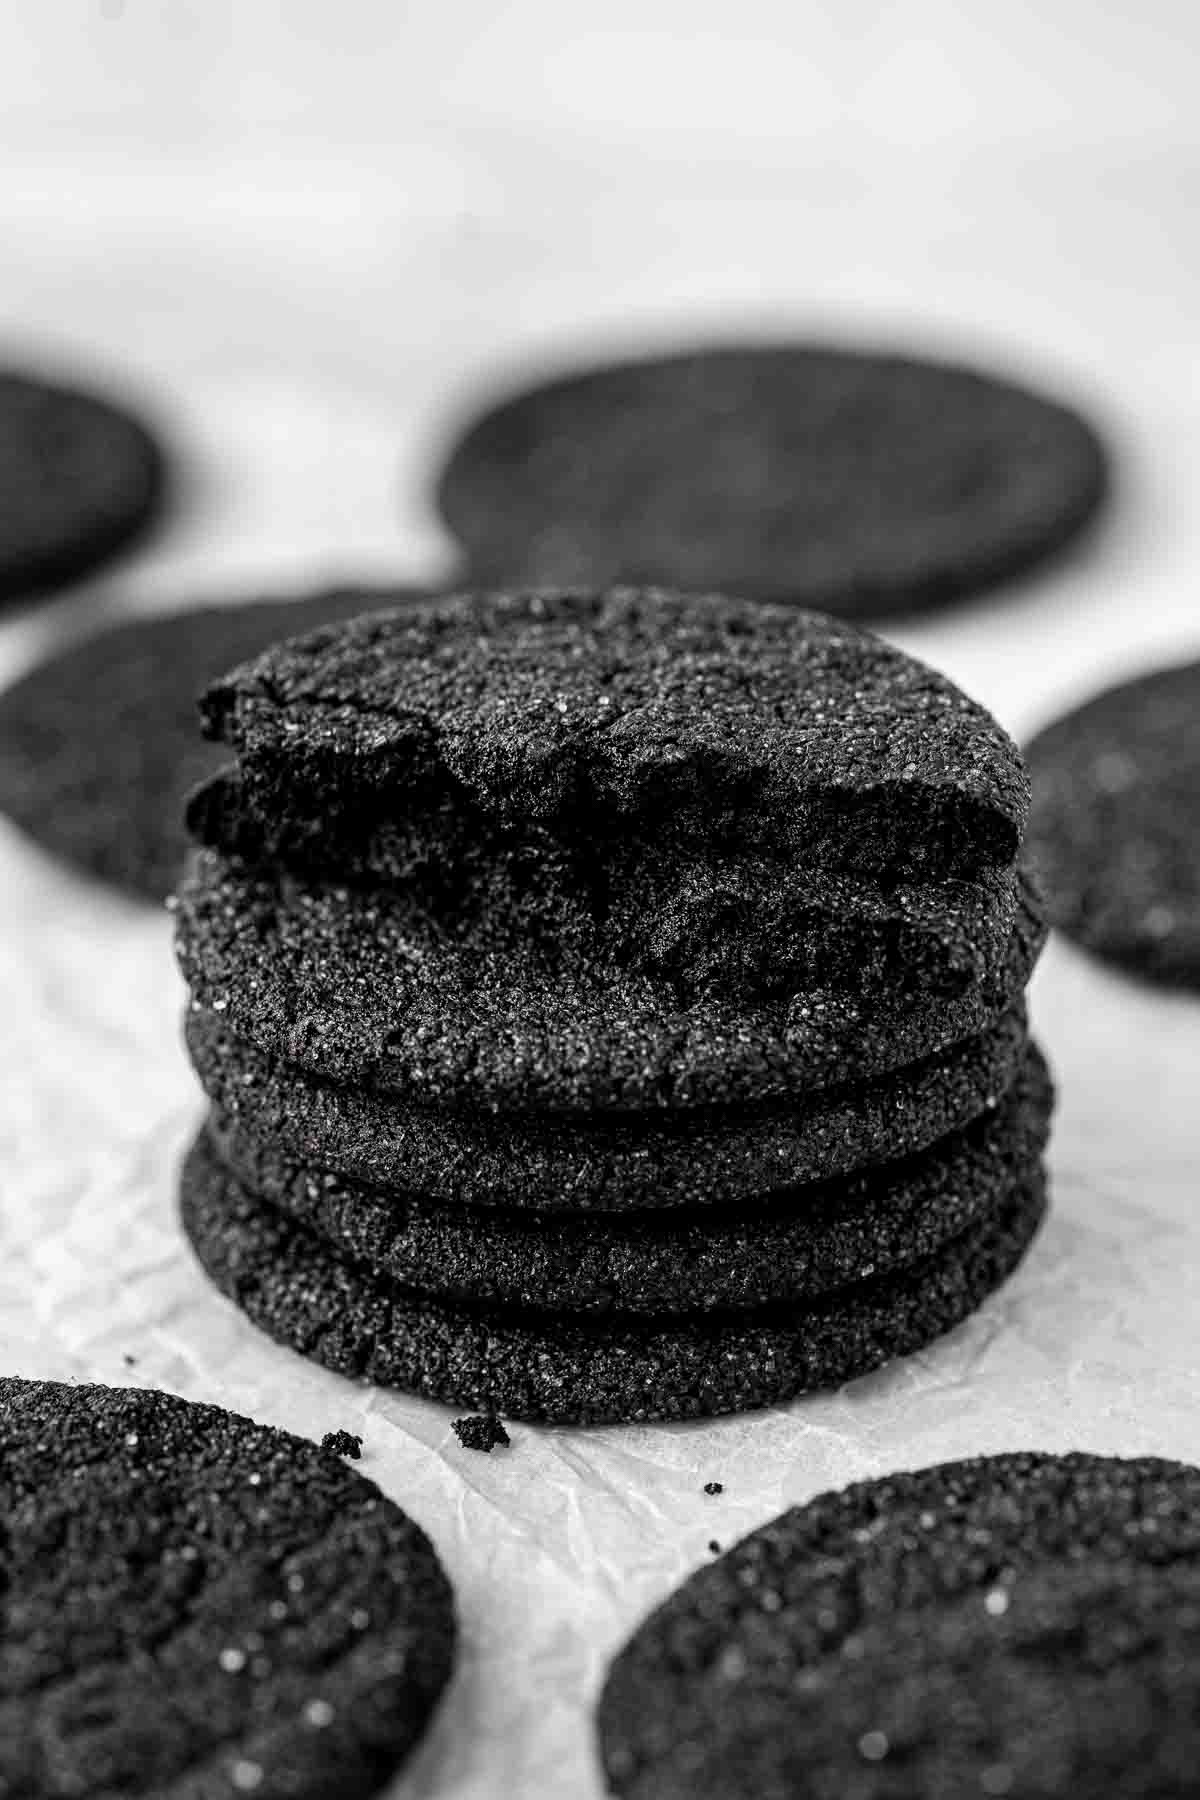
These black cocoa cookies are soft and chewy and have a rich, chocolatey flavour similar to an Oreo, plus they are naturally coloured using black cocoa powder. These are a super simple dairy free cookie recipe and can be made in under 30 minutes with no chilling of the dough required!
If you love these cookies, make sure to also try my dairy free sugar cookies which are the same but vanilla flavoured.
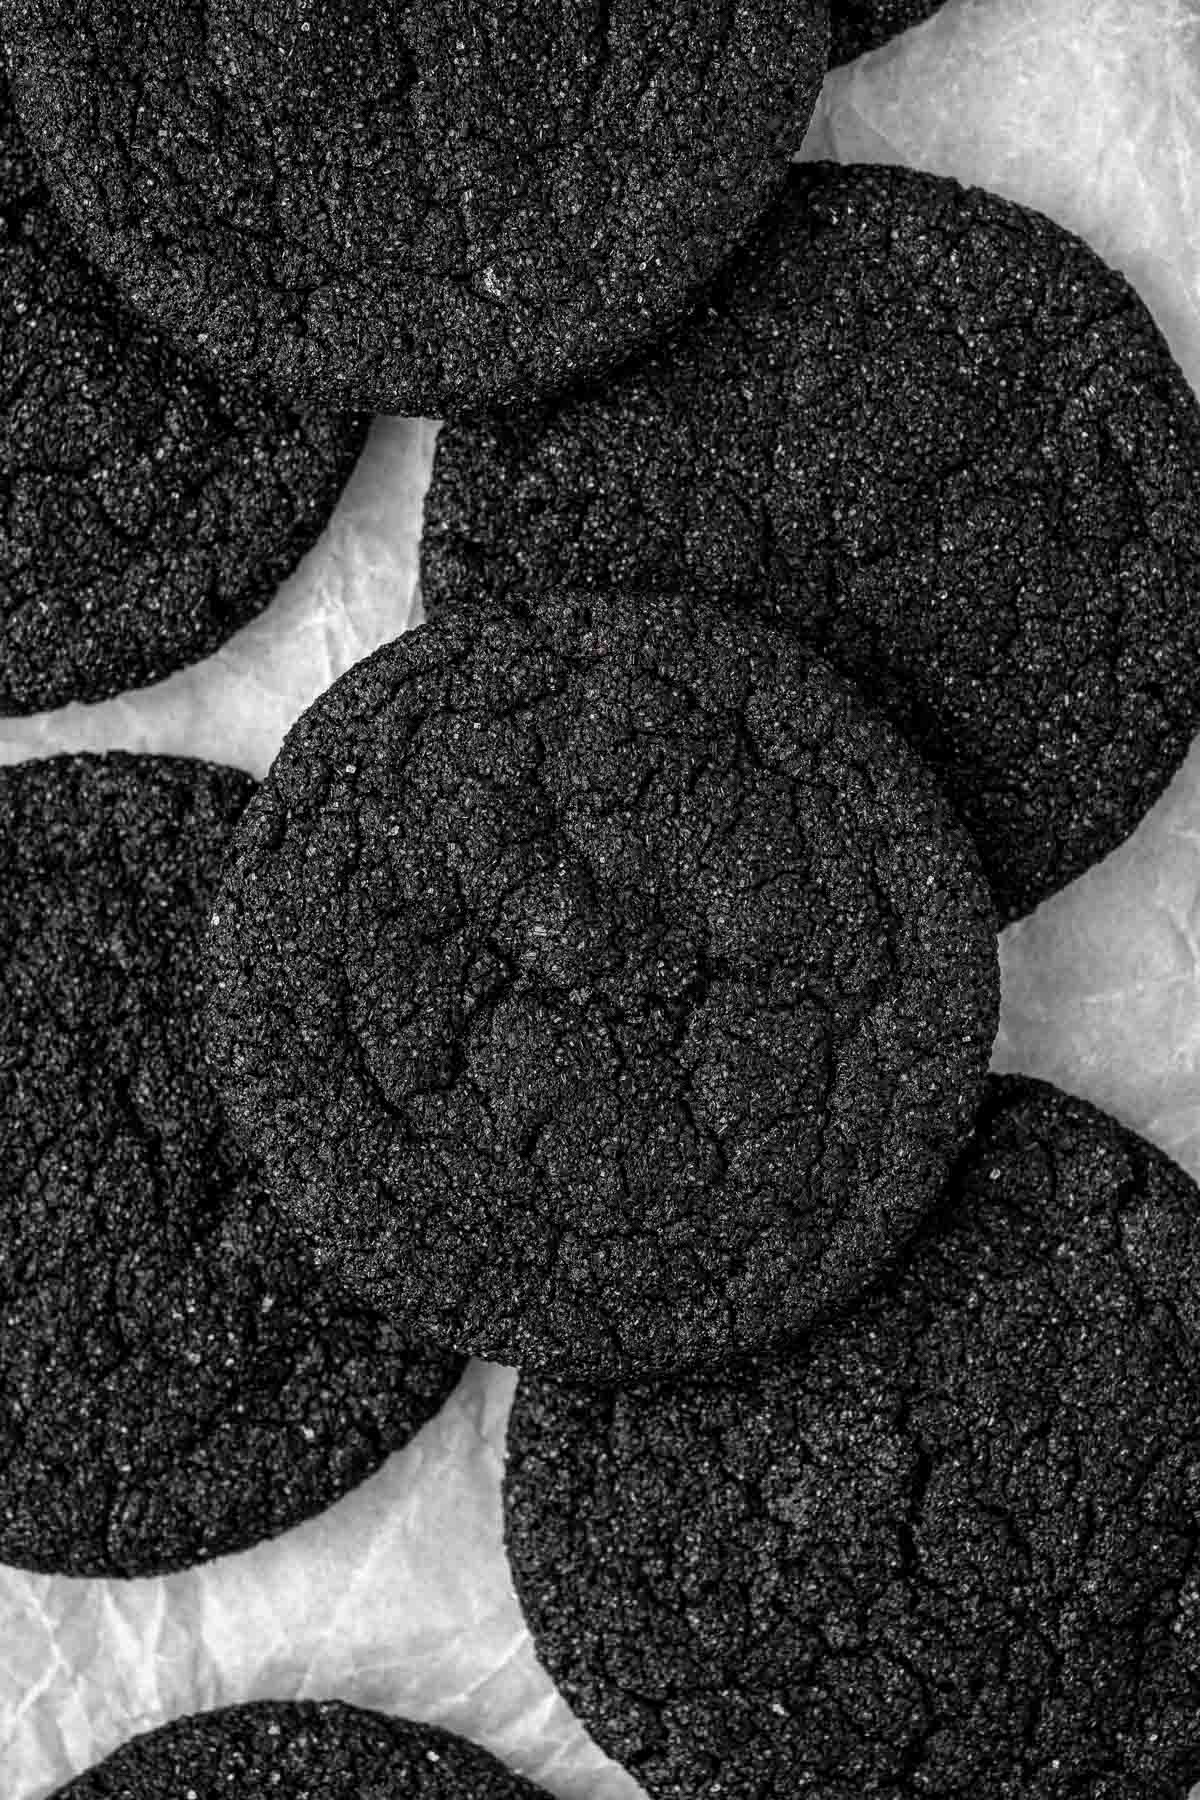
I have to warn you, this October please be ready for my obsession with black cocoa powder (have you seen my black velvet cupcakes?). I don’t know why it’s taken me so long to start using it, but I am making up for lost time.
Black cocoa powder is richer in flavour than regular cocoa powder. It has a more earthy flavour and tastes very similar to an Oreo. Plus you get the prettiest, deep black colour without any artificial or gel colours added. That’s right, this is black food that is not going to stain your teeth!
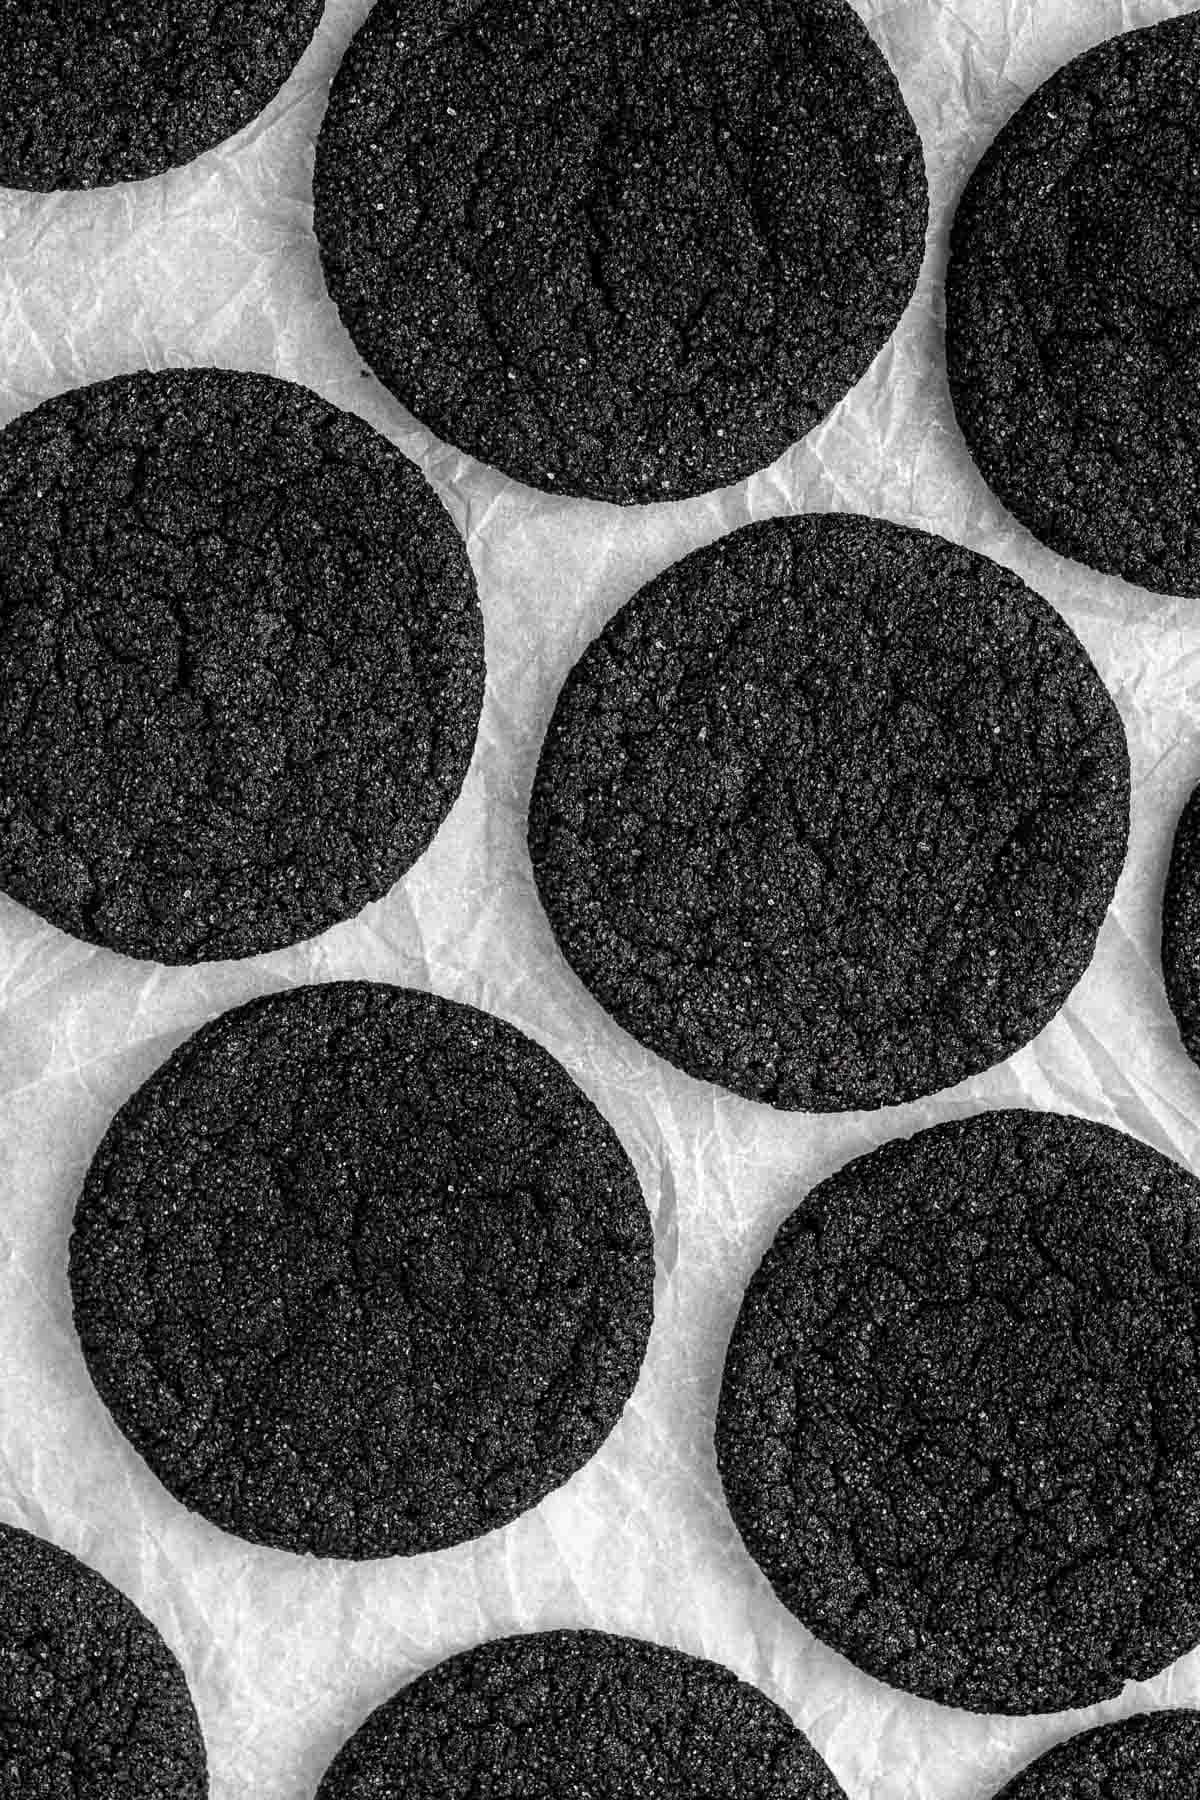
When I share them I always get funny looks as people are unsure about just how black they are! The added sugar on the outside before baking also gives them a sparkle that I like to think of as stars in the night sky. Seriously, they are so pretty!
Black cocoa cookies are perfect for Halloween! Serve them up on your Halloween table, or just enjoy them as yummy treat when you want something a bit different! If you’re looking for black cocoa cut-out sugar cookies, then use this recipe for black cocoa ghost cookies instead.
What is black cocoa powder?
There are two types of cocoa powder you may be familiar with if you tend to do a lot of baking – dutch processed and natural. In Australia, the cocoa powder that you can buy at the supermarket (and what I use in all my chocolate recipes on the site) is dutch processed.
Dutch processed cocoa powder is treated with an alkaline substance to neutralise its natural acidity. This process gives it a smoother and milder taste. Natural cocoa powder on the other hand generally isn’t treated, retaining the cocoa beans natural acidity and creating a more bitter taste.
Black cocoa powder is a form of dutch processed cocoa powder where the alkalising process goes even further. It has a very smooth taste and is less ‘chocolatey’ in taste than regular cocoa powder with very little bitterness. Different brands may vary in colour from very dark brown to black.
Key Ingredients
The ingredients needed for these black cocoa sugar cookies are all fairly common pantry staples with the exception of the black cocoa powder which you may need to buy online from specialty cake shops.
In Australia, I bought mine online from a Gold Coast based business called Baking Pleasures but around the world it’s mostly available on Amazon.

Note all ingredients and their quantities are laid out in the recipe card at the bottom of this post.
- Dairy free butter – use a quality dairy-free butter substitute here for the best flavour. I love and always use Nuttelex Buttery which is an Australian product. In the US, the closest alternative is Earth Balance which I understand to be very similar.
- White sugar – they key ingredient for our sugar cookies! The sugar balances the rich flavour of the black cocoa powder which can be quite strong, and also helps the cookies spread.
- Egg – creates a soft and chewy texture.
- Vanilla extract – I always add vanilla to my chocolate flavoured baked goods to help enhance the flavours.
- Plain flour – also known as all purpose flour in the US.
- Black cocoa powder – the key to the flavour and colour of these cookies. You can use regular dutch processed cocoa powder instead but these will be more like regular chocolate cookies, without the key characteristics of the black cocoa powder.
- Baking powder – as black cocoa powder is heavily alkalised, we need baking powder in these cookies.
- Bicarbonate of soda – also known as baking soda in the US. This addition in combination with the baking powder, helps the cookies to puff up and then deflate to create that crinkly top.
Step-By-Step Instructions
If you like making cookies, I do recommend investing in some good quality baking trays. I just started using these NordicWare baking sheets (affiliate link) and they are insanely good quality – I wish I had upgraded sooner! I also recommend an electric mixer and a cookie scoop to make things even easier.
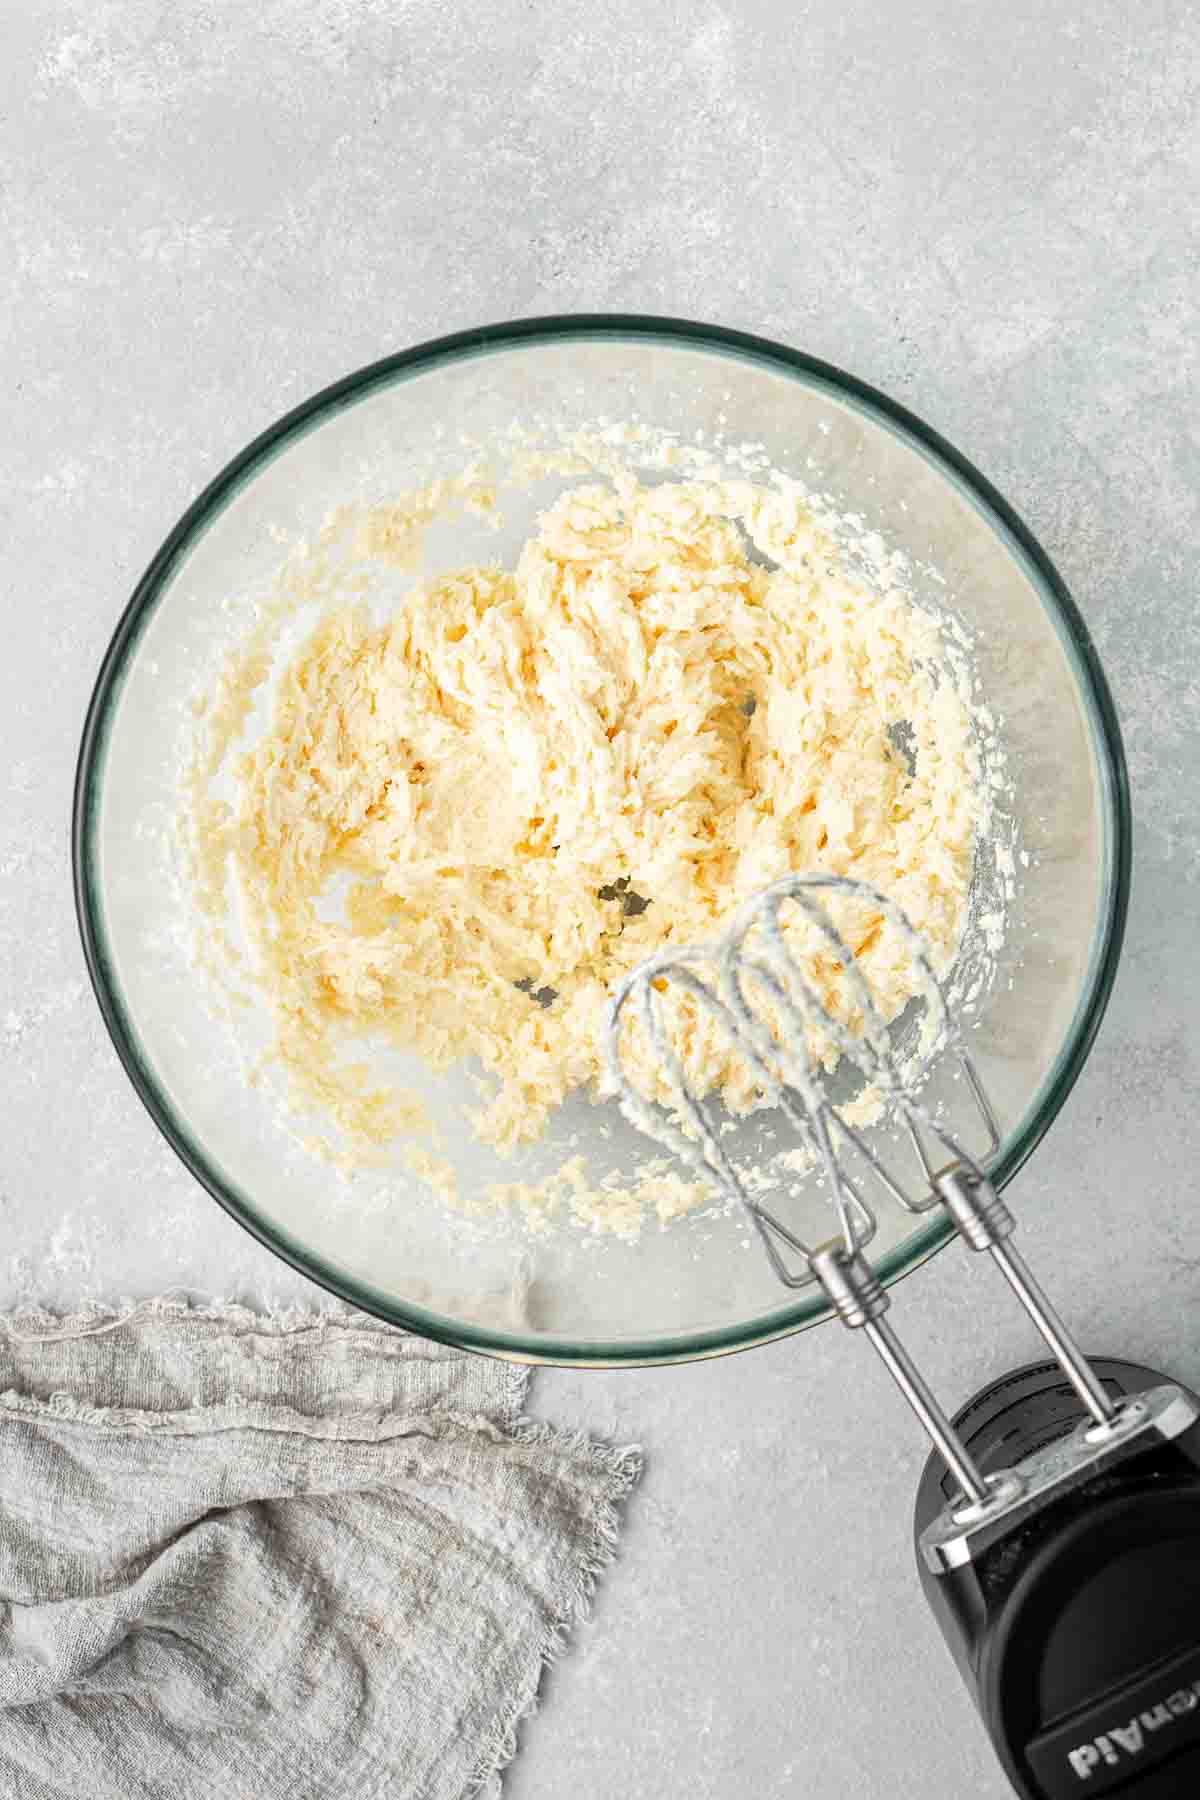
Step 1: Preheat the oven to 180°C/350°F and line two large baking trays with baking paper. Cream together the dairy free butter and white sugar in a large bowl with an electric mixer, then add the egg and vanilla and beat well until combined.
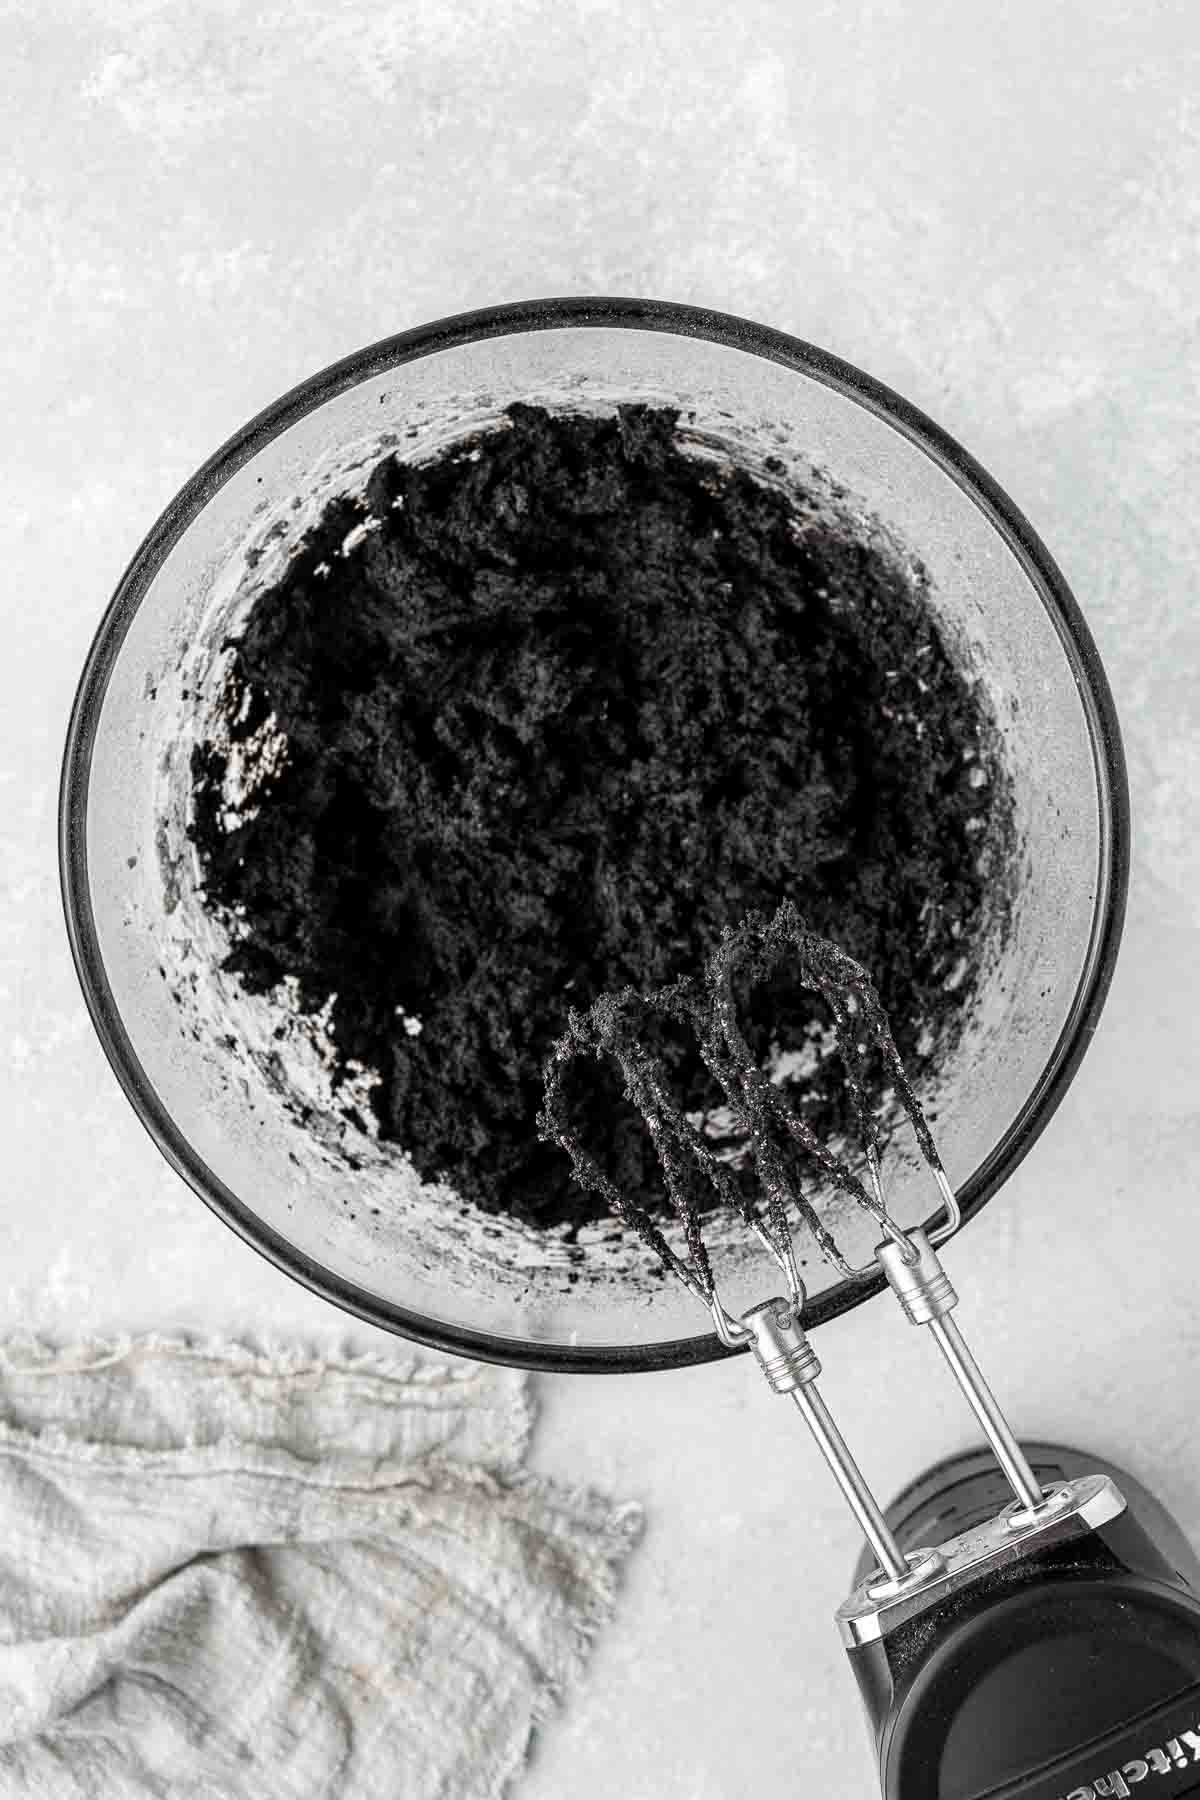
Step 2: Add the plain flour, black cocoa powder, baking powder and bicarbonate of soda, and beat until a dough forms. The dough will be quite thick, so switch to a rubber spatula to bring it together if needed.
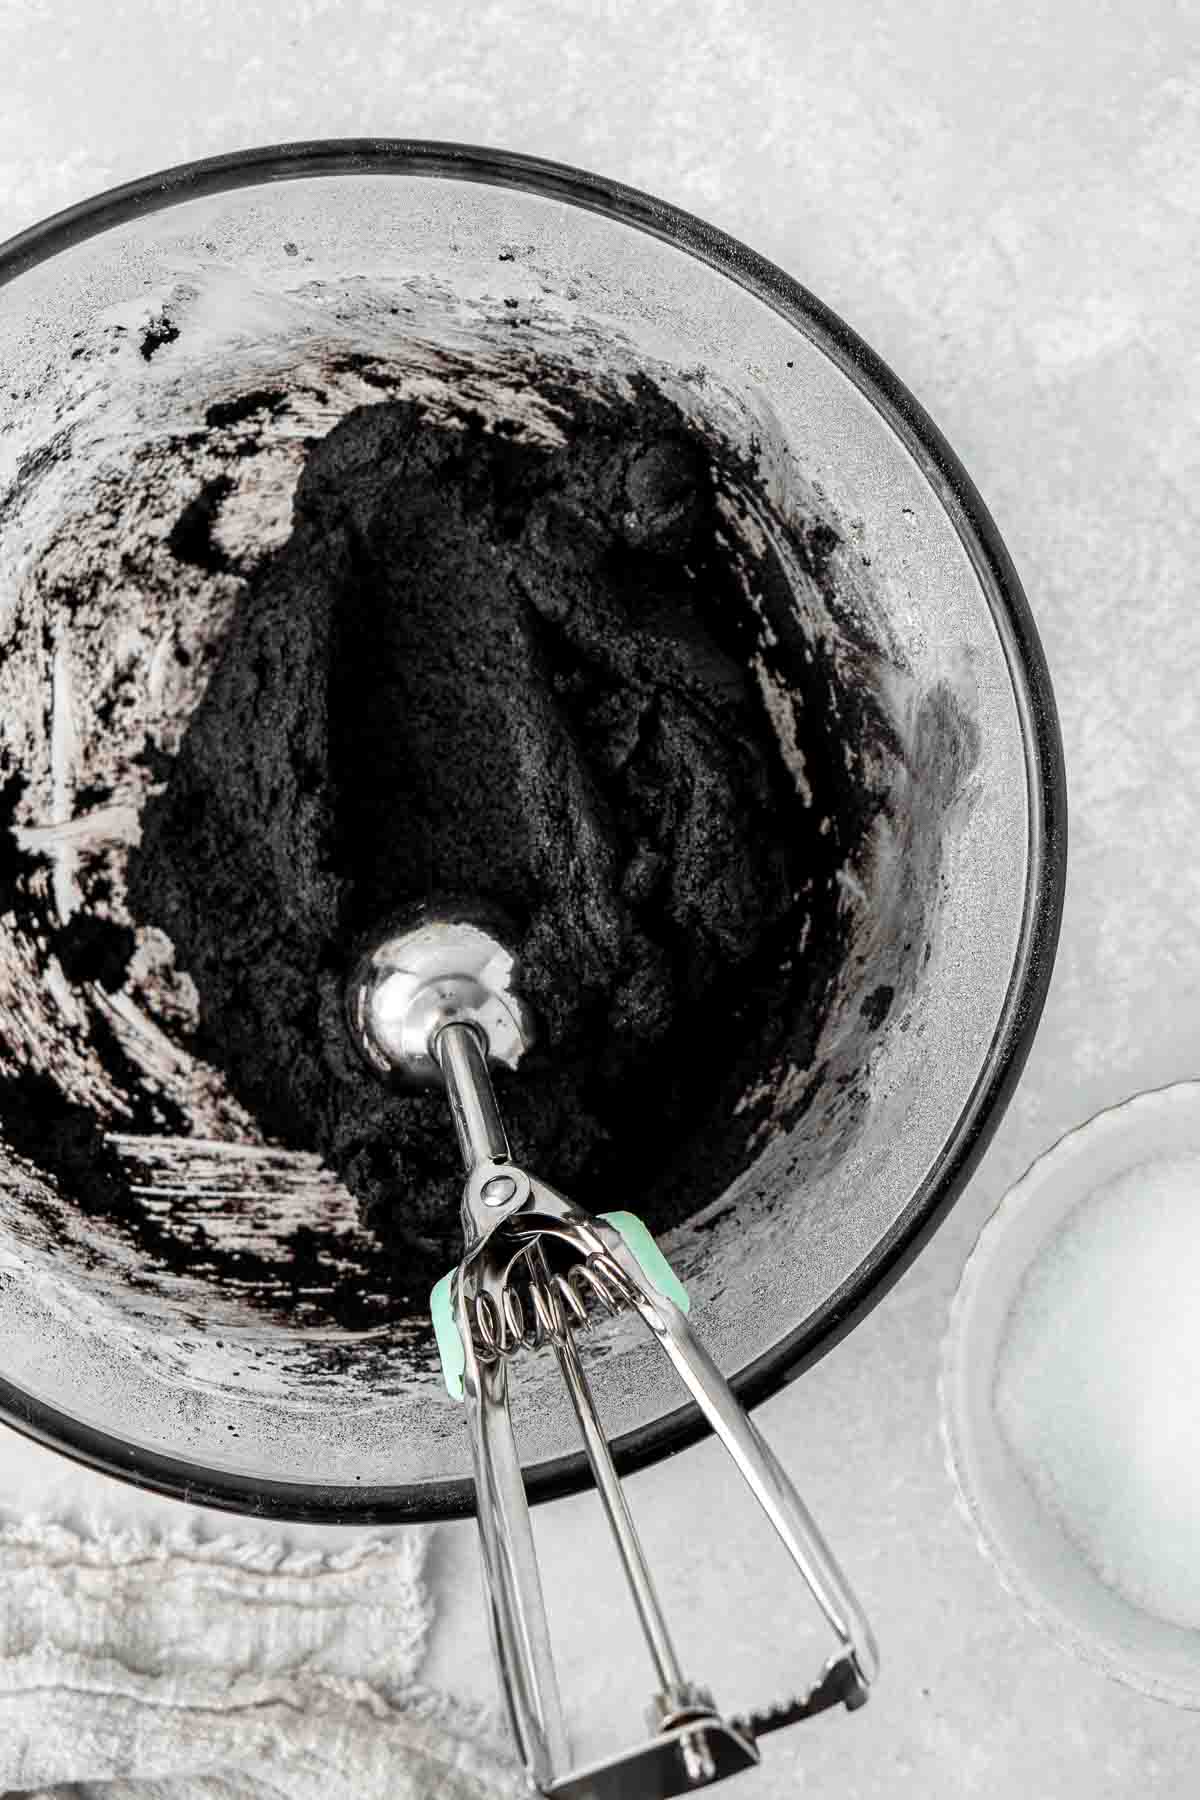
Step 3: Using a cookie scoop or spoon, scoop tablespoon-sized amounts of dough and roll into balls with your hands.
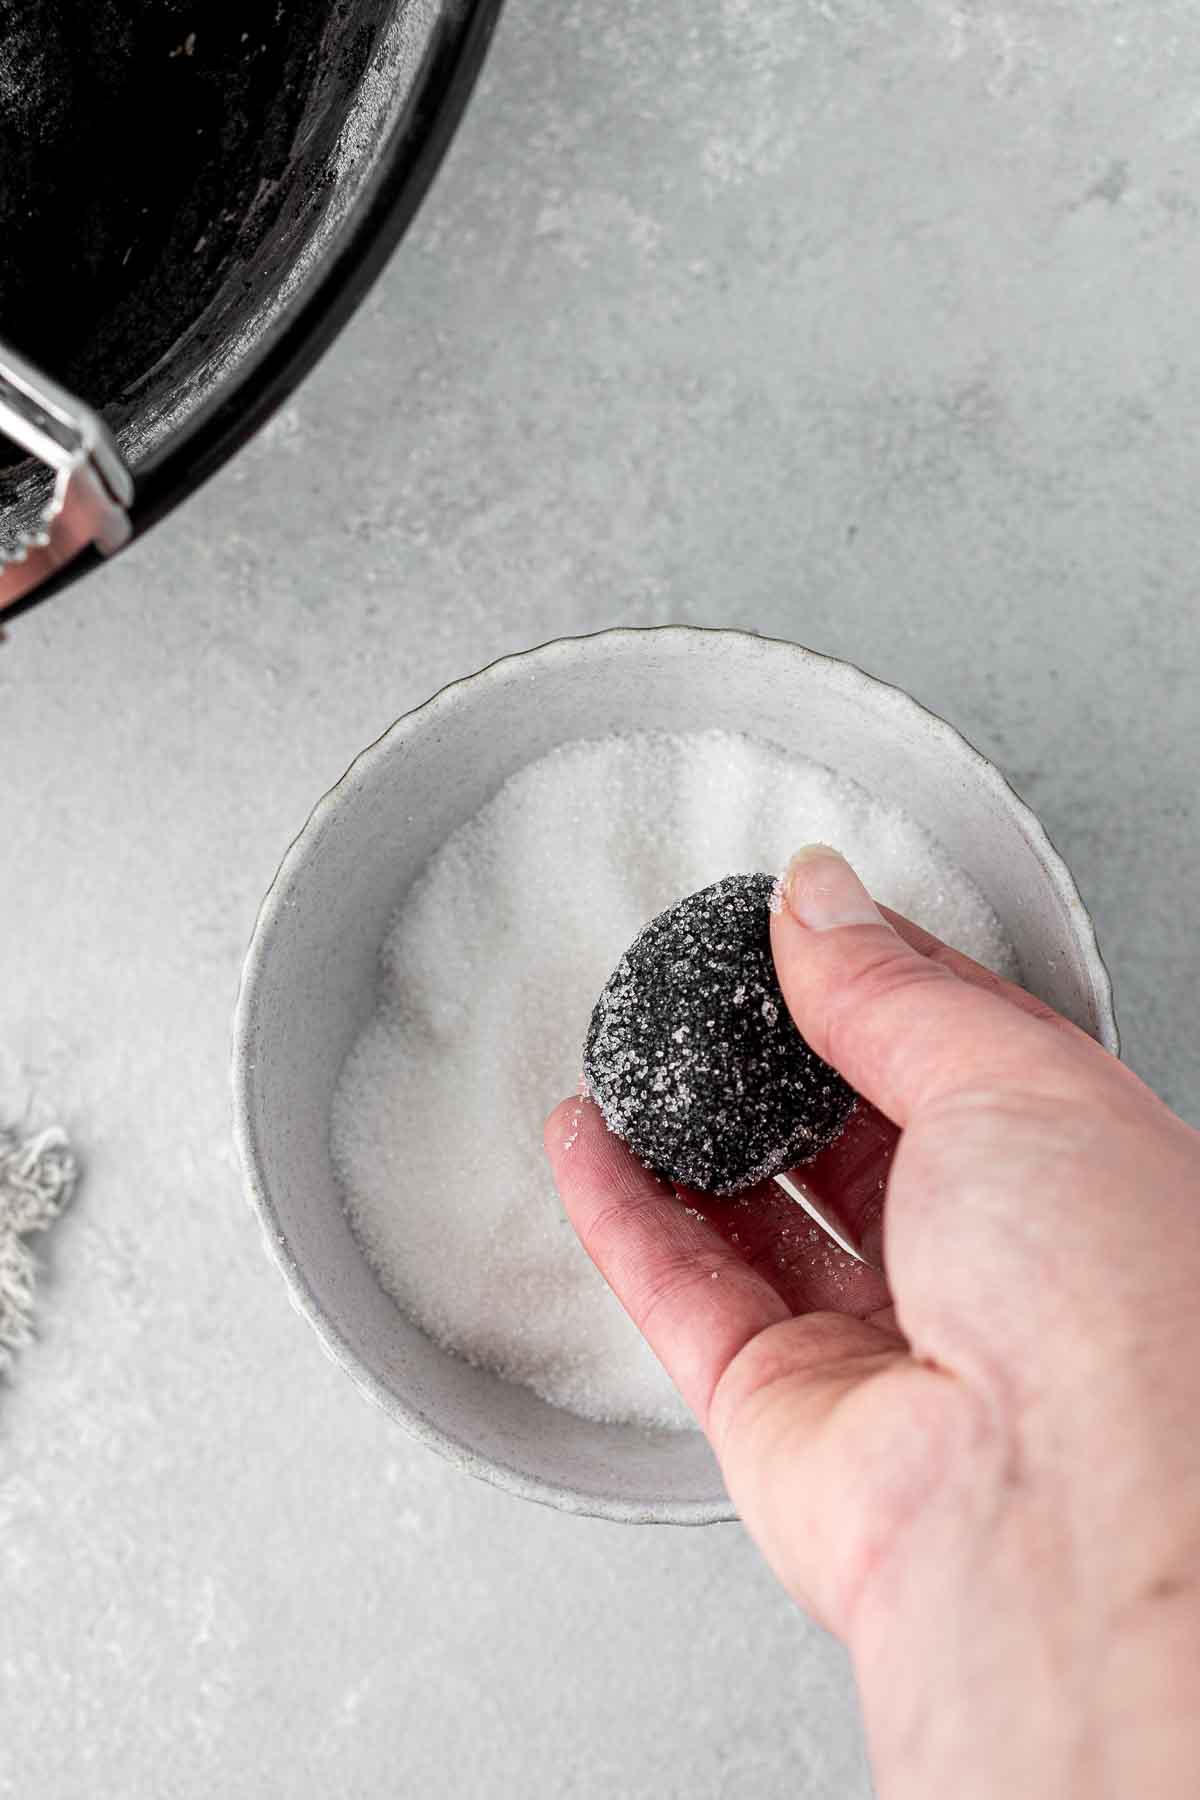
Step 4: Roll each ball in the extra sugar until well coated.
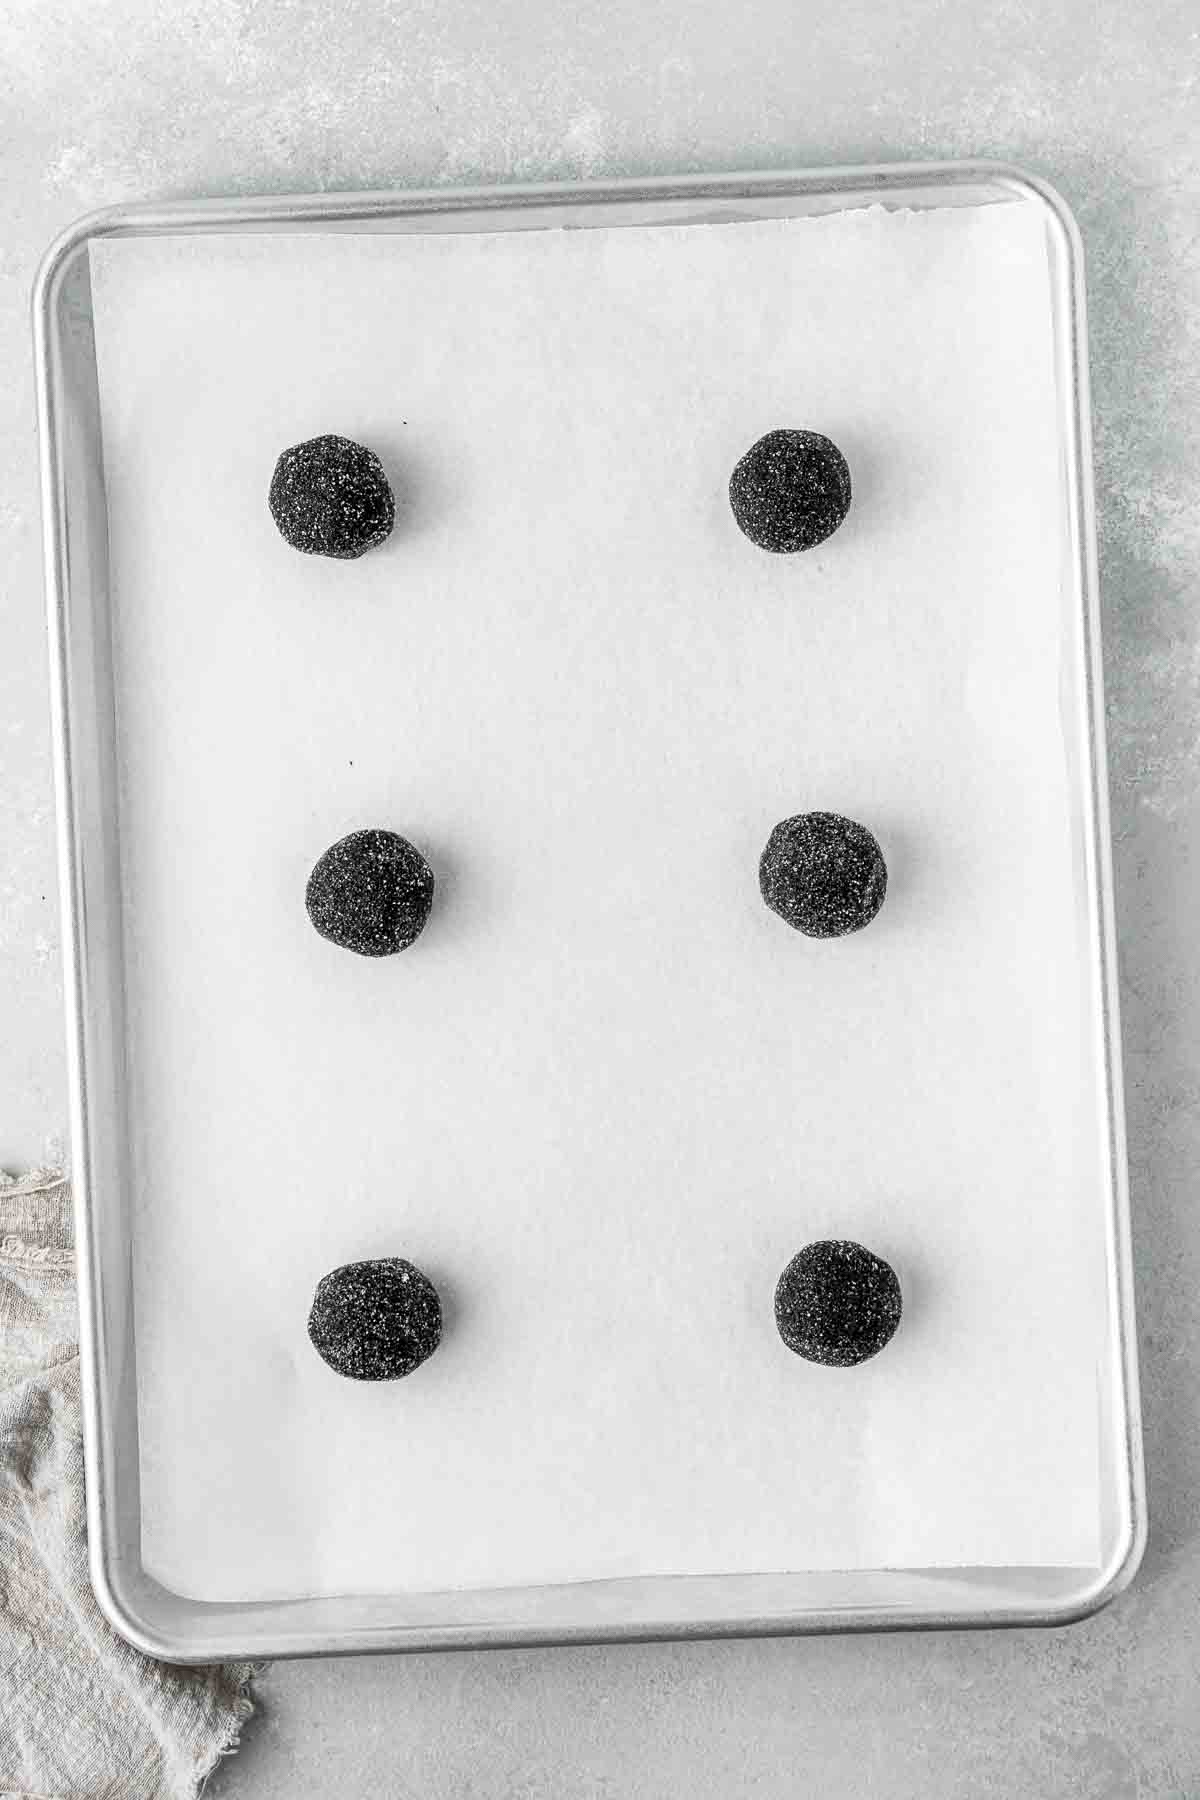
Step 5: Place the balls on the prepared trays, leaving plenty of space between them so they can spread.
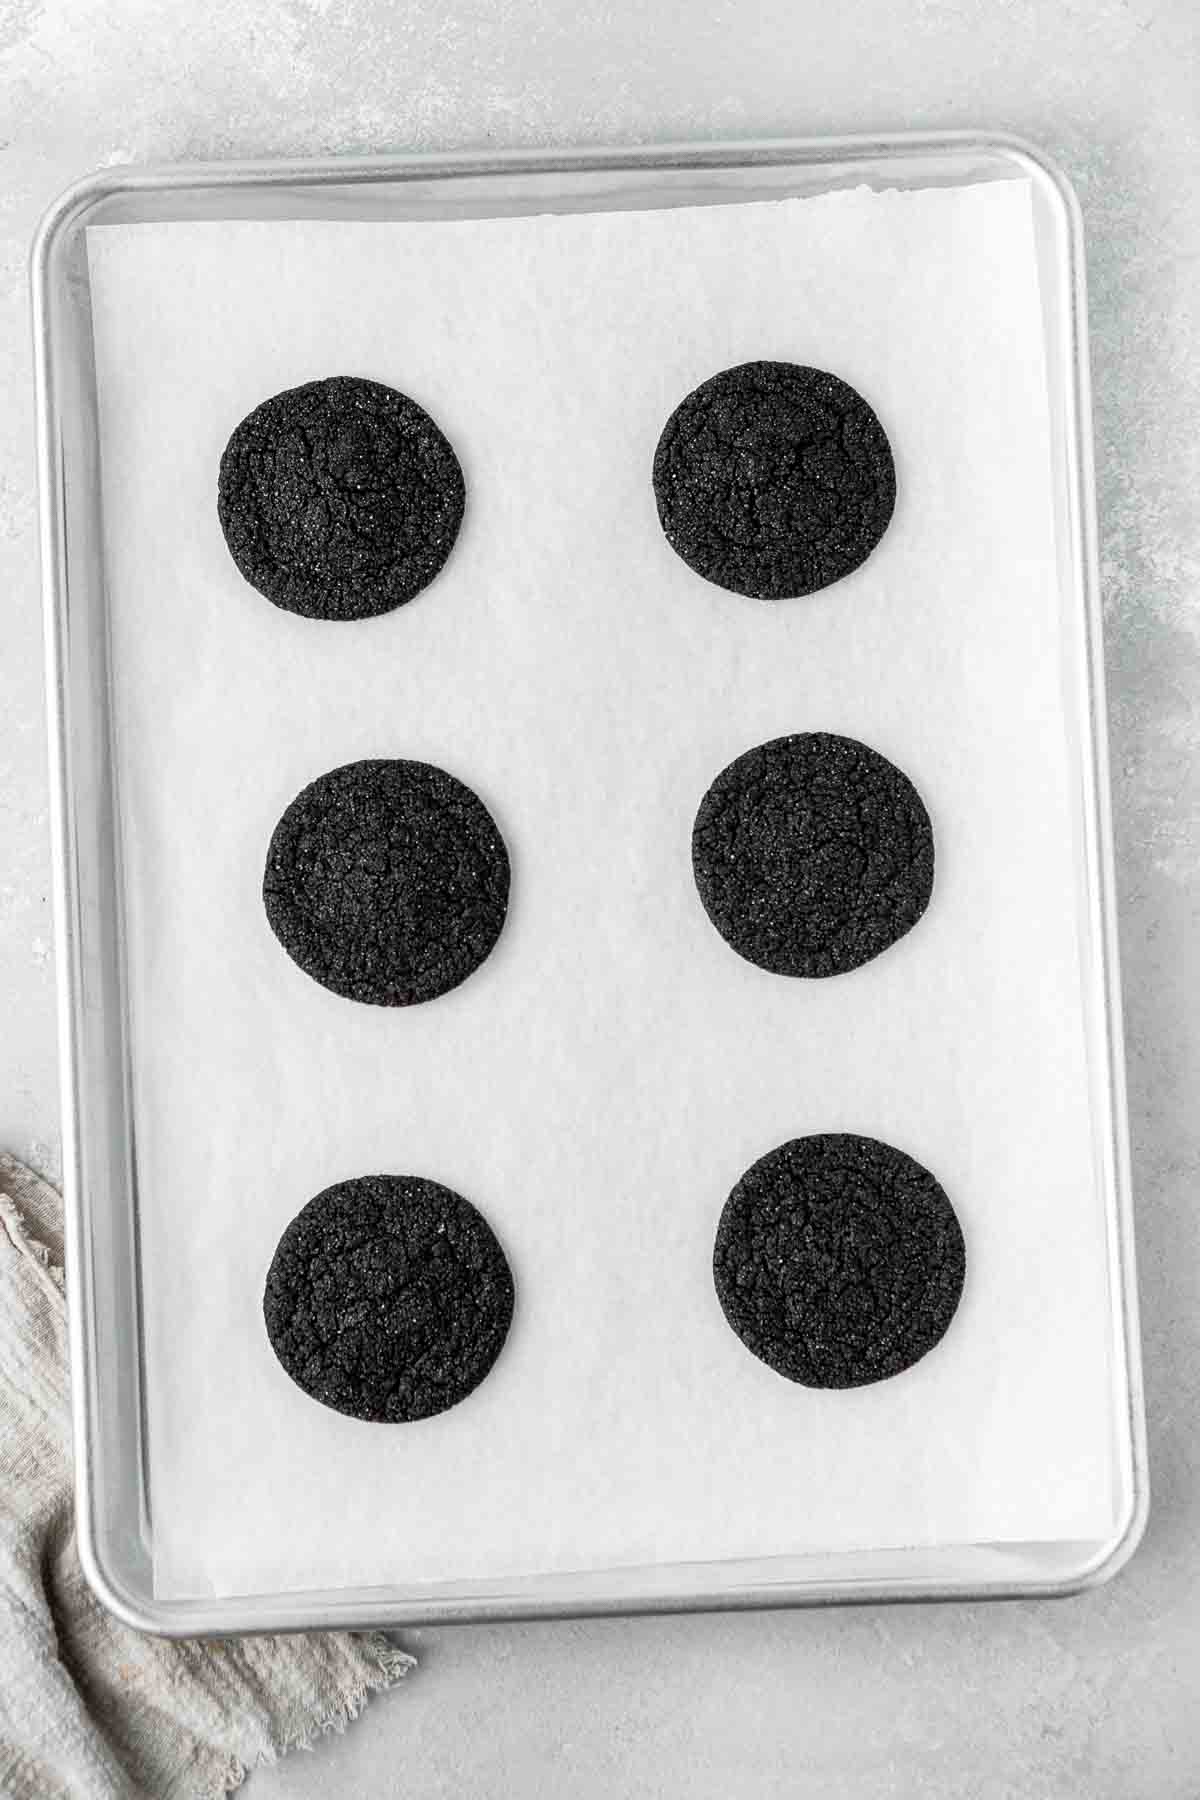
Step 6: Bake for 10 to 12 minutes, until puffed and flattened but still soft (sugar cookies are always better slightly under baked than over). Leave to firm up on the tray for a few minutes.
👉Tip! For perfect looking cookies, as soon as the cookies have been removed from the oven, use a spoon or a large round cookie cutter that fits over the cookie, to gently shape the cookie back into a circle. This only works if the cookies are still soft so needs to be done immediately before they start to cool.
Storage Instructions
Store the cooled cookies in an airtight container at room temperature for up to 5 days.
You can also freeze them, baked or unbaked;
- Unbaked: scoop and roll the dough in sugar, freeze the balls until solid, then transfer to a freezer bag and bake straight from frozen, adding a couple of extra minutes.
- Baked: store in a freezer-safe container for 1 to 2 months and thaw at room temperature.
Recipe FAQs
I haven’t tested it myself, as I don’t eat regular butter, but it should work fine in this recipe as a straight swap for the dairy free butter. Just make sure it’s softened not cold from the fridge.
Regular dutch processed cocoa powder will work, but you’ll lose the two things that make these cookies special, the deep black colour and the Oreo-like flavour. They’ll still be good, just more like a standard chocolate cookie.
Yes! You can use a gluten-free all-purpose flour blend in place of regular flour. Make sure it’s a 1:1 substitution blend, and check that it includes xanthan gum. My favourite is Bob’s Red Mill.
If you do make this recipe, please be sure to leave a comment and ⭐⭐⭐⭐⭐ rating below! And tag any of your creations on Instagram with @eightforestlane as I would love to see.
More easy cookie recipes:
Vegan Lemon Poppy Seed Cookies
Dairy Free Chocolate Chip Cookies
Chocolate Crinkle Cookies
Rocky Road Cookies
Black Cocoa Cookies
Ingredients
- 125 grams (½ cup) dairy free butter
- 220 grams (1 cup) white sugar/granulated sugar
- 1 large egg room temperature
- 2 teaspoons vanilla extract
- 185 grams (1 ¼ cups) plain flour/all purpose flour
- 50 grams (½ cup) black cocoa powder
- ½ teaspoon baking powder
- ½ teaspoon bicarbonate of soda/baking soda
- ¼ – ½ cup white sugar/granulated sugar extra for rolling
Instructions
- Preheat the oven to 180°C/350°F and line two large baking trays with baking paper.
- In a large mixing bowl (or the bowl of a stand mixer), beat the 125 grams dairy free butter and s220 grams white sugar/granulated sugar well with an electric mixer. Add the 1 large egg and 2 teaspoons vanilla extract and beat well to combine.
- Add the 185 grams plain flour/all purpose flour, 50 grams black cocoa powder, ½ teaspoon baking powder and ½ teaspoon bicarbonate of soda/baking soda, and beat well until a dough forms.
- Scoop tablespoon-sized balls of dough and roll into balls. Roll each ball in the extra ¼ – ½ cup white sugar/granulated sugar until coated, then place onto the prepared trays, leaving enough space for them to spread.
- Bake for 10–12 minutes. Take the cookies out and bang the tray on the counter a couple of times to deflate them. Allow them to firm up on the tray for a few minutes before transferring to a wire rack.
- Once completely cool, store any leftover cookies in an airtight container for up to 5 days.
Notes
Nutrition
Nutritional information is provided as a guide only and is calculated using automated online tools, therefore we cannot guarantee the accuracy. We encourage you to make your own calculations based on the actual ingredients used in your recipe.


Fatima says
Can you use regular butter instead of dairy free?
Sally says
It’s not something I’ve tested as I don’t eat regular butter, but it should work fine for this recipe.