Make these easy soft snowflake sugar cookies decorated with my favourite royal icing as a pretty and festive treat for the holidays. These cookies are almost as fun to decorate as they are to eat!

Is it really Christmas time unless there are cookies in the oven?
Sugar cookies are so much fun to make and decorate, especially at this time of year. You can have so much fun with the colours and the decorations – the possibilities are endless and it really is an opportunity to let your creativity go wild.
This is my favourite sugar cookie recipe and you can use it to make any shapes and designs that you wish, but there is something so pretty about snowflakes.
It might just be that it reminds me of that cozy winter Christmas ideal that is so far removed from the hot, humid summers experienced here in Brisbane.
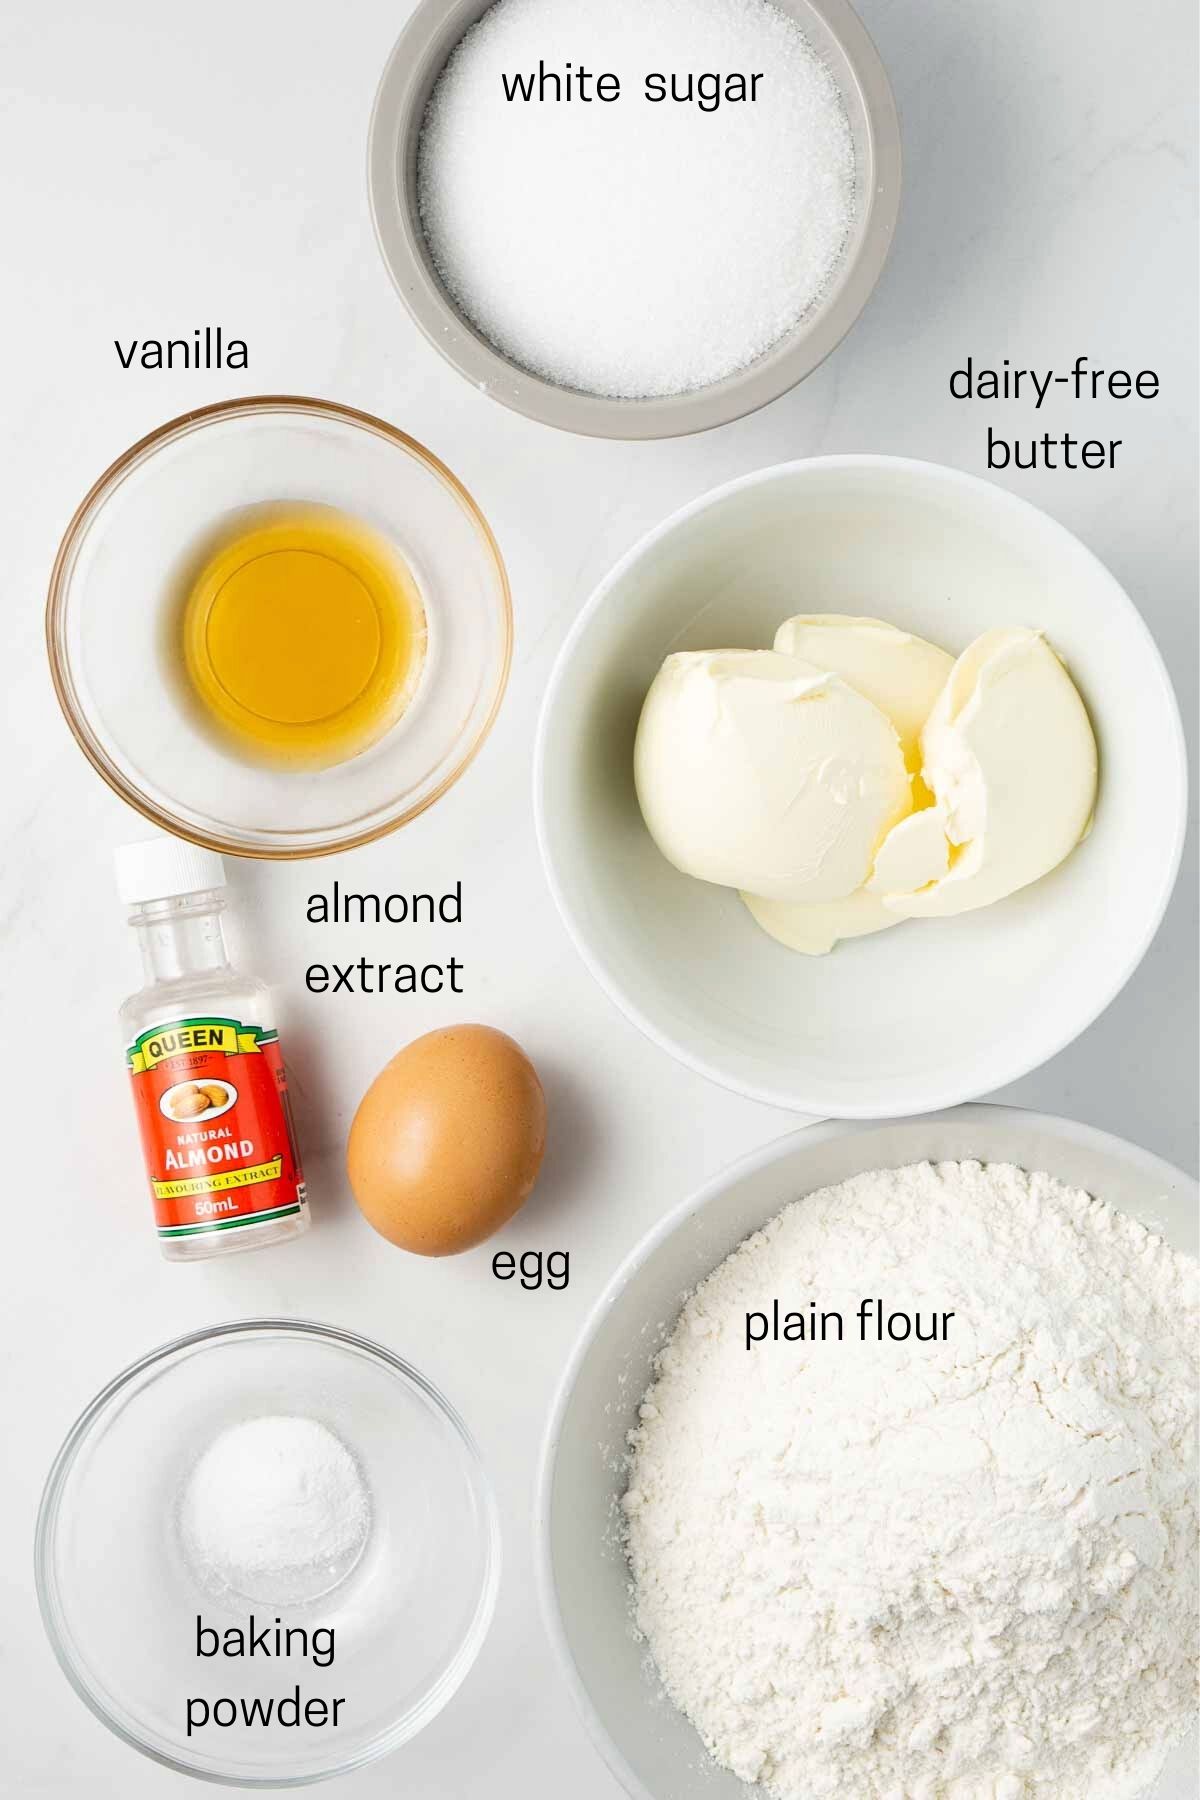
Ingredients for sugar cookies
This is my go-to, works every single time sugar cookie recipe. I’ve made it countless times over the years and honestly I cannot recommend any substitutions as I know this combination and ratio will ensure perfect cookies every single time.
- Dairy free butter – I always use Nuttelex buttery for my baking as I find it produces the best result and is dairy-free. I’ve not tested this recipe with regular butter so cannot confirm it will yield the same results. In my years of making this recipe I have had countless comments that people cannot believe these really do not contain real butter!
- White sugar – it wouldn’t be a sugar cookie without the sugar!
- Egg – to bind the cookie together and ensure that classic soft texture.
- Vanilla – essential flavouring of the cookie.
- Almond extract – this can be a controversial ingredient but I honestly think it’s the key to giving this cookie that classic sugar cookie flavour. Please try it!
- Plain flour – keeping the base of the cookie pretty standard.
- Baking powder – just a little bit to keep these cookies that perfect soft texture.

How to make these sugar cookies
To make the cookies, you’ll need a large bowl and a handheld electric mixer or a stand mixer, a spatula, a large baking tray or two, and your favourite cookie cutter shape.
To start, beat together the sugar and dairy-free butter until creamy and paler in colour. Add in the vanilla, almond extract and egg and continue to mix together until creamy and combined.
Finally, add in the flour and baking powder. I like to do this in about 3 parts to include it all so that I don’t end up with a giant plume of flour covering my kitchen when trying to beat it in.
Once the dough has come together, it will look a little rough and soft, but that’s exactly what we want.
Bring the dough together with your hands, lightly floured, to make sure it doesn’t stick and roll out onto a floured surface. This dough can get sticky so just make sure you have extra flour on hand to cover the surface and your rolling pin.
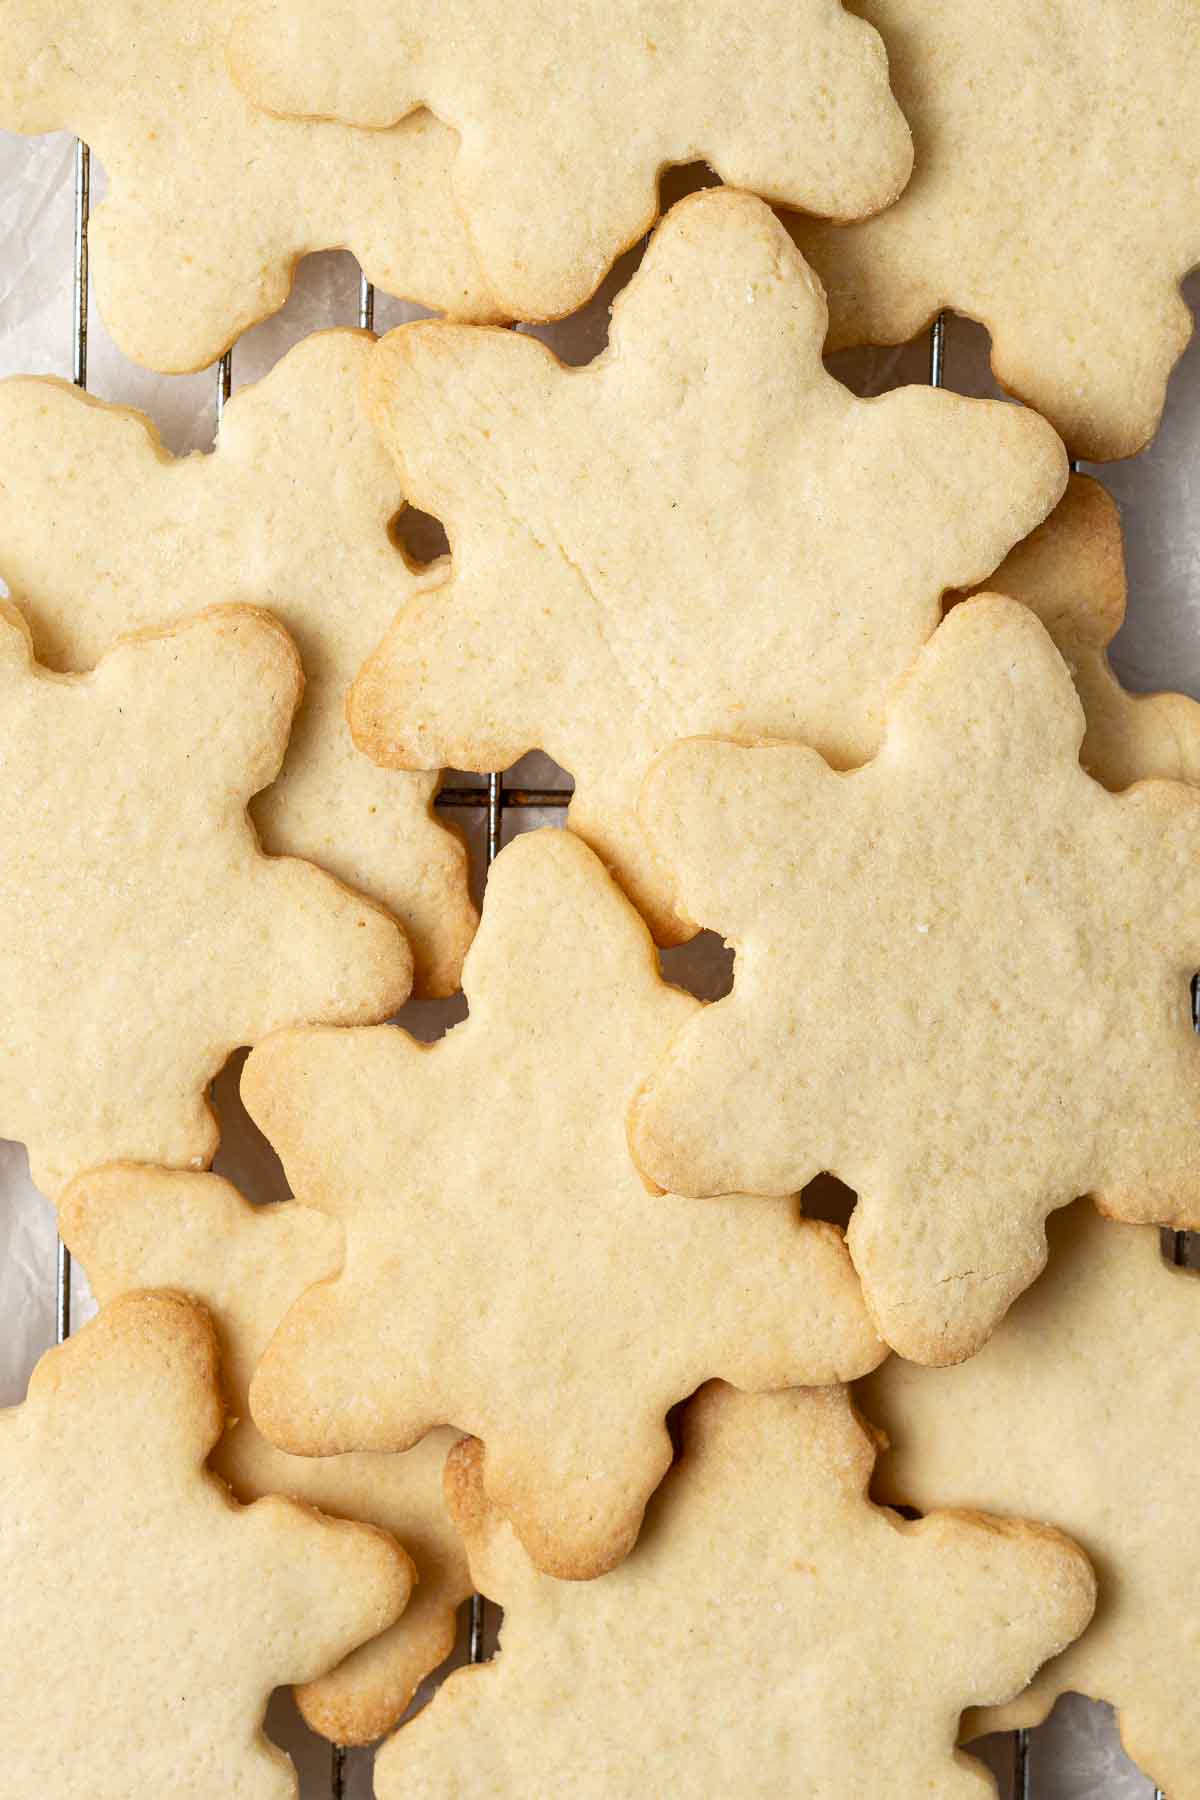
Separate the dough into 2 portions and roll out the dough until it is about 3mm thick. Place into the fridge on a baking paper lined tray to chill for at least an hour.
It is important that the dough is cold when you cut out the shapes as this will ensure the cookies bake evenly and do not spread in the oven. At any time when the dough is not being used, make sure to put it back in the fridge so you are always working with that cold dough.
Keep gently rolling out the dough and cutting out your shapes until you have used all the dough up.
Place the shapes evenly spaced on a baking tray and bake for 8-10 minutes or until just starting to colour on the edges. Remove from the oven and let cool on the tray for a few minutes before transferring to a wire rack to cool completely before icing.

Decorate your cookies!
To decorate these cookies, you are going to need a batch of my favourite royal icing. This recipe is so easy to make using just three ingredients and produces the most luscious, shiny icing that’s perfect for decorating and dries hard.
Once you make your icing, separate it into a couple of bowls depending on how many colours you want. For these cookies, I made one bowl a soft blue and left the rest white for the snowflake detail.
Start by placething the icing into a piping bag with a small round tip fitted and start outlining the snowflakes with the blue using a thick consistency icing. Once that’s complete, thin down the remaining blue icing and add that back to the piping bag and fill in each cookie. This process is called ‘flooding’.
Allow the icing to dry before piping on the designs. Use your smallest round piping tip and use the white icing to pipe snowflake designs. Remember, every snowflake is unique so this is not a time to look for perfection!
I also finished some of mine with some white sanding sugar for a little extra sparkle!
Let the cookies dry completely before stacking them. I like to leave them overnight to be sure they’re dry. If you’re working in a humid environment the icing may struggle to set, so you can help speed up the process by putting them in front of a fan or work in an airconditioned room.

More Holiday Cookies:
Vegan Cinnamon Sugar Cookies
Red Velvet Crinkle Cookies
Classic Ginger Snap Biscuits
Snickerdoodle Cookies
Vegan Gingerbread Men

Snowflake Sugar Cookies
Ingredients
- 170 grams dairy-free butter
- ¾ cup sugar
- 1 egg
- 2 teaspoons vanilla extract
- ¼ teaspoon almond extract
- 2 ¼ cups plain flour
- ½ teaspoon baking powder
Instructions
- Using a handheld or standing mixer, cream dairy-free butter and sugar in a large bowl until light in colour. Add egg, vanilla and almond extracts and continue mixing on high for 2-3mins until fully combined.
- In a separate bowl, sift together the flour and baking powder. Add the flour mixture to the wet ingredients slowly until the mixture just comes together into a soft dough.
- Divide dough evenly into 2 parts and roll each out onto baking paper that has been dusted with flour 3-5mm think. Make sure to flour your hands and rolling pin if the dough is too sticky. Place into fridge for at least 1 hour to chill. This will ensure the cookie shapes hold when in the oven.
- Preheat the oven to 180°C and line two baking trays with baking paper.
- Remove each piece of dough from the fridge and use a cookie cutter to make shapes, until all the dough is used. Place shapes onto the baking sheet and place in the oven 8 minutes or until cookies start to turn a light golden colour.
- Repeat the above steps, combining any left over dough together and rolling it out again until all of the dough has been used. You may need to do this in batches depending on how big your oven is, just make sure to keep your dough in the fridge when not working with it so it's cold before you bake.
- Let the cookies cool for a couple of minutes on the tray to firm up before transferring to a wire rack to cool completely before icing.
Notes
Nutrition
Nutritional information is provided as a guide only and is calculated using automated online tools, therefore we cannot guarantee the accuracy. We encourage you to make your own calculations based on the actual ingredients used in your recipe.



sherry
so very pretty.
Sally
Thank you!