
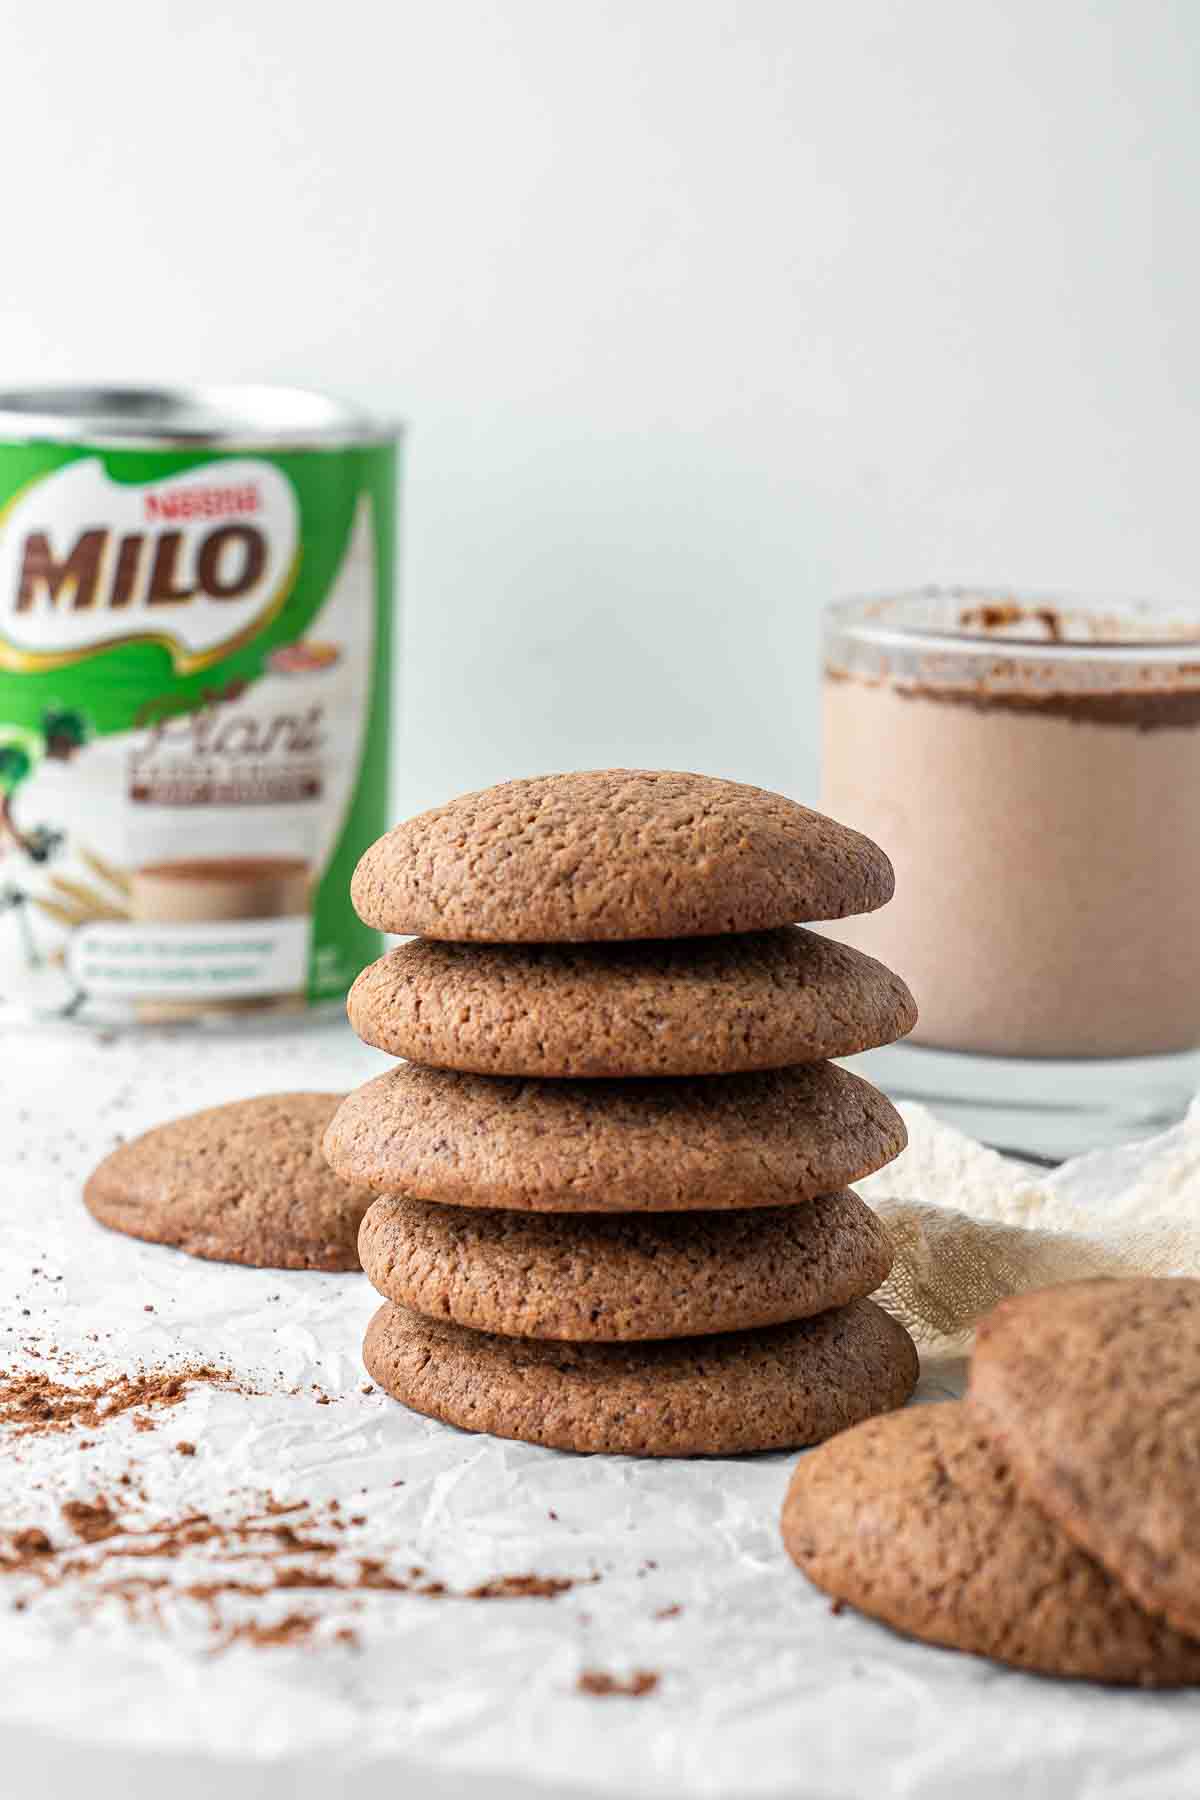
These easy milo biscuits have soft, chewy centres and that classic malted flavour. A classic Aussie favourite recipe made dairy free!
For more classic biscuit recipes made dairy free, try my ANZAC biscuits, vegan tim tams or these buttery soft melting moments!
Featured Comment
⭐⭐⭐⭐⭐ These biscuits just came out of the oven a minute ago but they looked so good I couldn’t resist grabbing one. These cookies are the best I’ve ever tasted. I think I’ll have another 🙂 – Ruth
While Milo is traditionally a milk based product, Nestle finally released a plant-based version of their malted milk powder, taking everyone with dairy allergies or those following a vegan diet back to their childhood. 2025 Edit: While I’ve noticed since the time of publishing, this product is difficult to find at Coles and Woolworths, it is still available on Amazon!
Having a cold glass of plant-based Milo with oat milk was just as nostalgic as I had thought it would be. Milo can be made either hot or cold (but my preference is always cold) and is made by scooping too much Milo into your milk so that some of it gets mixed in to make a chocolatey, malted milk drink, and the rest sits on the top for max crunch that you kind of just eat with a spoon.
An alternate to just enjoying the beverage is of course using it in desserts. You have the classic Milo cheesecake of course, but Milo biscuits were a staple for me growing up in rural Australia. It was a simple recipe I could make at home, they could be found at friends houses as a delicious after school snack, and they often found their way onto tables at the local bake sale fundraisers.
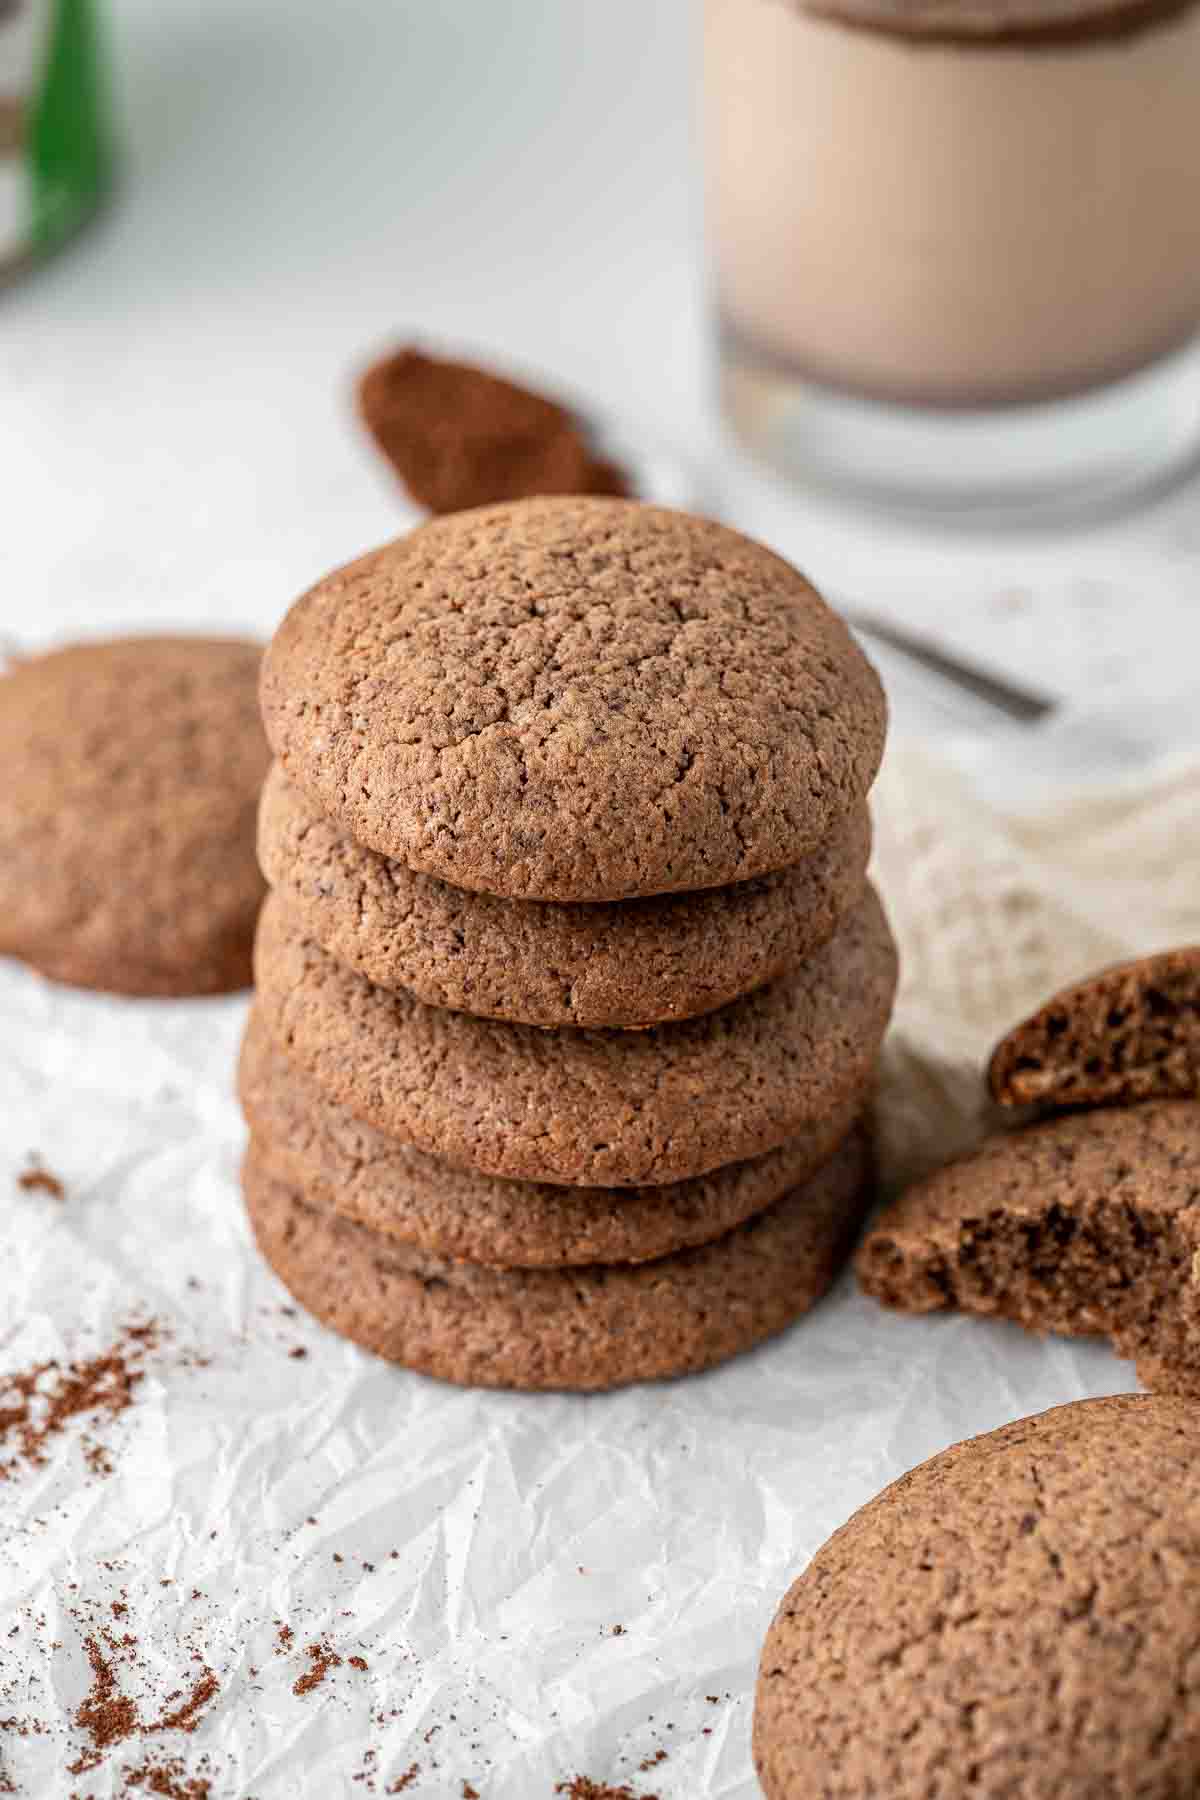
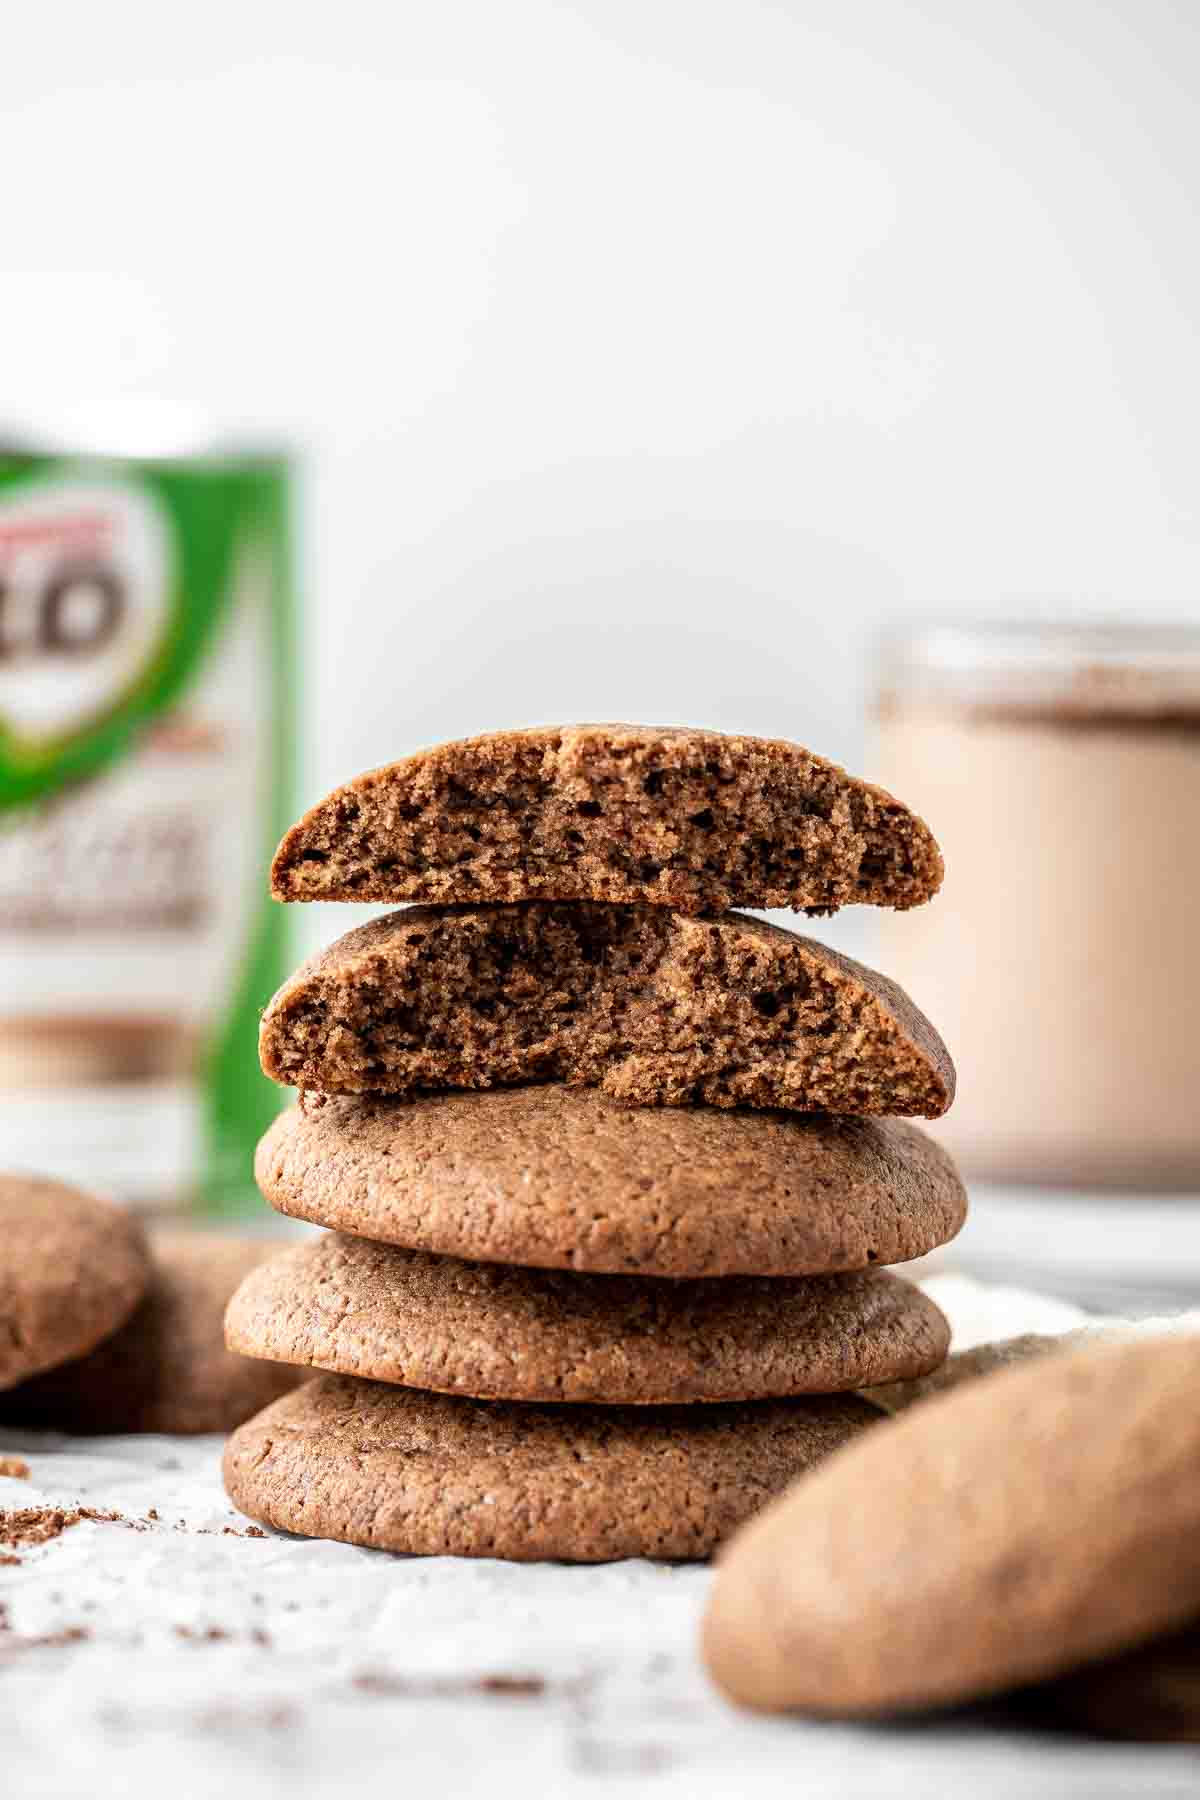
This recipe creates biscuits that are crunchy on the edges, soft and chewy in the middle and have a distinct chocolate malt flavour that is so incredibly delicious.
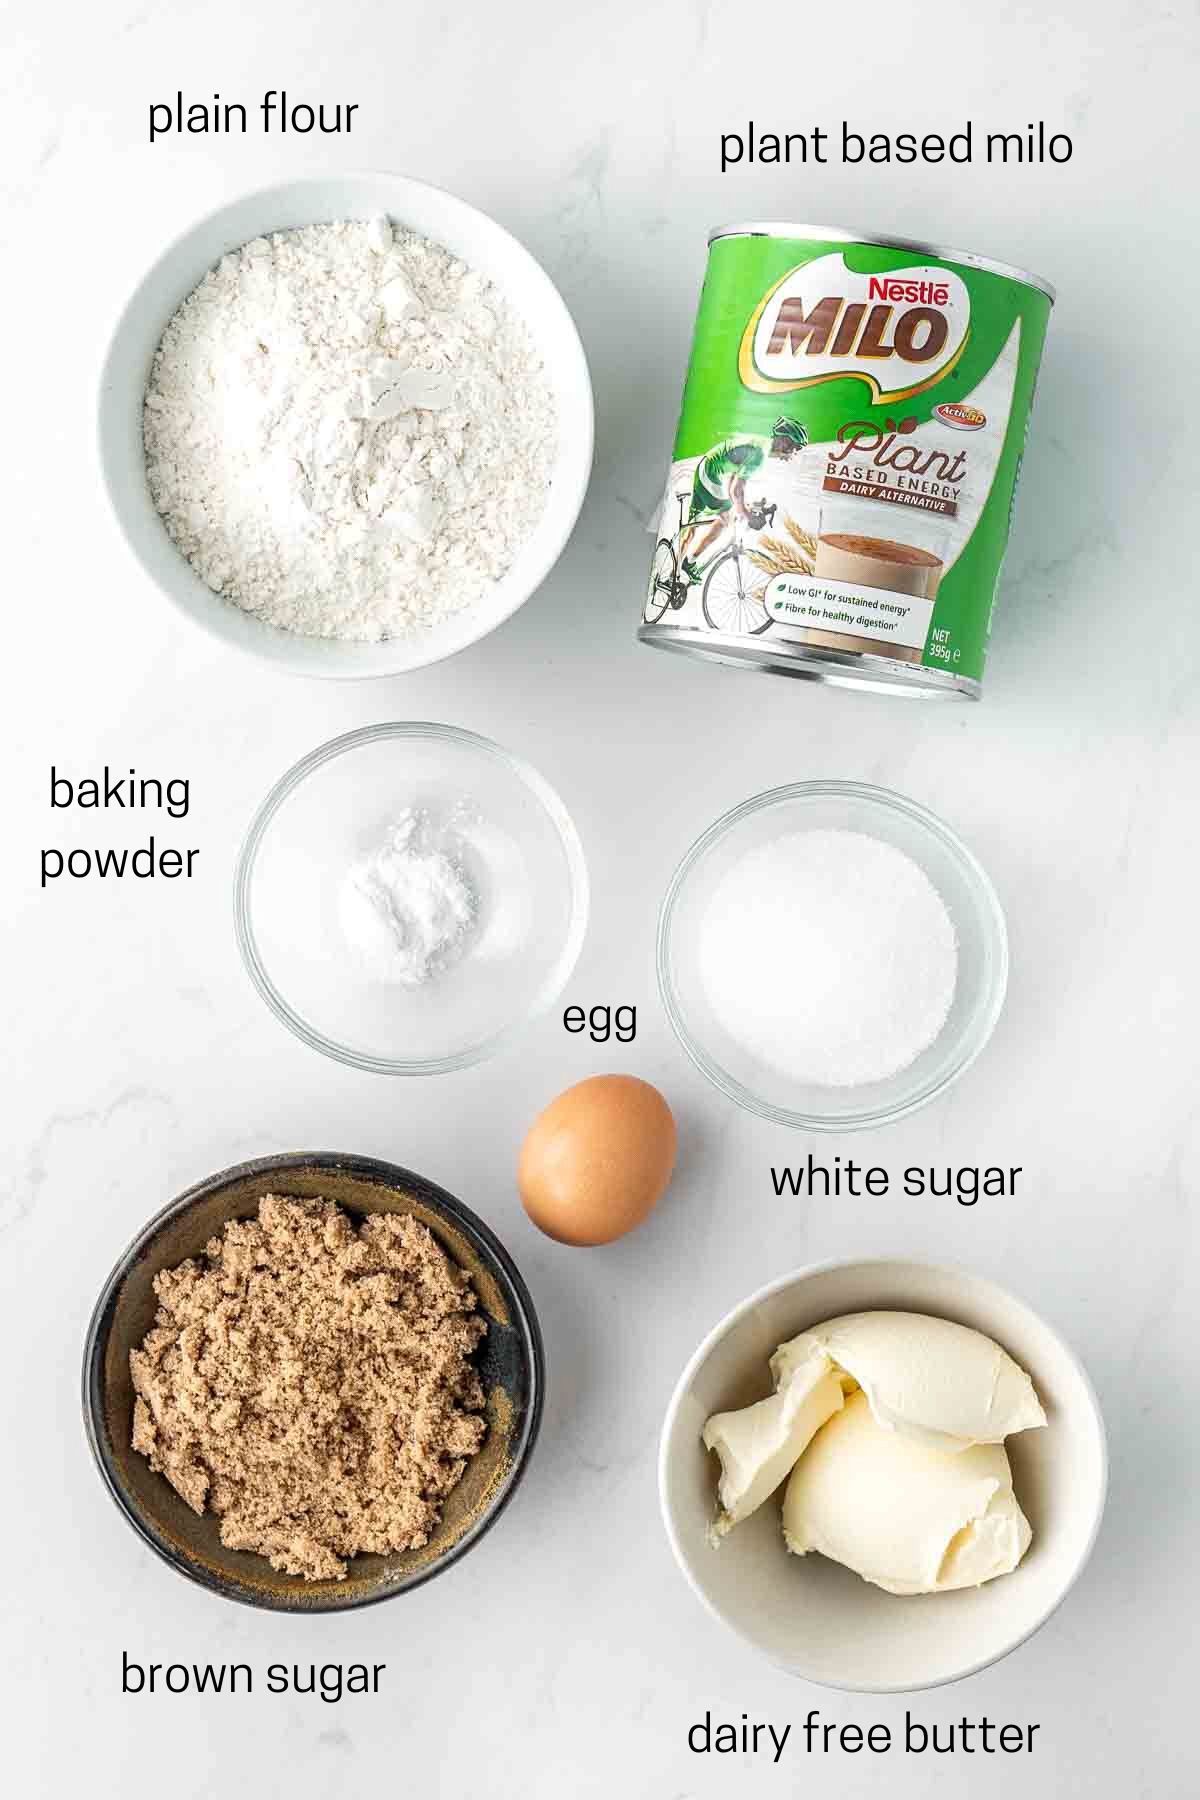
Key Ingredients
This recipe is very basic, however I do use a couple more ingredients than some other similar recipes as I like the combination of both white and brown sugar as well as using plain flour and baking powder rather than self-raising flour as I don’t often have that in my pantry as I don’t want to have to buy both types of flour.
Note all ingredients and their quantities are laid out in the recipe card at the bottom of this post.
- Dairy free butter – as usual I’m using my favourite Nuttelex brand for the best flavour and texture.
- White sugar – adds extra sweetness and helps give the biscuits the perfect crunchy edges.
- Brown sugar – for extra rich caramel flavour that tastes so good combined with the Milo, plus gives the biscuit a slightly chewy texture.
- Egg – to keep everything together and the biscuits nice and light.
- Plain flour – the foundation of your cookie
- Baking powder – for extra lift giving you a nice thick biscuit.
- Plant-based Milo – the super star and key flavour of these biscuits. I use the plant based version to make these biscuits dairy free but you can use the regular if you want or any malted milk drink such as Ovaltine.
Step-by-Step Instructions
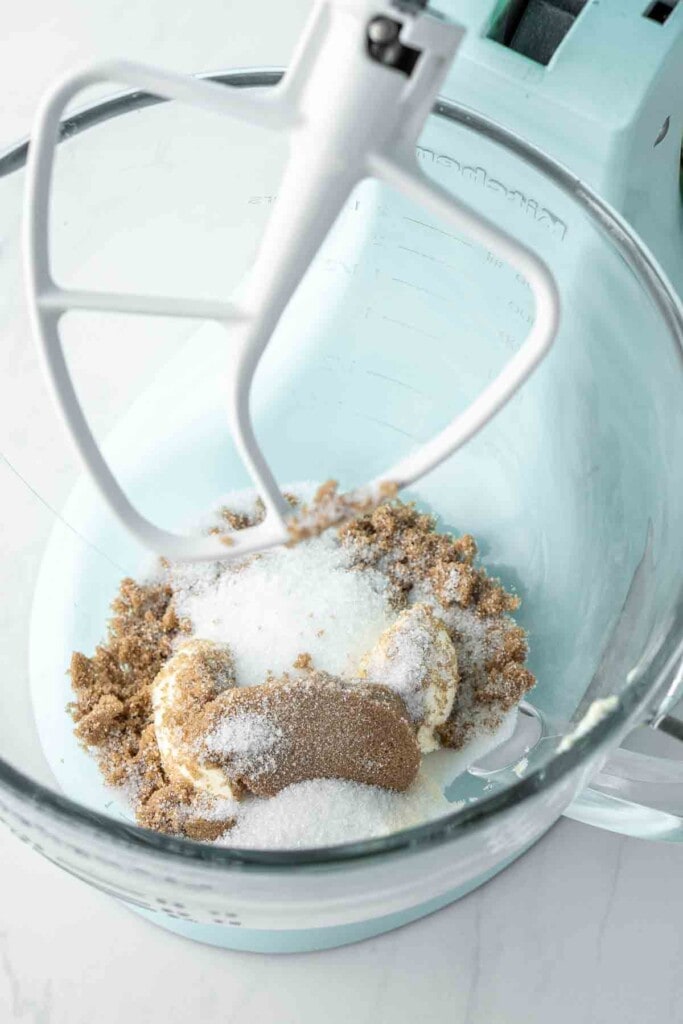
To make these cookies, you’ll need and electric mixer. I like to use my stand mixer to make the dough here because it’s so incredibly fast and easy. If you don’t have a stand mixer a handheld electric mixer will do the job as well.
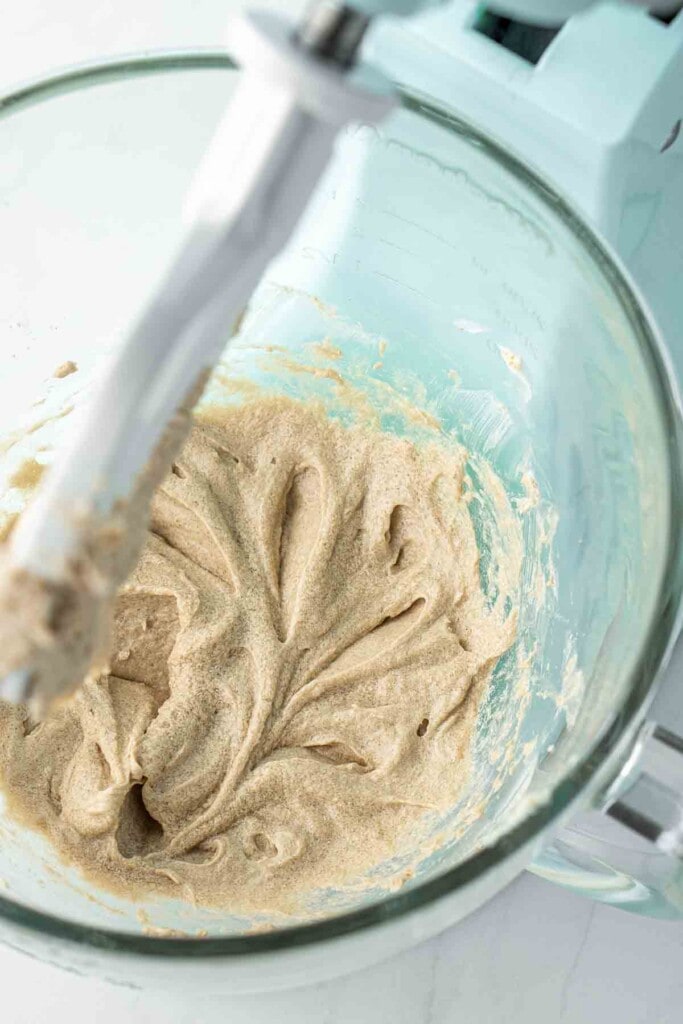
You start by beating the sugars and dairy free butter until creamy. Add in the egg and continue to beat.
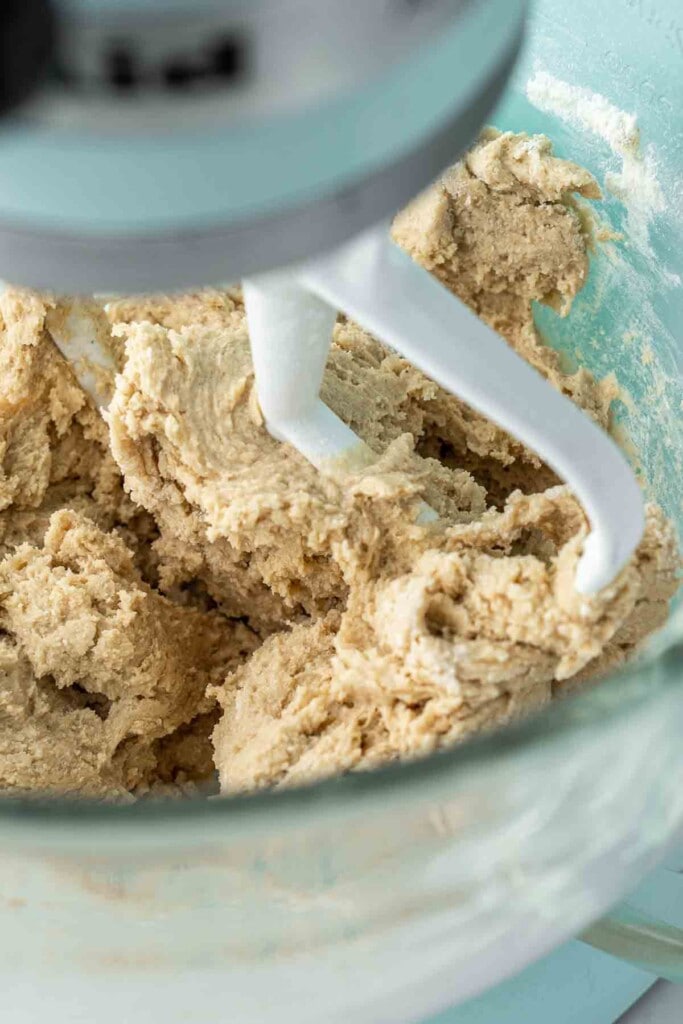
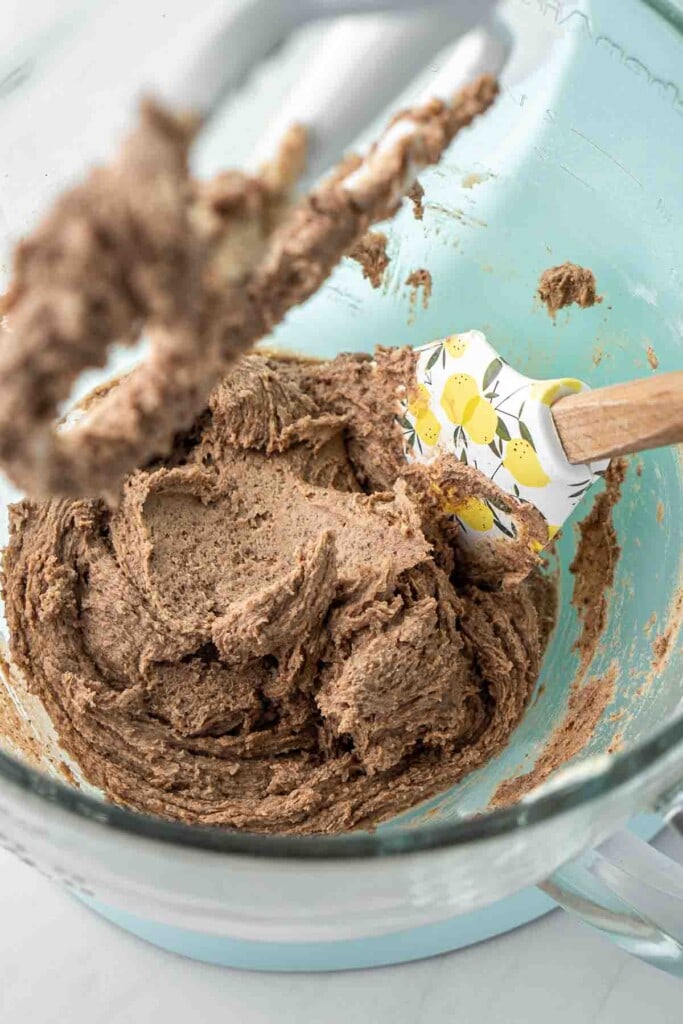
Add in the flour and baking powder and mix until a soft dough forms. Finally, mix through the milo.
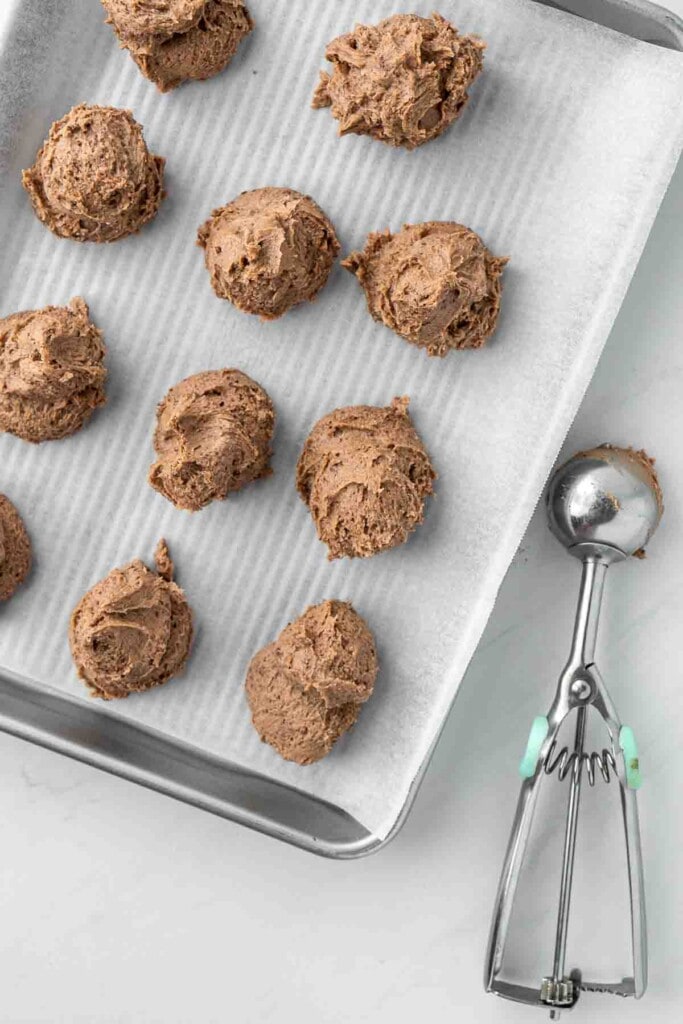
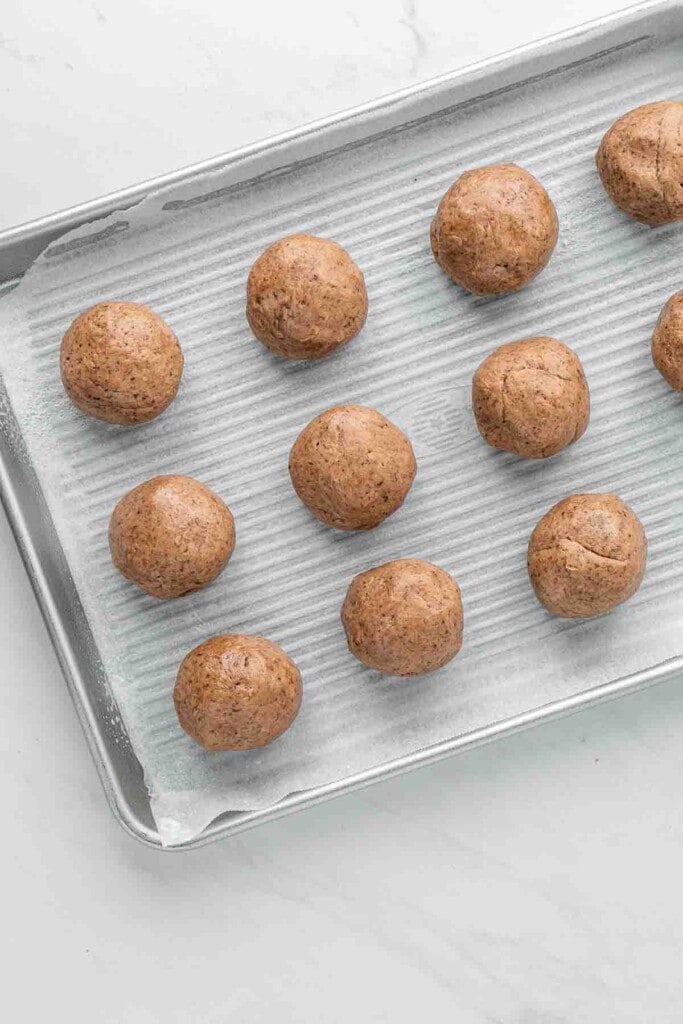
This dough can be quite soft. You can chill the entire bowl of dough first before rolling out the balls but this takes at least an hour. Instead, I like to get my cookie scoop (or a tablespoon) and roughly scoop out the dough onto the tray and then put that in the fridge. After 15 minutes you’ll be able to handle the dough much easier and roll your balls from the scooped mounds of dough.
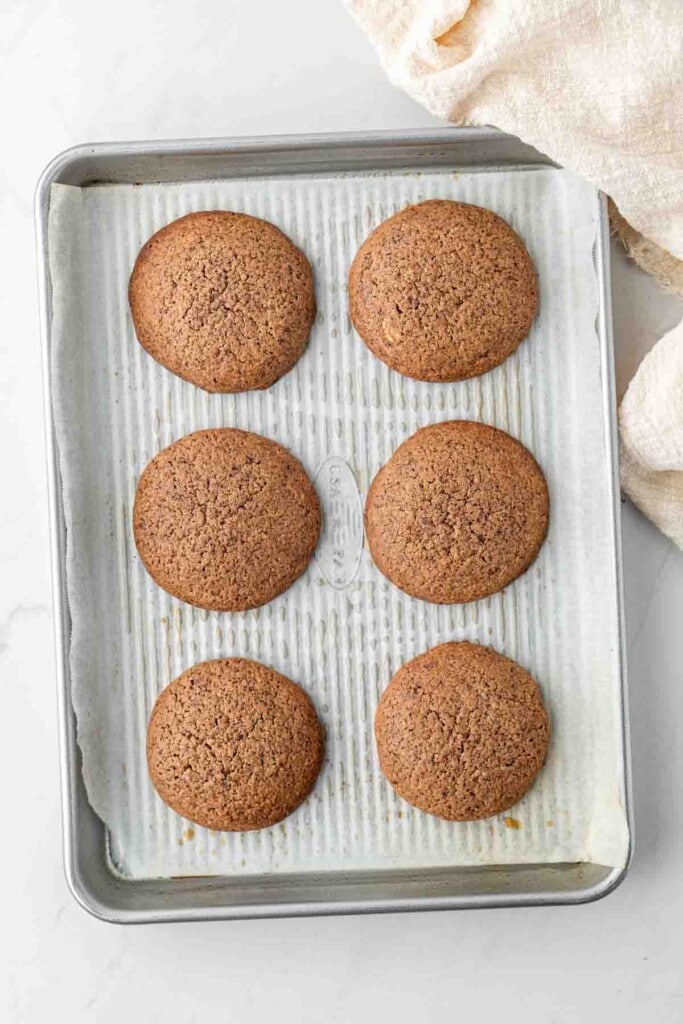
Very lightly press the balls down slightly to help them spread ensuring there is about 2 inches between them, and then bake for 15 minutes. The cookies will be soft when you remove them from the oven, but just let them sit for about 5 mins and they will firm up enough to transfer to a wire rack to cool completely.
Recipe FAQs
These milo cookies are best enjoyed fresh when the edges are still nice and crisp as they have a tendency to go a little soft when stored, however they are still delicious.
Store in an airtight container in a cool, dry place for up to three days.
You can also freeze the biscuits in a freezer-safe container for up to three months. Just thaw them at room temperature before enjoying.
If you do make this recipe, please be sure to leave a comment and ⭐⭐⭐⭐⭐ rating below! And tag any of your creations on Instagram with @eightforestlane as I would love to see.
More Dairy Free Biscuits:
Classic Ginger Snap Biscuits
Snickerdoodle Cookies
Chewy Chocolate Chip Cookies
Dairy Free White Chocolate Macadamia Cookies
Easy Milo Biscuits (Dairy Free)
Ingredients
- ½ cup (125 grams) dairy free butter
- ¼ cup caster sugar/superfine sugar
- ½ cup brown sugar
- 1 egg room temperature
- 1 ½ cups plain flour/all purpose flour
- ½ teaspoon baking powder
- ½ cup plant-based Milo
Instructions
- Preheat the oven to 180°C and line 2 baking trays with baking paper.
- In a large bowl combine dairy free butter and sugars using a stand mixer with the paddle attachment fitted or an electric hand mixer. Once creamy add in the egg and continue to beat. Add in the flour, baking powder and continue to mix until a dough forms. Finally mix through the Milo until combined.
- Use a cookie scoop or tablespoon to scoop out balls of dough and place on the lined baking tray about 2 inches apart. The dough will be quite sticky. Place the tray in the fridge for 15 minutes to allow the dough to firm up.
- Remove the tray from the fridge. The dough will now be easier to handle so you can roll them between your hands to form balls. Press each dough ball down slightly and place the trays in the oven to bake for 15 minutes. The cookies will still be soft when you remove them from the oven, but the edges should be golden. Allow cookies to cool on the tray for 5-10 minutes to firm up before transferring to a wire rack to cool completely.
Notes
Nutrition
Nutritional information is provided as a guide only and is calculated using automated online tools, therefore we cannot guarantee the accuracy. We encourage you to make your own calculations based on the actual ingredients used in your recipe.


Ruth Hillary says
whoops sorry It’s Ruth again I forgot to put a rating 5 stars of course
Ruth Hillary says
these biscuits just came out of the oven a minute ago but they looked so good I couldn’t resist grabbing one. these cookies are the best I’ve ever tasted. I think i’ll have another 🙂
Sally says
Thank you Ruth! Not much better than warm biscuits from the oven!
Fred says
Are you aware that Milo it self is not dairy free
Sally says
Hi Fred, yes you’re correct – regular Milo is not dairy free however this recipe was made using the new plant based milo from Nestle which is perfect for those of us who love Milo but can’t have dairy.
Blitzo says
These look fabulous! Another delicious recipe. Thanks!
Sally says
Thank you!
Sandra says
Another fabulous recipe. A must make for all Milo and malt fans alike. Thanks again! 💚
Sally says
Thanks so much Sandra, glad you enjoyed them!
sherry says
these look great. my goodness i haven’t had milo in centuries!
Sally says
Thanks Sherry, it had been a while for me as well!