
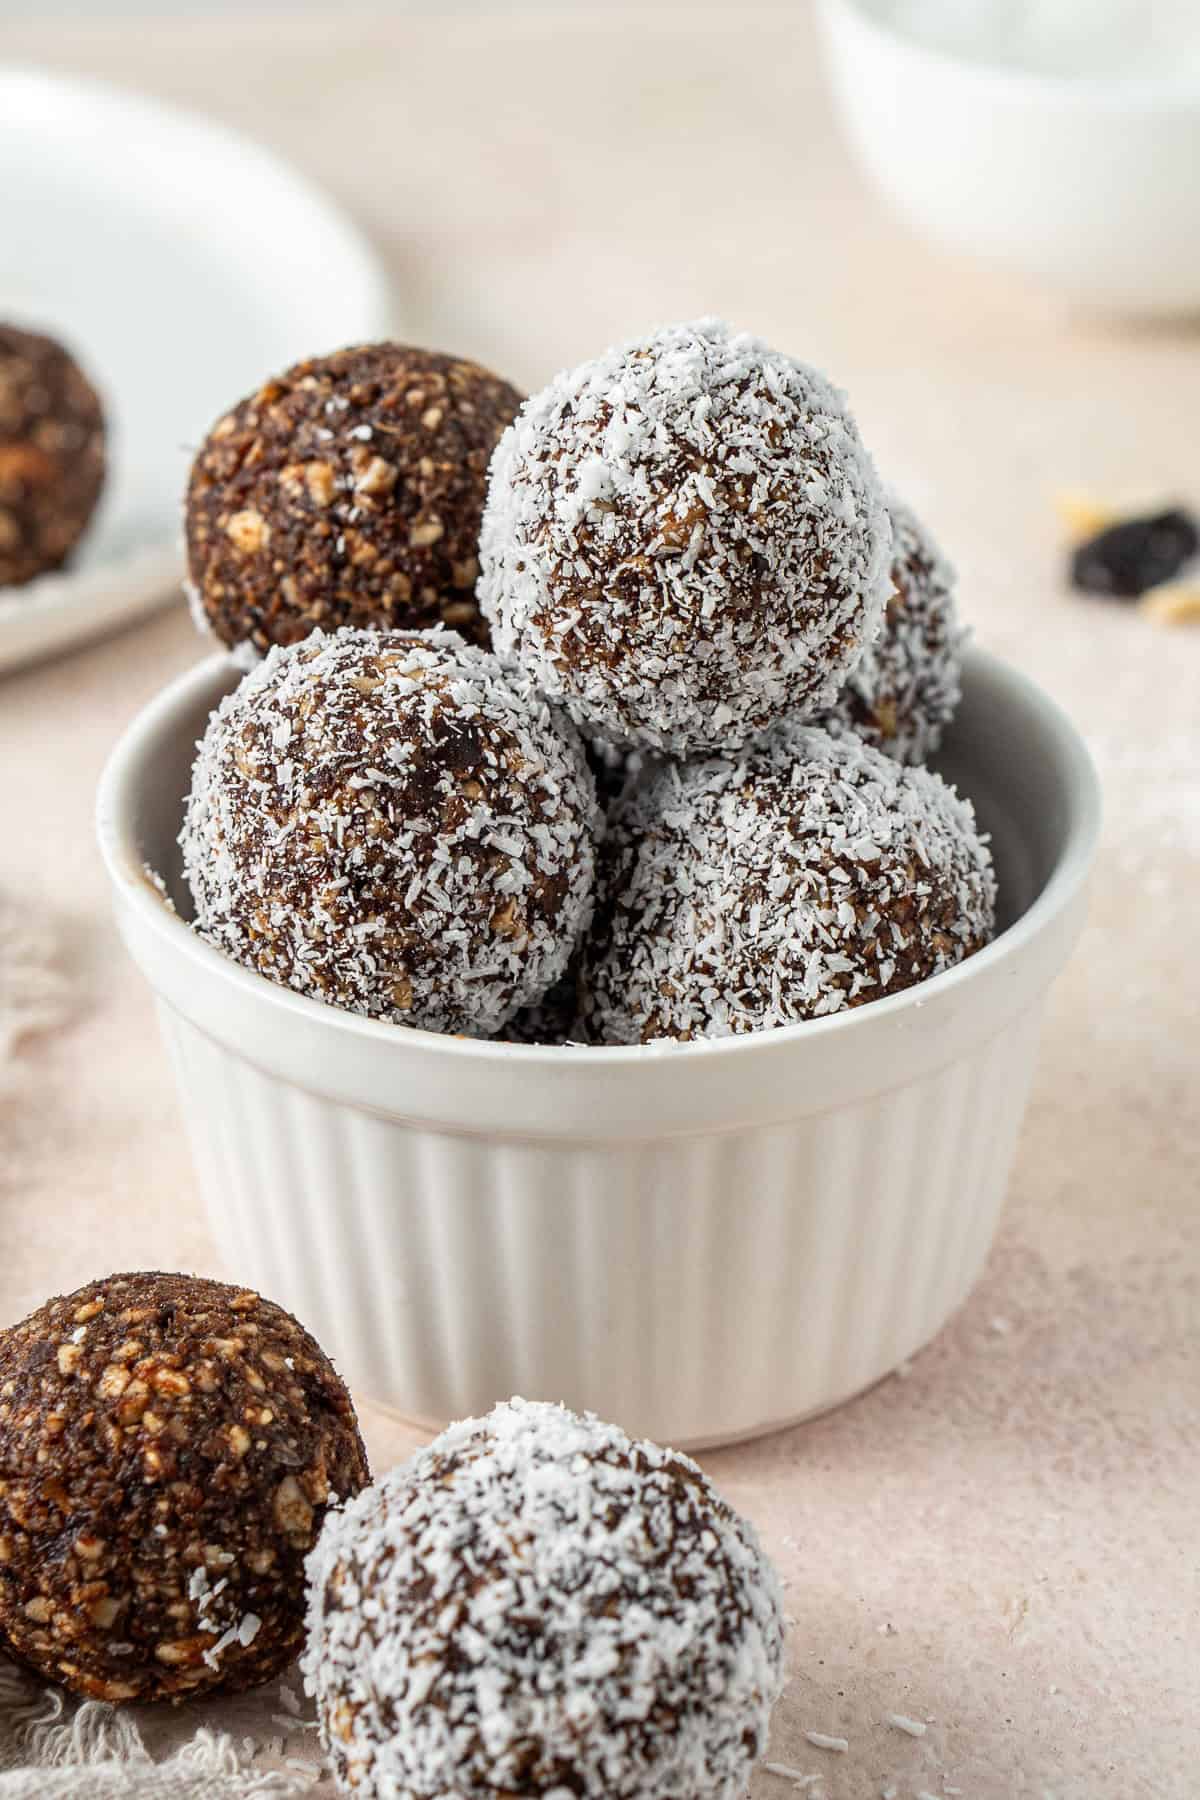
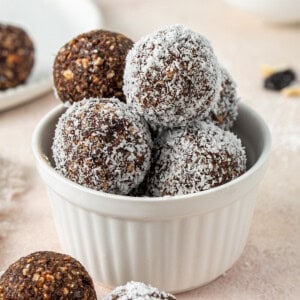
These cherry ripe bliss balls are a simple and delicious snack idea when you’re craving chocolate but want something that is going to pack a little more energy and nutrition. They are no-bake, naturally vegan and gluten free, and all you need is a handful of budget friendly ingredients and a food processor.
I love bliss balls when you need a quick, healthy snack. They are satisfying, help curb that afternoon sweet craving and can be made with a range of different ingredients.
This version might be my favourite as they taste just like a cherry ripe bar. They are inspired by a premade version you can buy at the grocery store that I used to love keeping on hand, but they can be quite expensive. So I started making them at home instead and it is actually very easy, and I think they taste better too!
Bliss balls are a great thing to make on the weekend so you have a healthy snack ready to go through the week. You can throw a couple in your lunch box for afternoon tea, or keep them in the fridge for any time you get a little hungry and go searching for a snack.
And if you are looking for different flavour ideas to keep things interesting, definitely try my peanut butter bliss balls as well, they only need 3 ingredients!
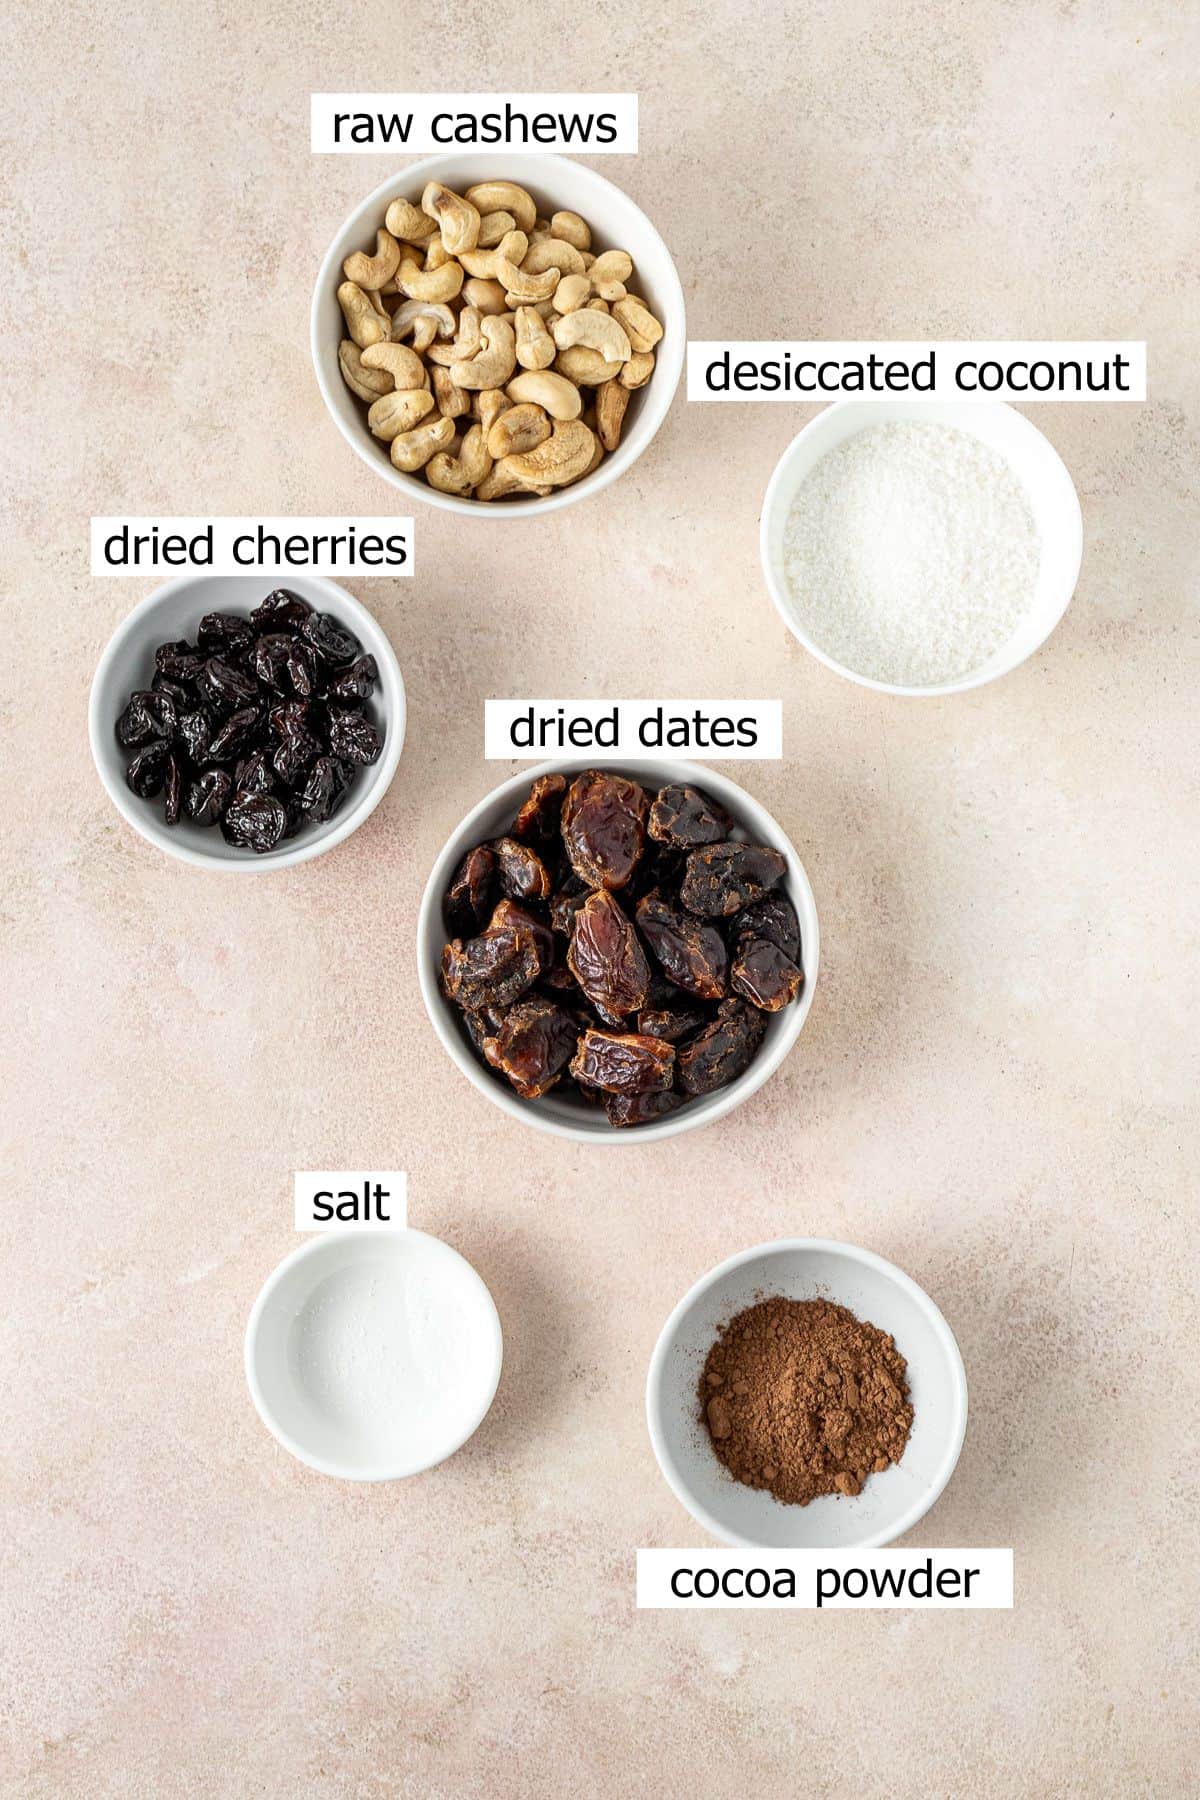
Key Ingredients
This cherry ripe balls recipe is quick and easy to make. Everything comes from the baking aisle, and you may already have most of it at home.
Note all ingredients and their quantities are laid out in the recipe card at the bottom of this post.
- Dried dates – the sticky, sweet base that holds everything together. I use regular dried dates from the baking aisle to keep the cost down. More on this below.
- Dried cherries – these give that cherry ripe flavour. You can also swap them for dried cranberries, which are cheaper and easier to find, and the taste is similar enough.
- Cashews – for a little texture and to bulk out the balls.
- Desiccated coconut – for that classic coconut hit you get in a cherry ripe bar. Shredded coconut works fine if that is what you have.
- Cocoa powder – just a little bit gives these a rich, dark chocolate flavour. You can also use cacao powder if you have it.
Regular Dried Dates vs Medjool Dates
You can use either kind of date for this recipe, so let me explain the difference.
Medjool dates are the fresh ones you find in the refrigerated section. They are soft and sweet with a caramel-like flavour, and they are lovely as a snack (especially for these peanut butter stuffed dates!). When it comes to processing them into bliss balls though, I can never quite justify the cost.
Regular dried dates are the ones from the baking aisle that you probably associate with sticky date pudding. They are a lot harder in texture, but the flavour and nutrition are nearly identical. The main difference really is the price.
To keep these sweet treats cheap, I use the regular dried dates. The only thing I do differently is soak them in warm water for at least 10 minutes before processing, which brings back that soft, chewy texture that works perfectly here.
If you prefer medjool dates, go ahead and use them. Just skip the soaking step and remove the pits first.
Essential Tools
You will need a food processor to make these bliss balls as it’s going to break everything down into a sticky mixture that can be rolled into balls.
Step-By-Step Instructions
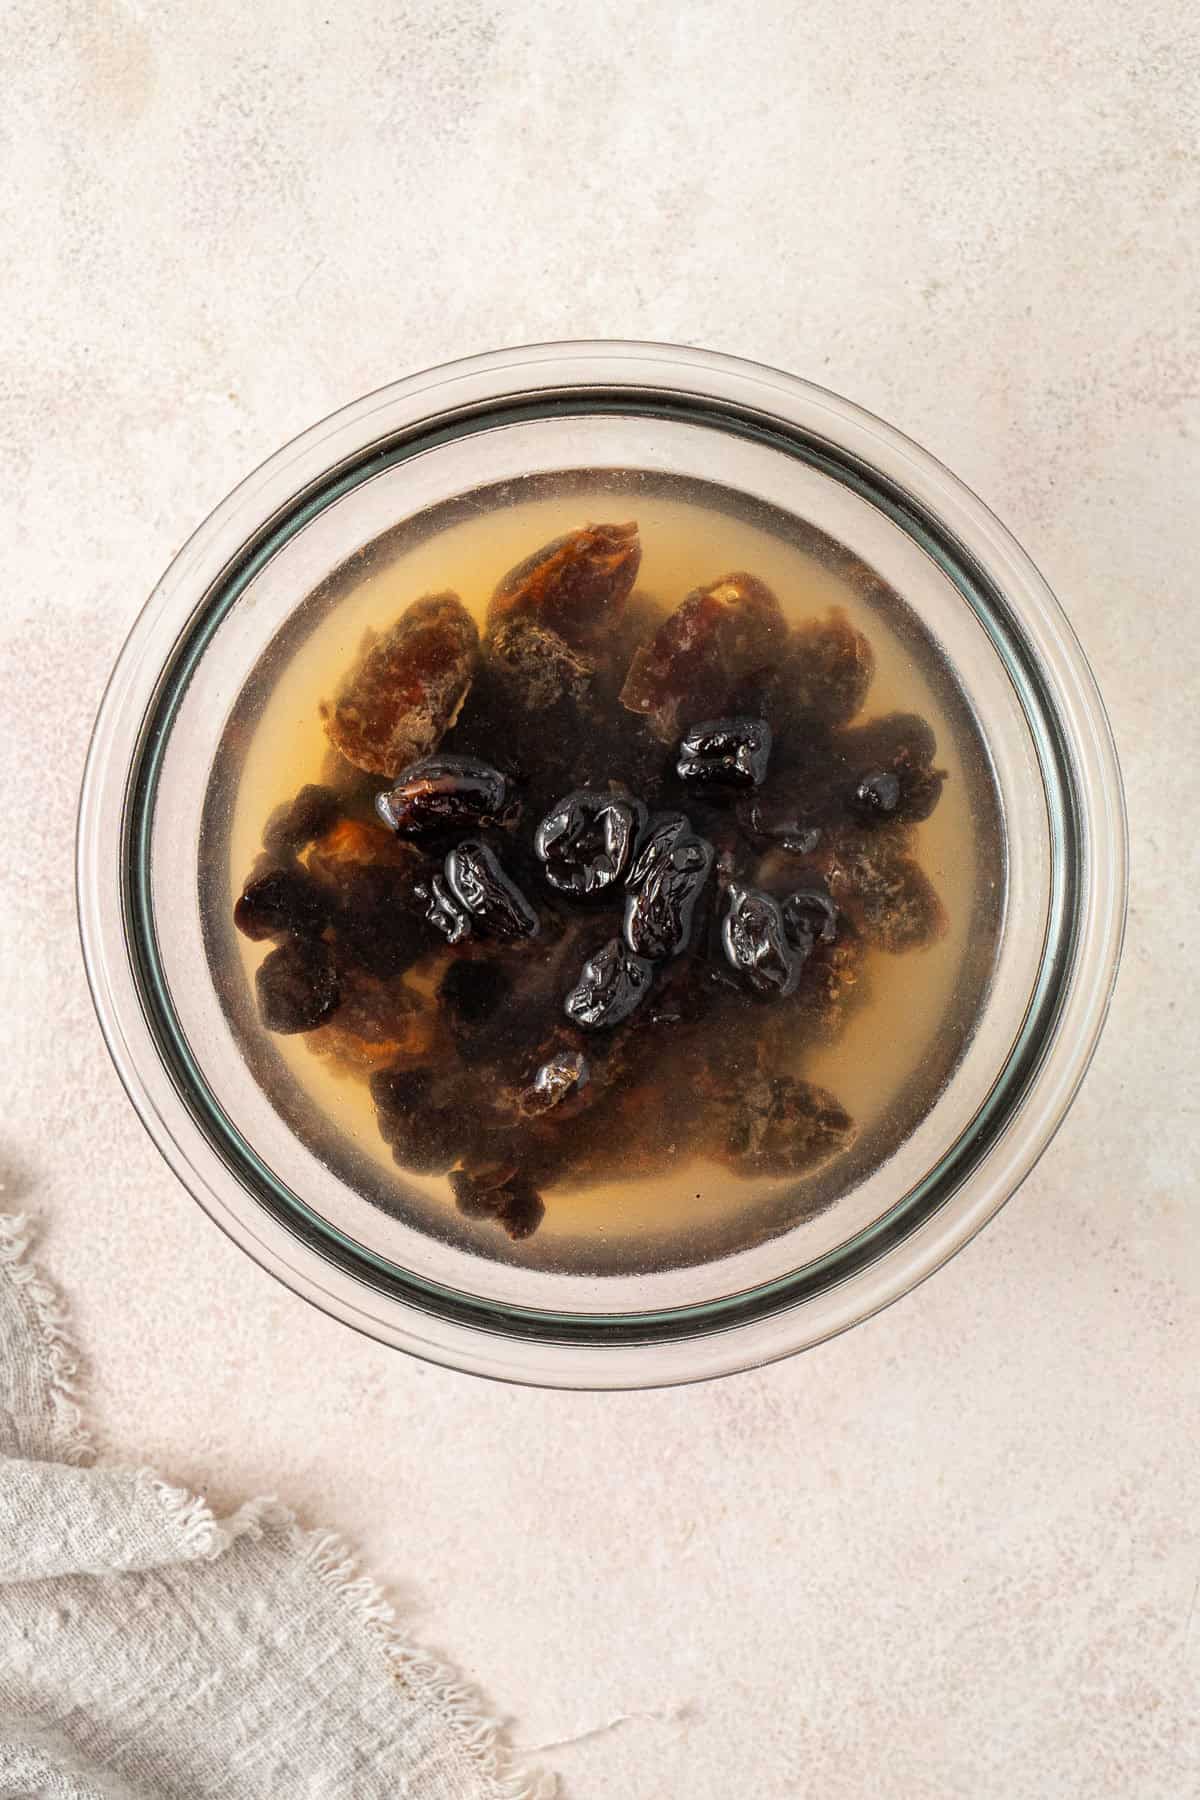
Step 1: Soak the dried dates and dried cherries in warm water for 10 minutes, then drain them well.
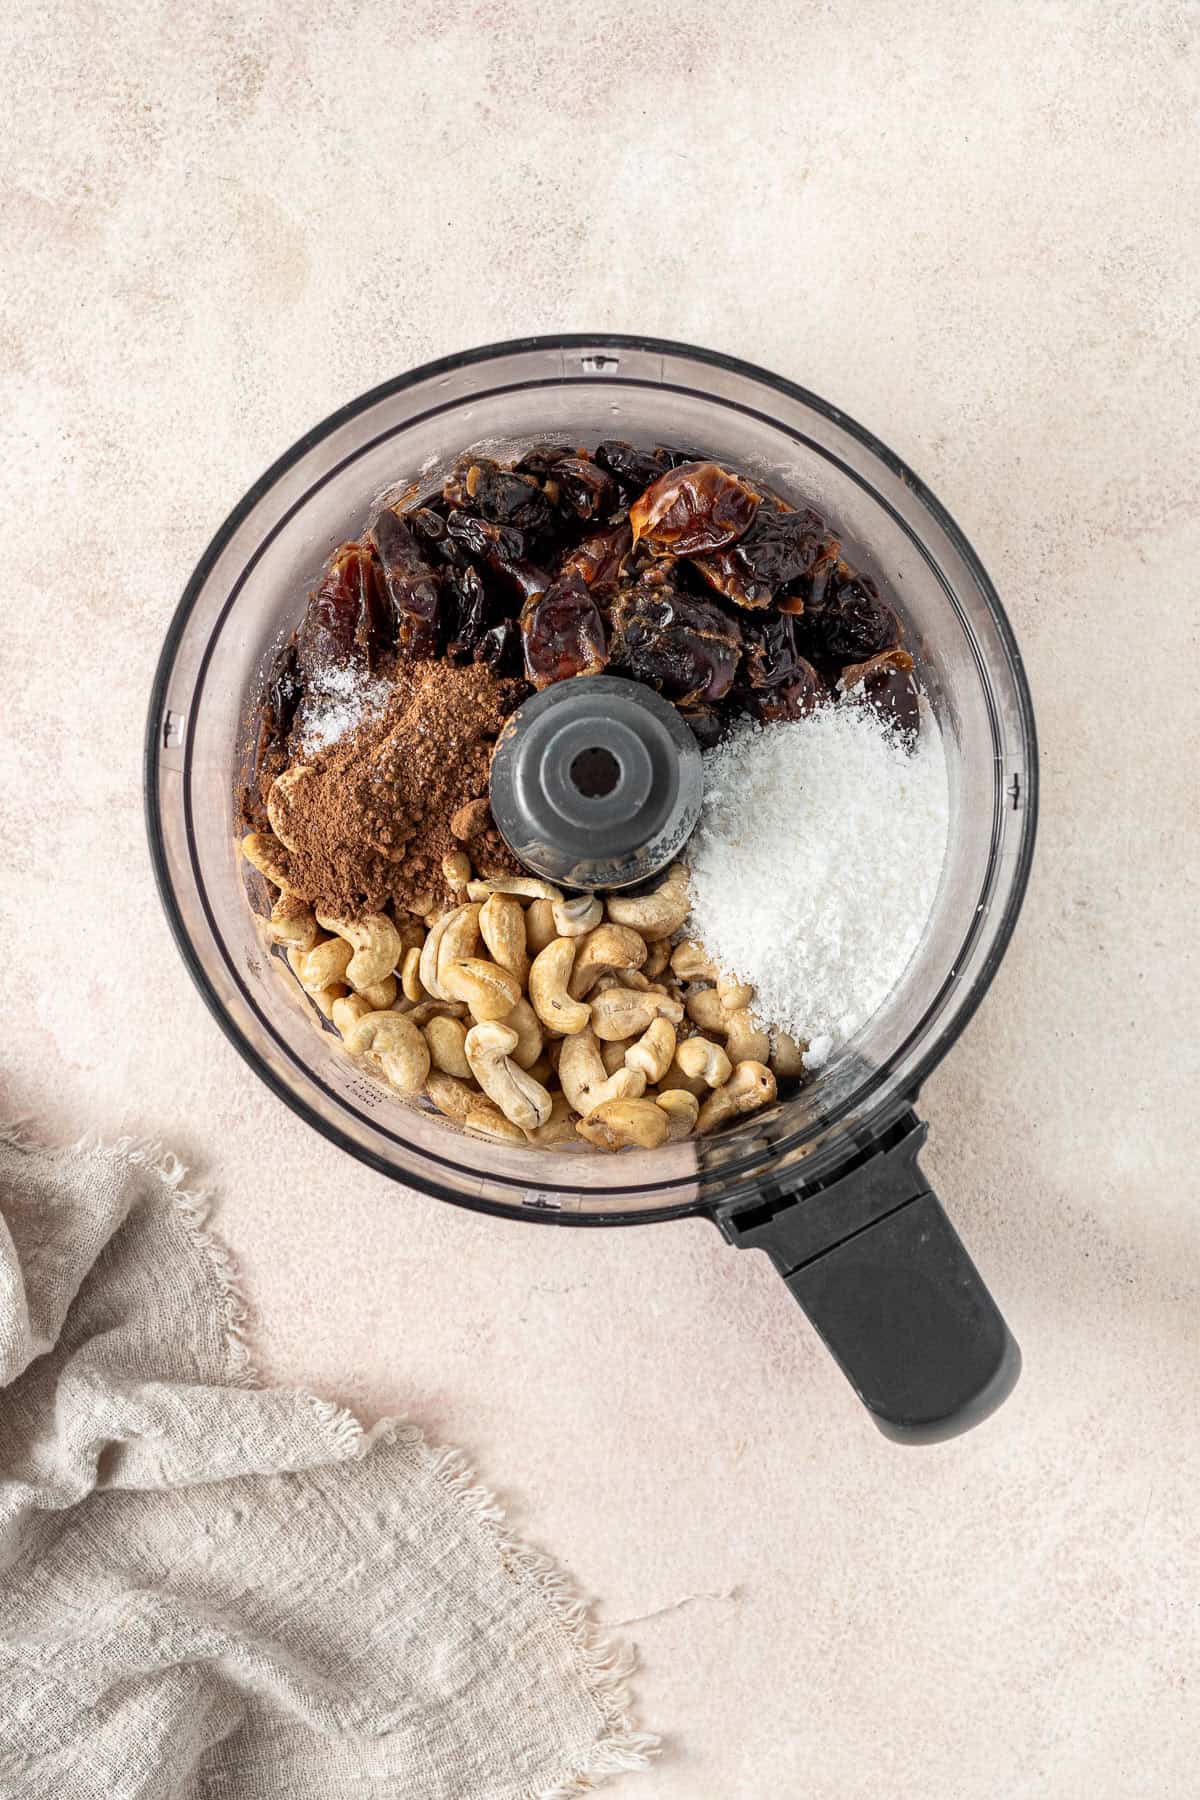
Step 2: Add the drained dates and cherries to your food processor along with the cashews, coconut, cacao powder and salt.
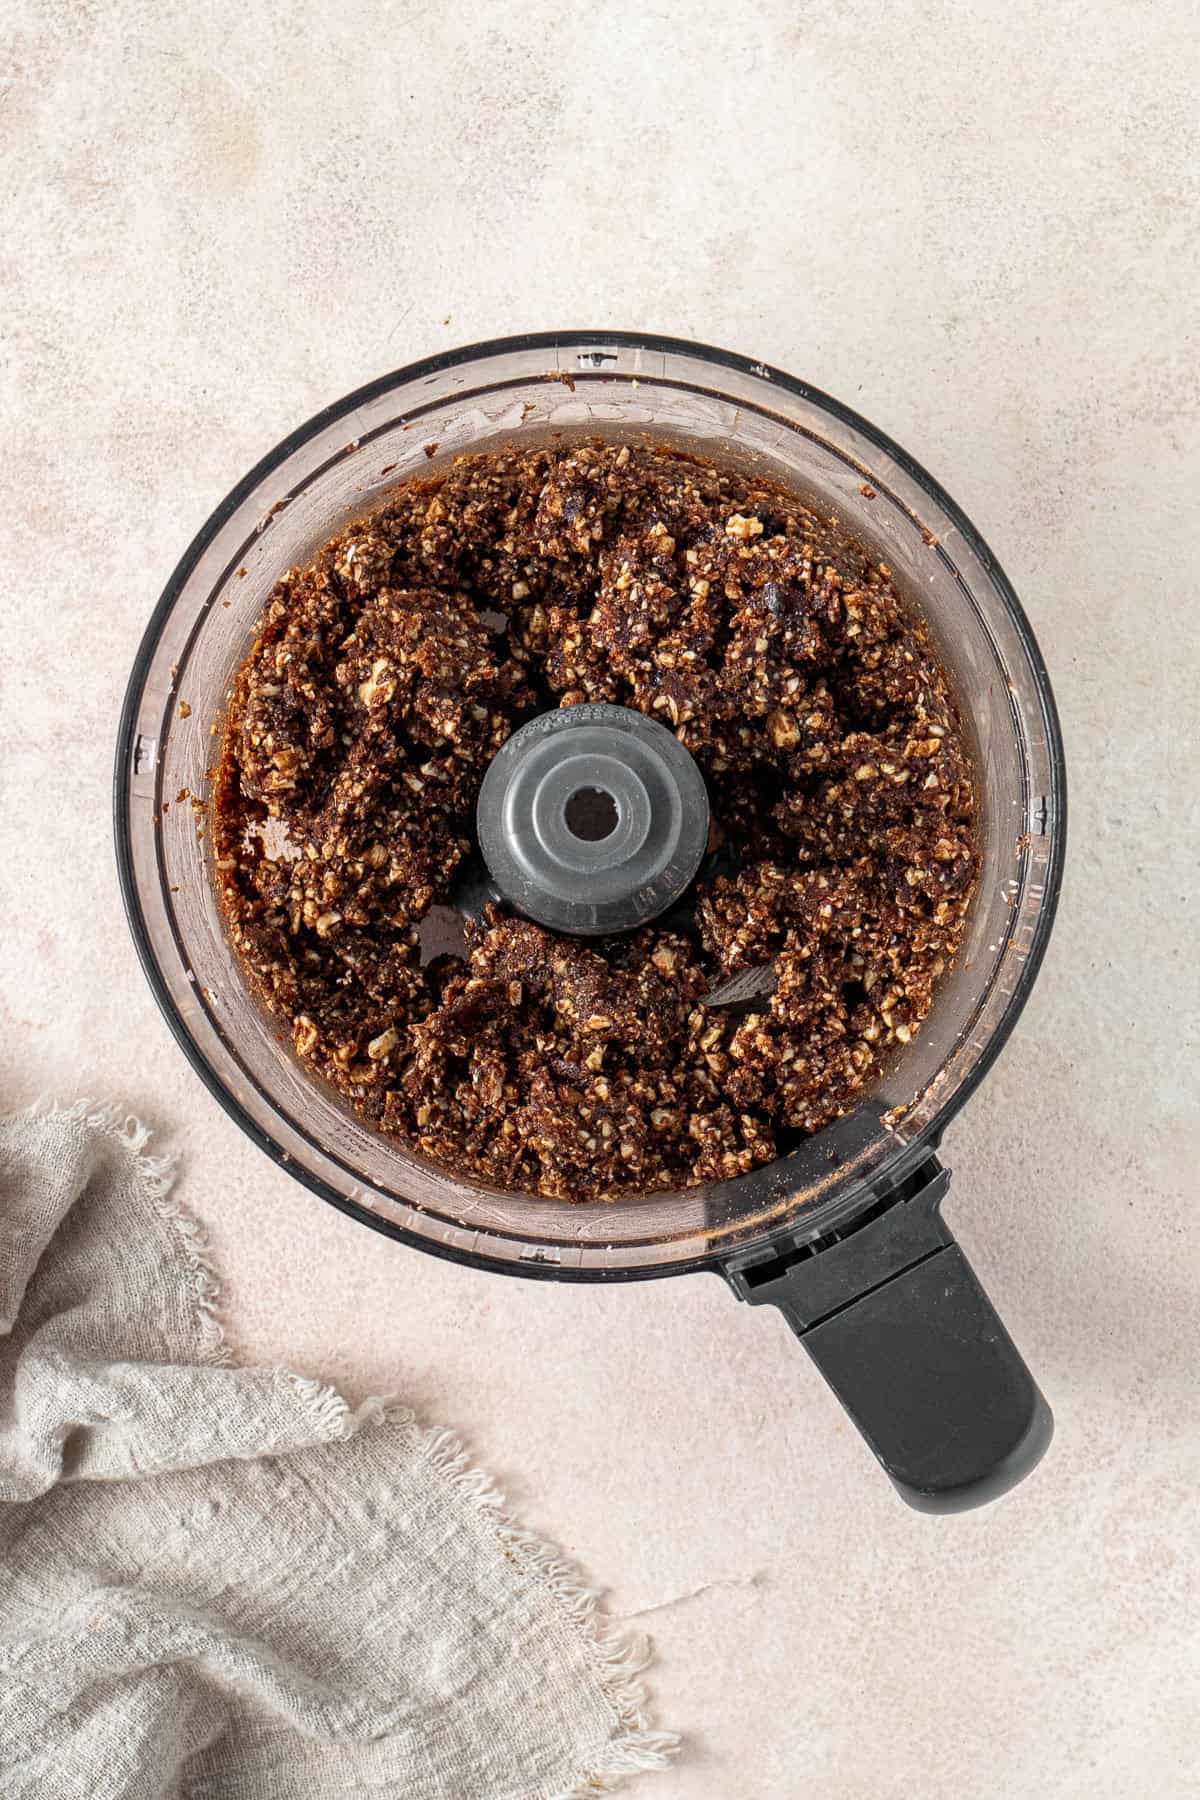
Step 3: Process everything for about 5 minutes, until it is all chopped up and the mixture turns sticky and clumps together when you press it.
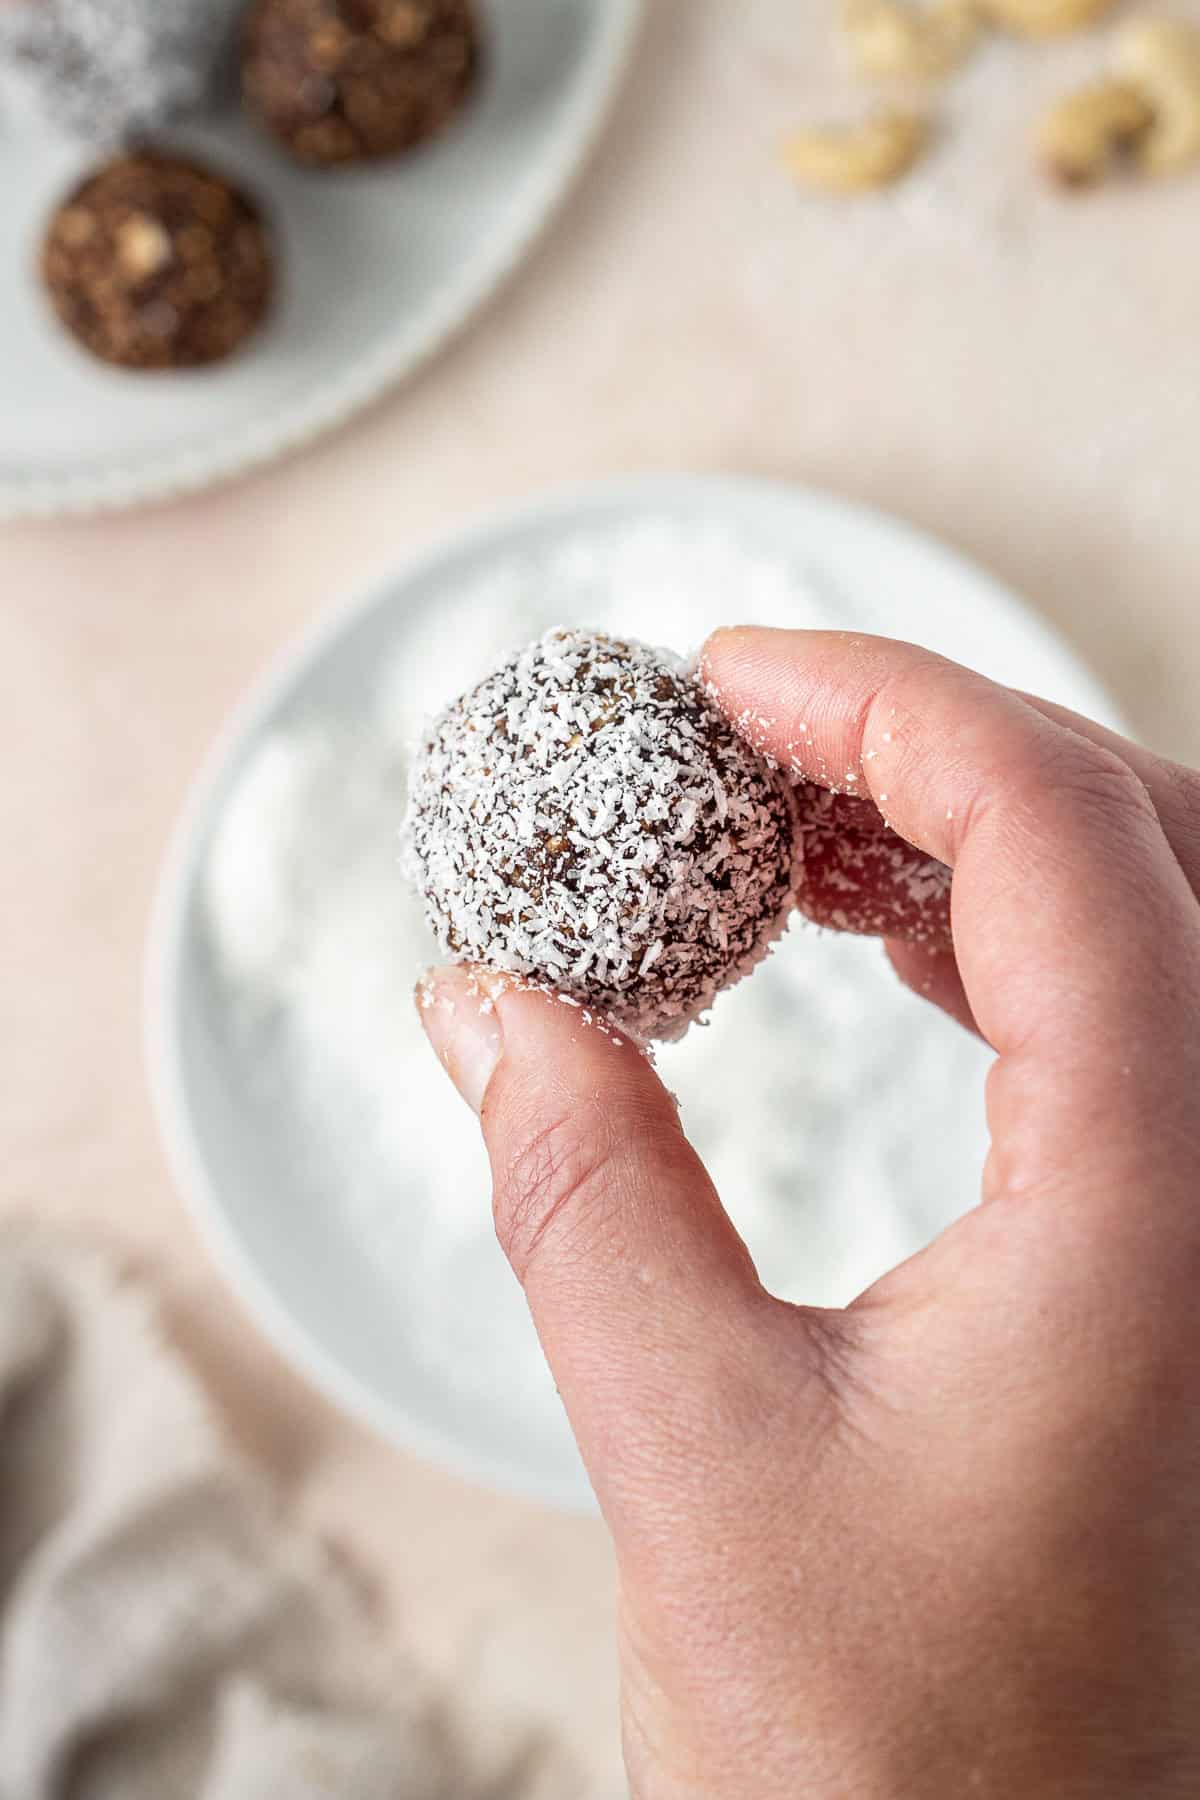
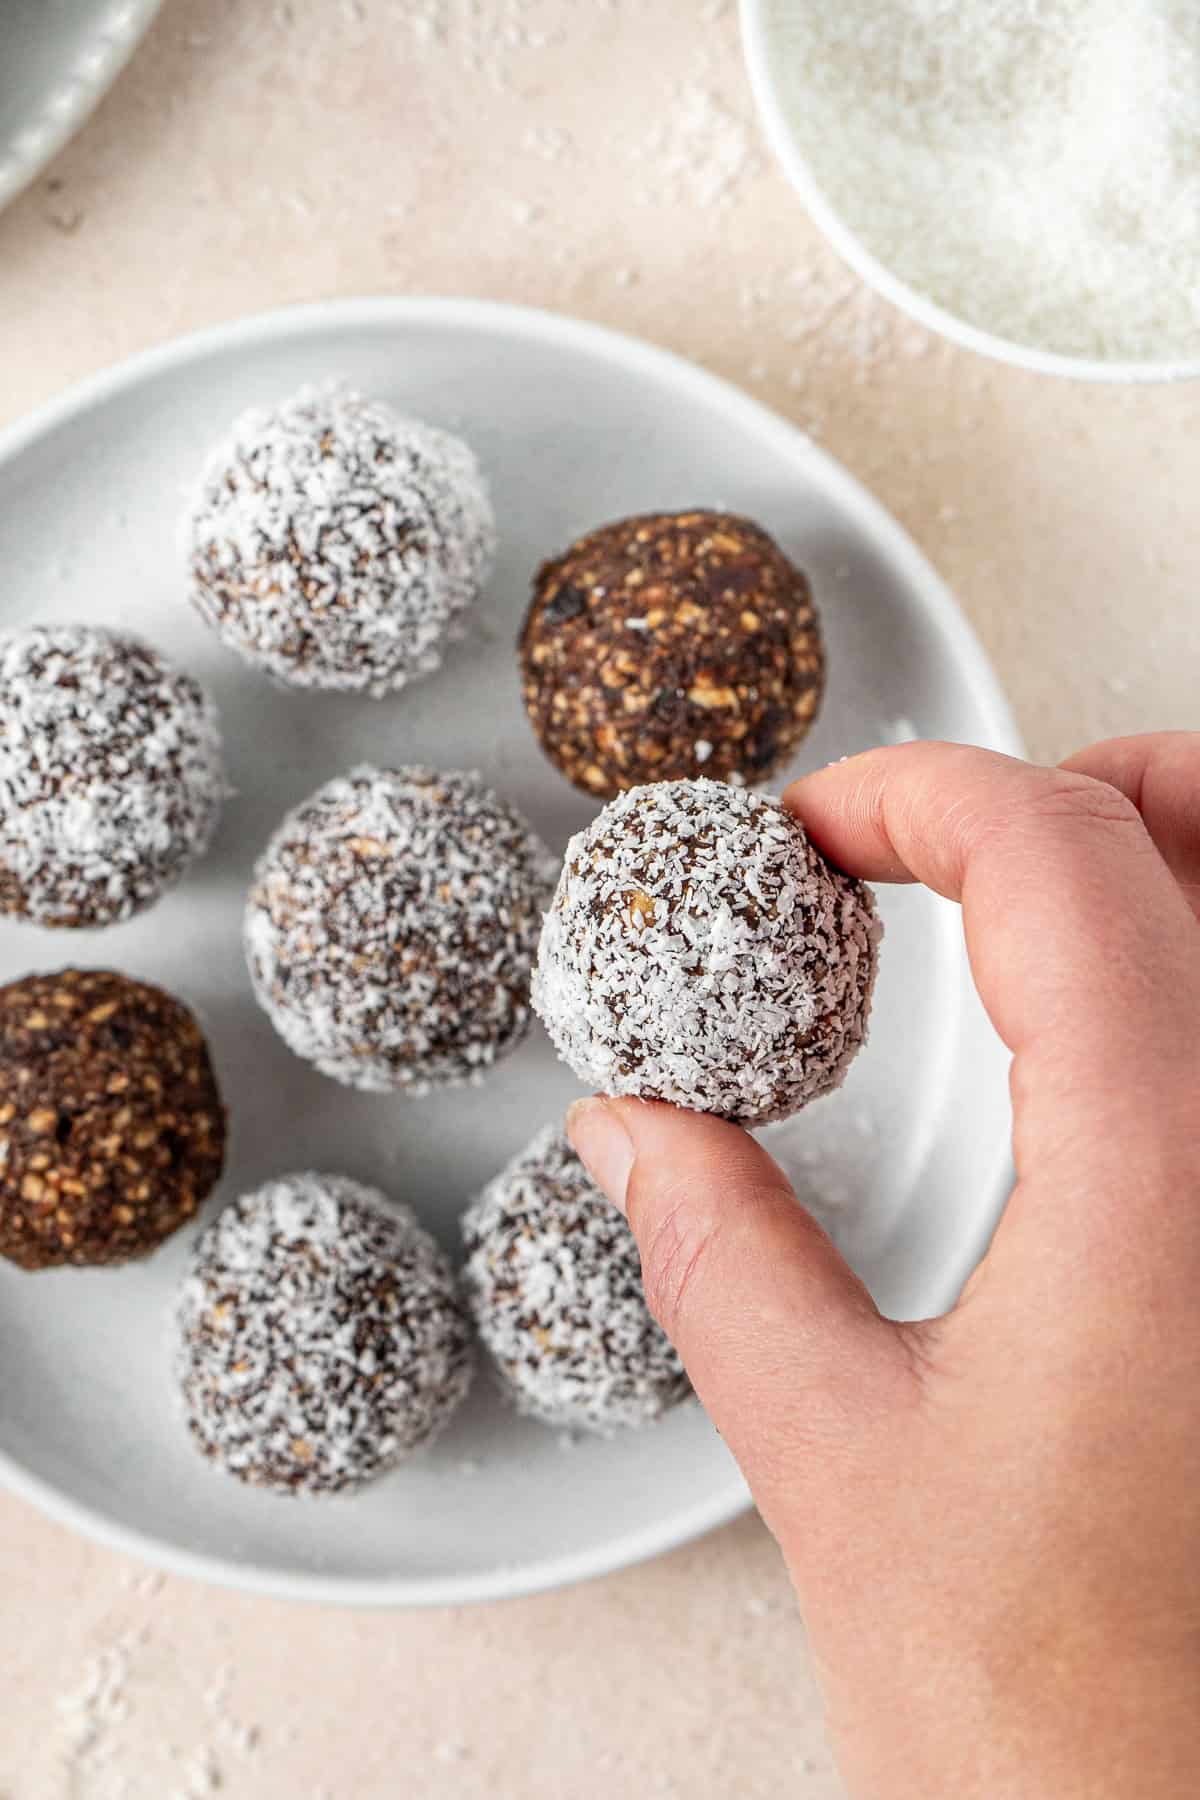
Step 4: Roll about a tablespoon of the mixture into a ball, then roll it through the extra coconut. Place the balls in the fridge to chill for 30 minutes to firm up.
👉 Tip! If your mixture is not coming together when you press it, keep processing for another minute or so. The natural stickiness of the dates is what binds everything, and it just needs a little time to break down.

Storage Instructions: You can store these chocolate cherry bliss balls in an airtight container in the fridge for up to 2 weeks, making them a great option for meal prep.
Recipe FAQs
A Cherry Ripe is a classic Australian chocolate bar made with cherries and coconut covered in dark chocolate. These bliss balls take those same flavours of cherry, coconut and chocolate and turn them into a healthier no bake snack.
Yes. Dried cranberries are usually cheaper and easier to find, and the taste is similar enough that they work really well.
Only if you are using regular dried dates. Soaking softens them so they process smoothly. If you are using medjool dates you can skip the soaking step, just remove the pits first.
If you do make this recipe, please be sure to leave a comment and ⭐⭐⭐⭐⭐ rating below! And tag any of your creations on Instagram with @eightforestlane as I would love to see.
More healthy snack ideas:
Easy No-Bake Lamington Bars
No-Bake Peanut Butter Muesli Bars
Chocolate Hazelnut Bliss Balls
Air Fryer Crispy Chickpeas
Cherry Ripe Bliss Balls
Equipment
Ingredients
- 150 grams (1 cups) dried dates
- 50 grams (¼ cup) dried cherries or dried cranberries
- 110 grams (¾ cup) raw cashews
- 20 grams (¼ cup) desiccated coconut or shredded coconut
- 1 tablespoon cocoa powder
- pinch of salt
- 20 grams (¼ cup) desiccated coconut extra for rolling
Instructions
- Soak the dried dates and dried cherries in warm water for 10 minutes, then drain well.
- Add the dates and cherries to a food processor with the cashews, coconut, cacao powder and salt. Process for about 5 minutes, until everything is chopped up and the mixture is sticky.
- Roll about a tablespoon of the mixture into a ball, then roll in the extra coconut. Roll the ball in your hands again to help the coconut stick to the outside.
- Place in the fridge to chill for 30 minutes.
Notes
Nutrition
Nutritional information is provided as a guide only and is calculated using automated online tools, therefore we cannot guarantee the accuracy. We encourage you to make your own calculations based on the actual ingredients used in your recipe.


Never wonder what's for dinner again
Get a brand new dairy free meal plan every week, plus members only recipes and the whole of Eight Forest Lane with no ads. The planning is done, you just shop and cook.
Start your 7 day free trial →