
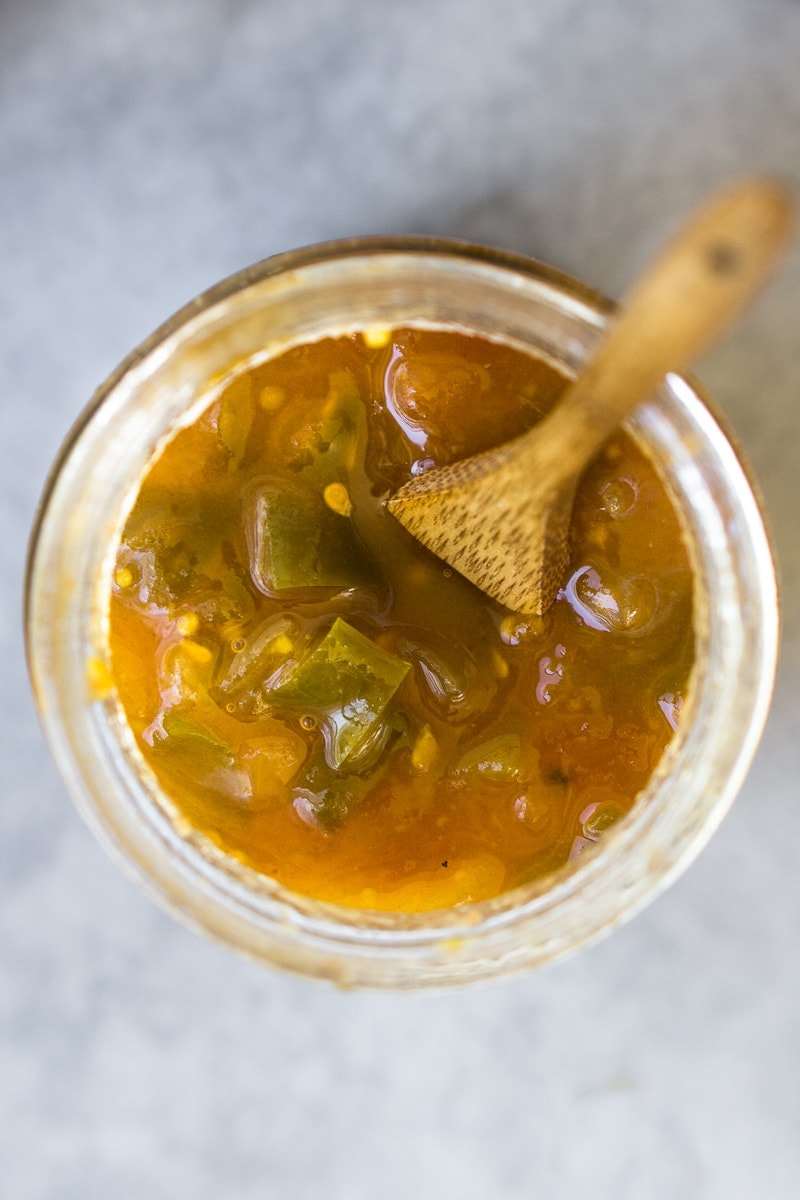
There is nothing quite as delicious as homemade tomato and capsicum chutney. All you need are a few simple ingredients and some patience in the kitchen! This chutney will keep for up to 12 months and makes the perfect edible gift!
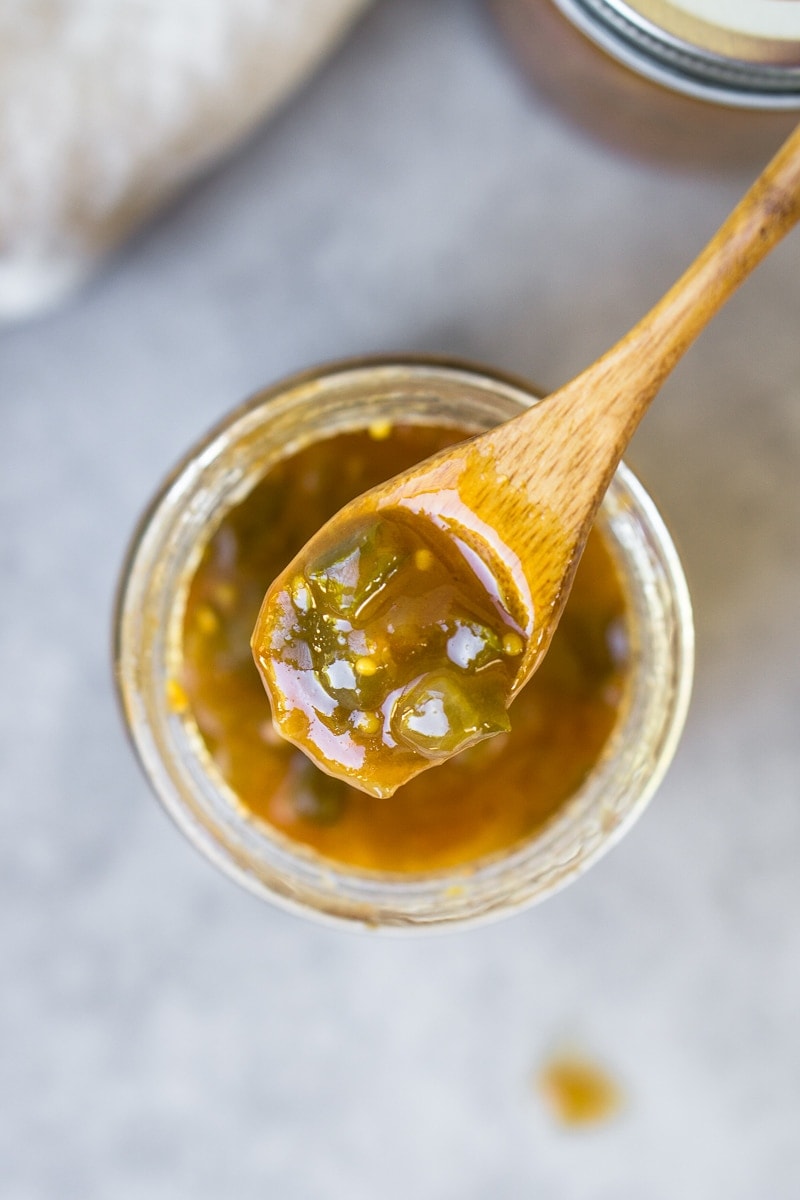 There is nothing quite as delicious as home-made chutney. I simply cannot find anything as good in the supermarkets! Free from artificial preservatives and full of flavour, this is one of my favourite things to have on hand and it is really not that difficult to make. All you need are a few simple ingredients and some patience in the kitchen!
I’ve been making this chutney for years and always have some stored away in the back of the pantry or in the fridge. I actually first published this recipe back in February of 2016 and when I recently found myself with three green capsicums and zero idea what to do with them, I remembered this recipe.
I decided that making a batch was a great way to make sure they didn’t go to waste and also give me an opportunity to update the photographs in this post and not let this recipe hide in the archives.
If you love the taste of homemade chutney but have thought it was difficult to make, then this is a great recipe for beginners to get started with because it really is quite simple.
 How to make chutney
To make this chutney the first thing you will need to do is to peel your tomatoes. I find the easiest way to do this is to first bring a pot of water to the boil on the stove and then drop in your tomatoes for 30 seconds to a minute or until the skin starts to blister.
You can cut an X into the top of the tomato to help this process but it’s not really necessary. Once the skin has started to blister you can remove them and drop them into some cold water to make them easier to handle. The skins should just be falling away at this point and easily pull off.
From here, the rest of the process comes down to just a few steps and mostly hands off time.
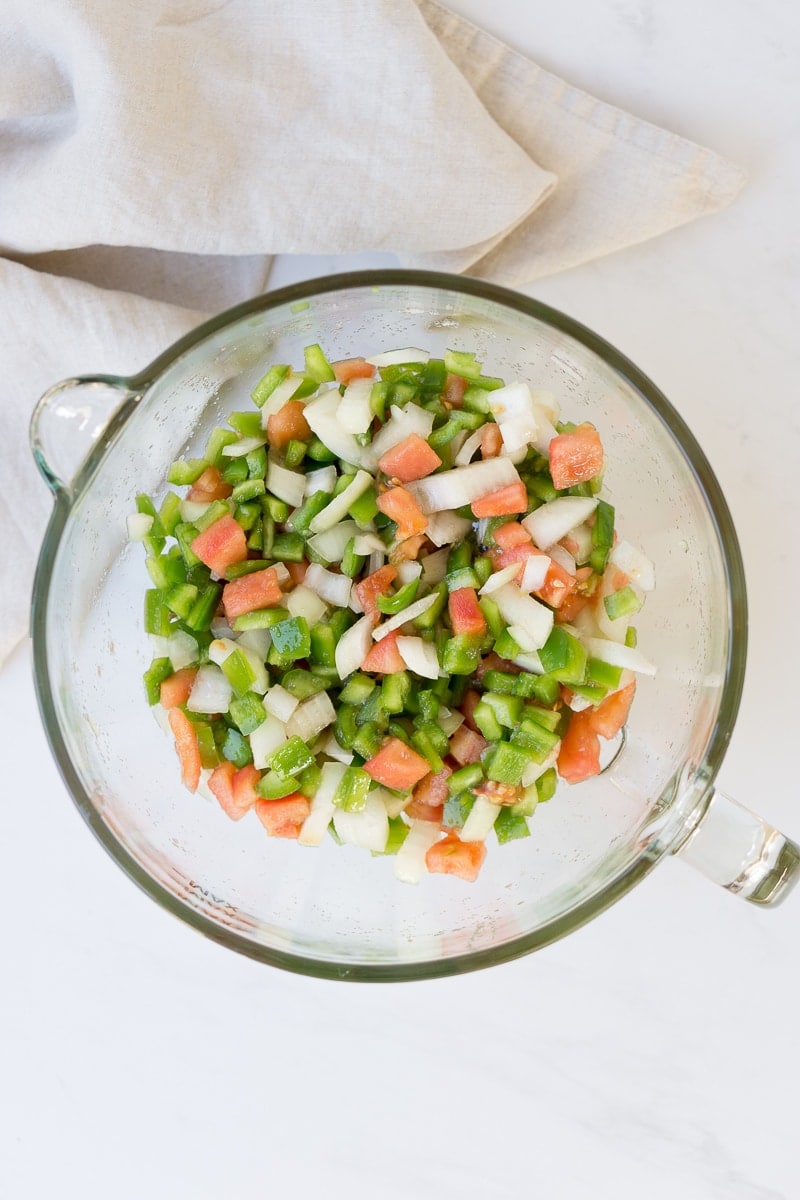
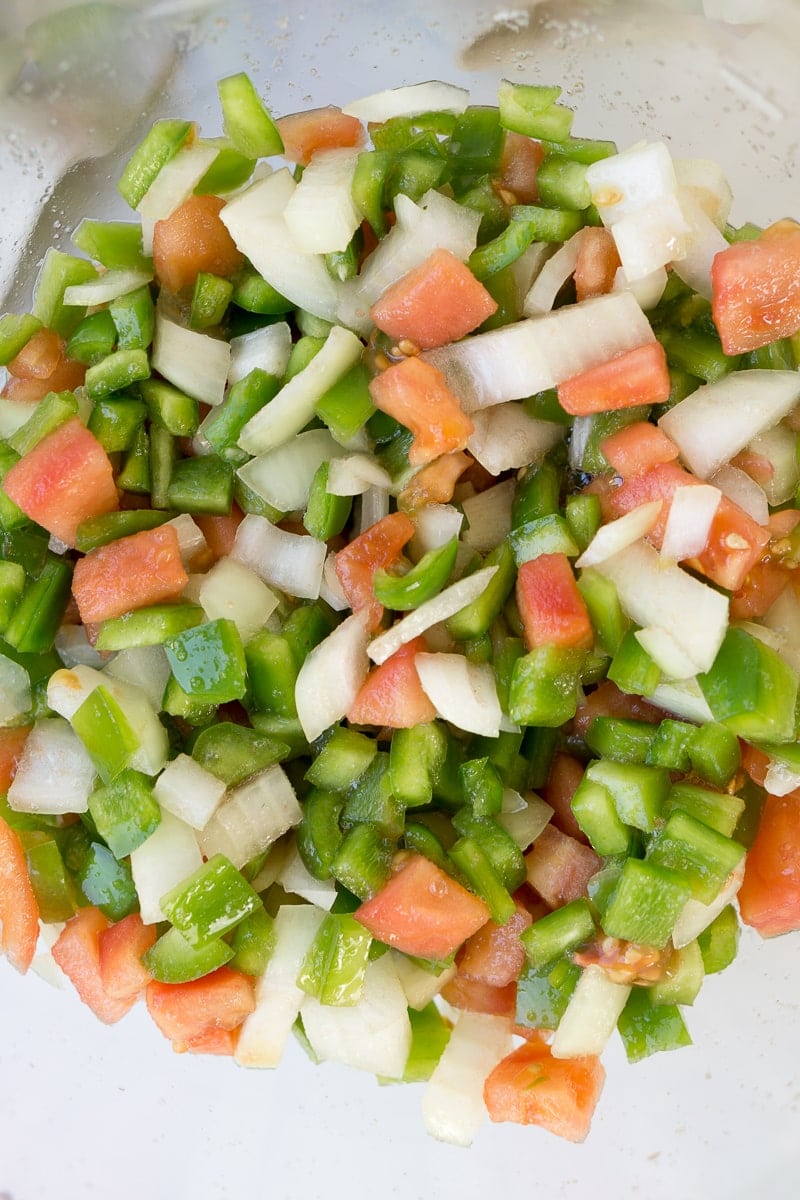
Start by chopping the onions the capsicums and the peeled tomatoes. I’ve made this chutney with both red and green capsicum and both work perfectly. You then need to sprinkle them with salt and let sit for about 2 hours to allow the salt to break down the vegetables and draw out the water.
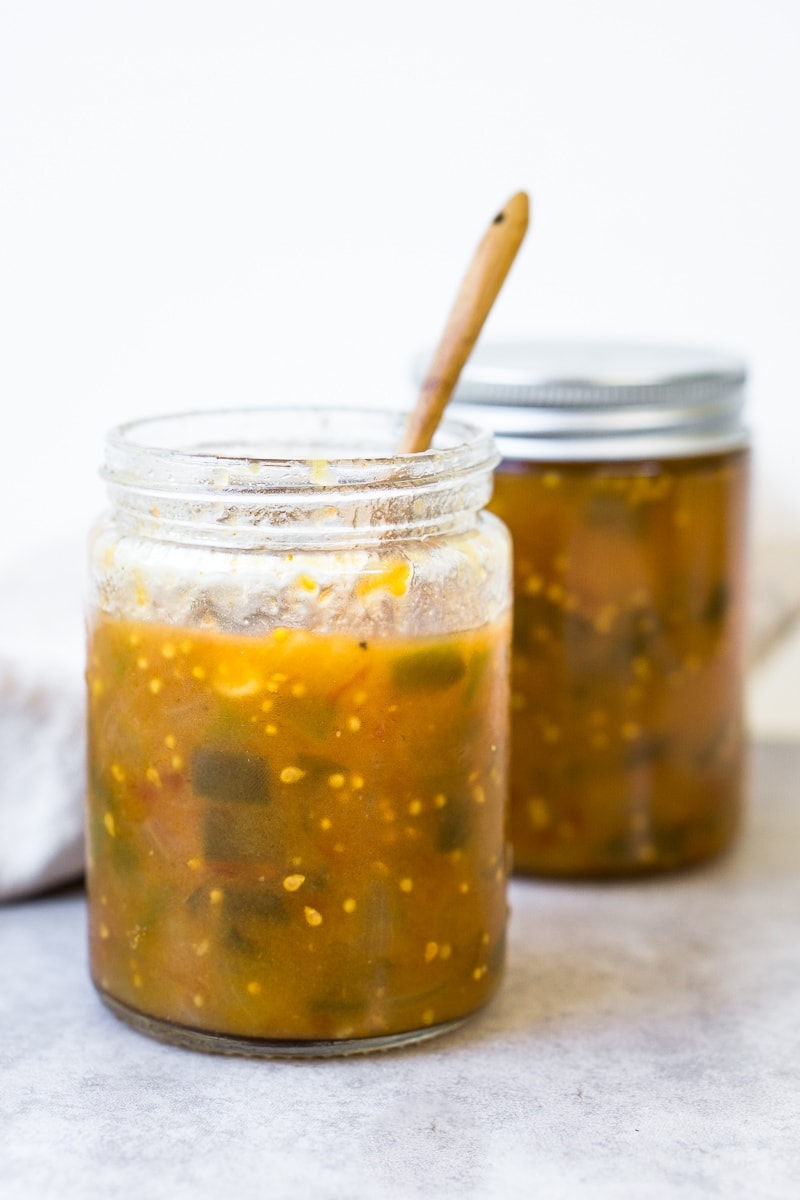
From here start to boil everything together until soft, before adding in just a little flour and spices to thicken it up. Let the mixture boil until the chutney has thickened and then add into sterilised jars.
 How to sterilise jars
You can use any glass jars you have as long as they have a metal lid. I often recycle my old condiment jars, so if you are doing this, make sure to first wash them in warm soapy water and remove the label.
Rinse and place the jars and lids in a large saucepan and fill with water and place on the stove to boil. Once the water is boiling you can remove the jars (carefully) with metal tongs and place them, upside down on a baking tray. Place the jars in a 110°C oven and heat for 10-15 minutes.
As soon as the jars are done, you want to handle them with gloves and add the chutney right away as the process of the jars cooling down is what preserves the chutney.
 How to use homemade chutney
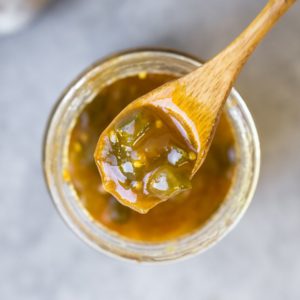
From my experience this chutney gets better over time as it matures (about 3-6 months), however it is still delicious straight away.
You can serve this chutney with just about anything, but a few of my favourite ideas are:
- Homemade beef burgers
- Bacon and egg rolls
- Sausage rolls
- Zucchini Fritters
- Focaccia
- Leek and ricotta rolls (from Mrs Jones’s Kitchen)
Once sealed, your chutney will keep for a long time and really just keep getting better. This batch makes about 4 smallish jars (think the size that mustards and curry paste come in). If you feel you don’t need that much chutney it is always a great gift for friends and family. I am positive they would love to receive something homemade and delicious!
 If you do make this recipe, please be sure to leave a comment and rating below! And tag any of your creations on Instagram with #eightforestlane as I would love to see.
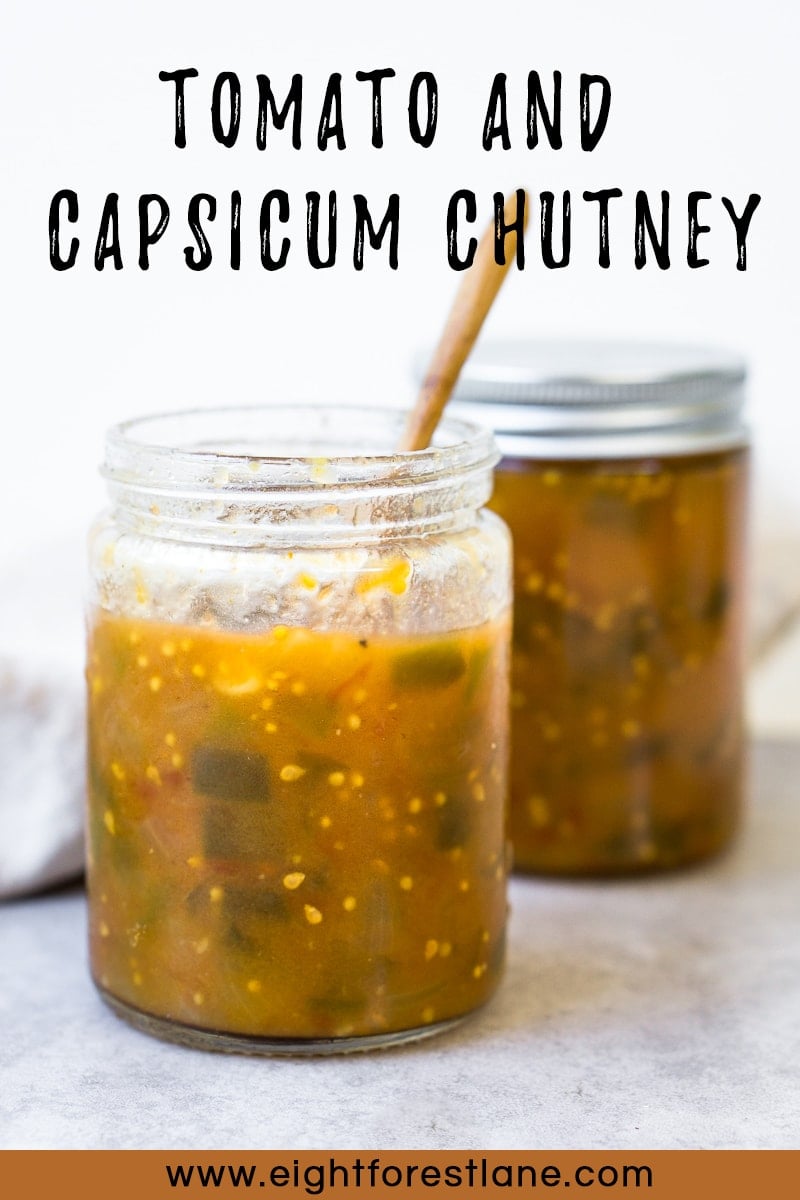
Tomato and Capsicum Chutney
Ingredients
- 3 large seeded red or green capsicums
- 500 grams tomatoes
- 1 large onion
- 2 tablespoons salt
- 2 cups white vinegar
- 1 ½ cups white sugar/granulated sugar
- 1 tablespoon mustard seeds
- 2 tablespoons plain flour/all purpose flour
- ½ cup water
- ¼ teaspoon paprika
- ¼ teaspoon turmeric
Instructions
- Bring a large pot of water to the boil and add in tomatoes for 30 seconds to a minute until the skin starts to blister. Remove immediately from the water and carefully peel off the skin.
- Dice the onion, the capsicum and the peeled tomatoes finely and place into a bowl. Sprinkle with the salt and set aside to stand for 2 hours.
- In a large pot over high heat, combine the vinegar, sugar and mustard seeds stirring until the sugar is dissolved. Bring to a boil and add in the vegetables and continue to boil for about 20 minutes until the vegetables are very soft.
- In a small bowl mix together flour, water and spices to make a paste. Add to the boiling chutney and stir through.
- Reduce the heat and slowly simmer until chutney is a thick and will coat the back of a spoon, making sure to stir regularly to avoid the chutney sticking to the bottom of the pot.
- Sterilise 2-3 jars (depending on size) by placing them in a large pot of water and allowing the water to come to a boil in the stove. Once the water is boiling, carefully remove the jars from the water and place upside down on a baking tray and place in a 110°C oven for 10 minutes.
- Carefully remove the jars from the oven and place the hot chutney into the jars using a funnel, until filled to the very top and place on the lid to seal. Let the jars sit on the bench overnight to cool completely. Chutney can be kept sealed in the pantry for 12 months and once opened in the fridge for up to 6 months.
Nutrition
Nutritional information is provided as a guide only and is calculated using automated online tools, therefore we cannot guarantee the accuracy. We encourage you to make your own calculations based on the actual ingredients used in your recipe.
Original recipe was published February 22nd 2016.
Save it for later:


Carol says
I was given 4 huge capsicums. Found this recipe and hopped to it. I had tomatoes that needed to be used too. Can’t bear to throw food out. Easy process and it warmed me up on a cold day. Tastes great.
Thank you!
Sally says
So great to hear! Thanks Carol 🙂
Jenny says
Best of even made, just about to make another batch, thanks for sharing x
Sally says
Great to hear Jenny, thanks for leaving a comment!
Janice says
Hi making tomato capsicum do I drain the brine off please
Sally says
No need to drain the vegetables, just dump the whole lot in the pot. I hope you enjoy!
Jennie says
Totally yum. I added a few chopped dates and made turmeric up to 1/2 tsp
Sally says
Sounds delicious!
Lorna says
Will the vinegar react with the metal lid?
Sally says
Hi Lorna, most metal lidded jars have a rubber coating on them to prevent any reaction.
Judith MacFarlane-Arnel says
Big chutney journey this year. Full tree of nectarines started me, and now M ru nine with it. Made these ones for my hubby, son and friends son. Goes down a treat. Local shop had capsicum and truss tomatoes, full of flavour, for under $3 a kg. Love this recipe.
Sally says
Love this Judith – so glad you enjoyed this recipe!
LUCY WATSON says
Hi, I am making this recipe with green capsicums and green tomatoes (from our garden) this afternoon. Do I drain off the brine or leave it in? Also I will use GF cornflour instead of ordinary flour to make it gluten free.
Sally says
Hi Lucy, sounds delicious! No need to drain the vegetables, just dump the whole lot in the pot. I hope you enjoy!
Lucy H says
Hi Lucy,
I’m going to try making this Gluten Free soon – how did yours turn out? Did you use all purpose GF flour or cornflour?
Thank you,
Lucy H.
Erin says
I am so excited to make this! I love chutney but have never thought to make it myself.
Sally says
That’s great Erin! Let me know how you go!
Emma {Emma's Little Kitchen} says
NOTHING beats homemade chutney! Pinning for tomato season 🙂
Sally says
So true Emma!
candy says
Never tried making chutney. Guess I just never really knew that much about it. Going to try this summer.
Sally says
I hope you do give it a try, it is very satisfying making a batch 🙂
Jen | A Sip of Bliss says
This sounds delicious! I agree about homemade chutney, it is sooo good!
-Jen
http://www.asipofbliss.com
Sally says
Thanks Jen, homemade is always better 🙂
Kole says
Ok, I can relate with this. My Hungarian wife made a killing from home-made chutney last Christmas here in Essex. Never knew anything that tasted better. Now I am a chutney convert.
Sally says
That’s fantastic! Chutney really does taste so much better when it is home-made.
Debonita says
Love your chutney recipe. I have been trying to make one but never got it right. I am going give your recope a shot.
Sally says
Excellent! You have to let me know how it turns out 🙂
Danielle says
I’m going to have to try this. I love making stuff homemade. For some reason things just tastes so much better when I take the time to make them from scratch.
Sally says
I totally agree with you Danielle! Let me know if you do end up trying this recipe.