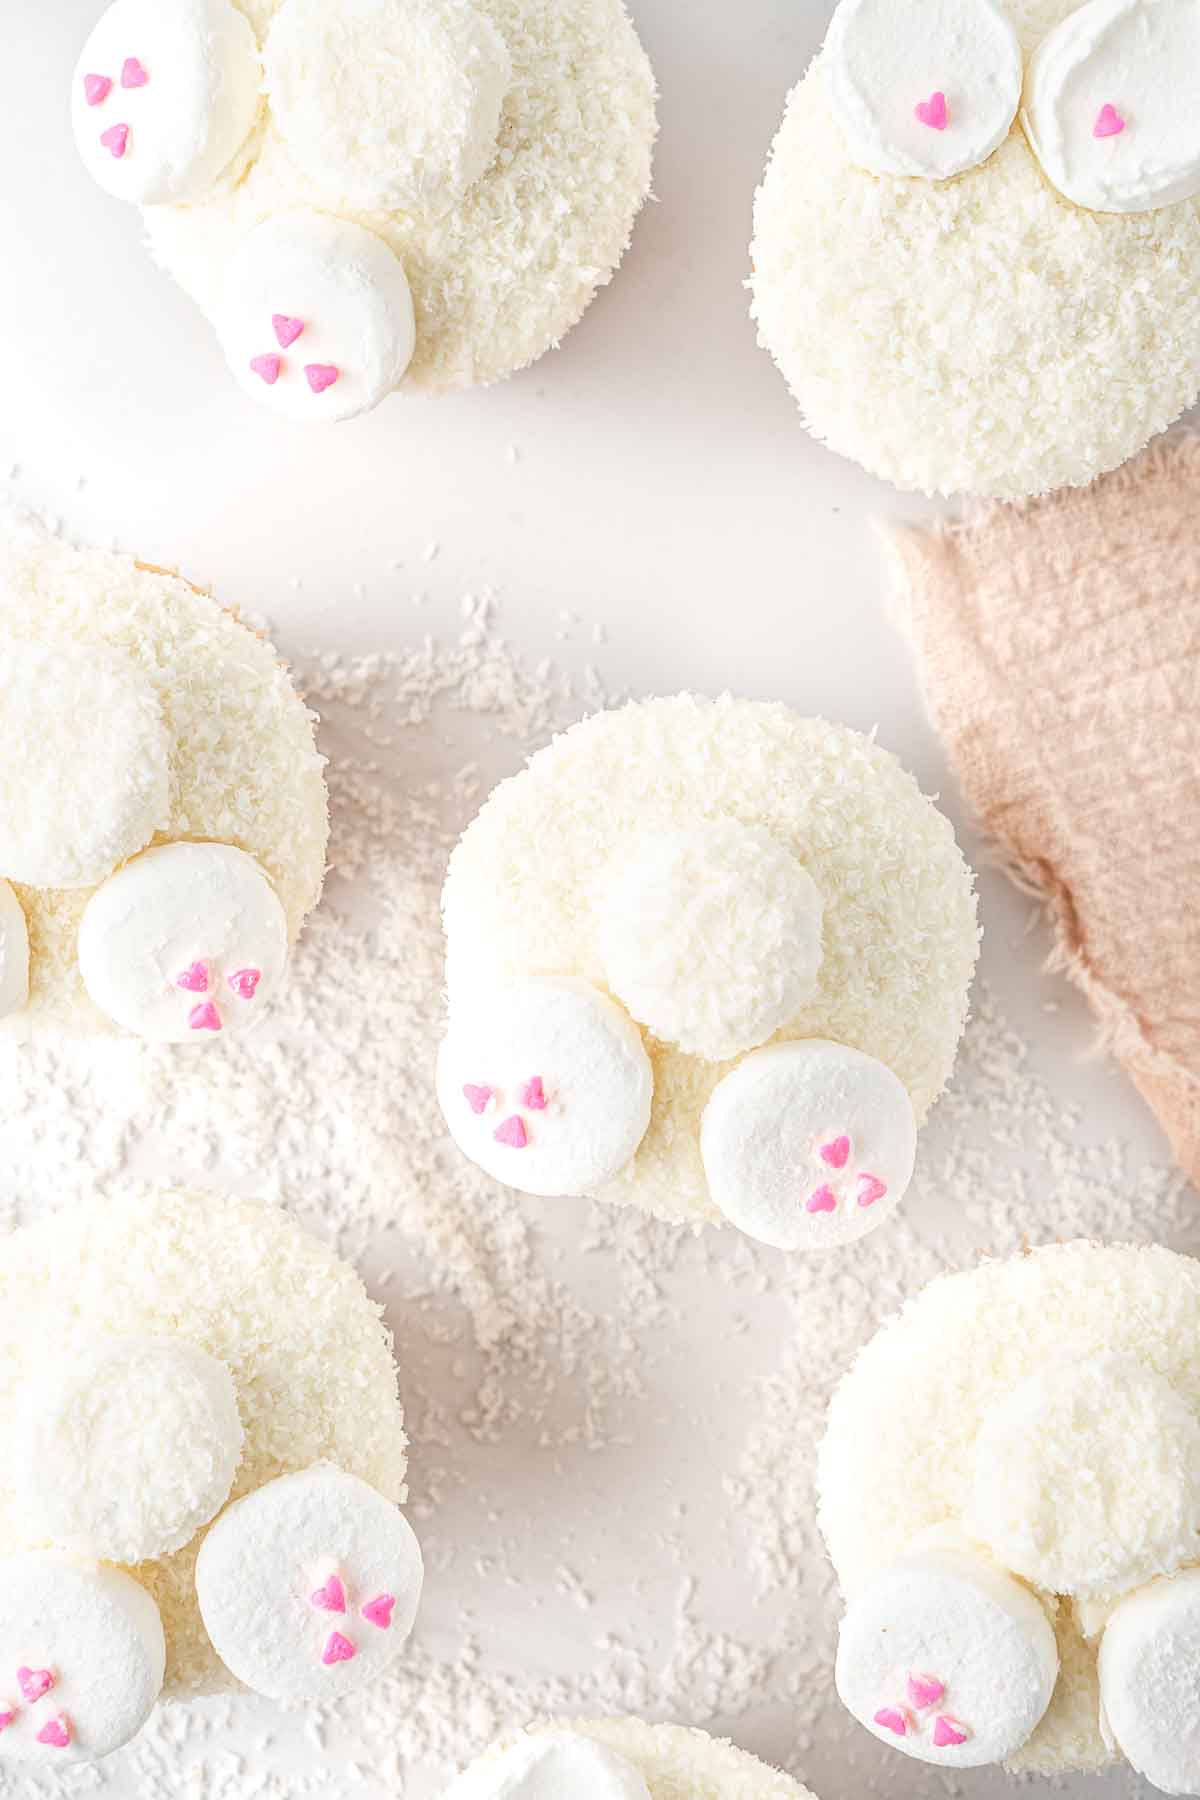
These adorable easter bunny cupcakes are so fun to make and make a cute addition to your Easter dessert table, or make a great long weekend baking project. Made with a soft and tender vanilla coconut cake topped with a coconut buttercream and decorated with desiccated coconut and marshmallows, these dairy free cupcakes are as delicious as they are cute.
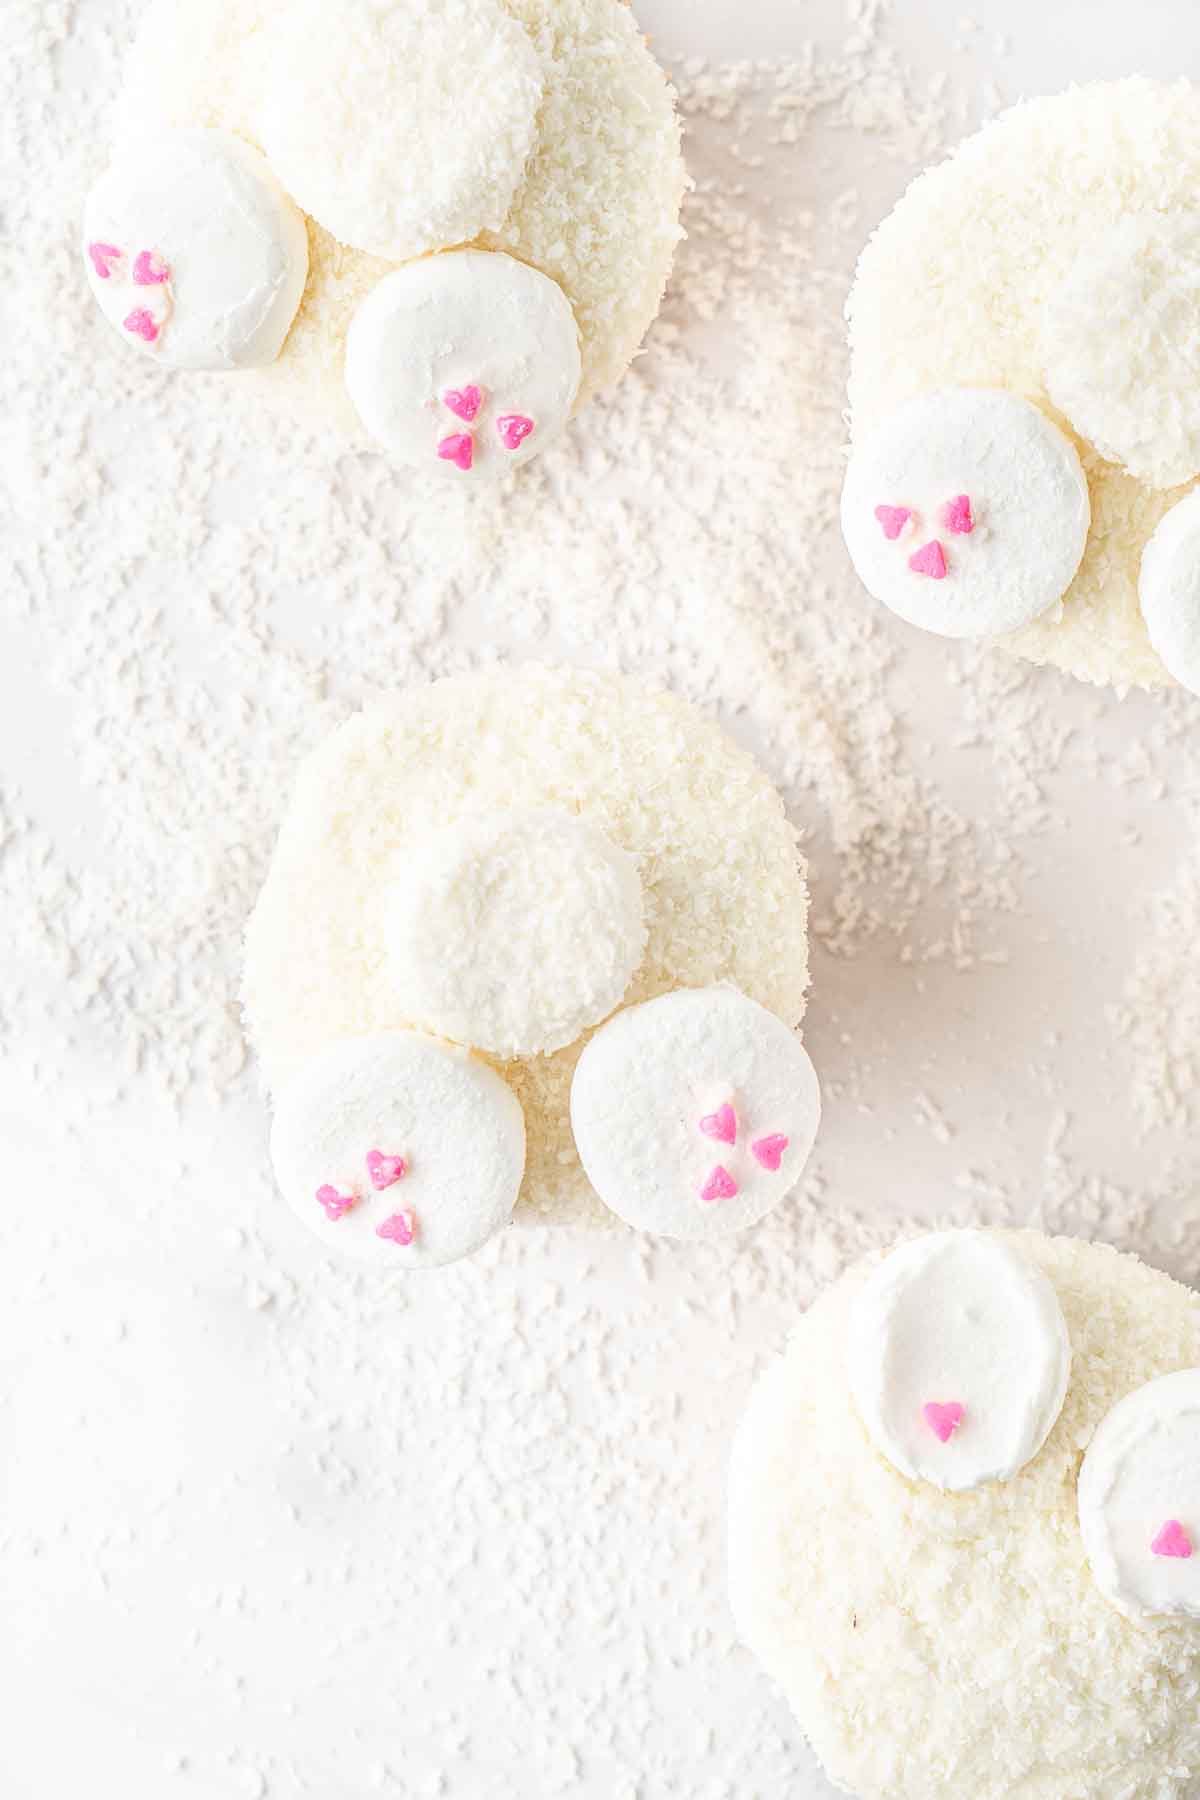
Delicious cupcakes decorated like cute bunny butts, with cotton ball tails and the most adorable little feet. I mean come on! I just couldn’t resist the opportunity to make something really fun this year to celebrate Easter and I think you’re going to love these.
Now obviously they look really cute. But, the cupcakes actually taste incredible so even if you didn’t want to go to the effort of making the bunny tails and feet, you can still enjoy these dairy free coconut and vanilla cupcakes.
There is a fun little thing that happens when you make coconut cakes. Not only does using coconut milk in your cakes give them a coconut flavour, it also makes the cake so incredibly soft and moist. Seriously, the texture of a cake made with coconut milk is far superior than any other and that’s exactly what we have here.
And if you want something in between, then the alternate simple bunny ears decorations are easy and still give these cupcakes that fun and cute look with much less fiddling around.
Key Ingredients
These are three parts to this recipe, the cupcakes, the buttercream and the decorations.
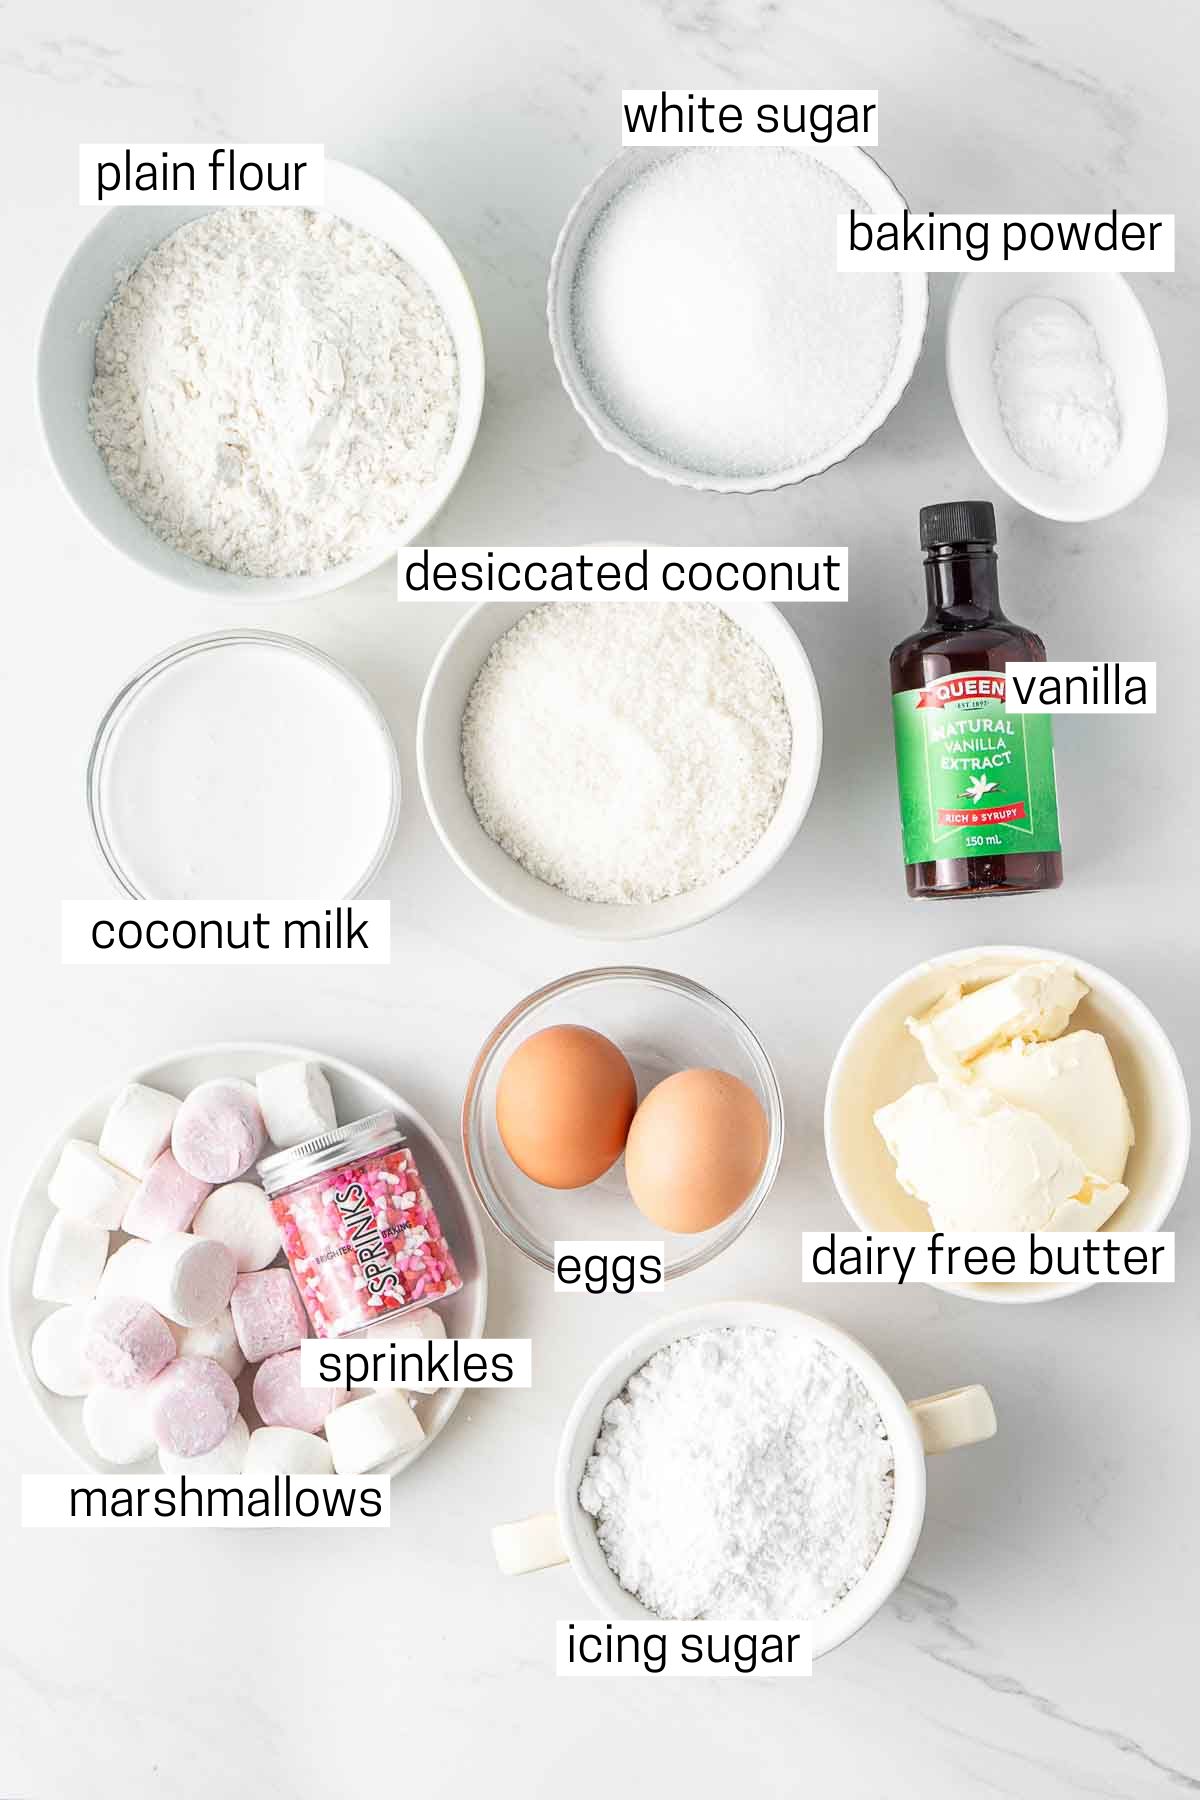
Note all ingredients and their quantities are laid out in the recipe card at the bottom of this post.
- Dairy free butter – used in both the cake and the buttercream. I like to use Nuttelex in my baked goods as a vegan butter replacement as I find it has the best taste and texture. The closest US alternative I believe is Earth Balance.
- White sugar – sugar helps with flavour as well as keeps the cakes soft and moist.
- Eggs – the key to a soft and fluffy texture and rich flavour.
- Vanilla extract – adds flavour to our cupcakes.
- Plain flour – also known as all purpose flour in the US.
- Baking powder – giving our cakes rise. Make sure to use baking powder not baking soda as they are different and cannot be substituted in this recipe.
- Coconut milk – I always use coconut milk from the can for the best taste. The coconut milk adds the coconut flavour without overpowering the cupcakes and as it’s high in fats, it also helps to add softness and richness to the cupcakes.
- Icing sugar – I prefer to use the icing sugar mixture from the supermarket as it’s easier to work with than pure icing sugar which tends to get very lumpy.
- Desiccated coconut – creates the effect of bunny fur when decorating the cupcakes. You can also use shredded coconut instead if that’s all you have but desiccated is finer and drier which works well to coat the cupcakes and marshmallow tail.
- Marshmallows – I am just using white marshmallows to create the bunny butts and bunny ears.
- Sprinkles – I am using just the pink hearts from the Sprinks Mini Love Hearts Sprinkles that I bought from Amazon. These are very cute, but they are quite small. If you can find slightly larger heart shaped sprinkles it will make the decorating processes easier.
Step-By-Step Instructions
To make these easter bunny cupcakes, you will need a couple of cupcake or muffin pans as this recipe makes 14 cupcakes instead of the usual 12. Personally I love that as if I am making cupcakes for an occasion I still get to sample one to make sure it’s delicious before I serve a full 12.
You’ll also need an electric mixer. For the cupcakes I use my handheld mixer and for the buttercream I use my stand mixer as that’s just what I like using but you can use a hand held mixer for both.
As usual for a cake recipe, you’ll start by sifting and mixing together the dry ingredients, in this case the flour and baking powder. This helps ensure that your flour is nice and light and not going to give you lumpy, dense cupcakes.
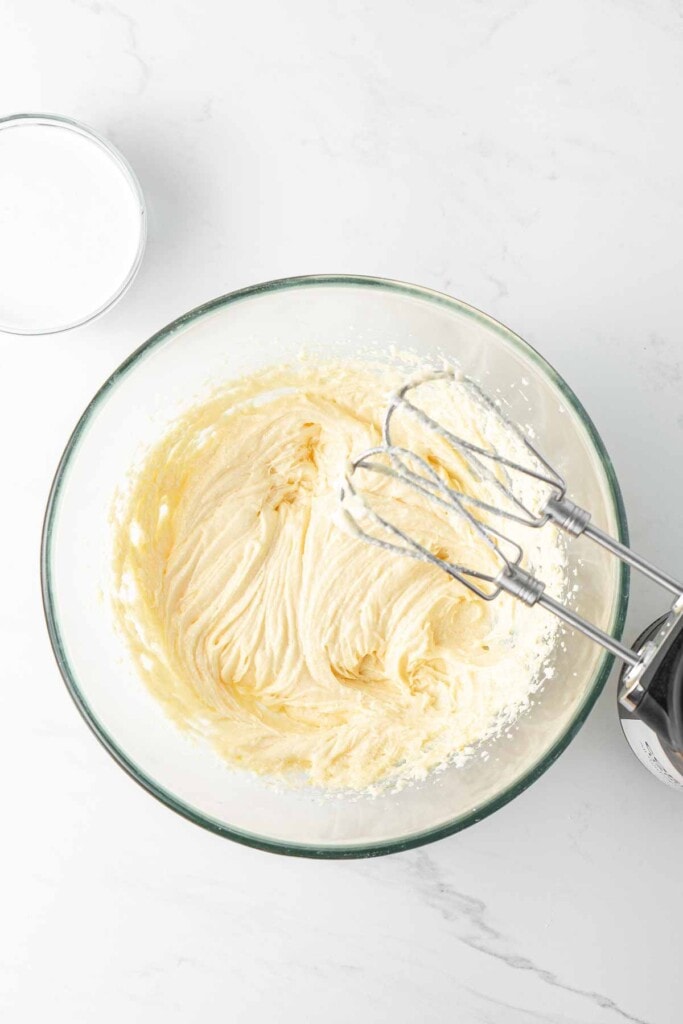
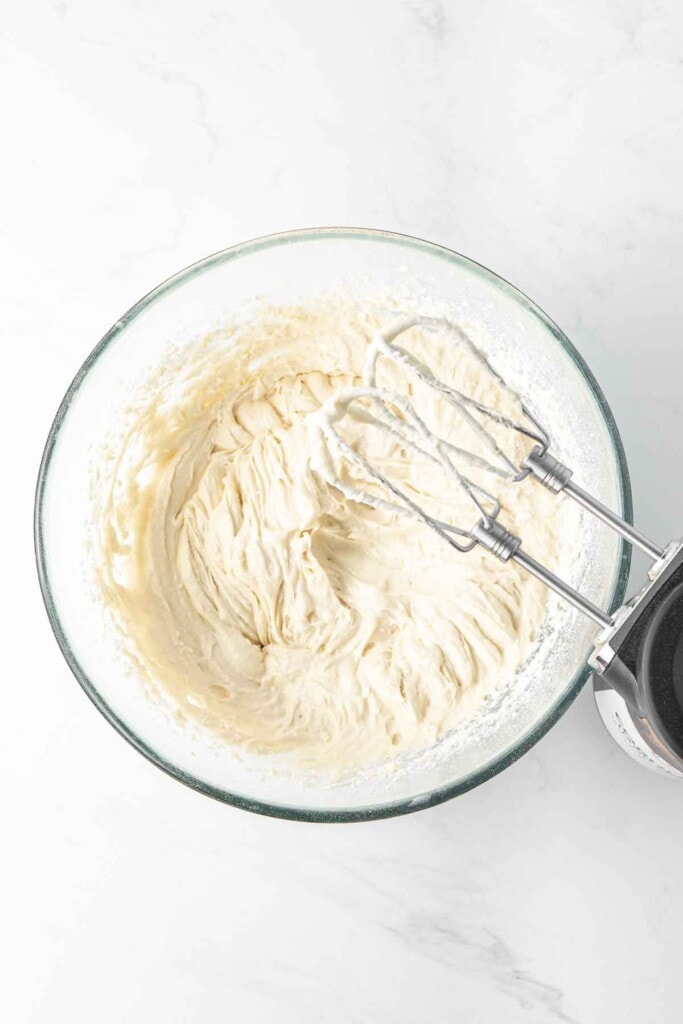
Next, use your electric mixer to beat together the dairy-free butter, vanilla and sugar in a large bowl until creamy. Add in the eggs, one at a time and continue to beat until light and fluffy.
Slowly add in half of the sifted flour and half of the coconut milk and mix to combine. Add in the remaining half of the flour mixture and coconut milk and beat until a thick batter forms.
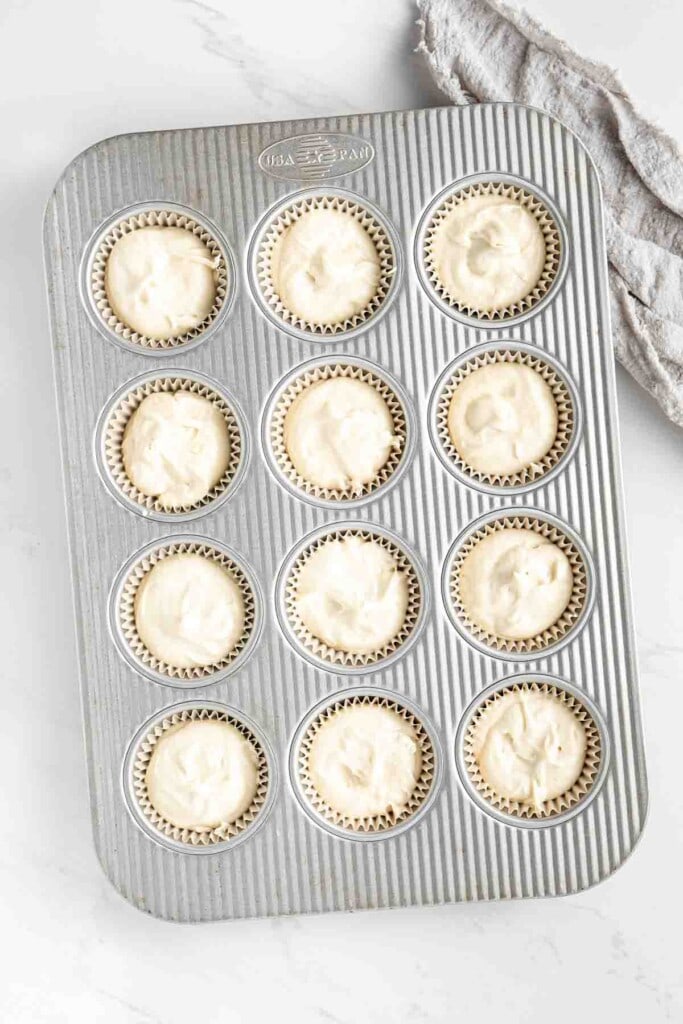
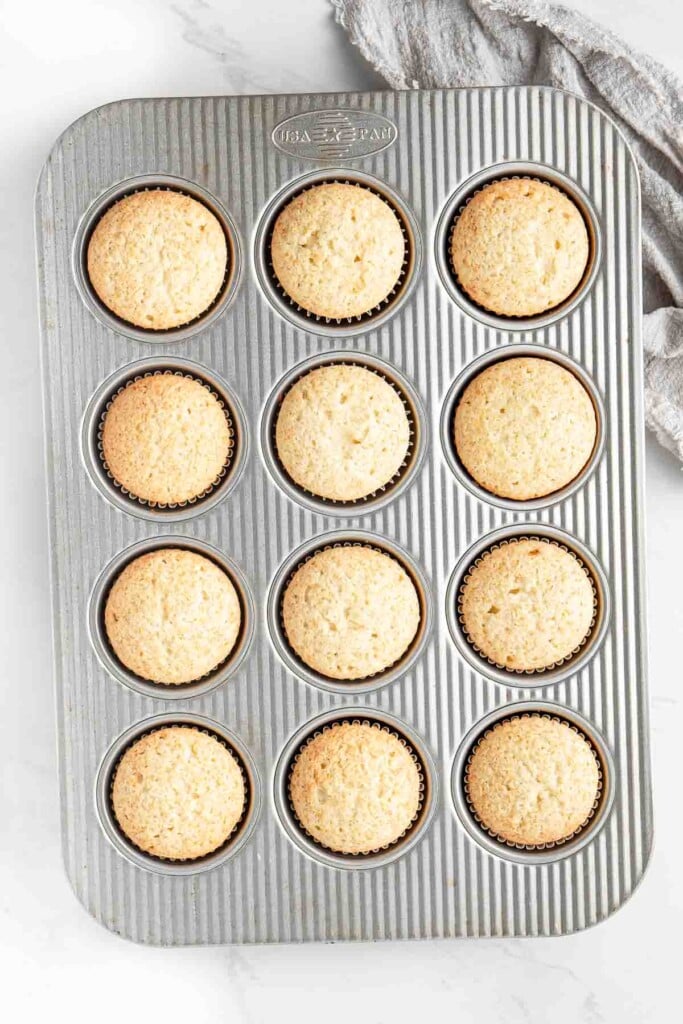
Spoon the mixture into your cupcake pans with cupcake liners, ensuring they are no more than ¾ full, and place in the oven for 18-20 minutes or until cakes are lightly golden on top and spring back when lightly touched. Remove the cupcakes from the pan once they are cool enough to touch and set aside on a wire rack to cool completely before decorating.
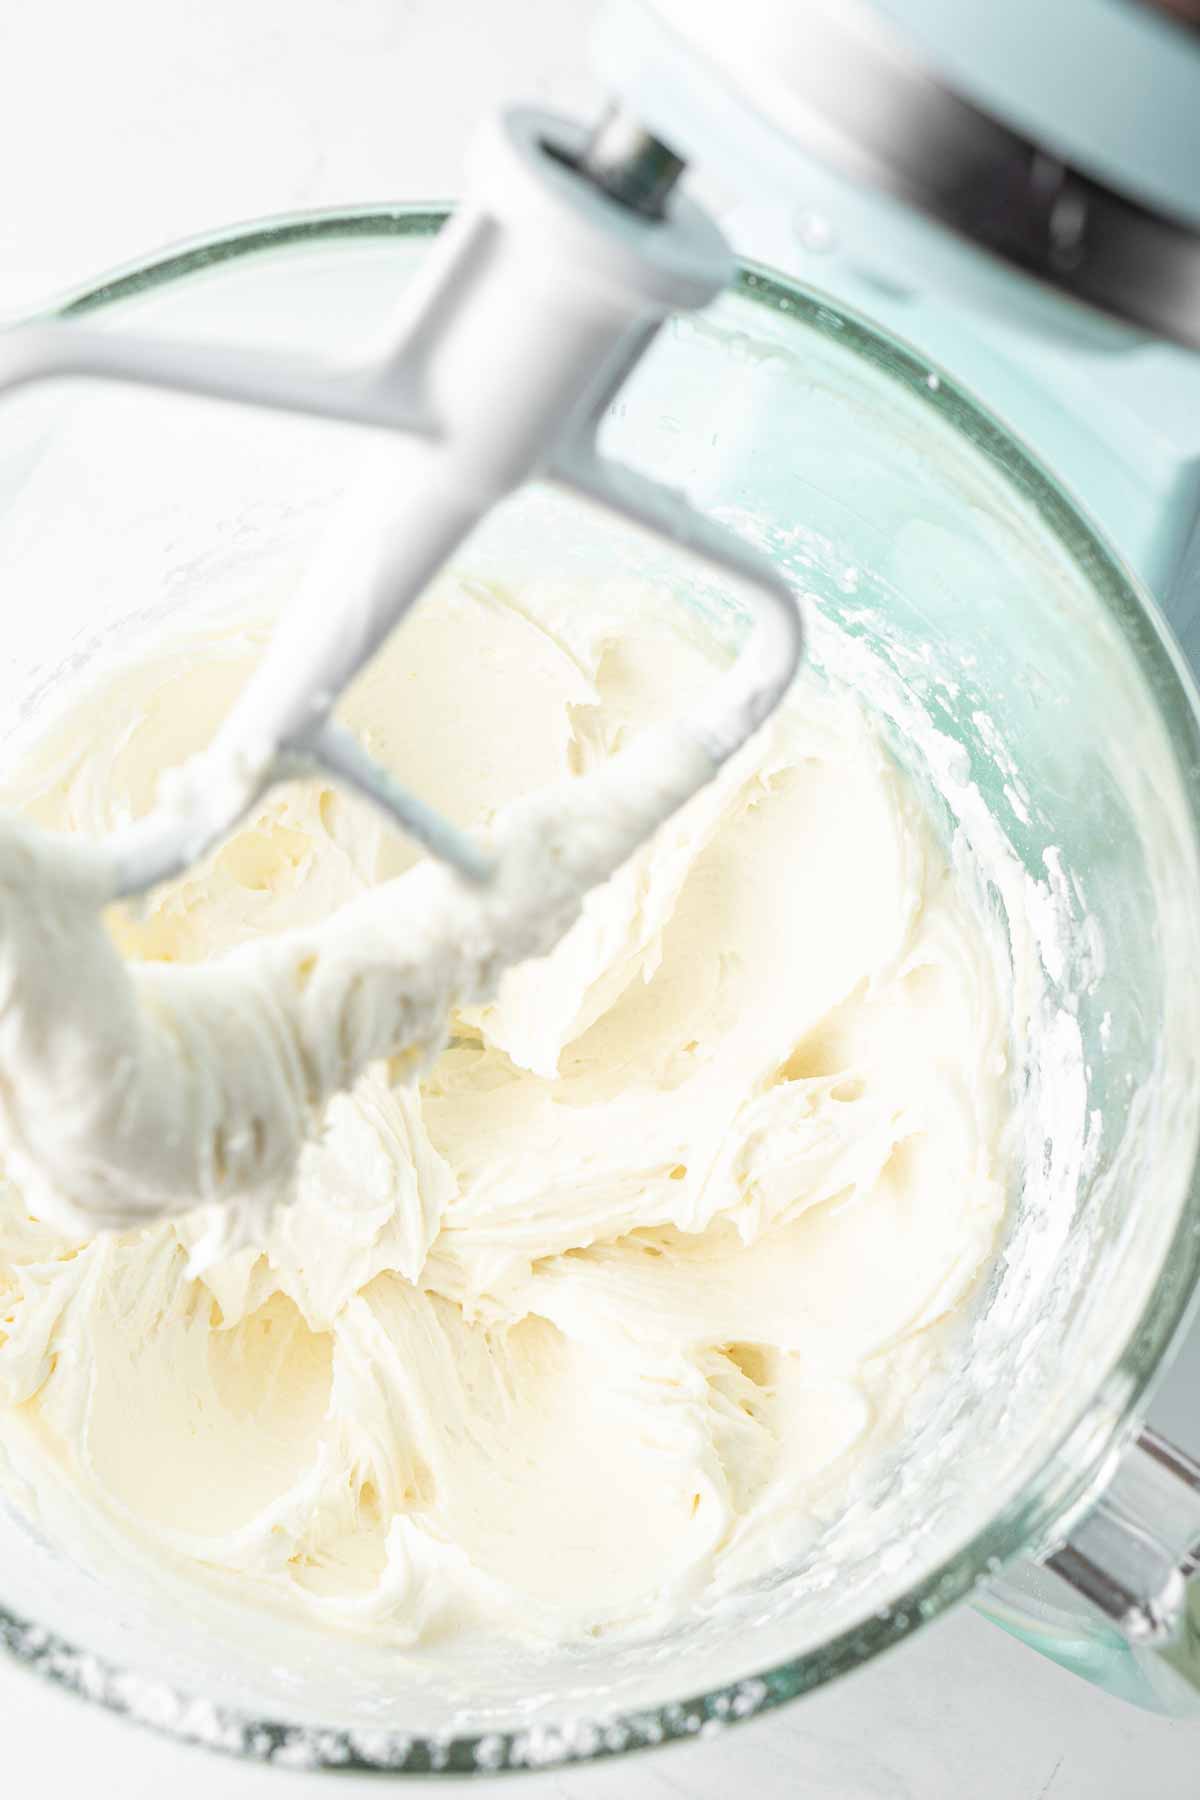
Once the cupcakes are cool, you can make your dairy free coconut buttercream which is of course a variation of my favourite vegan vanilla buttercream. Using a hand mixer or a stand mixer this time, beat the dairy-free butter and vanilla for 1-2 minutes until creamy. Add in 3 cups of icing sugar and beat on medium until combined. As the mixture thickens, drizzle in the coconut milk, a little at a time until the buttercream is thick and creamy. Add a little salt to taste and mix through.
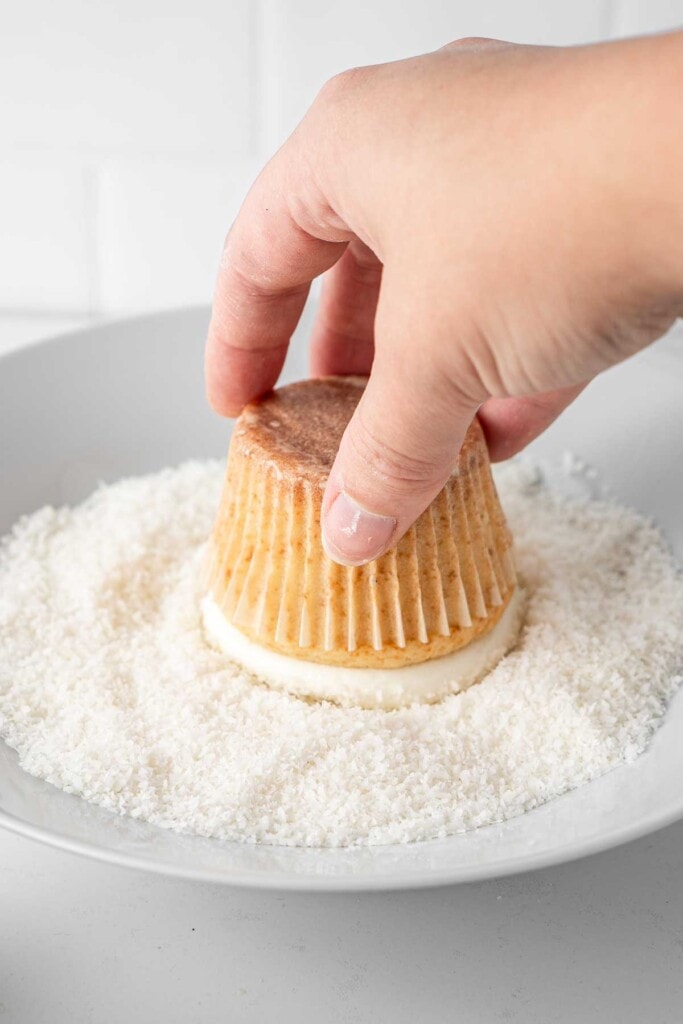
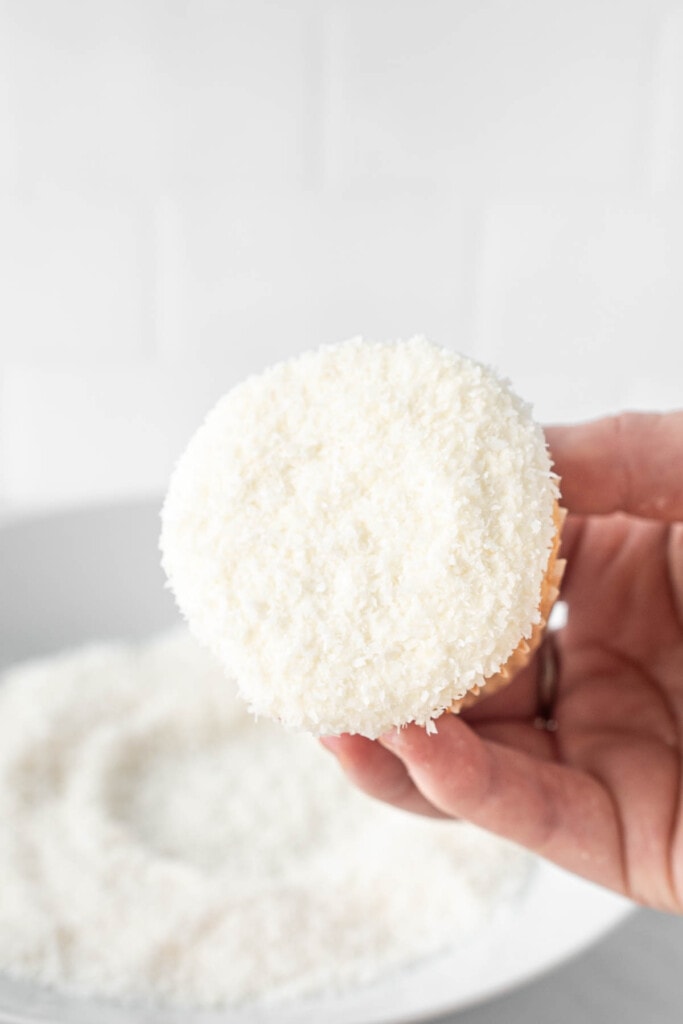
Add the buttercream to a piping bag with the end snipped off and pipe the frosting in a single layer over the top of the cooled cupcakes. Gently press the top of the cupcake into the desiccated coconut that has been spread out on a plate so that the top of the cupcake has a round, flat surface coated in the coconut.
From here, you can leave the cupcakes like this, or follow either of the decorating instructions below to make your Easter Bunnies.
How to decorate
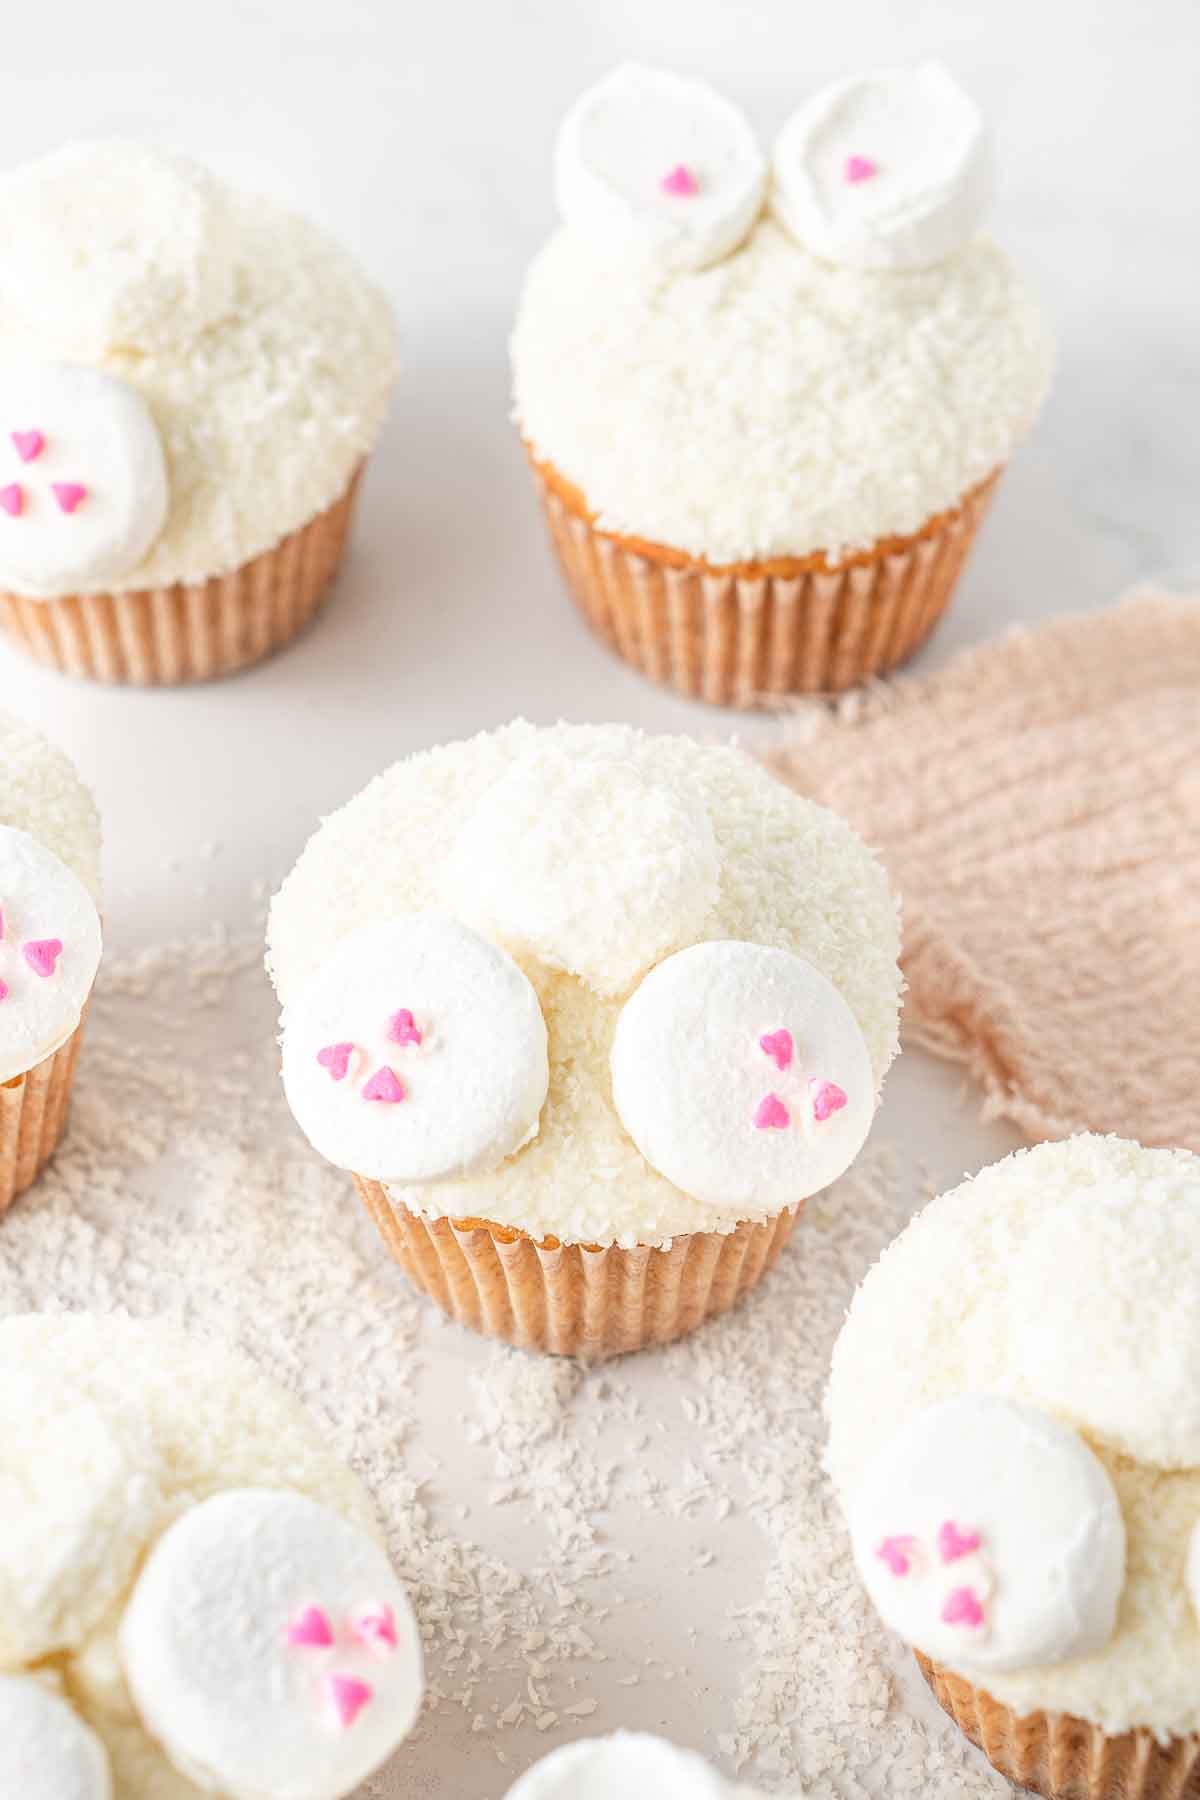
To decorate the easter bunny cupcakes, you have two options. The cutest one being the bunny butts and the easiest one being bunny ears. Below I’ll break down how to do both.
Bunny Butts
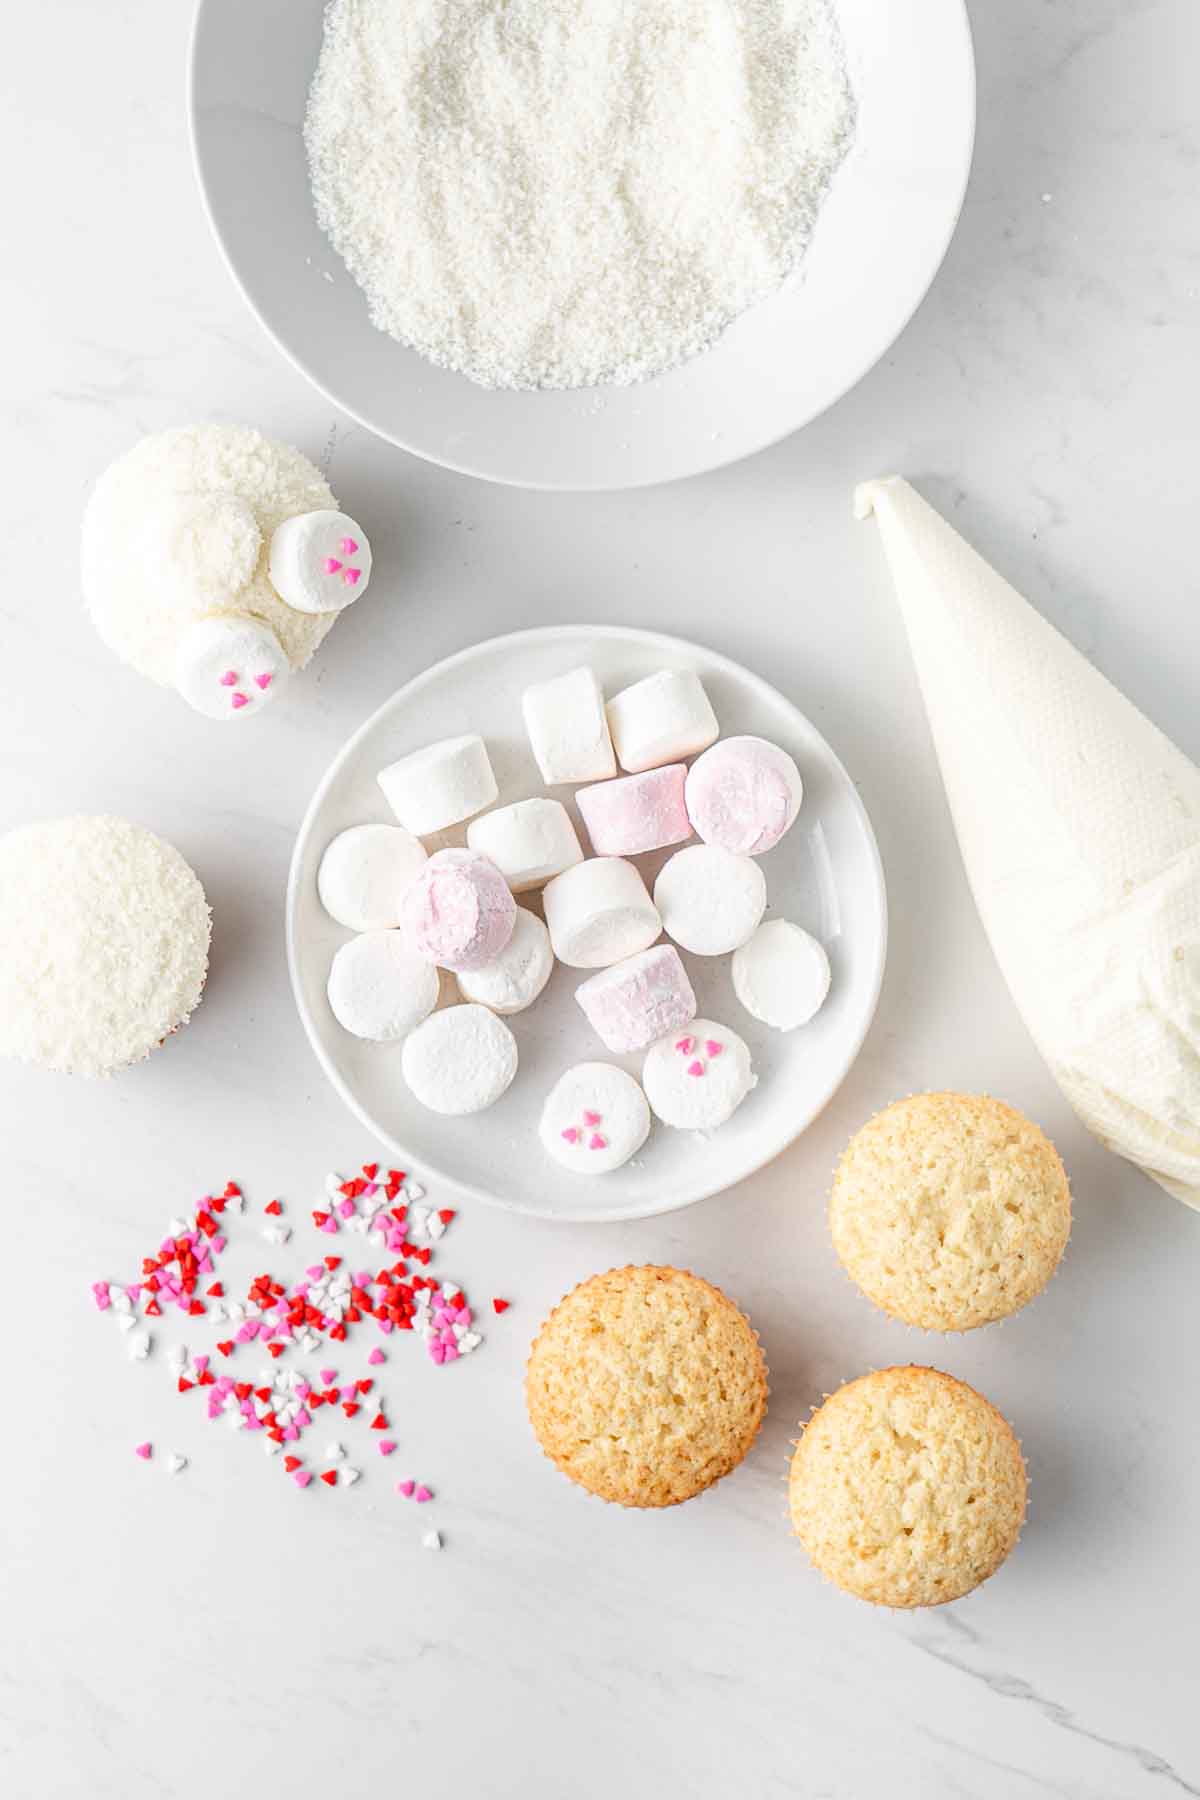
Using scissors, cut two white marshmallows in half lengthwise and use your fingers to reshape both sizes back into circles. You’ll need a total of 3 circles for the butts so set aside one of the halves for your next cupcake.
Add a little of the coconut buttercream to one of the circles and use your finger to spread it over the top and sides. Place the circle into the desiccated coconut and cover the buttercream. Use a little extra buttercream to stick the coconut coated marshmallow to the center of your cupcake. This is your bunny tail!
Next, and this is the time consuming / tedious part, using very small amounts of buttercream, stick three pink heart sprinkles onto each of the remaining two marshmallow halves to create the feet. I recommend getting slightly larger sprinkles that I have used if you can find them to make this step easier.
Once that’s done, again use a dab of the buttercream to stick the feet onto the cupcake below the tail.
Bunny Ears
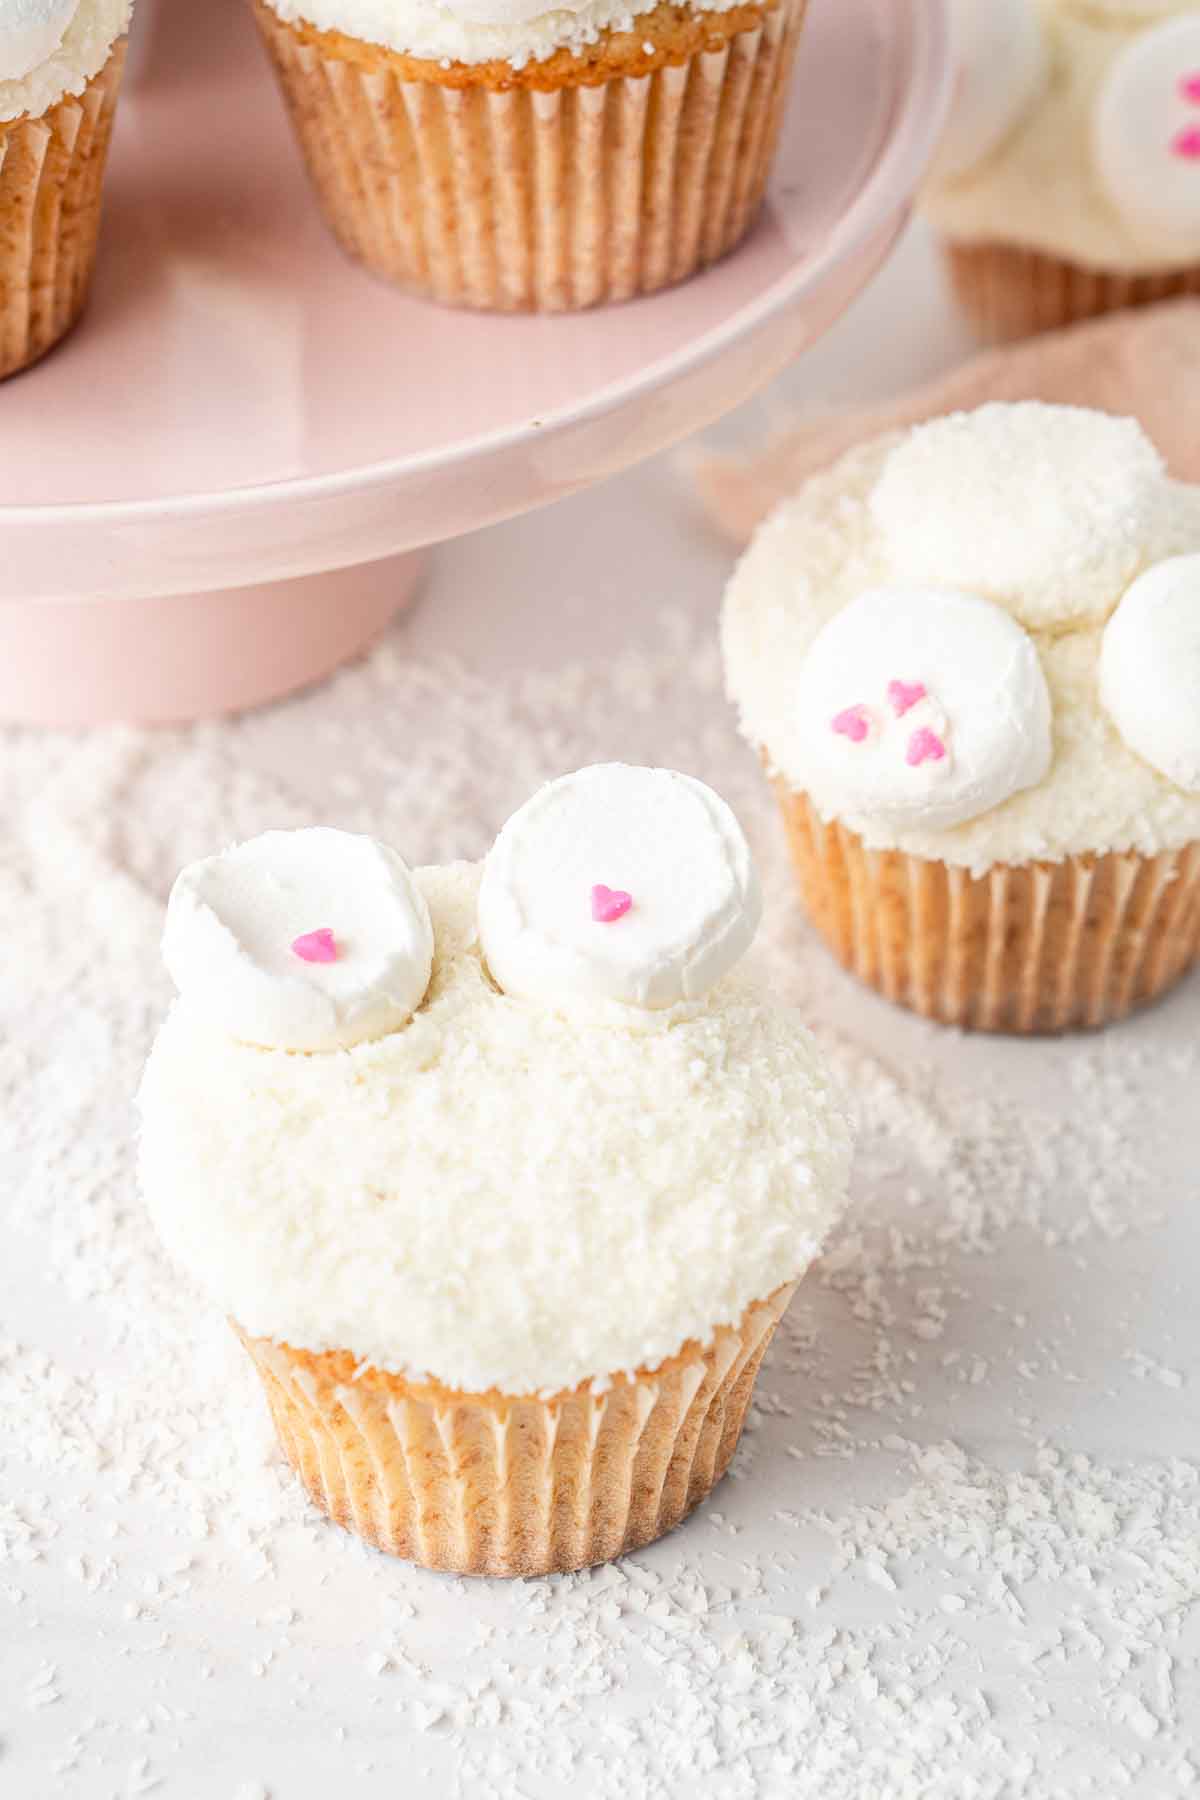
Using scissors, cut a white marshmallow in half lengthwise so you have two ovals the same size. Pinch them at the ends to accentuate the oval shape. In the middle bottom of each ear with the internal side facing up (aka the sticky side), stick a pink heart sprinkle.
Using a little dab of the coconut buttercream, stick the base of each ear into the top third of the cupcake so it looks like bunny ears.
Recipe FAQs
While this recipe is dairy free, it was developed using eggs therefore I don’t recommend any direct substitutions. Instead, for a vegan option you can make the coconut cupcakes from my vegan lamington cupcakes.
For the decorations, normal marshmallows are not suitable for vegan diets. There is a brand of vegan marshmallows called Dandies which you could use to substitute.
A lot of sprinkles are also not vegan, so again make sure to look for brands that are suitable for vegans.
More Easter Recipes:
Easter Sugar Cookies
Vegan Carrot Cake Cupcakes
Vegemite and Cheese Hot Cross Buns
Easy Rocky Road
Carrot Cake Pancakes
Classic Hot Cross Buns
Easter Bunny Cupcakes (Vanilla Coconut Cupcakes)
Ingredients
For the vanilla coconut cupcakes:
- 1 ½ cups plain flour
- 1 ½ teaspoons baking powder
- 125 grams dairy free butter
- 2 teaspoons vanilla extract
- ¾ cup white sugar
- 2 eggs room temperature
- ½ cup coconut milk
For the coconut buttercream:
- 125 grams dairy free butter
- 1 teaspoon vanilla extract
- 3 cups icing sugar
- 1-2 tablespoons coconut milk
- ⅛ teaspoon salt or to taste
For decorating:
- 1-2 cups desiccated coconut
- Marshmallows
- Small pink heart sprinkles
Instructions
- Preheat the oven to 180°C and line a 12 cup muffin pan with patty cases and another with 2 (this recipe makes 14 cupcakes total).
- In a medium bowl, sift flour baking powder together and stir a few times to combine. Set aside.
- In a large mixing bowl, beat dairy-free butter, vanilla and sugar with an electric mixer until creamy. Add in eggs, one at a time and continue to beat until light and creamy.
- Slowly add in half of the sifted flour and half of the coconut milk and mix to combine. Add in the remaining half of the flour mixture and coconut milk and beat until a thick batter forms.
- Spoon mixture into the prepared pans, ensuring they are no more than ¾ full, and place in the oven for 18-20 minutes or until cakes are lightly golden on top and spring back when lightly touched. Remove the cupcakes from the pan once they are cool enough to touch and set aside on a wire rack to cool completely before decorating.
- Make the coconut buttercream. Using a hand mixer or a stand mixer with the paddle attachment fitted, beat the dairy-free butter and vanilla for 1-2 minutes until creamy. Add in 3 cups of icing sugar and beat on medium until combined. As mixture thickens, drizzle in the coconut milk, a little at a time until the buttercream is thick and creamy. Add a little salt to taste and mix through.
- Add the buttercream to a piping bag with the end snipped off and pipe the frosting in a single layer over the top of the cooled cupcakes. Gently press the top of the cupcake into the desiccated coconut that has been spread out on a plate so that the top of the cupcake has a round, flat surface coated in the coconut.
- From here, decorate the cupcakes as bunny butts or with bunny ears using the marshmallows and sprinkles. See post for full instructions on creating these designs.
Notes
Nutrition
Nutritional information is provided as a guide only and is calculated using automated online tools, therefore we cannot guarantee the accuracy. We encourage you to make your own calculations based on the actual ingredients used in your recipe.

Made this recipe? Leave a review!