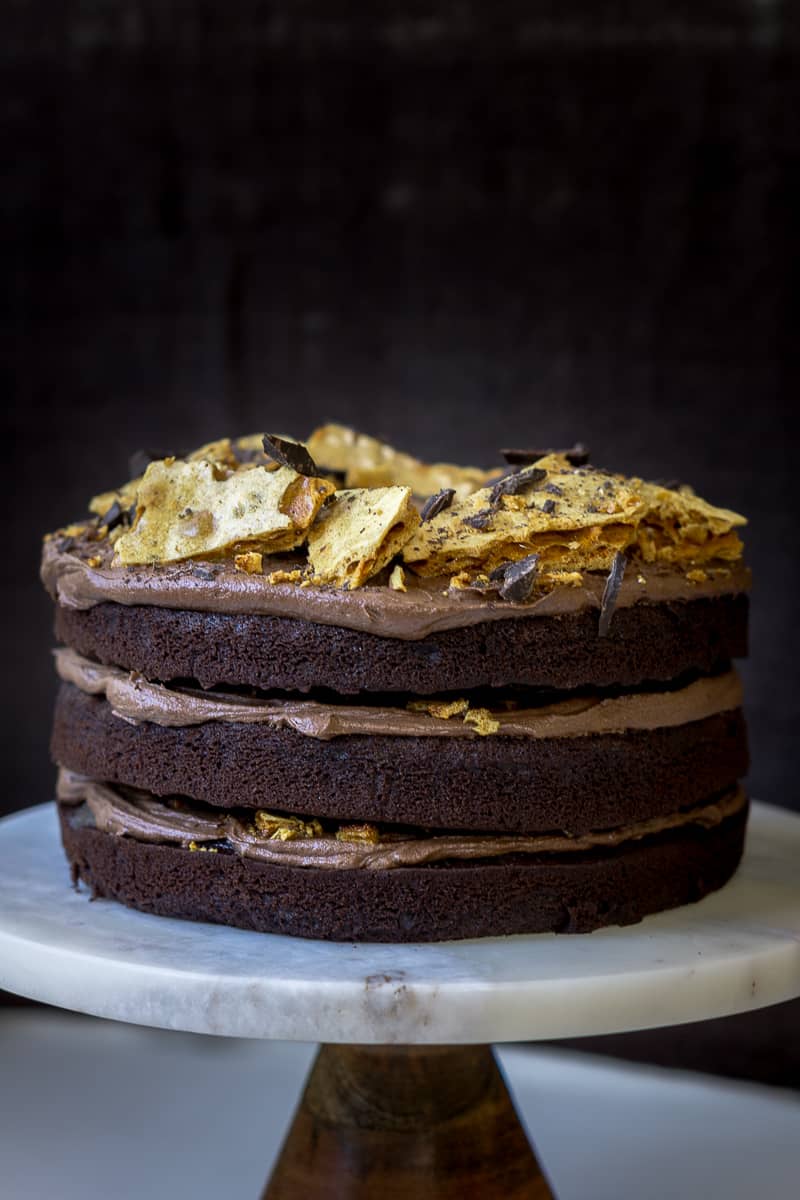
Rich layers of spongy chocolate cake, sandwiched between a thick fudgy chocolate buttercream and topped with shards of golden homemade honeycomb make this dessert the ultimate in party cakes.
 In my house, we have a rule. The rule is that when it’s your birthday you get to pick the cake – because there will always be cake. When it’s my husband’s birthday, you can guarantee that will mean chocolate cake.
His original request was for this chocolate and cherry cake, however it isn’t cherry season so I knew I had to pull something out that was going to match that kind of cake level. Something a little impressive but also has that holy wow this is good cake taste.
Firstly, I thought, let’s make the cake more impressive by having three layers! And let’s keep those layers on display with a naked style frosting using THE BEST chocolately, fudgey buttercream that also happens to be vegan.
I’m using my vegan vanilla buttercream as the base, and adding in cocoa powder. The end result is a buttercream that is rich but not to sweet, and the ratio of frosting to cake here is perfect.
Finally, let’s just shut the front door with a mountain of perfect honeycomb because nothing screams nostalgia and fun more than a cake that tastes kind of like a crunchy bar.
The cake here is what I would call your standard chocolate cake. It sounds boring but it really is not. Heavier than a chocolate sponge but still light and fluffy not dense like a mud cake. This is the chocolate cake that is just right.
The batter of the cake is quite thin. When I first tried this I was a little concerned as it is thinner than most cake batters. What this does however is make sure we have a beautifully soft and moist cake, while still having enough structure to handle being stacked high. Be careful when mixing this batter though, don’t turn the speed up too high as it can very easily splatter out of the bowl leaving you with a lovely mess to clean up which no one wants.
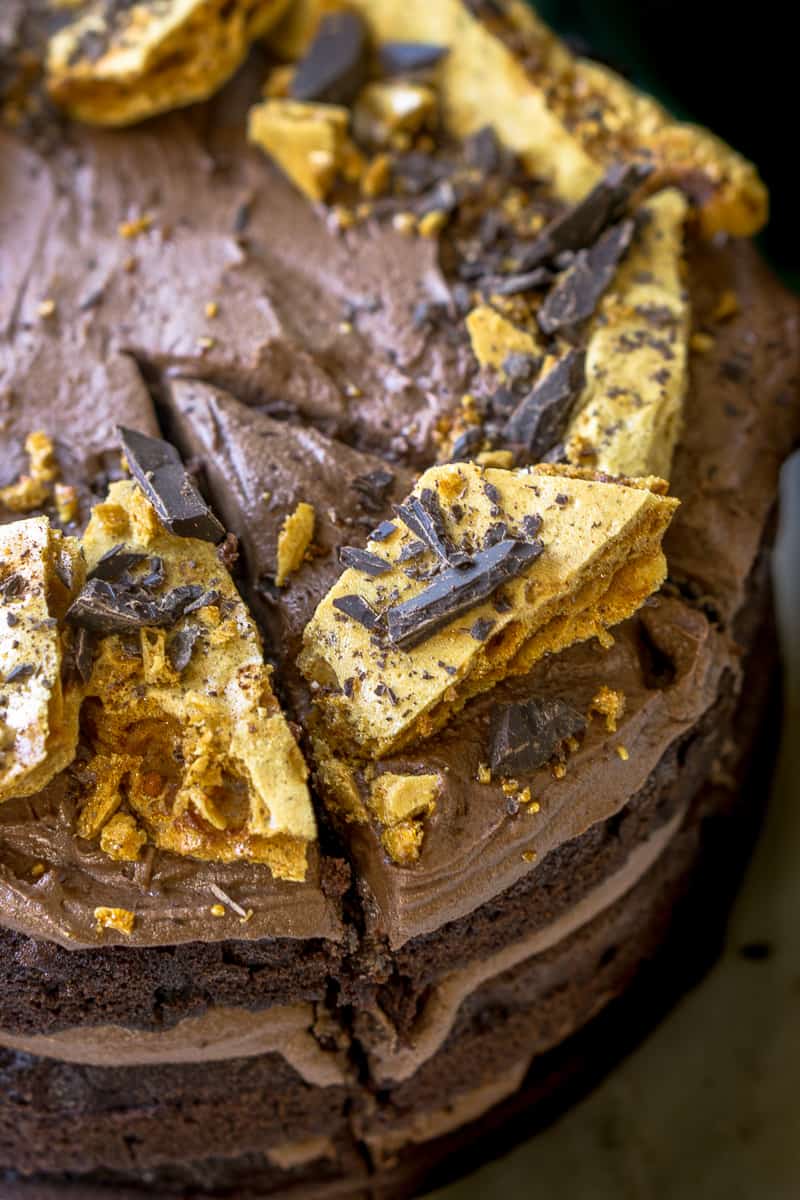 How To Make Honeycomb
Honeycomb is one of those things that is super simple to make, but also kind of specific and for that reason if not done correctly can result in a sticky mess.
It only takes 3 steps:
- Melt sugar and golden syrup together until it turns a dark caramel colour.
- Add in bicarbonate soda and stir.
- Pour into a pan lined with baking paper, let cool and break into pieces.
The first time I made honeycomb, I didn’t watch any tutorials so the foamy science experiment reaction when you add the bicarbonate soda was a shock as I frantically tried to pour my honeycomb into the pan.
So this doesn’t happen to you, watch this tutorial from the BBC which I found super helpful this time around.
I think the key to a successful honeycomb is to be patient and to be prepared. Take your eye off the caramel for 30 seconds and it will burn. Have the prepared pan close to your stove so AS SOON as you add the bicarb you can pour out your honeycomb.
Also as a final note, be careful. This stuff is HOT and it will burn you. Just be careful and definitely don’t try and taste it straight out of the pan.
You will have leftover honeycomb after decorating your cake so make sure to store this in a airtight container for up to three days. Exposure to the air will make it disintegrate. Leftover honeycomb can be eaten on its own, with icecream or drizzled with melted chocolate.
When decorating the cake with the honeycomb, I found the ‘one for the cake, one for me’ method the most practical. I don’t tend to eat a lot of sweets, but I just can’t get enough honeycomb. It just the flavour and texture combo that make it next level. It’s also the texture contrast (not to mention colour contrast) that really makes it’s addition to this cake something special.
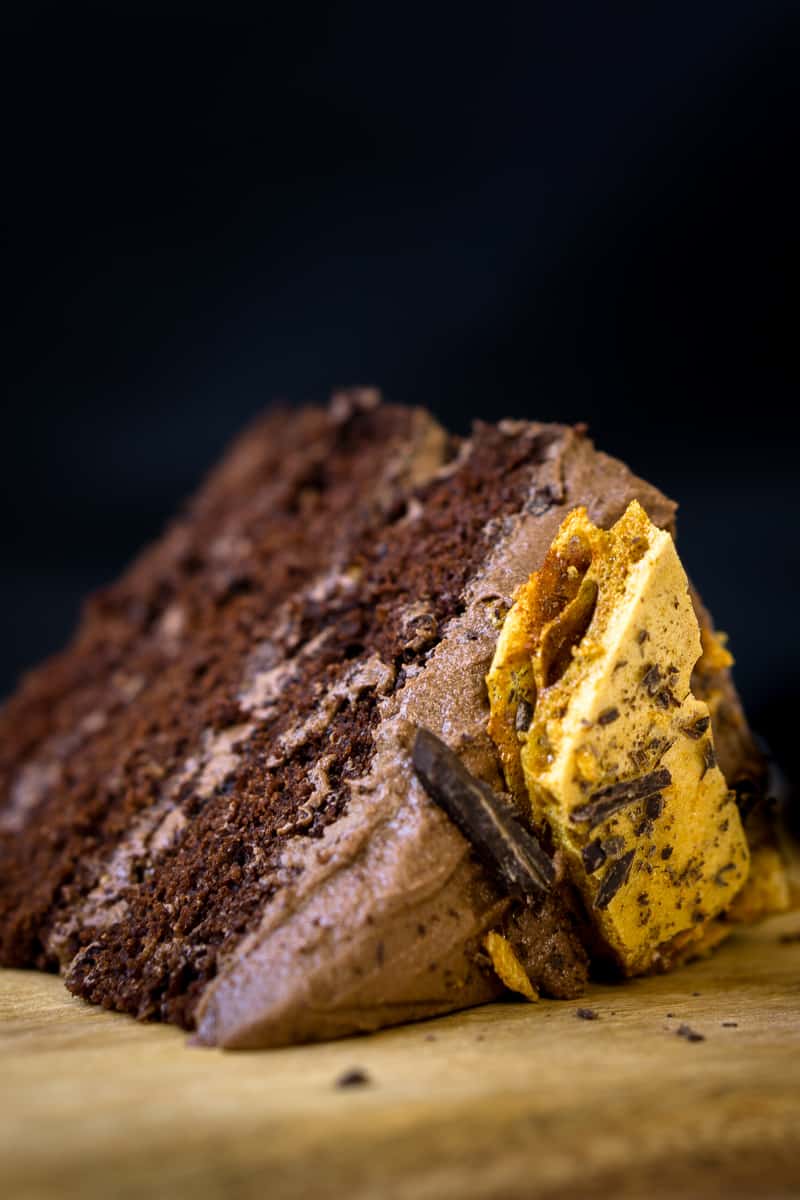 So in the end, this year’s chocolate cake was very well received so I think that makes it a winner. I’m already thinking of the other flavour combinations we could use this chocolate cake as a base for, and also planning more excuses to just make honeycomb.
Chocolate Honeycomb Cake
Ingredients
Chocolate Cake
- 1 ½ cups sugar
- 2 ¼ cups plain flour
- ¾ cup unsweetened cocoa powder
- 2 ½ teaspoons baking powder
- 1 ½ teaspoons bicarbonate of soda
- ⅛ teaspoon salt
- 1 cup vanilla almond milk
- 1 tablespoon white vinegar
- 3 large eggs
- 2 teaspoons vanilla
- 80 grams dairy-free spread*
- 1 cup hot coffee
Chocolate Buttercream
- 125 grams dairy-free spread*
- ½ cup cocoa powder
- 3 ½ cups icing sugar
- 2 tablespoons vanilla almond milk
- 1 teaspoon vanilla
- pinch salt
Honeycomb
- 1 cup sugar
- ¼ cup golden syrup
- 2 teaspoons bicarbonate of soda
Instructions
- Preheat oven to 170°C and line the bottom of 3, 8 inch cake pans with baking paper and spray with cooking oil.
- Make the cake. In a large bowl sift flour, sugar, cocoa powder, baking powder, bicarbonate of soda, and salt. Mix together and set aside.
- Place 1 tablespoon of white vinegar in a 1 cup measuring cup and fill to the top with vanilla almond milk. Milk will spilt but that is ok. In a small bowl, whisk milk with eggs and vanilla. In a separate small bowl, melt dairy-free spread* in the hot coffee.
- Using an electric mixer on low beat half the milk mixture into the dry ingredients, followed by half of the coffee mixture, alternating until everything is combined. The mixture will be quite thin.
- Evenly pour the mixture into the three prepared pans and bake in the preheated oven for 25-30 minutes or until the top springs back when lightly touched. Set aside to cool in the pan for 10 minutes before turning out onto a wire rack to cool completely.
- Make the chocolate buttercream. Using a hand mixer or a stand mixer with the paddle attachment fitted, beat dairy-free spread and vanilla for 1-2 minutes until creamy.
- Add in 3 cups of the icing sugar and the cocoa powder and beat on medium until combined. As mixture thickens, add in almond milk a tablespoon at a time. If frosting is too thin, add in an extra ½ icing sugar until it reaches a smooth and creamy consistency. Add pinch of salt to taste if frosting is too sweet.
- Make the honeycomb. Line a baking pan with baking paper and set aside next to your stove top. In a small saucepan place sugar and golden syrup and heat on medium until sugar has dissolved, stirring regularly with a wooden spoon. Once sugar is dissolved turn up the heat and allow mixture to start boiling. You want it to be a steady rise of bubbles rather than rapidly so adjust temperature as necessary. Watch the caramel mixture as bubbles for about 5 minutes until it becomes a dark amber colour. Take pan off heat and add in bicarbonate soda, stirring rapidly with a wooden spoon and pour mixture immediately onto prepared pan. Set aside for 30 minutes to cool. Once completely cooled, break apart.
- Assemble the cake. Using a bread knife, level the cakes so they have a nice flat top. Eat the off-cuts or save them to have with ice cream for dessert. On a plate or cake stand, place a layer of cake, topped with a scoop of the buttercream about ⅓ of the total. Smash up some of the honeycomb pieces so they are small and sprinkle on top of the buttercream (large pieces will impact cutting). Add the next cake layer and again top with buttercream and smashed honeycomb. Place the final cake layer and top with remaining frosting. Decorate with larger shards of the honeycomb and add some dark chocolate shavings to finish it off, if you want.
Notes
Nutritional information is provided as a guide only and is calculated using automated online tools, therefore we cannot guarantee the accuracy. We encourage you to make your own calculations based on the actual ingredients used in your recipe.
More Chocolate Recipes:
The Ultimate Chocolate & Coconut Cupcakes
Chocolate & Cherry Cake (Dairy-Free)
Vegan Chocolate Rose Cupcakes
Dairy-Free Classic Chocolate Brownies

Gabby says
Hi there, once you’ve sprinkled the honeycomb on the inside layers on top of buttercream, do they then get all sticky when cutting into them? thanks 🙂
Sally says
Hi Gabby! It’s best to eat this one straight away to avoid that. They’ll stay crunch for a while but eventually the moisture will make the honeycomb sticky.
Florelie Cruz says
Hi! This looks awesomely delish! Would really love to try. Can the plain flour for the cake be changed to a gluten free flour? And the nuttelex for the buttercream, can be whipped straight from the fridge or does it need to be in room temperature to whip? Thanks heaps for sharing!
Sally says
Hi Florelie. The nuttelex is completely fine to use straight from the fridge as it’s soft enough to whip. With gluten-free flour, I think you would end up with some different results as this is quite a light, spongey cake and I worry that gluten-free flour might make it a bit too dense. If you do try, please let me know the results. Otherwise you could use a gluten free chocolate cake that you already love, and just add the cherry syrup and buttercream to that for a similar result!