This vegan vanilla cake is soft and fluffy and topped with a lush, creamy vegan vanilla buttercream finished off with sprinkles. This cake is so delicious and easy making it the perfect vegan birthday cake recipe.
My other favourite vegan cake recipes for celebrations include this vegan caramel cake, vegan cookies and cream cake, and this vegan banana cake.
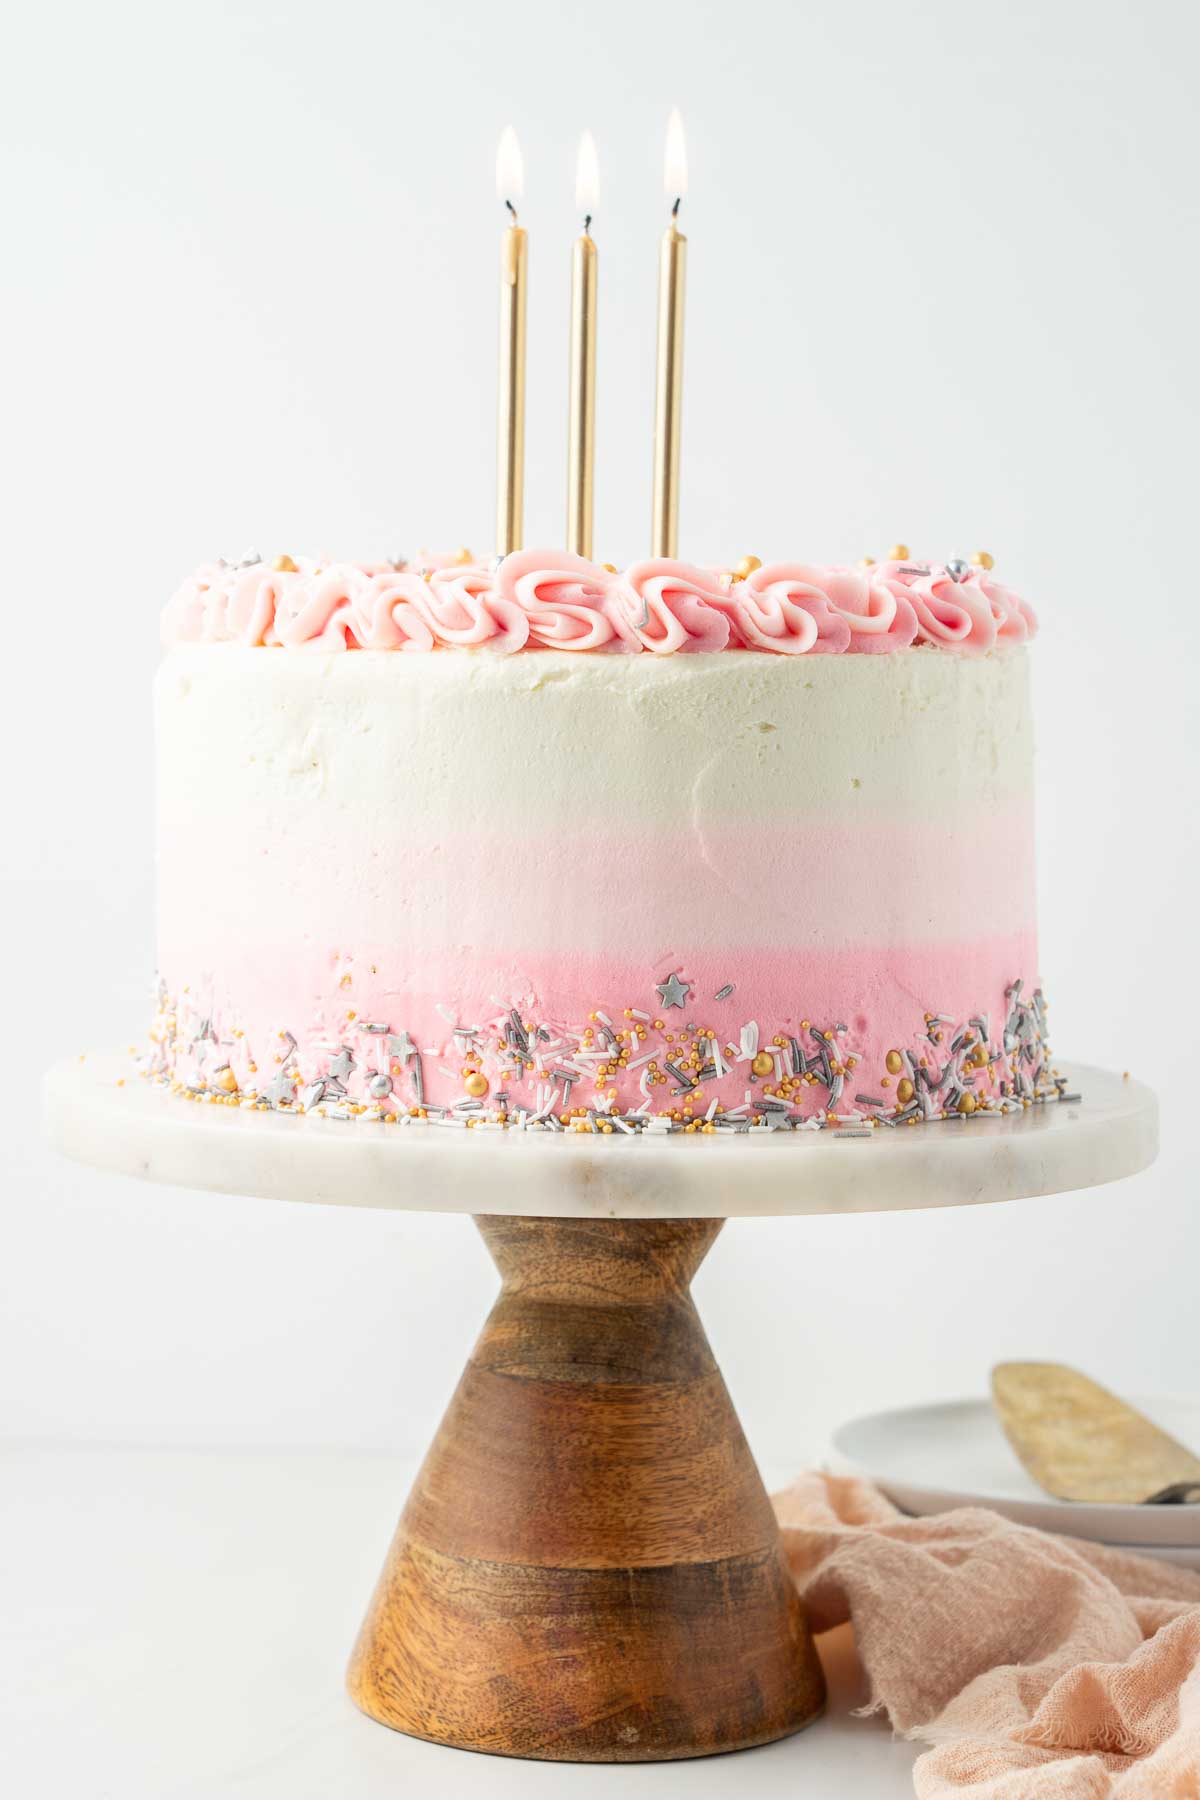
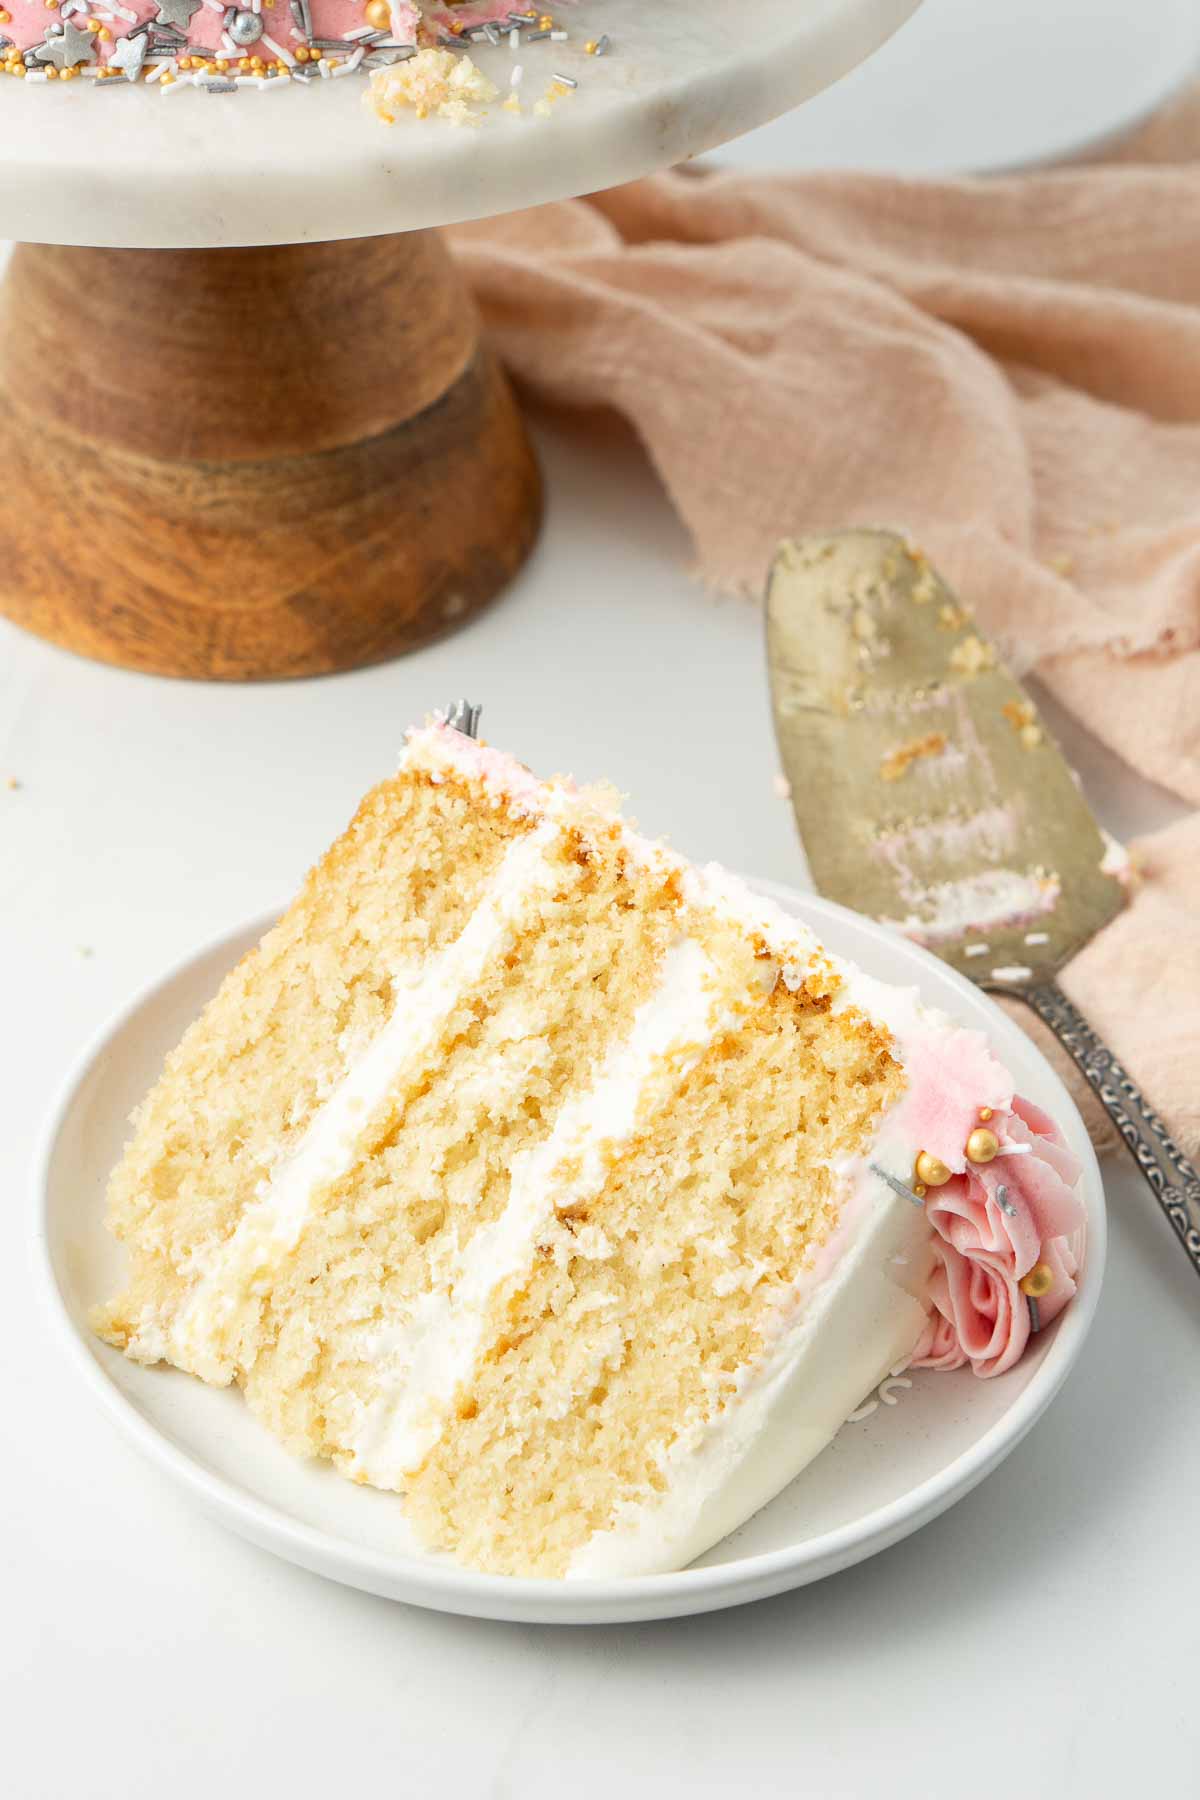
An impressive 3 tier layer cake, suitable for all kinds of events and celebrations, made soft and fluffy and full of vanilla flavour, all without the dairy and eggs. Not to mention the super creamy and sweet vegan buttercream frosting that honestly steals the show! I get so many compliments on just how good this frosting is whenever I serve this cake so I know it’s going to be a hit.
This vegan birthday cake is going to be your go-to vanilla cake recipe for all occasions making sure that those who have allergies or intolerances to dairy or egg can still have a spectacular and more importantly delicious cake that everyone will enjoy.
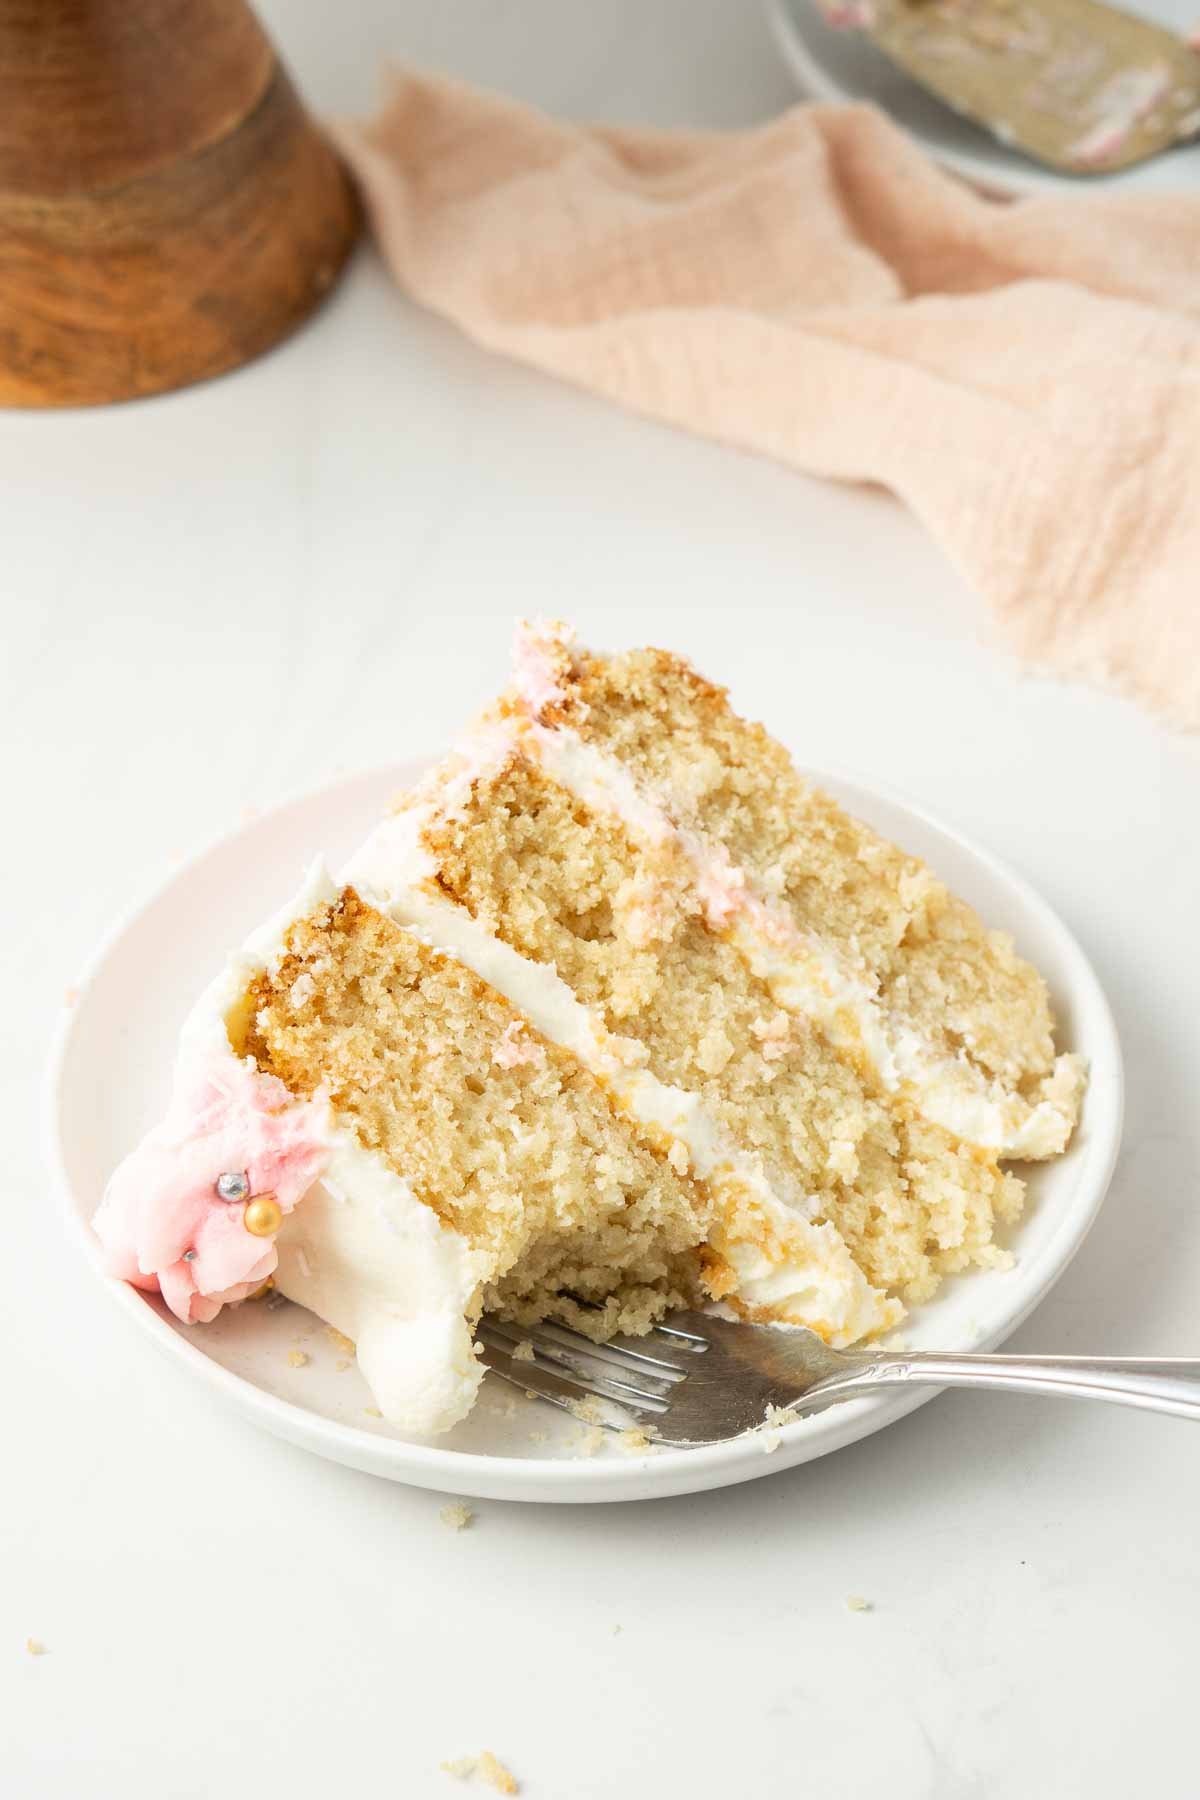
This recipe isn’t just good for a ‘vegan cake’ it’s quite simply just a delicious cake recipe that happens to be vegan.
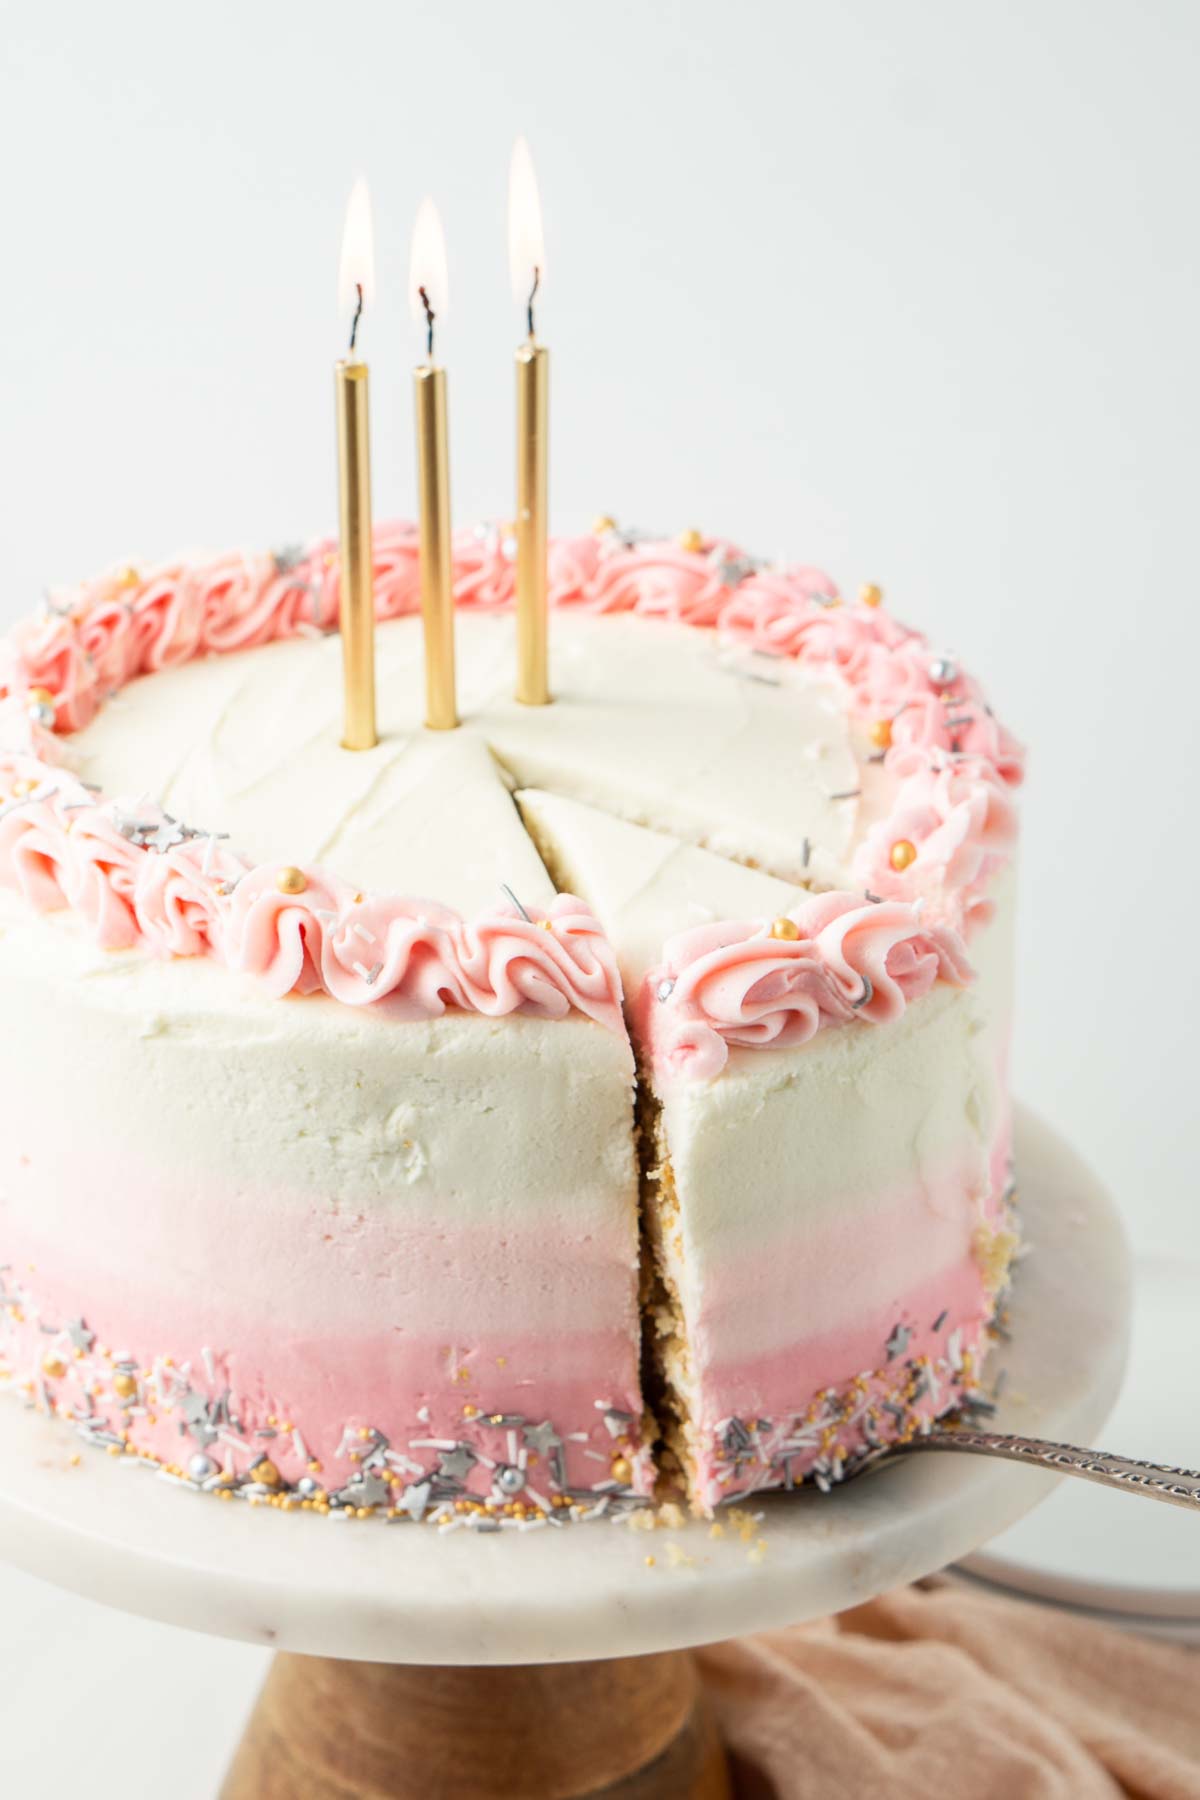
I’ve been making vegan vanilla cupcakes for years, and they are one of the most popular recipes on my site with so many positive reader reviews both on the site and through social media. One of my favourite things is hearing the stories about how my recipes have brought so much joy to people who didn’t think they’d be able to enjoy cake like they used to thanks to food allergies.
These stories resonate with me as that’s why I started baking and sharing recipes in the first place, so thank you to everyone who makes these recipes and leaves a comment – it means so much!
And while I love cupcakes, I think it was about time that I went a bit bigger and had a recipe for a big, full size vegan vanilla layer cake that was impressive and delicious enough that it could be a staple recipe for those bigger milestone events, but was also suitable for dairy free, egg-free and vegan diets.
Plus March is my birthday month and what better way to celebrate than by making myself my very own vegan birthday cake, complete with candles!
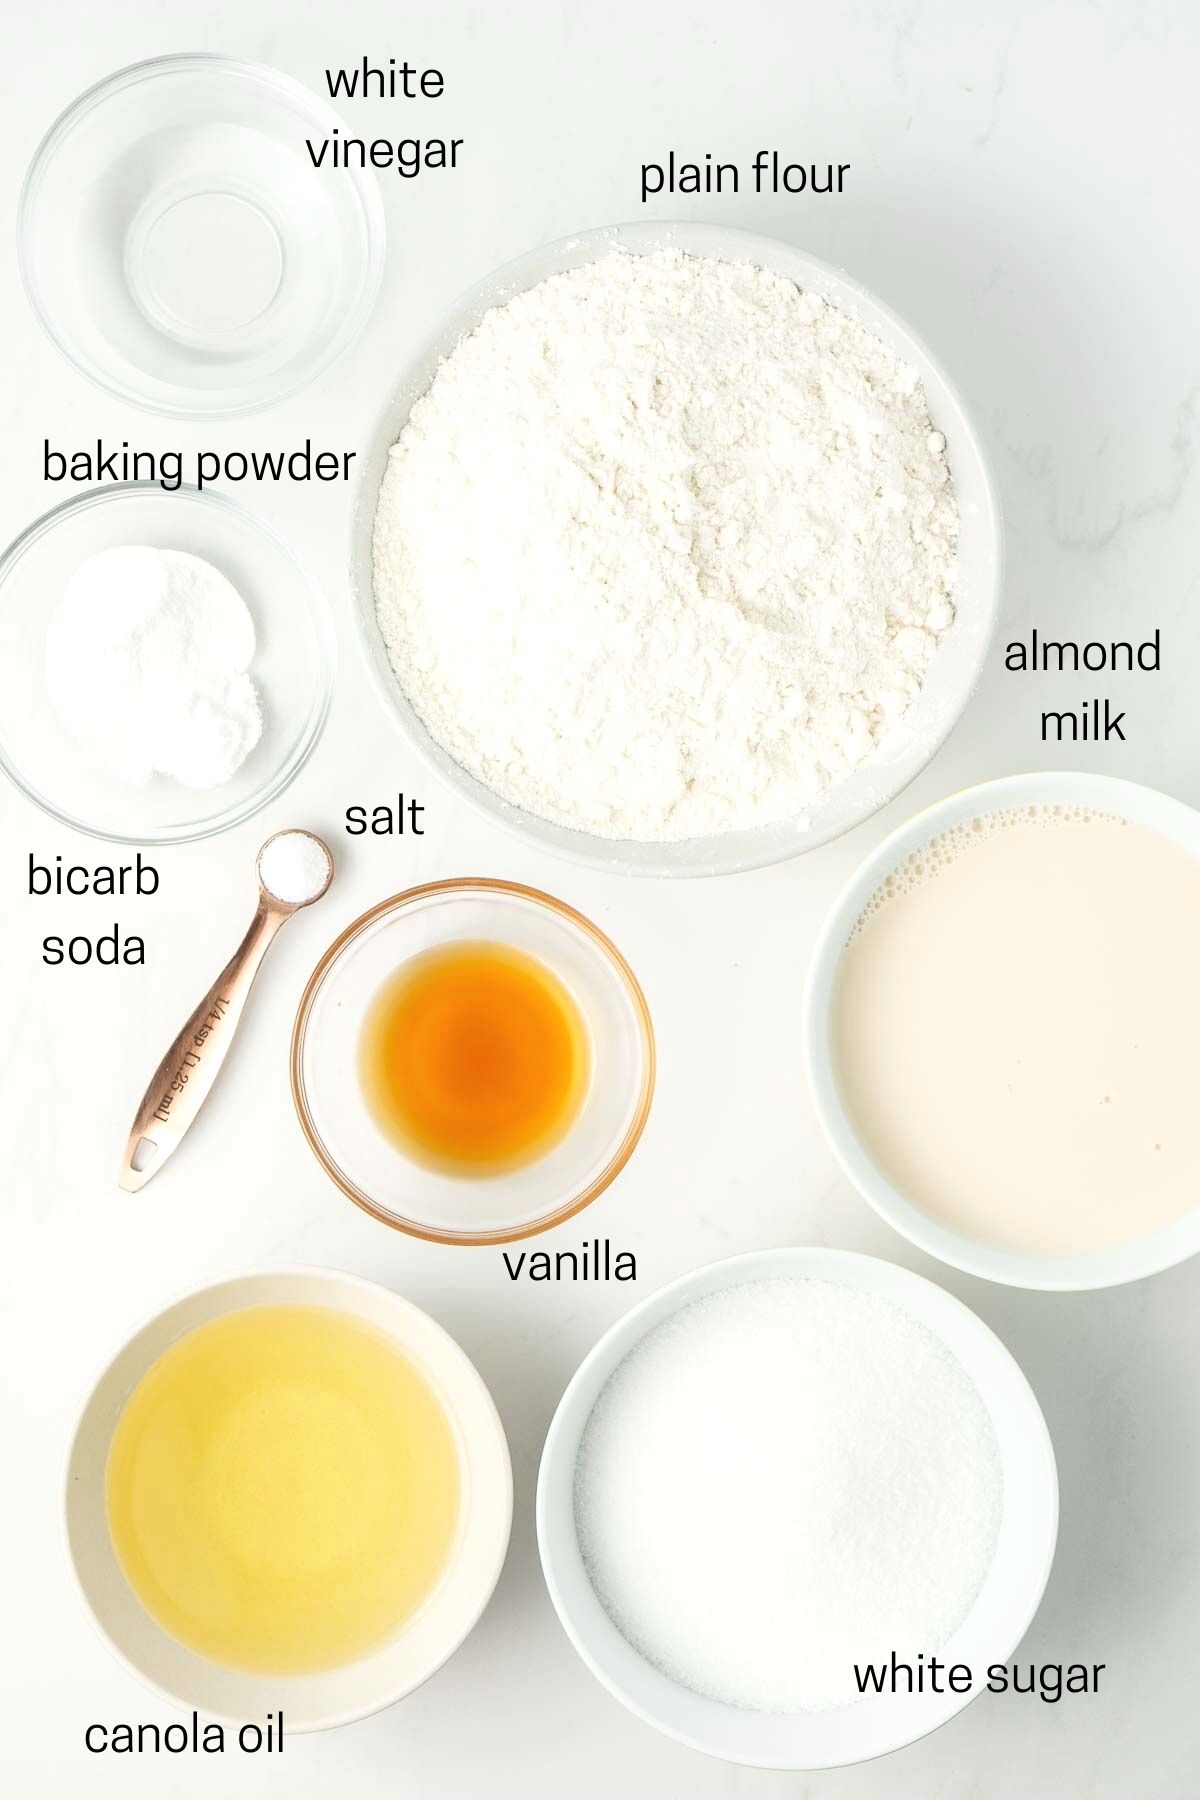
Key Ingredients
If you’ve been following along here for a while, or tried any of my other vegan cake recipes, then you’ll know I don’t believe in any weird substitute ingredients, just simple pantry ingredients and a little baking science to ensure we get a delicious, soft and fluffy vegan cake every time.
For this recipe you’ll need;
- Dairy-free milk – I prefer almond milk for the best results. I either use plain unsweetened almond milk or the vanilla version if I want a bit extra flavour.
- White vinegar – As this cake doesn’t contain egg, we rely on white vinegar combined with the almond milk to give us a dairy-free ‘buttermilk’ which will help keep this cake light and soft. I don’t recommend apple cider vinegar as a substitute here as the flavour is too strong for the vanilla cake.
- Plain flour – or all purpose flour in the US. I have not tested this recipe with a gluten free flour blend.
- Baking powder – to give the cake lift.
- Bicarbonate of soda – known as baking soda in the US. This reacts with the vinegar and gives the cake that light, fluffy texture.
- Vanilla – using a whole tablespoon of vanilla extract in this recipe for maximum vanilla flavour.
- Canola oil – you want to use a light tasting oil here as anything strong will overpower the vanilla and give your cake an oily taste.
- White sugar – keeping the cake sweet but not too sweet.
Step-By-Step Instructions
To make this cake you’ll need to grease and line 3 x 8 inch round cake pans with cooking oil spray and baking paper.
This cake is actually really easy and just requires a few bowls and a whisk.
Start by making your ‘buttermilk’ by mixing together the almond milk and white vinegar in a small bowl. It will start to curdle and look a bit strange, but that’s ok!
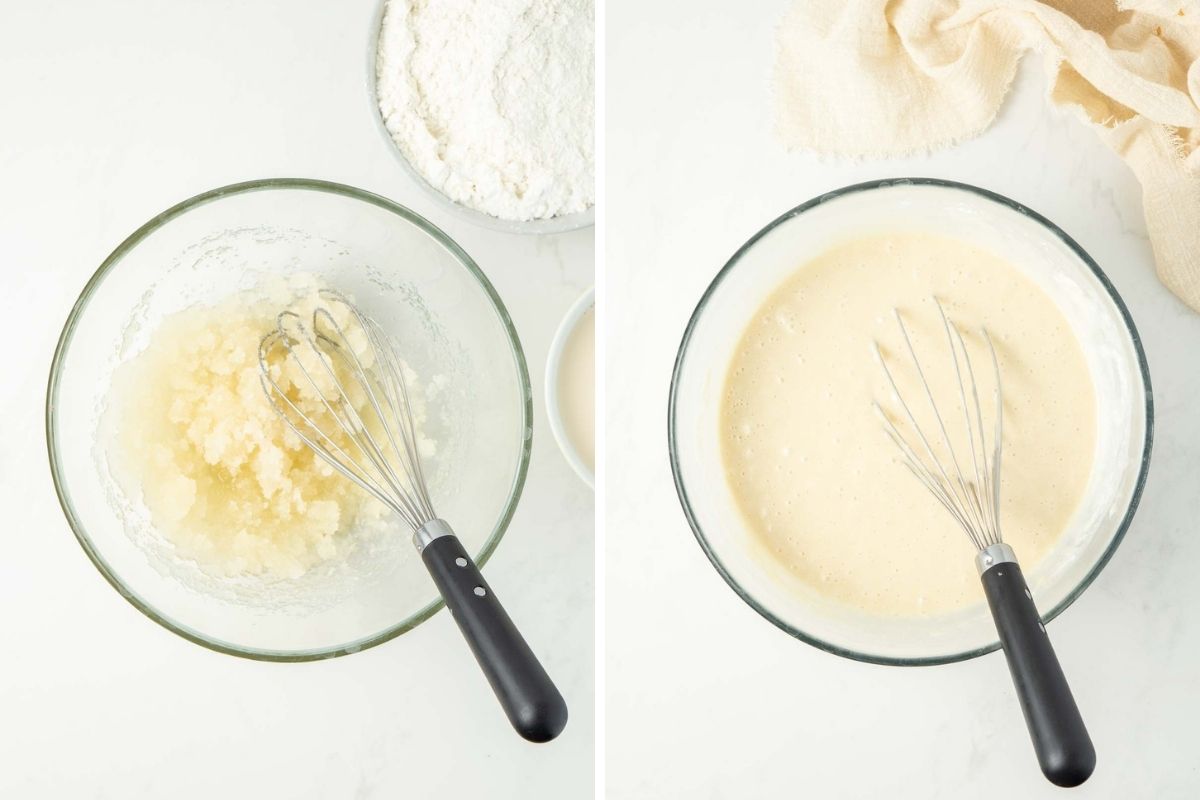
Next it’s as simple as sifting together all of the dry ingredients in another bowl and then in your large mixing bowl whisking together the oil, white sugar and vanilla.
Then, you just alternate the addition of the dry ingredients into the wet with the milk mixture, all the while whisking until you get a nice smooth thick batter.
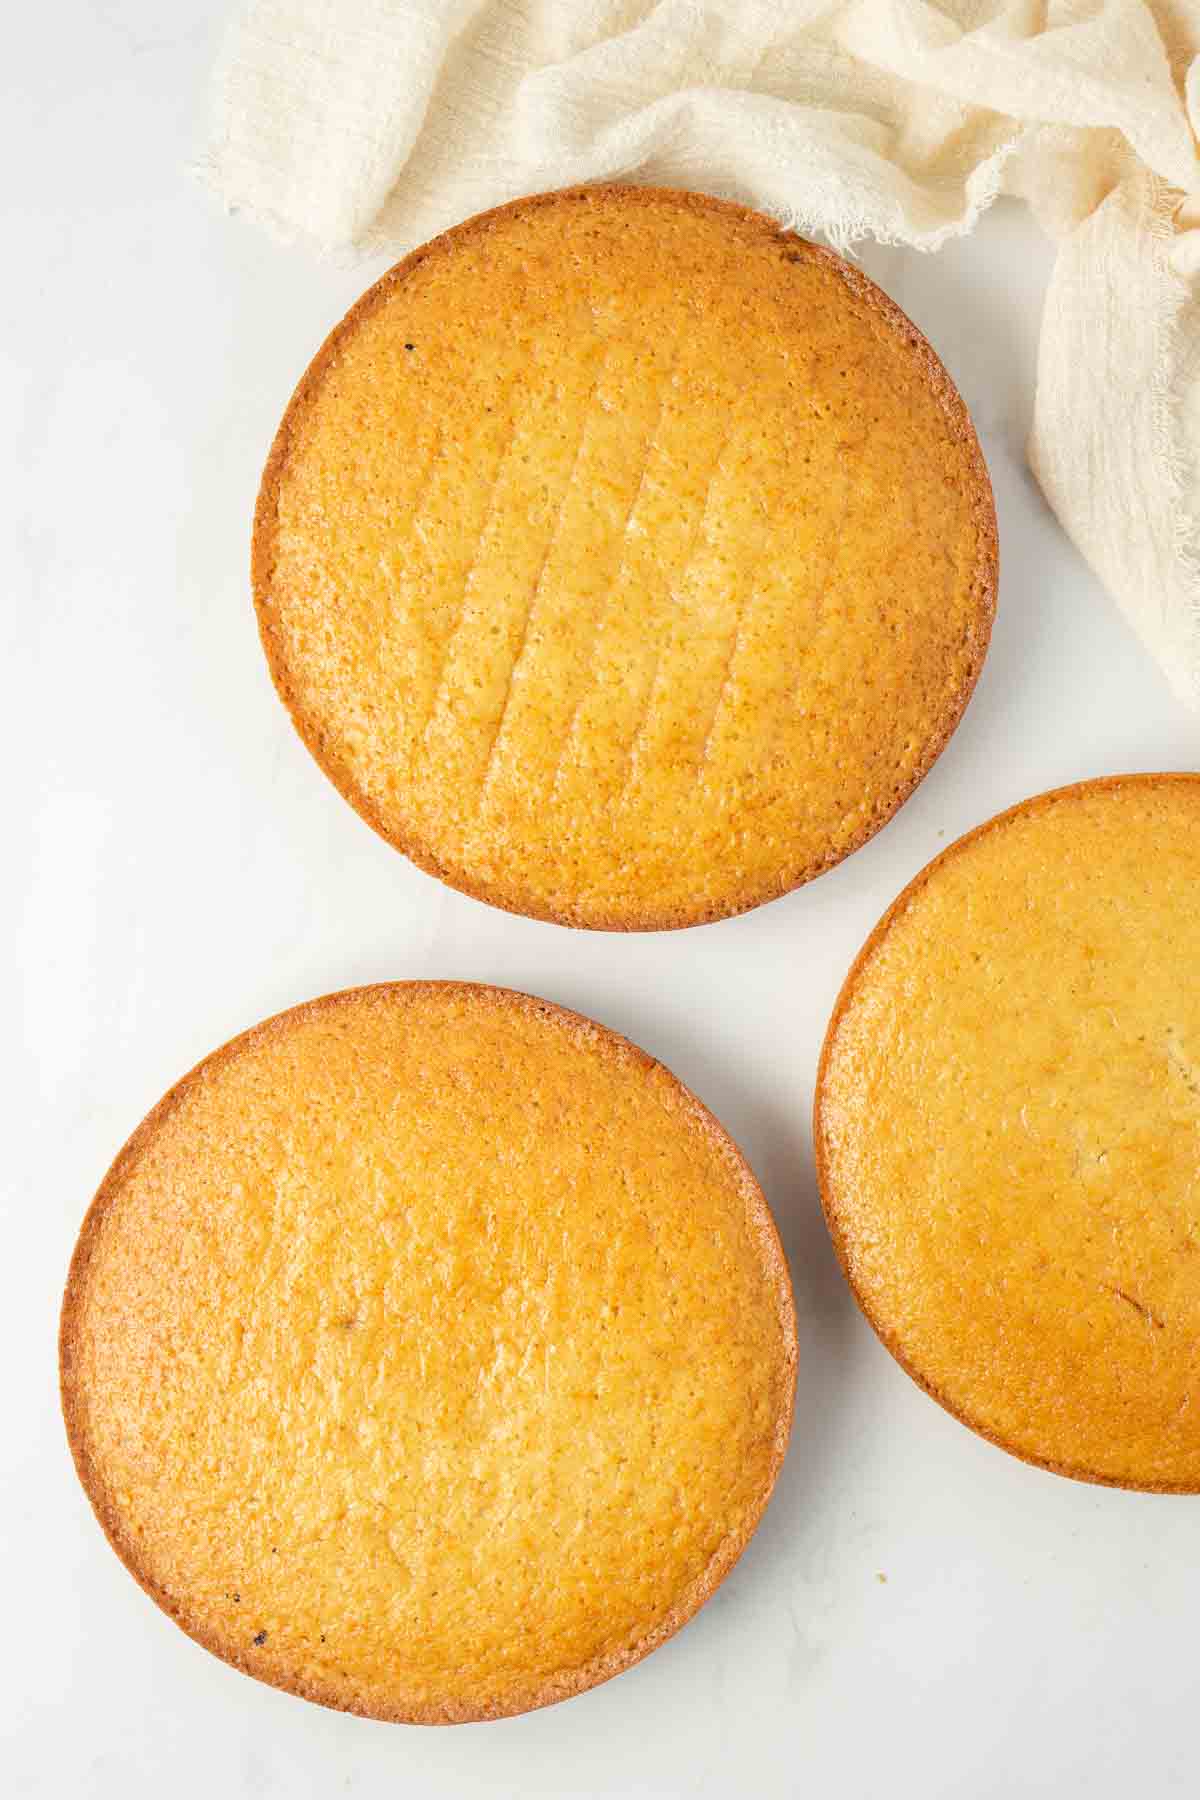
Divide the batter into the three prepared cake pans evenly. I like to use my kitchen scales to weigh it out to make sure it is exact (see tips section for more details). Place the cakes in the oven for 25-30 minutes or until cooked through.
Let the cakes cool in the pan for around 10 minutes before turning them out onto a wire rack to cool completely. You’ll need to make sure your cakes are 100% cool, with no remaining heat in them before moving on to the next step.
Assembling and Decorating
This is my favourite part because it’s where you can get creative and let your imagination lead the way.
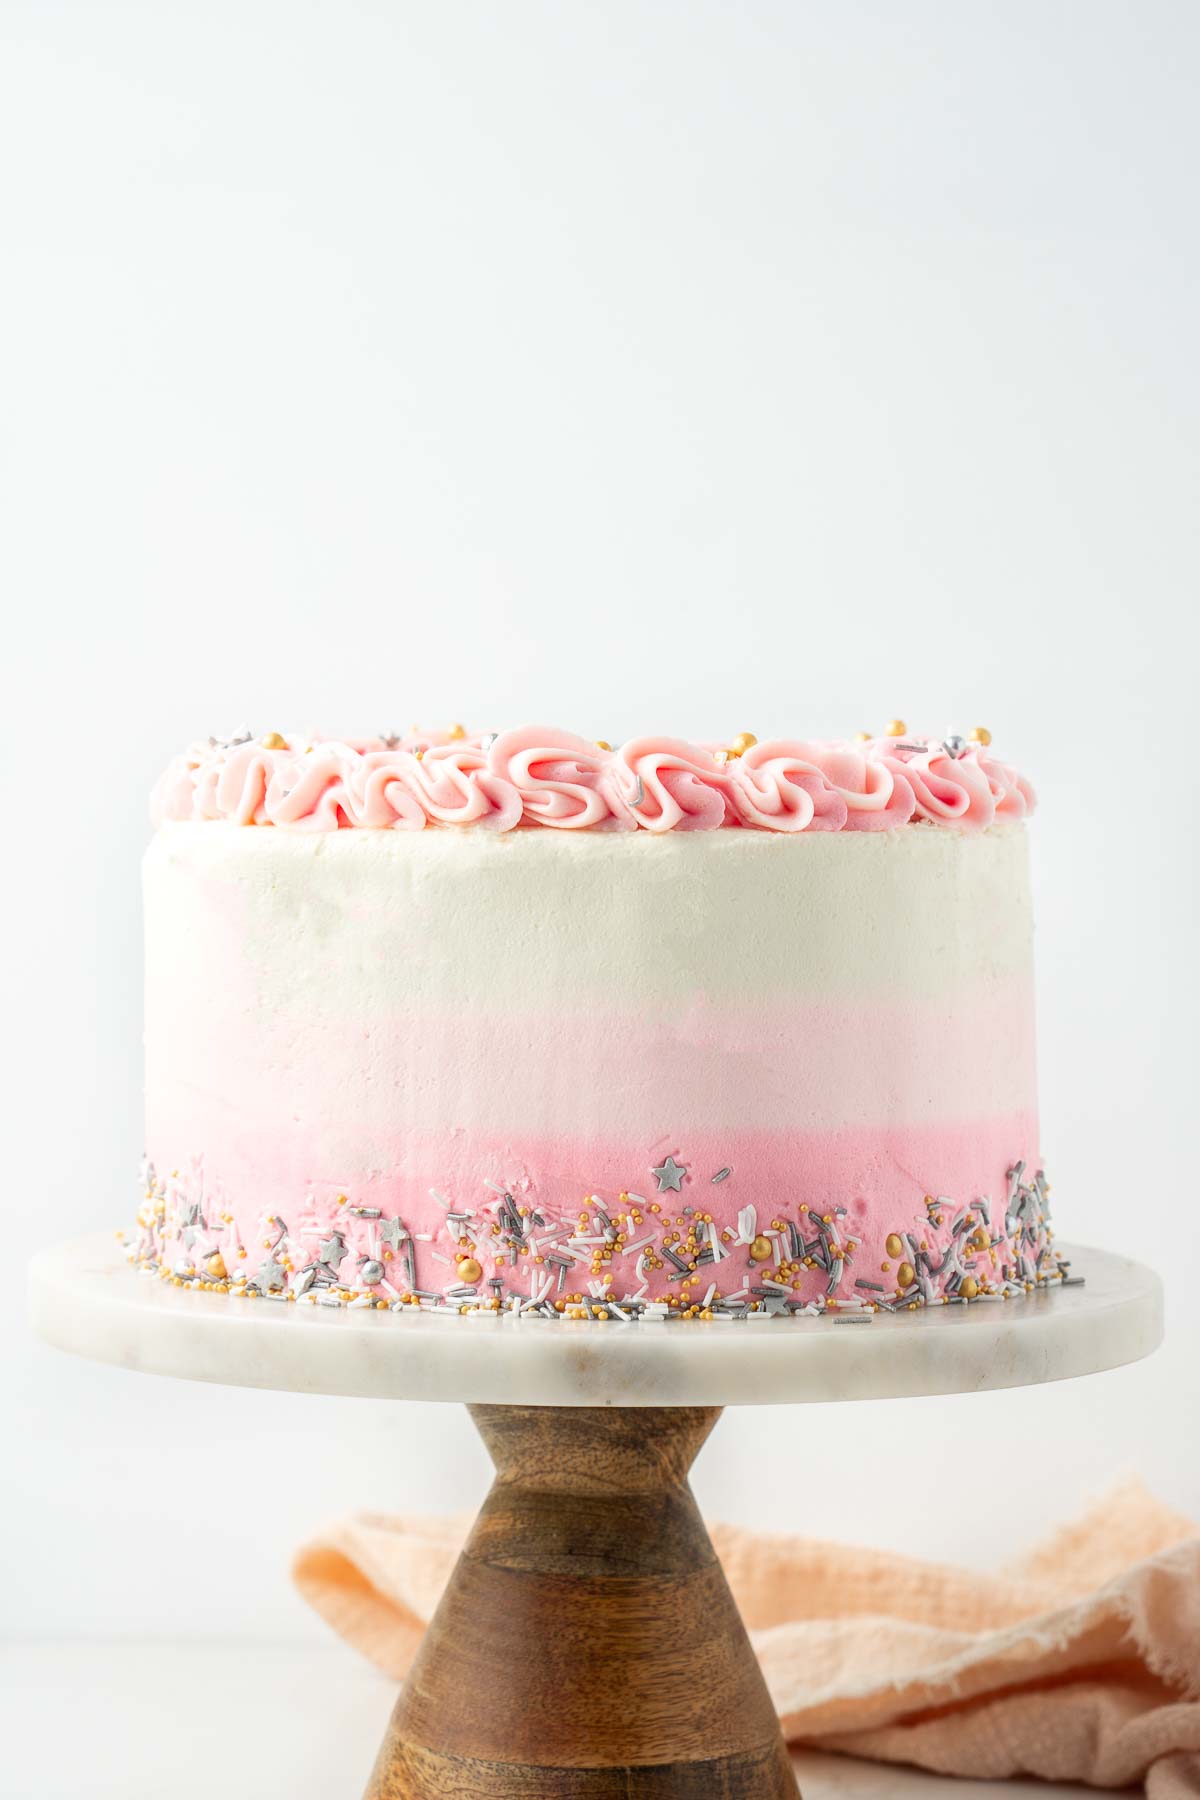
When creating this cake I had a specific idea in mind that I wanted to do a nice light pink ombre frosting and keep the rest quite simple.
To achieve this, you’ll need to start by assembling the cake and giving it a crumb coat which literally means a coating of frosting to capture and secure all cake crumbs to avoid having them ruin your finish.
We’re using a double batch of my favourite vegan vanilla buttercream for this cake, but you can certainly play around with different frosting flavours if you want something a bit different.
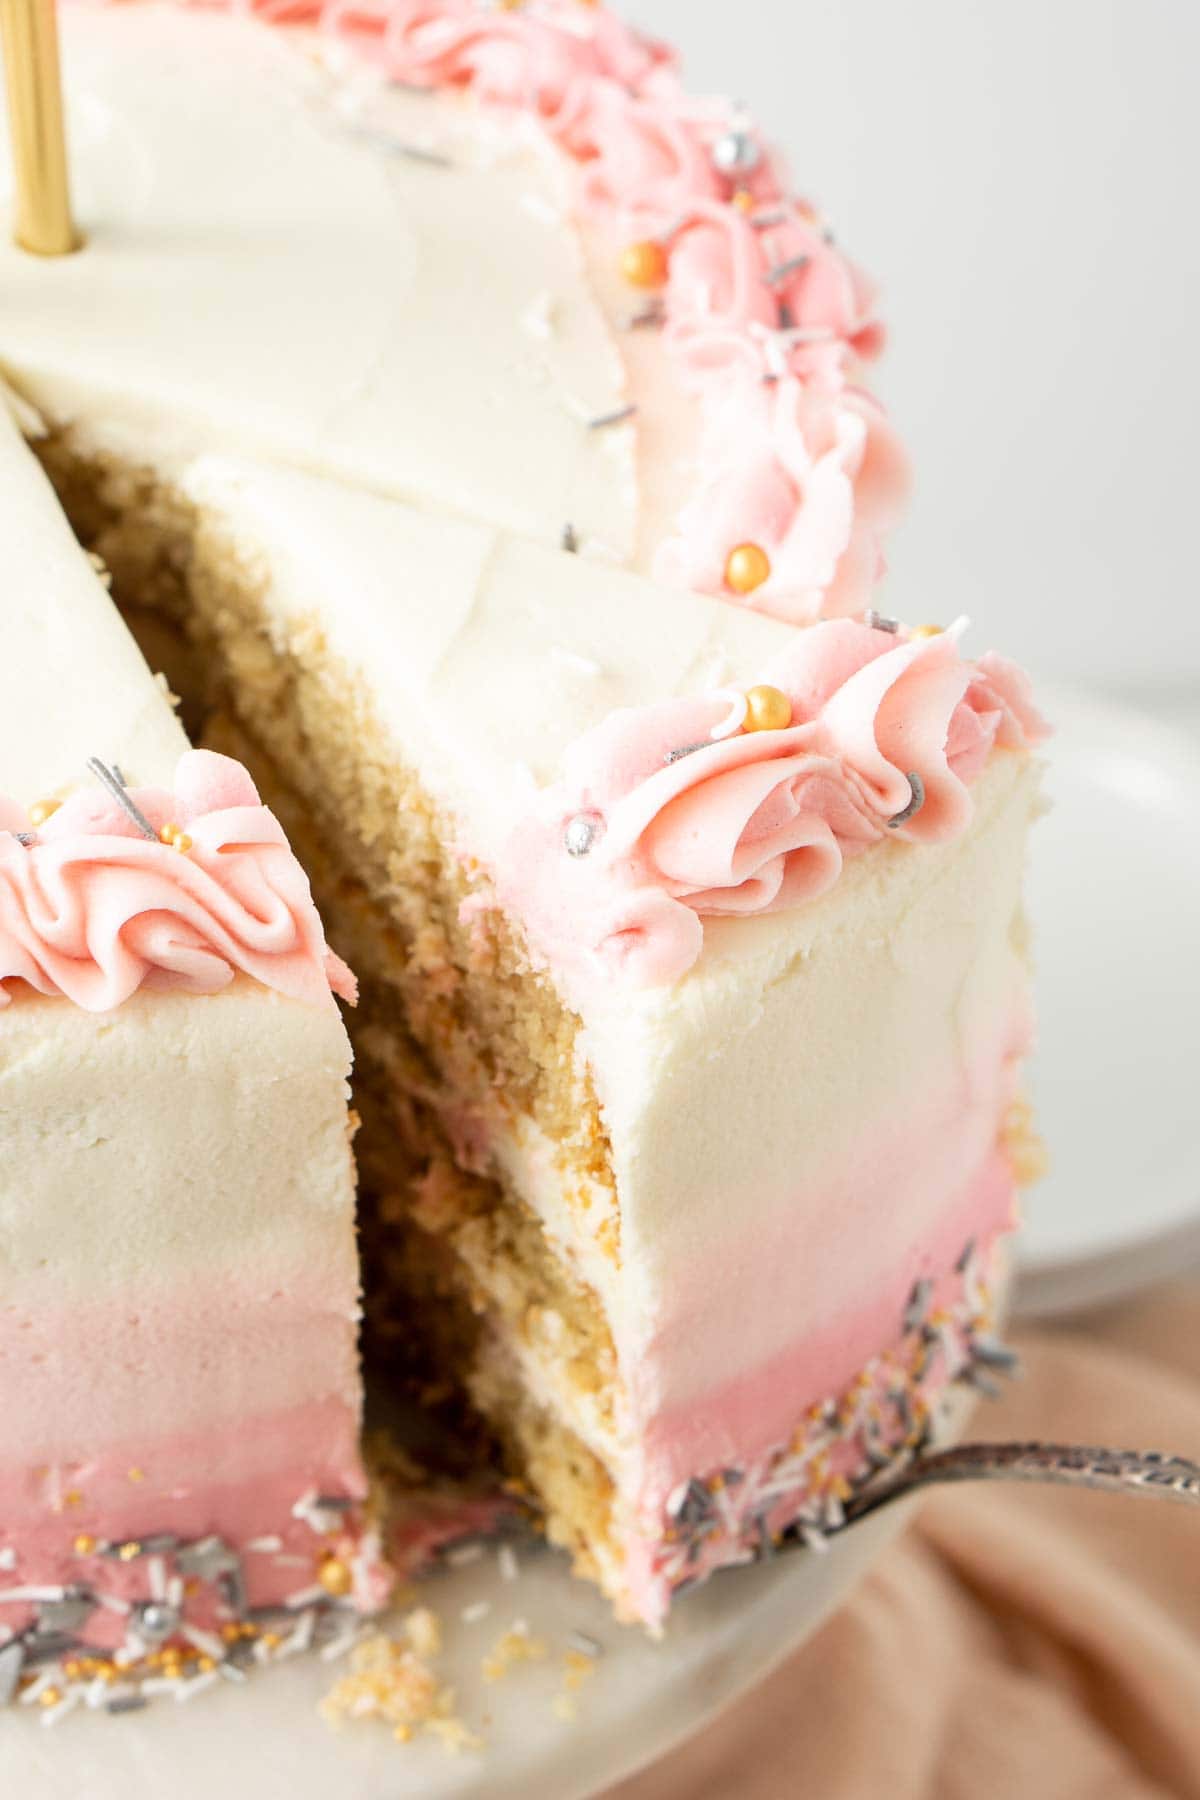
Assemble the cake by placing a small amount of the buttercream on a cake stand and placing the first cake layer down. Add enough frosting to thickly cover the layer and add the second cake layer. Add more frosting, then the final cake layer upside down so the top of the cake is flat. If your cakes have domed in the oven, be sure to even them out with a knife before assembling.
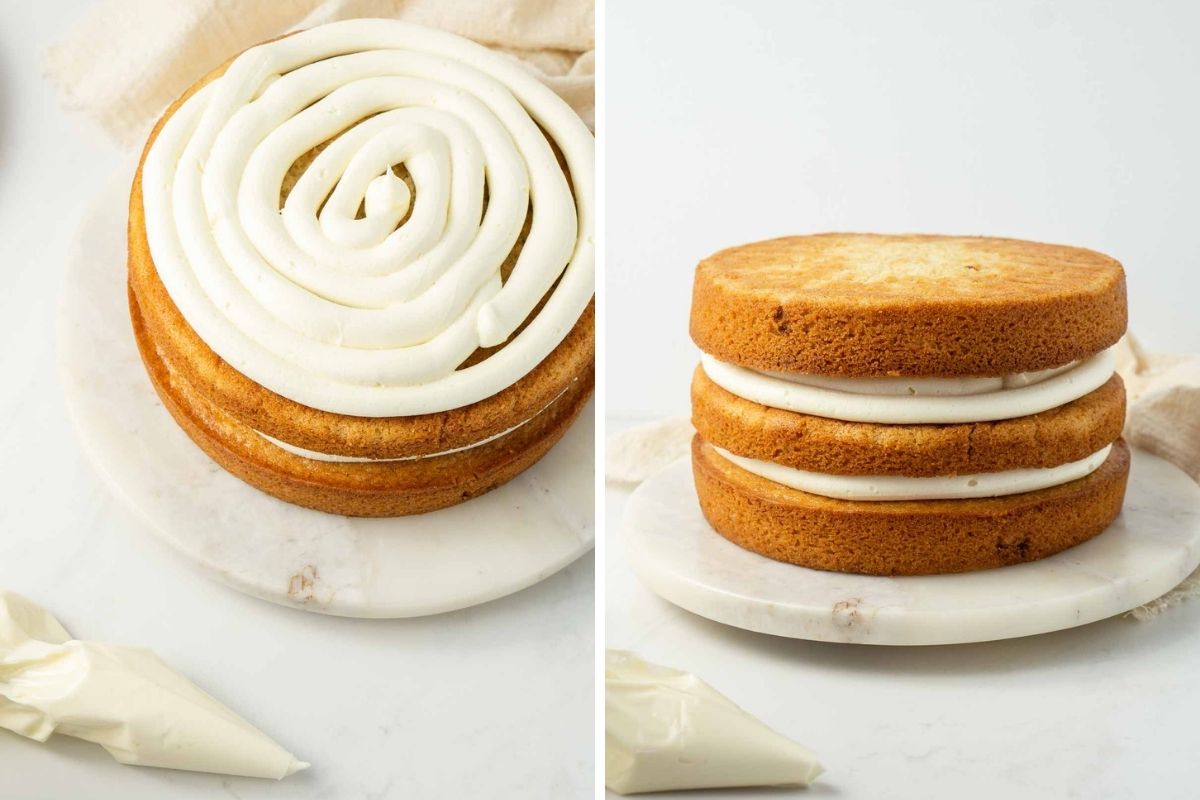
Add more frosting to the top and side of the cake and use a cake scraper or knife to smooth out the edges and remove any excess frosting. This layer of frosting should be enough that the sides are smooth but still thin enough that you can see the cake through the frosting.
Place the cake in the fridge to chill for at least an hour but up to overnight. This will keep the cake stable and make the top coat of frosting go on much easier.
With the remaining buttercream, separate and tint your desired colours. For this ombre design, I separated the frosting into 3 bowls keeping one white and tinting the other 2 different shades of pink.
Place the coloured frosting into separate piping bags (zip lock bags also work here), and start by piping the darkest colour around the base ⅓ of the cake. Next, pipe around the lighter pink, and finally the white.
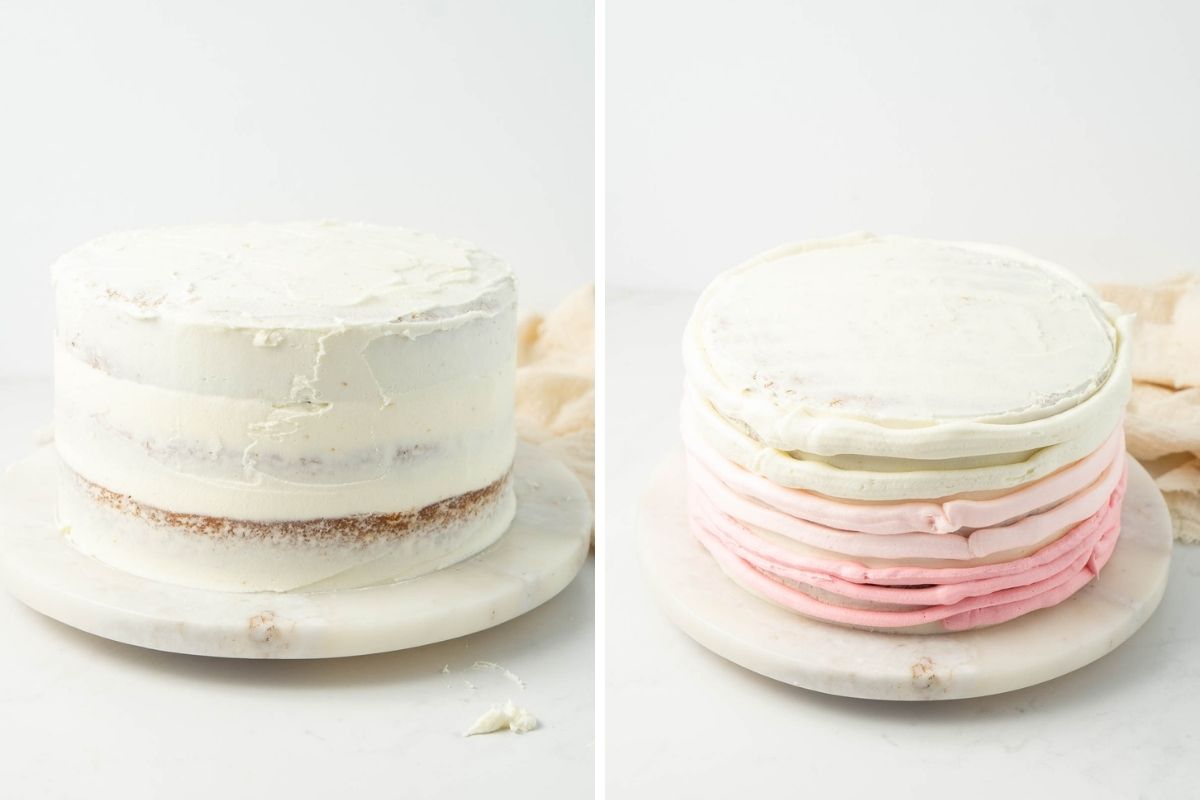
Use a cake smoother to gently smooth out the frosting, being careful to keep the smoother steady as to keep the defined colours. Continue to smooth out the cake until the colours start to blend together.
Once you’re happy with the finish, smooth some white frosting over the top of the cake. Place any remaining frosting into a single piping bag with your favourite piping tip attached and pipe swirls around the top.
To finish, I got some sprinkles and placed them into my hand and gently pressed them around the base of the cake and then over the top of the swirls.
My Top Tips!
For best results, make sure to read through these tips and read through the full recipe below before beginning.
- Weigh the batter to ensure your cake layers are even. To do this, I weigh my main mixing bowl first, then subtract that from the total weight with the batter, then divide that by three and that’s what I add into each cake pan.
- Always work with a cold cake when frosting. This will make it much easier to apply the buttercream and will keep the cake sturdy.
- Don’t skip the crumb coat step. It might seem additional, but when you’re working with a multi-layered cake like this it’s essential to achieve smooth sides.
- Make the cake in advance of your event. Putting together a cake like this on the day of your event can be stressful. I like to either have it ready the day before, or at least complete up until the crumb coat so all I need to do is finish the main decorating on the day of serving.
- You can store your frosting in an airtight container in the fridge when not in use for up to 3 days. To use again, just whip up again using your electric beaters until creamy and smooth.
- Don’t worry if your frosting isn’t perfect! It can be easy to be hard on yourself when decorating a cake and wanting it to be perfect, but I encourage you to embrace the little imperfections as the uniqueness of your creation!
Recipe FAQs
The cake can be kept out in a cool/dry area at room temperature for a few hours before serving, but to store make sure to cover it with an airtight container. Store at room temperature for up to 2 days or in the fridge for up to 5.
You can make the cake layers ahead of time and freeze them by making sure they are completely cool and wrapping tightly with plastic wrap followed by tin foil. To defrost, place on the kitchen counter overnight before removing the wrapping.
You can also freeze the cake after it has been frosted, just carefully wrap it up with plastic wrap and place in a zip lock bag to keep out any moisture and store for up to 3 months. To defrost, again leave it on the kitchen counter overnight.
We actually have a vegan vanilla cupcake recipe on the site that is highly recommended. While there is usually no issue transitioning a cake recipe to cupcakes outside of adjusting the baking time, I would recommend using the cupcake recipe for best results.
More Vegan Cake Recipes:
Mini Vegan Chocolate Cake
Vegan Sticky Date Pudding With Caramel Sauce
Dairy Free Chocolate Cake
One Bowl Vegan Chocolate Cake
Vegan Carrot Cake
Vegan Red Velvet Cake
Vegan Vanilla Cake
Ingredients
For the vegan vanilla cake:
- 2 cups almond milk
- 2 tablespoons white vinegar
- 3 ½ cups plain flour
- 1 tablespoon baking powder
- ½ teaspoon bicarbonate of soda
- ¼ teaspoon salt
- ⅔ cup canola oil
- 1 ½ cups white sugar
- 1 tablespoon vanilla extract
For the vegan vanilla buttercream:
- 1 cup (250 grams) dairy-free butter
- 6 cups icing sugar
- 1 ½ teaspoons vanilla extract
- ¼ teaspoon salt
- 2-3 tablespoons vanilla almond milk
- pink gel food colouring optional
- sprinkles optional
Instructions
- Preheat the oven to 180°C and spray 3 x 8 inch round cake pans with cooking oil and line with baking paper.
- Make the Vanilla Cake. In a small bowl, mix together the almond milk and white vinegar and set aside. It will split but that’s ok. In a separate bowl, sift together the flour, baking powder, bicarbonate of soda and salt.
- In another large bowl, Whisk together the canola oil, white sugar and vanilla until combined.
- Add in the dry ingredients ½ cup at a time, alternating with the milk whisking to combine between each addition. Continue until everything has been added and the batter is just combined and smooth.
- Divide the batter into the three prepared pans evenly. I like to use my kitchen scales to weigh it out to make sure it is exact. Place the cakes in the oven for 25-30 minutes or until a skewer when inserted comes out clean and the cake springs back when lightly touched.
- Let cakes cool for 10 minutes in the pans before turning out onto a wire rack to cool completely.
- Make the Vanilla Buttercream. Using a handheld mixer or a stand mixer with the paddle attachment fitted, lightly beat the dairy-free butter and vanilla so it’s smooth. Add in 3 cups of icing sugar and beat until creamy. Add in another 3 cups of icing sugar, 1 cup at a time, beating on medium speed. While the mixer is running, gradually add in the milk until super smooth and creamy. If the mixture is still too thin, add more icing sugar until the frosting is smooth but thick enough to hold its shape, alternatively if it’s too thick, add a little more milk.
- Assemble the cake. Level the cakes with a bread knife if required. Smooth a little buttercream on a cake stand or serving board and place the first layer down. Top with buttercream to cover the cake, then add the next layer. Again add more buttercream, then the final cake layer upside down so you have a smooth top. Top with more buttercream around the tops and the sides and smooth out, scraping off any excess. You should be able to see the cake through the frosting yet still have smooth, straight sides. Let the cake chill in the fridge at least an hour up to overnight.
- When ready to decorate, with the remaining buttercream, separate and tint your desired colours. For this ombre design, I separated the frosting into 3 bowls keeping one white and tinting the other 2 different shades of pink.
- Place the coloured frosting into separate piping bags (zip lock bags also work here), and start by piping the darkest colour around the base ⅓ of the cake. Next, pipe around the lighter pink, and finally the white. Use a cake smoother to gently smooth out the frosting until the colours start to blend together.
- To finish, smooth some white frosting over the top of the cake and place any remaining frosting into a single piping bag with your favourite piping tip attached and pipe swirls around the top. Press some sprinkles into the bottom using your hand if desired, and sprinkle over the top of the buttercream swirls.
Notes
Nutrition
Nutritional information is provided as a guide only and is calculated using automated online tools, therefore we cannot guarantee the accuracy. We encourage you to make your own calculations based on the actual ingredients used in your recipe.

Hanna says
Can I use self raising flour instead?
Sally says
Hi Hanna! I don’t recommend it as it’s not a straight 1-1 swap for the flour as self-raising flour contains a rising agent. I’d need to test if you would still need the baking powder and bicarbonate of soda in smaller quantities as well to achieve the same texture. Without testing, I can’t say what your result would be.
Anna says
Love this cake, wondering if it can be made gluten free?
Sally says
Hi Anna, So happy to hear you love this one! I haven’t tested this one gluten-free so cannot say if it will work or not. If you did try I would use a good 1-1 gluten free baking blend that already contains xanthan gum like Bob’s Red Mill. However if this is for an occasion, you may be better off looking for a recipe that’s been developed specifically gluten free.
Anna says
Do you think this could be made in a 6 inch cake?
Claire says
Hi, do you have the measurements in grams by any chance?
Sally says
Hi Claire. Sorry at this stage I don’t offer both measurements but will look to update this in the future. Thanks!
Amanda says
If your recipe was halved (to bake all as one layer in a 23cm springform) do you think it would work as follows:
1 cup almond milk (would regular dairy milk also work okay?)
1 tablespoon white vinegar
1 3/4 cups plain flour
1/2 tablespoon baking powder (would this be better left as 1 tablespoon?)
1/4 teaspoon bicarbonate of soda (would this be better left as 1/2 tablespoon?)
0.13 teaspoon salt ? (would this be better left as 1/2 tsp)
1/3 cup canola oil
3/4 cup white sugar
1/2 tablespoon vanilla extract
Also, would adding 1/2 cup malted milk powder be okay? My Dad used to love vanilla malted milk when I was a kid and I thought it would be cool to make him a birthday cake like it. I saw a similar recipe that used malted milk powder but it additionally used eggs and melted butter so it had more liquids. I read somewhere else about someone adding a dry ingredient like this to a recipe and it was suggested they take out some of the flour to accommodate for the additional powder (that would make it 1 1/4 cups flour in this case I think). It also occurs to me that the malted milk powder contains sugar so then I wondered if that amount should be taken off the original sugar measurement so it didn’t get too sweet. But they weren’t working with a vegan recipe so I wasn’t sure if any of this was advisable. I don’t know too much about baking of any kind but I get that the idea that changing ratios can mess up a recipe completely. I don’t actually require the result to be vegan as my Dad isn’t vegan (the milk powder might have clued you in on that!). I just need it to be eggless.
Assuming any of this would be remotely possible, would the baking time need to be longer if done this way in a 23cm springform?
Sally says
Hi Amanda! Firstly, I am so excited that you’re looking to experiment and test out a recipe to get it exactly where you need it to be! When I am developing a recipe I first like to do a lot of research and then it usually takes a couple of test cakes to work out how the different ingredients work together. Unfortunately I can’t confirm what these adaptions would result in without going through my full process but if you decide to give it a try, please let me know you’re results!
Erin says
Hello,
This cake looks so fluffy and moist. Thank you for sharing your recipe. How do you measure out your flour to ensure accuracy with the final cake? Thank you!
Sally says
Thanks Erin! I always spoon and level my flour. So use a spoon to add the flour to your measuring cup (rather than scoop the flour directly with the cup) and gently level it off with a knife.