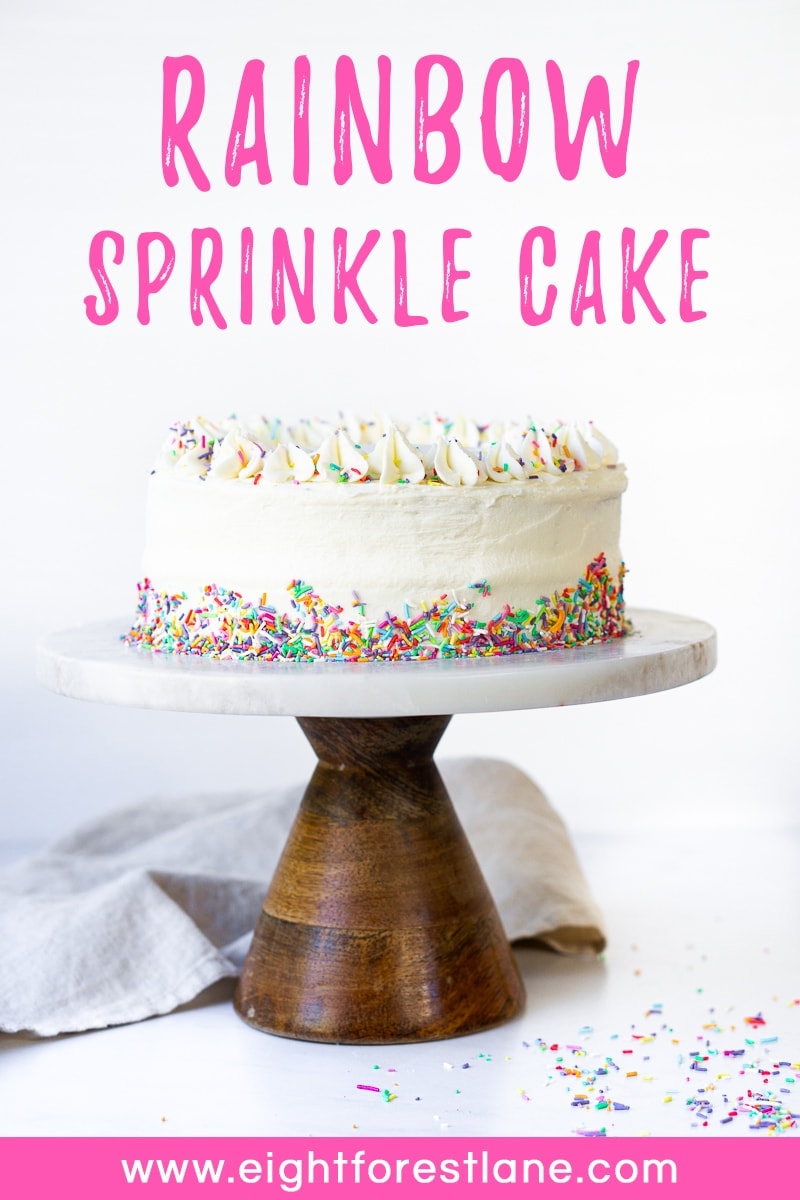
Light and ‘buttery’ vanilla cake packed full of colourful sprinkles and sandwiched between a sweet and creamy vanilla buttercream frosting. This cake is made dairy-free making it perfect for any celebration.
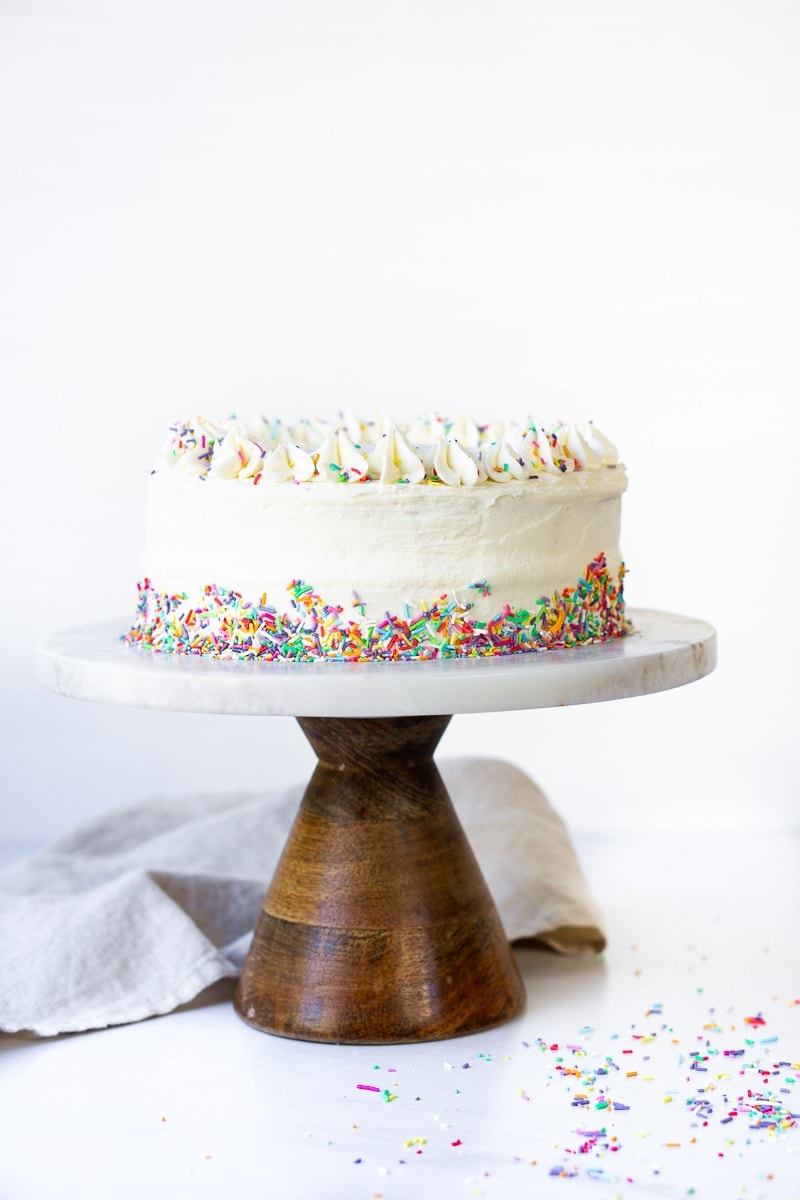
Sometimes you just need a cake that is equal parts fun and delicious. And today I am sharing a cake that is exactly that.
This cake is what you think of when your mind wanders to birthday cake. It is cheerful, colourful, soft, cakey and balanced out with a slather of sweet and creamy buttercream frosting. The most fun comes with the decoration where you can go wild with even more sprinkles.
Rainbow sprinkle cake or funfetti cake as it is also known, has an American history just a little older than myself when the Pillsbury Company introduced it’s fun, confetti filled white cake in 1989. The bright colours were supposed to attract children but let’s just be clear, this is a cake for everyone!
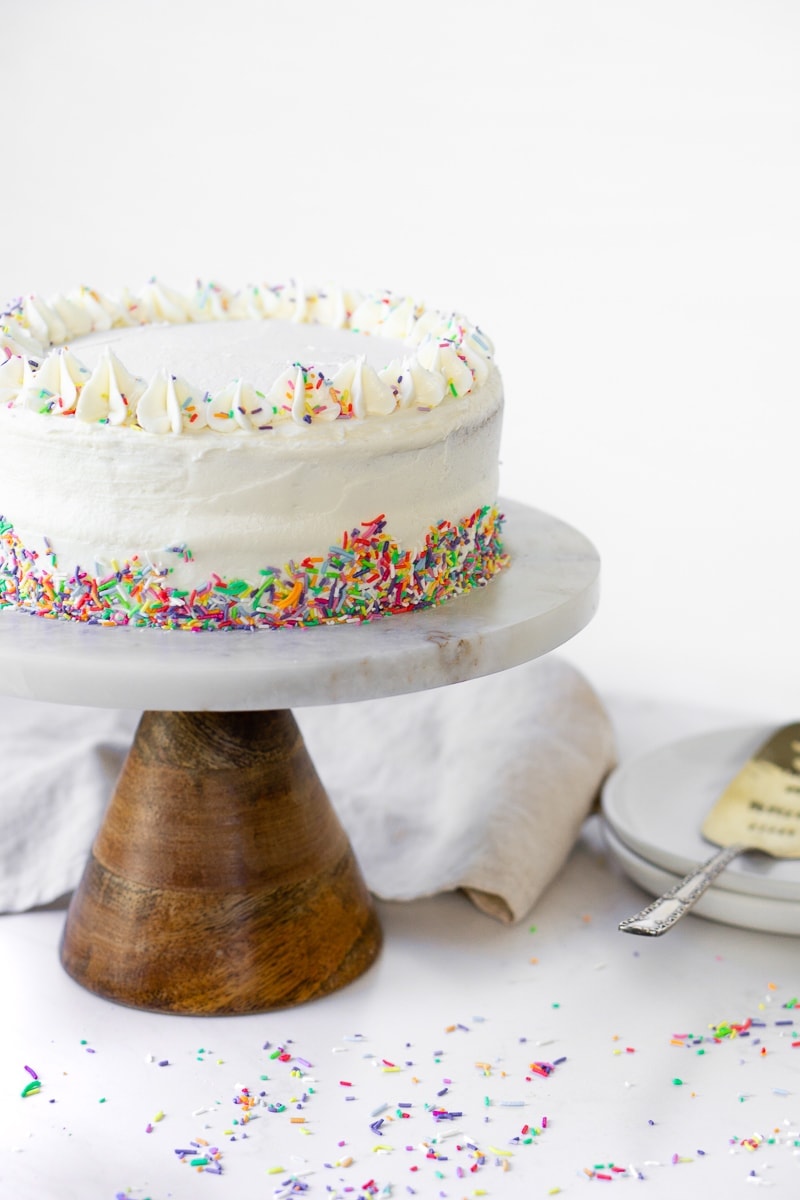
The flavour of this cake is vanilla, and vanilla cakes generally fall somewhere on the spectrum between the flavour and texture of a white cake which is traditionally much lighter in colour and flavour (made using egg whites) and a yellow cake which is denser and richer due to the egg yolks and butter.
A funfetti cake should lean more towards the white cake end of the spectrum which is why this cake uses 2 egg whites. It still uses an additional whole egg though as this yolk helps make sure the cake is still stable enough that it won’t fall apart.
Unlike my vanilla layer cake which makes a towering 4 layers, this recipe makes a 2 layer cake which is a much more reasonable size unless you have a small village to feed. I used 7 inch pans as that’s the size I had, but this would also work with 8 inch pans which is a more common size.
How to make this rainbow sprinkle cake
Start by mixing together the dry ingredients. Then in a large bowl using an electric hand held mixer or a stand mixer beat the butter, sugar and vanilla together until creamy. Add in the eggs and continue beating.
Add the flour mixture and dairy-free milk a little at a time, alternating between them until everything is combined.
Next fold through the sprinkles. The sprinkles you use will determine how bright and colourful the cake is. The ones I used here were just the colourful sugar strand sprinkles from the supermarket and they didn’t turn out as bright as I had hoped as they dissolved into the cake batter. I considered reshooting the recipe but with the current state of the world I didn’t want to drive across town unnecessarily for different sprinkles and also I didn’t know what to do with another whole cake!
So if you want to make this cake, I do recommend using jimmies which will work better. 100s and 1000s will have the same effect of dissolving and leaking the colour into the cake so they are not recommended but as always use what you have.
Assembling the cake
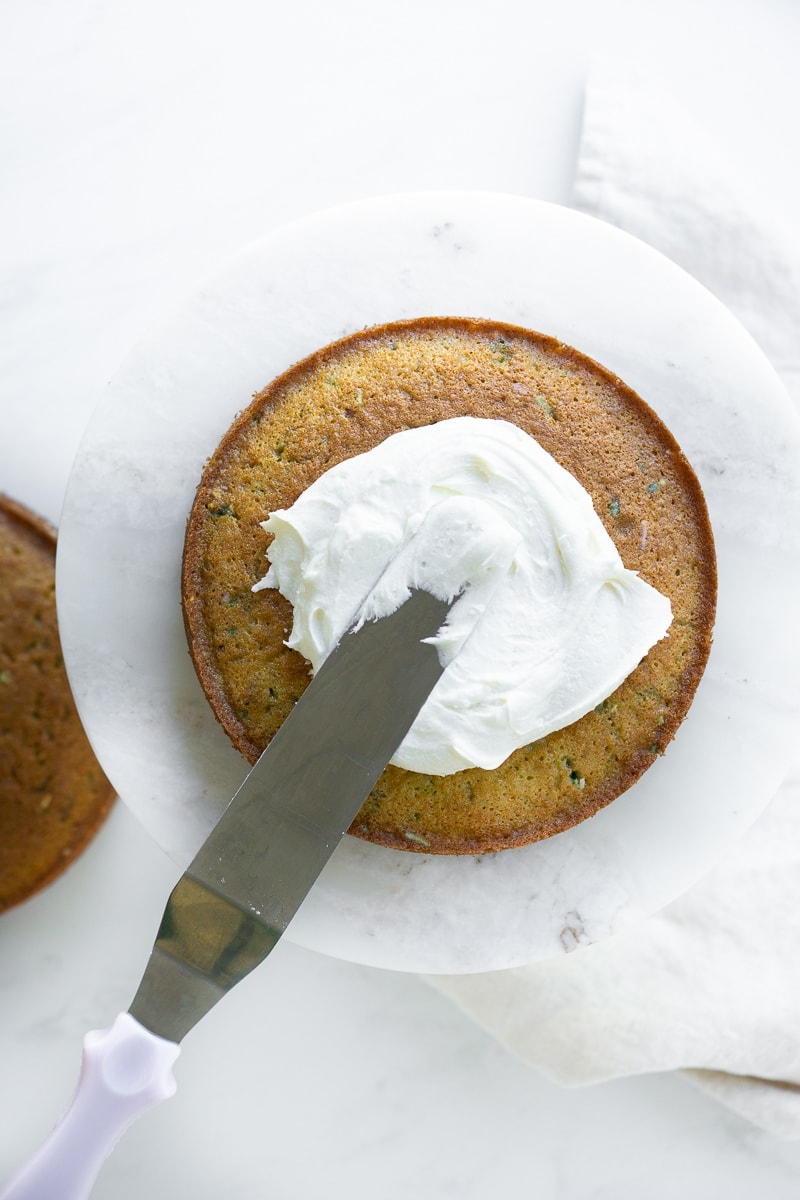
Grab your serving plate and add a little dollop of frosting to secure your cakes in place. If your cakes have domed in the oven, use a bread knife to carefully level the tops.
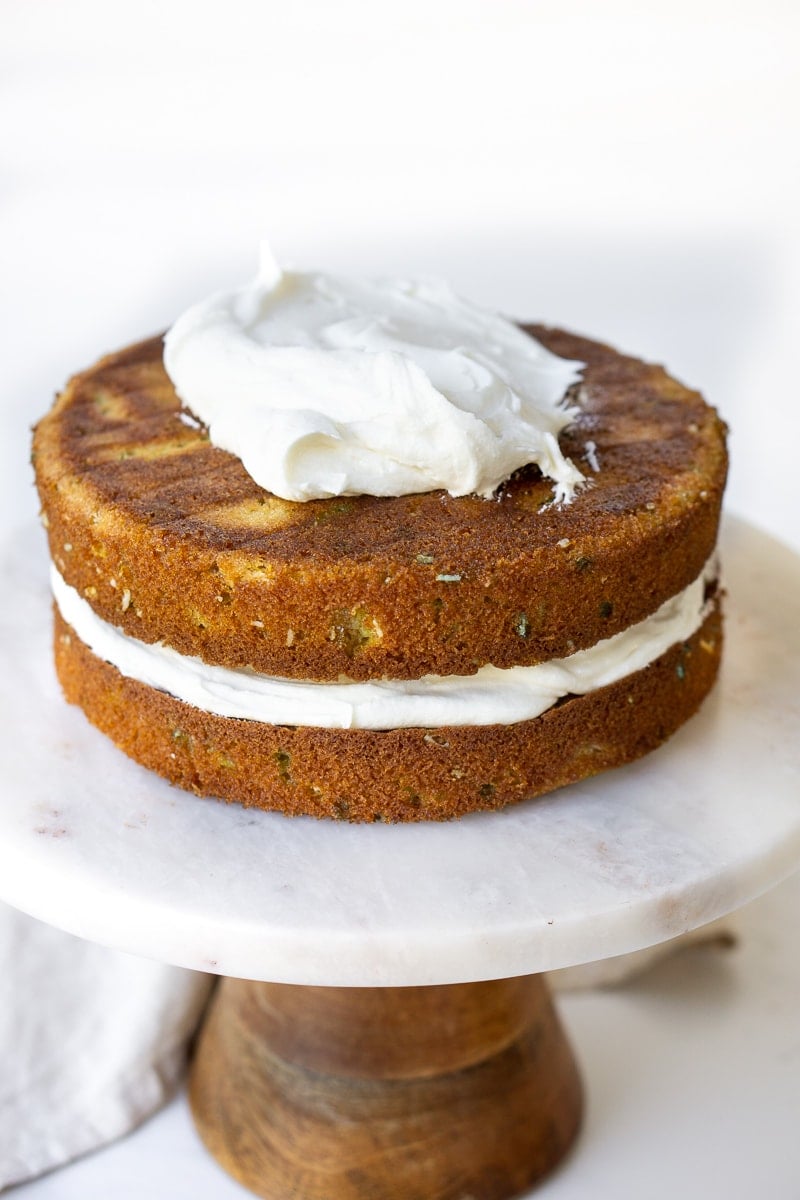
Place the first layer of cake on the plate and top with a very generous amount of buttercream, followed by the second cake upside down so the top is flat.
Add even more frosting to the tops and sides of the cake and smooth down with a cake knife or scraper. I let the cake chill for about an hour before adding a second coat of frosting so that there was no cake peaking through the sides and I could get a nice smooth finish.
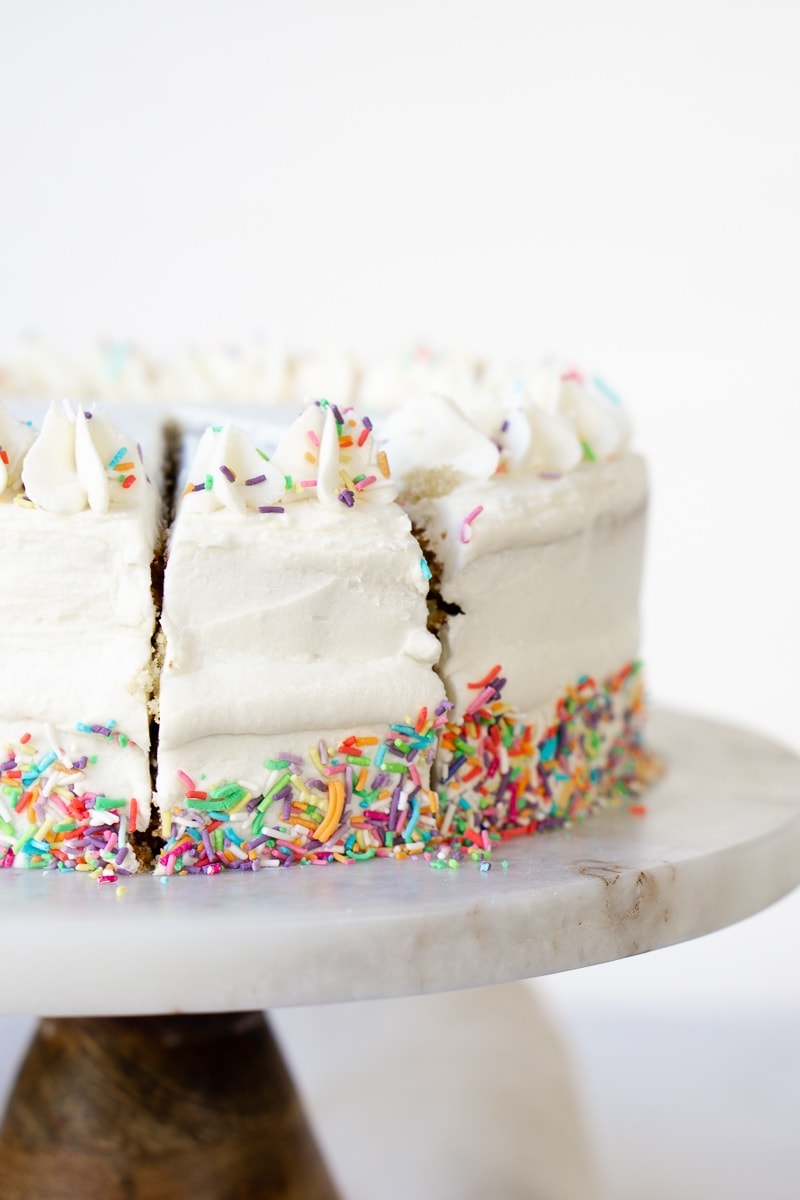
Finish the cake by piping any excess buttercream around the top and press sprinkles around the bottom of the cake gently using your hand and sprinkle any that fall off over the top.
You could tint the frosting a colour if you wanted but I quite like the white frosting contrasted with the colourful sprinkles.
Storing your cake
The cake will be fine left out on the bench for a few hours before serving, but to store make sure to cover it with an airtight container. Store at room temperature for up to 2 days or in the fridge for up to 5.
You can make the cake layers ahead of time and freeze them by making sure they are completely cool and wrapping tightly with plastic wrap followed by tin foil. To defrost, place on the kitchen counter overnight before removing the wrapping.
You can also freeze the cake after it has been frosted, just carefully wrap it up with plastic wrap and place in a zip lock bag to keep out any moisture and store for up to 3 months. To defrost, again leave it on the kitchen counter overnight.
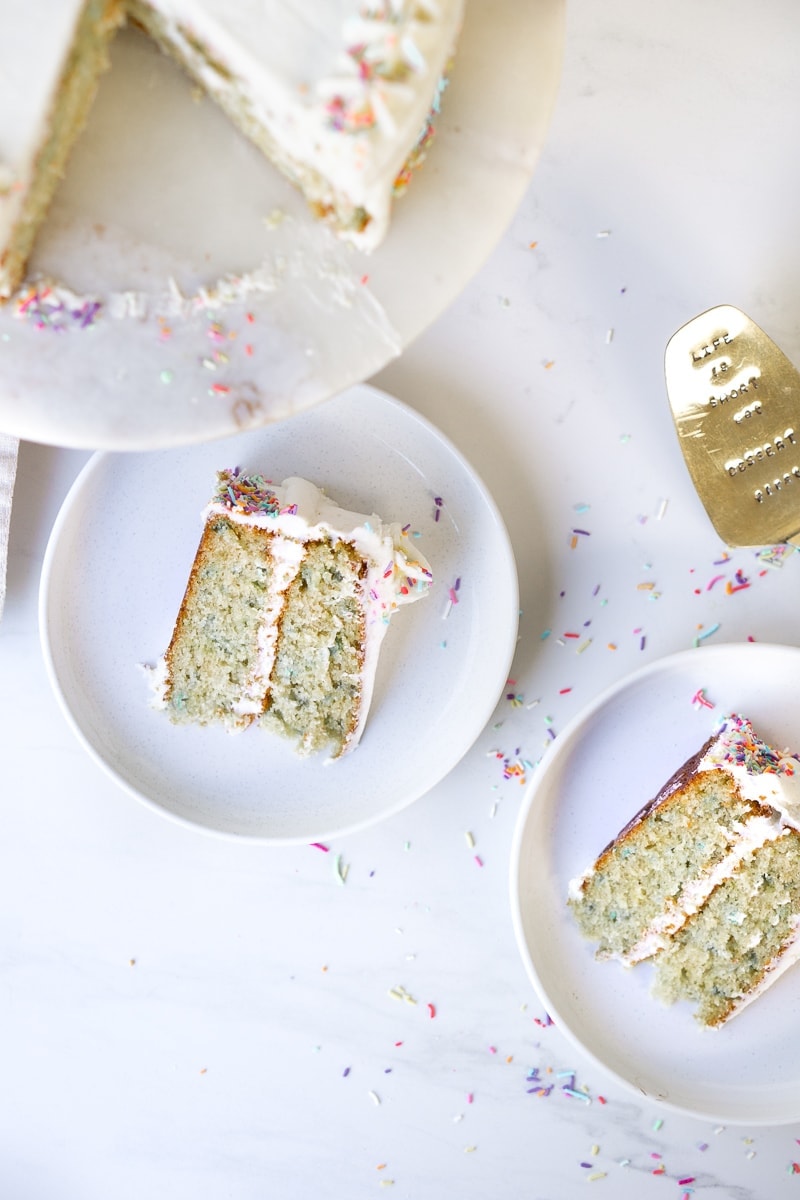
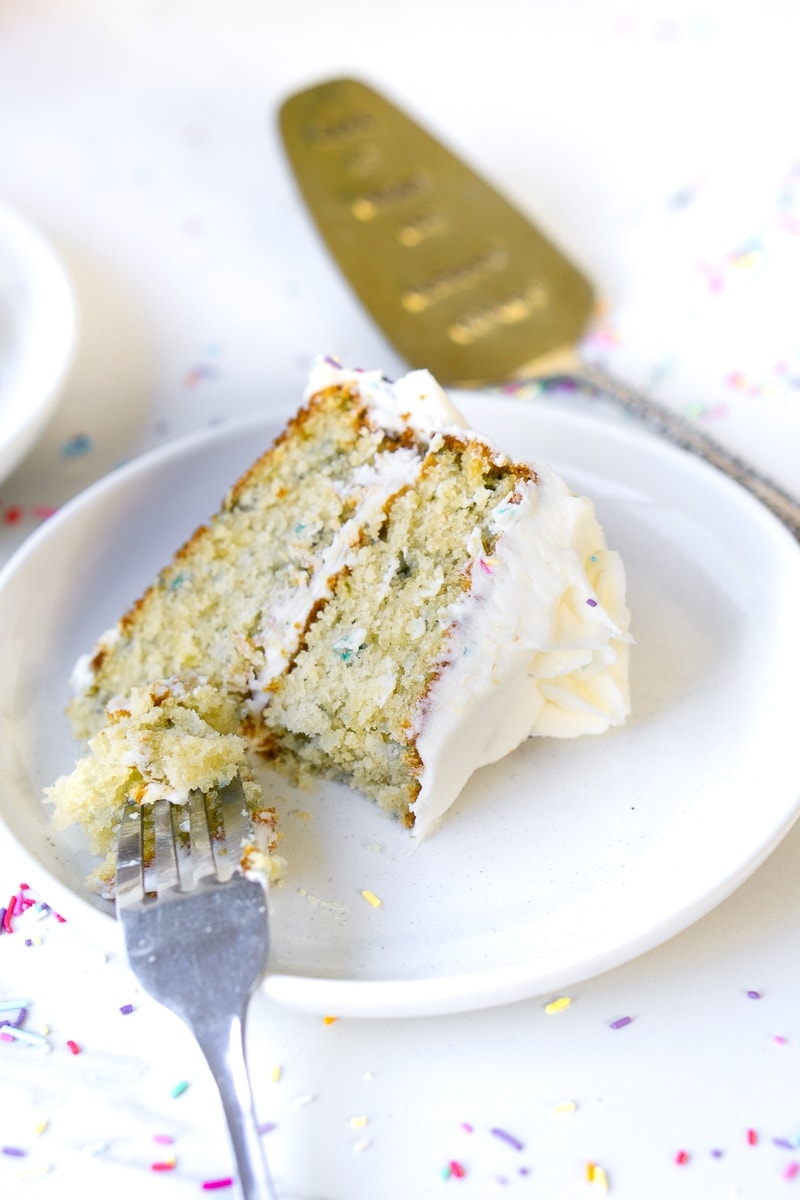
This cake is so delicious. It’s rich and buttery (even though we don’t use real butter!), but also quite soft and delicate. It is perfect for any celebration, even if that celebration is just a weekend at home with your family.
So the next time an occasion calls for cake and you are wanting something a bit more fun than plain vanilla, remember this recipe.
If you do make this recipe, please be sure to leave a comment and rating below! And tag any of your creations on Instagram with #eightforestlane as I would love to see.
Rainbow Sprinkle Cake
Ingredients
For the cake:
- ½ cup (125 grams) dairy-free butter
- 1 cup white sugar
- 1 ½ teaspoons vanilla
- 1 egg + 2 egg whites
- 1 ½ cups plain flour
- 1 teaspoon baking powder
- ¼ teaspoon bicarbonate of soda
- ¼ teaspoon salt
- ⅔ cups dairy-free milk
- ⅓ cup rainbow sprinkles
For the frosting:
- ½ cup (125 grams) dairy-free butter*
- 3-4 cups icing sugar
- 1 teaspoon vanilla
- 1 tablespoon dairy-free milk
- pinch of salt to taste
- rainbow sprinkles to decorate
Instructions
- Preheat the oven to 180°C and grease and line the bottoms of two 7-inch round cake pans with baking paper.
- Make the cake. In a medium bowl, whisk together flour, baking powder, bicarbonate of soda and salt. Set aside.
- In a large bowl using an electric mixer with a paddle attachment, beat the dairy-free butter, vanilla and sugar together. Add in the egg and whites and beat until smooth and creamy. Scrape down the edges of the bowl with a rubber spatula. Add in half the flour mixture followed by half the milk, then repeat, beating to fully combine everything in between each addition. Add in sprinkles and mix through slowly with a spatula.
- Divide the batter evenly between the two pans and place in the oven. Bake for 20-25 minutes or until the tops are lightly springy when touched and a skewer when inserted comes out clean.
- Let the cakes cool in the pan for 10 minutes before turning out onto a wire rack to cool completely.
- Make the frosting. Using a hand mixer or a stand mixer with the paddle attachment fitted, beat dairy-free butter and vanilla for 1-2 minutes until creamy. Add in 3 cups of icing sugar and beat on medium until combined. As mixture thickens, add in dairy-free milk a little at a time. If frosting is too thin, add in an extra ½-1 cup of icing sugar until it reaches the right consistency. Add a pinch of salt to taste if the frosting is too sweet.
- Assemble the cake. Add a little bit of frosting to a cake plate and set down the first cake. Add a generous amount of frosting followed by the second cake upside down so the top is flat. Using a cake knife, frost the top and sides with the remaining frosting. With any leftovers, add to a piping bag and pipe swirls around the top. Decorate with more rainbow sprinkles by pressing them around the bottom and sprinkling over the top.
Notes
Nutritional information is provided as a guide only and is calculated using automated online tools, therefore we cannot guarantee the accuracy. We encourage you to make your own calculations based on the actual ingredients used in your recipe.
More layer cake recipes:
Cookies and Cream Cake (Vegan)
Chocolate and Coconut Layer Cake (Dairy-Free)
Lemon Layer Cake
Chocolate Honeycomb Cake
Save it for later:

monika says
why aren’t you using regular butter?
it’s natural and actually good for you as opposed to margarine, which is high in omega 6 fatty acids which causes inflammation in the body (among other things – like weight gain).
Sally says
Hi Monika. I am allergic that’s why I don’t use regular butter or any dairy in my baking.
sherry says
this cake looks so pretty. i think we call it confetti cake:)
Sally says
Thanks Sherry! We didn’t really have sprinkle cakes when I was growing up but confetti cake makes sense.