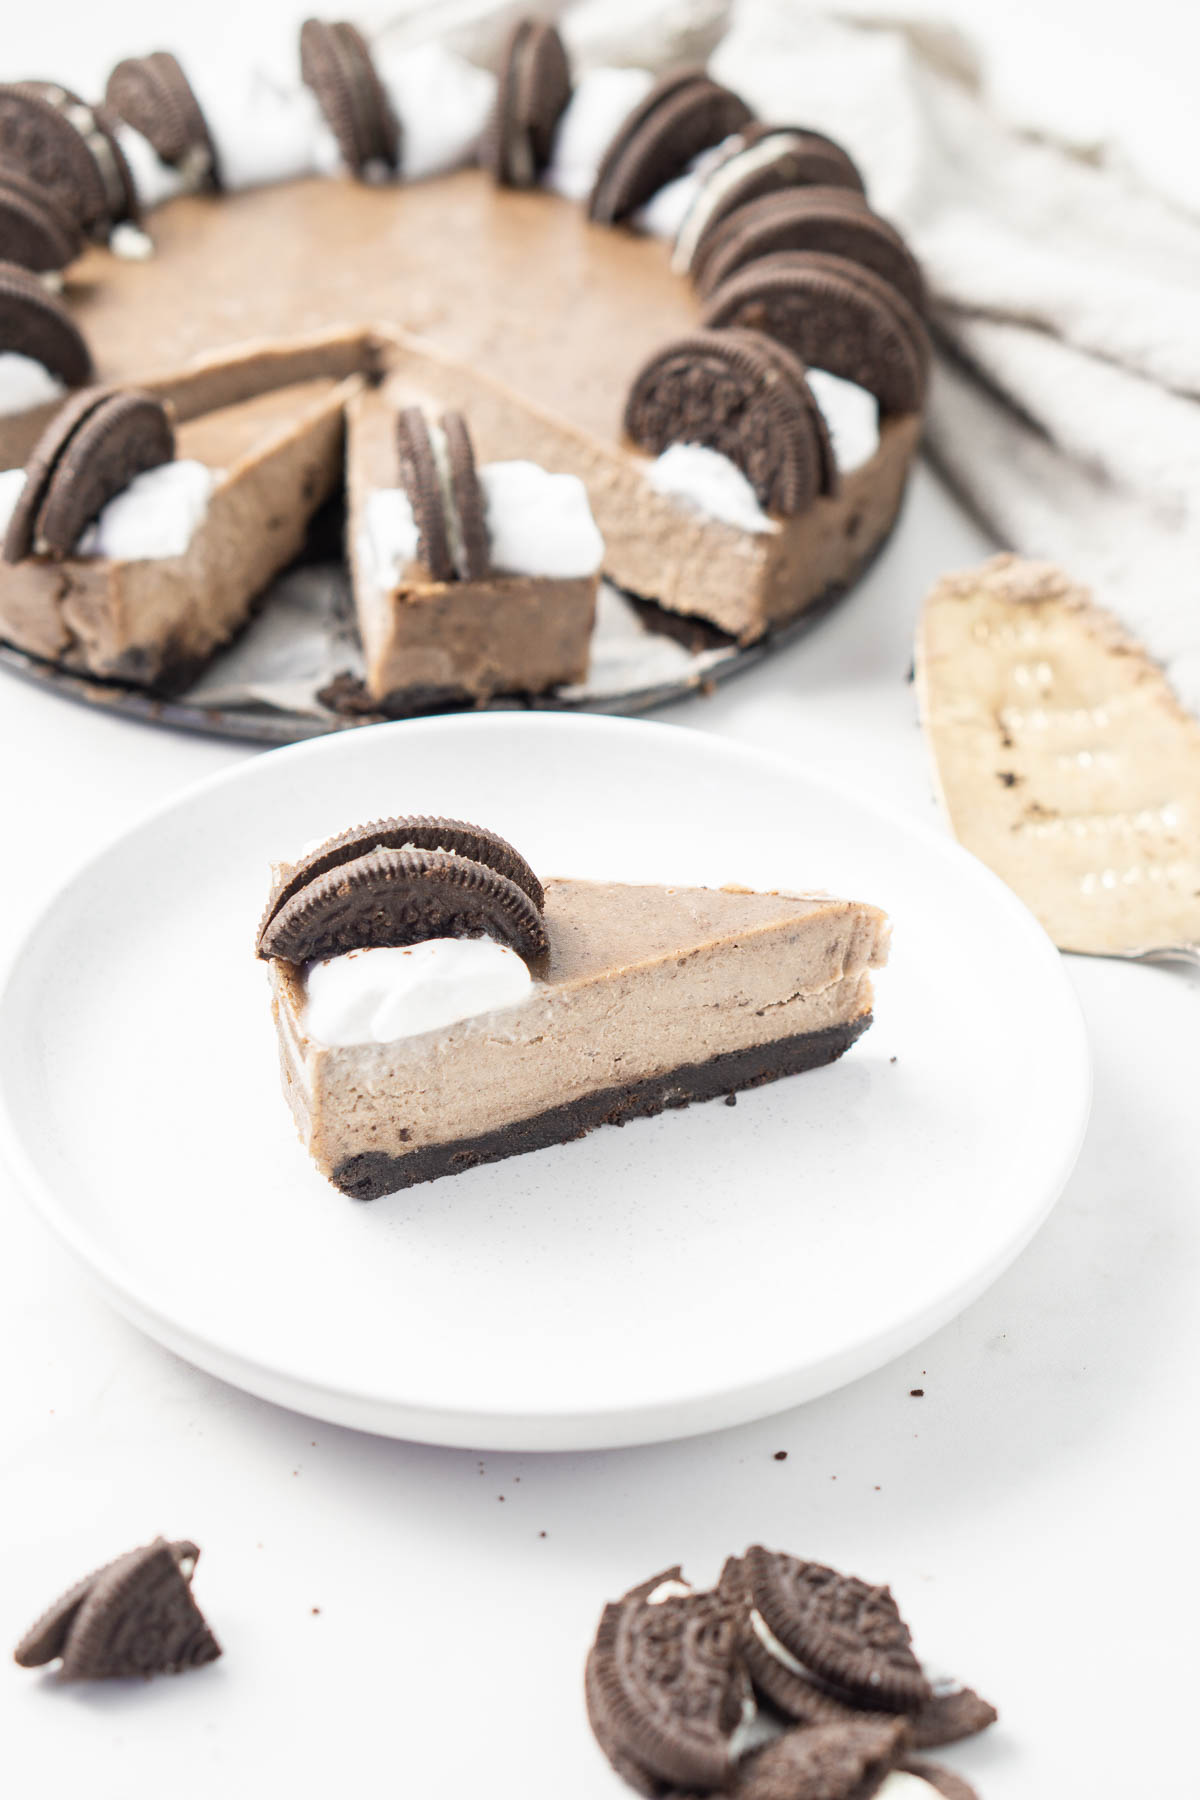
This vegan Oreo cheesecake is so easy to make and is completely no-bake! With a simple, creamy dairy free cheesecake filling and delicious cookie crust, this dessert is the ultimate celebration of cookies and cream.
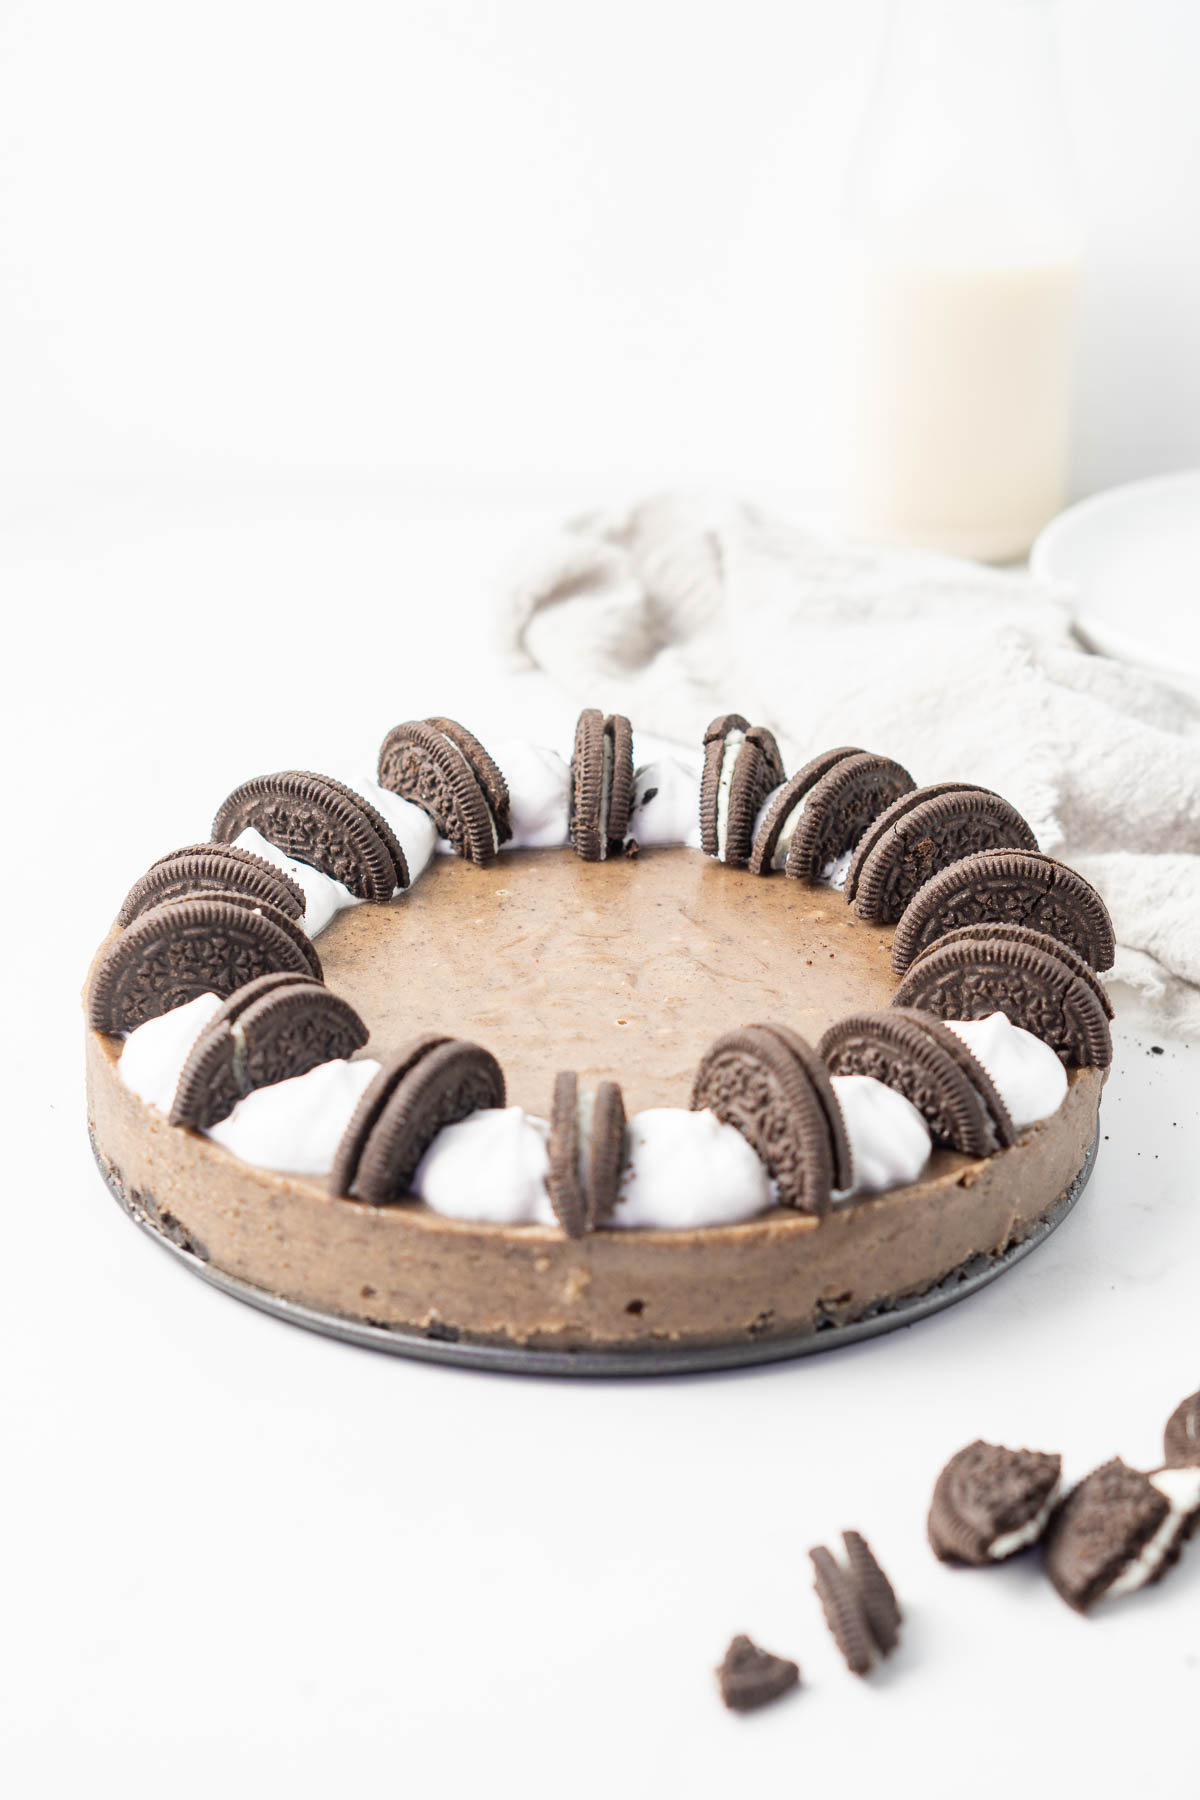
This vegan Oreo cheesecake is made with a buttery Oreo cookie crumb base and a thick layer of cheesecake filling that has been packed with crushed Oreos so that the flavour is rich and chocolatey and basically just celebrates the flavour of the cookies in every bite while still having a super silky smooth texture.
To finish we have a little bit of whipped coconut cream which is optional but really rounds out the whole ‘cookies and cream’ vibe of this dessert.
The cheesecake itself is really easy to put together and then it’s just a matter of letting it set overnight which makes it a great option to make ahead of time.
This recipe was developed based on my vegan Milo cheesecake that I made earlier this year. I was so blown away by just how good a dairy free cheesecake could be, particularly one that contained cashews because I was always sceptical that a cashew based cheesecake would actually be super creamy and delicious. But it really is.
And now I’m simply obsessed.
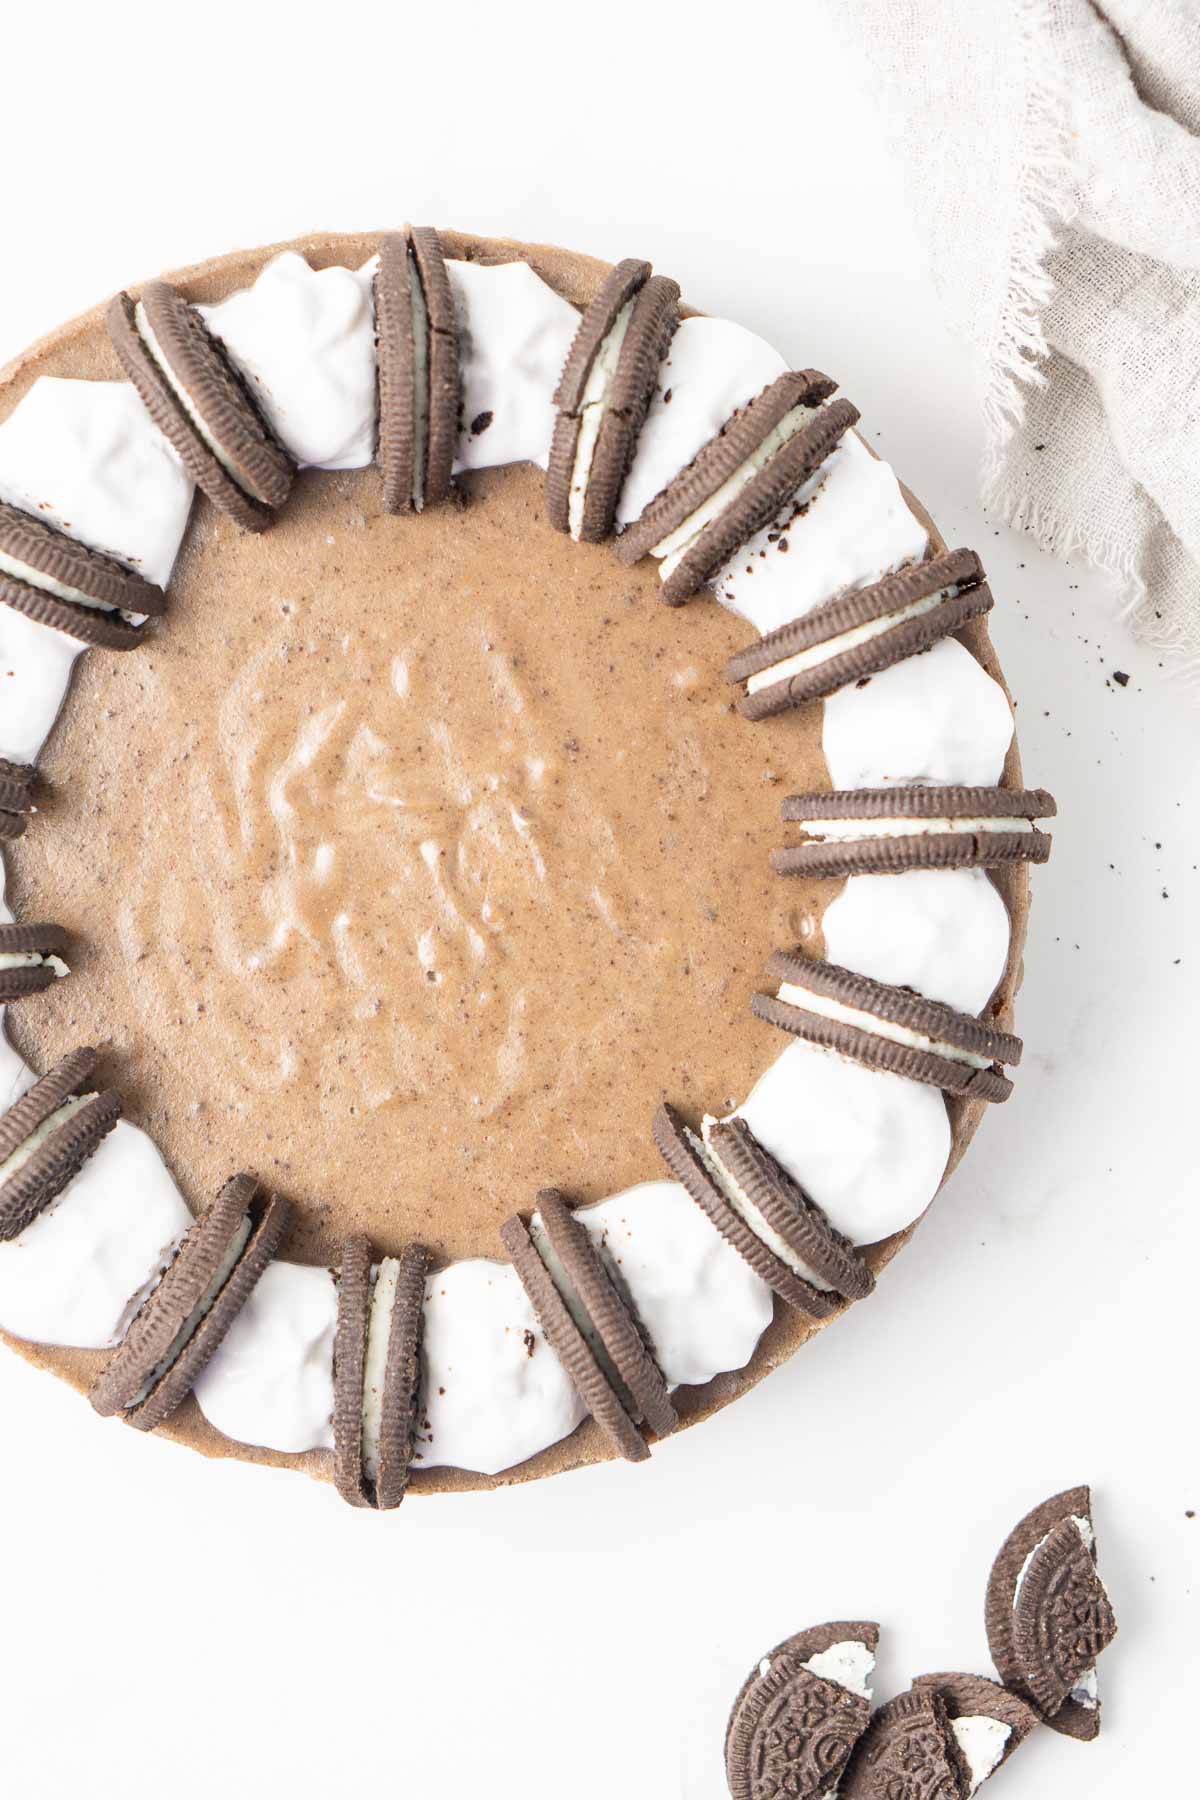
I knew the next flavour I had to try was Oreo. I mean these chocolate biscuits just lend themselves so perfectly to cheesecake and it’s just one of my favourite flavours.
Just like in my vegan cookies and cream cake, I prefer to crush up the Oreos before adding them to the filling as I don’t want big chunks of cookie getting in the way of the super creamy texture. Which is why my filling is more on the chocolate flavour side, rather than the vanilla cream flavour side of many others you’ll find online.
That’s my preference and I think it’s super delicious this way, but if you want to keep some cookies chunky you can certainly do that as well without issue.
I love this recipe, and the weirdest part about it is that it actually gets better the longer it stays in the fridge. So if you can’t eat it all straight away, that’s totally fine, because on day 4 when you pull it out to enjoy wondering if it’s still ok (spoiler, it is), you’ll find the flavours and the texture has, I don’t know, matured?
I honestly can’t explain it, but there is obviously some sort of science going on. Either way, it’s delicious to start with, keeps in the fridge or freezer, and gets better with time. Plus it’s cheesecake but without the dairy. There are no negatives!
Key Ingredients
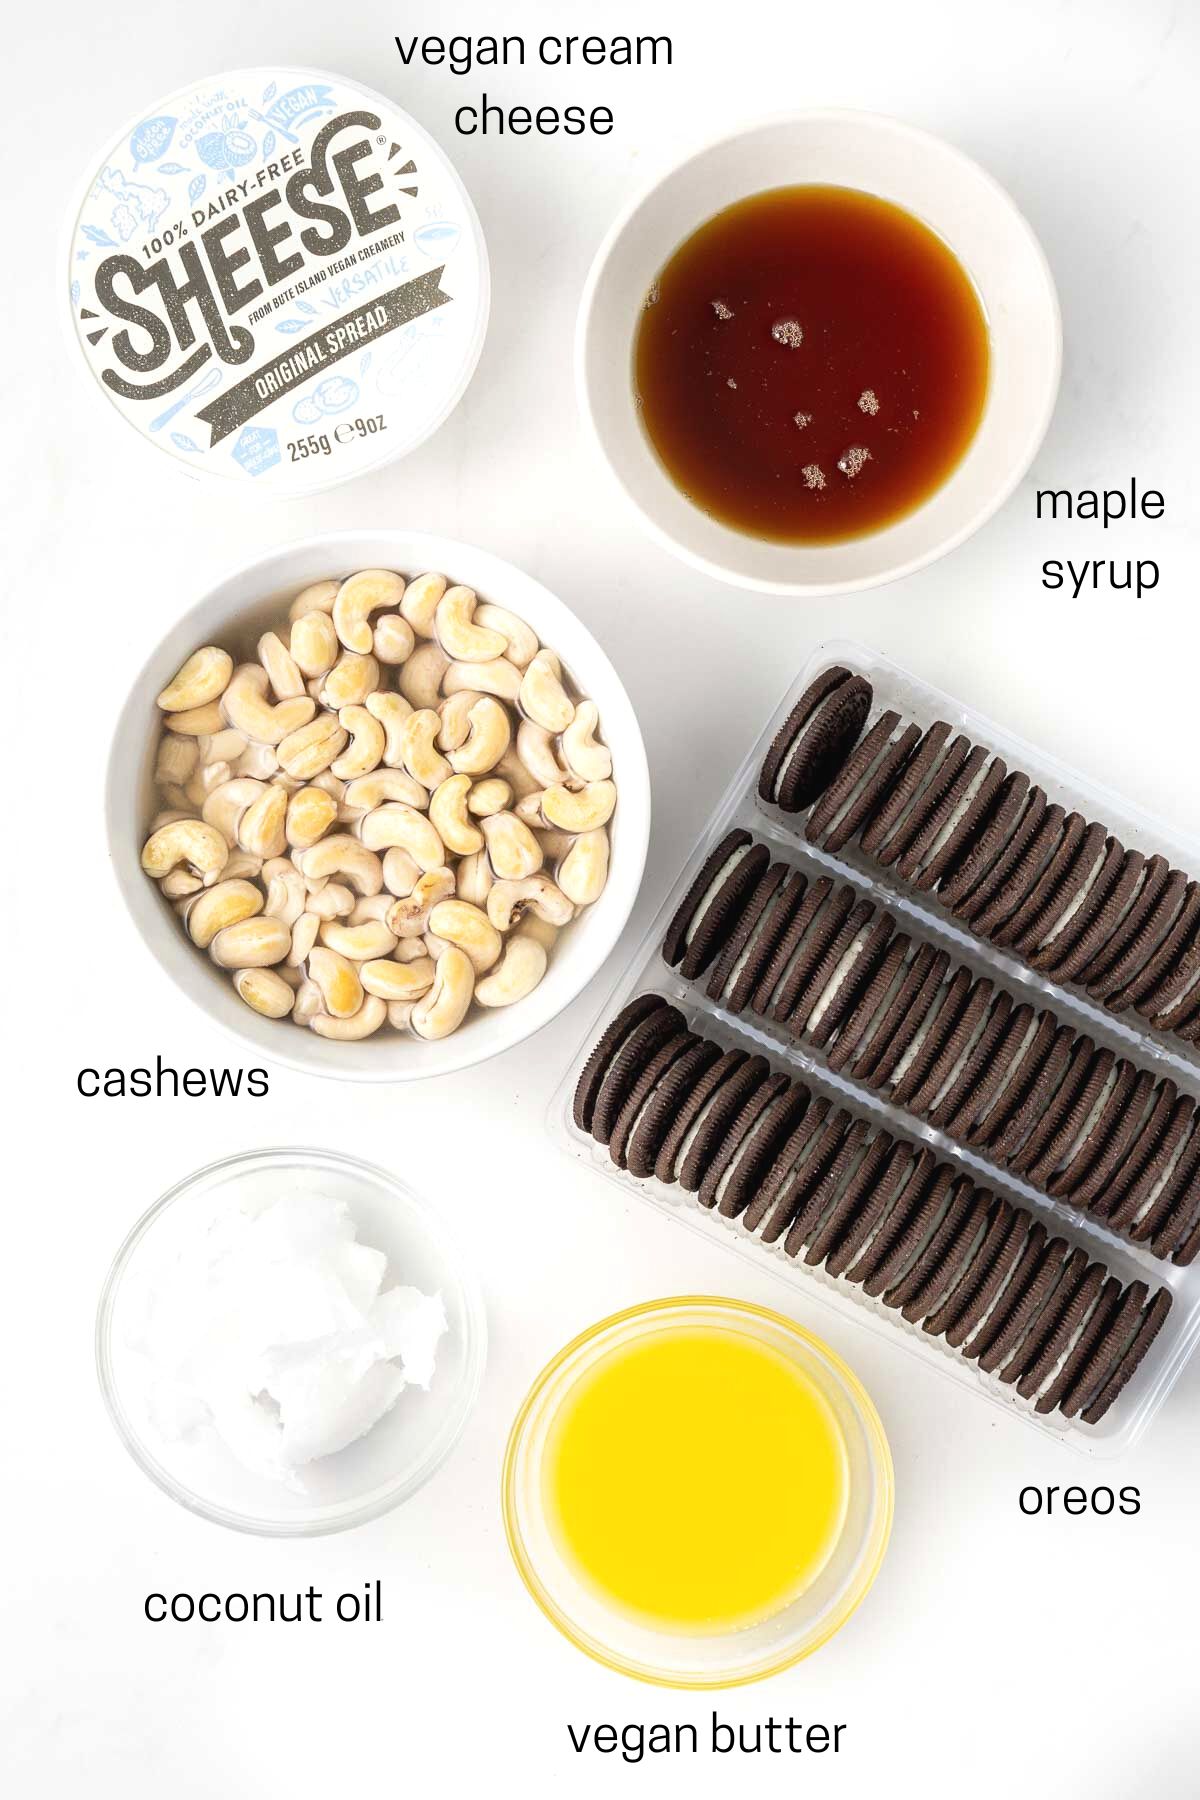
To make this vegan cheesecake you don’t need a lot of ingredients, but each one plays a crucial role in achieving both the flavour and texture and so for that reason I do not recommend any substitutions as I can’t guarantee the end result will be the same.
- Oreos – We’re using regular Oreos for both the base and to flavour the filling as they don’t contain any dairy or animal products. You can use gluten free Oreos as well if you want to make this gluten free.
- Vegan butter – I always use Nuttelex for the best taste and texture, and using vegan butter here for the base just gives us that delicious buttery base that we expect from a cheesecake.
- Cashews – Now usually I wouldn’t tell you to soak your cashews if there was any other way, but in this case it’s so worth it for the texture you get with this cheesecake. You can soak them for 4 hours in tap water OR just 1 hour in boiling water. I know what option I’m choosing! Don’t skip this step though as it’s essential to getting that super creamy texture!
- Vegan cream cheese – I only trust one brand of vegan cream cheese and that’s Sheese which I can get at my local grocery store. This is going to give our cheesecake that classic tanginess and creamy texture so it’s important we use a vegan cream cheese that tastes good!
- Maple syrup – for the sweetener in this cheesecake, it gives a subtle flavour that really works well without being overly sweet which is perfect.
- Coconut oil – We want the coconut to be solid for this recipe, so don’t melt it. The coconut oil is an essential ingredient in helping the cheesecake set firmly so I do not recommend any substitutions.
Step-By-Step Instructions
There are a few pieces of equipment that if you have them you’re going to find this is a really quick and simple recipe, and if not you may face some difficulties as you’ll struggle to be able to get the same result.
They are both a blender and a food processor. The food processor could be considered optional as technically the base can be made by hand with a little extra work, but the blender is absolutely essential to getting the texture of the filling correct as we need to blend the cashews to be super creamy.
The other thing that’s going to make things just that little bit easier is using the right pan. I’m using a 20cm round springform pan but ideally you’d actually use a round pan with a removable base. The reason is the latter has a nice flat base making it much easier to remove the cheesecake.
If you, like me, only have a springform pan, the second best option is to actually put the base in UPSIDE DOWN. This will give you a nice flat base and remove that little lip that the cheesecake base tends to get stuck in. Also make sure to line the base and sides with baking paper as this is going to make releasing the cheesecake so much easier.
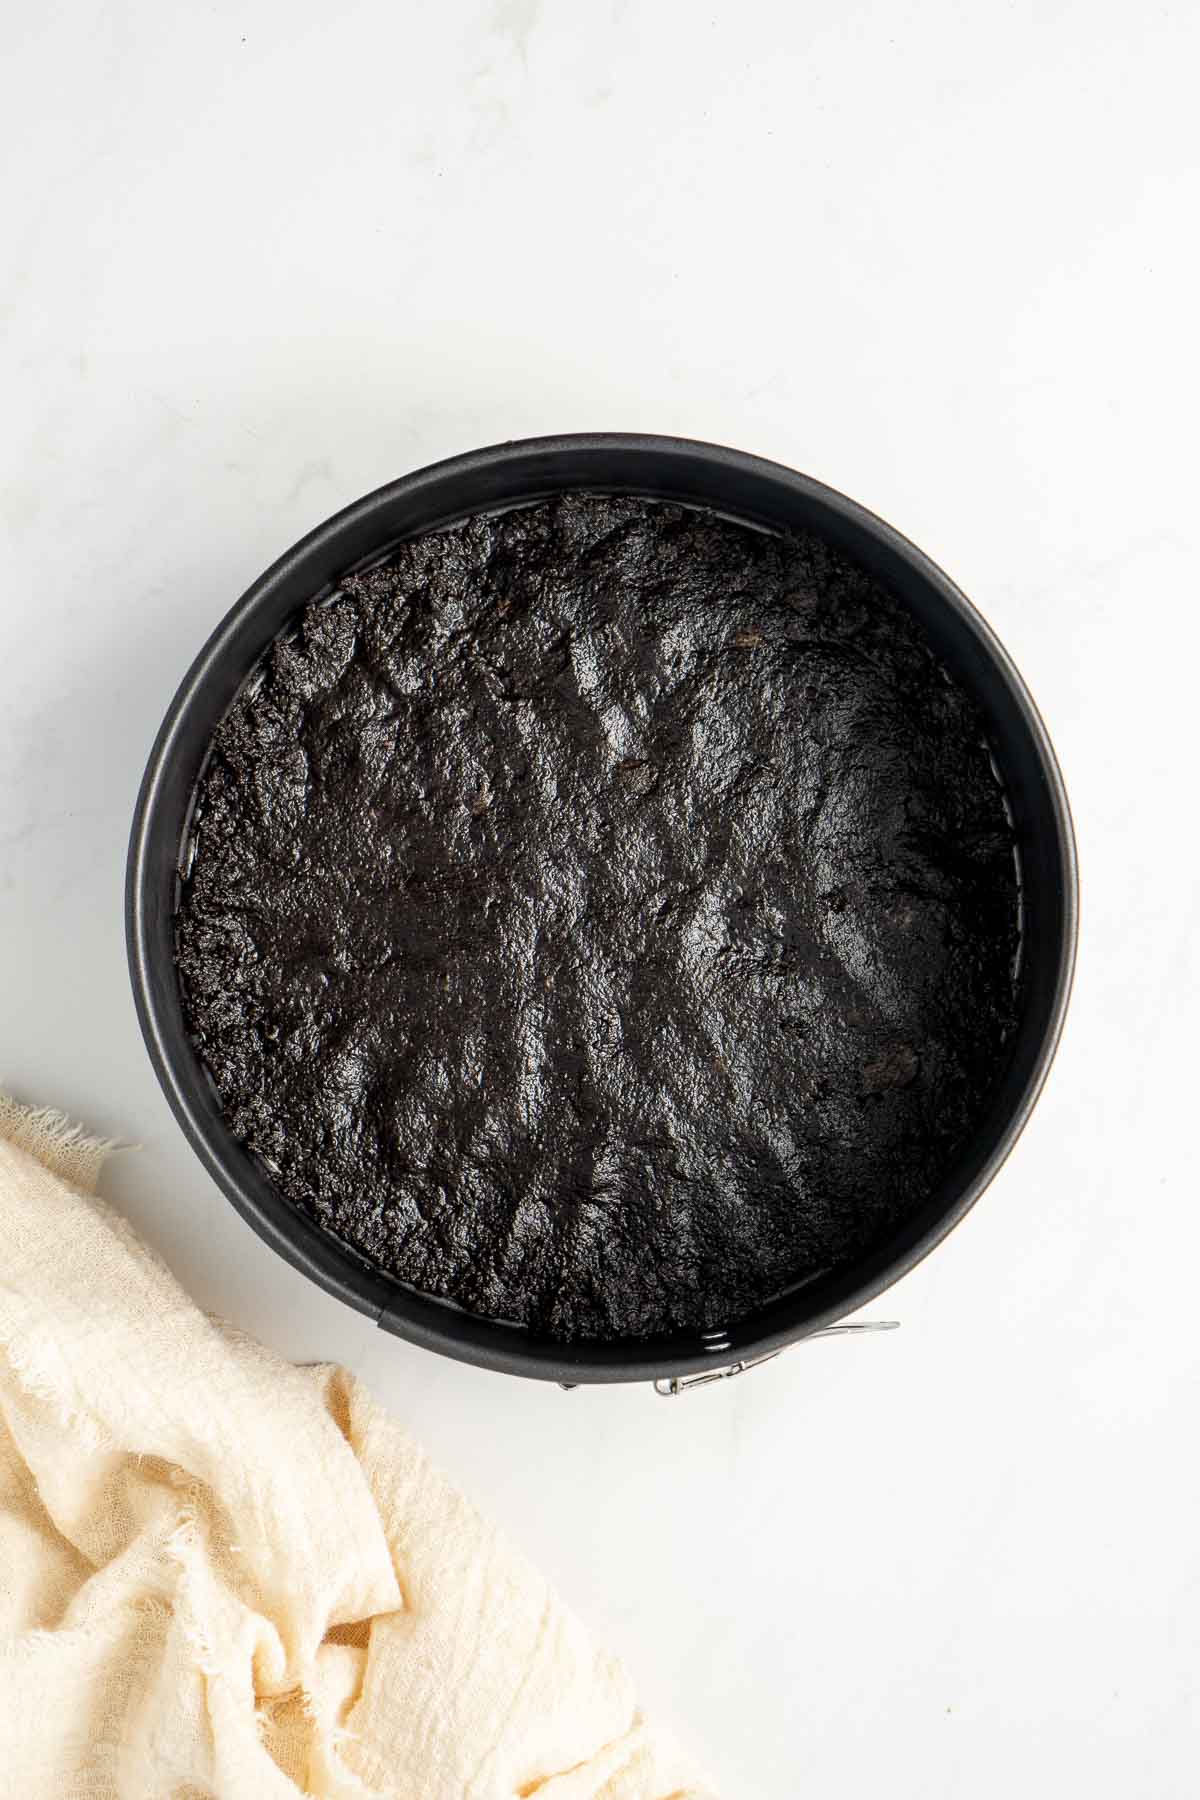
To make this vegan cheesecake, start with the base. Pulse the Oreos into a fine crumb using your food processor or even by hand by hitting them with a rolling pin in a large ziplock bag. I’ve also crushed them using a mortar and pestle before when my food processor broke. It took more time, but worked just fine!
Once the biscuits have been turned to crumbs, mix through the melted vegan butter until you get the texture of wet sand. Place this mixture into the prepared tin and press down with your hands and/or a glass until it’s evenly across the base. Place into the freezer while you prepare the filling.
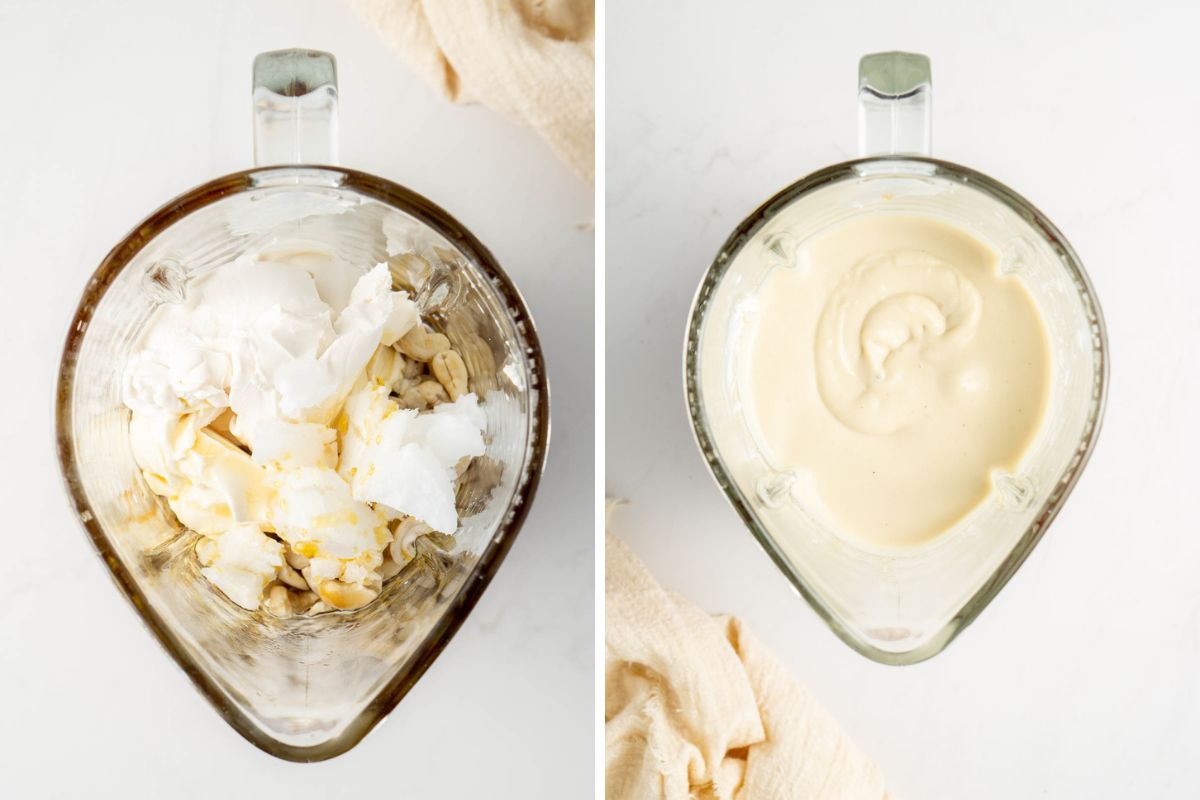
Make sure you’ve rinsed and dried your soaking cashews and then throw them into the blender with all of the other filling ingredients. Your vegan cream cheese can be room temperature or cold, it doesn’t matter for this recipe thanks to the blender.
Blend it up until super creamy. You’ll know it’s ready when you rub a little bit of the mixture between your fingers and it doesn’t feel grainy. Depending on the strength of your blender will depend on how long this takes but mine is around 5 minutes of blending.
Once it’s all mixed up, add in your additional crushed Oreos and blend again to mix through.
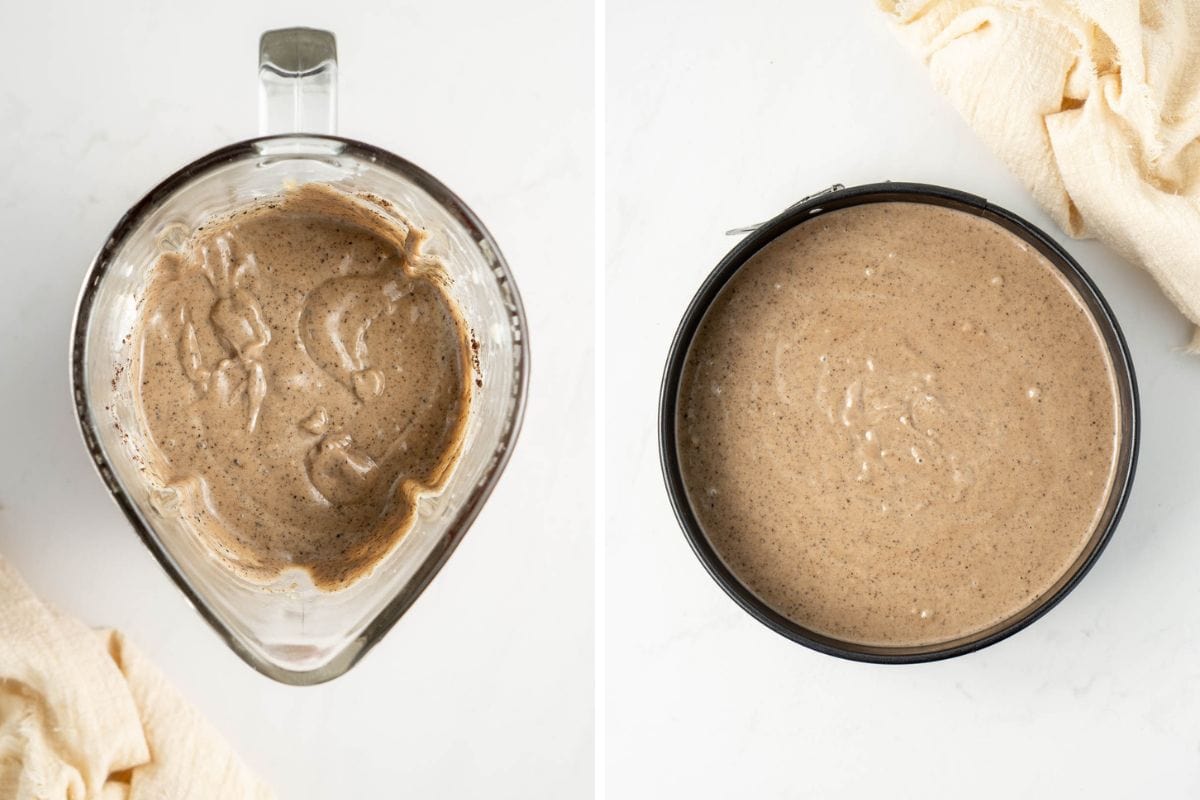
Pour the mixture into the prepared base and smooth out the top and then place the cheesecake back into the freezer to set overnight.
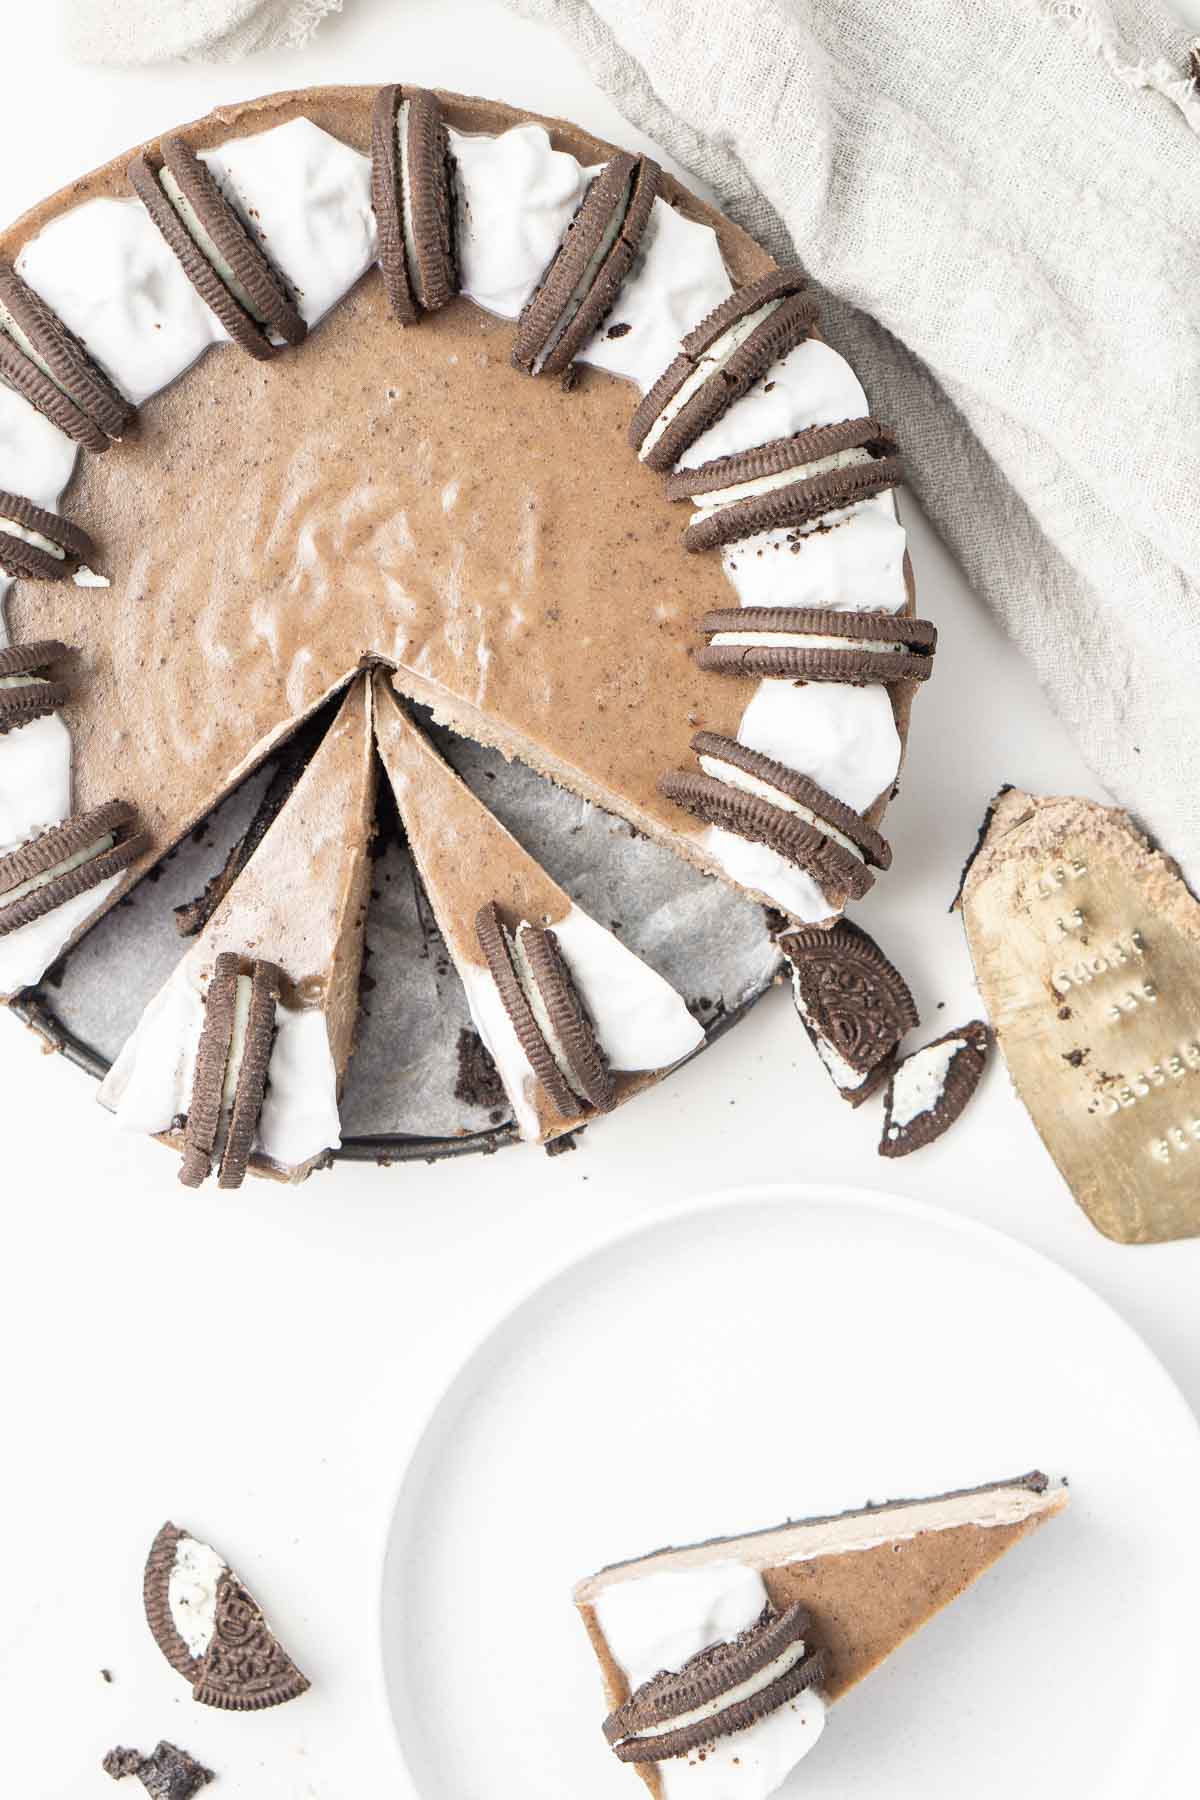
The next day, carefully remove the cheesecake from the pan and place it in the fridge for a minimum of 4 hours before serving.
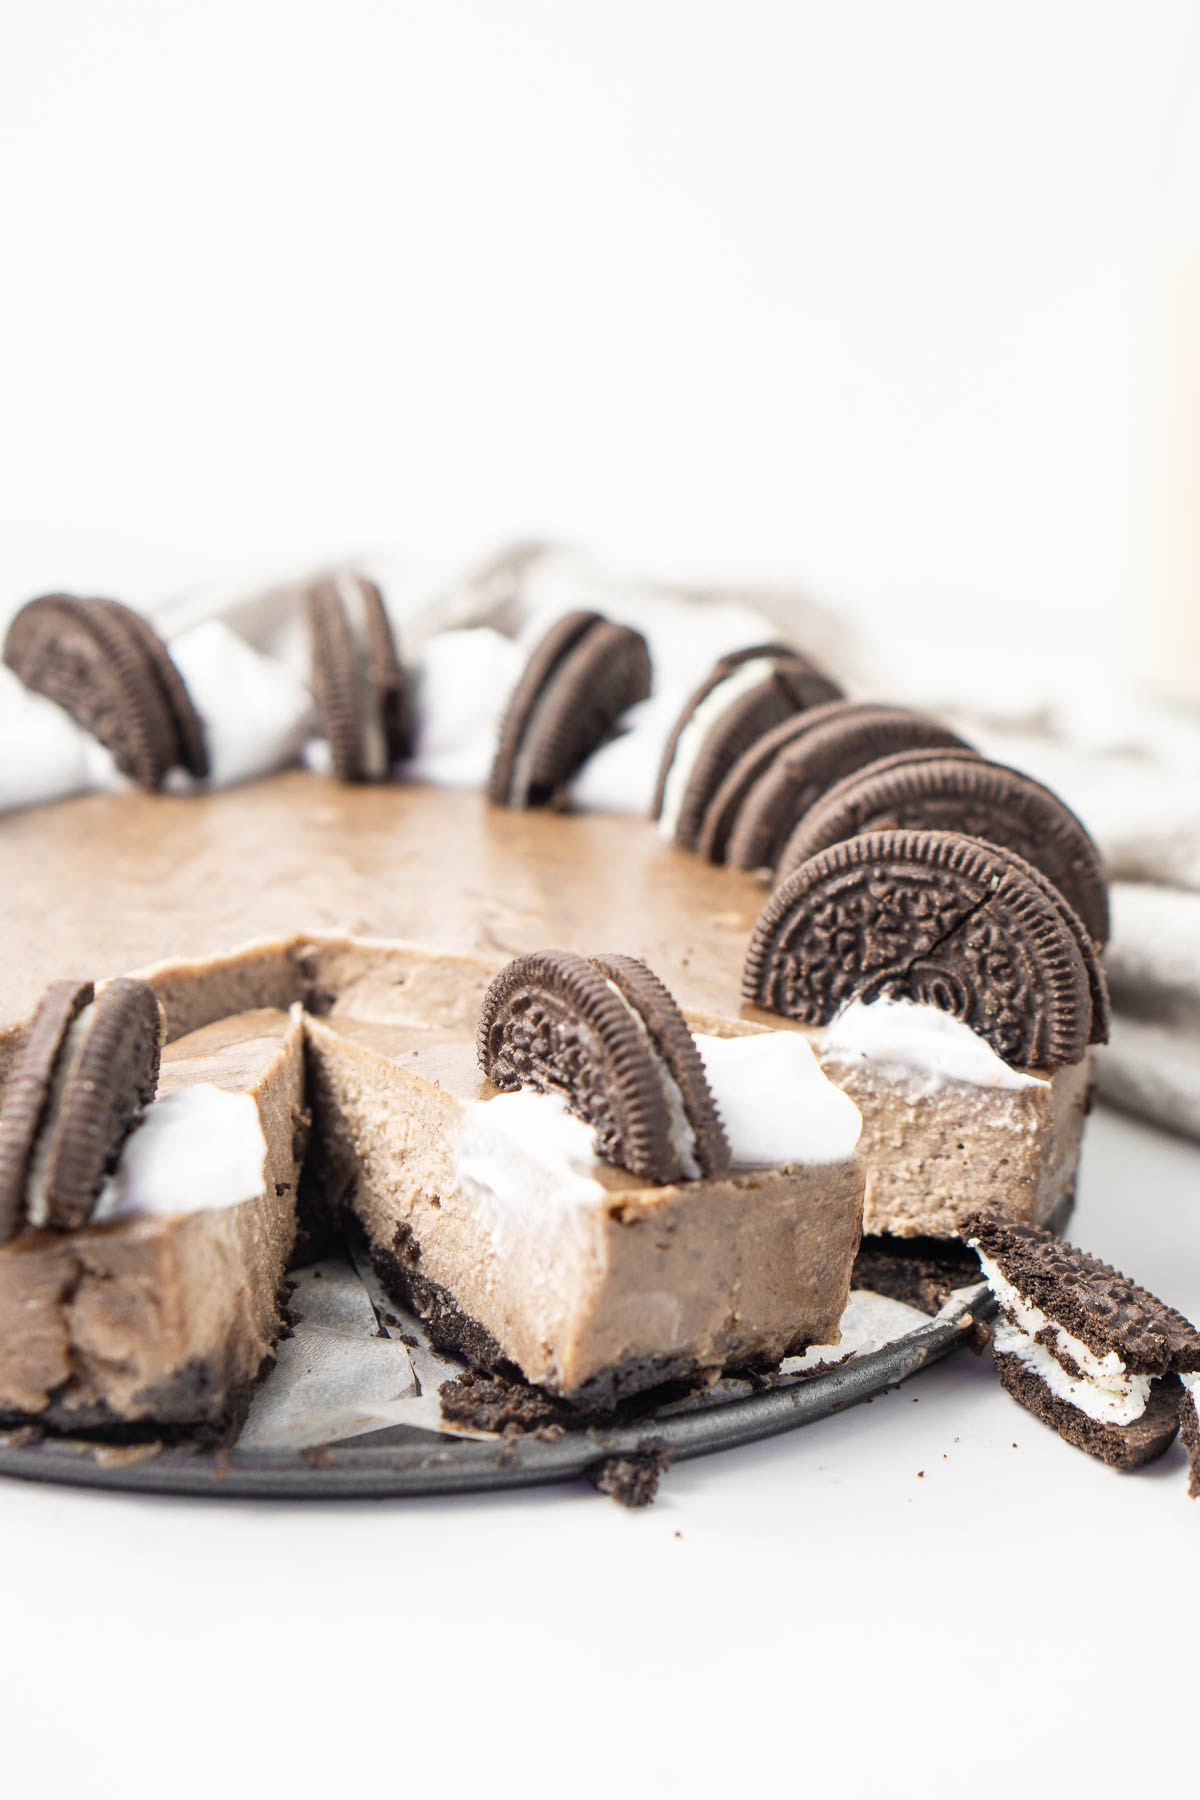
I really wanted to lean into the cookies and cream elements so I served it topped with whipped coconut cream and extra cookies. But you don’t need to and it’s perfectly delicious served on its own.
Recipe FAQs
It’s so important that this cheesecake is allowed to set in the freezer first before we transfer it to the fridge. If you just keep it in the fridge it won’t get the desired texture.
Yes, simply make sure to use the gluten-free Oreo cookies instead.
This cheesecake keeps for up to 5 days in the fridge and to be honest, is probably at its best on day 3. The added time in the fridge allows the filling to get a little more creamy and the texture is perfect.
If you want to keep it longer, you can also keep it in the freezer for up to a month. Just leave it to defrost in the fridge overnight before serving.
More vegan desserts:
Vegan Sticky Date Pudding
Strawberry Crumble
Vegan Caramel Slice
Amaretto Tiramisu (Vegan)
Chocolate Chip Cinnamon Rolls
Vegan Oreo Cheesecake
Ingredients
For the base:
- 165 grams Oreo cookies
- 3 tablespoons vegan butter melted and cooled
For the filling:
- 1 ½ cups cashews soaked in boiling water for 1 hour
- 255 grams vegan cream cheese
- ½ cup maple syrup
- ¼ cup coconut oil
- ½ cup crushed Oreo cookies
To serve:
- Whipped coconut cream see notes
- Extra Oreo cookies
Instructions
- Line the base and sides of a round 20cm springform pan with baking paper (place the base into the springform pan upside down so the base is flat). Set aside.
- Start by making the base of the cheesecake. In a food processor, add the Oreos and blitz to a fine crumb. Add in the melted butter and mix until you get the consistency of wet sand. Place the biscuit mixture into the prepared pan and press down firmly with the bottom of a glass (or your fingers) until it’s evenly covering the base. Set aside in the freezer to chill for about 30 minutes while you make the filling.
- Make the filling by adding the soaked cashews (drained and rinsed well), vegan cream cheese, maple syrup, and coconut oil to a blender. Blend together until really smooth and creamy. Depending on your blender this may take 5 or so minutes. You know it’s smooth enough when you rub some of the mixture between your fingers and there is no graininess. Add in the crushed Oreos and mix again until combined.
- Remove the pan from the freezer and pour the mixture over the base. Smooth out the top evenly so you have a flat surface and then place the cheesecake back in the freezer overnight to chill.
- The next day, you can remove the cheesecake from the freezer, release it from the pan and place it in the fridge for at least 4 hours until ready to serve. To serve, I piped on some whipped coconut cream and added some extra Oreo cookies. Continue to store the cheesecake in the fridge covered for up to 5 days.
Notes
Nutrition
Nutritional information is provided as a guide only and is calculated using automated online tools, therefore we cannot guarantee the accuracy. We encourage you to make your own calculations based on the actual ingredients used in your recipe.

Made this recipe? Leave a review!