These vegan snickers cupcakes combine the flavours of your favourite chocolate bar in cupcake form. With a rich, chocolate cupcake, topped with the creamiest peanut butter frosting, a drizzle of caramel sauce and finished with some chopped dark chocolate and crushed peanuts, these are the most indulgent cupcakes and I guarantee that no one will ever know they do not contain any eggs and dairy!
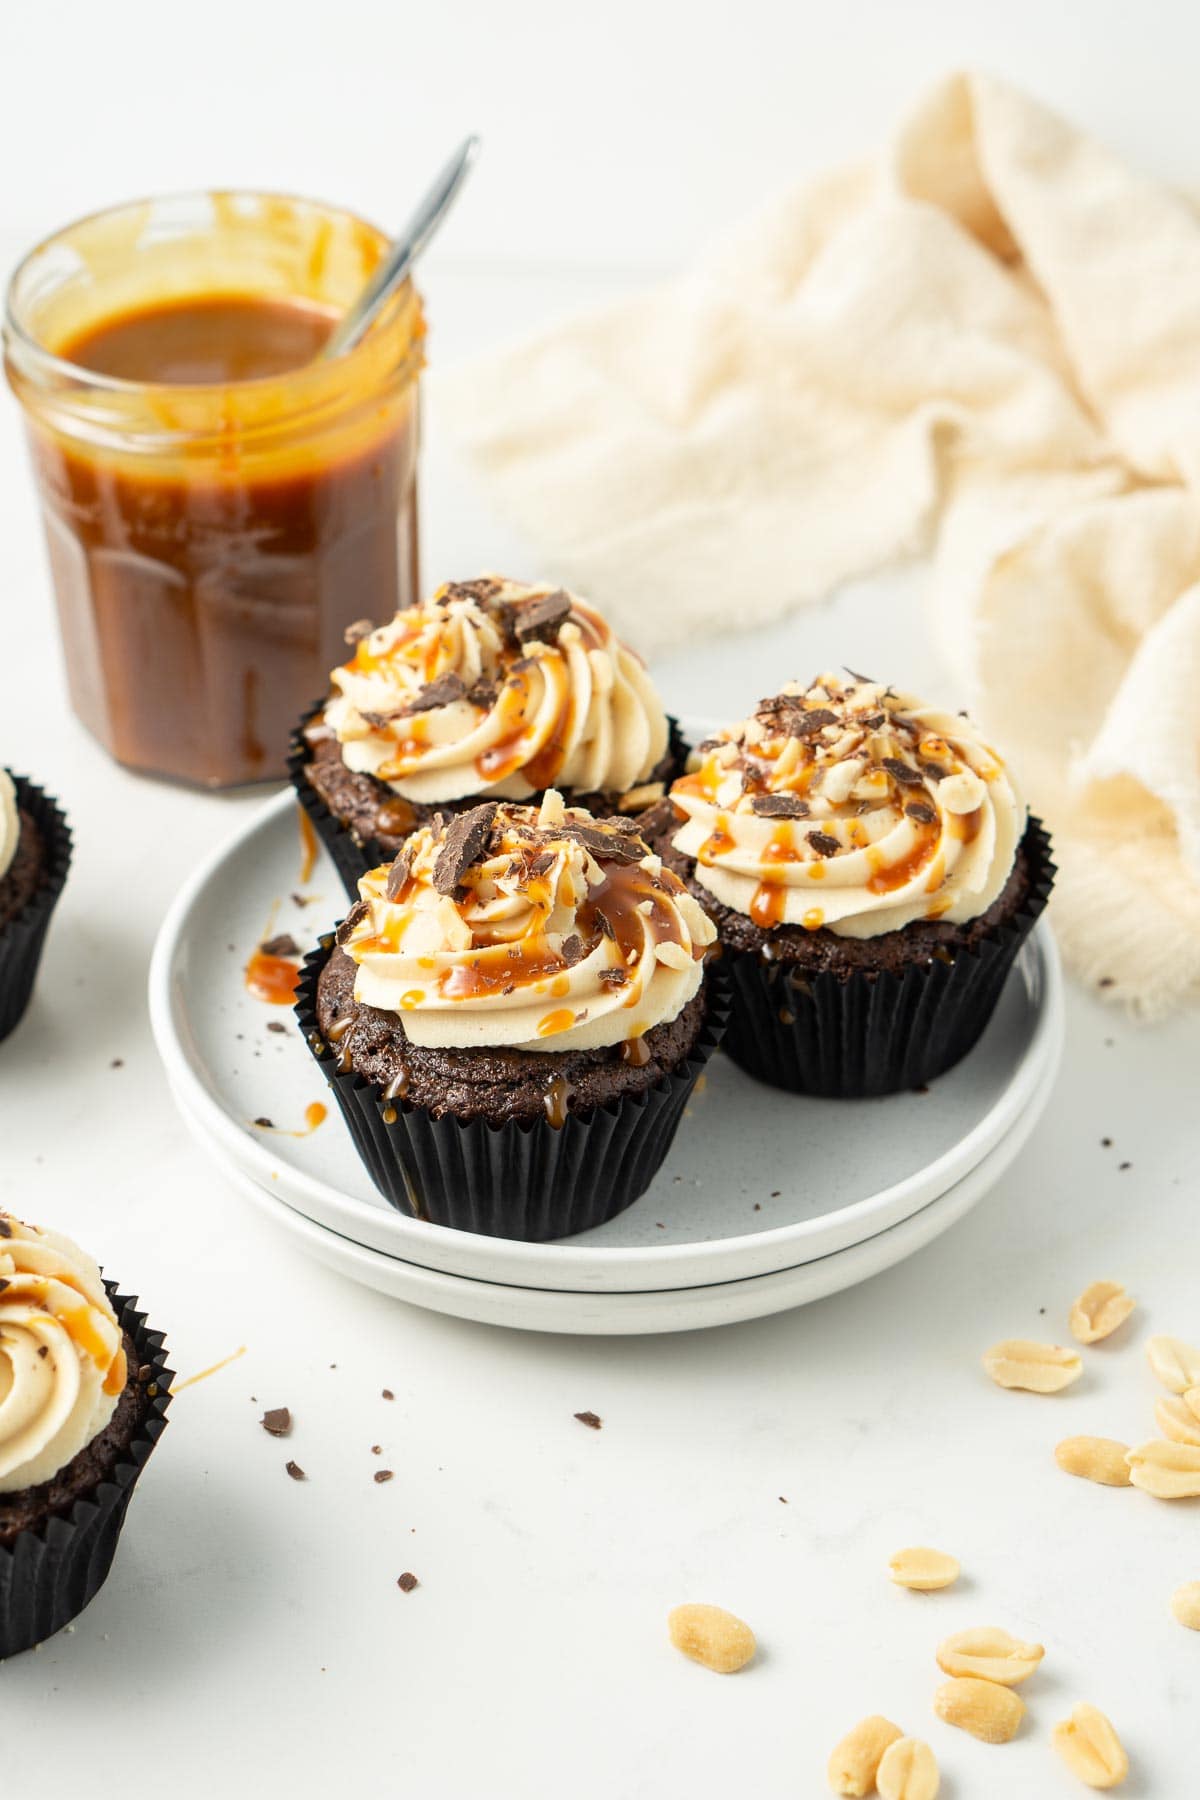
This recipe was originally published in July 2018 and has been updated with new photos and content and a slight tweak to the recipe to make the cupcakes just that little bit more delicious!
It had been a while since I made these cupcakes, but when I decided to update this post and make these again it all came back to me. These cupcakes are EVERYTHING. They are so rich, so decadent and absolutely my favourite cupcake recipe I have on my site.
Big call I know, but seriously, the peanut butter frosting, the homemade caramel sauce, and the best vegan chocolate cupcake recipe that I’ve been making for years all come together in this recipe and it is just so good.
If you love chocolate and peanut butter together, then you’re going to love these cupcakes.
Snickers were absolutely my favourite chocolate bar when I was a kid, and since I’ve stopped eating dairy, these are honestly the chocolate I miss the most. But through these cupcakes I can enjoy that combination of peanut, caramel and rich chocolate and all seems right in the world again.
Key Ingredients
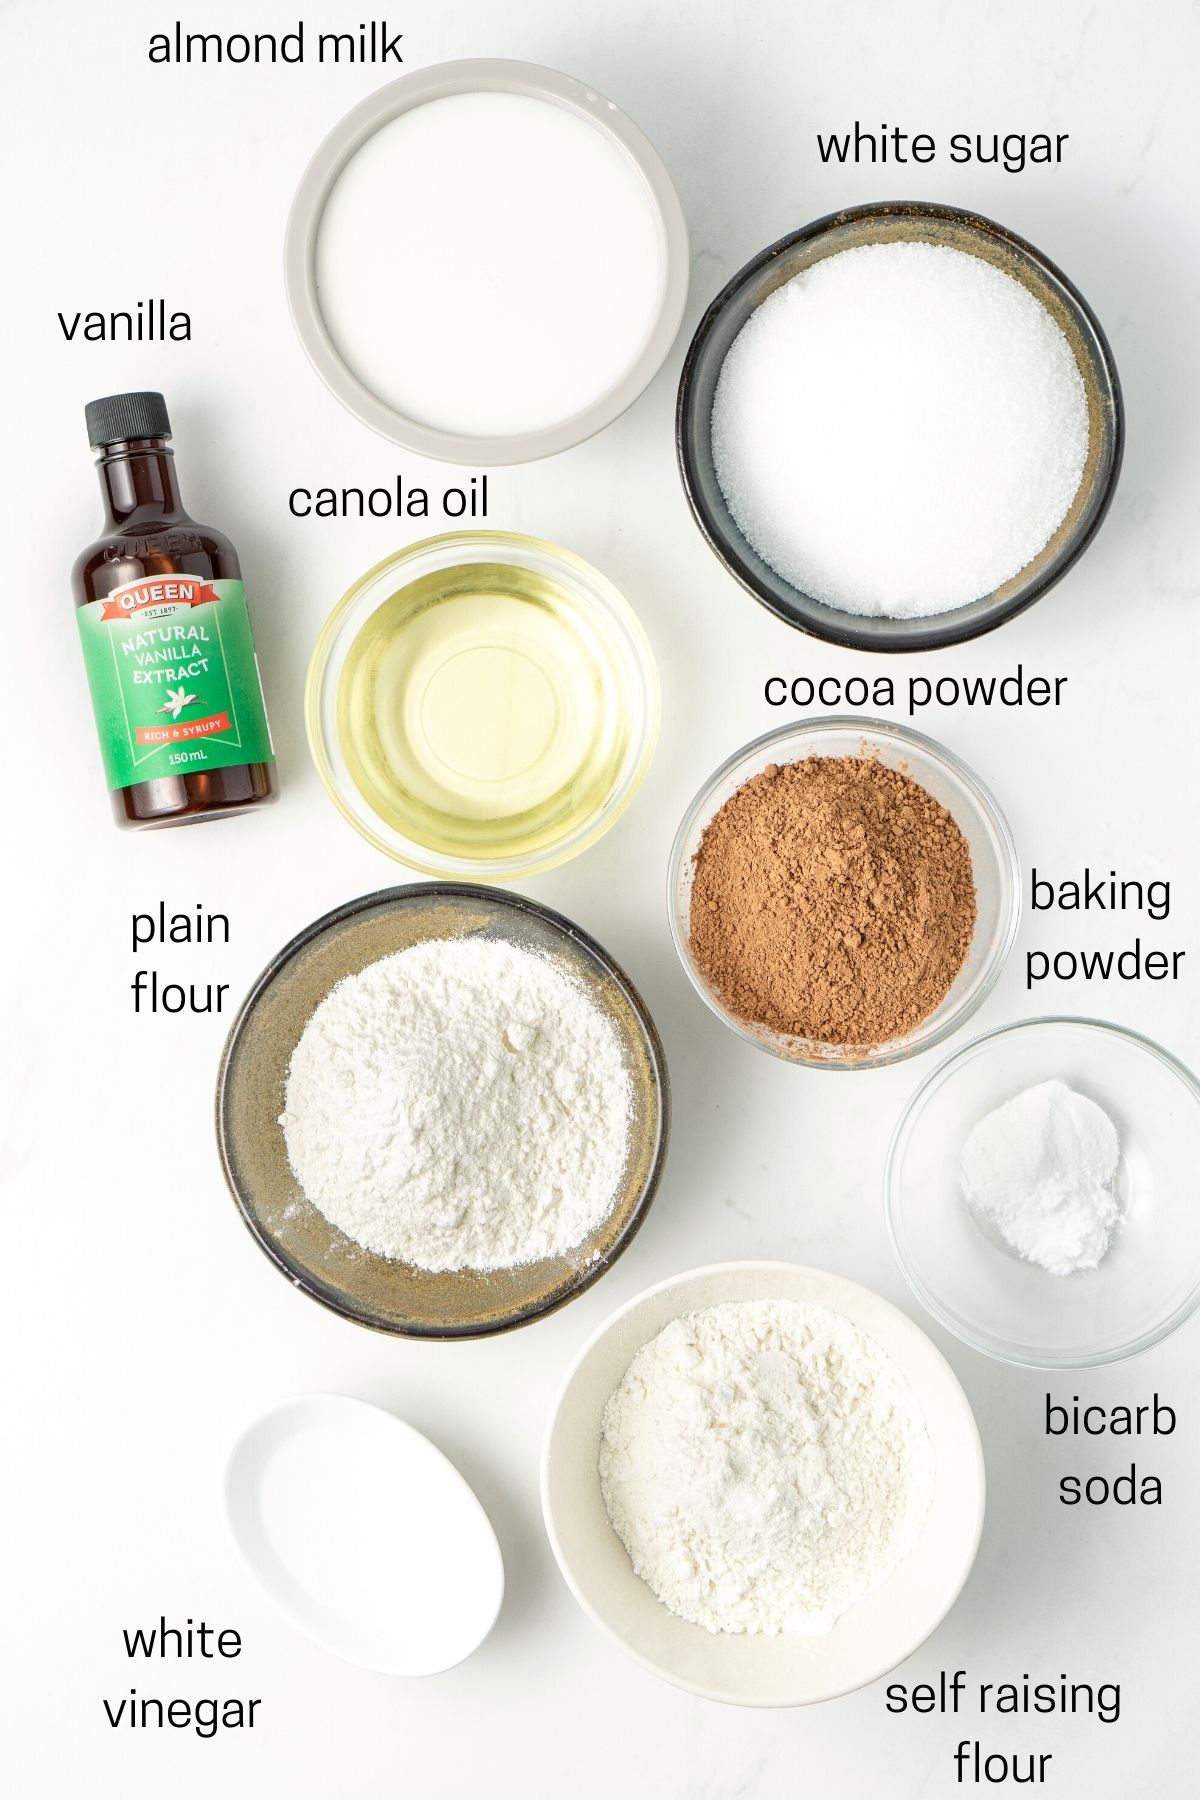
There are three key components to this recipe. The cupcakes, the frosting, and the caramel. Let’s run through what you need to make the cupcakes.
- Almond milk – this is my preference for baking cakes as I find it gives them a beautifully light texture, but you can replace this with any dairy-free milk. I tend to use oat or soy pretty interchangeably.
- White vinegar – this gets added to the dairy-free milk to create a ‘buttermilk’ which is a key ingredient in these vegan cupcakes as it causes a chemical reaction with the bicarbonate of soda to give the cake lift and ensure they are light and fluffy.
- Canola oil – another key ingredient for vegan baking, the oil binds the batter together but also gives a tender crumb meaning the cake will be soft and not dense. You could use coconut oil instead but I prefer a flavourless oil.
- White sugar
- Vanilla – always add vanilla to chocolate cakes as it will enhance the richness of the chocolate flavour.
- Plain flour + Self raising flour – I’ve been making these cupcakes for years and have always used a combination of these two flours and absolutely love the results, however if you can use all plain flour (all purpose flour in the US) and simply increase the baking powder by ½ a teaspoon to replace the leavener in the SRF.
- Cocoa powder – always use a good quality cocoa powder for the best flavour.
- Baking powder + bicarbonate of soda – we’re using a combination of both in this recipe as they play a different role in ensuring the cupcakes rise correctly and we get a light and fluffy cupcake that is insanely delicious.
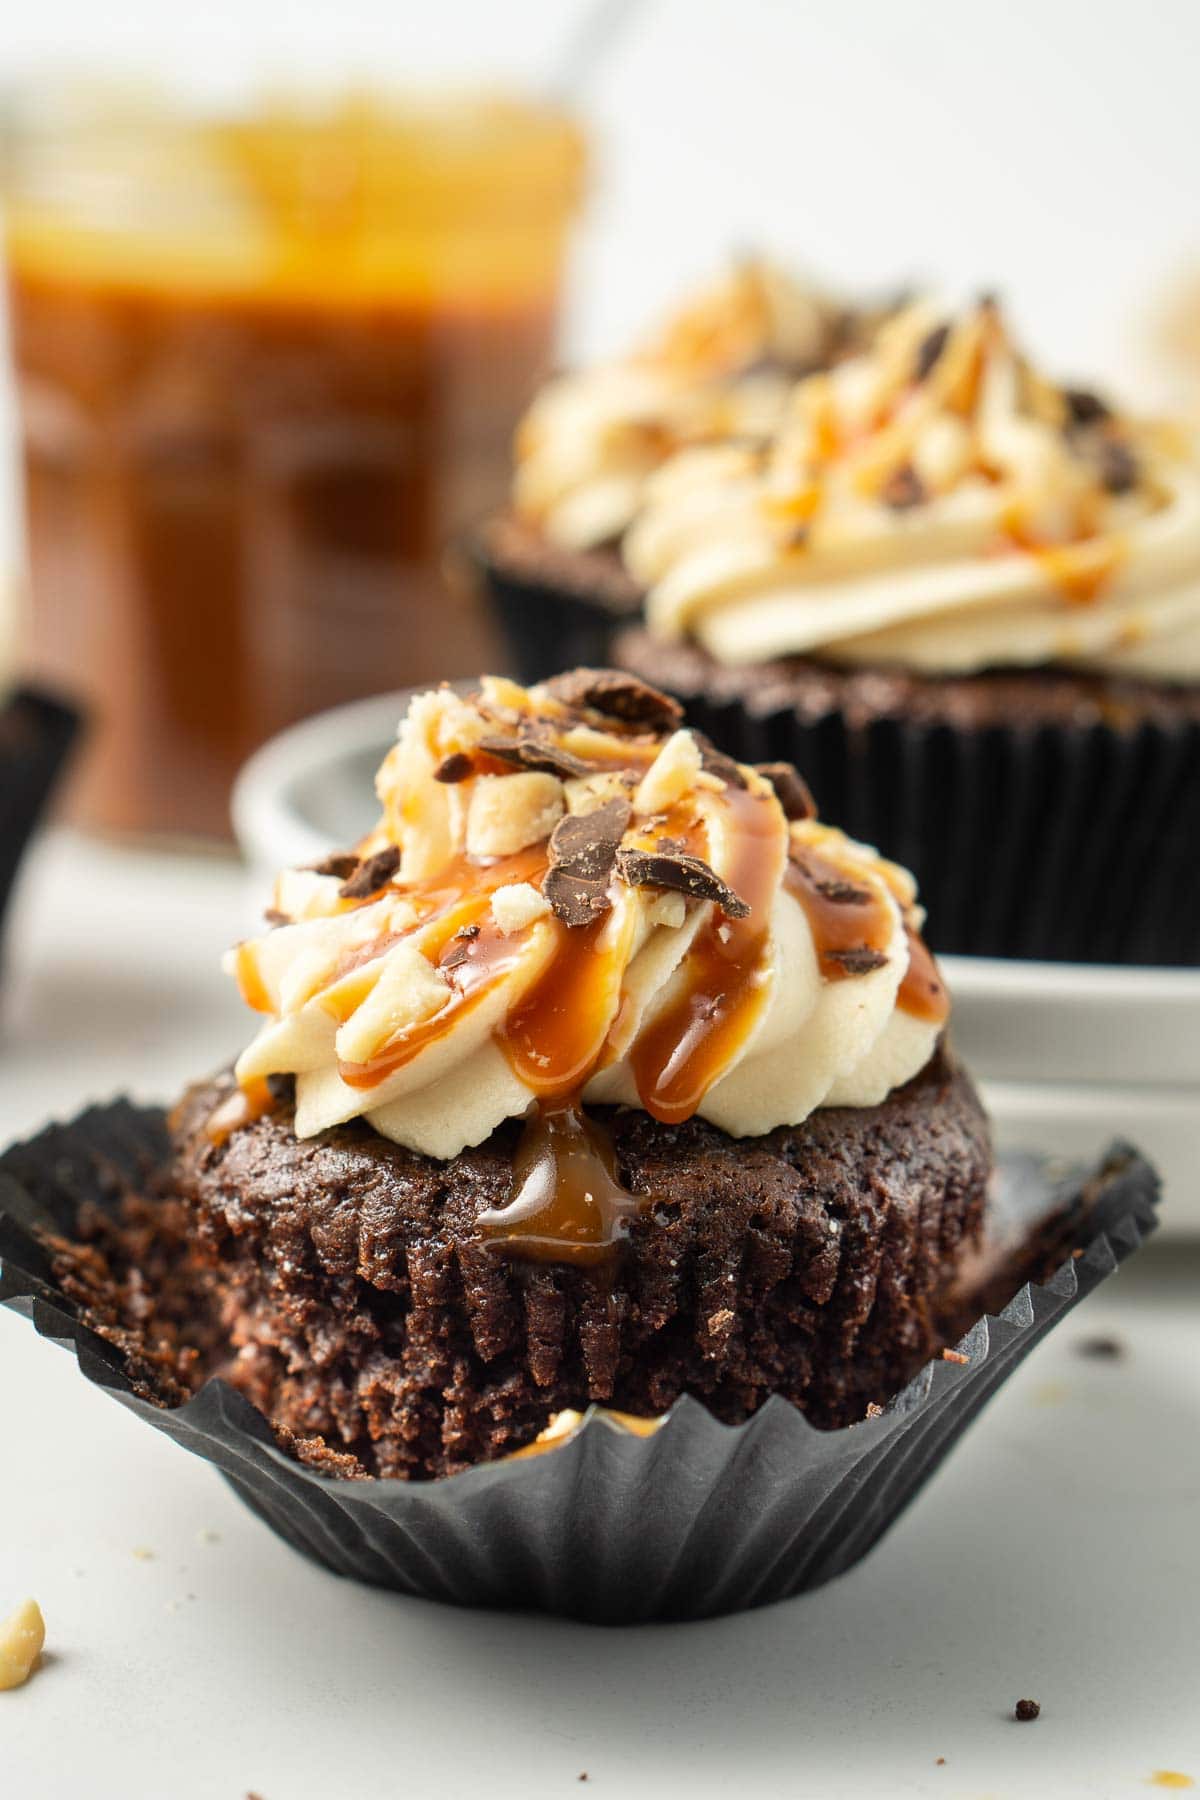
Step-By-Step Instructions
The cupcakes themselves are so easy to make. You’ll just need a couple of mixing bowls, whisk, rubber spatula and a muffin/cupcake pan.
Start by making your ‘buttermilk’ in the small bowl by adding the white vinegar to the almond milk and giving it a mix. It will curdle and look a bit weird but that’s fine!
Next, in a medium bowl, add all of the dry ingredients and use your whisk to aerate them and combine them all together. It’s important to do this step so that the leaveners are evenly dispersed in the batter without you needing to overmix the batter itself.
In your large mixing bowl, add the canola oil, sugar and vanilla extract and whisk together until combined.
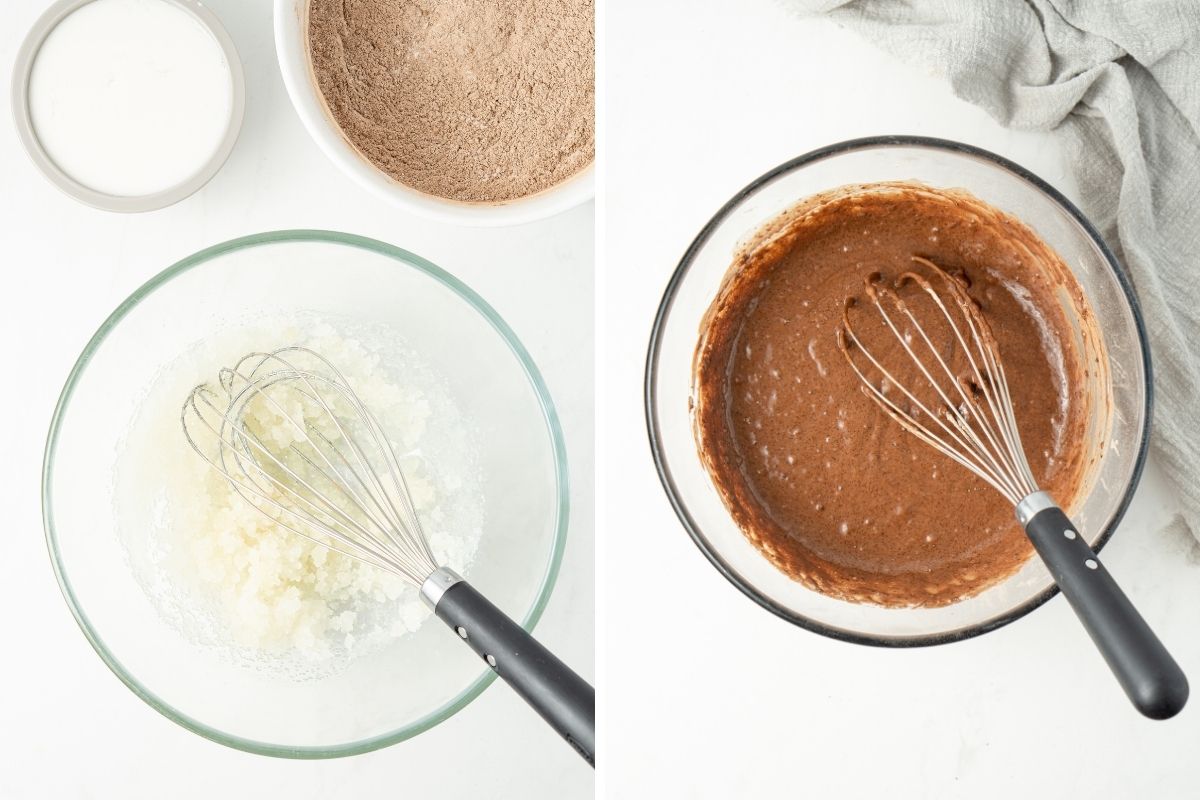
Add the dry ingredients to the oil mixture, alternating with the milk until a thick batter forms. Once it comes together, stop mixing as overmixing will create a dense cupcake.
Line your pan with cupcake liners and then spoon in the mixture. Each liner should be about ¾ full. Place into a preheated oven and bake for 18-20 minutes or until the tops spring back when lightly touched.
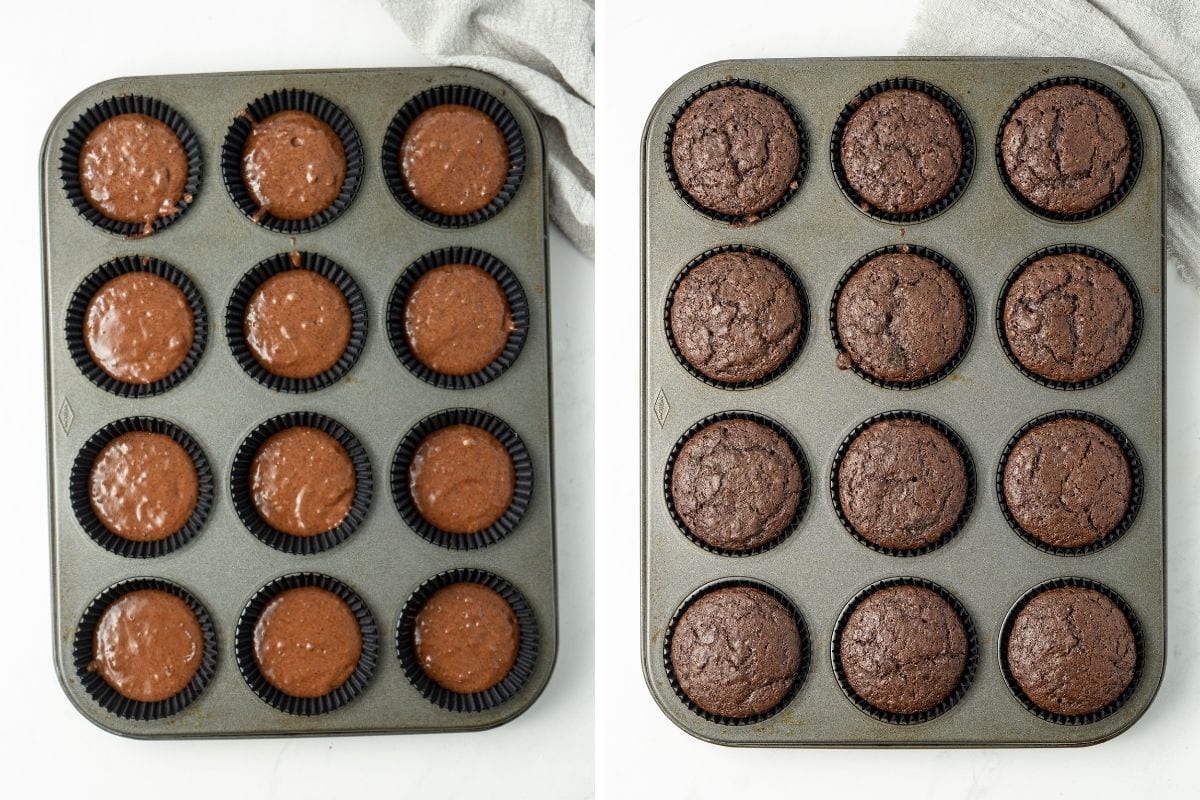
Remove the cupcakes from the pan and let cool on a wire rack completely before frosting. It’s important to let the cupcakes on a wire rack rather than in the pan as the residual heat from the pan can continue to cook the cupcakes.
Dairy-Free Peanut Butter Frosting
This frosting is essential to just how good these cupcakes are. It is eat out of the bowl with a spoon good!
This frosting recipe is adapted from my standard vegan vanilla buttercream recipe, but with some of the vegan butter replaced with peanut butter.
Pile the frosting on high because it’s not going to overpower the rich chocolate cupcake and thanks to the peanut butter flavour, it’s not overly sweet. It’s quite simply just delicious.
The Vegan Caramel Sauce
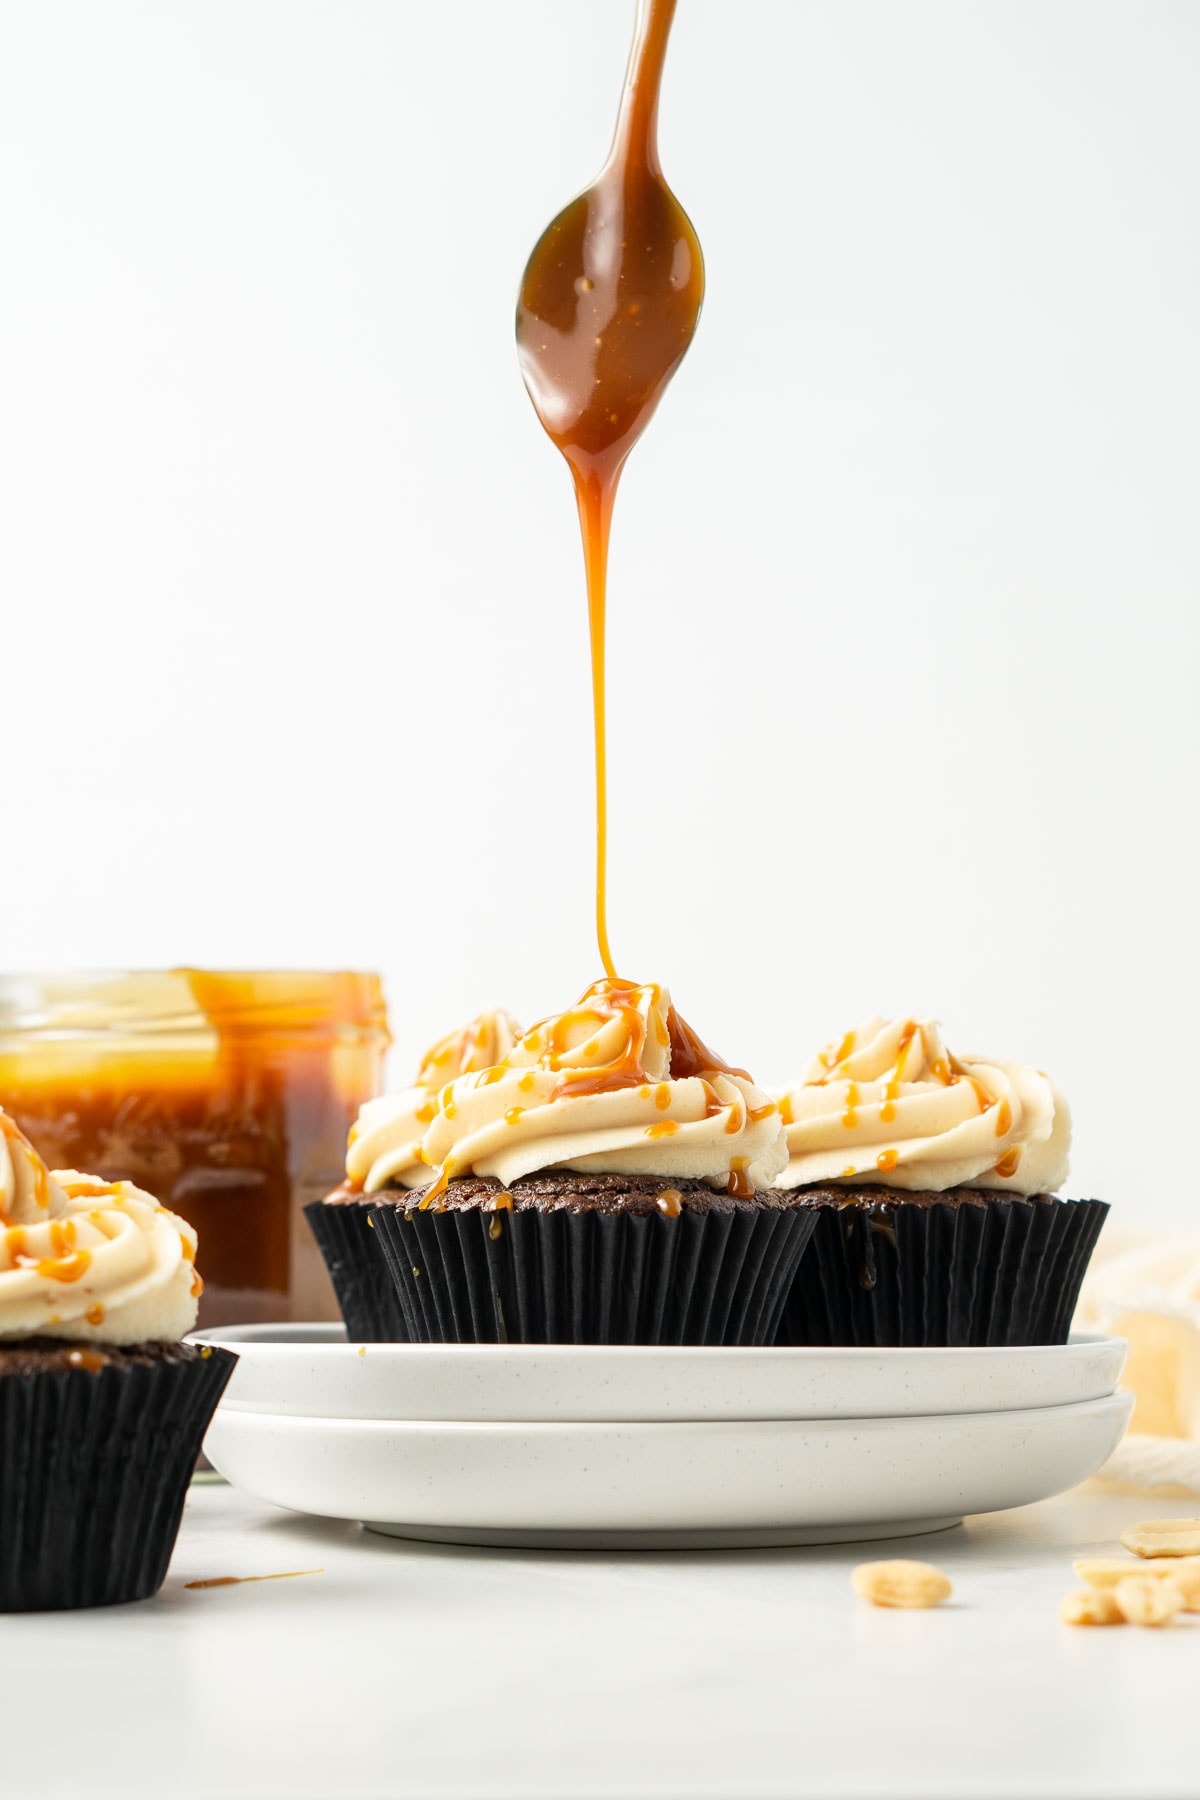
These cupcakes are finished off with a drizzle of homemade vegan caramel sauce. You can 100% use a store bought caramel sauce instead – there is no judgement here!
BUT if you do want to make your own, let me tell you it’s worth it. And while making caramel can be intimidating, once you’ve made it a few times, it really does get easier as you know what you’re looking for in each of the stages.
I have a full post that goes through how to make this vegan caramel sauce with all my tips and tricks if you’re looking for more details, but you’ll find the instructions in the recipe card below as well.
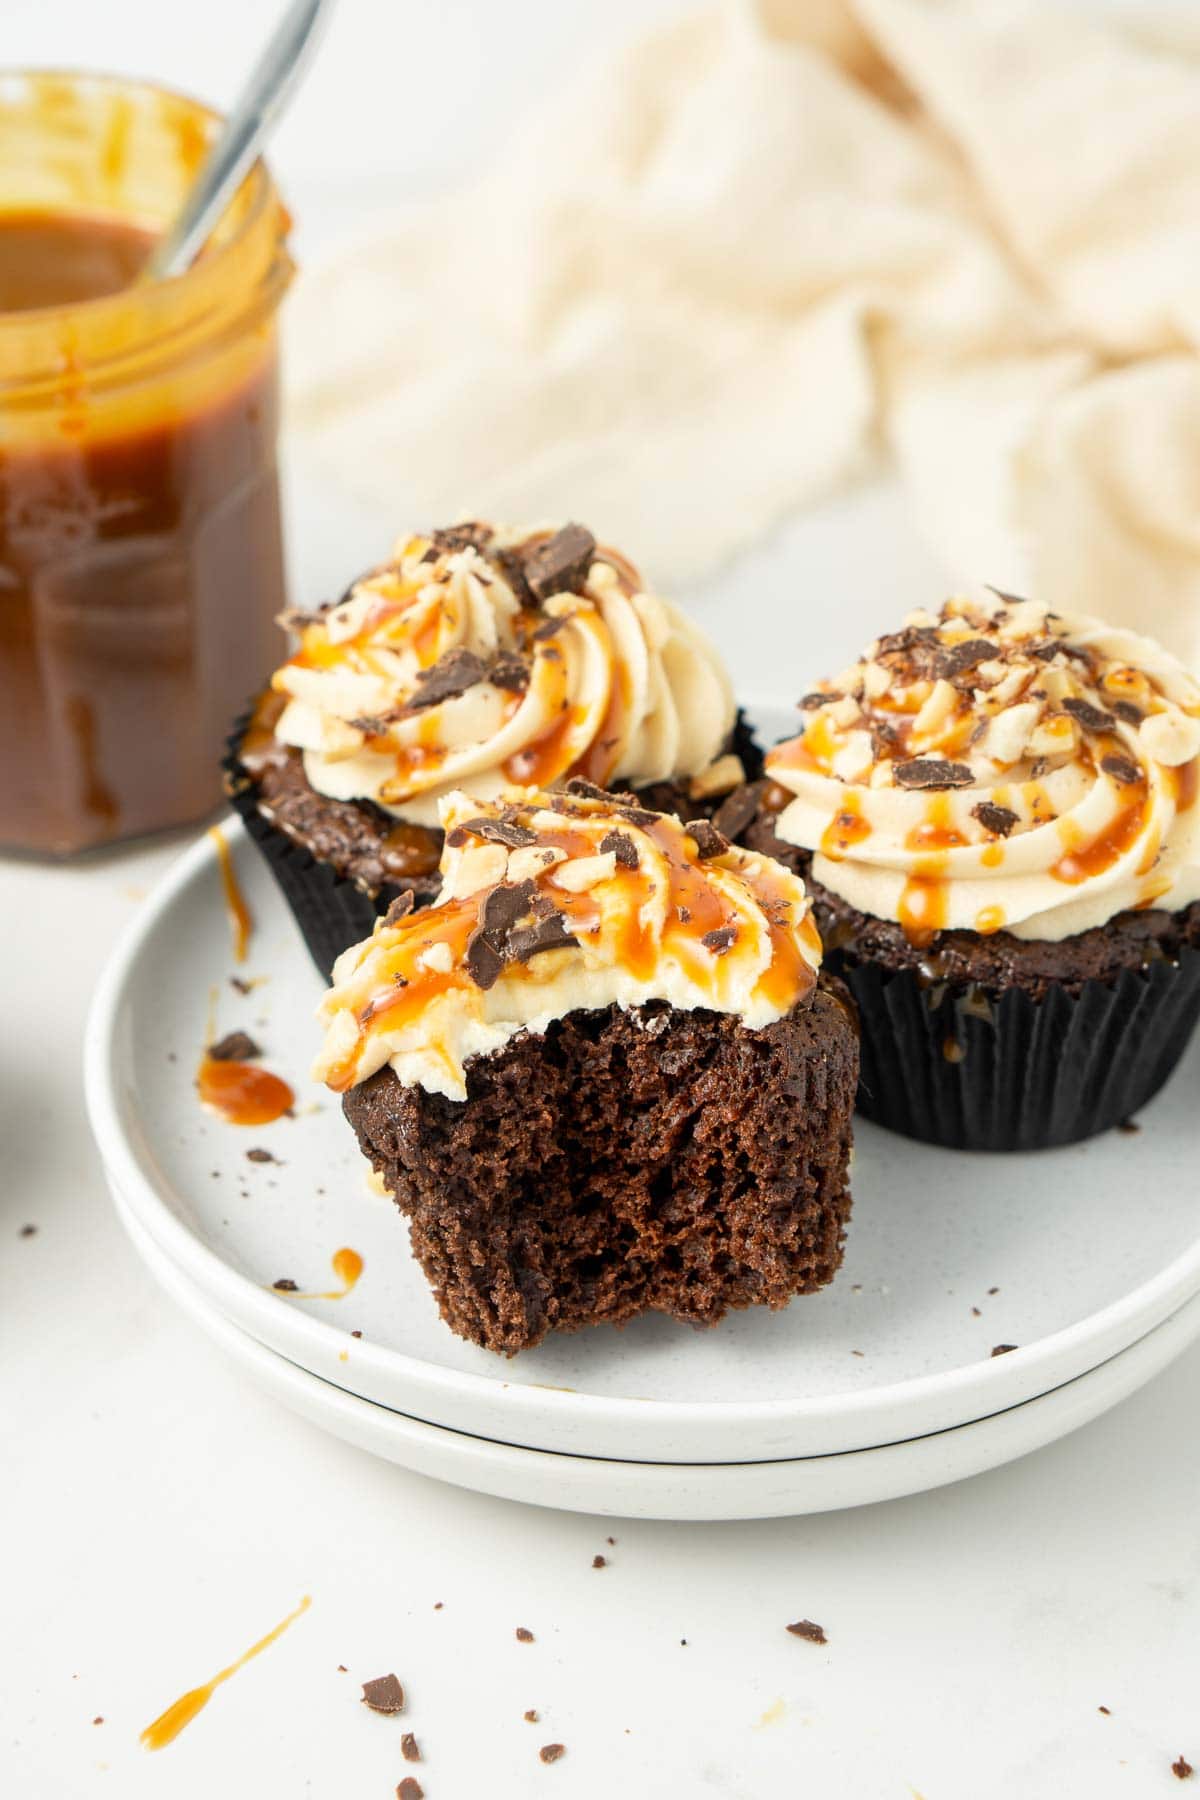
And finally these cupcakes are finished off with a sprinkle of chopped dark chocolate and chopped peanuts.
More vegan cupcake recipes:
Vegan Chocolate Rose Cupcakes
Cookies and Cream Cupcakes (Vegan)
Vegan Vanilla Cupcakes
Vegan Red Velvet Cupcakes
Chocolate Hazelnut Cupcakes (Vegan)
Vegan ‘Snickers’ Cupcakes
Ingredients
For the Chocolate Cupcakes:
- 1 cup almond milk
- 1 tablespoon white vinegar
- ¾ cup plain flour
- ½ cup self raising flour
- ½ cup cocoa powder
- 1 teaspoon baking powder
- ¼ teaspoon bicarbonate of soda
- ⅓ cup canola oil
- ¾ cup white sugar
- 1 teaspoon vanilla
For the Peanut Butter Frosting:
- ¼ cup (60 grams) dairy-free spread
- ½ cup (125 grams) smooth peanut butter
- 1 teaspoon vanilla
- 2 cups icing sugar
- 2 tablespoons almond milk
- pinch salt optional
For the Vegan Caramel:
- 1 cup sugar
- 4 tablespoons dairy-free spread
- 200 ml coconut milk canned
- salt to taste
Instructions
For the Chocolate Cupcakes
- Preheat oven to 180°C and line a muffin tin with 12 patty cases / cupcake liners.
- In a small bowl, mix together the white vinegar and almond milk. It will split and curdle but this is ok! Set aside.
- In a medium bowl, whisk together the plain flour, self raising flour, cocoa powder, baking powder and bicarbonate of soda.
- In a large mixing bowl, whisk together the canola oil, sugar and vanilla until combined.
- Add the dry ingredients to the oil and sugar mixture, alternating with the milk until the batter just comes together, scraping down the sides of the bowl as necessary.
- Spoon mixture into patty cases ensuring they are only ¾ full before placing them in the oven for 18 minutes or until they spring back when lightly touched. Remove from the pan and set aside on a wire rack to cool completely before frosting.
For the Peanut Butter Frosting
- Using a hand mixer or a stand mixer with the paddle attachment fitted, beat dairy-free spread and peanut butter for 1-2 minutes until creamy.
- Add in 2 cups of icing sugar and beat on medium until combined. As mixture thickens, add in vanilla and almond milk. Add in extra icing sugar or almond milk if needed until it reaches the right consistency. Add pinch of salt to taste if frosting is too sweet.
For the Vegan Caramel
- In a small saucepan, heat sugar giving it a stir, scraping the bottom as it starts to melt. You will get lumps and may even get some crystals which is ok, just turn the heat down lower and slowly let the sugar melt into a syrup. It will start to turn a golden colour. If it is getting too dark before the sugar has melted, then your heat is too high – turn it down and wait.
- Once the sugar had melted, add in dairy-free spread and stir through with a whisk until melted. Add in coconut milk and whisk to combine. Let the caramel come to the boil and then let simmer for 5-10 minutes until the mixture becomes an amber colour and it has thickened. Add salt to taste.
- Take the caramel off the heat and allow to cool. The mixture will continue to thicken until it has cooled completely. Store extra caramel in a airtight jar in the fridge for up to 2 weeks.
Assemble the cupcakes.
- Pipe a swirl of peanut butter frosting onto the cooled chocolate cupcakes, or you can just use a knife for a more rustic look. Drizzle more caramel over the top of the frosting and top with a sprinkling of roasted peanuts and chopped dark chocolate if desired.
Notes
Nutrition
Nutritional information is provided as a guide only and is calculated using automated online tools, therefore we cannot guarantee the accuracy. We encourage you to make your own calculations based on the actual ingredients used in your recipe.

Angela says
What is dairy free spread
Sally says
Any dairy free butter substitute 🙂
Leanne says
My sugar isn’t melting and turning into a syrup what am I doing wrong ??!!
Sally says
Hi Leanne! It’s very hard for me to determine what might be going wrong without seeing your sugar, but the key is to let it melt over a low heat which can take a while to happen. If you have any more detail about what’s happening I’d be happy to try and help troubleshoot as best I can 🙂
Rye says
The recipe calls for coconut milk, but the directions call for coconut cream. Which one is used for the caramel?
Sally says
Thanks for picking that up! I use canned coconut milk for this recipe.
Aaliyah Richardson says
They turned out shit I’m so sad and disappointed ☹️
Sally says
So sorry to hear that! There are a few parts to this recipe, what do you think went wrong?
Kasia says
I made these and they were amazing. The frosting especially was to die for! I was wondering if the frosting would work for a cake as well or should it be modified?
Sally says
Great to hear! The frosting will be fine for a regular cake as is. It will be enough for roughly a 8 or 9 inch cake, or if you are doing a larger layer cake you can double the recipe 🙂