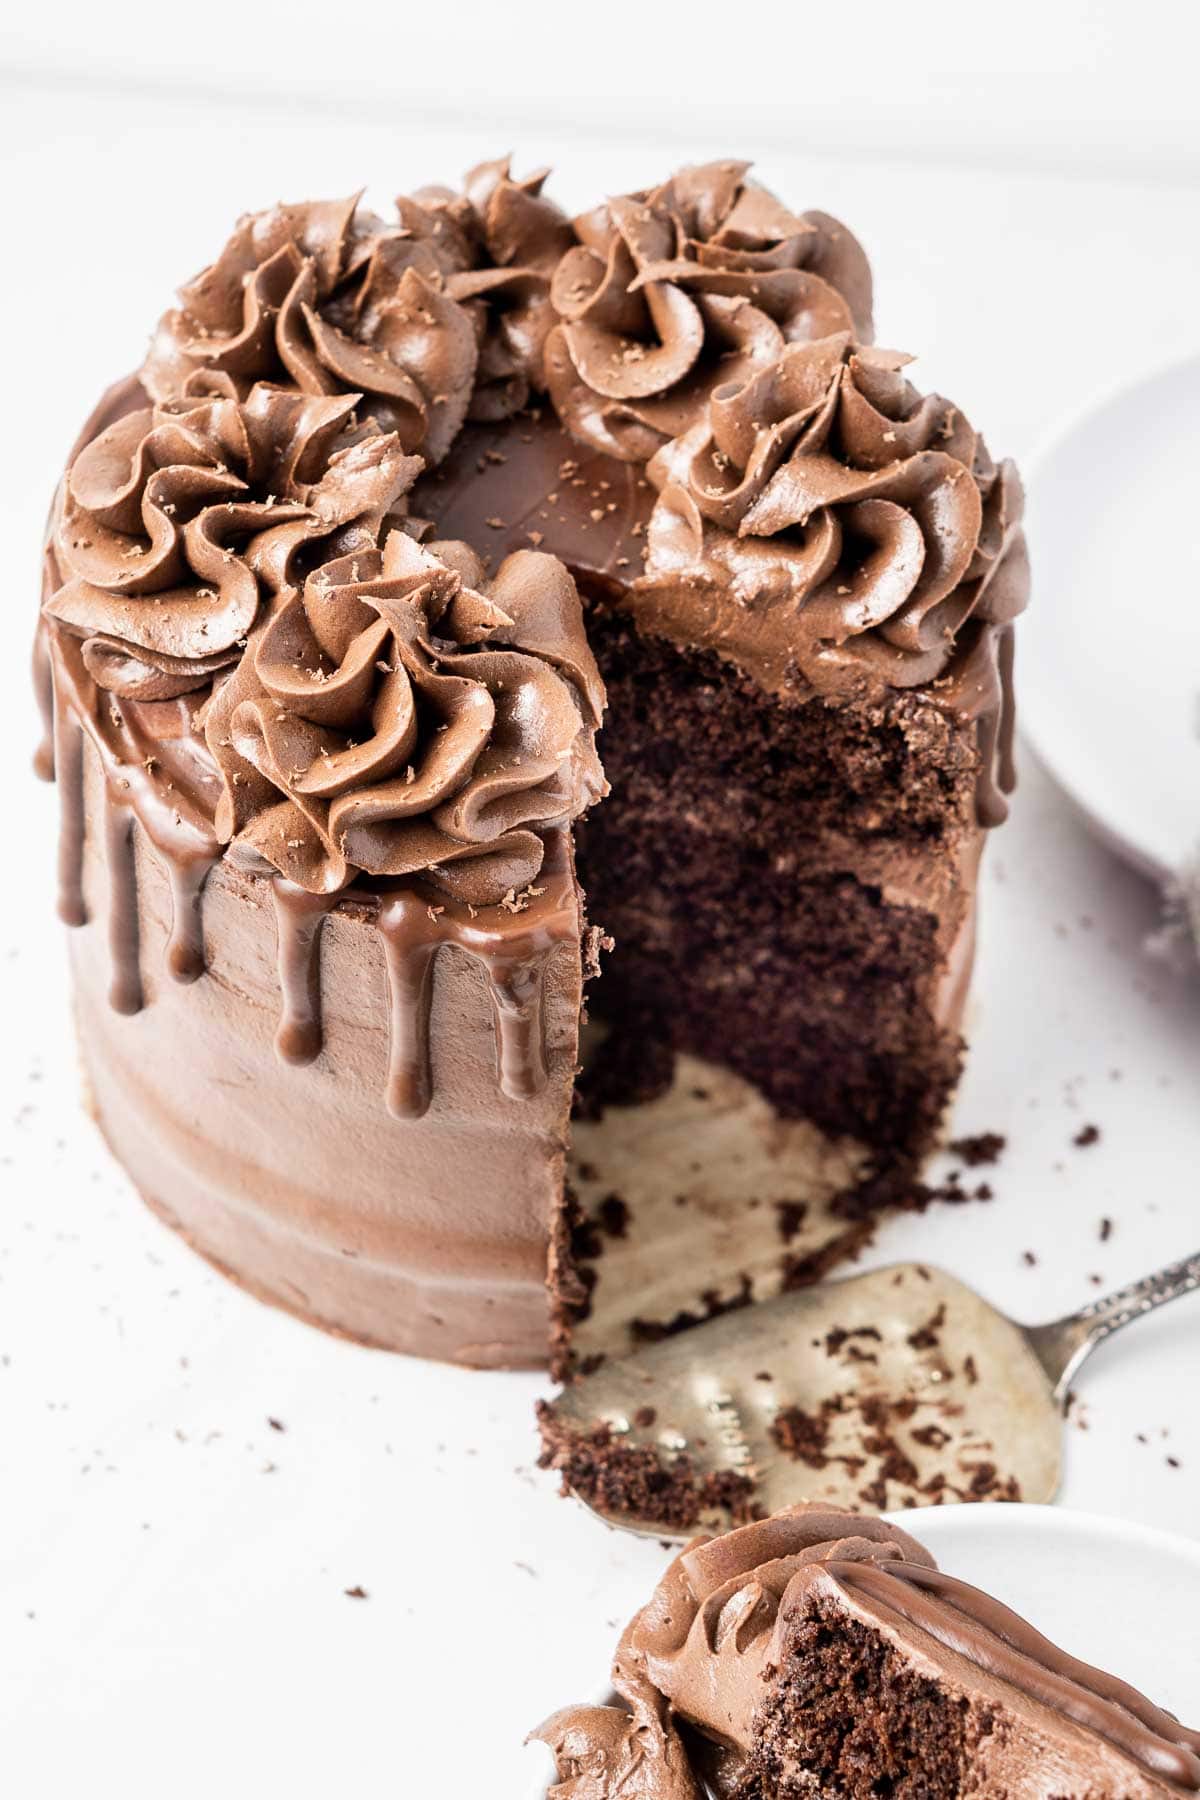
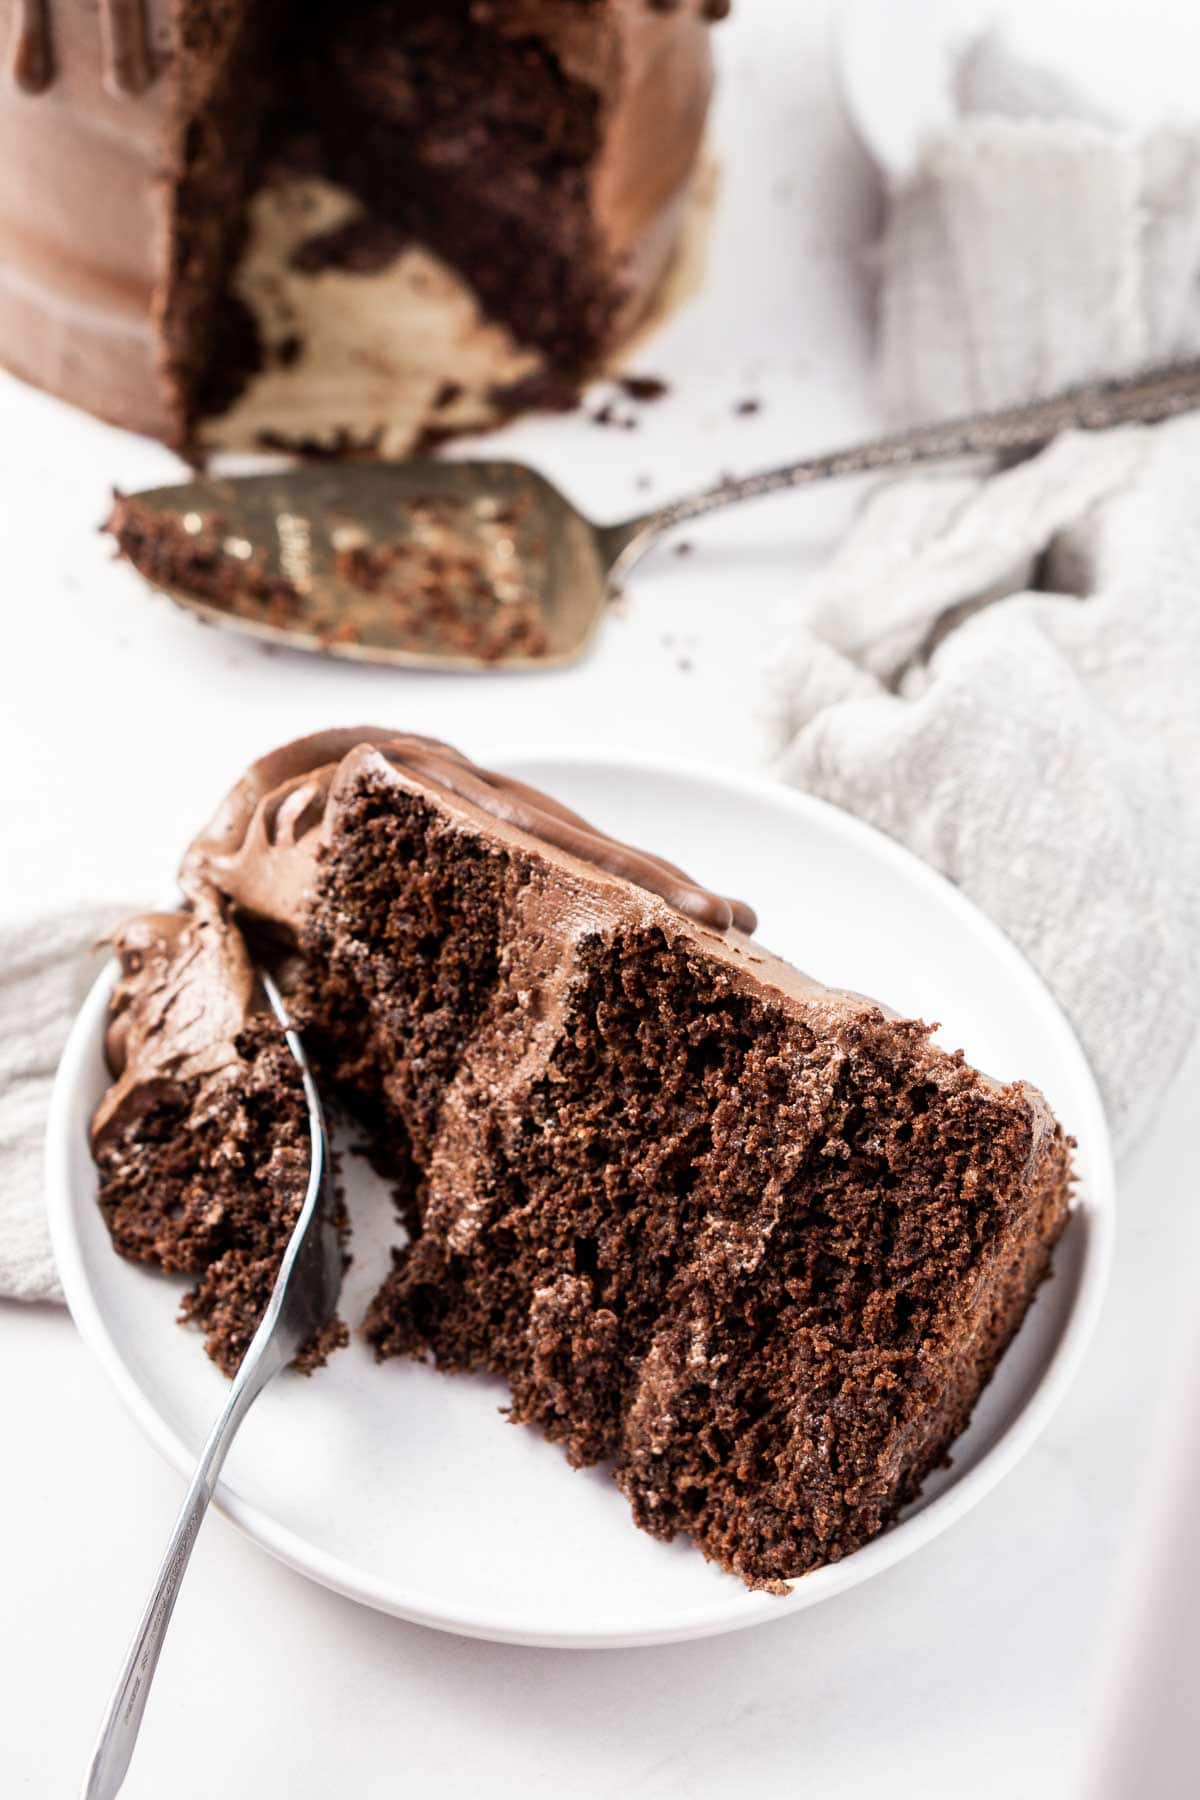
This dairy free chocolate cake is rich, decedent and full of chocolate flavour, topped off with the best fudgy vegan chocolate buttercream and a chocolate ganache drip. Made dairy-free, egg-free and vegan, this is the perfect recipe for any chocolate lover or for your next celebration.
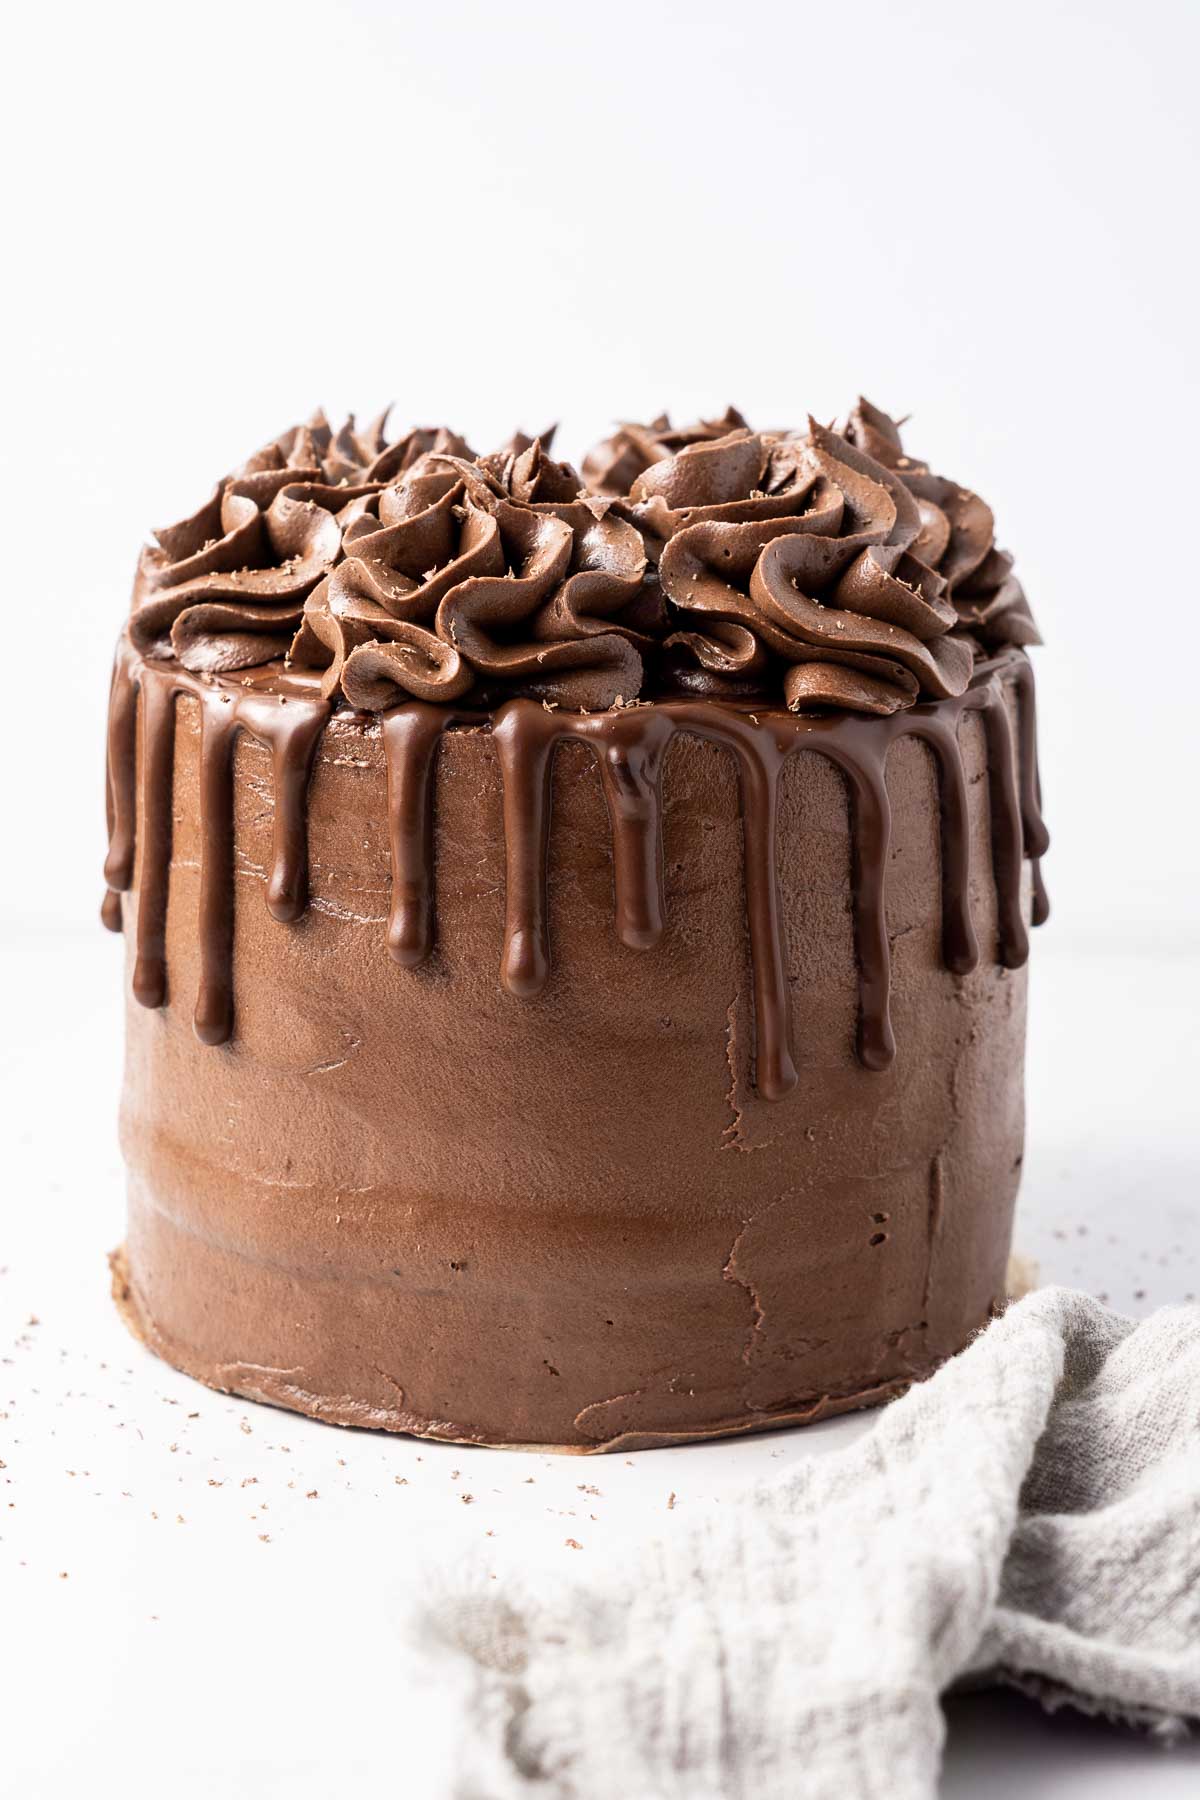
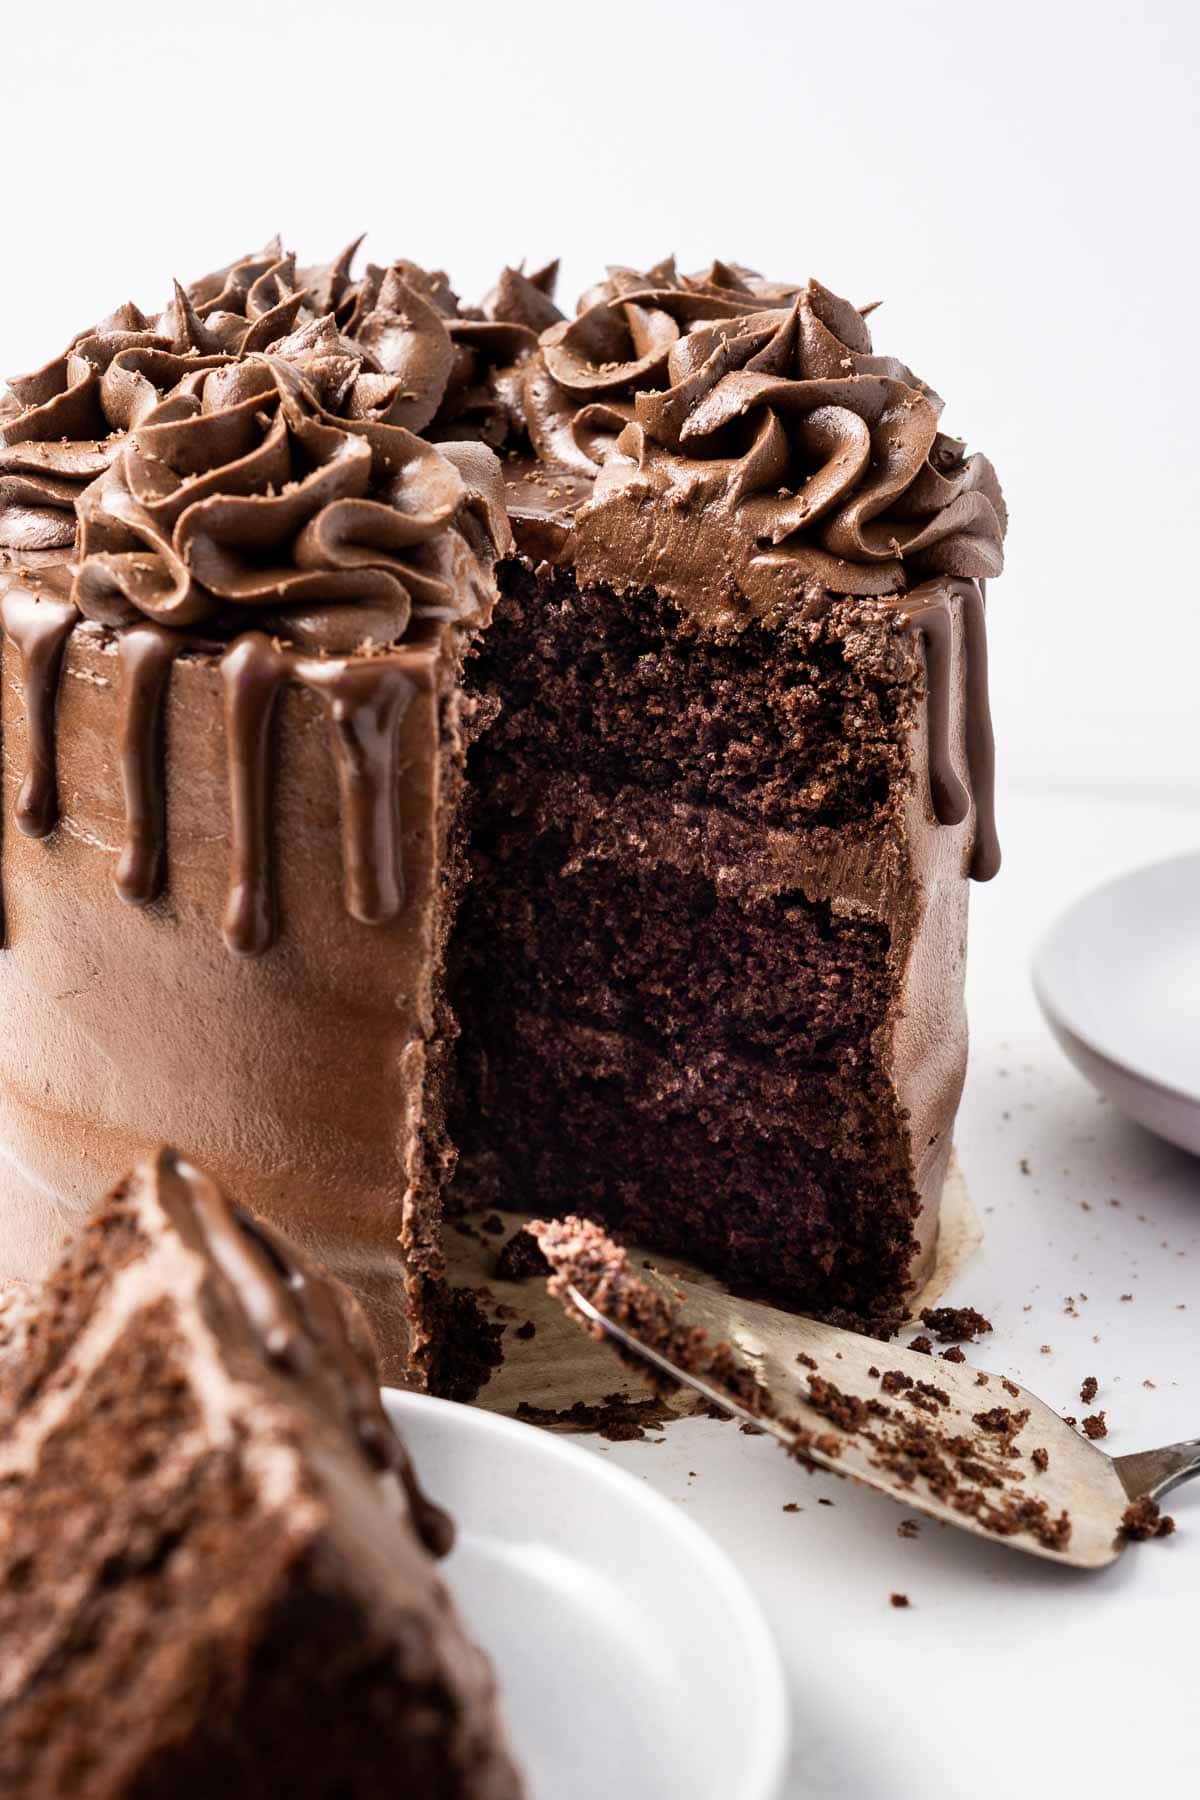
I am super fussy when it comes to chocolate cake. The ultimate chocolate cake for me is one that is rich and chocolatey, super soft and moist and not overly sweet. Many recipes that I’ve tried before are either too dense or simply lacking in flavour.
This recipe is delicate and soft, but still holds together enough for layering, and is so full of rich chocolate flavour. Plus the chocolate ganache drip not only looks amazing, adds even more rich chocolate flavour to the mix. This is the perfect chocolate cake if you ask me.
Plus this cake is finished off with a generous amount of my favourite vegan chocolate buttercream which is super easy to make and has a thick, rich and super creamy texture.
The secret to the richest, most delicious chocolate cake? Add coffee. Even if you’re not a coffee drinker, trust me. You won’t taste a coffee flavour in the cake, but you will get a richer, stronger chocolate flavour that just can’t be achieved any other way.
Key Ingredients
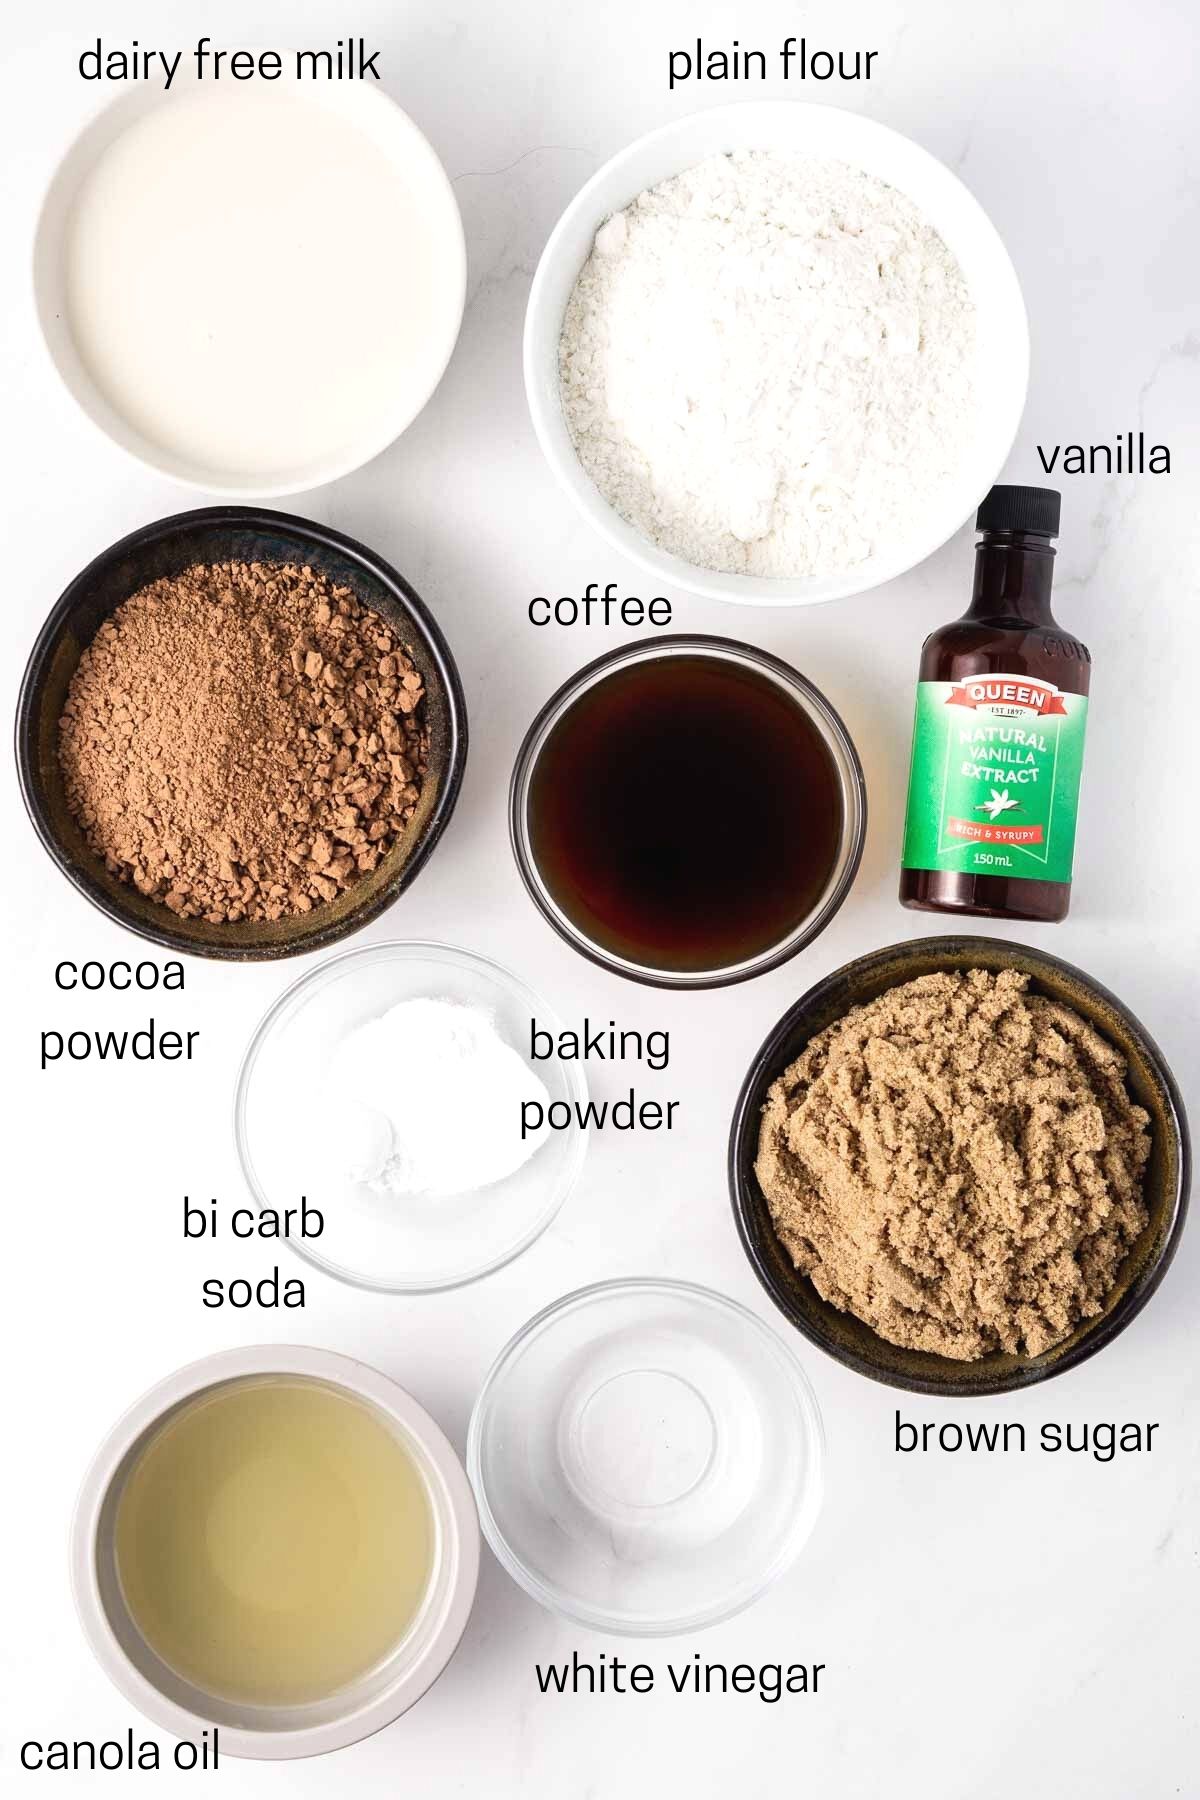
As usual, you won’t find any unusual or vegan substitute ingredients in this cake – most bakers should have these already in the pantry.
- Plain flour – also known as all purpose in the US.
- Cocoa powder – for the rich chocolate flavour you want to use a good quality cocoa powder. I’ve used Cadbury Bournville cocoa powder my entire life because it’s made from the same beans Cadbury uses to make their chocolate so you know it’s going to taste good. For those in the US, this is a Dutch-processed cocoa powder.
- Baking powder and bicarbonate of soda – a combination of both ensures that our cake rises in the oven and has a soft and light texture.
- Brown sugar – for flavour and moisture.
- Canola oil – to create a soft and moist cake. You can use any light tasting/flavourless oil. You could also use melted coconut oil but your cake will end up with a slight coconut taste to it.
- Vanilla extract – works to really enhance the chocolate flavour.
- Strongly brewed coffee – I promise you don’t taste it, all it does is make the chocolate flavour so much richer. If you must leave it out, you can use extra dairy free milk instead but note that your cake may not be as rich in flavour.
- White vinegar – works to react with the bicarbonate of soda and keep this cake light and fluffy.
- Dairy free milk – my preference is oat or almond milk in my cake, but you can also use soy with similar results. I don’t recommend canned coconut milk in this cake.
Step-By-Step Instructions
This cake begins with a simple batter. All you’ll need for the cake layers are a couple of bowls, a whisk and a rubber spatula. You’ll also need 3 x 6 inch pans, or other cake pans of your choosing (see FAQs below for more information).
Start by mixing together the dry ingredients in a bowl.
Then, mix together the brown sugar, canola oil, and vanilla until combined. Add in the coffee and the white vinegar and continue mixing.
Next, slowly add the dry ingredients to the large bowl, alternating with the milk until batter just comes together – as always make sure to only mix until just combined and then stop. Vegan cakes have a tendency to get rubbery and dense when overmixed, which is the opposite of what this cake should be, so once the batter comes together, put the whisk down.
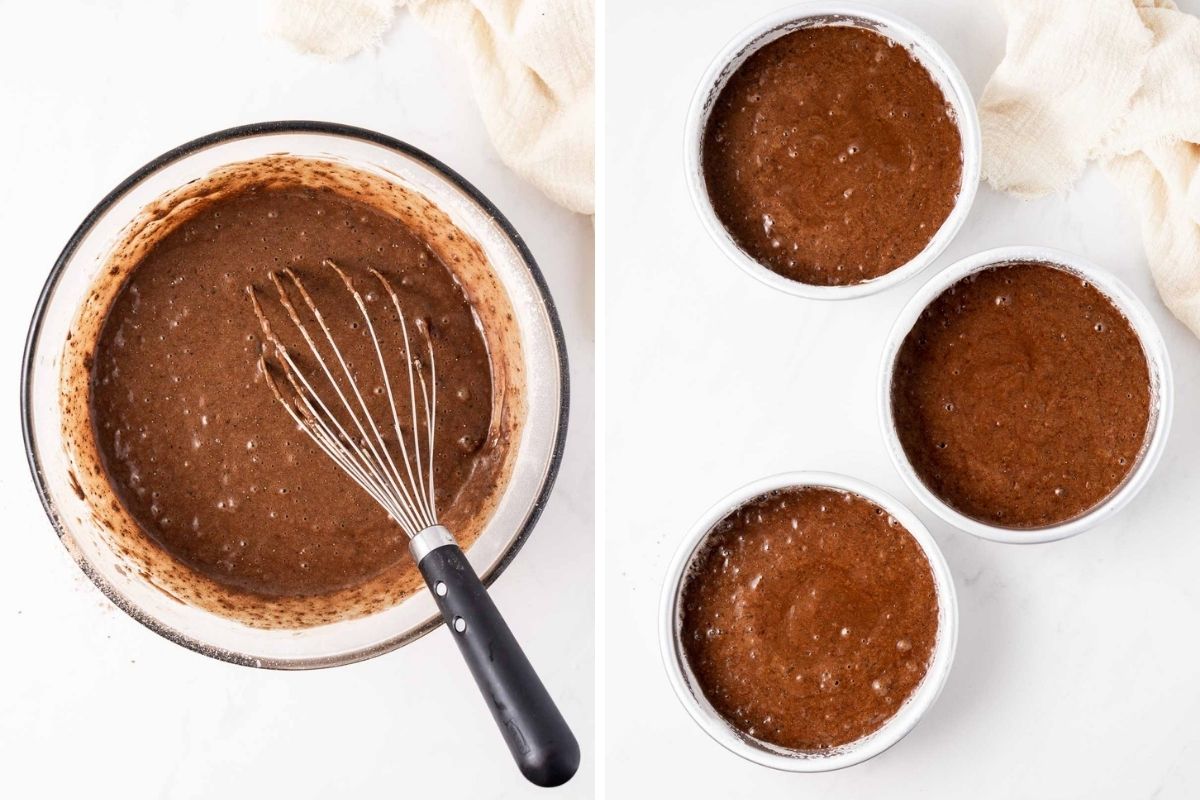
Pour the batter evenly between the prepared cake pans (I find the easiest way to ensure even cakes is to use a kitchen scale at this step to make sure all pans weigh the same), and place them in the oven to bake for 25-30 minutes, or until a toothpick when inserted in the centre comes out clean. The tops should also spring back when lightly touched.
Let the cakes cool for about 20 minutes in the pan before turning them out onto a cooling rack to cool completely before frosting.
Assembling the Cake
You don’t have to decorate your cake the same way I have – you can keep things super basic if you’d prefer and just frost in between the layers and the top. I love the look of this more naked cake style and it’s really simple to achieve. You can then top with some fresh berries and chopped chocolate!
But if you did want to go all out with the fully frosted cake and the chocolate ganache drip, then let’s quickly run through what to expect.
First, you’ll need to make a batch of vegan chocolate buttercream. If you want to do the fancy extra designs on top, then make 1.5 times the amount in the recipe.
For either version, you’ll need to start by layering your cakes. If they have domed in the oven at all, then you’ll want to use a serrated knife to carefully level the tops. If you skip this step you’ll likely end up with a cake that resembles the leaning tower.
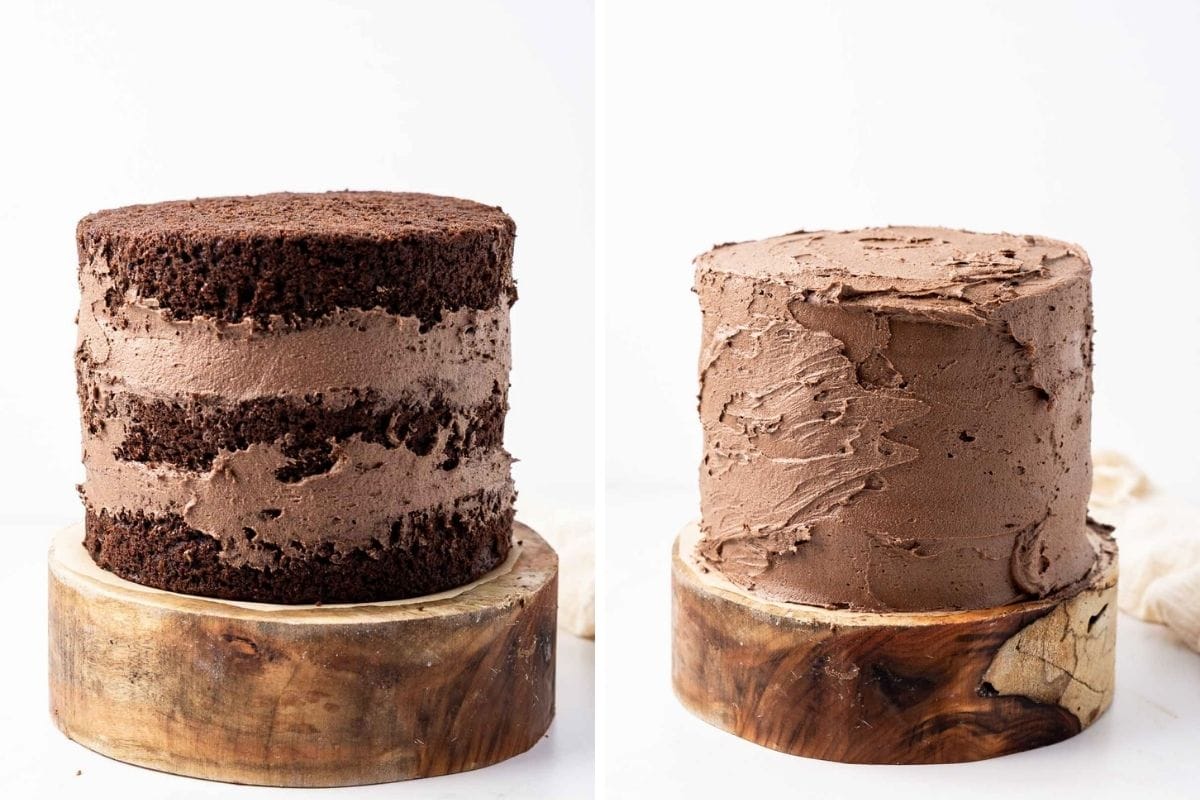
Start by adding a small amount of your buttercream to your serving plate or cake stand to secure the first cake. Top with buttercream and then layer on the second cake followed by more buttercream then the final layer. For layers 2 and 3 I prefer to add these upside down to get a flat top.
Top with more buttercream and add some around the sides and then using a knife or a cake scraper, gently smooth the sides. Add more buttercream as you smooth to cover any gaps that may appear, until you get an even coverage. This does not have to be perfect!
Set the cake aside in the fridge or freezer if possible to chill before adding the chocolate ganache drip.
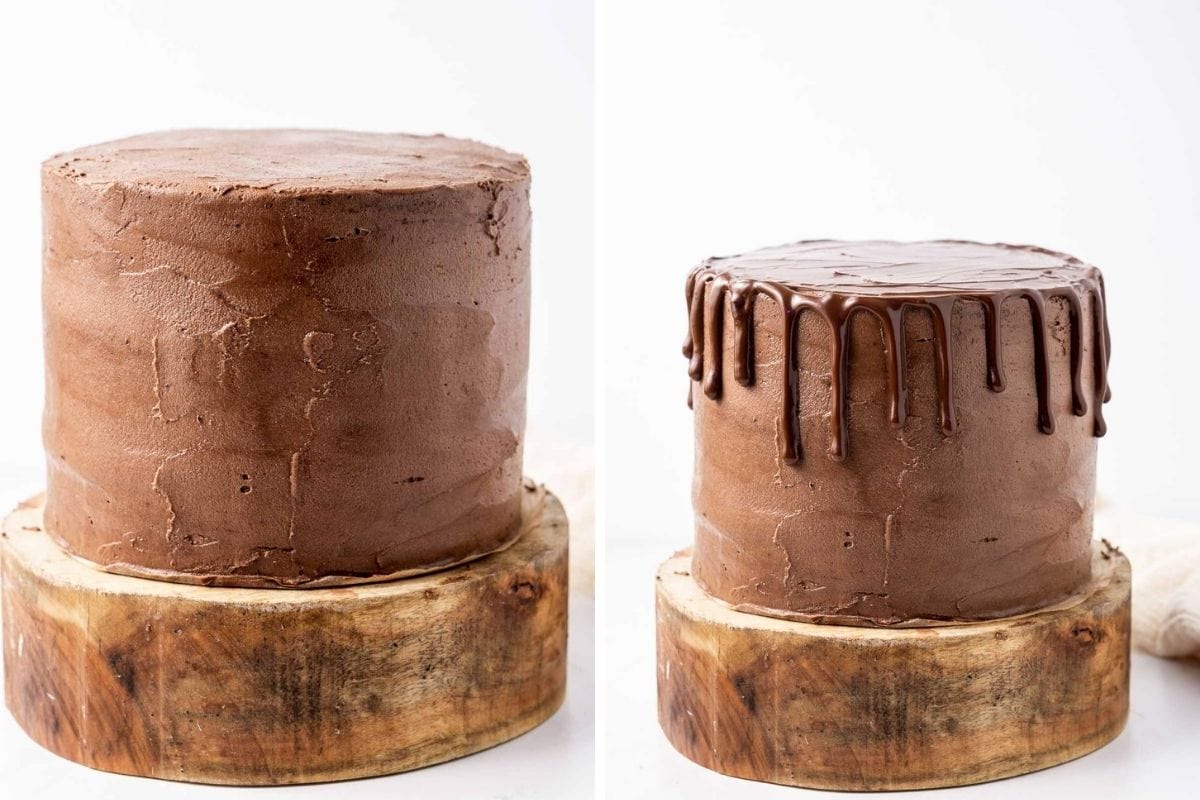
Once you’ve made your ganache, use a squeeze bottle or a spoon to gently drip the ganache down the sides of the cake (see below for more tips!), and then cover the top in ganache. Set aside in the fridge to let the chocolate set.
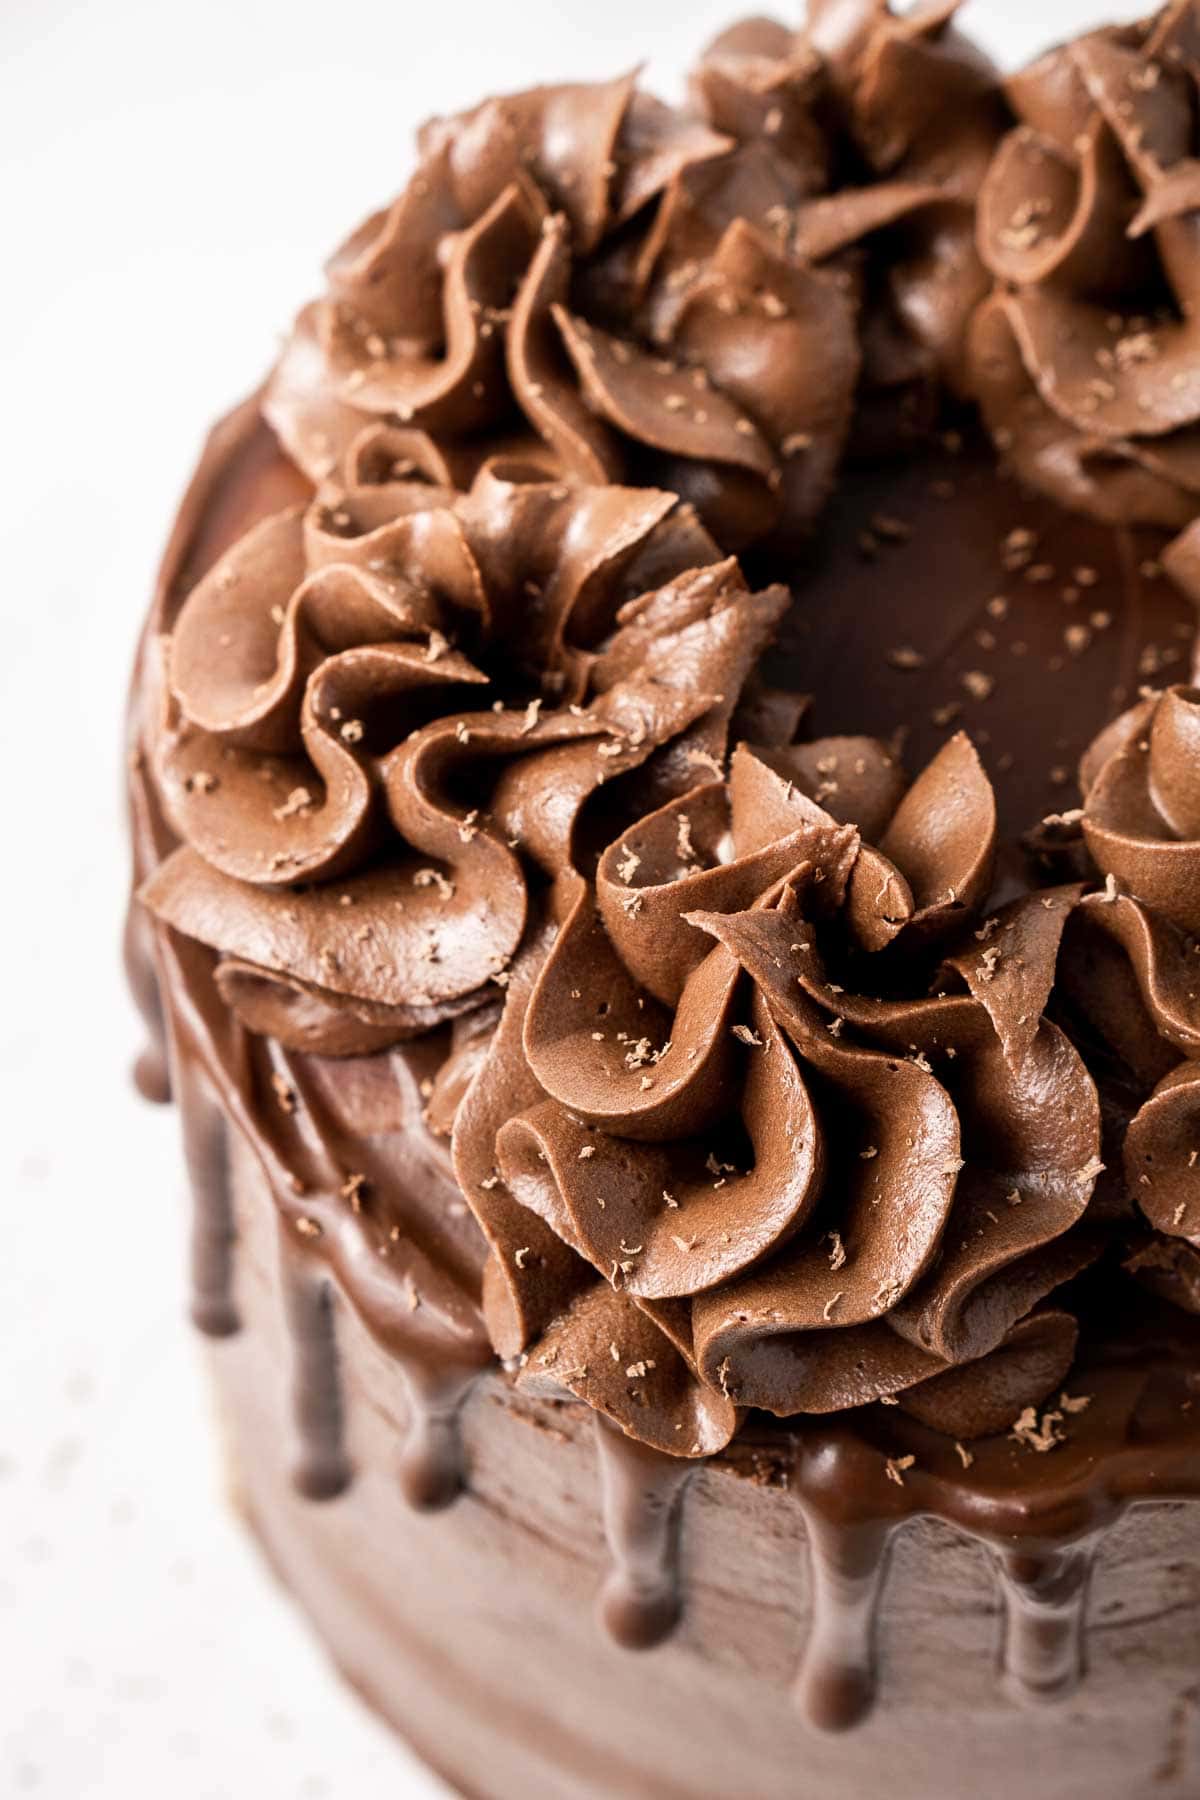
Finally, to finish, add your remaining buttercream to a piping bag with your favourite tip attached and pipe swirls around the top. For the effect I’ve used in my photos, I used a Russian ball piping tip and twisted as I piped to get the ruffled effect.
Grate a little extra dark chocolate over the top of the cake for that extra little finish.
How To Make A Perfect Chocolate Ganache Drip
- Start with a really cold cake. Either straight from the fridge or to speed up the process you can put the cake in the freezer for 10-15 minutes to get it really cold. The cold cake helps set the ganache as it drips down the sides meaning your drips will slow down and stop rather than just dripping all the way to the bottom.
- Use warm ganache. Use the ganache as soon as it has been made while it’s still warm or make sure to warm it up again if it has been made in advance. The warm ganache makes the drips a lot smoother and when combined with the cold cake, again helps it set in the perfect drip.
- Make sure the ganache consistency is perfect. You want it to be a lot thinner than you might think. When mixing, lift up your spoon and drizzle it back into the bowl – if it just disappears into the rest of the mix it’s perfect. If it’s too thick it wont drip down the sides of the cake, and if it’s too thin it will drip to the bottom of the cake and make a mess.
- Use a squeeze bottle. Yes you could just use a spoon like you see in those mesmerising Instagram videos but a cheap squeeze bottle is going to make things a whole lot easier. It gives you control of the amount you are dispensing per drip and gives you greater control of the direction of the ganache.
For more tips and tricks on creating the perfect chocolate ganache drip, make sure to check out my vegan cookies and cream cake as it goes into further detail.
Recipe FAQs
Yes! You have a couple of options. You can make the cake itself ahead of time and freeze the layers. Just wrap each layer tightly in plastic wrap and then in aluminium foil and freeze for up to three months. To defrost, leave the cake in the fridge or on the counter overnight before unwrapping. Frost and serve as if freshly baked.
For any leftover cake that has already been frosted, simply slice and wrap in plastic wrap and store in the freezer for about a month.
I haven’t tested this cake with gluten free flour, so I can’t say for sure how it will turn out. If you want to try it, I would suggest using all purpose gluten free 1-1 flour. If you have tried it, please leave a comment below for other readers!
Yes you can. You can instead make this cake as a 2 layer 8 inch (20 cm) cake. You can also just use whatever you have available, just be sure to check the cakes as they are cooking and cook until a skewer when inserted into the centre of the cake comes out clean, rather than just based on a time.
Yes you can. It would probably yield about 18 cupcakes and cooking time would need to be reduced to closer to 20 minutes. Otherwise you can try my vegan chocolate cupcakes recipe instead – this is one of my all time favourite cupcake recipes!
More vegan cake recipes:
Vegan Red Velvet Cake
Vegan Coffee Cake
Vegan Carrot Cake
Vegan Vanilla Cake
Vegan Lemon Poppy Seed Cake
Dairy Free Chocolate Cake
Ingredients
For the chocolate cake:
- 1 ⅔ cups plain flour
- ⅔ cup cocoa powder
- 2 teaspoons baking powder
- ½ teaspoon bicarbonate of soda
- 1 cup brown sugar
- ½ cup canola oil
- 2 teaspoons vanilla extract
- ½ cup strongly brewed coffee
- 1 tablespoon white vinegar
- 1 cup dairy free milk
- 1 batch
vegan chocolate buttercream
For the chocolate ganache drip
- ¼ cup 50 grams chocolate, chopped
- Approx. ¼ cup coconut milk or cream heated more or less as needed
Instructions
- Preheat the oven to 180°C and grease and line 3 x 6 inch round cake tins with baking paper and cooking spray.
- In a medium sized bowl, whisk together plain flour, cocoa powder, baking powder and bicarbonate of soda.
- In a large mixing bowl, whisk together brown sugar, canola oil, and vanilla until combined. Add in the coffee and the white vinegar and mix to combine.
- Slowly add the dry ingredients to the large bowl, alternating with the milk until batter just comes together.
- Pour the batter evenly between the prepared cake pans and place in the oven to bake for 25-30 minutes, or until a toothpick when inserted in the centre comes out clean. The tops should also spring back when lightly touched. Let cool in the pans for about 20 minutes, before turning out to a wire rack to cool completely.
- Once the cakes are cool, prepare a batch of vegan chocolate frosting and assemble the cake. If the cakes have domed in the oven, gently level the tops using a large serrated knife. Place a small amount of frosting on a cake plate/stand and place the first layer down. Cover with a layer of frosting before placing the second layer on top, upside down to ensure you have a flat top. Repeat with more frosting and the final cake layer. Cover the top and sides of the cake with another thick layer of frosting using a cake knife and gently smooth it around so the coverage is even. For this step I use a cake scraper but you can just use a knife – it doesn’t have to be perfect. Place the cake in the fridge to chill.
- Make the ganache. Chop up the chocolate into small pieces (think the size of chocolate chips) and place it in a small bowl. Heat up the coconut milk in the microwave or on the stove until warm (not too hot!). Add the milk to the bowl with the chocolate pieces and let sit for a couple of minutes. The heat from the milk will melt the chocolate. Mix together using a spoon or whisk until glossy and all the chocolate has melted. If your chocolate isn’t melting, sit the bowl in another bowl of warm water. If the ganache is too thick, add more warm coconut milk a tablespoon at a time until you reach the desired consistency for your drip.
- Decorate the cake. Put the warm chocolate ganache in a squeeze bottle while still warm and slowly use this to drip it down the sides of the chilled cake, starting from the top edge. Once you’ve gone around the edge, cover the top in a thin layer of the ganache. Set aside again in the fridge to set.
- Once the ganache has hardened, put any remaining buttercream in a piping bag with your favourite tip attachment and pipe swirls around the top. Top with a little bit of grated dark chocolate if desired.
Notes
Nutrition
Nutritional information is provided as a guide only and is calculated using automated online tools, therefore we cannot guarantee the accuracy. We encourage you to make your own calculations based on the actual ingredients used in your recipe.

Lynn G. says
Egg-free, dairy-free and vegan but definitely NOT disappointing!!!
Easy to make, lovely texture and taste. This will now be my ‘go to’ chocolate cake recipe. Buttercream is excellent! Will have to give ganache another try, it was the only disappointment, but maybe I chose the wrong dairy free chocolate?!?
Sally says
So glad you enjoyed the recipe! Thanks for sharing Lynn 🙂