Let’s round out January with a big, zingy and fabulous sugar rush.
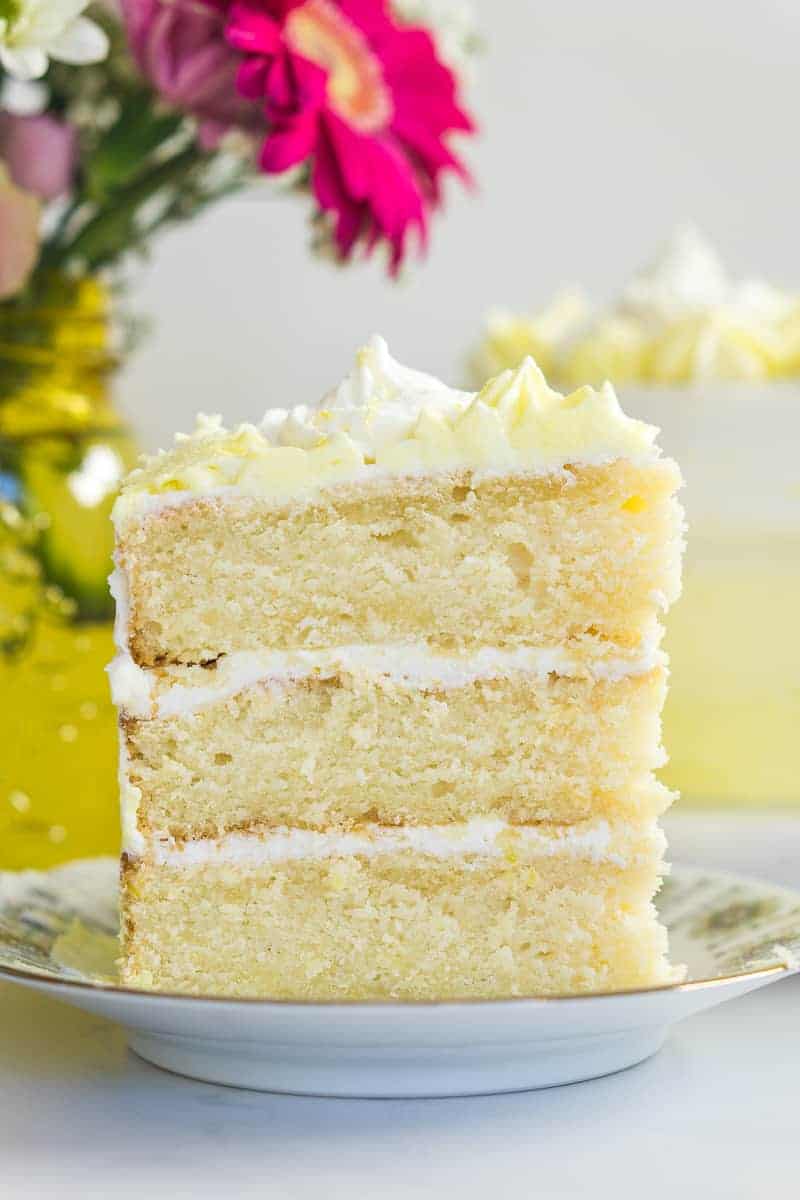
This lemon layer cake is creamy and soft with a buttery crumb that will leave you with flavours of lemon cheesecake – but all without any dairy. The secret to the creaminess is to use coconut milk in both the cake and the buttercream, and lots of lemon zest!
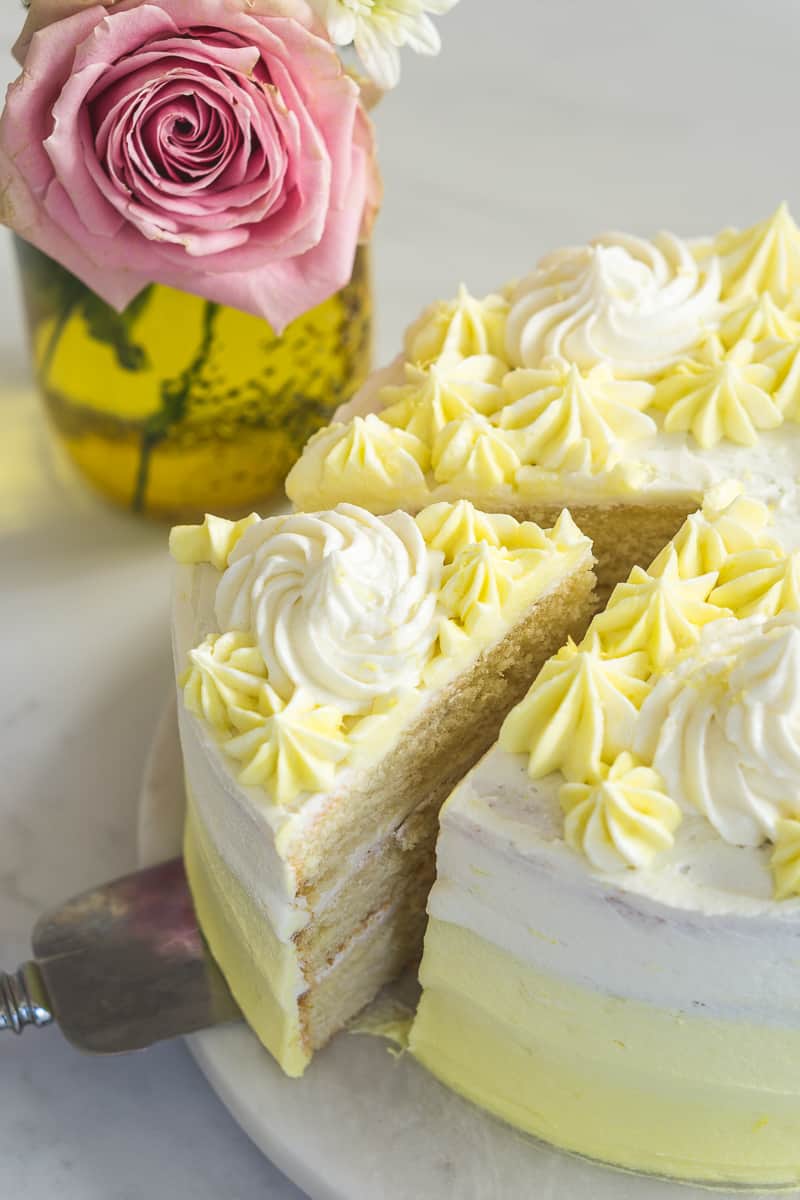 It has been a little while since I shared a full cake on the blog but I promise it was worth the wait. I love lemon cake but I must say this turned out so beautifully that I found myself eating the leftover frosting out of the bowl by the spoonful and really, I just couldn’t wait to share.
Lemon cake to me should be sweet, but also perfectly tart and zingy – you should taste that strong flavour of lemon with each fork full. It’s the perfect flavour for summer, being rich enough for those wanting a change from the classic vanilla, but without the heaviness of chocolate.
 The secret to this cake’s dreamy, creamy taste is using coconut milk. And I am talking about the coconut milk from the can – the one you probably have sitting in your pantry. Adding this to the cake batter gives it beautiful soft texture. I know you’re probably thinking that the coconut flavour will be overpowering, but I promise it is not. The coconut flavour is balanced out by the lemon and rather it just provides a subtle undertone of flavour.
The real secret however comes with the buttercream. When making your cake, shake the can of coconut milk, use the 1 cup, then put the remaining milk still in the can in the fridge. By the time you go to make your buttercream the coconut milk will have separated slightly allowing you to scrape off the creamy top layer to use in your buttercream. The higher fat content gives the buttercream that little extra and leaves us with a beautiful super creamy frosting.
 This is a long recipe, but it is not too complicated. Make sure to read through the recipe all the way before getting started. It is such an important step when baking to make sure you are prepared for the order in which the process goes, and then you can continue to consult the recipe as you need it while baking.
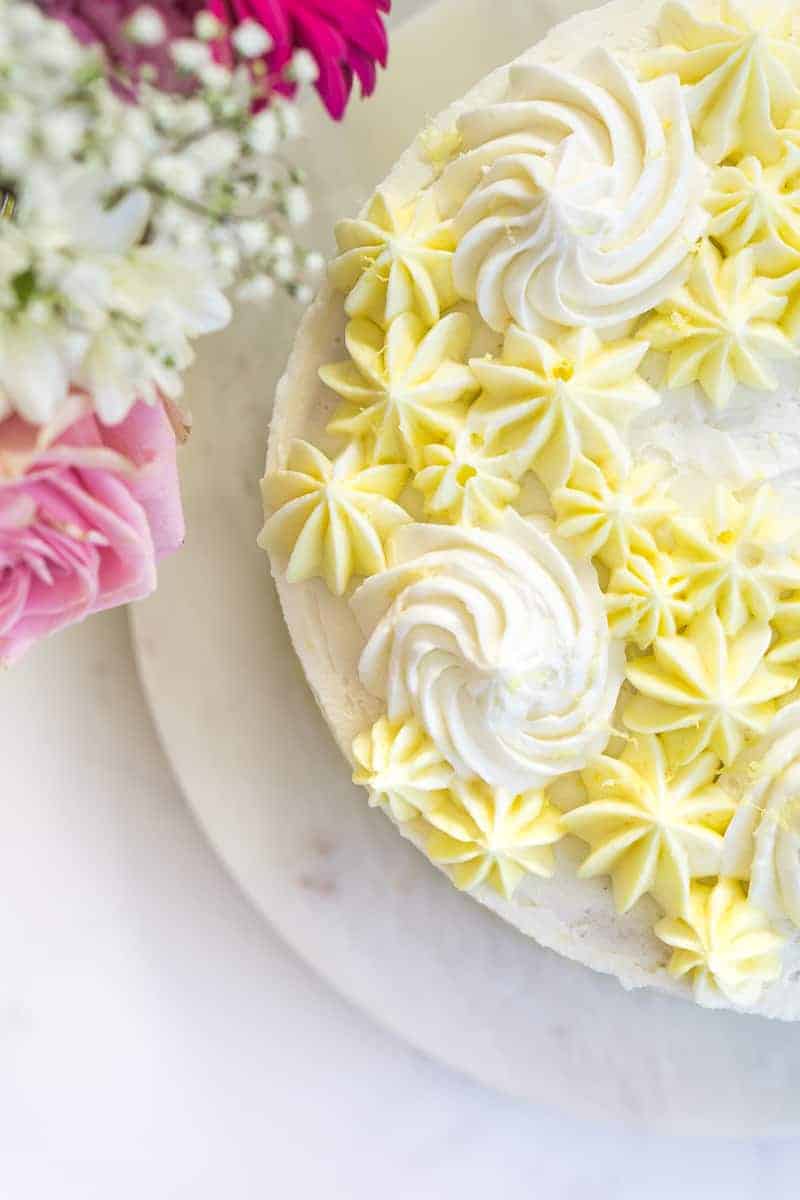
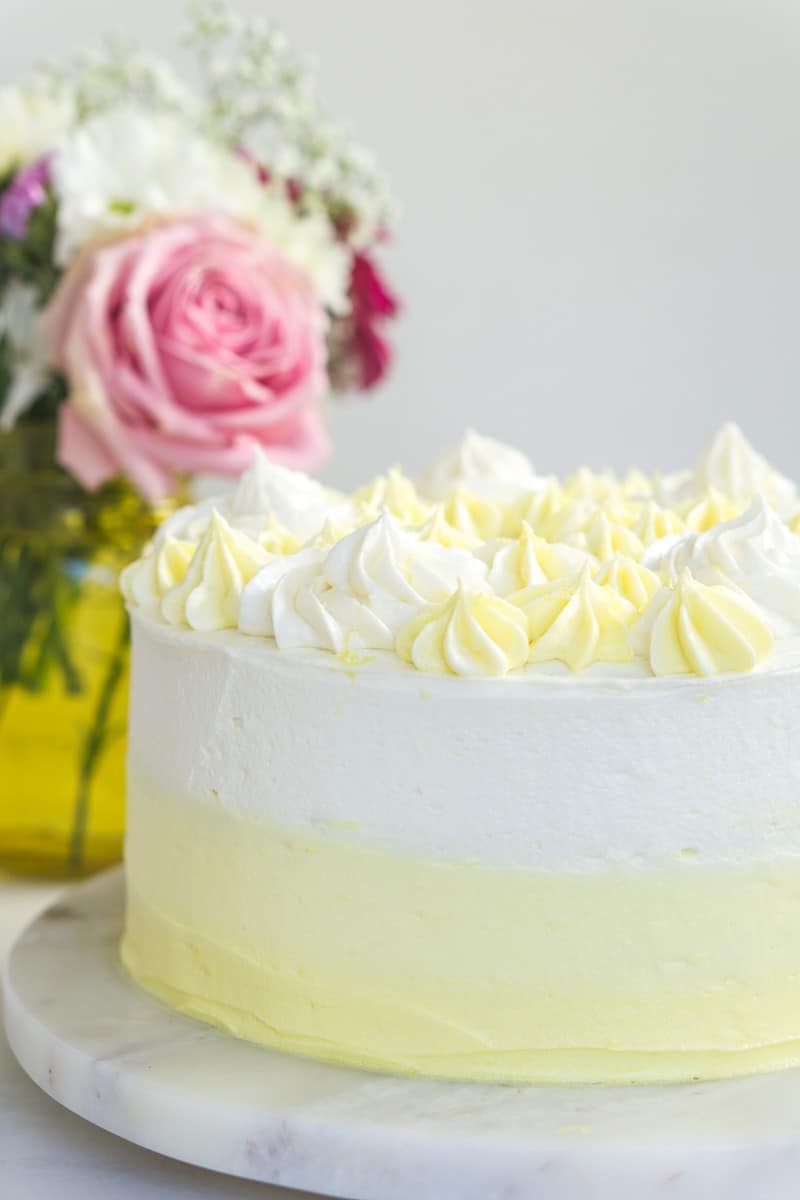
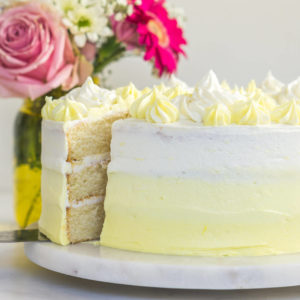
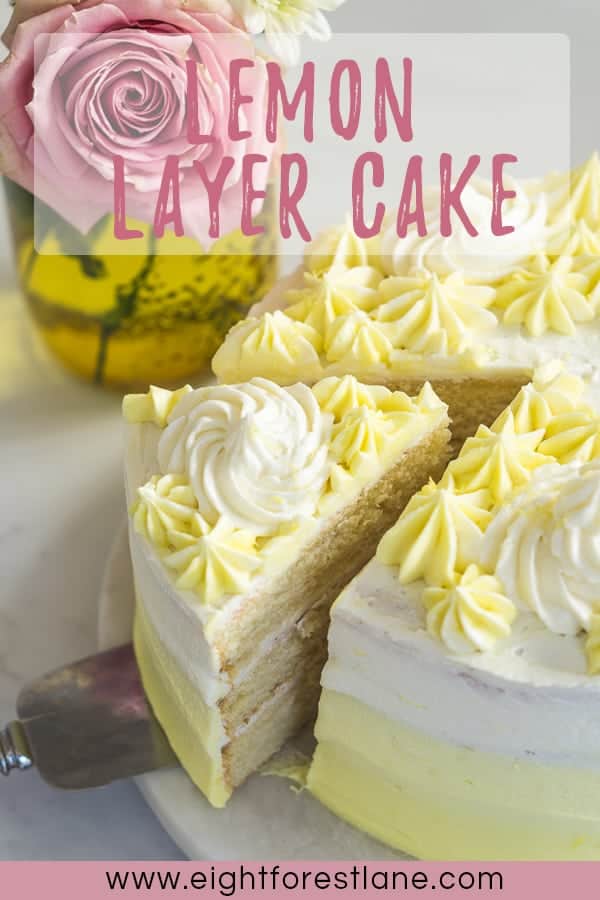
The other thing is to get creative when decorating – I had so much fun with this cake! I have wanted to do an ombre style for a while and thought this was the perfect opportunity to try it out. I used a few drops of Americolor Lemon Yellow gel food colouring to get my desired colour and piped it on from darkest to lightest, with the lightest being left white. I then used the leftovers to pipe pretty swirls and flowers all over the top. This effect was done using a Ateco # 849 closed star piping tip.
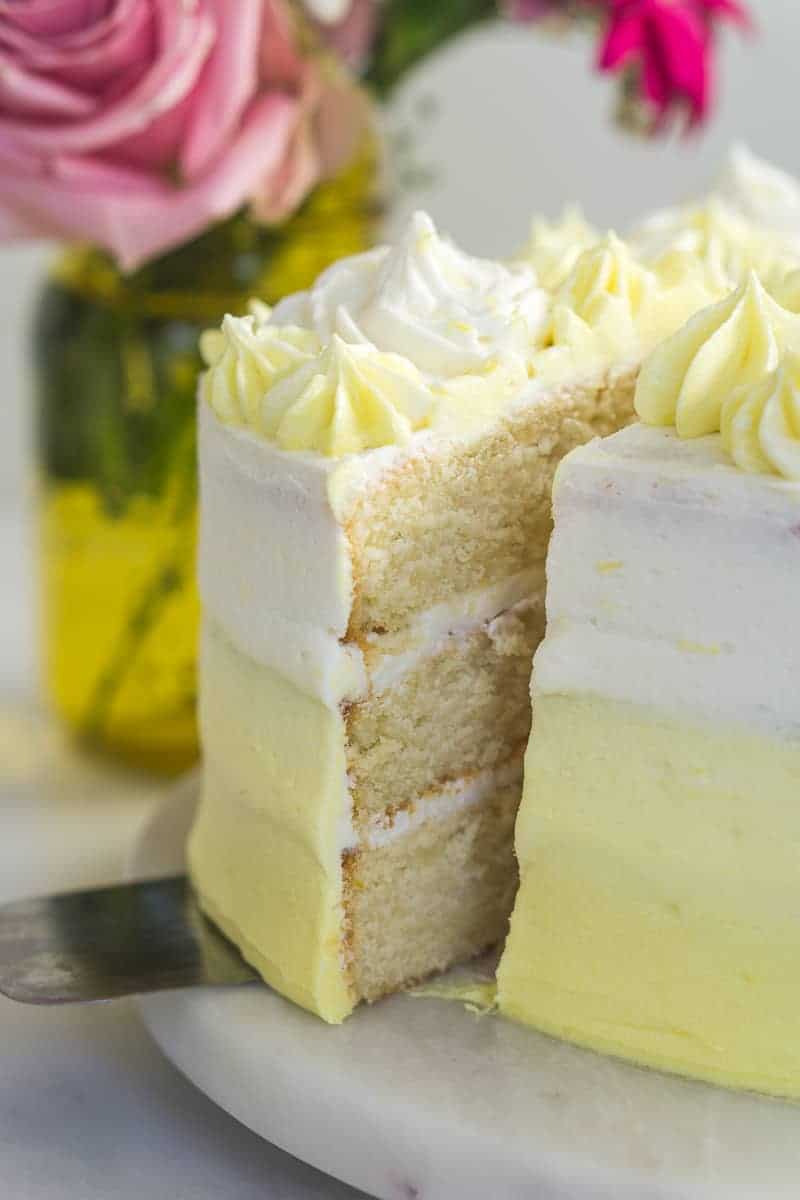 I just love how summery it looks. And it is quite the presentation piece for your next party.
Cake making just takes a little patience, but to me it is one of the most rewarding things you can bake because they really are always individual creations and you have the ability to add your creative edge.
Oh and if you’re looking for cupcakes, try my dairy-free lemon cupcakes recipe instead.
 If you do make this recipe, please be sure to leave a comment and rating below! And tag any of your creations on Instagram with #eightforestlane as I would love to see.
Lemon Layer Cake
Ingredients
Lemon Cake
- 3 cups plain flour
- 1 tablespoon baking powder
- ½ teaspoon salt
- 1 cup (250 grams) dairy-free spread
- 1 ½ cups sugar
- 4 eggs, room temperature
- 2 teaspoons vanilla
- 1 cup coconut milk
- 1 heaping tablespoon lemon zest (2-3 lemons)
- ⅓ cup lemon juice (2-3 lemons)
Lemon Buttercream Frosting
- 1 cup (250 grams) dairy-free spread
- 6 cups icing sugar
- 2 tablespoons coconut milk
- 1 teaspoon vanilla
- 2 tablespoons lemon juice (1 lemon)
- 1 tablespoon lemon zest (1-2 lemons)
- pinch salt
Instructions
- Preheat oven to 180°C and spray 3, 8 inch round cake pans with cooking oil and line the bottom with baking paper.
- Make the lemon cake. In a bowl, sift flour, baking powder and salt and set aside. In another large bowl, cream dairy-free spread and sugar with a handheld electric mixer or in a stand mixer with a paddle attachment. Add eggs, one at a time beating well in between each, scraping down the sides with a rubber spatula as necessary. Add in vanilla and continue to beat until the batter is light and creamy.
- Add in the dry ingredients ½ cup at a time while beating the mixture on low speed. Alternate adding the dry ingredients with the coconut milk, again in small increments until everything has combined, being careful to stop as soon as everything is mixed in to ensure the batter is not overmixed. Finally, add in lemon juice and and mix through until the batter is smooth and creamy.
- Divide the batter evenly into the 3 prepared cake pans. I like to use my kitchen scales to weigh it out to make sure it is exact. Place in the preheated oven for 25 minutes or until a skewer when inserted comes out clean and cake springs back when lightly touched. It is normal for the cakes to shrink a little and come away from the sides of the pan while cooling.
- Let cakes cool for 10 minutes in the pans before turning out onto a wire rack to cool completely.
- Make the lemon buttercream. Using a handheld mixer or a stand mixer with the paddle attachment fitted, lightly beat the dairy-free spread so it’s smooth. Add in 3 cups of icing sugar. Beat until creamy. Add in another 3 cups of icing sugar and beat on medium. While mixer is running, add in vanilla, lemon juice and milk, one tablespoon at a time until desired consistency is reached. Finally, mix through lemon zest and salt to taste. If mixture is too thin, add more icing sugar ½ cup at a time until frosting is smooth but thick enough to hold its shape.
- Assemble the cake. Level the tops of the cakes with a bread knife if required. Smooth a little buttercream on a cake stand or serving board and place the first layer down. Top with buttercream to cover the top of the cake, then add the next layer. Again add more buttercream, then a cake layer until all three layers have been sandwiched together. Top with more buttercream and smooth out with a cake knife. For the best frosting results, crumb coat the cake by adding a thin layer of frosting around the sides of the cake and scraping away any excess. You should be able to see the cake through the frosting yet still have smooth, straight sides. Let cake chill in the fridge for 4 hours or overnight. I use about half the quantity of frosting for this step, so feel free to make the frosting in two batches or cover any excess frosting and store in the fridge. Allow to soften on the bench when ready to use again.
- Remove cake from fridge and finish with another layer of frosting around the sides and the top. I chose to do an ombre style finish by dividing the second half of the frosting into three bowls and tinting one bowl a bright yellow, on a lighter yellow and keeping the third bowl white. I then piped the darkest colour around the bottom of the cake, then the lighter yellow, and finally the white around the top of the cake, before using a metal cake spatula to smooth down the sides, blending the colours together.
- Finish off the cake by piping some swirls around the top and sprinkling over a little extra lemon zest.
Notes
Nutritional information is provided as a guide only and is calculated using automated online tools, therefore we cannot guarantee the accuracy. We encourage you to make your own calculations based on the actual ingredients used in your recipe.
More layer cake recipes:
Vanilla Layer Cake
Carrot & Coconut Layer Cake
A Passionfruit Birthday Cake
Chocolate Honeycomb Cake
Save it for later:


Stacey says
Can you please explain what dairy free spread is?
Sally says
Hi Stacey, sure! Dairy-free spread as I reference it is a butter substitute, alternatively called polyunsaturated margarine. The quality of margarine varies so much which is why I reference particular brands that I have found are the highest quality, however it will depend on what is available to you. As a general rule I would look for something that doesn’t contain dairy, often labeled as vegan, and is a spreadable butter substitute.
Generally if you are not dairy-free, you will be able to substitute butter in my recipes, however as I am allergic to dairy I have never tested the recipe with real butter so I cannot guarantee the exact results. Hope this helps!
Adrianne says
This is such a beautiful looking cake! The care and attention that has been paid to your photography really shows as well Sally. Love it x
Sally says
Thanks so much! 🙂
Alexandra @ It's Not Complicated Recipes says
I love the idea of using coconut milk! What a delicious cake this is! So beautiful to look at also!
Sally says
Thanks so much!
Sylvie says
Lemon cakes are my absolute favourite, especially for summer! The texture of that cake looks soooo perfect and delicious, and I love that this cake is also dairy-free, which makes it accessible to many people!
Sally says
Mine too Sylvie! The best bit is that those who are not dairy-free will never know the difference!