
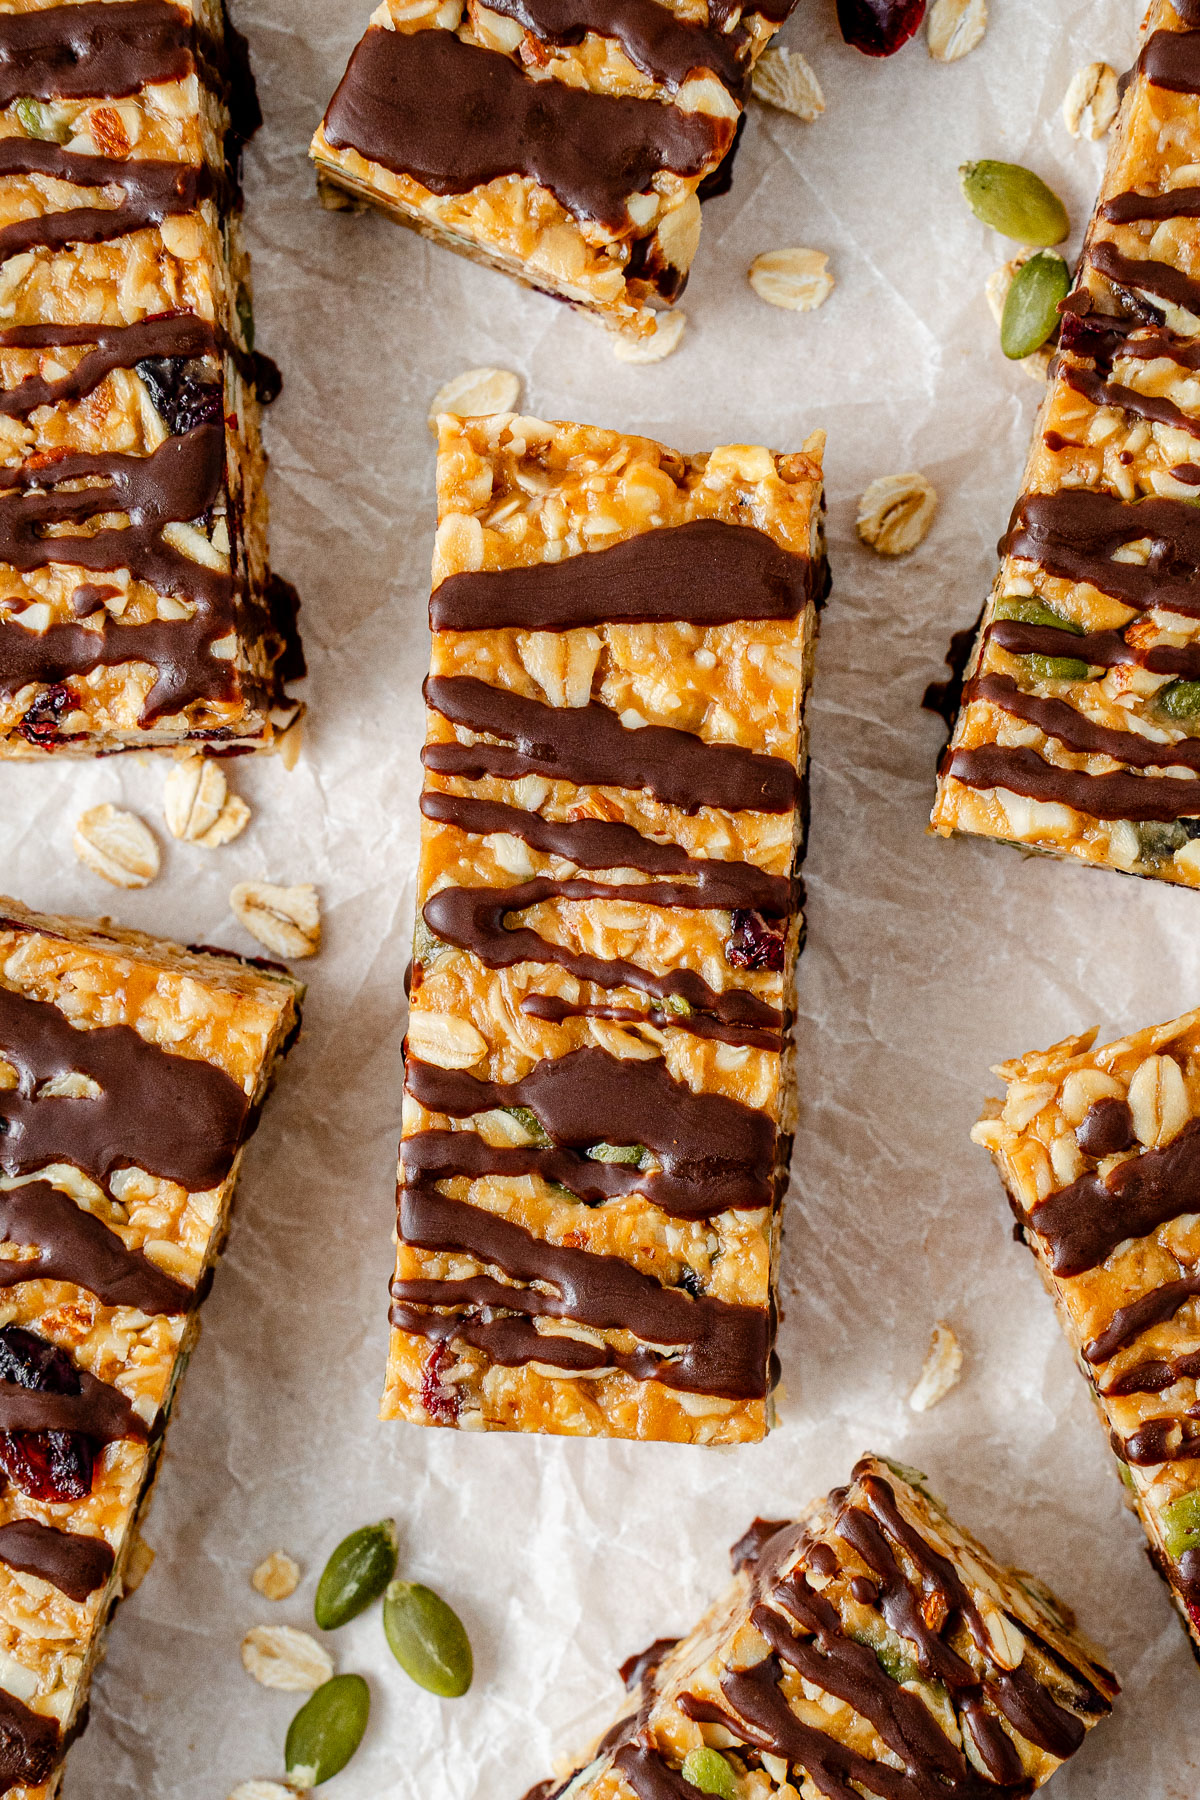
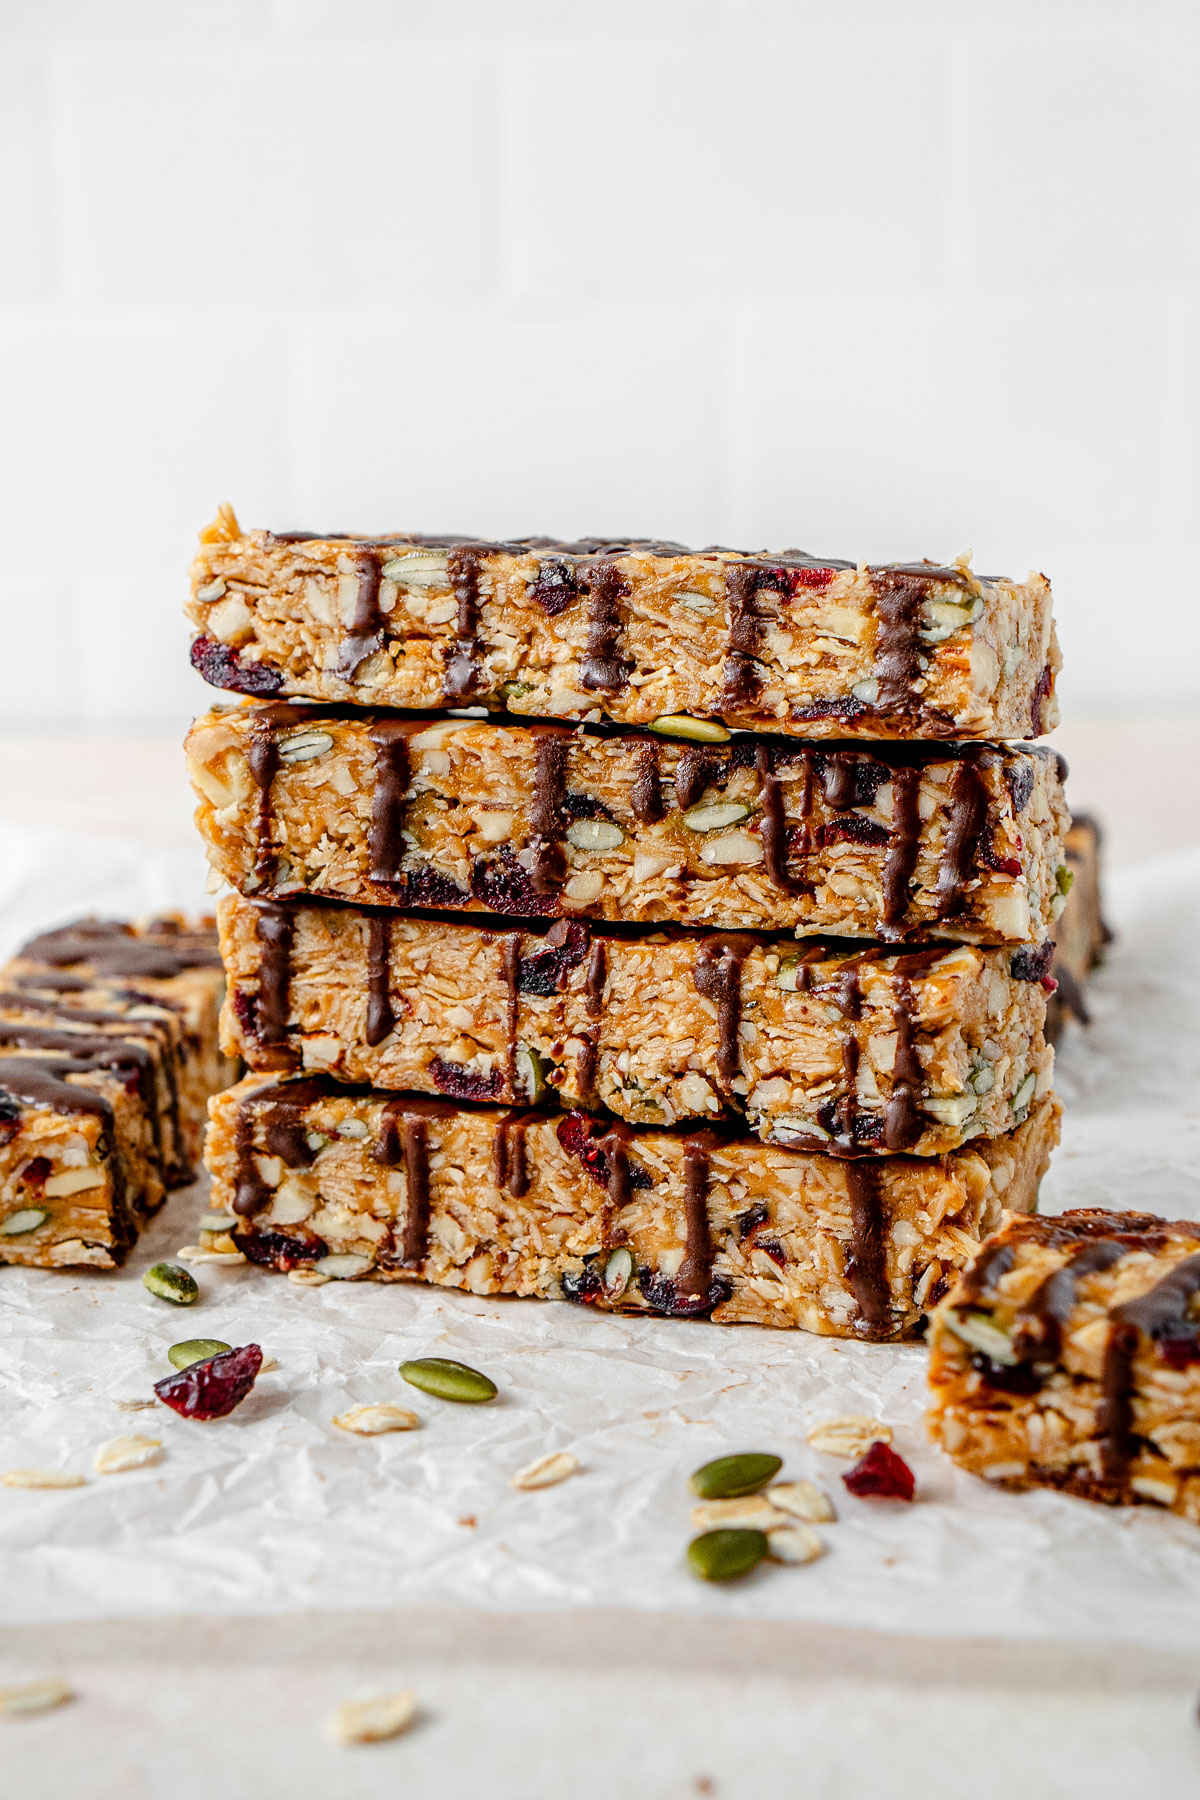
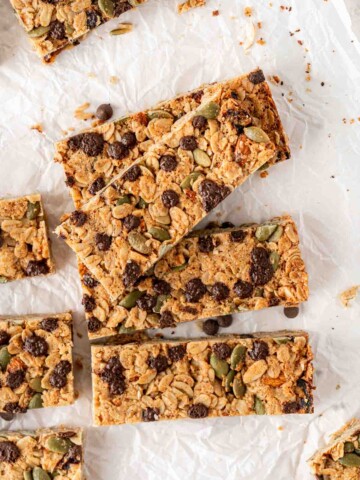
These easy no bake peanut butter muesli bars are thick, chewy and packed with good for you ingredients that will keep you full until your next meal. They’re full of peanut butter flavour, a little bit sweet (but not overly), and so good you won’t want to buy store bought again.
⭐⭐⭐⭐⭐ my family absolutely love these! made with craisins and without (added walnuts and sunflower seeds instead) to suit everyone and both winners! – susan
I love the convenience of a muesli bar, but I’m always a bit put off by the ingredient list on the ones from the shelf. Once I rule out the ones with ingredients I don’t understand, and the ones with dairy through chocolate or yoghurt, there isn’t much left to choose from, and what’s left is usually lacking in flavour.
If I do need to grab a store bought bar, I will choose Clif Bars. They’re thick and chewy and full of good ingredients that actually keep me full, and I love having a stash when I travel so I don’t get hangry when there’s nothing around I can eat. My favourite flavour is, of course, peanut butter.
And while I didn’t set out to recreate them, these muesli bars are very similar with that thick, chewy texture and rich peanut butter flavour. To me, this is exactly what a muesli bar should be.
Once you’ve made muesli bars at home, nothing from the supermarket tastes the same. And once your pantry is stocked with your favourite nuts and seeds, they’re a really easy thing to whip up on a Sunday for the week ahead.
Muesli vs Granola
Muesli bars are often also called granola bars, but there is a difference. Muesli is a mix of oats, nuts, seeds and fruit served raw, while granola has similar ingredients but the mixture is baked. If you’re looking for a baked version, try my homemade granola bars instead.
Key Ingredients
These peanut butter muesli bars are really forgiving, so you can play around with the specific add-ins as long as the ratios and the method stay the same.
Note all ingredients and their quantities are laid out in the recipe card at the bottom of this post.
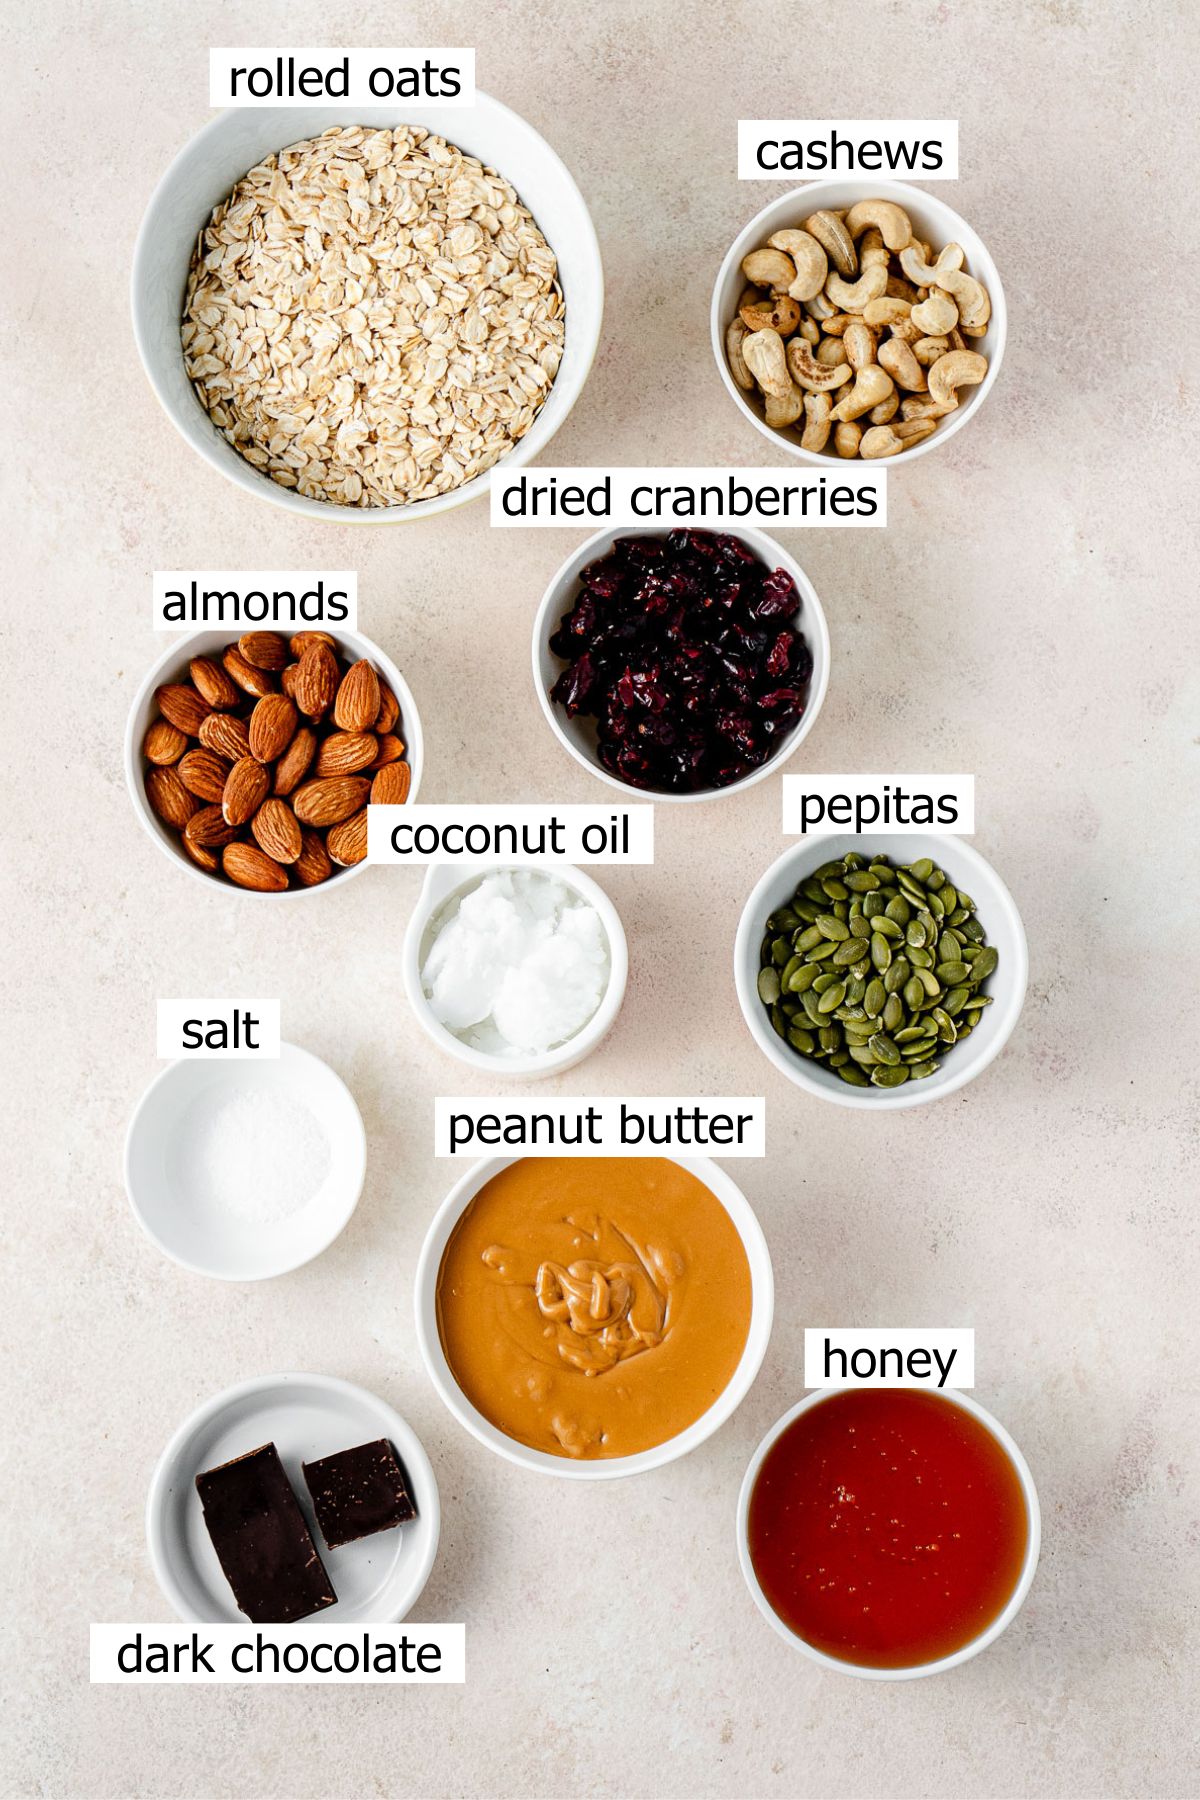
- Almonds and cashews – the nutty base of the bars. I use a mix of raw almonds and cashews, but any nuts you have or prefer will work.
- Rolled oats – for that classic chew. Quick oats work too, the texture will just be a little less chewy.
- Dried cranberries – also sold as craisins. They add a subtle sweetness that adds a really nice contrast to the salty peanut butter. You can swap them for other dried fruit or leave them out.
- Pepitas – also known as pumpkin seeds, for crunch. Sunflower seeds or extra nuts work just as well.
- Salt – for that salty sweet combo I love. Reduce it or leave it out if you prefer your bars sweeter.
- Honey – my sweetener of choice with peanut butter. You can use maple syrup if you prefer to keep them vegan.
- Peanut butter – use your favourite. I use a good quality natural peanut butter without additives but any jar of PB is going to work here.
- Coconut oil – this is what holds everything together once chilled, so I don’t recommend skipping it and I haven’t tested any alternatives.
- Dark chocolate – for an optional drizzle on top. Use a 70% dairy free dark chocolate, or skip and stir some dairy free chocolate chips through the mix instead.
You’ll Also Love: Easy No-Bake Lamington Bars
Step-By-Step Instructions
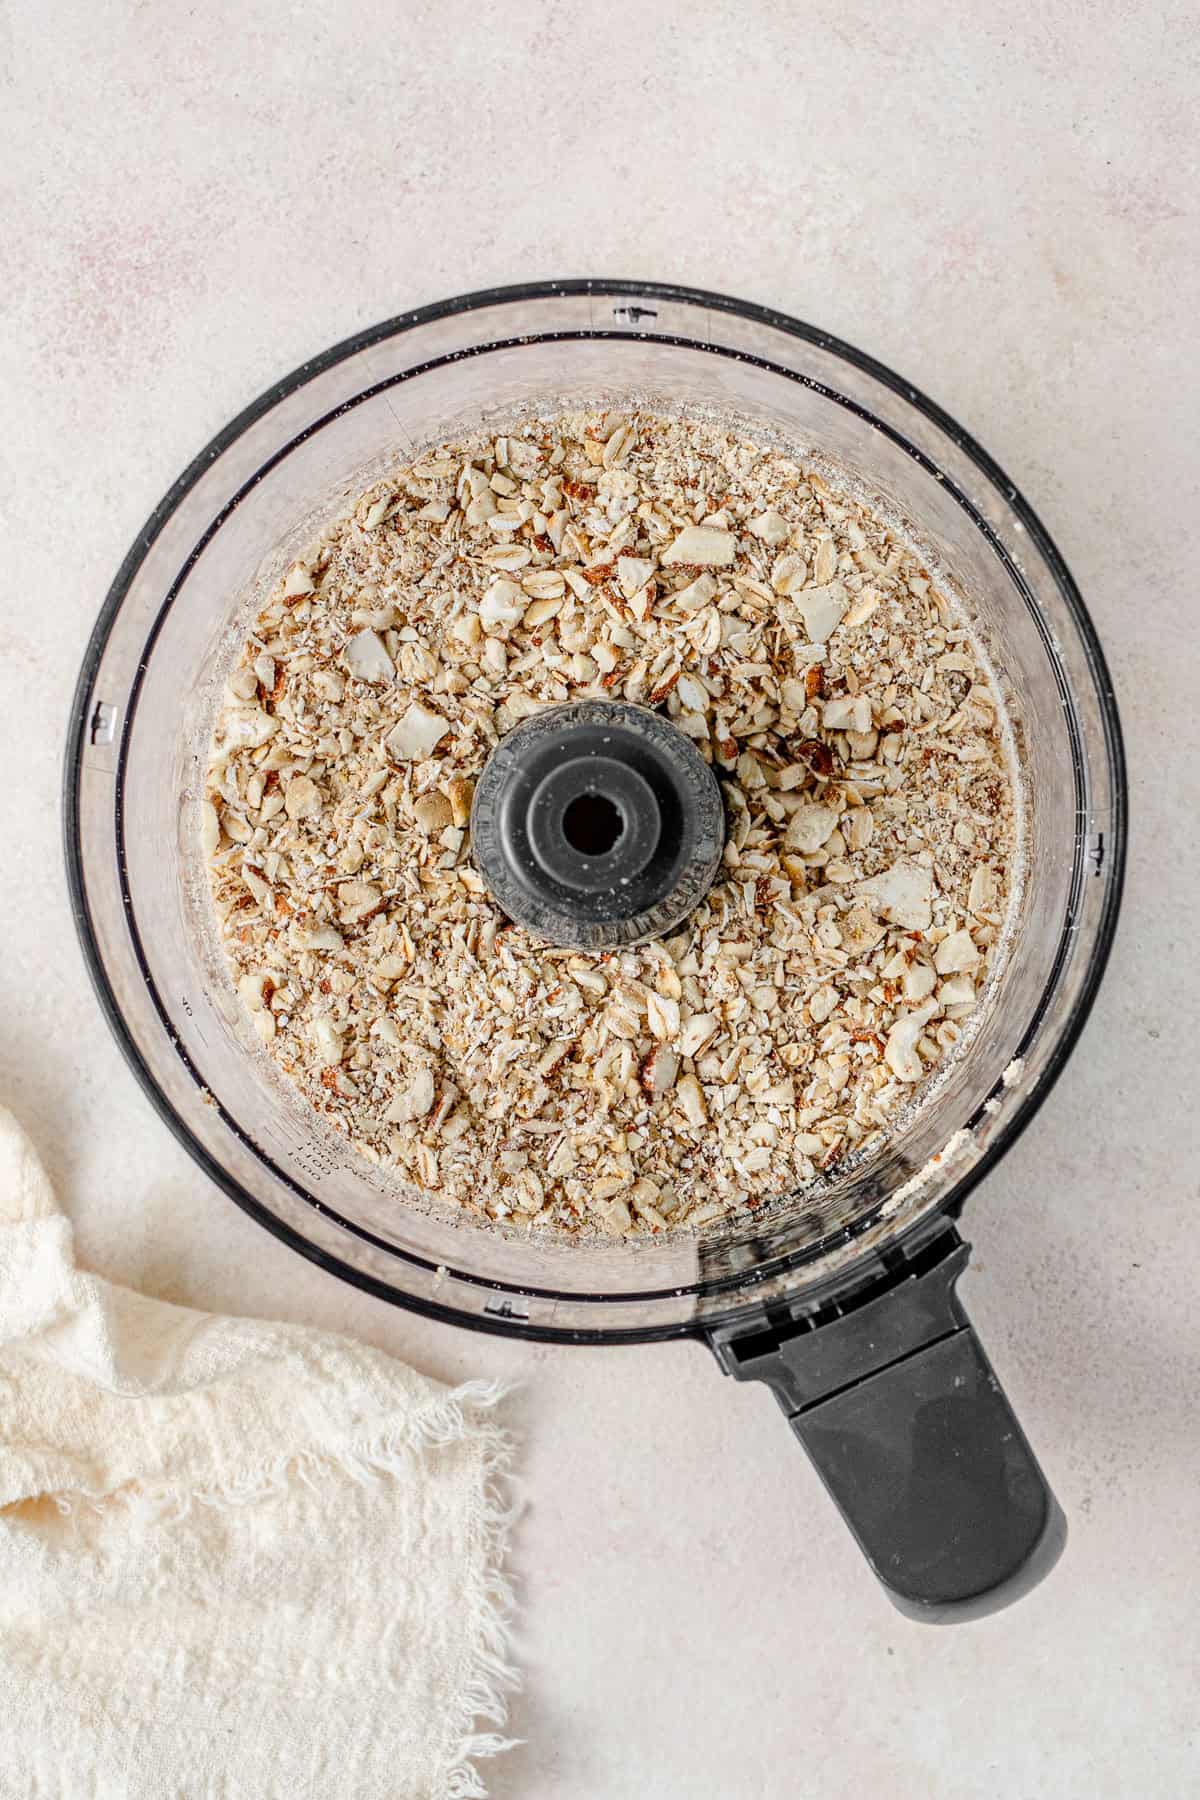
Step 1: Add the almonds, cashews and ½ cup of the oats to a food processor and pulse until lightly chopped. You want small pieces rather than a fine crumb, as this base is what helps the bars hold together.
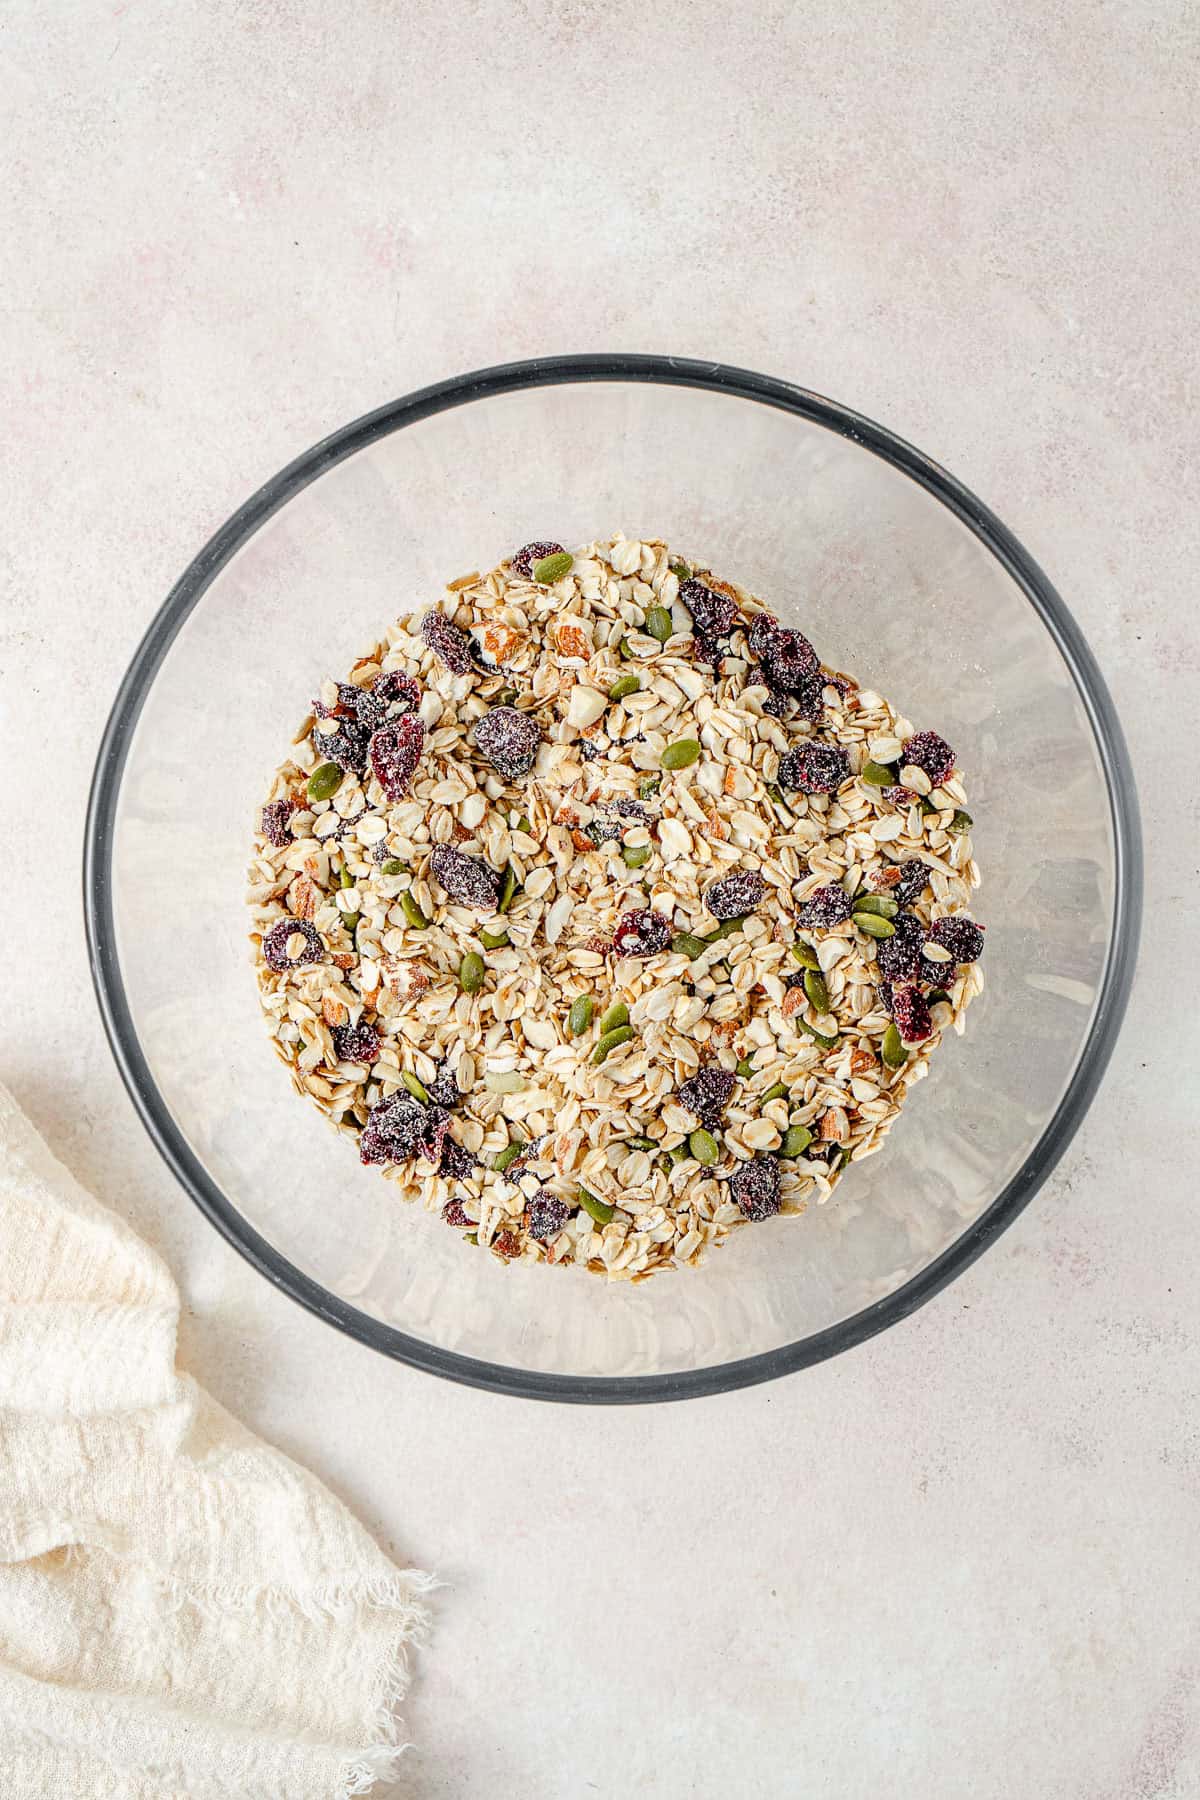
Step 2: Tip the chopped mixture into a large bowl with the remaining 1 cup of oats, the pepitas, cranberries and salt. Stir to combine.

Step 3: In a small saucepan over medium heat, or in the microwave in 20 second bursts, melt the peanut butter, honey and 2 tablespoons of coconut oil until smooth and creamy.
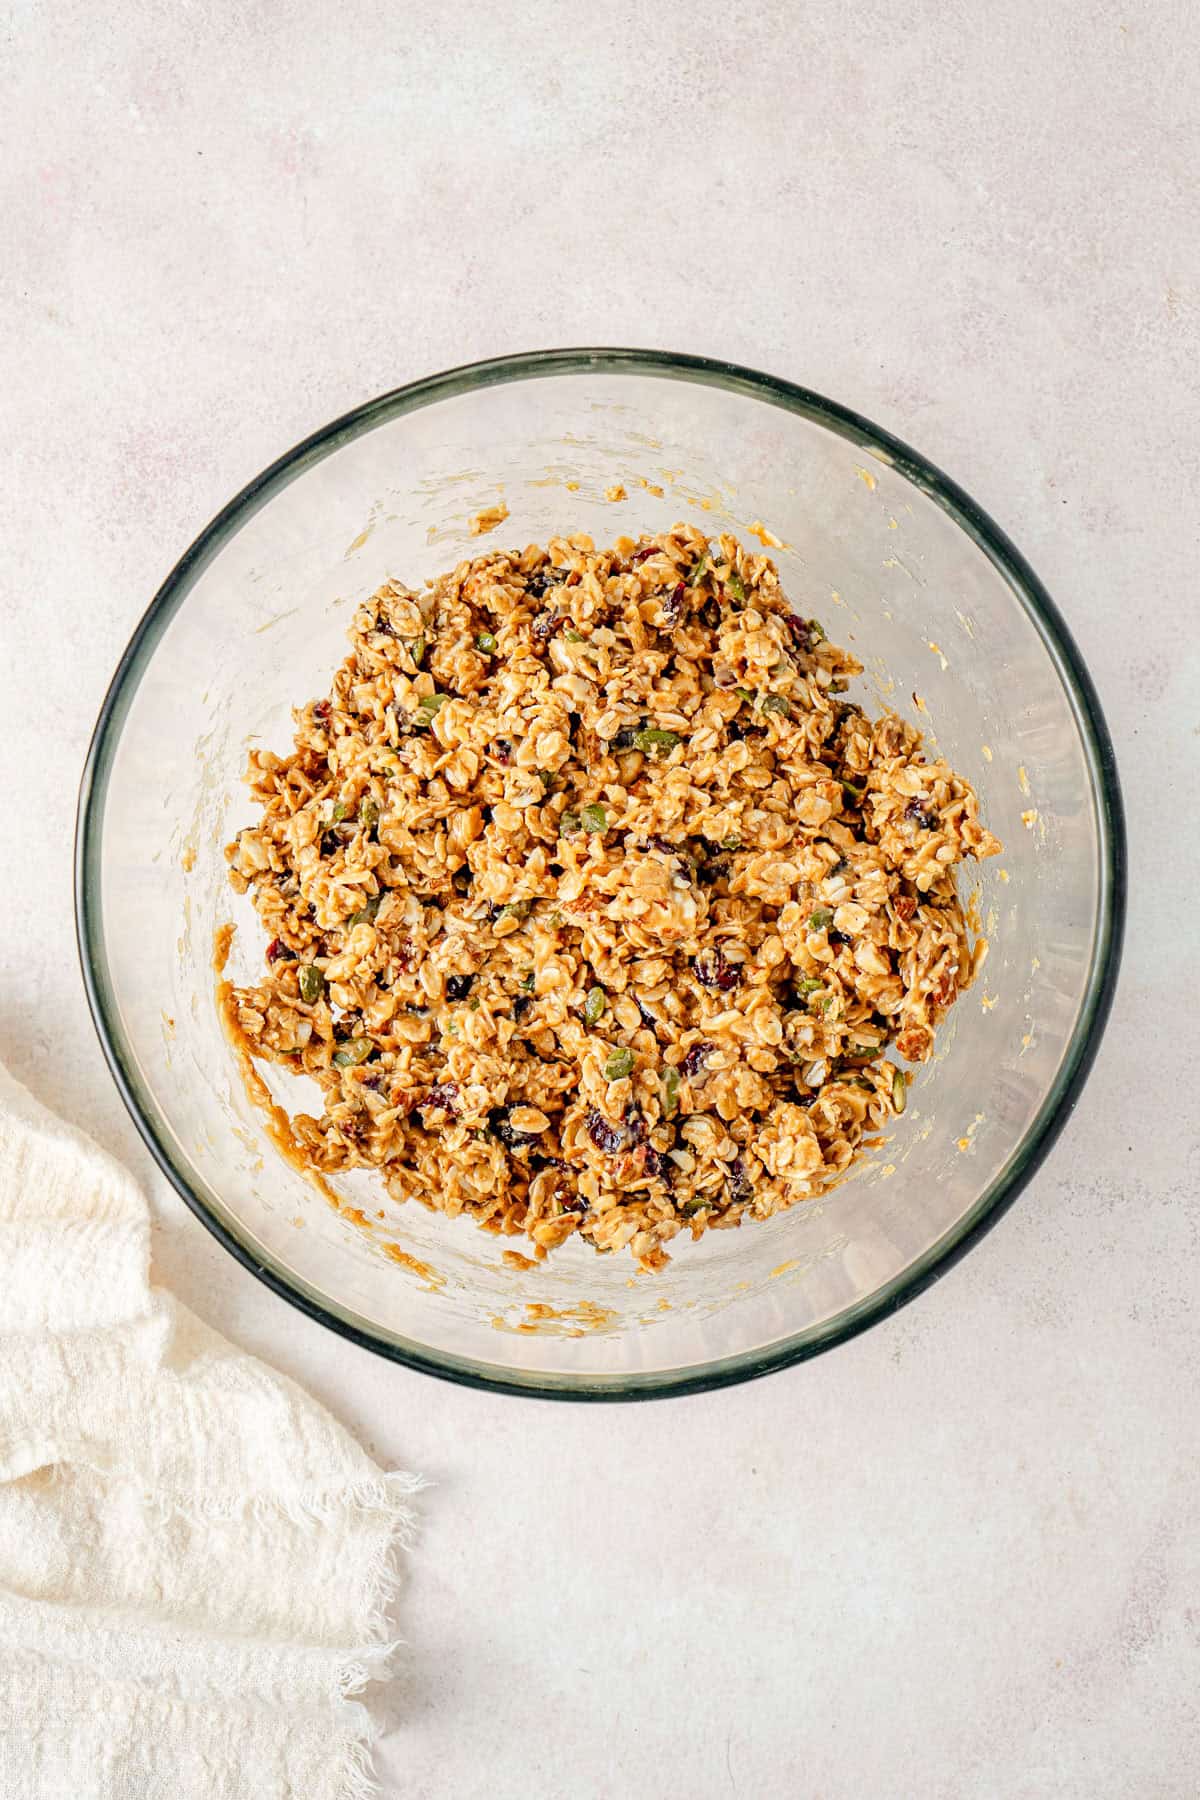
Step 4: Pour the melted mixture over the dry ingredients and stir until everything is well combined. The mixture will be quite sticky.
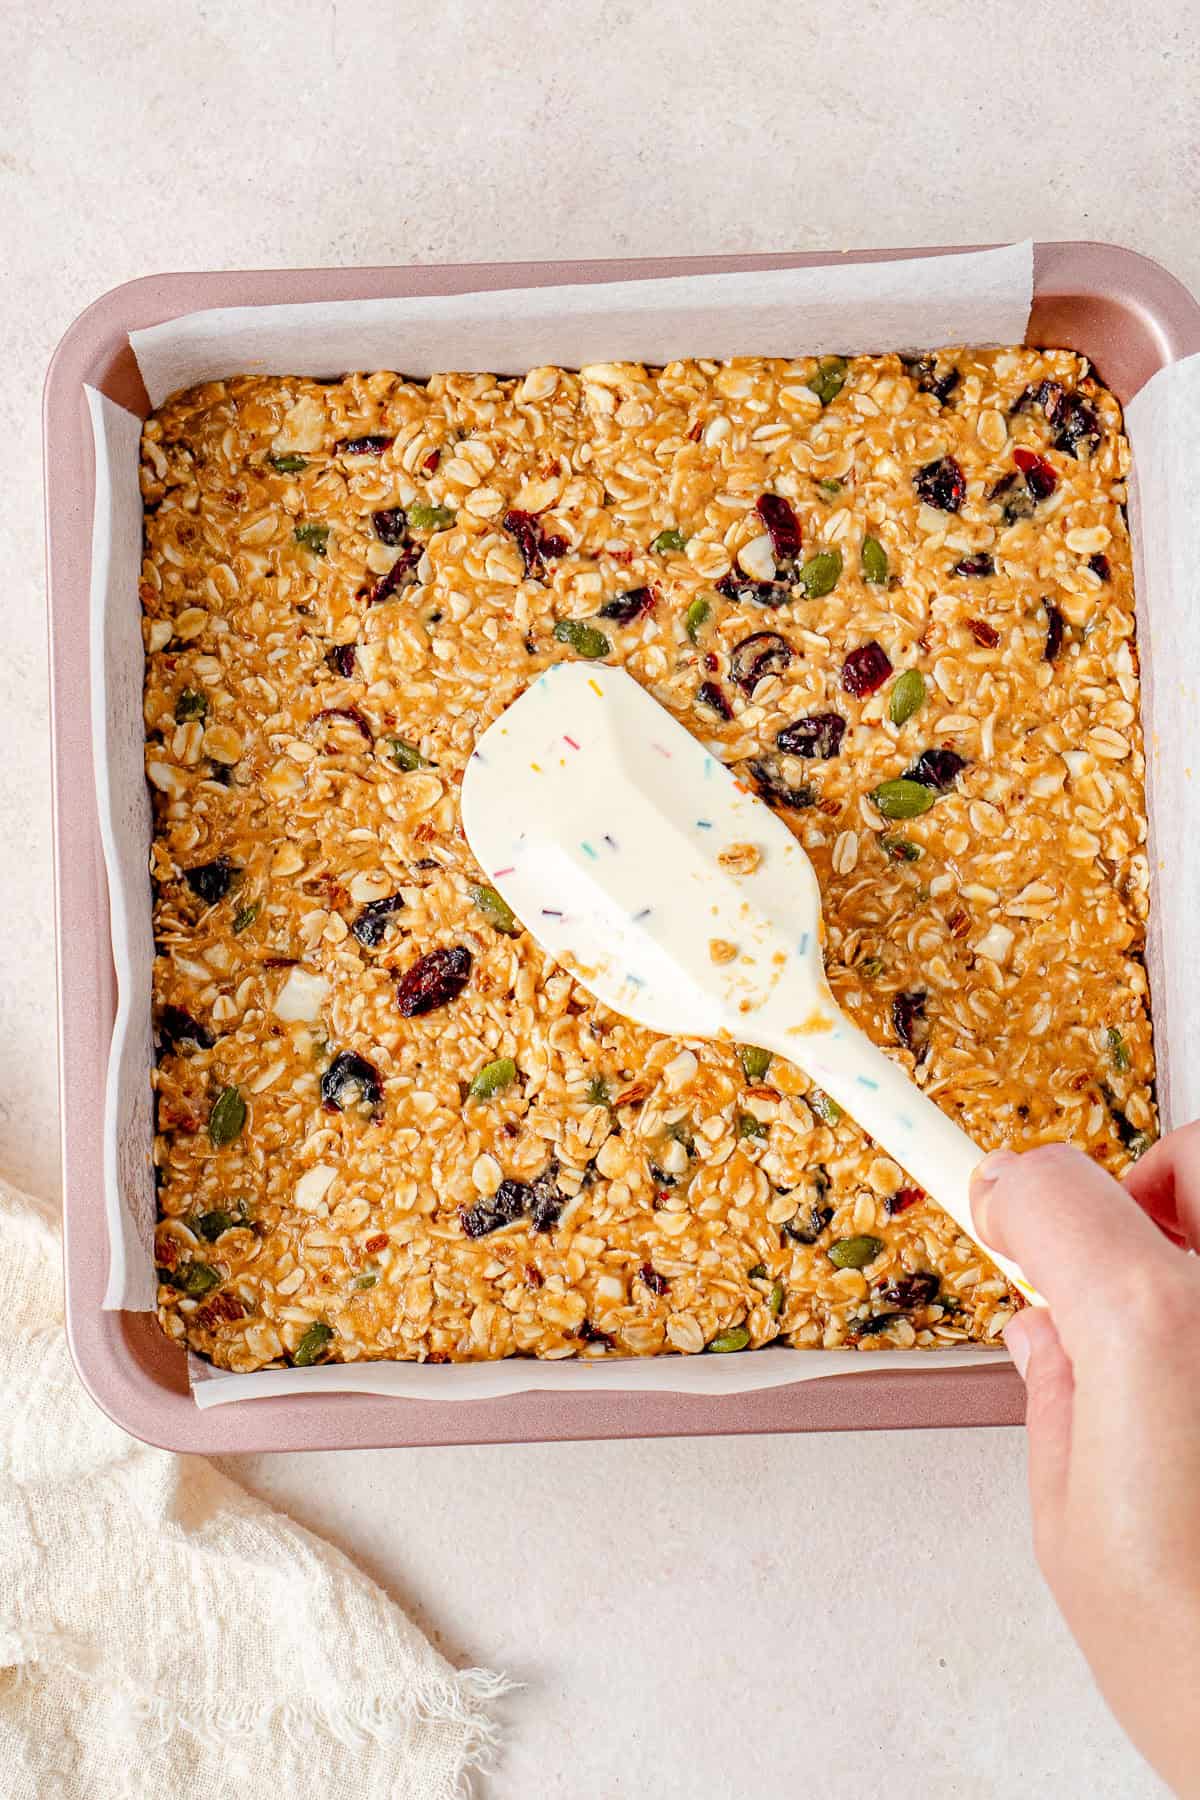
Step 5: Press the mixture firmly into a baking paper lined 8 inch square pan with the back of a spatula. The firmer you press, the better the bars hold together. Pop it in the fridge for at least 1 hour to set.
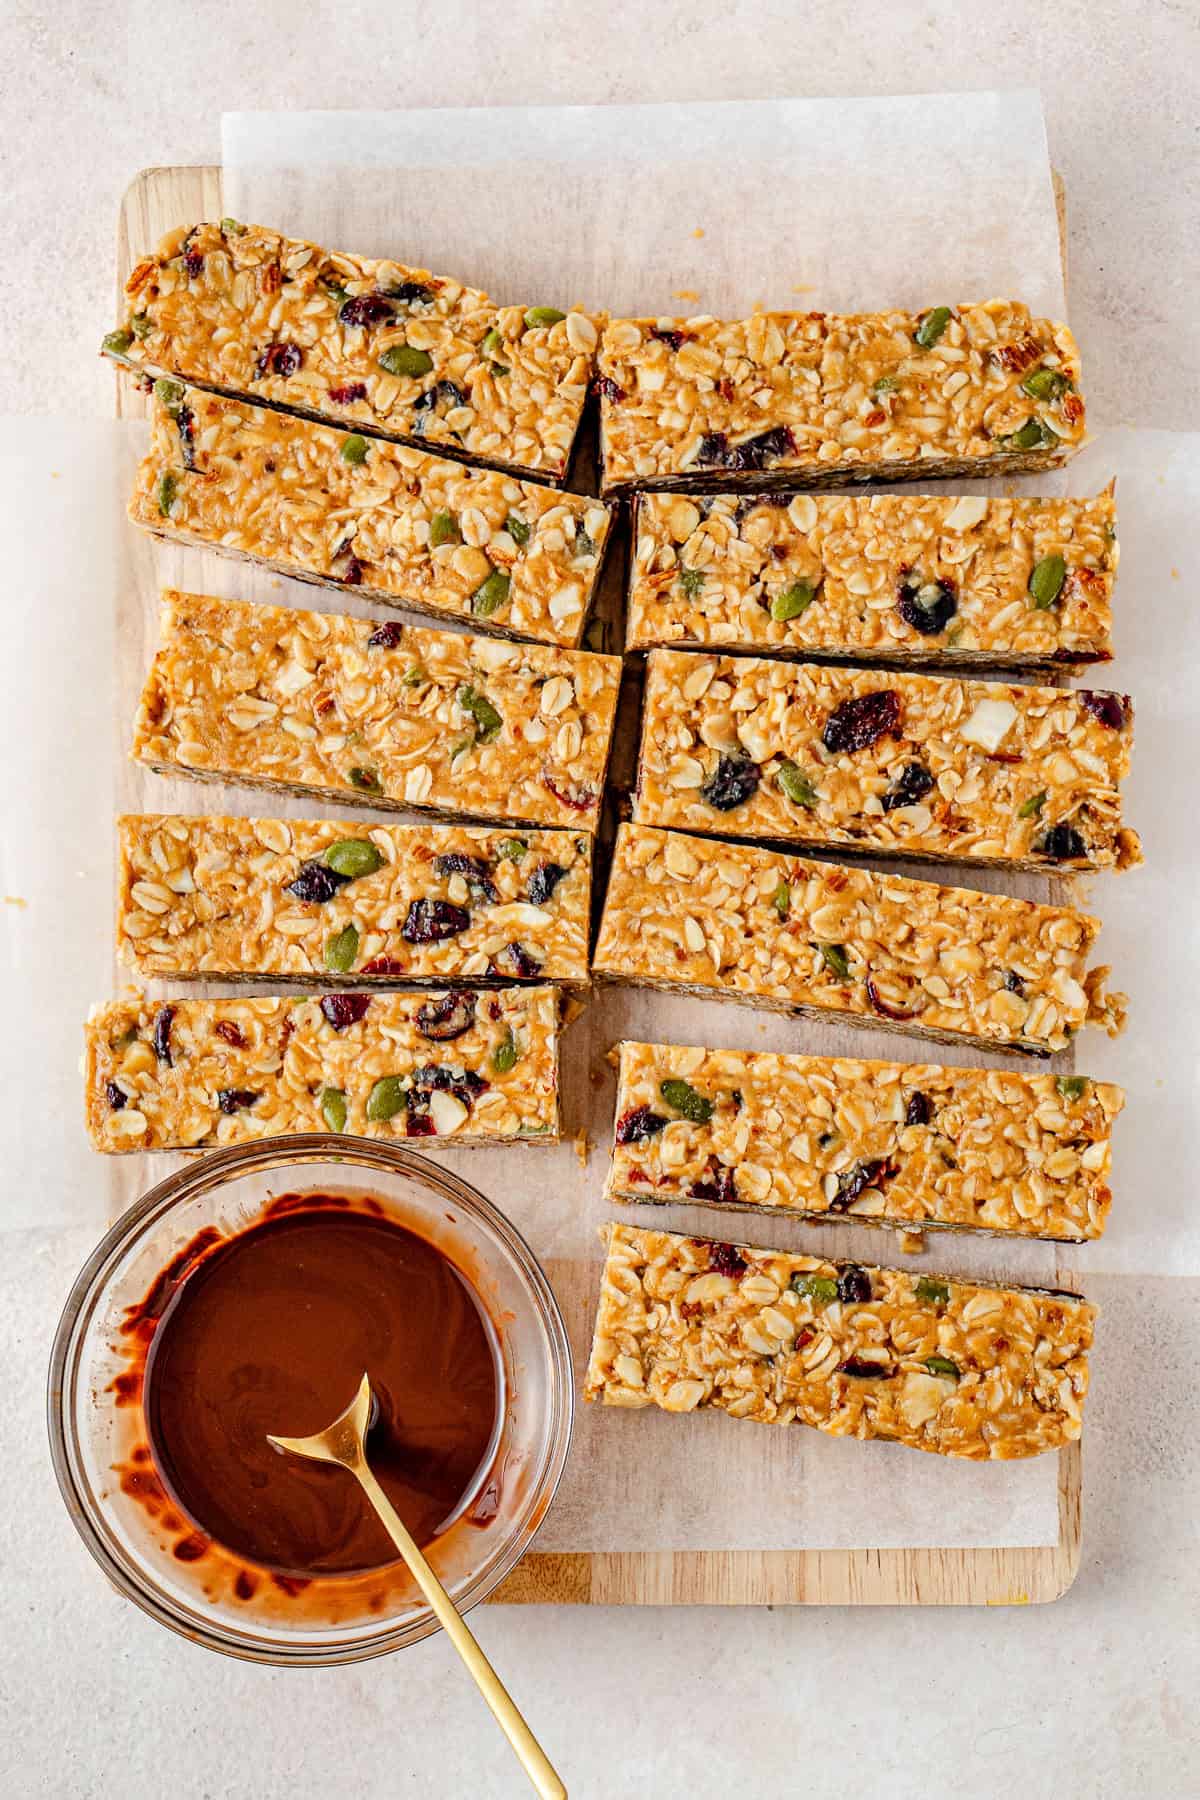
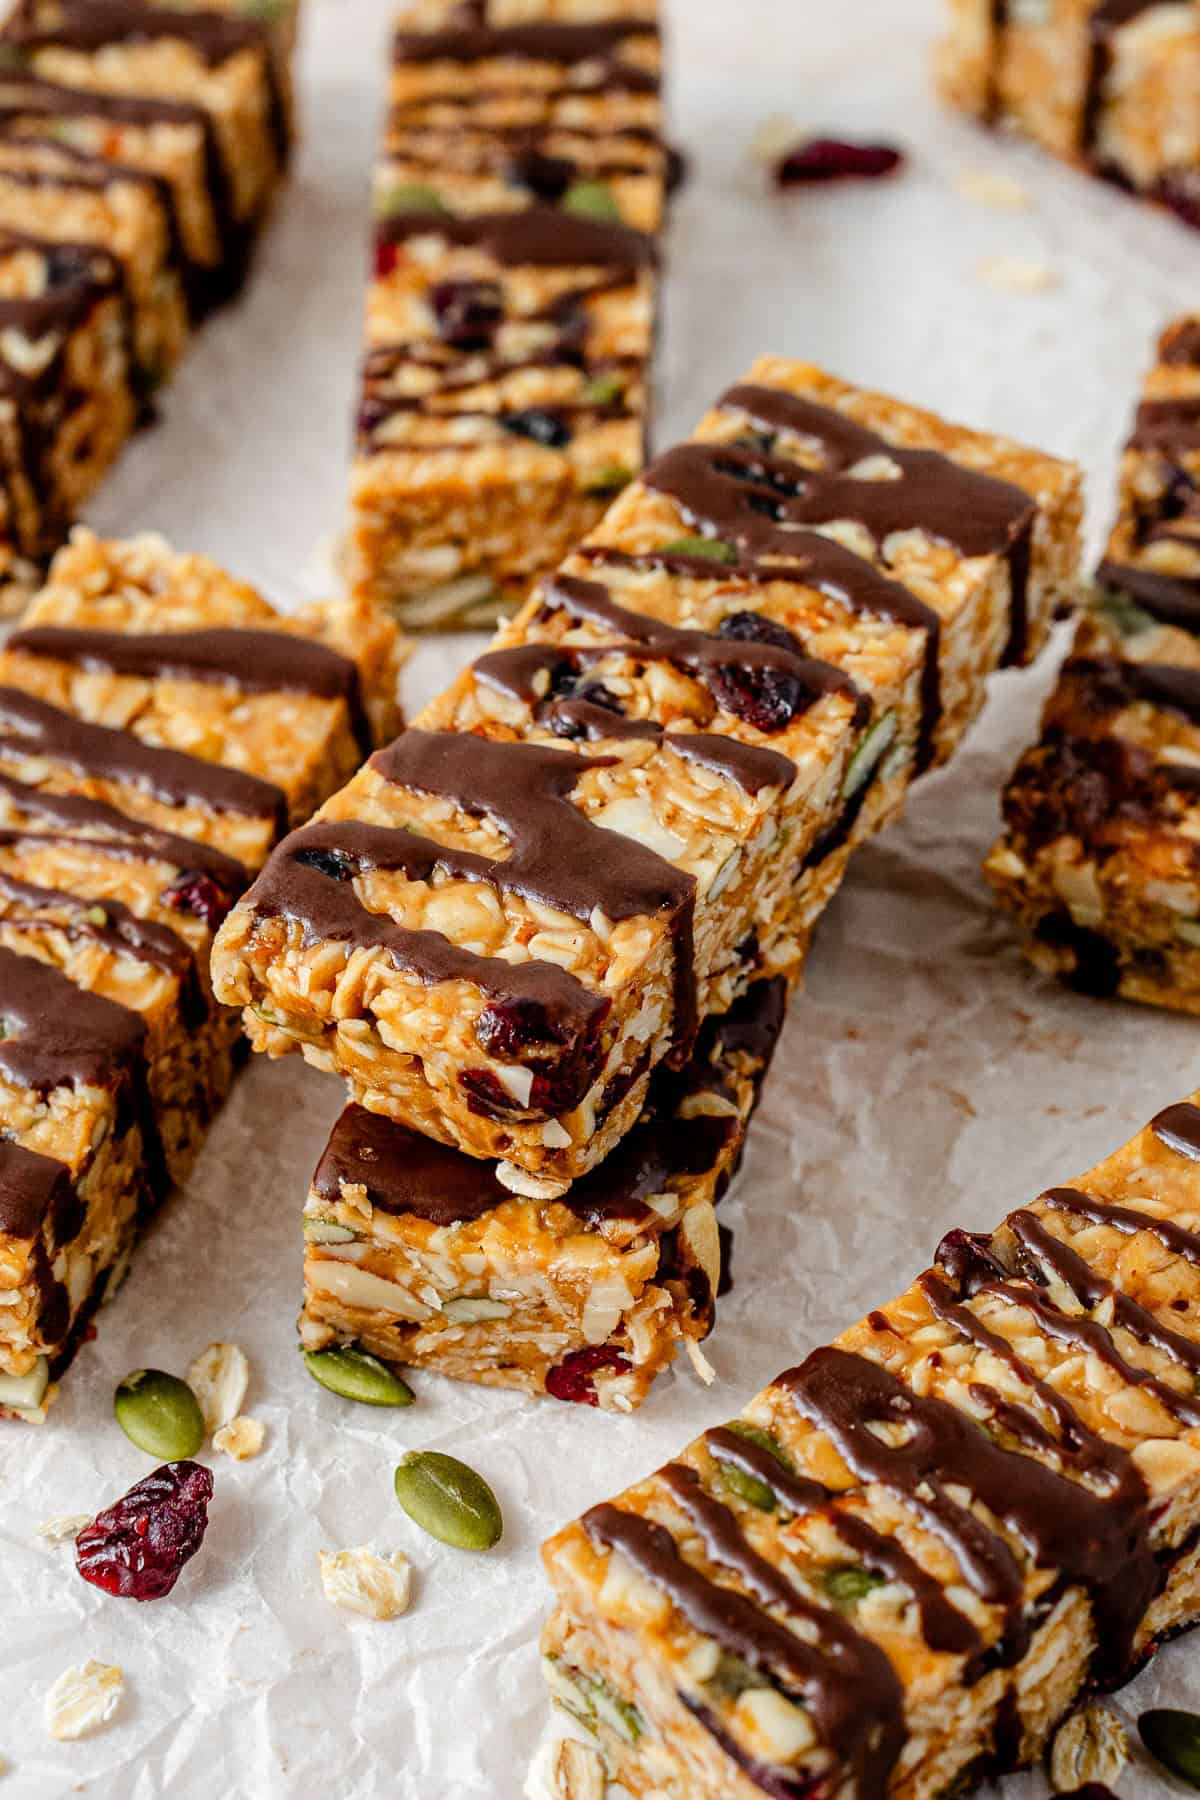
Step 6: Melt the dark chocolate with the extra teaspoon of coconut oil in the microwave in 30 second bursts until drizzly. Lift the slab out of the pan using the paper and cut it into bars.
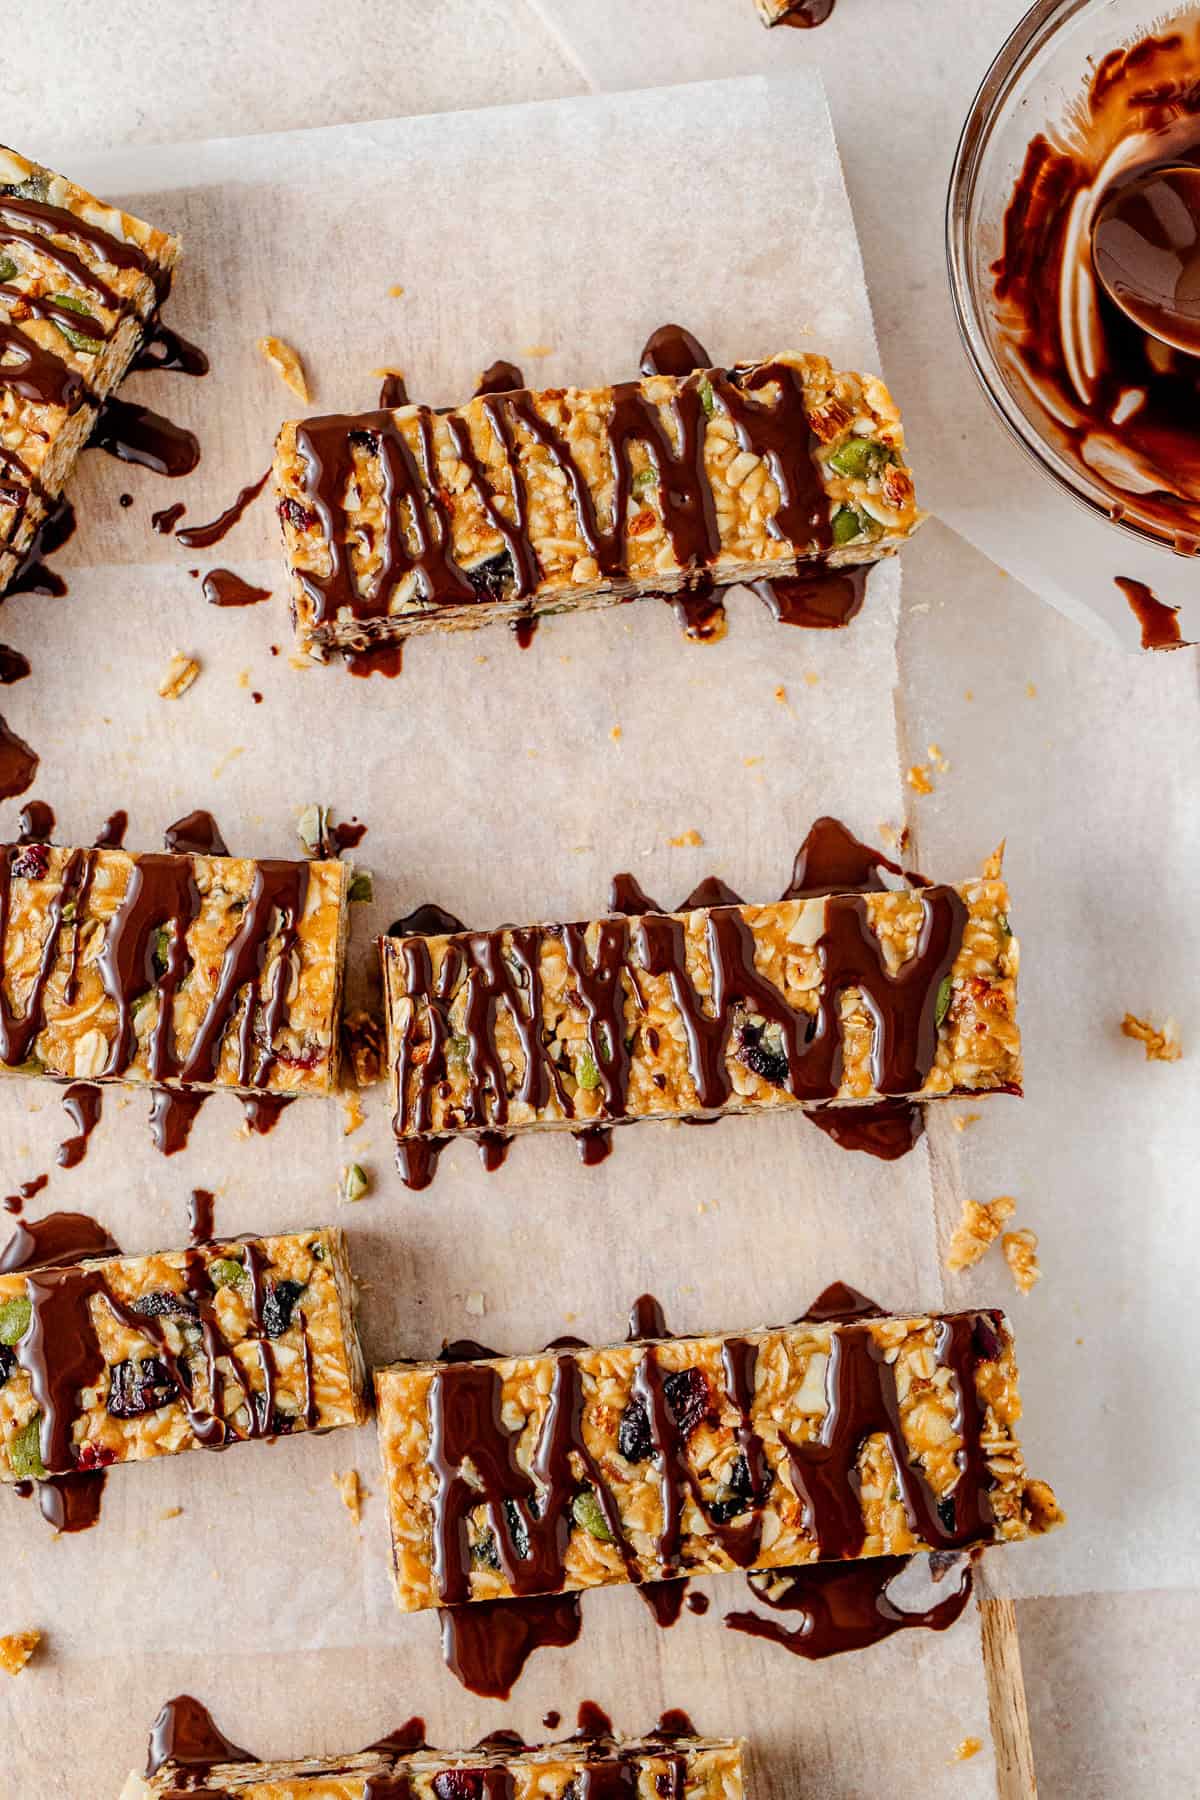
Step 5: Drizzle the melted chocolate over the bars.
Step 6: Let the chocolate set before storing.
👉 Tip! Make sure to really press the mixture into the pan as firmly as you can before it chills as this is what is going to prevent your bars from crumbling and falling apart.
Storage Instructions
If your kitchen is cool you can keep these in an airtight container on the bench, but if it gets warm they can soften, so I usually keep mine in the fridge. They’ll keep for up to 2 weeks.
Recipe FAQs
It’s the easiest way to chop the nuts and create the base that binds the bars. If you don’t have one, chop the nuts and the ½ cup of oats as finely as you can by hand.
Healthy means different things to different people. For me these are a great choice because they don’t contain any refined sugar and they’re full of oats, nuts and seeds that keep you full. They do still have natural sugar from the honey and fats from the peanut butter, so enjoy them as the satisfying snack they are.
Yes, they freeze really well. Store them in an airtight container with baking paper between the layers for up to 3 months, then thaw at room temperature when you want one.
If you do make this recipe, please be sure to leave a comment and ⭐⭐⭐⭐⭐ rating below! And tag any of your creations on Instagram with @eightforestlane as I would love to see.
More no bake snacks:
Chocolate Hazelnut Bliss Balls
Cherry Ripe Bliss Balls
3-Ingredient Peanut Butter Bliss Balls
Peanut Butter Stuffed Dates
No Bake Peanut Butter Muesli Bars
Equipment
Ingredients
- ½ cup almonds
- ½ cup cashews
- 1 ½ cups rolled oats divided
- ½ cup dried cranberries
- ¼ cup pepitas (pumpkin seeds)
- ½ teaspoon salt
- ½ cup honey
- ¾ cup peanut butter
- 2 tablespoons coconut oil
- 25 grams dark chocolate optional for drizzle
- 1 teaspoon coconut oil extra, optional for drizzle
Instructions
- Line the base and sides of an 20cm (8 inch) square baking pan with baking paper, leaving some overhanging so you can lift the bars out later.
- Add the almonds, cashews and ½ cup of the oats to a food processor and pulse until lightly chopped, into small pieces rather than a fine crumb.
- Tip into a large bowl with the remaining 1 cup of oats, the pepitas, cranberries and salt. Stir to combine.
- In a small saucepan over medium heat, or in the microwave in 20 second bursts, melt the peanut butter, honey and 2 tablespoons of coconut oil until smooth. Pour over the dry ingredients and mix until well combined. The mixture will be sticky.
- Press the mixture firmly into the prepared pan with the back of a spatula. Refrigerate for at least 1 hour, until set.
- Melt the dark chocolate with the extra 1 teaspoon of coconut oil in the microwave in 30 second bursts until drizzly. Lift the slab from the pan, slice into bars, drizzle with the chocolate and let it set before storing.
Notes
Nutrition
Nutritional information is provided as a guide only and is calculated using automated online tools, therefore we cannot guarantee the accuracy. We encourage you to make your own calculations based on the actual ingredients used in your recipe.


Cheryl Brown says
I’ve been making these for about 6 months. We’ve always kept boxes of breakfast/protein bars for quick breakfasts. Since I’ve been making these, the store bought bars are not nearly as good as I used to think they are! Whenever I give some of these to friends, they love them too! I vary the nuts based on what I have-sometimes use mixed nuts, pecans or cashews. Love adding the roasted pepitas. They give a nice crunch. Thx for an easy and healthy recipe!
Susan says
My family absolutely love these! Made with craisins and without (added walnuts and sunflower seeds instead) to suit everyone and both winners!
Sally says
Thanks so much for sharing your variations! They sound so good and happy to hear the family loves them!
paula says
so good. made this for hubby minus chocolate topping. I added dried dates, mango, apricot and PASSIONFRUIT chia nibbles… a lot less expensive than I was expecting and a winner! thank you
Sally says
Your version sounds so delicious Paula! So glad you enjoyed them!
Jo Williams says
It was so easy to make and tasted absolutely delicious highly recommended
Sally says
Thanks Jo – glad you enjoyed them!