This recipe for scones with jam and cream are the buttery, flaky classic scones you know and love made dairy free. Topped with strawberry jam and whipped coconut cream these are the ultimate accompaniment for afternoon tea. Serve open-faced or as sandwiches, but always with jam first!
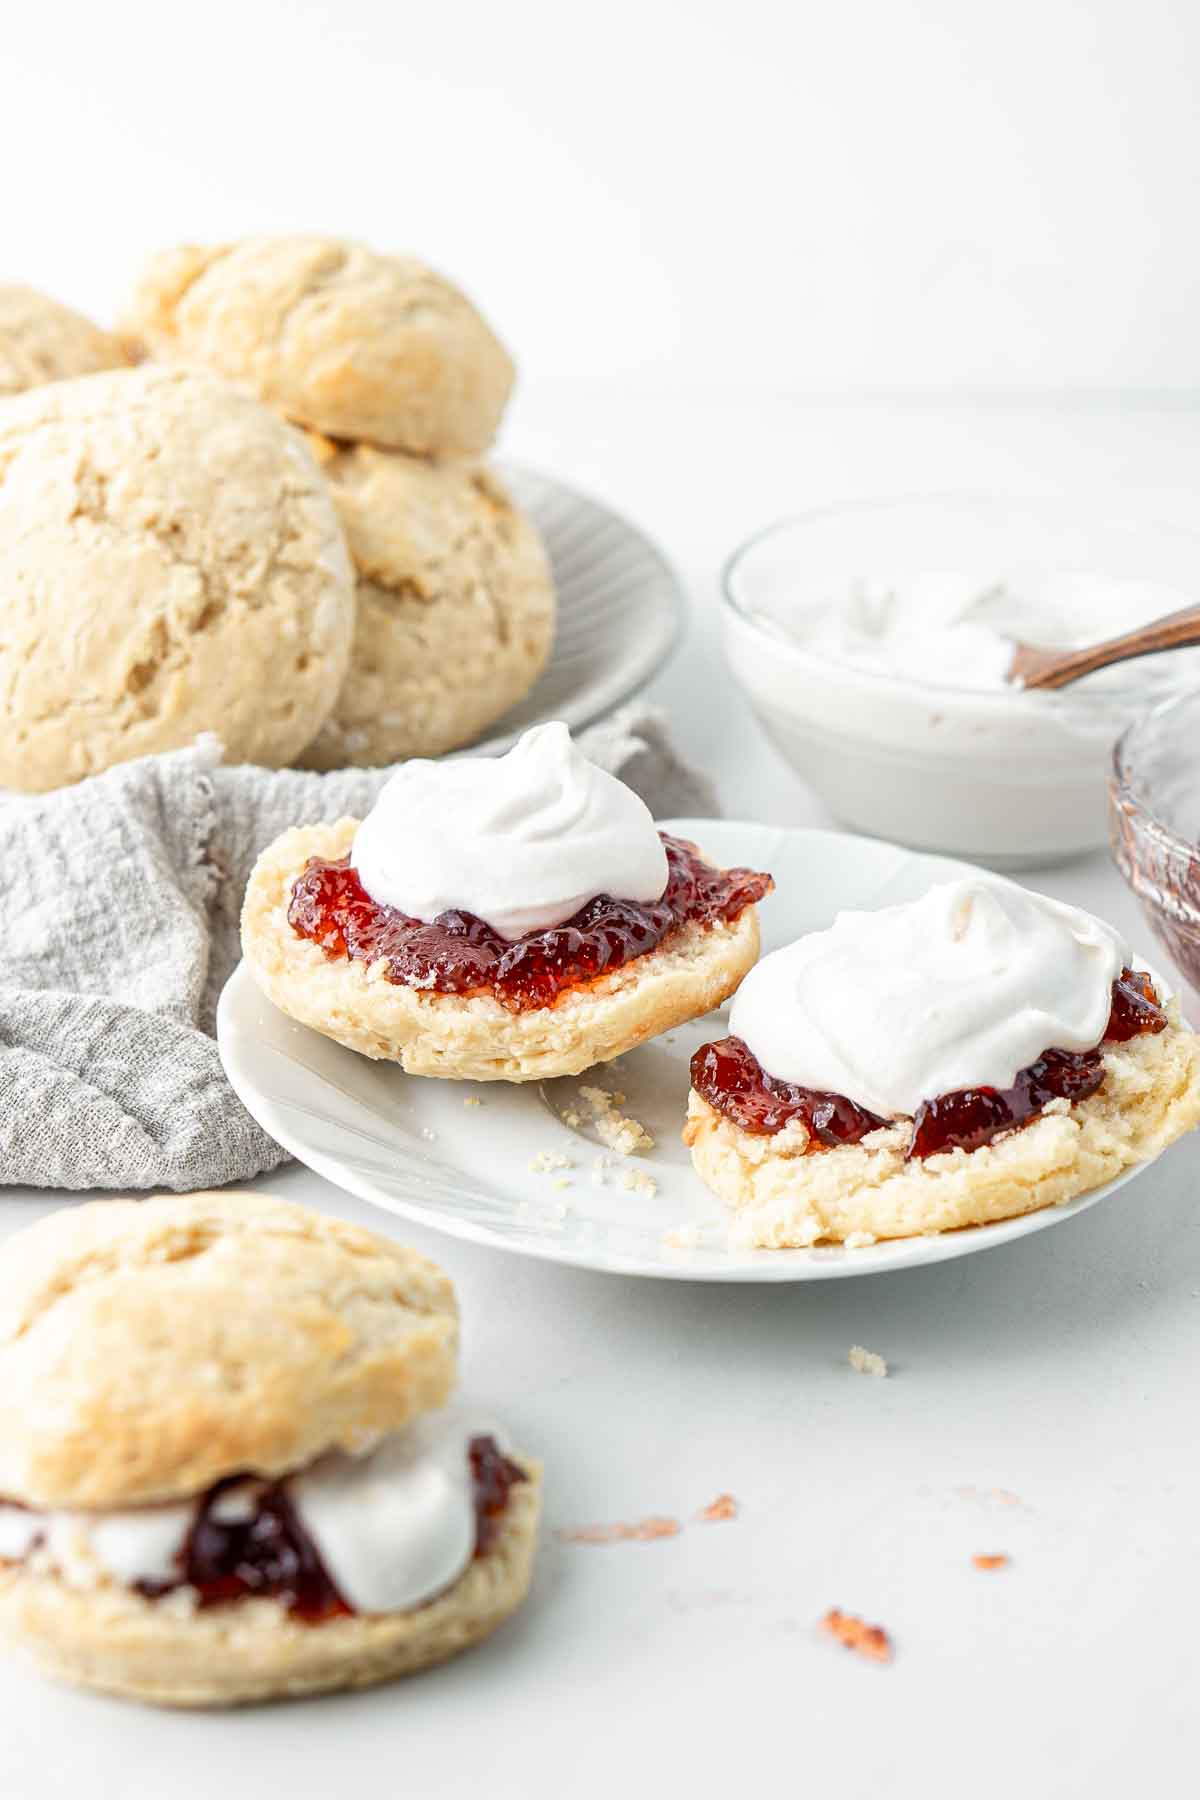
Scones with jam and cream are such a classic recipe that reminds me of home. They are a staple in country kitchens and are a nod to our English heritage. Growing up I don’t know of many community morning or afternoon teas that didn’t have scones next to the tea and coffee, and most of the time that was due to my mum.
Scones were something I learnt how to make with her as a kid helping out in the kitchen, but as I moved out of home and stopped eating dairy I didn’t eat a scone for many years. Knowing how important butter and cream play in the overall recipe I just wasn’t sure a dairy free alternative would be any good.
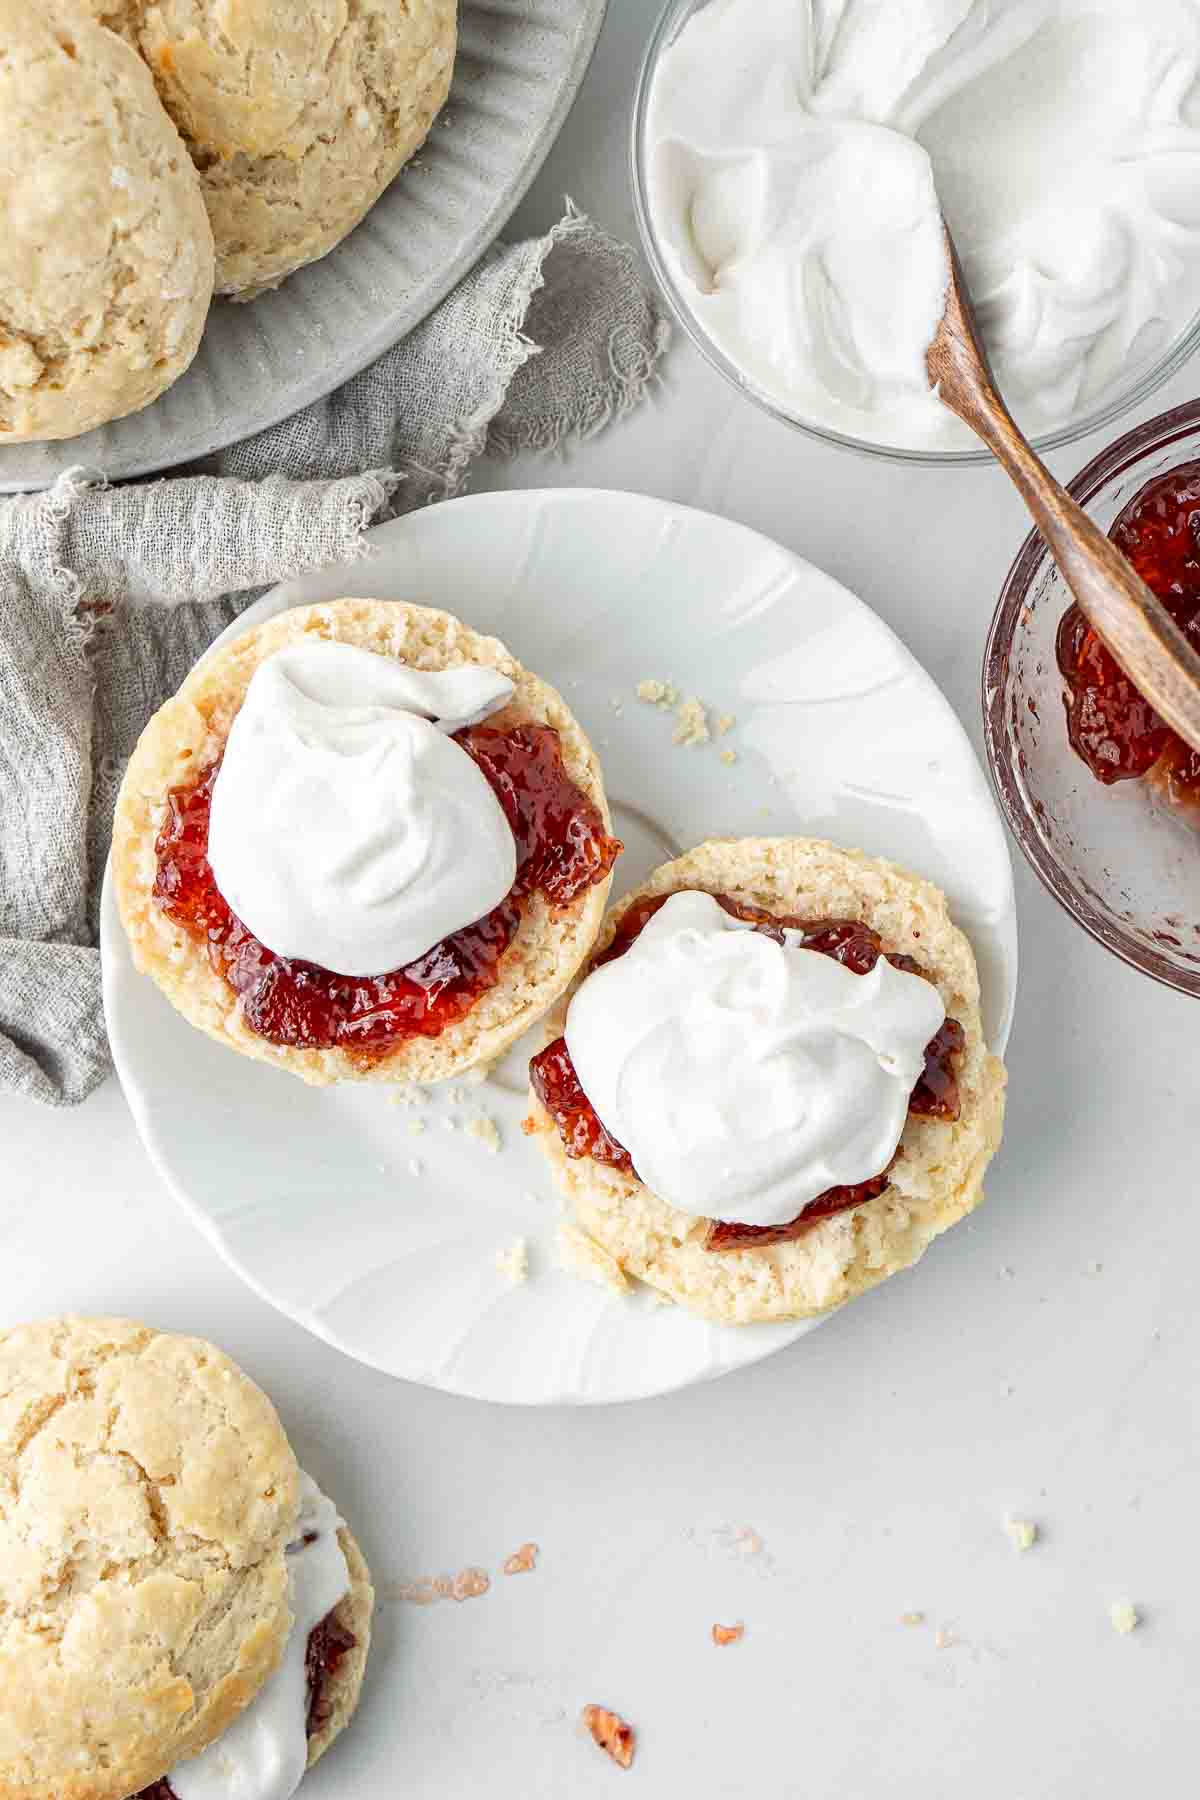
But when a recent high tea event with friends presented itself as a perfect opportunity to serve this classic treat, I realised it was about time I met the challenge and it turned out to be so much simpler than I expected. If you haven’t made scones before, don’t worry, this is the perfect beginner recipe.
So what about the debate around whether to put the jam or the cream on first? Well I do know that this argument is based on location, but where I am from it’s not even a question, the jam goes first.
But if you’re looking for logic in your answer, these scones are so delicious when served while still a little warm and if you go in with cream first, well it’s just going to melt off and make a mess. So jam first just makes sense!
Key Ingredients
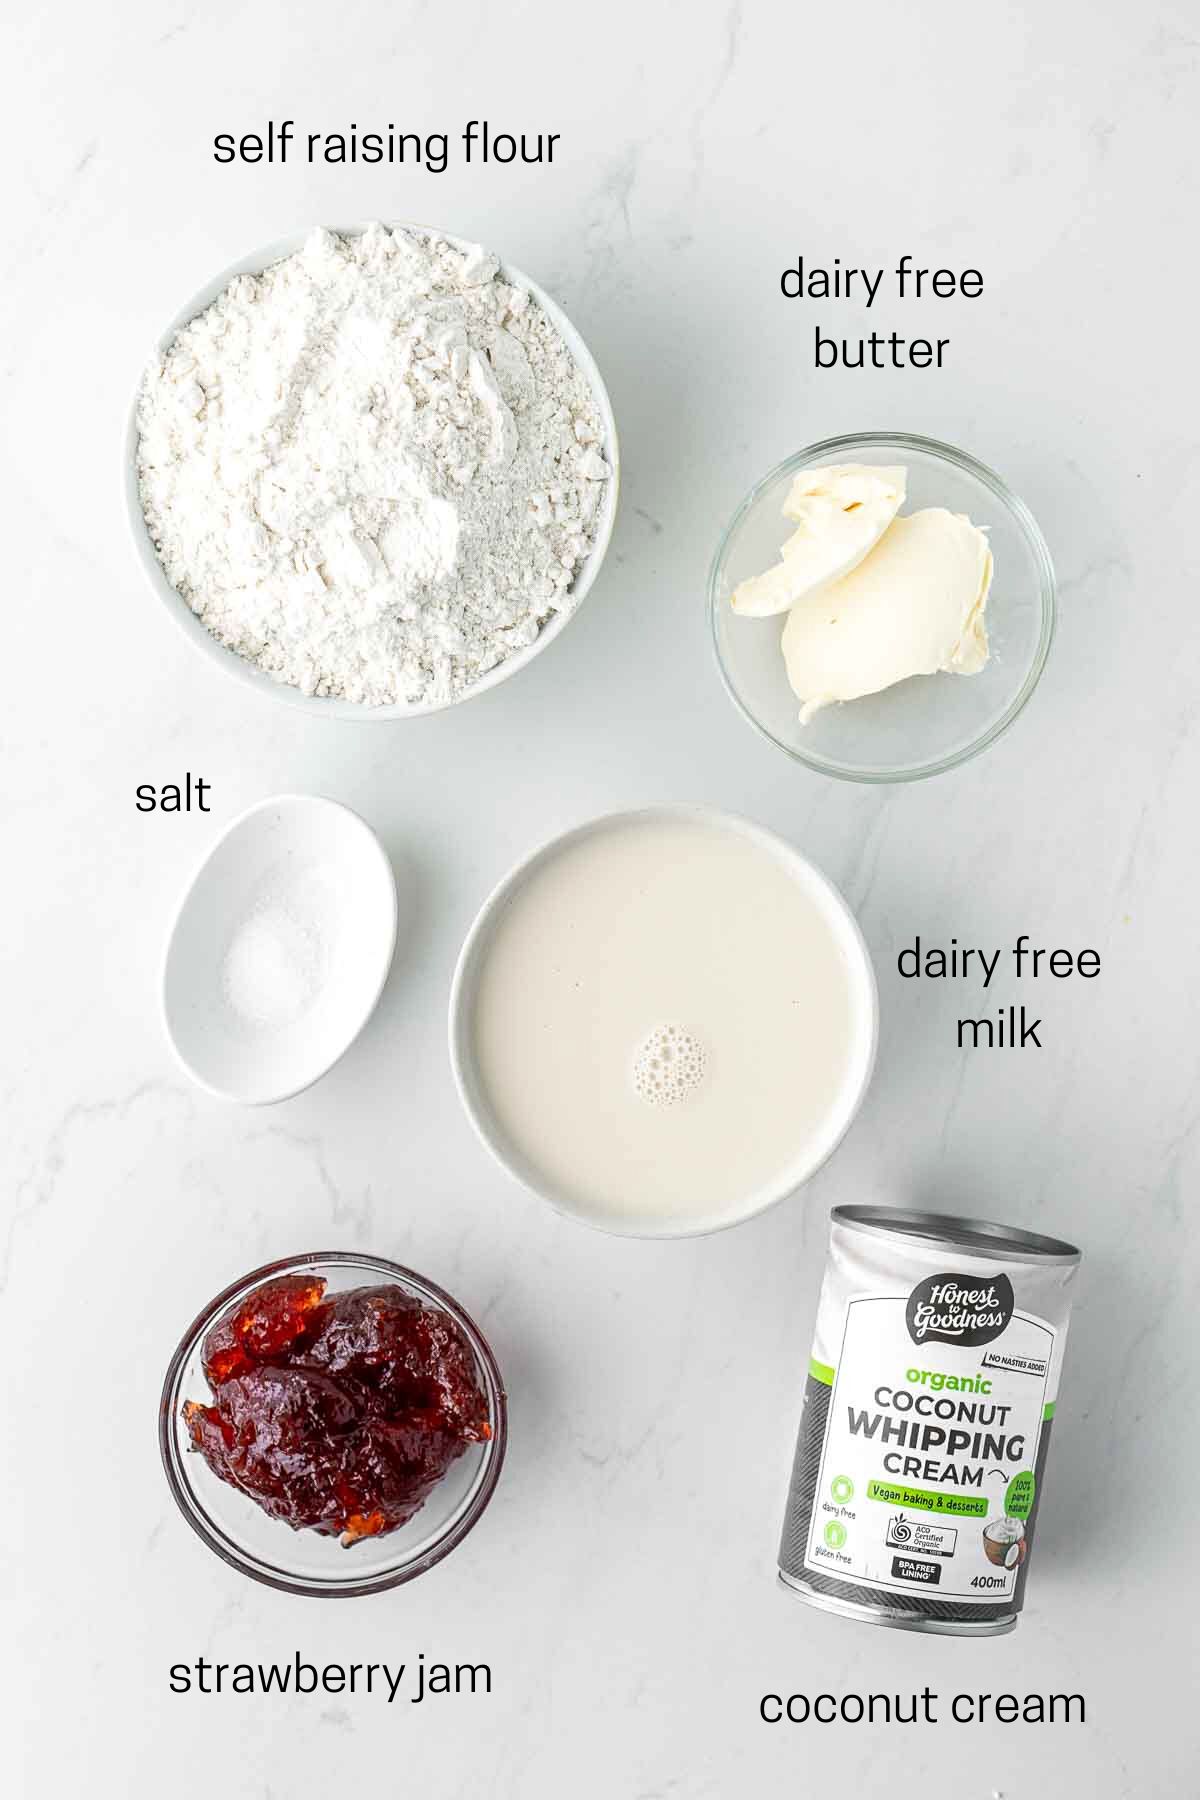
One of the things that make scones such a staple recipe in Australian kitchens is that they are so easy to make using common ingredients that most people will have easily available, possibly already in the pantry.
- Self raising flour – common in most kitchens in Australia and the UK, SRF already has a leavener added meaning your scones will rise. If you don’t have SRF you can make your own by combining all purpose flour / plain flour with baking powder.
- Dairy free butter – for best results you want a good quality butter alternative. I always use Nuttelex Buttery which is an Australian product but I believe the closest US alternative is Earth Balance.
- Plant-based milk – I like to use oat milk but you can also use almond milk or soy milk with similar results.
- Strawberry jam – you could probably use any jam you prefer but honestly I’ve only ever eaten scones with strawberry jam!
- Coconut cream – for best results I buy canned coconut cream specifically designed for whipping. The coconut cream for whipping is super thick and must be cold but makes the perfect light dairy-free alternative to whipped cream.

Step-By-Step Instructions
To make this recipe you’ll need a baking tray, a large mixing bowl, and a round cookie cutter or a glass. Start by preheating your oven to 180°C and line the baking tray with baking paper. This will ensure the scones don’t stick.
In a large mixing bowl, sift the self-raising flour and salt together. If you don’t have self-raising flour it is easy to make your own by adding 1 ½ teaspoons of baking powder per 1 cup of all-purpose flour.
Next, add the dairy-free butter, cold from the fridge, to the flour mixture. Using your fingertips, gently rub the butter into the flour until it resembles fine breadcrumbs. This will give the scones a delicate, flaky texture.
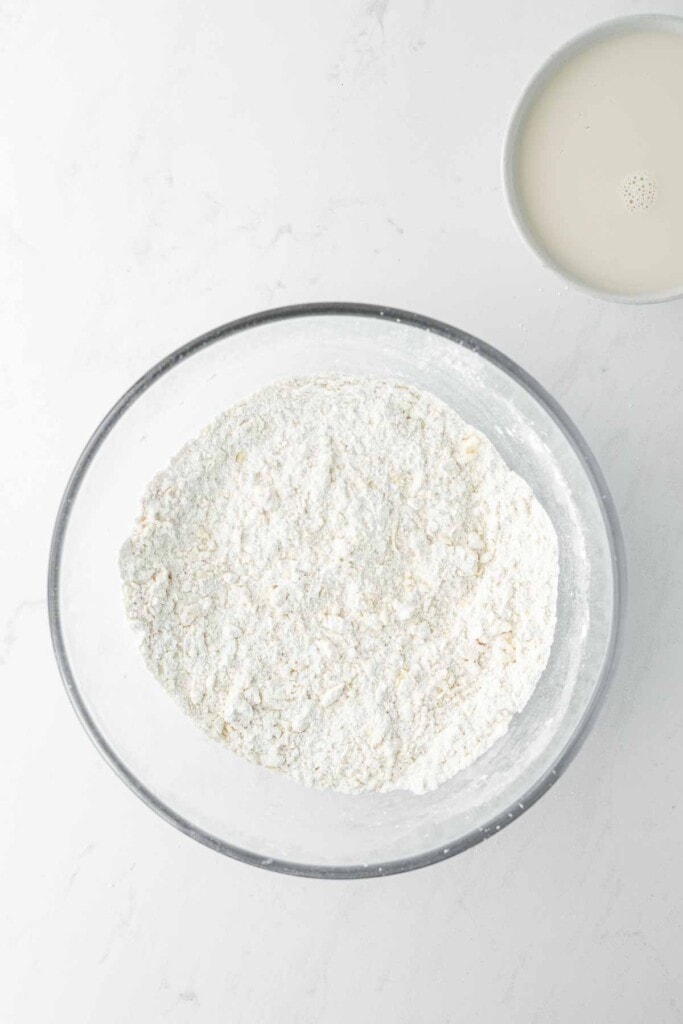
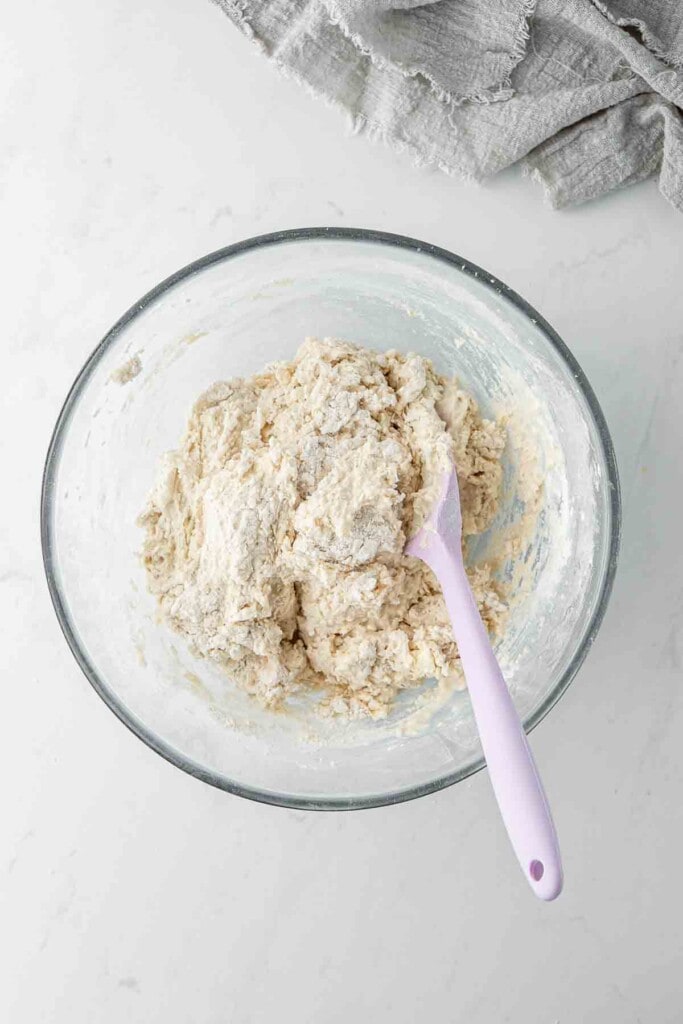
Create a well in the centre of the mixture and gradually pour in the plant-based milk. Use a wooden spoon or spatula to stir the mixture gently until it JUST starts coming together. The dough should be rough and ‘shaggy’.
Turn the dough onto a lightly floured surface and gently knead the dough for around 30 seconds, just until it comes together. Be careful not to over-knead, as this can make the scones dense and tough.
Using your hands, press out the dough to a thickness of approximately 2.5 cm (1 inch) and take a round cookie cutter (or a glass if that’s all you have) that has been lightly dusted with flour and cut out scones from the dough.
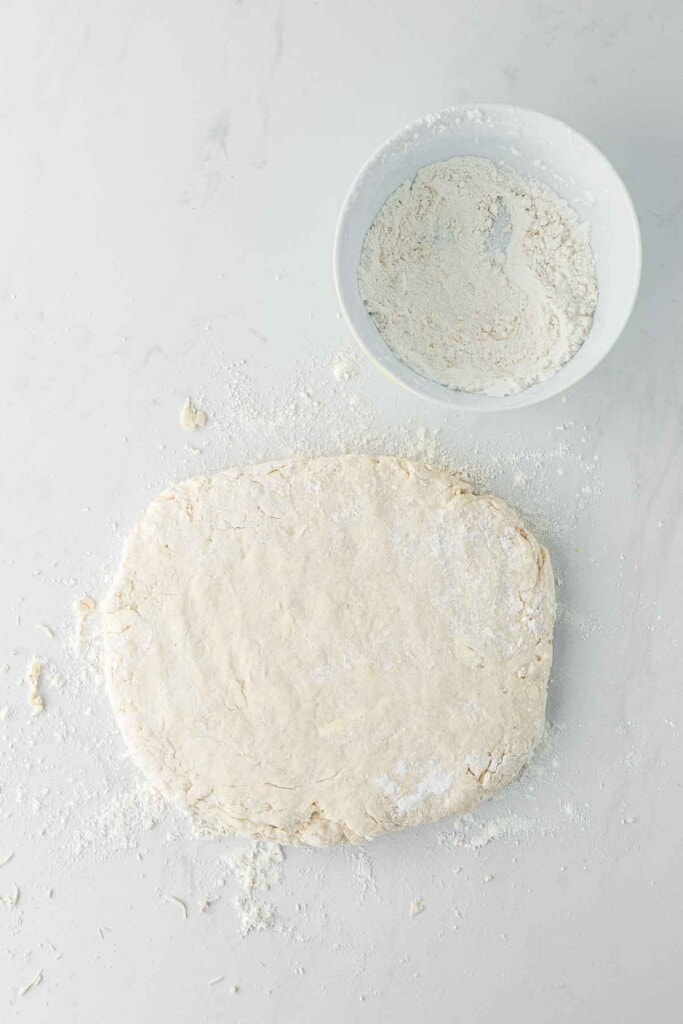
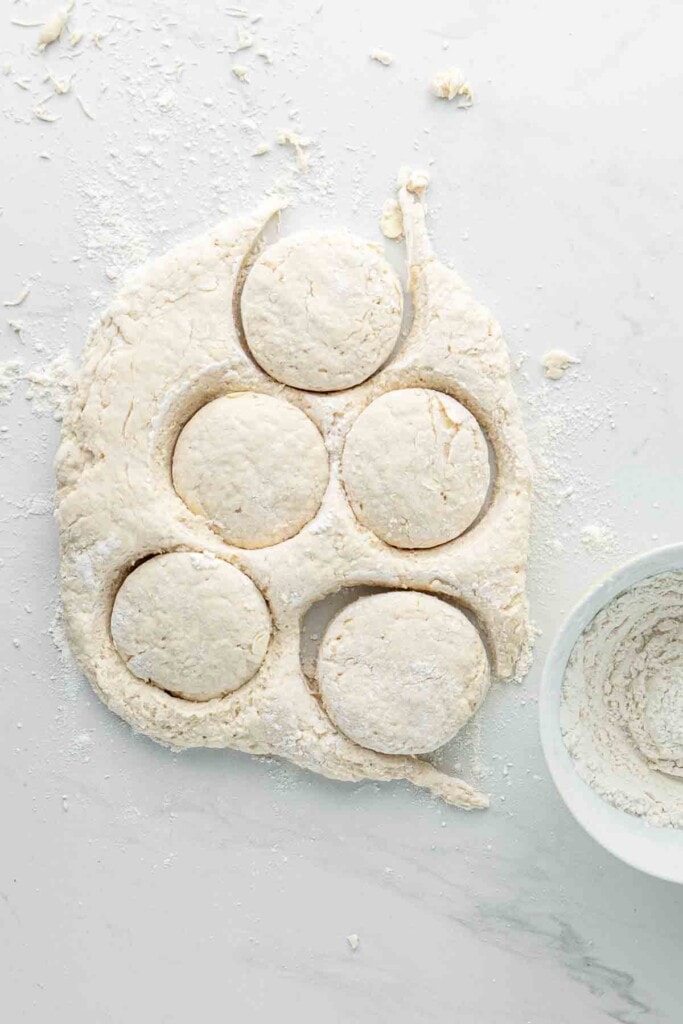
Place the scones onto the prepared baking tray, leaving some space between them and brush the tops with a little extra plant-based milk.
Gently press the remaining dough back together and continue to cut out your circles until all of the dough has been used.
Bake the scones in the preheated oven for about 12-15 minutes, or until they rise and turn golden brown. The cooking time may vary depending on the size of your scones.
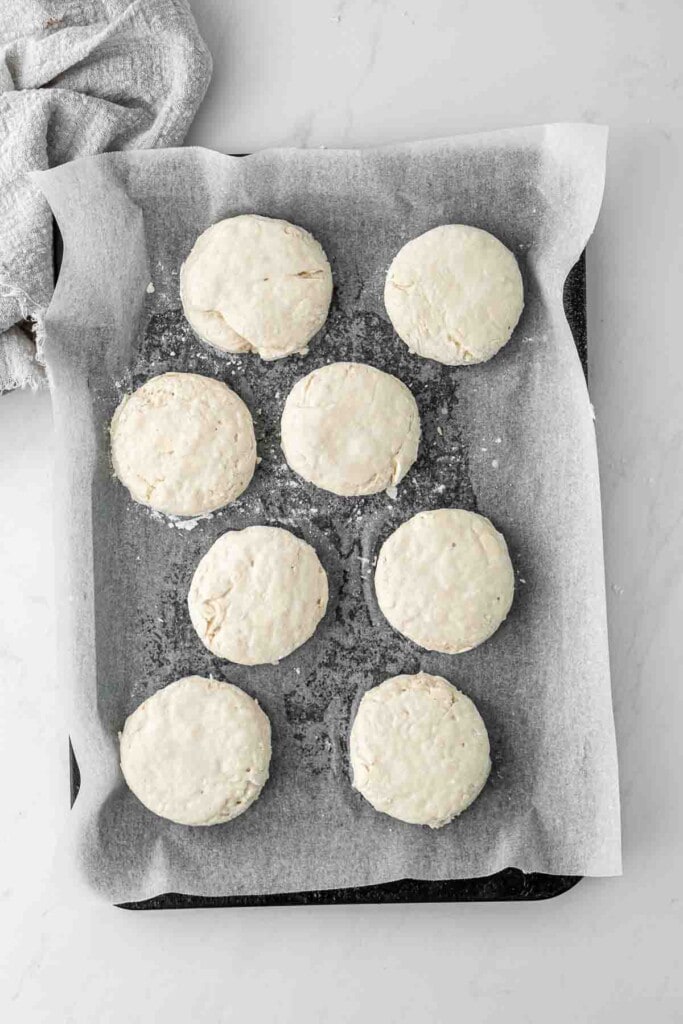
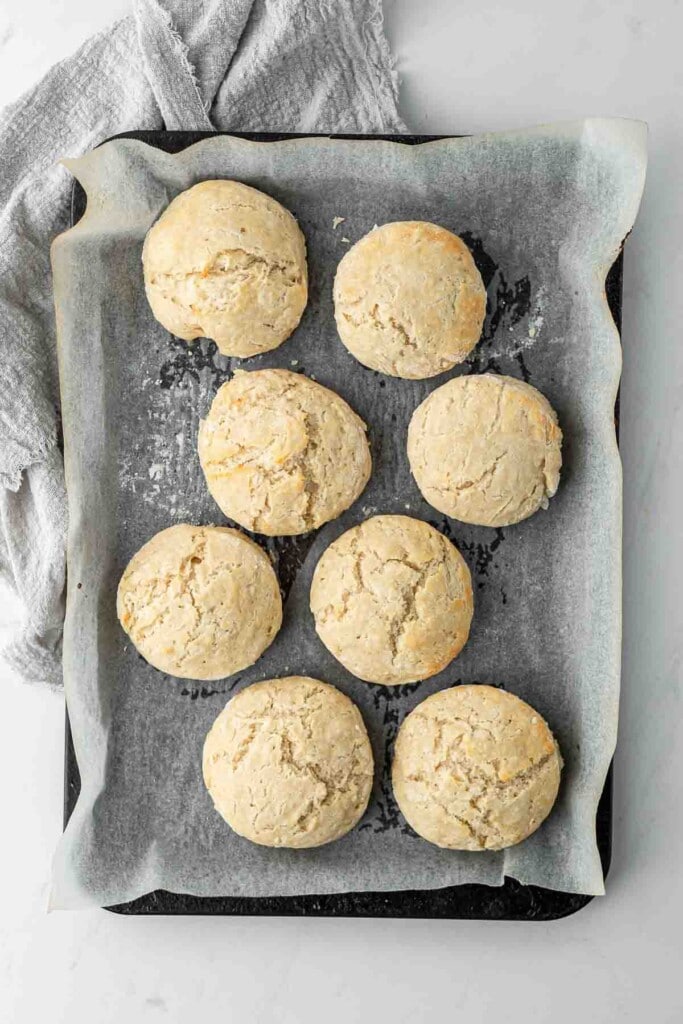
Once baked, remove the scones from the oven and transfer them to a wire rack to cool slightly.
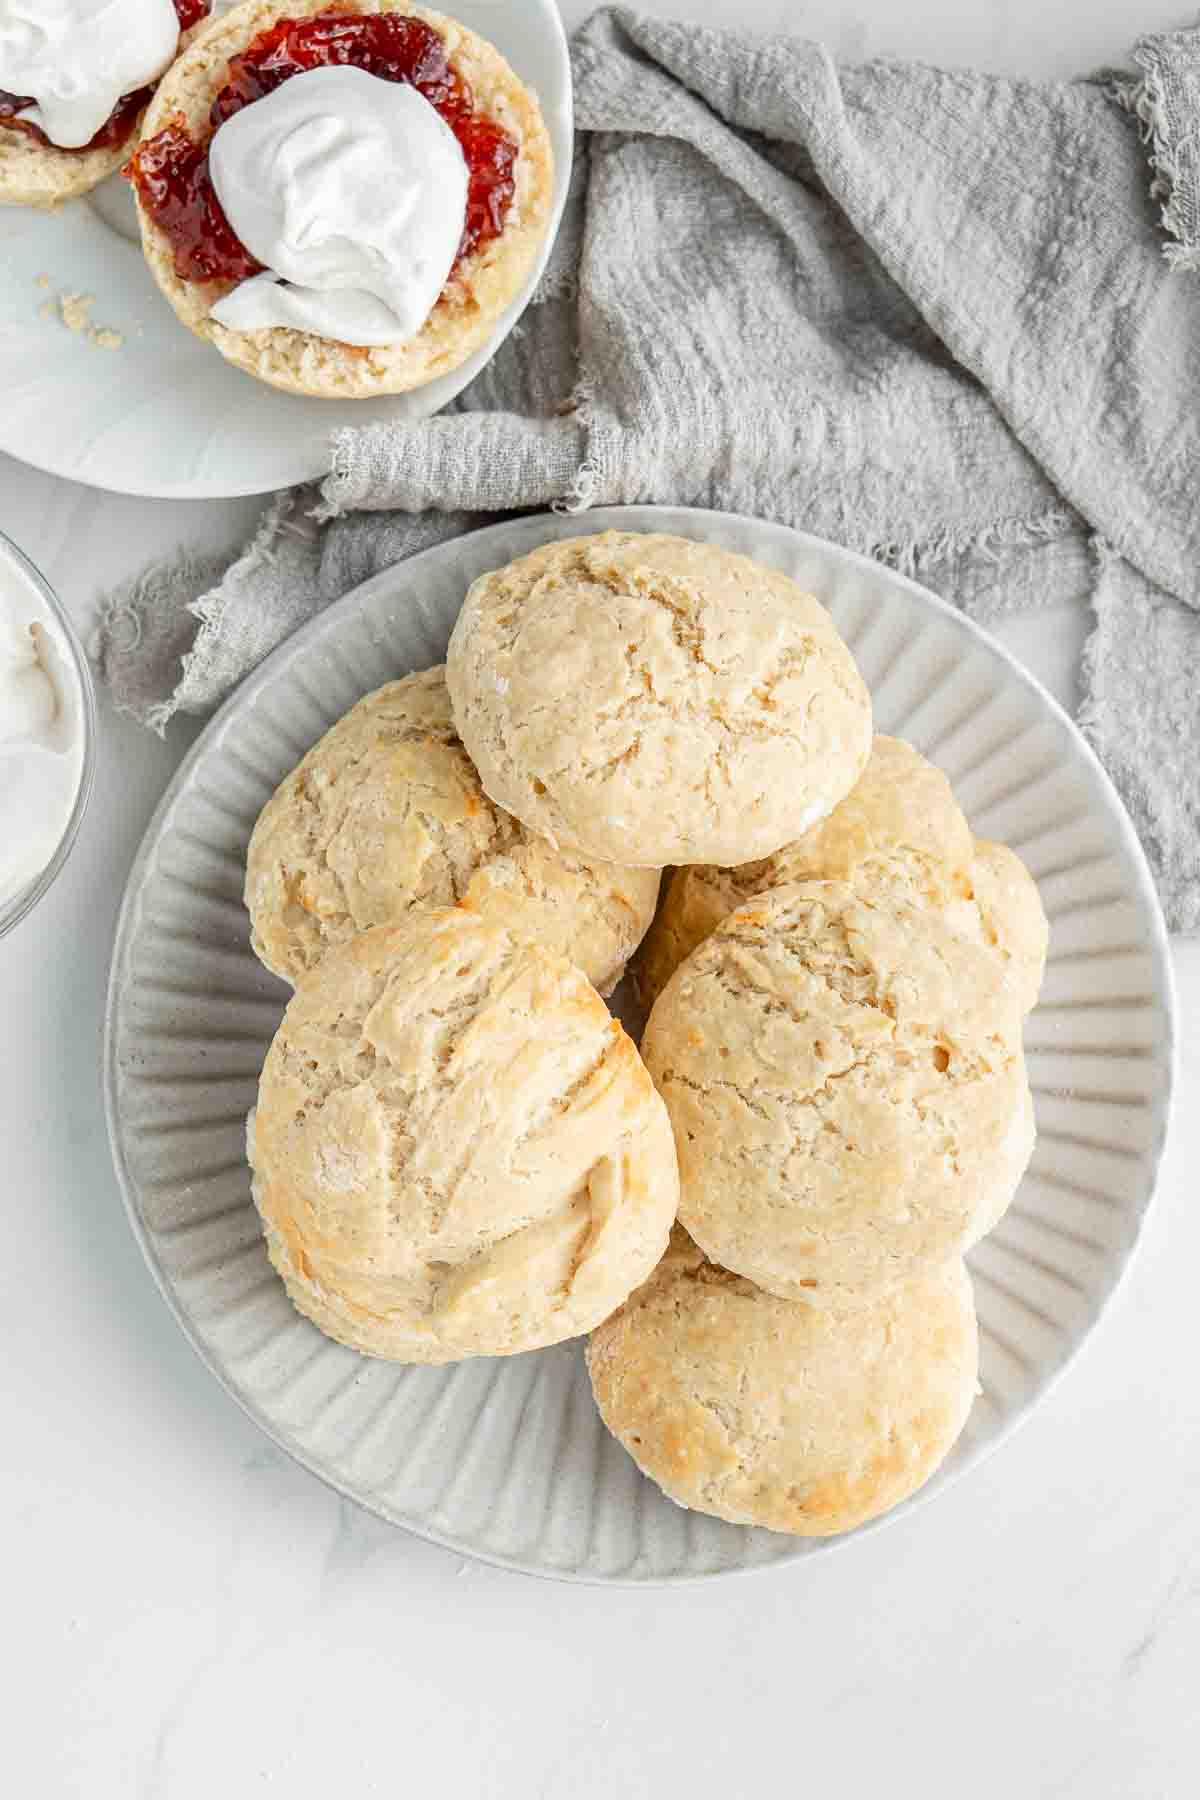
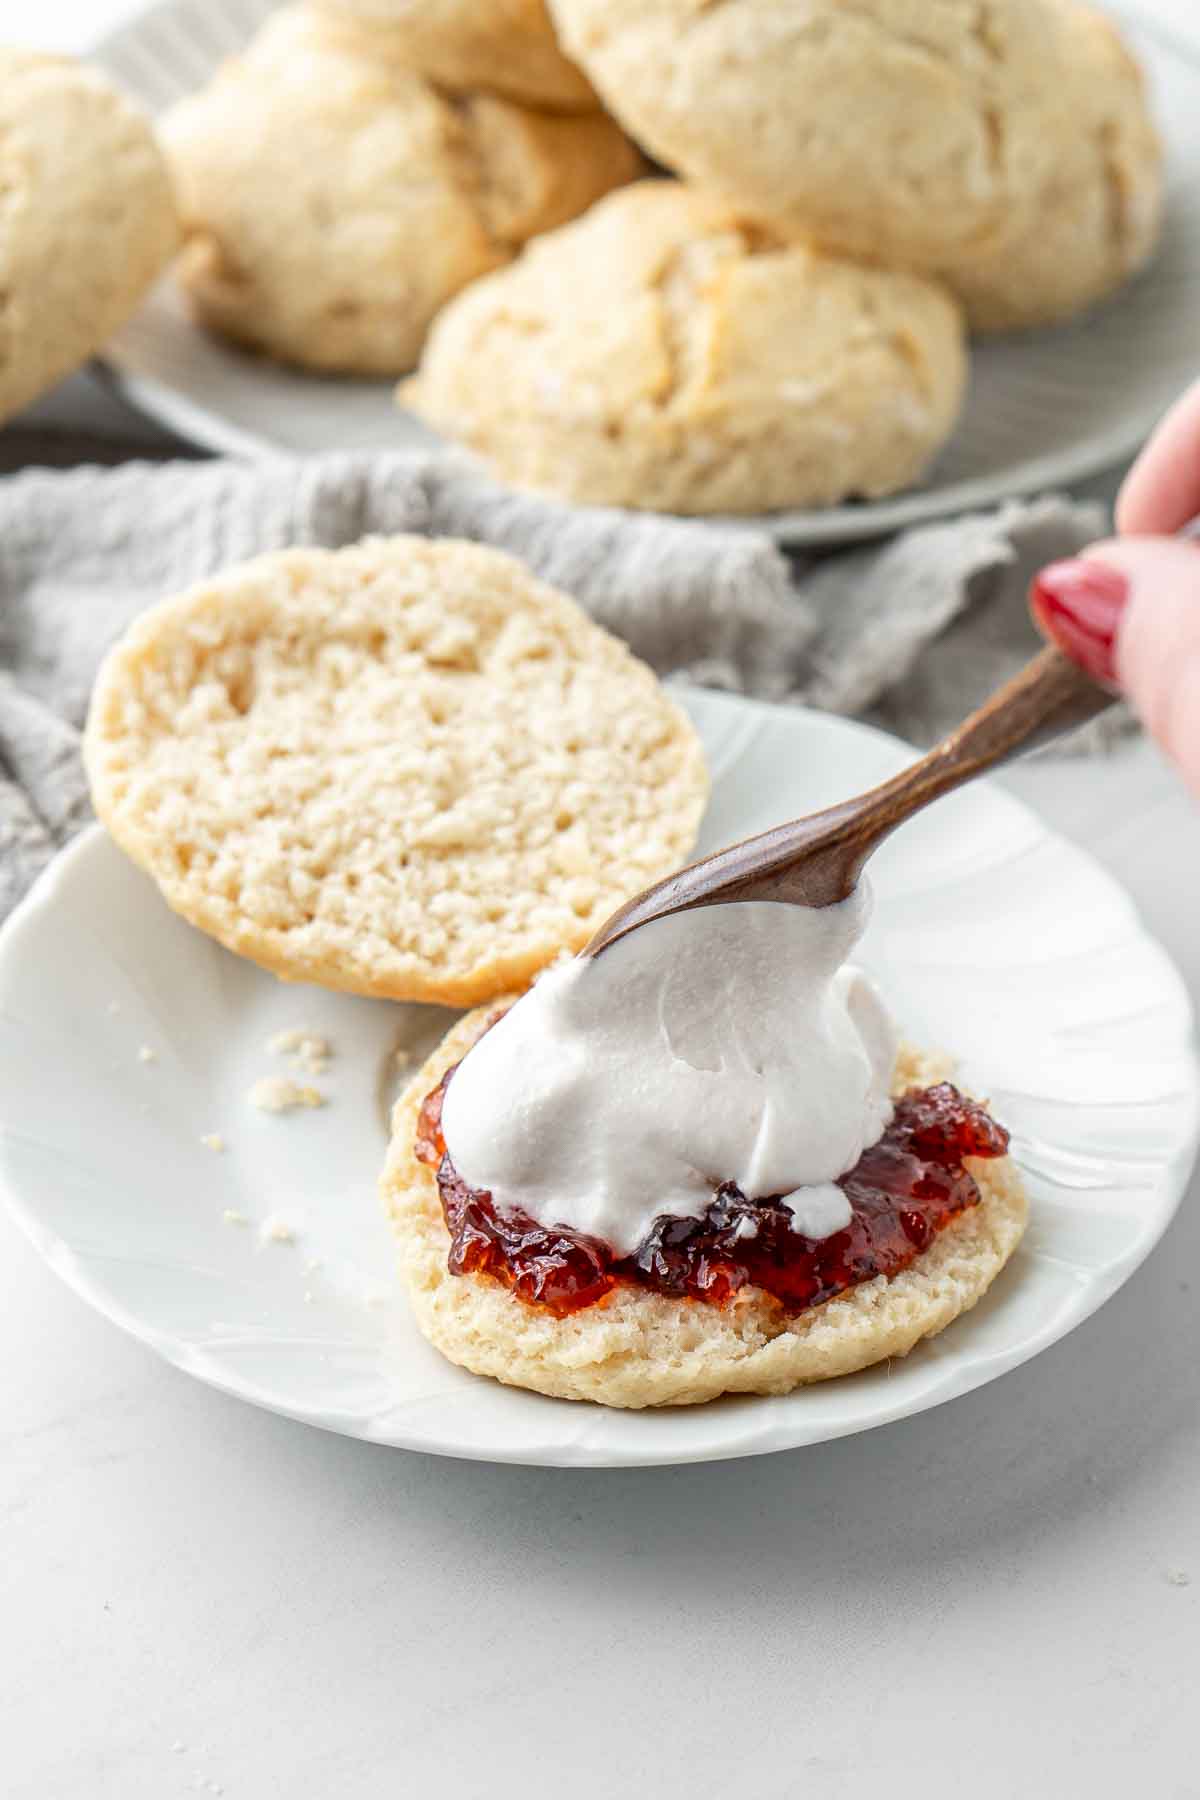
To serve, gently split the scones in half horizontally. Spread a dollop of strawberry jam on each half, followed by a generous amount of whipped coconut cream. Enjoy them open-faced or, if you prefer, place the top half of each scone back onto the cream-covered bottom half, creating a sandwich. Personally, I prefer them open-faced!
Recipe FAQs
While this recipe is specifically designed to be dairy-free, you can substitute regular butter and milk if you don’t have dietary restrictions.
To store leftover scones, allow them to cool completely and then place them in an airtight container. They can be kept at room temperature for up to two days. For longer storage, you can freeze the scones in a freezer-safe container for up to three months. Thaw them at room temperature before enjoying.
I haven’t tried it myself so cannot guarantee the success but my recommendation would be to replace the self-raising flour with a gluten-free self-raising flour blend. Ensure that the blend contains a leavening agent like baking powder. If you do try and make these gluten-free, please let me know in the comments!
More recipes perfect for morning or afternoon tea:
Coffee and Walnut Loaf Cake
Melting Moments
Vegan Coffee Cake
ANZAC Biscuits
Classic Lamingtons

Scones with Jam and Cream (Dairy Free)
Ingredients
- 3 cups self raising flour
- ¼ teaspoon salt
- 60 grams dairy free butter
- 1 ¼ cups plant-based milk plus extra to brush scones before baking
To serve;
- Strawberry jam
- Whipped coconut cream
Instructions
- Preheat your oven to 180°C and line a baking tray with baking paper.
- In a large mixing bowl, sift the self-raising flour and salt together.
- Add the dairy-free butter to the flour mixture. Using your fingertips, rub the butter into the flour until the mixture resembles fine breadcrumbs.
- Make a well in the centre of the mixture and gradually pour in the plant-based milk. Use a wooden spoon or spatula to gently stir the mixture until it starts to come together. Be careful not to overmix, as this can result in tough scones.
- Once the dough has formed, transfer it onto a lightly floured surface. Gently knead the dough for 30 seconds until the dough JUST comes together. It’s really important not to over-knead, as this can make the scones dense.
- Gently press out the dough using your hands to a thickness of approximately 2.5 cm (1 inch). Use a lightly floured round cookie cutter to cut out scones from the dough. Place the scones onto the prepared baking tray, leaving a little space between them. Brush the tops of the scones with some extra plant-based milk.
- Bake the scones in the preheated oven for about 12-15 minutes, or until they have risen and turned golden brown. Once baked, remove the scones from the oven and transfer them to a wire rack to cool slightly.
- To serve, split the scones in half horizontally. Spread a dollop of strawberry jam onto each half, followed by a generous amount of whipped coconut cream. Serve open as is, or if you prefer you can place the top half of each scone back onto the cream-covered bottom half, creating a sandwich.
Notes
Nutrition
Nutritional information is provided as a guide only and is calculated using automated online tools, therefore we cannot guarantee the accuracy. We encourage you to make your own calculations based on the actual ingredients used in your recipe.


Made this recipe? Leave a review!