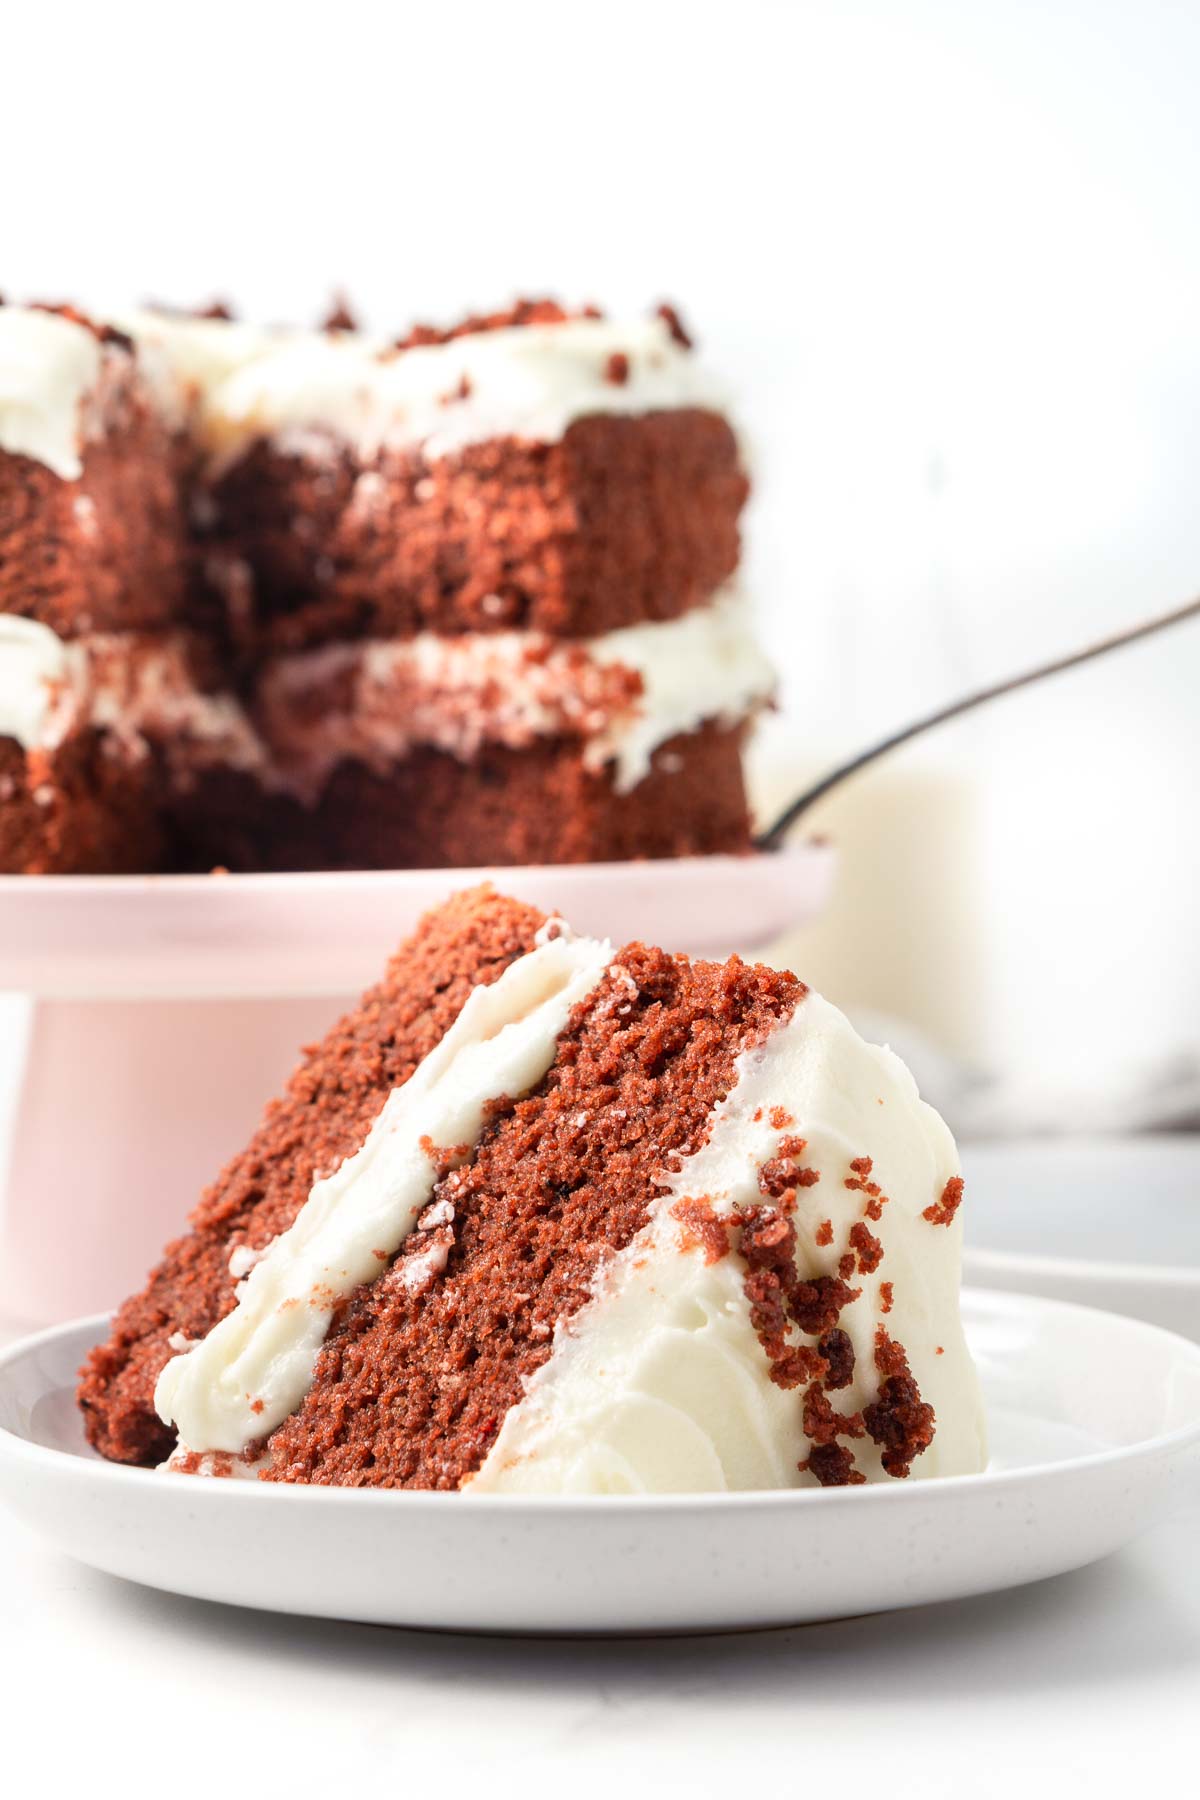
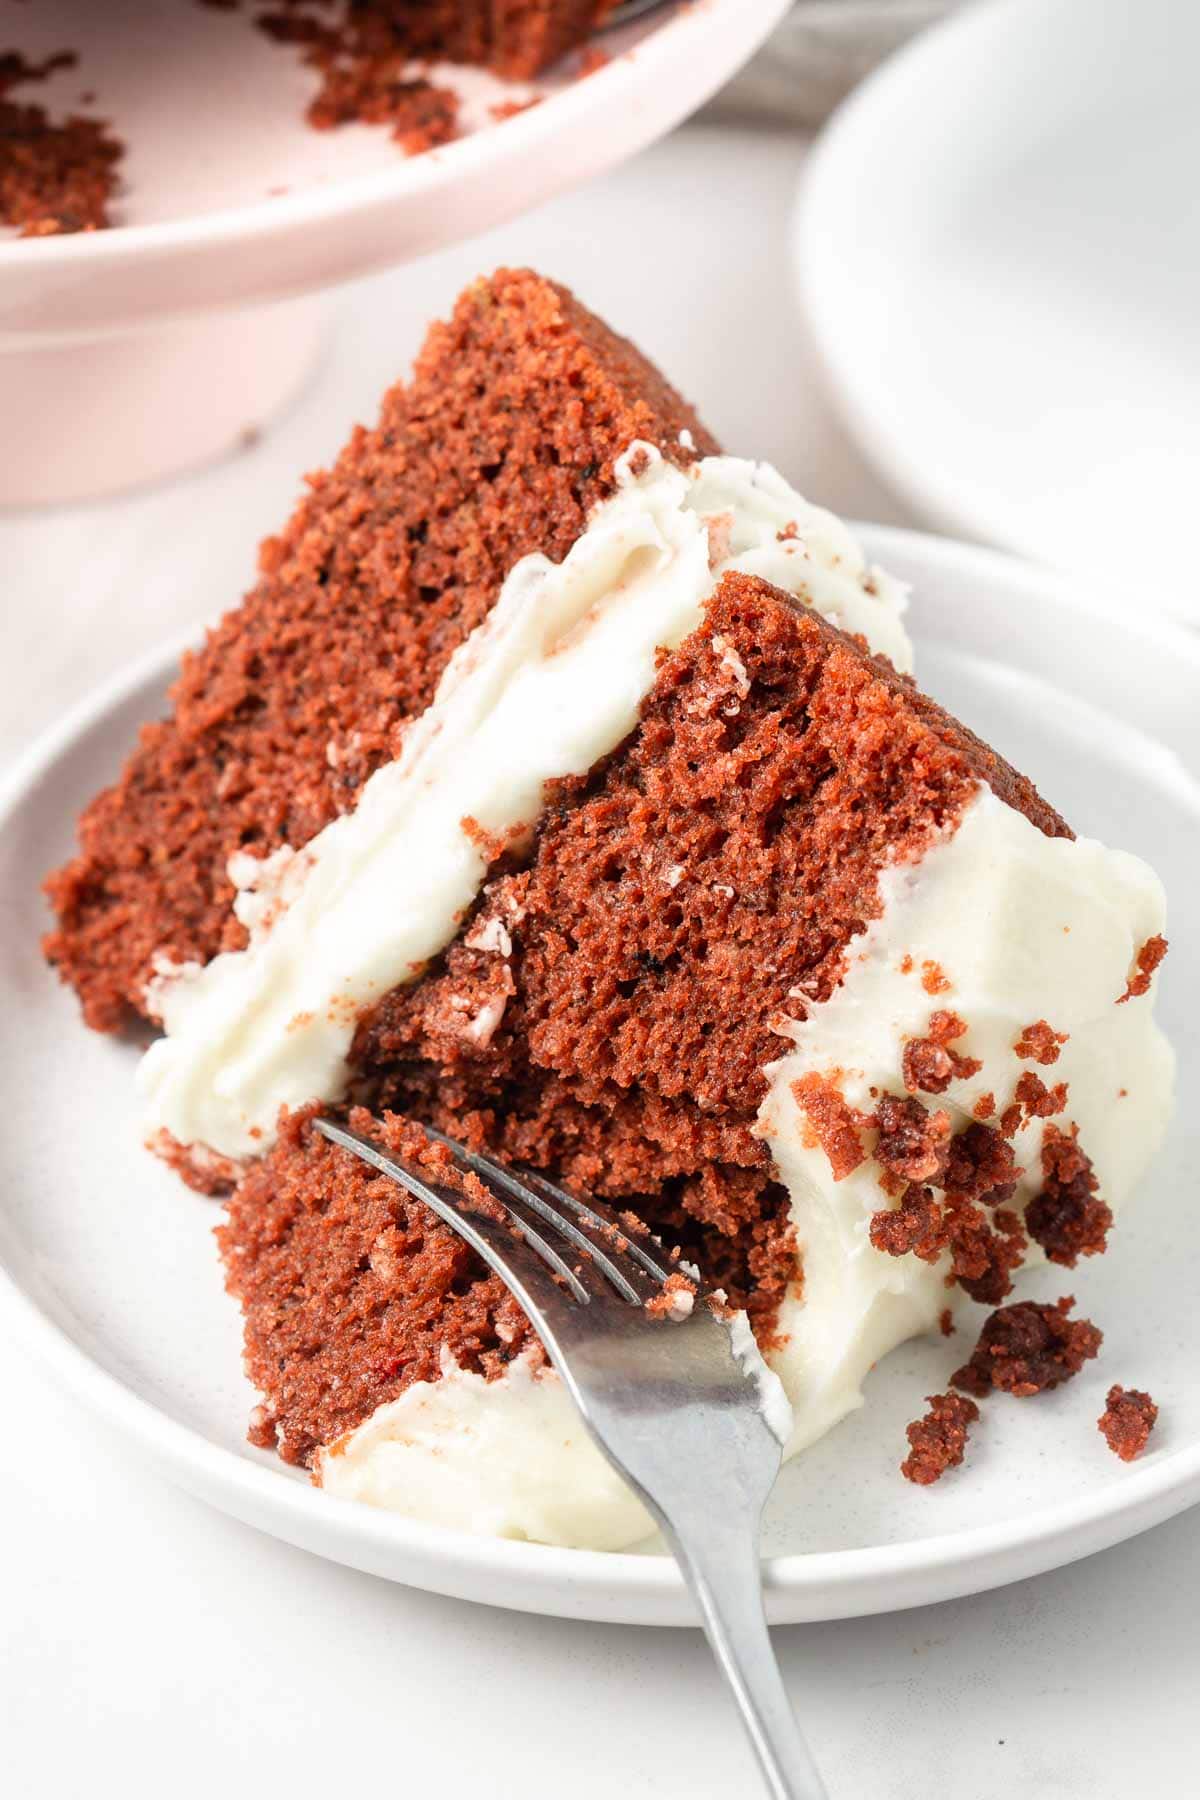
This is the most delicious vegan red velvet cake, with thick, soft layers of red vanilla and chocolate flavoured cake combined with a sweet and tangy vegan cream cheese frosting. Everyone (vegan or not) will absolutely love this cake!
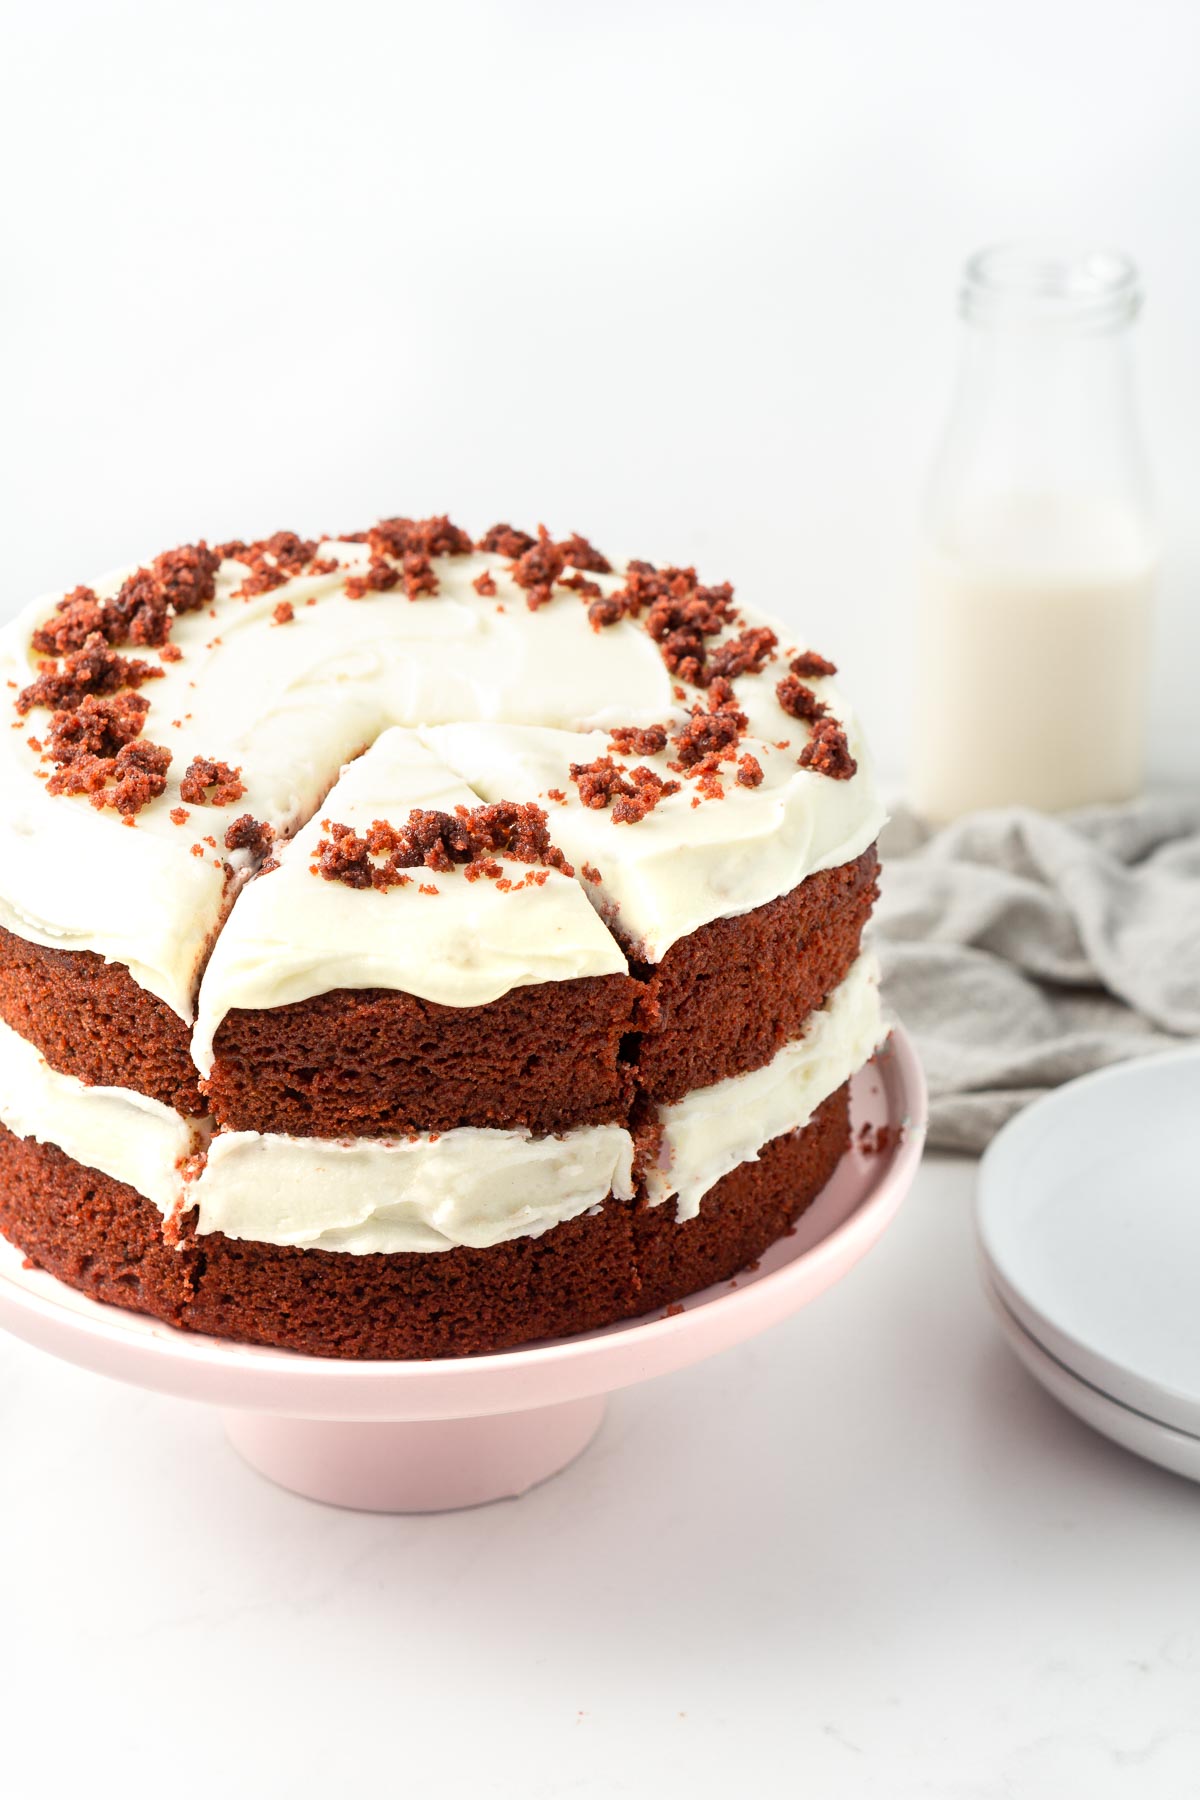
Red velvet cake is the perfect option for special occasions such as birthdays, anniversaries, Christmas or literally any time you want a delicious cake.
This cake is perfect for those that love a classically sweet cake that is rich and moist. For the ultimate experience, it absolutely must be served with a cream cheese frosting as the tanginess is what helps to really accentuate the flavours.
A common misconception about red velvet cake is that it is just a chocolate cake dyed red. That is not the case! Red velvet cake is a delicate flavour combination that combines the subtle flavours of vanilla with a hint of chocolate for the perfect amount of richness.
It gets the ‘velvet’ component of its name from the addition of acid, usually in the form of buttermilk that gives the cake a delicate, velvety texture and adds a slight tang.
And why red? Well it comes from the reaction of the cocoa powder with the acid giving the light brown batter an almost pink tinge. This off course evolved into the edition of red food colouring to give the cake the vibrancy that we now expect of the flavour.
But of course, the food colouring is really only colouring, so the cake will taste the same with or without it – but it just doesn’t quite feel like red velvet if it’s not bright red…
If you love red velvet, don’t forget to also try our red velvet crinkle cookies, or red velvet baked doughnuts.
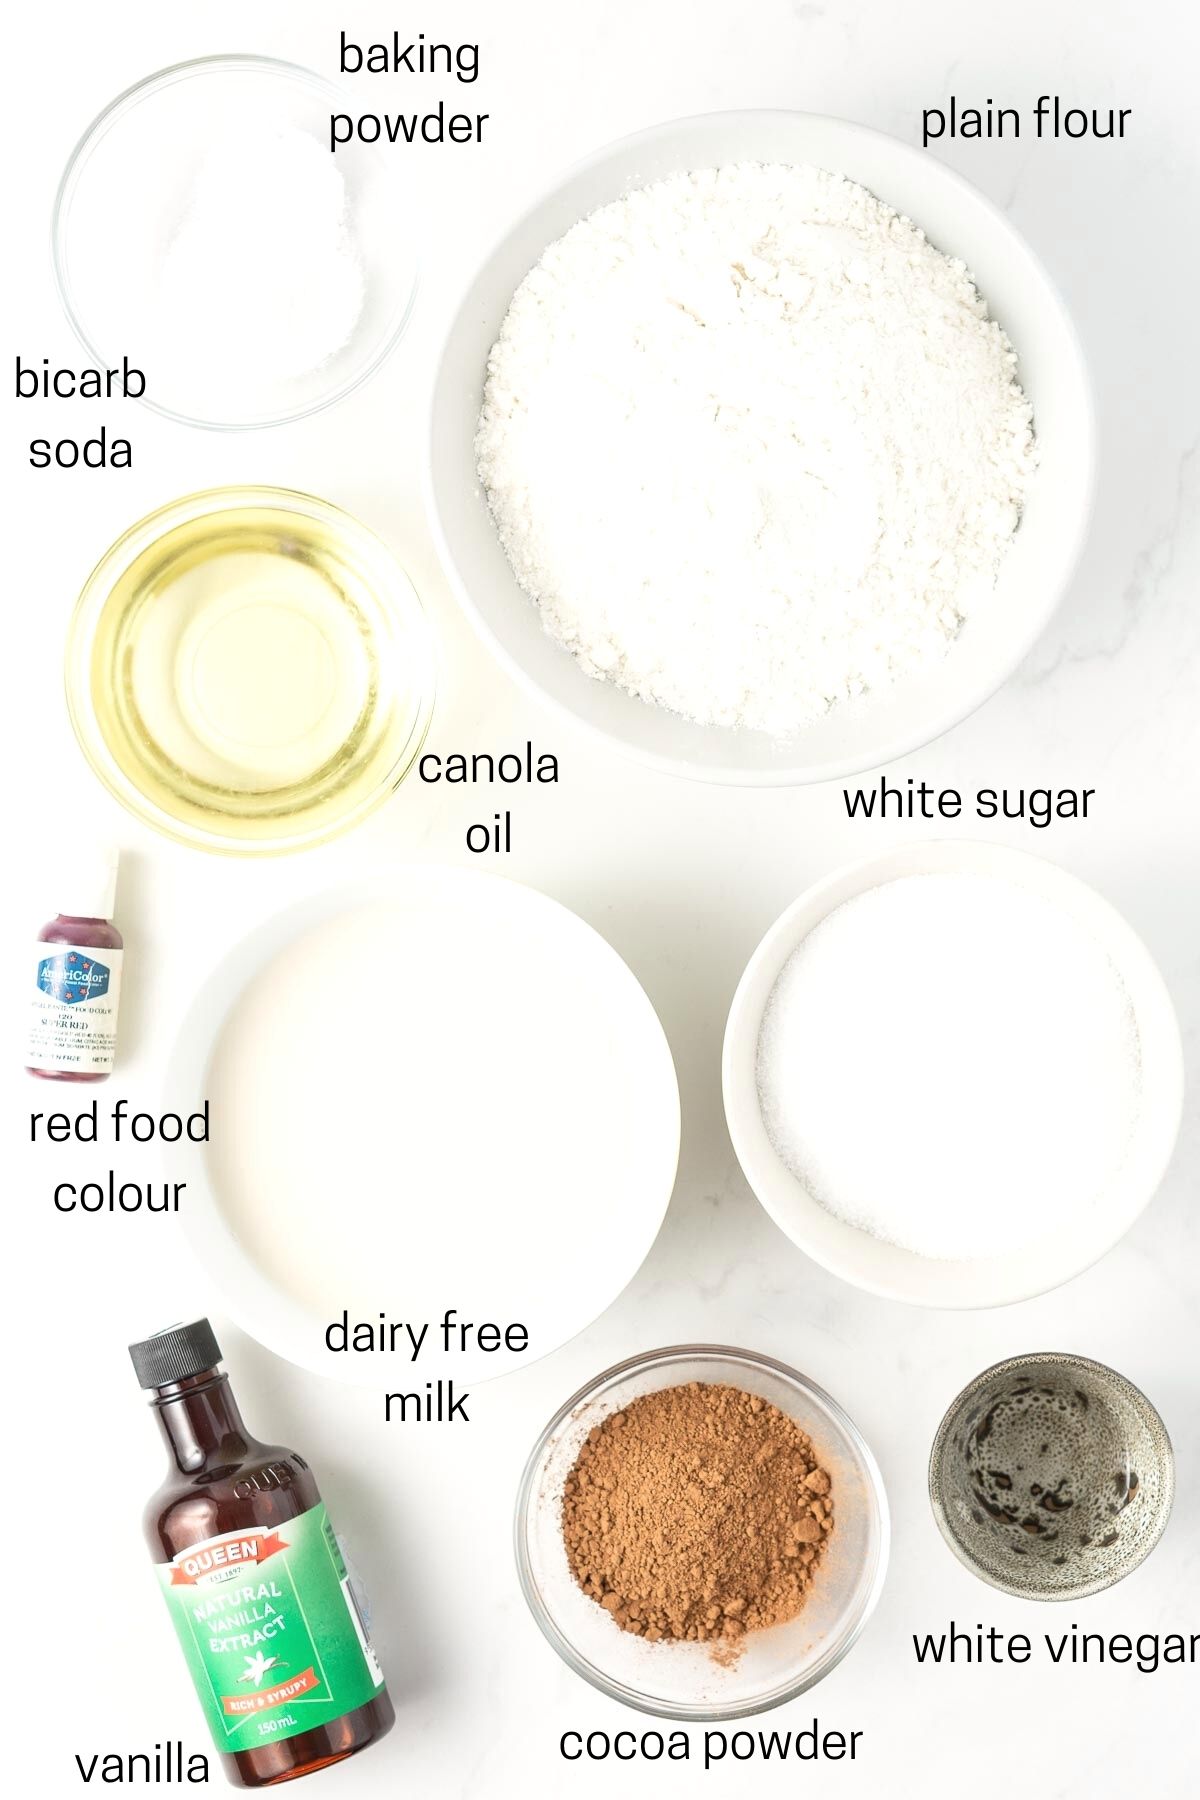
Key Ingredients
If you’re a regular baker, you should have everything you need to make this vegan red velvet cake already in your pantry. We’re not using any odd substitutions here (like beetroot powder or apple sauce), just regular pantry ingredients.
- Dairy free milk – I usually use almond milk, but oat or soy milk will work just fine for this recipe.
- White vinegar – we’re adding a little vinegar to the dairy free milk to make a ‘buttermilk’ – a key ingredient to the red velvet flavour.
- Plain flour – known as all purpose in the US.
- Cocoa powder – just a little bit gives that distinct chocolate flavour.
- Baking powder – to help give the cake lift so we have nice tall layers.
- Bicarbonate of soda – also known as baking soda, this will react with the vinegar and help give the cake that soft, tender crumb.
- White sugar – to add sweetness and help stabilise the cake layers.
- Vanilla – the second key ingredient to the red velvet flavour.
- Canola oil – to keep the cake soft and moist. I don’t recommend substituting with coconut oil as the flavour is too strong and will conflict with the chocolate/vanilla combination.
- Red gel food colouring – I always use the Americolor gel food colouring as a little bit gives a strong, bold colour without impacting the texture of the batter, plus it’s vegan. This is of course optional as the colour doesn’t change the flavour, so if you don’t want to use food colouring you can leave the batter as is and it will be a light brown colour.
Step-By-Step Instructions
One of the things I love most about making vegan cakes is that because we are not using eggs or butter, there is absolutely no need for an electric mixer! Just grab some mixing bowls and a whisk (probably a spatula is helpful) and that’s it!
For this cake, we’re making a 2 layer 7 inch cake so you’ll need two pans that size. You can also do a 3 layer 6 inch cake or simply use 2 8 inch pans, although your layers won’t quite be as tall as mine.
Start by making your ‘buttermilk’ by adding the vinegar to the dairy free milk in a small bowl and setting aside.
Next whisk together all of your dry ingredients to combine.
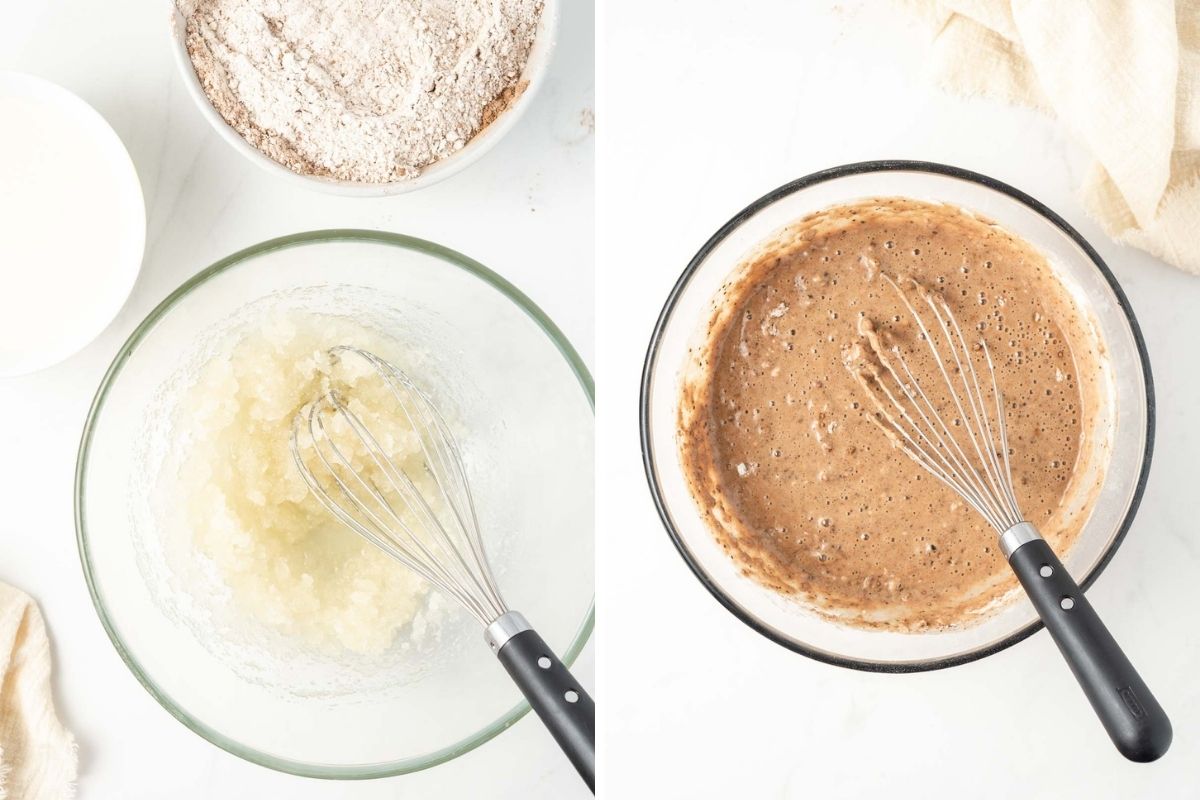
Finally, in your main mixing bowl, whisk together the canola oil, sugar and vanilla.
Then, just slowly add some of the milk to the bowl with the oil and sugar, followed by some of the dry ingredients, and just keep alternating adding and whisking until your batter JUST comes together.
Add in a few drops of gel food colouring until you reach your desired vibrancy of red and mix until just combined, not more.
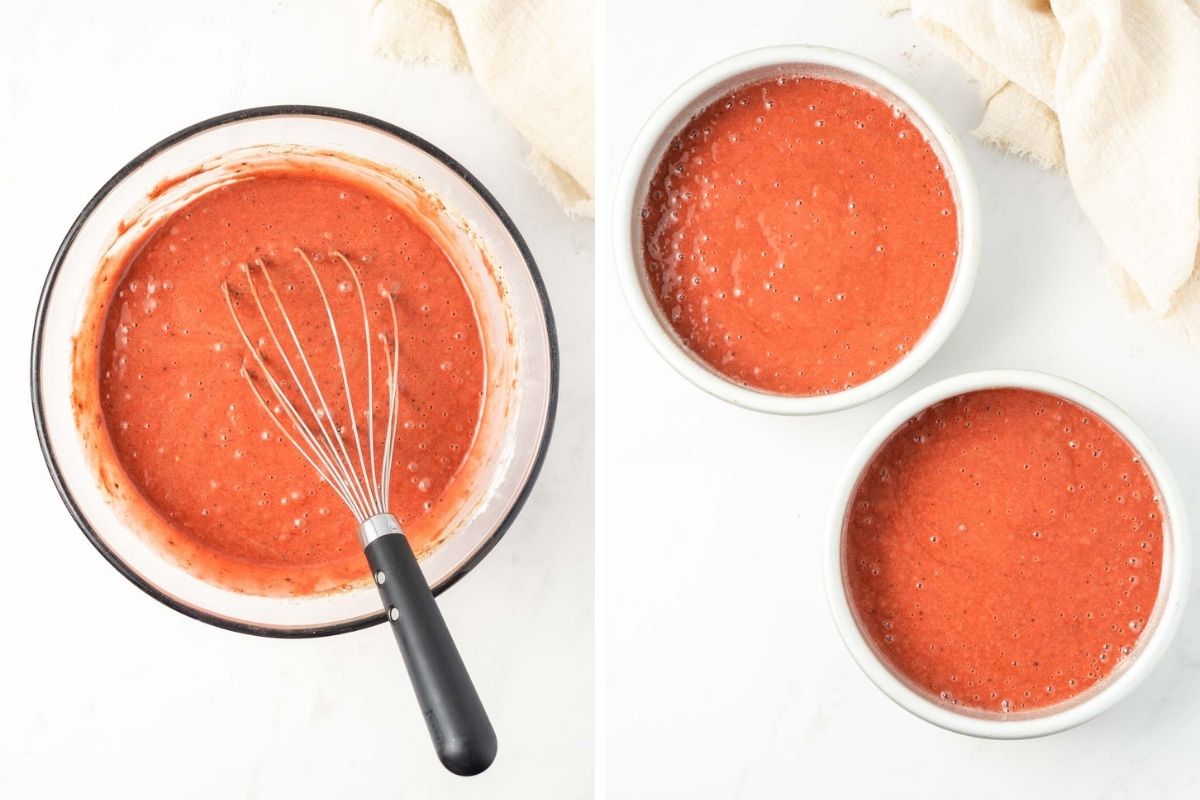
Often dyed cakes will be quite dense as the batter is overworked when adding in the colouring, so make sure to not mix too much before adding it, and then stop as soon as the batter is coloured.
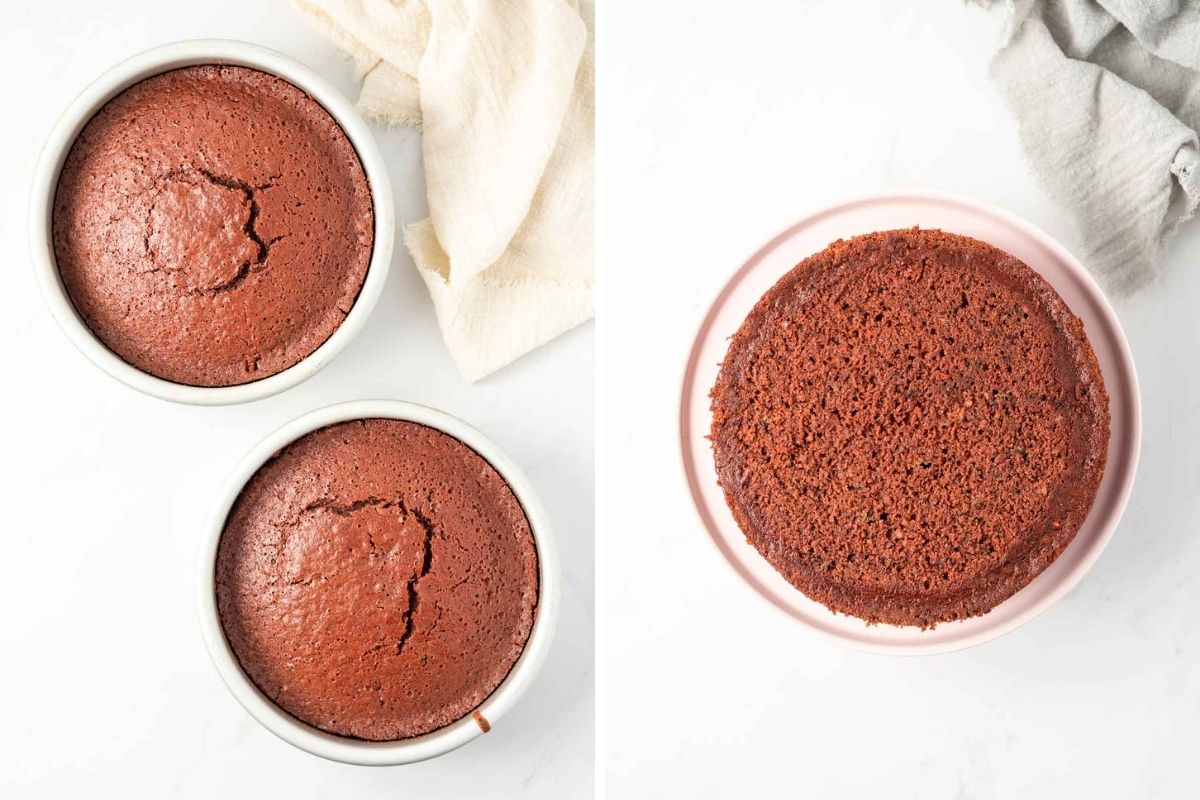
Evenly pour the batter into the prepared cake tins and then bake until the top is lightly springy to touch and a skewer when inserted into the centre comes out clean.
Assembling the cake
Once the cakes have cooled completely it’s time to assemble! Start by preparing a batch of vegan cream cheese frosting. One batch is the perfect amount whether you’re frosting it with thick layers like I have, or if you wanted to do a thinner layer around the sides as well.
The first thing you’ll need to do is level the cakes. I like to use a serrated bread knife for this and just get the tops as flat as I can. Save the tops that you cut off as this can be crumbled later and used for decoration.
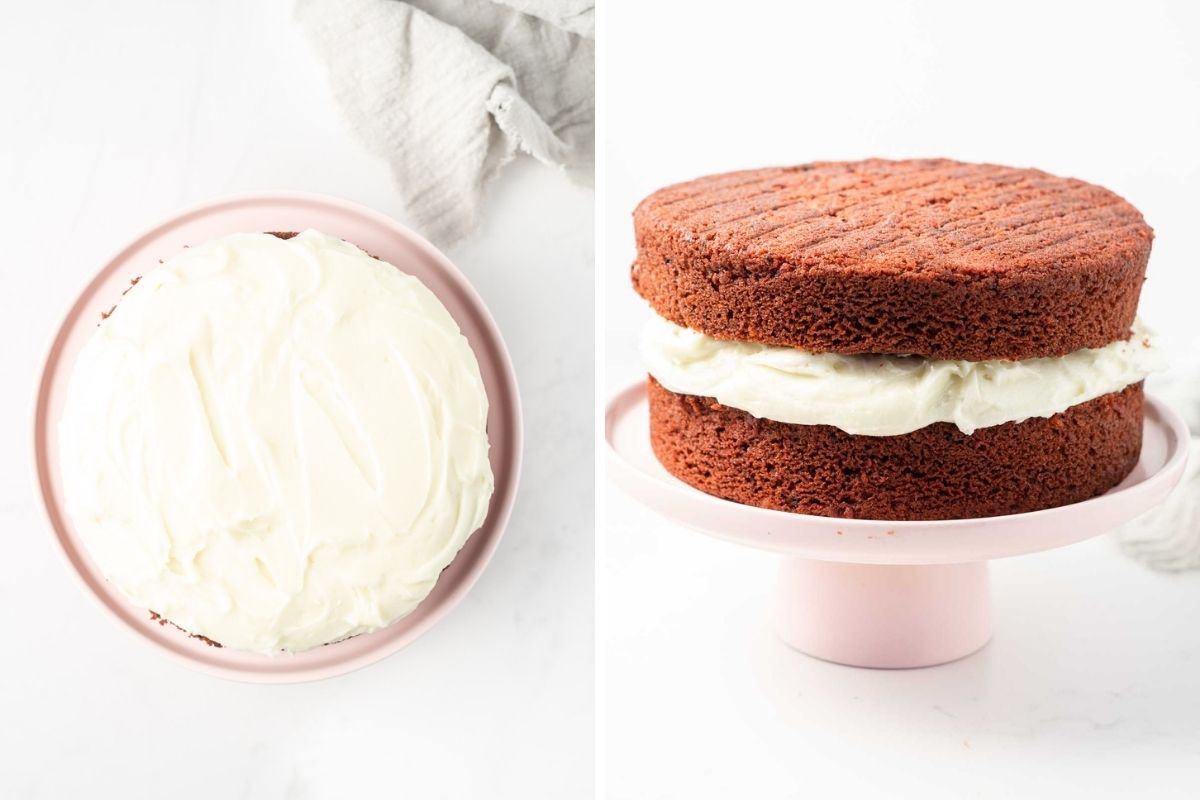
Place a small amount of frosting on a cake plate or stand and place the first layer down. Add a thick layer of frosting and then place the second layer on top, upside down to ensure you get a nice flat top.
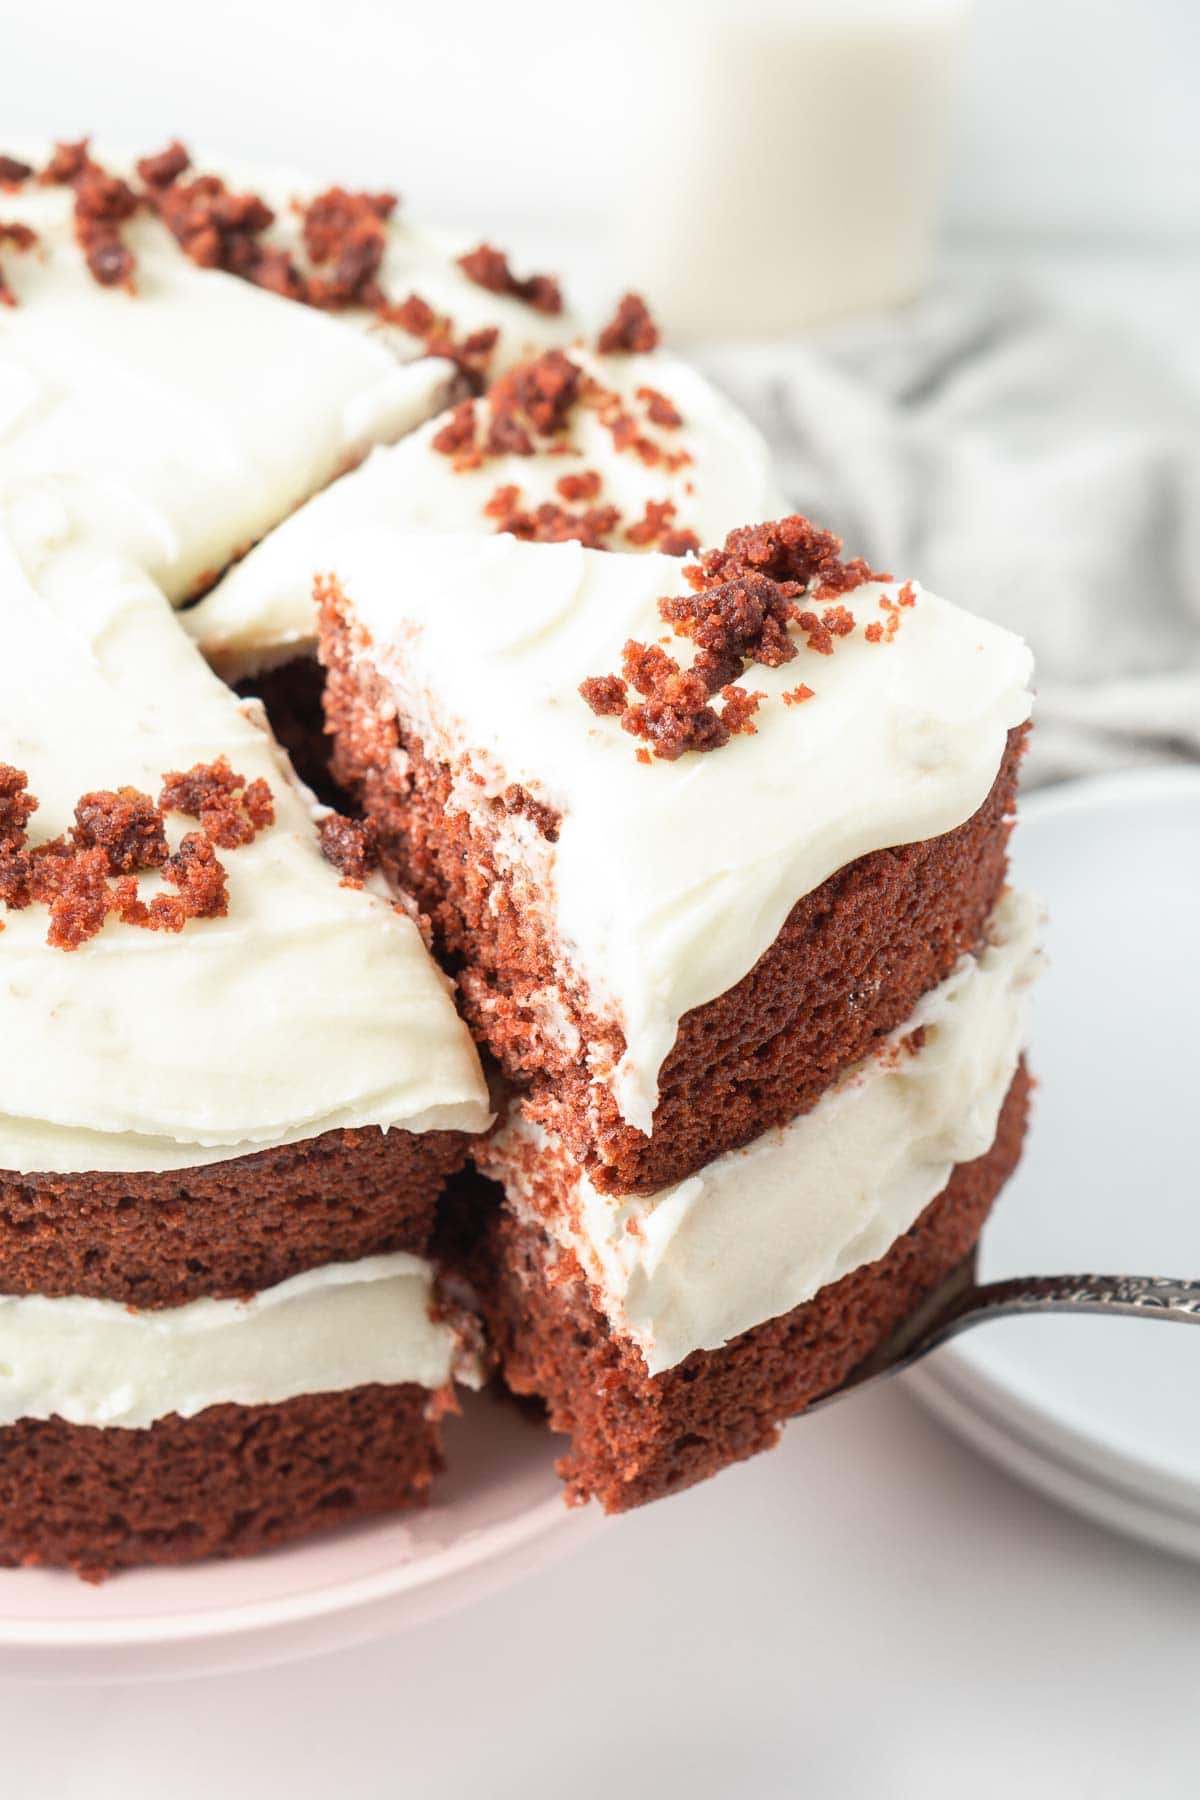
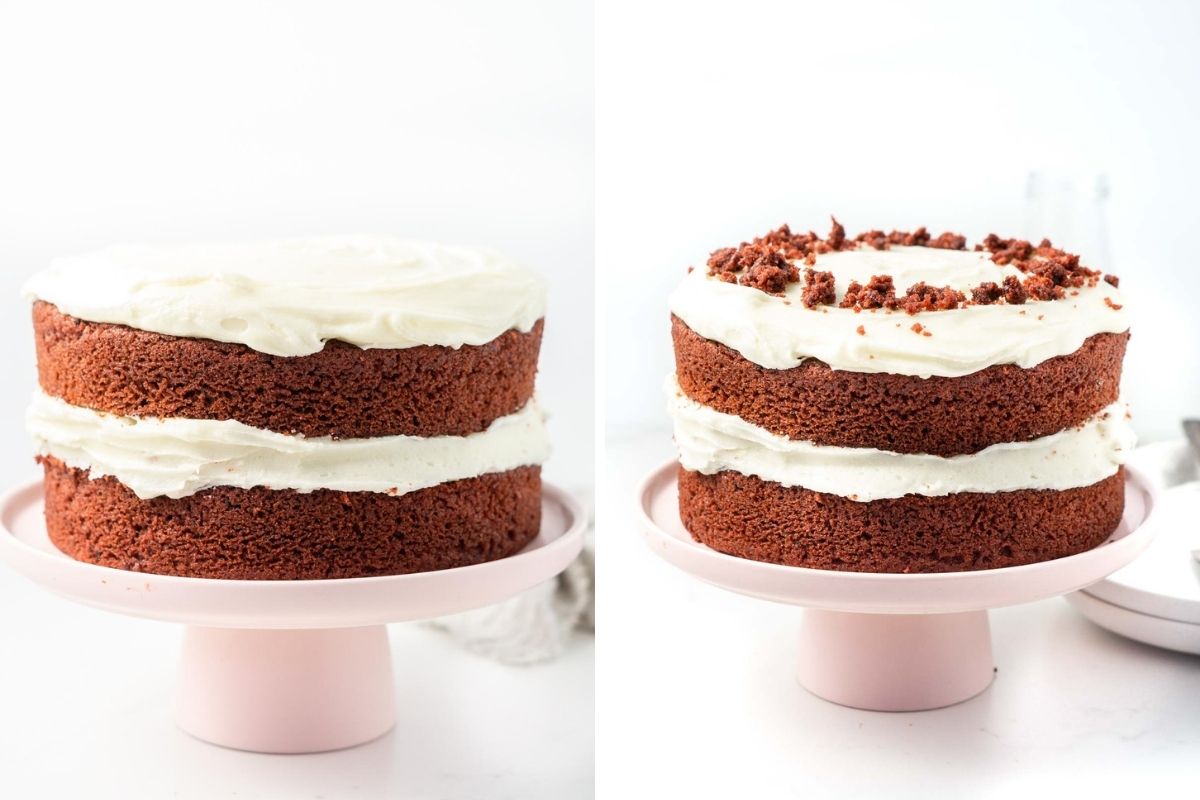
Add more frosting thickly on top and sprinkle it with some of the crumbled off cuts of cake for that nice vibrant contrast between the white frosting and the red cake.
Tips!
Vegan cream cheese frosting is not as stable as buttercream so when using it to frost multi layer cakes, you want to follow the below tips;
- Make sure the cakes are completely cold – any residual heat and the cream cheese will just melt.
- Add the first layer of frosting and then place your cake in the freezer for 10-15 minutes before placing the top layer on. This will help stabilise the frosting and help ensure that your top layer doesn’t just slide off (yes, speaking from experience).
- If you’re struggling to get clean, smooth lines when frosting, place the cake into the freezer for a little bit. The frosting will be much easier to work with when really cold.
- Store the finished cake in the fridge, not at room temperature.
Recipe FAQs
Due to the cream cheese frosting, this vegan red velvet cake is best stored in an airtight container in the fridge for up to 4 days.
For cupcakes, I recommend using my vegan red velvet cupcakes recipe instead, however you could turn this recipe into cupcakes if you would prefer. It would probably yield about 18 cupcakes and cooking time would need to be reduced to closer to 20 minutes.
Red velvet is the perfect balance of both vanilla and chocolate with a slight tang from the vegan ‘buttermilk’.
More vegan cake recipes:
Vegan Vanilla Cake
Vegan Banana Cake
Vegan Caramel Cake
Vegan Coconut Cake
Cookies and Cream Cake (Vegan)
Vegan Red Velvet Cake
Ingredients
- 1 ½ cups almond milk or any dairy-free milk
- 1 ½ tablespoons white vinegar
- 2 cups + 1 tablespoon plain flour
- ¼ cup cocoa powder
- ½ teaspoon bicarbonate of soda
- 2 teaspoons baking powder
- ½ cup canola oil
- 1 cup white sugar
- 1 tablespoon vanilla extract
- red gel food colouring
- 1 batch
vegan cream cheese frosting
Instructions
- Preheat the oven to 180°C and grease and line 2 x 7 inch round cake tins with baking paper and cooking spray.
- In a small bowl combine white vinegar and dairy free milk. Milk will split which is fine. Set aside.
- In a medium bowl, whisk together plain flour, cocoa powder, bicarbonate of soda, and baking powder.
- In a large bowl, whisk together canola oil, sugar and vanilla until combined.
- Slowly add the dry ingredients to the oil and sugar mixture, alternating with the milk until batter just comes together. Add a little of the red gel food colouring and mix through until you get the desired colour, again making sure you do not overmix.
- Pour the batter evenly into the prepared cake tins and bake for 30 minutes or until a skewer when inserted in the centre comes out clean. Remove from the oven and let cool for 10-20 minutes in the pan before turning out onto a wire rack to cool completely.
- Once the cakes are cool, prepare a batch of vegan cream cheese frosting and assemble the cake. If the cakes have domed in the oven, gently level the tops using a large serrated knife. Place a small amount of frosting on a cake plate/stand and place the first layer down. Cover with a thick layer of frosting before placing the second layer on top, upside down to ensure you have a flat top. Cover the top of the cake with another thick layer of frosting. To decorate, I crumble up the scraps of cake left over after levelling and sprinkle around the top.
- Keep in the refrigerator until ready to serve.
Nutrition
Nutritional information is provided as a guide only and is calculated using automated online tools, therefore we cannot guarantee the accuracy. We encourage you to make your own calculations based on the actual ingredients used in your recipe.

Rox says
This sounds lovely, I will try this for my birthday cake 😆 Could I use 8 inch cake tins instead? I don’t have any 7 inch cake tins…
Sally says
Yes you certainly can! Just check your cake a little bit earlier as it may cook faster and note that the layers won’t quite be as tall as mine 🙂 This is the perfect birthday cake so I hope you enjoy!