Silky smooth, gooey and just all round delicious, this vegan salted caramel sauce is so good you’re going to want to drizzle it over everything.
Use it in this vegan caramel cake or drizzle it over my favourite lazy apple turnovers and you have the most divine dessert. You really can’t go wrong with caramel!
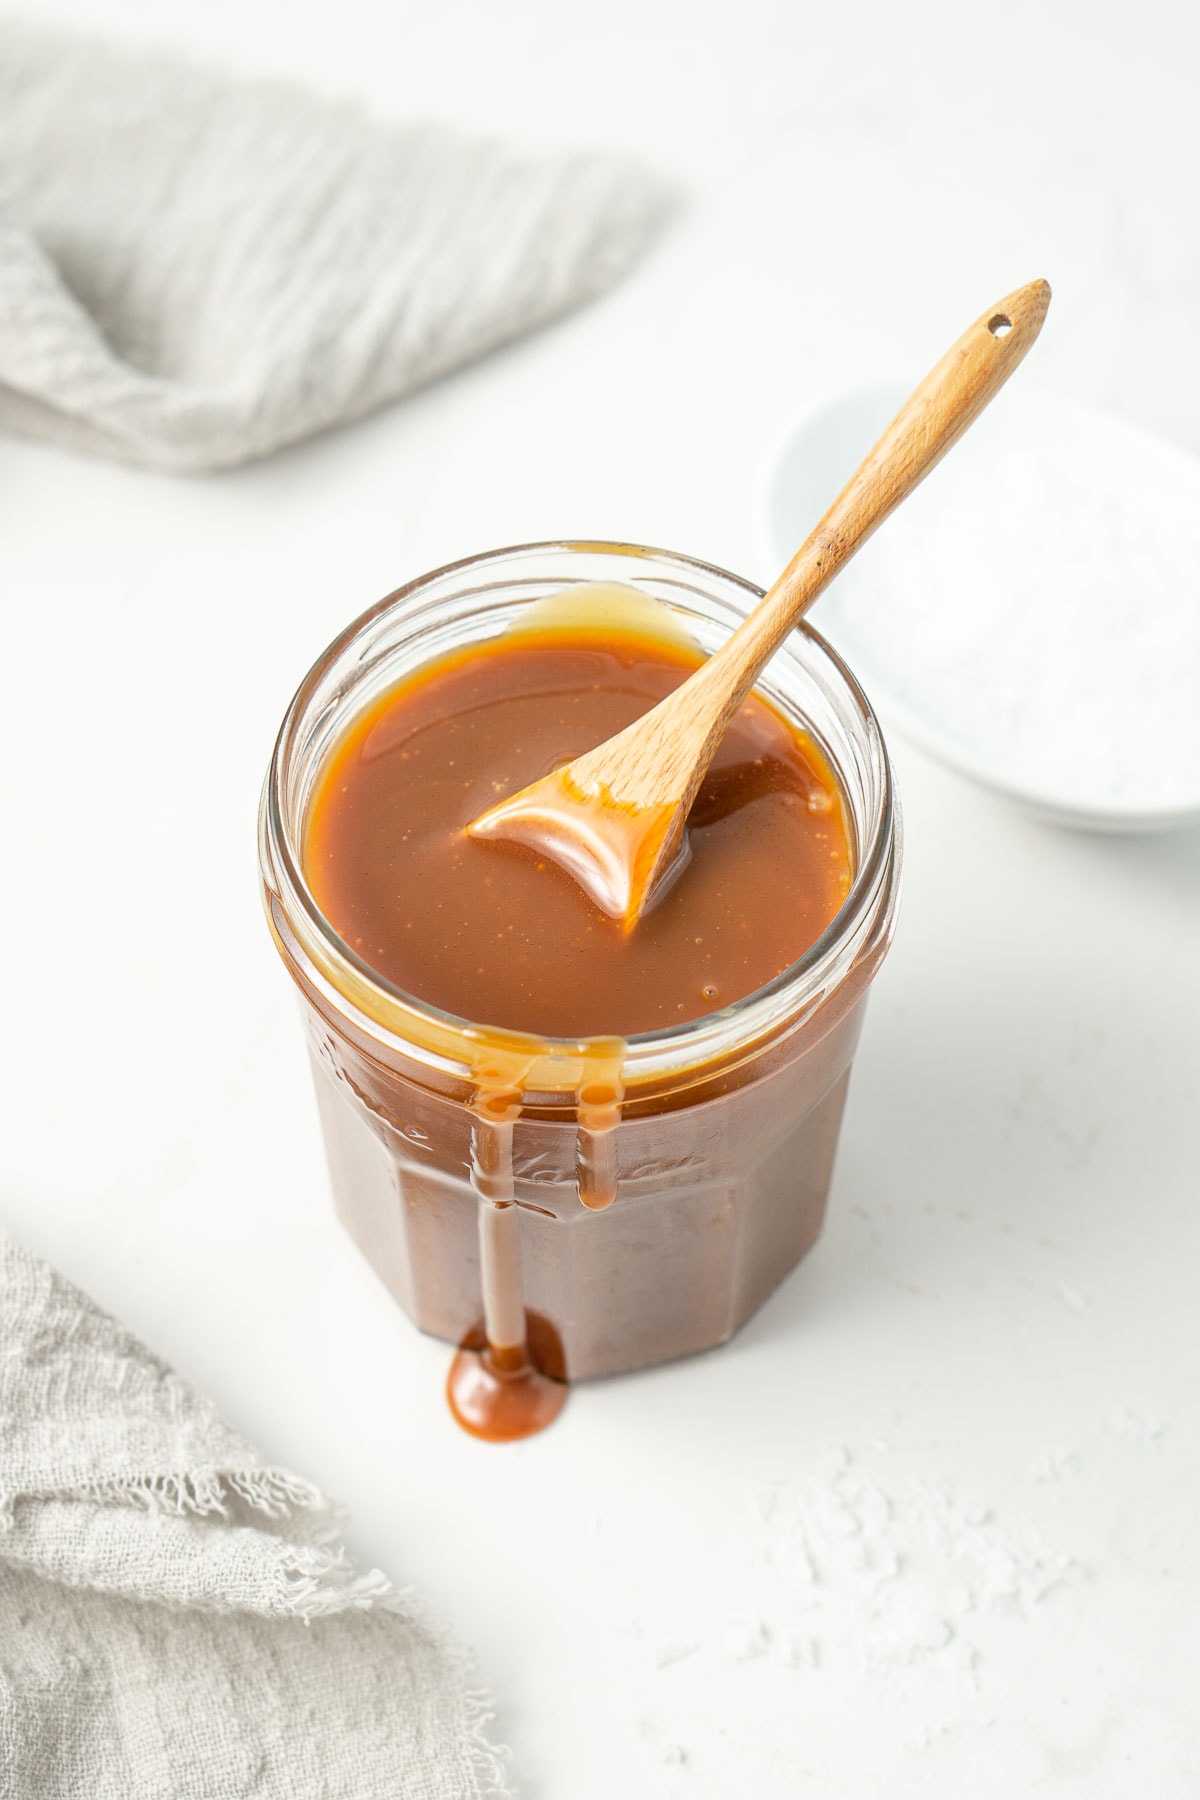
Salted caramel blends the delicious flavours of salty and sweet, is soft and creamy, and simply devine drizzled on top of just about anything. This particular recipe uses just 4 ingredients and is also dairy-free and vegan meaning everyone can enjoy this liquid gold.
I wanted to make this recipe using regular, everyday ingredients rather than trying to make a ‘healthy’ vegan alternative. It’s caramel sauce, we’re not trying to be healthy, we just want this lush sauce without the dairy.
This sauce is super rich thanks to the addition of dairy-free butter. And while it can be a bit tricky to get the sugar melted without burning it, once you’ve done it a few times you’ll find you know what to look for with the colour of the melting sugar and the sauce can be ready in next to no time!
This caramel sauce also doesn’t use milk or cream, instead we use canned coconut milk to give it that creamy texture. I find that the sauce will carry a subtle coconut flavour which is to be expected but it’s definitely not overpowering or dominating.
Once you get the hang of making this vegan salted caramel sauce, you’ll want to find any excuse to make another batch!
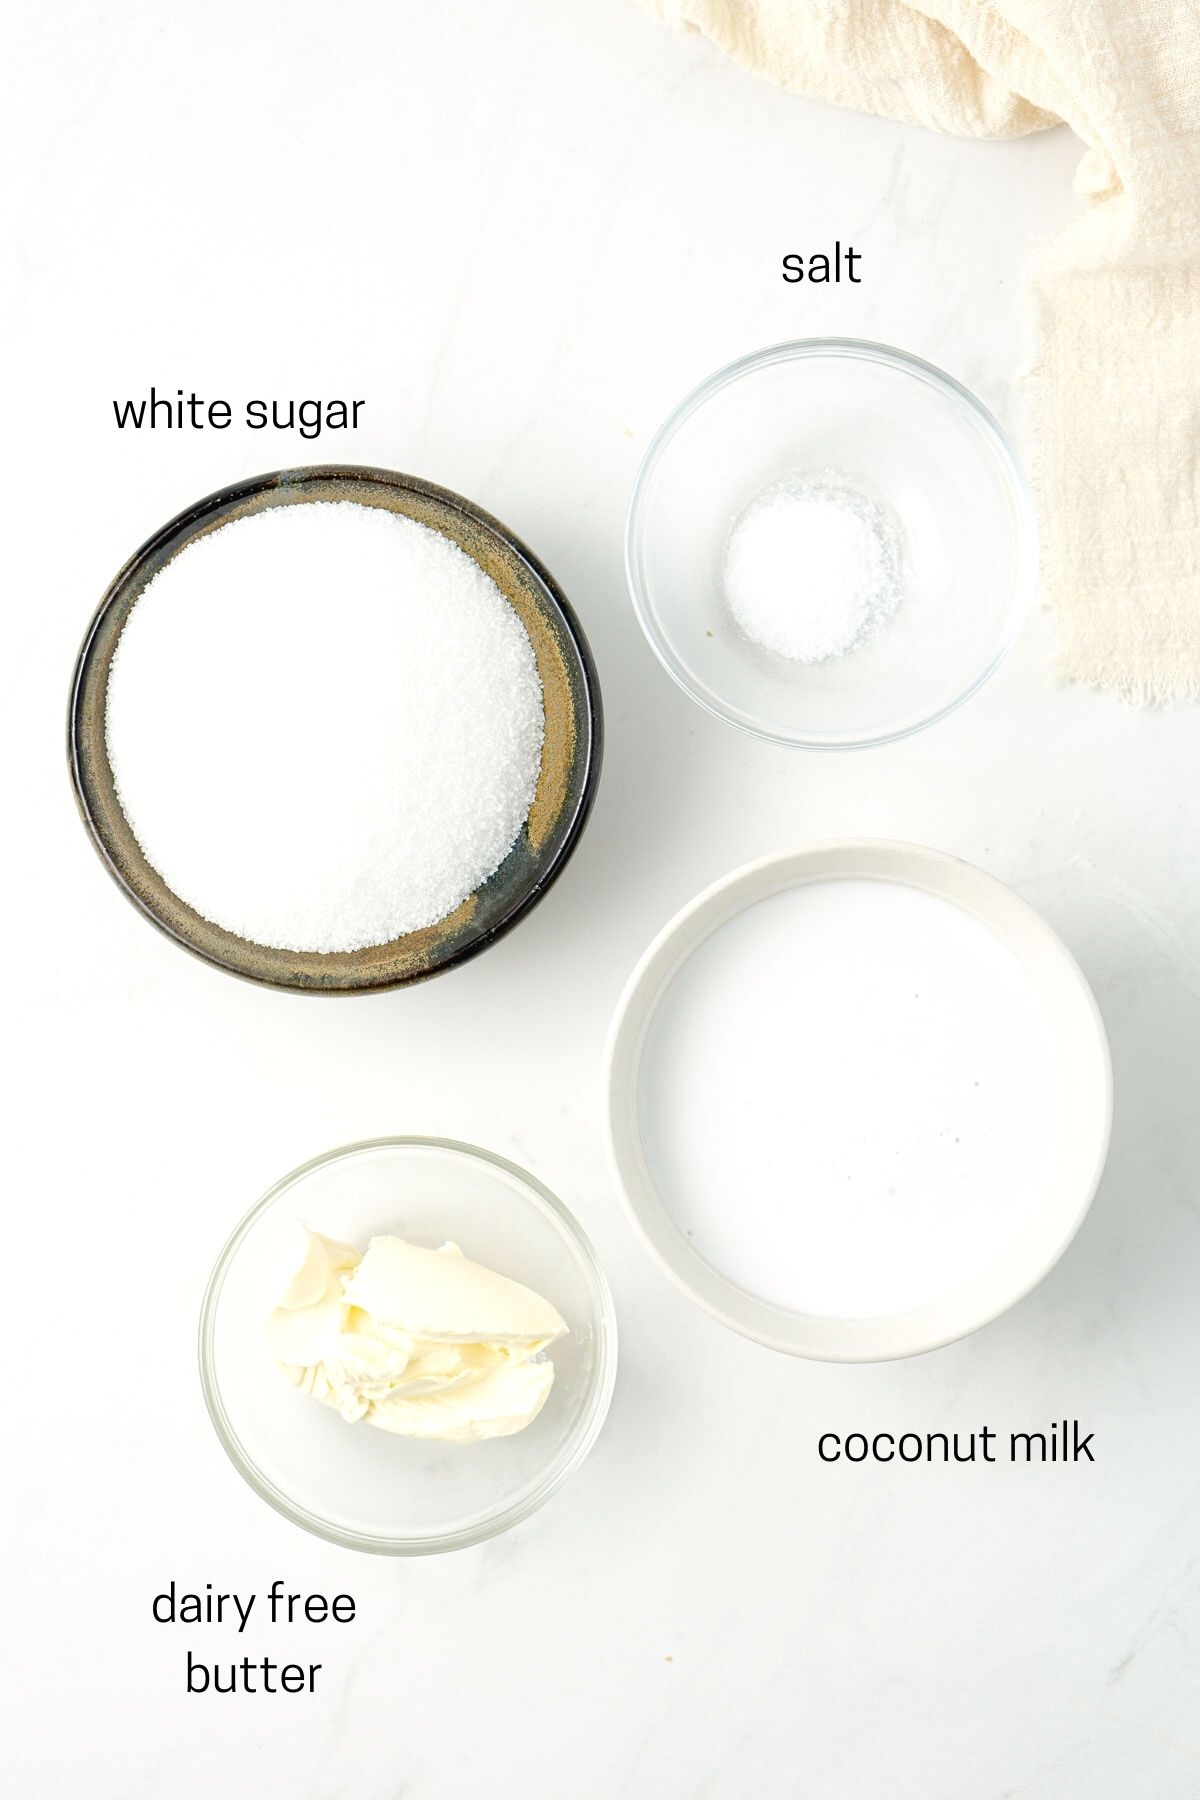
Key Ingredients
This ingredient list is quite simple with just 4 ingredients needed to get the perfect vegan salted caramel sauce. As the ingredient list is small though, the quality of each does play a part and I don’t recommend making any substitutions as that will yield a different result.
- White sugar – just regular plain white sugar becomes the base of our caramel.
- Dairy-free butter – I always use Nuttelex buttery as my vegan butter substitute because I find it has the best flavour without being oily. But use a brand that you know and love the taste of.
- Coconut milk – always from the can, and remember the quality here matters so make sure it’s one without any additives and thick and creamy. I only use the TCC brand coconut milk from the supermarket as I have found it to have the best results in all my baking and cooking.
- Salt – regular caramel sauce will have just a little, but salted caramel sauce will have more. You can adjust this to taste depending on how sweet or salty you prefer the caramel.
Step-By-Step Instructions
Making caramel from scratch can be intimidating as if you don’t watch that sugar like a hawk, you can end up with a bitter and burnt sticky mess. But by following a few simple steps and making sure you are prepared and know what to expect, you will be the master of homemade caramel in no time.
To get started, choose a small saucepan, preferably one with taller sides as you want to ensure there is enough room for the mixture to bubble up when the dairy-free butter and coconut milk are added without spilling out the sides.
Place your saucepan on the stove on a medium to low heat with the sugar. How hot exactly will be highly dependent on your stove top (for my induction cooktop it was a medium heat, but for my gas stove it’s very low), so just keep an eye on your sugar and adjust the temperature as necessary.
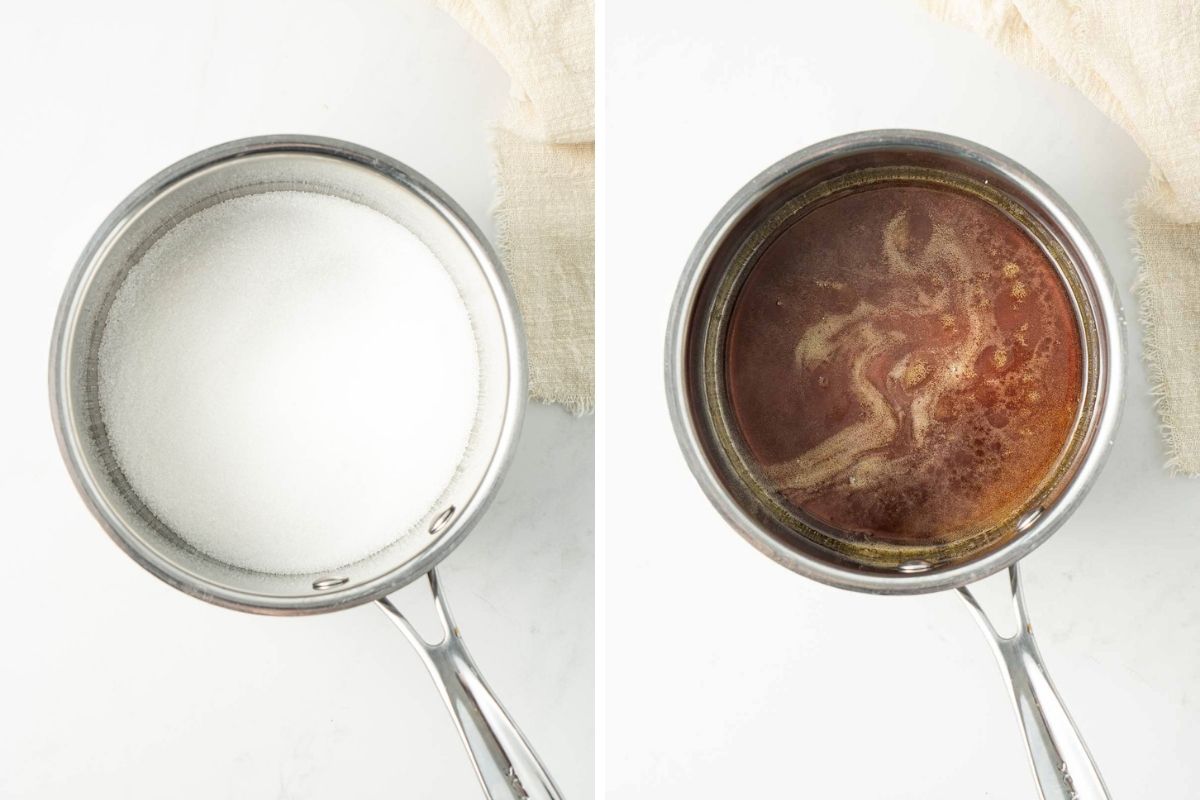
There is a little debate around whether to stir or not stir the sugar as it melts. I like to stir with a wooden spoon, but not constantly, just enough so that you are moving the sugar around so it heats evenly and preventing crystallisation on the edges of the pan.
The sugar will take a few minutes to start to melt and you will be tempted to hurry the process along by turning up the heat – don’t do this. Patience is the key to success here so just watch and wait and eventually you will see the sugar start to melt and turn a light golden colour.
In this step we really want to keep the sugar nice and lightly golden, so if you find the sugar getting a little dark before all the sugar has melted, just turn down the heat and keep stirring, breaking down any larger lumps with your wooden spoon.
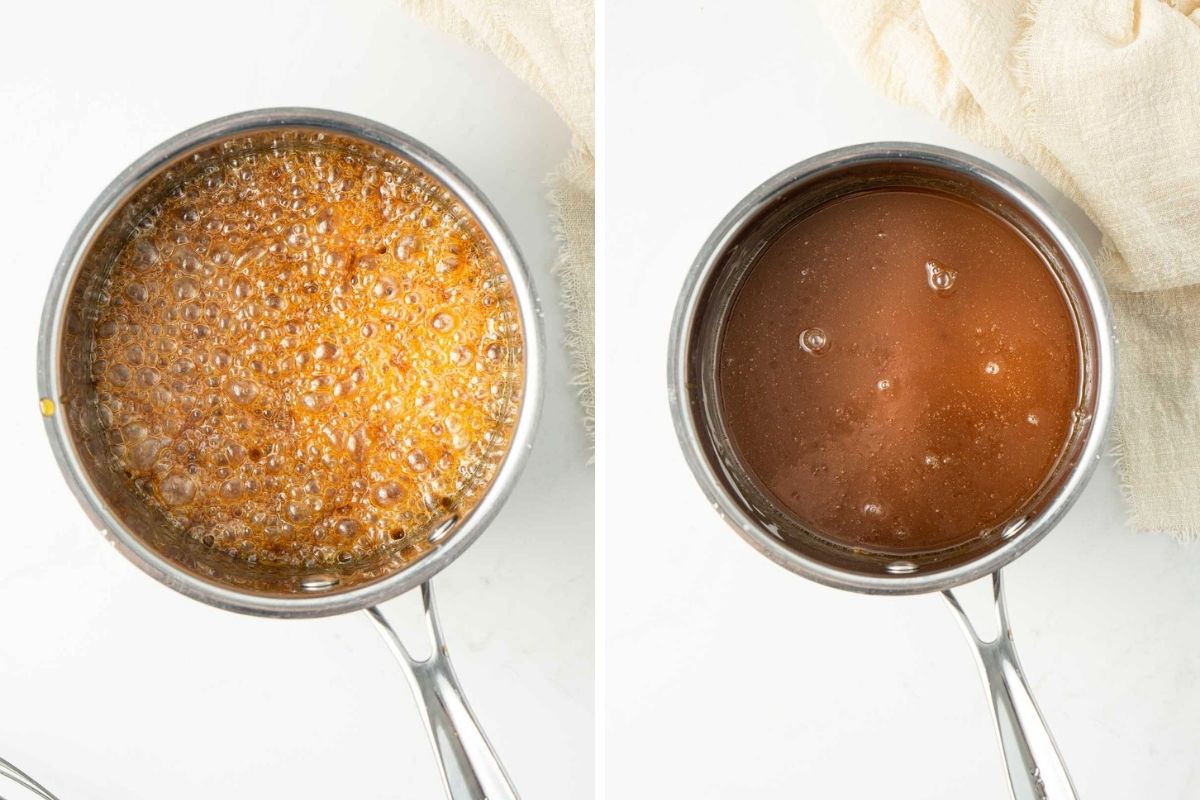
It is pretty important that your dairy-free butter and coconut milk are at room temperature before you start making your caramel as adding cold ingredients to the hot sugar will cause it to not mix through correctly.
As soon as all of the sugar is melted, add the dairy-free butter and mix through. This is where the mixture will bubble up, as even though you had it at room temperature, there is still a difference in temperature of the ingredients. You may want to grab a whisk to help mix the butter into the sugar.
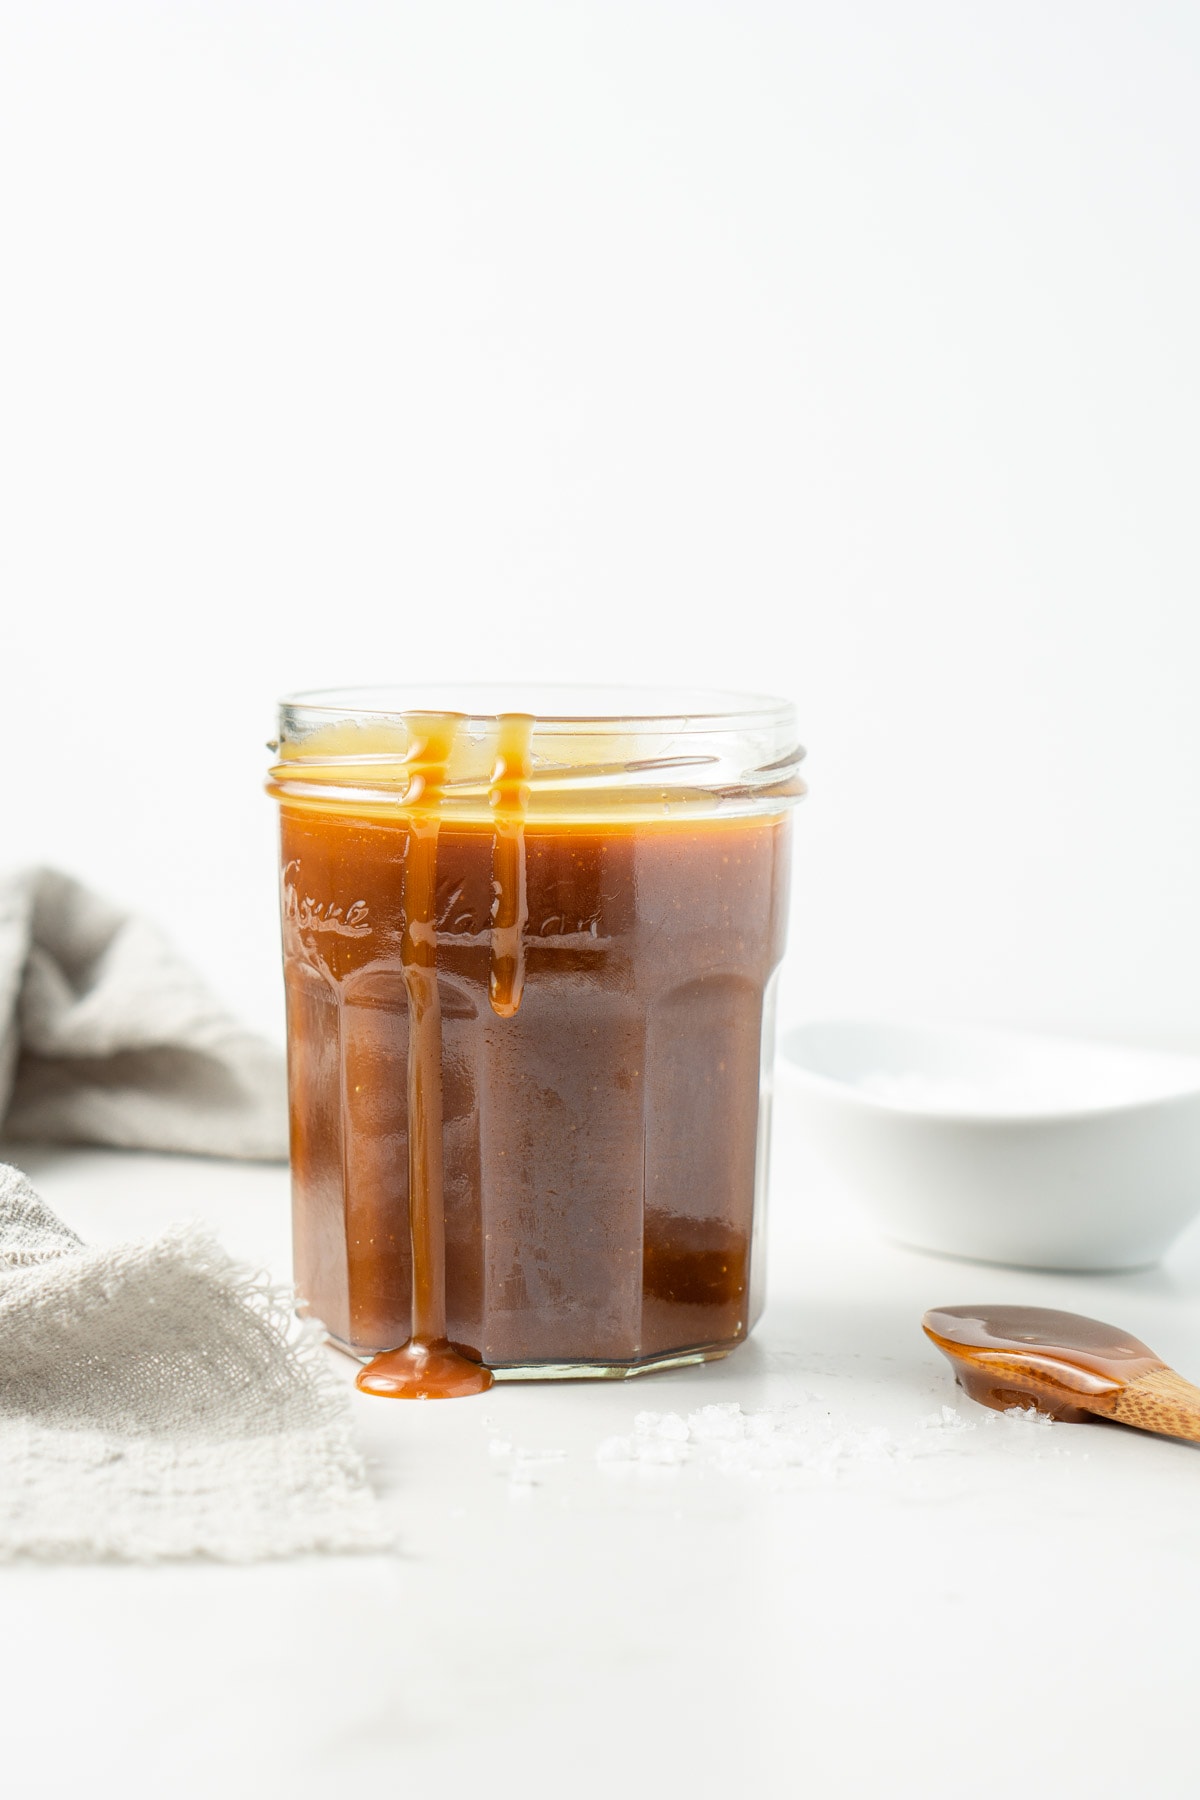
Add in the coconut milk and whisk through until everything is smooth. Leave it on the stove and let it boil for 5-10 minutes, you don’t have to stir during this bit. During this time you will notice the caramel darken in colour and start to thicken. You will know that it is done when it is an amber colour and coats the back of a spoon.
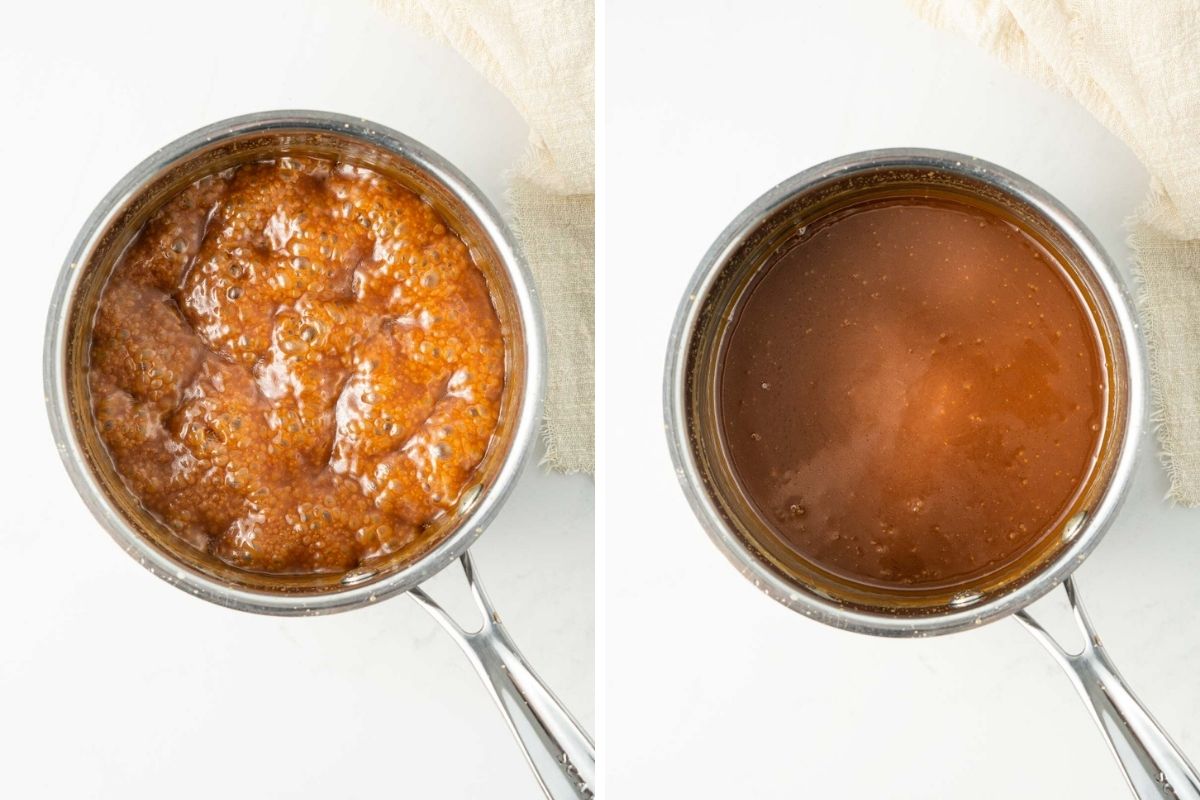
Once you’re happy with the caramel, take it off the heat and mix through the salt. This part is always a bit subjective. If you prefer regular sweet caramel to the salted variety add in about ¼ of a teaspoon to start, while for salted, I start with ½ a teaspoon and then adjust from there until I get the flavour I like. You can always add more salt but you cannot take it away if you add too much!
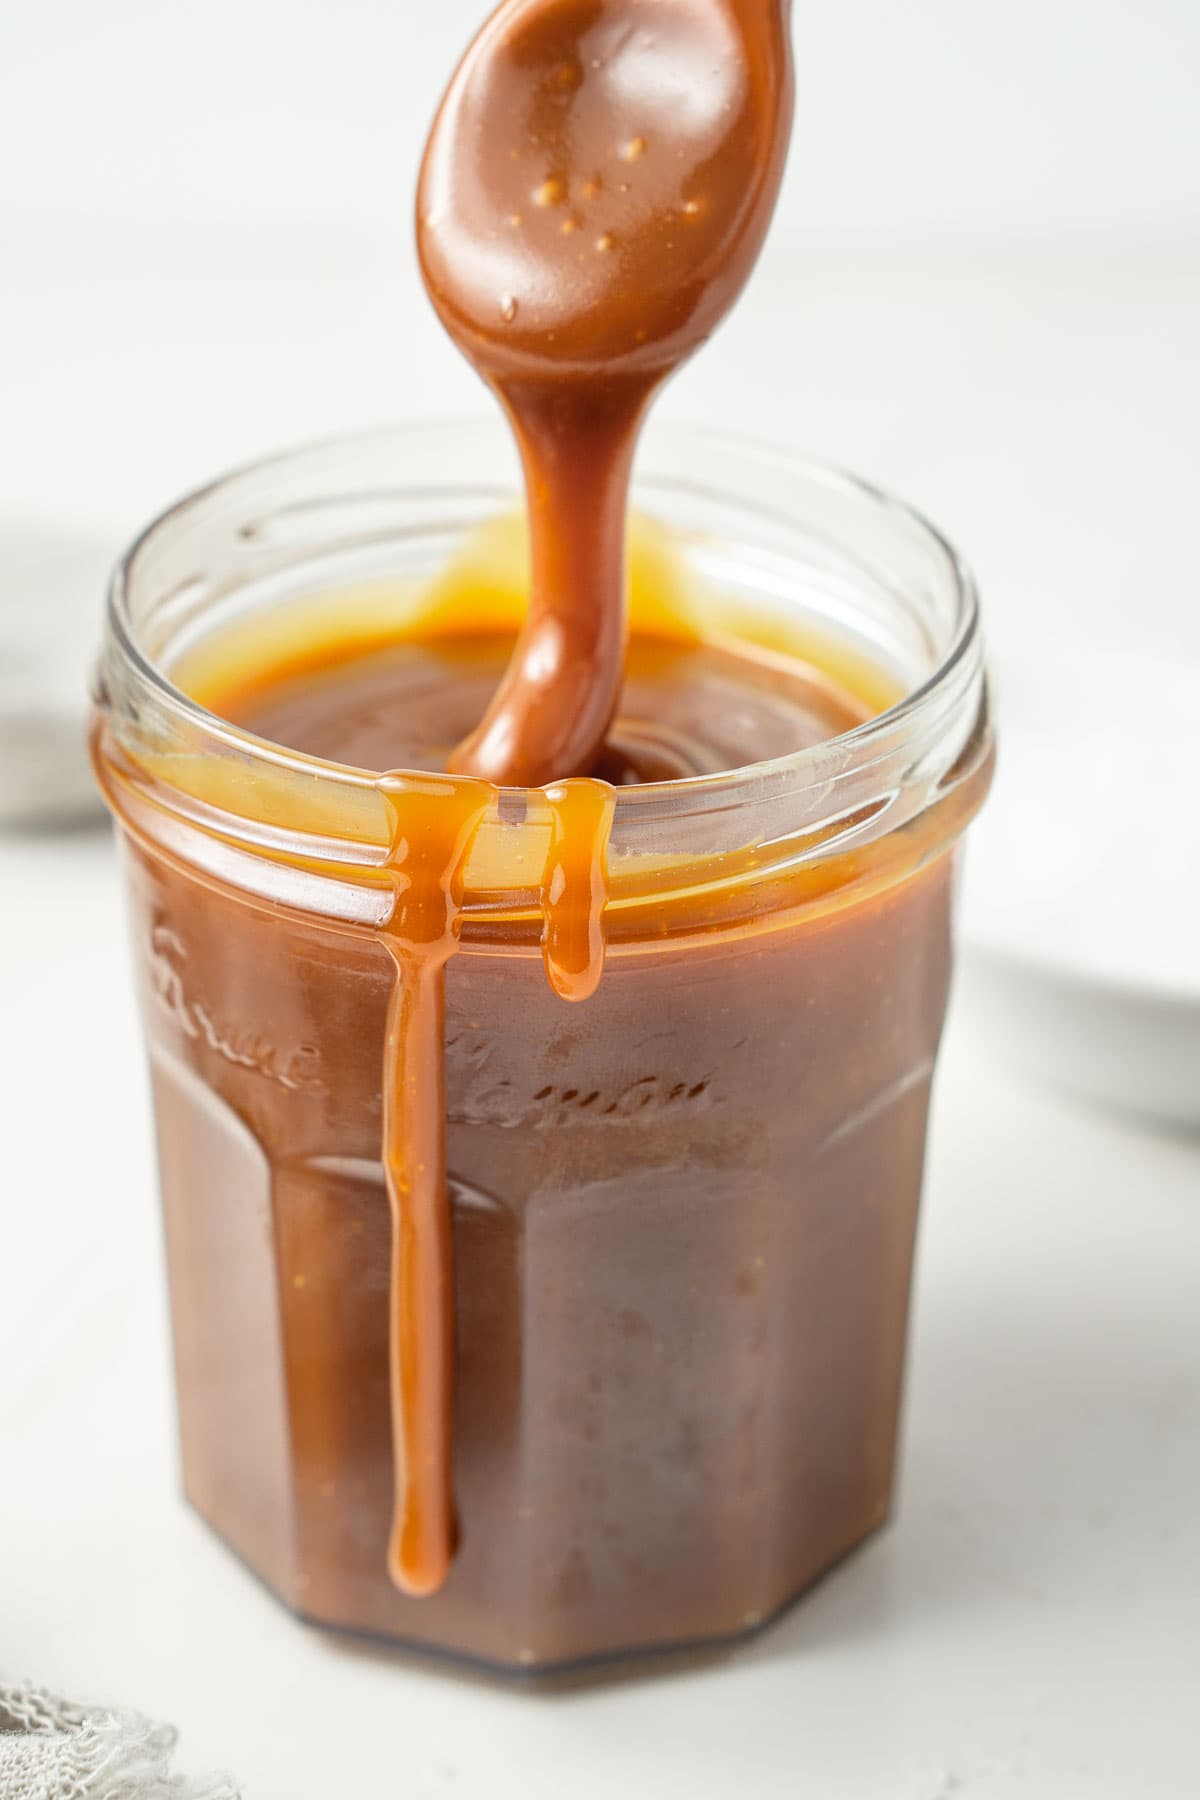
Let the caramel cool down to room temperature in the saucepan as the sauce will continue to thicken. Pour the cooled caramel into a jar to store.
I love to make this dairy free caramel in advance as it will happily store in a jar in the fridge for up to 2 weeks.
It will get really thick in the fridge however, so you’ll need to either pop the jar in the microwave before using if you want it to have a little more ‘drizzle’ consistency or place the entire jar in a small bowl of warm water to soften it
More vegan favourites:
Vegan Sticky Date Pudding With Caramel Sauce
Vegan Caramel Slice
Vegan Biscoff Fudge
Vegan Chocolate Truffles
Vegan Salted Caramel Sauce
Ingredients
- 1 cup sugar
- 4 tablespoons dairy-free butter , room temperature
- 200 ml coconut milk
- ½ teaspoon salt , or to taste
Instructions
- In a small saucepan on a medium low heat, melt sugar giving it a stir, scraping the bottom and the sides with a wooden spoon as it starts to melt. You will get lumps and may even get some crystals which is ok, just slowly let the sugar melt into a syrup. It will start to turn a light golden colour. If it is getting too dark before the sugar has completely melted, then your heat is too high – turn it down and wait.
- Once the sugar had melted, add in dairy-free spread and stir through with a whisk until melted. The sugar is extremely hot, and the caramel will bubble up and increase in size during this step, so step back as you add in your ingredients being careful not to splash the mixture.
- Add in coconut milk and whisk to combine. Let the caramel come to the boil and then let simmer for 5-10 minutes until the mixture becomes an amber colour and it has thickened, coating the back of a spoon. Add salt and taste, adding more if you like it a bit saltier.
- Take the caramel off the heat and allow to cool. The mixture will continue to thicken until it has cooled completely. Pour cooled caramel into a jar and store in the fridge for up to 2 weeks. Drizzle over everything!
Nutrition
Nutritional information is provided as a guide only and is calculated using automated online tools, therefore we cannot guarantee the accuracy. We encourage you to make your own calculations based on the actual ingredients used in your recipe.


Rob says
Worked perfectly for me and was delicious. Made it a few times now. Just have to pay close attention to the recipe. Caramel can turn to burnt real fast.
Sally says
Amazing, thanks for your feedback Rob! Agree you can’t multi-task when making caramel!
K says
I tried three times and it didn’t work for me. too much liquid
Sally says
Sorry this happened for you, caramel can be tricky! Make sure to turn down your heat very low and continue to cook until the caramel has thickened. Remember the caramel will also continue to thicken as it cools.
Carmen says
What is dairy free spread? Like vegan butter? Or vegan cream cheese spread?
Sally says
Hi Carmen, yes vegan butter is perfect.
Camila says
Is it OK if I use carton coconut milk? Thanks!
Sally says
Hi Camila! It will depend on the type to be honest. I find the coconut milk I can find in a carton is too thin and usually has additional water added to it so I wouldn’t recommend that as you want a really thick coconut milk. If the brand of coconut milk you use in a carton has the same consistency as canned, then that will be fine, otherwise I would recommend waiting until you can get the canned stuff for the best result. Thanks!
Cece says
My butter didn’t seem to mix well.. it’s come out caramel with the butter oil separate.. what did I do wrong 😩🤣 thank you for the recipe tho 🙏
Sally says
Hi Cece, I am sorry to hear that! It’s possible your butter was too cold and it split when added to the hot sugar. The other reason may just be the type of vegan butter you used as there is quite a bit of variance between brands. I would suggest making sure your butter is room temperature and using a brand that is marketed to be as close to regular butter as possible rather than a margarine. Good luck for next time, caramel can be tricky but it get’s easier with practise!
Liz says
Do you use canned coconut milk or the carton type ? Great recipe!
Sally says
Hey Liz, I always use the canned type for best results 🙂
Amanda says
Do you find this works better with lite or full fat coconut milk?
Sally says
Hi Amanda. I always use full fat for best results here. Thanks!