

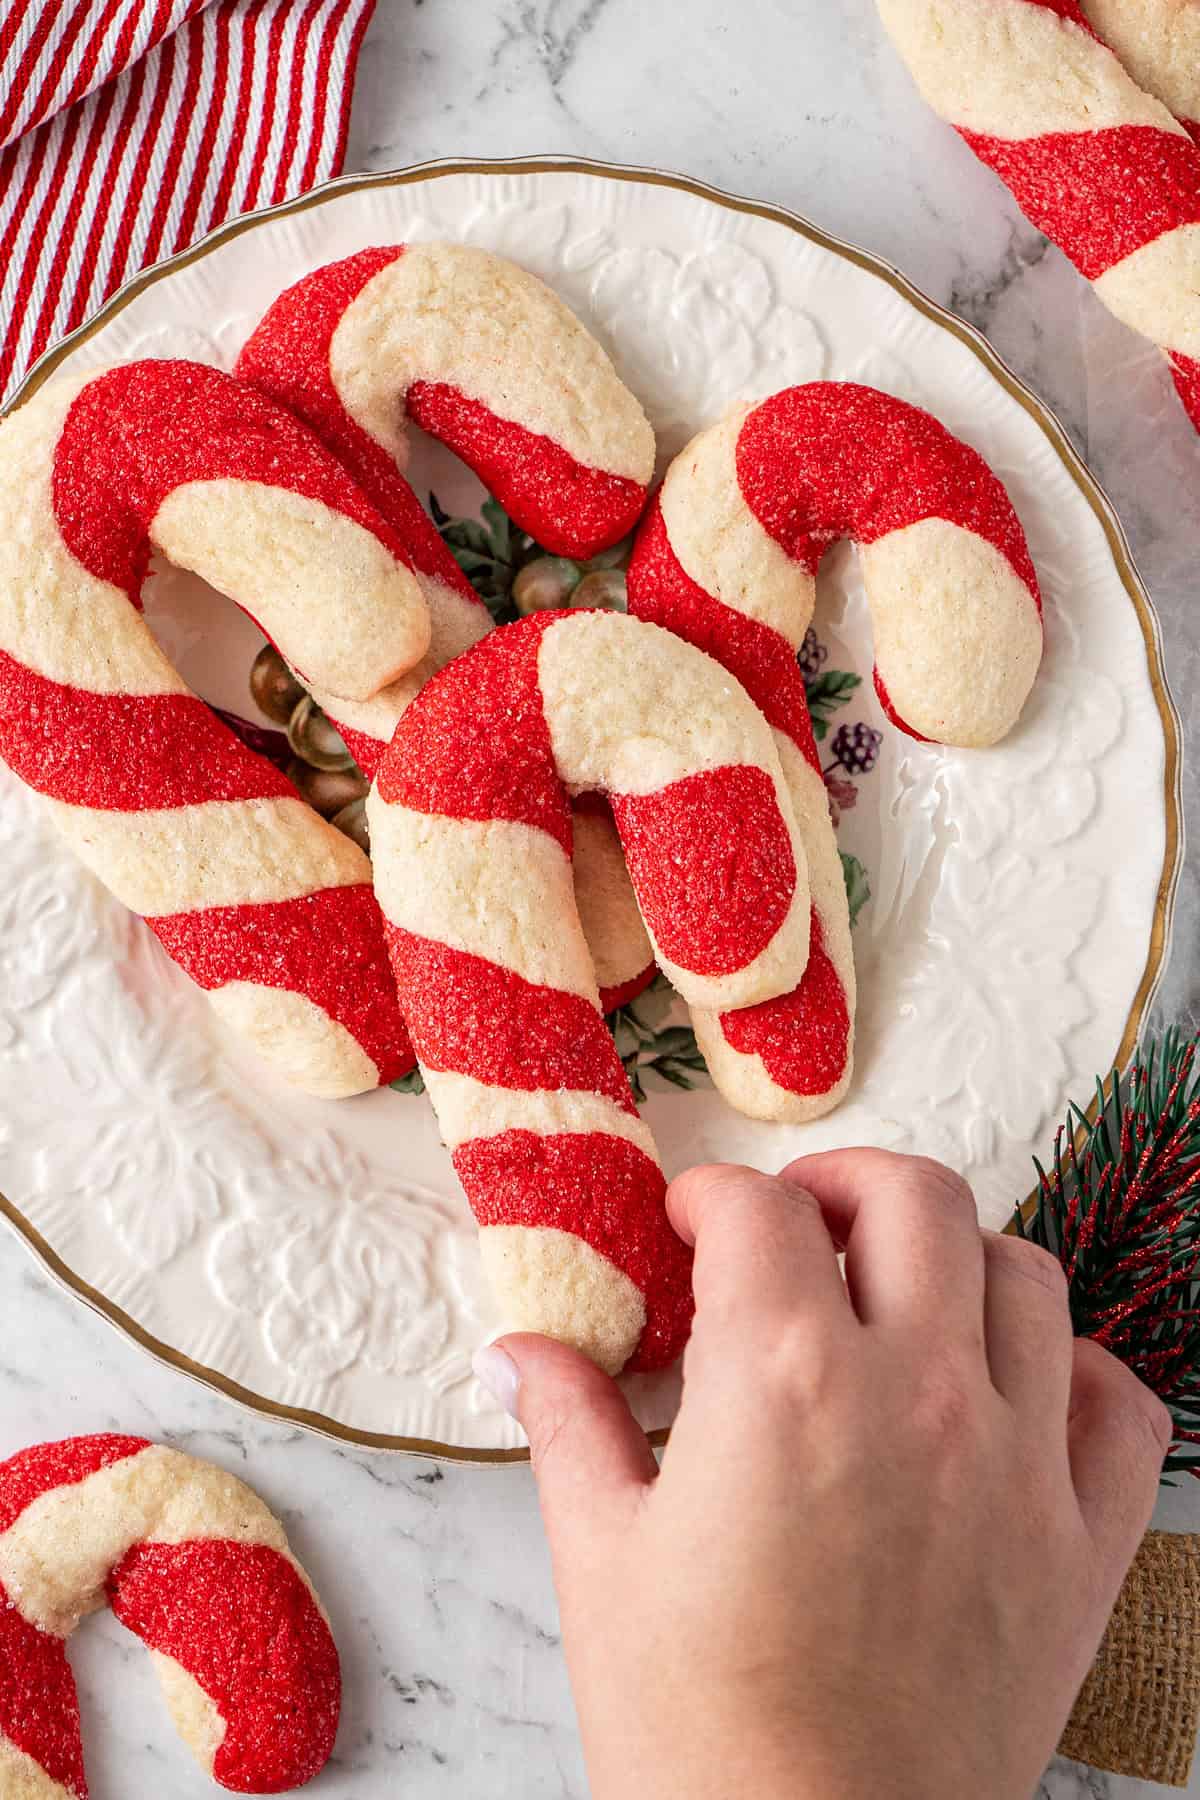
These dairy free candy cane cookies are big, soft and buttery sugar cookies twisted into festive red and white candy canes. They’re made with simple pantry staples with no fancy decorating, plus nobody will guess they’re dairy free.
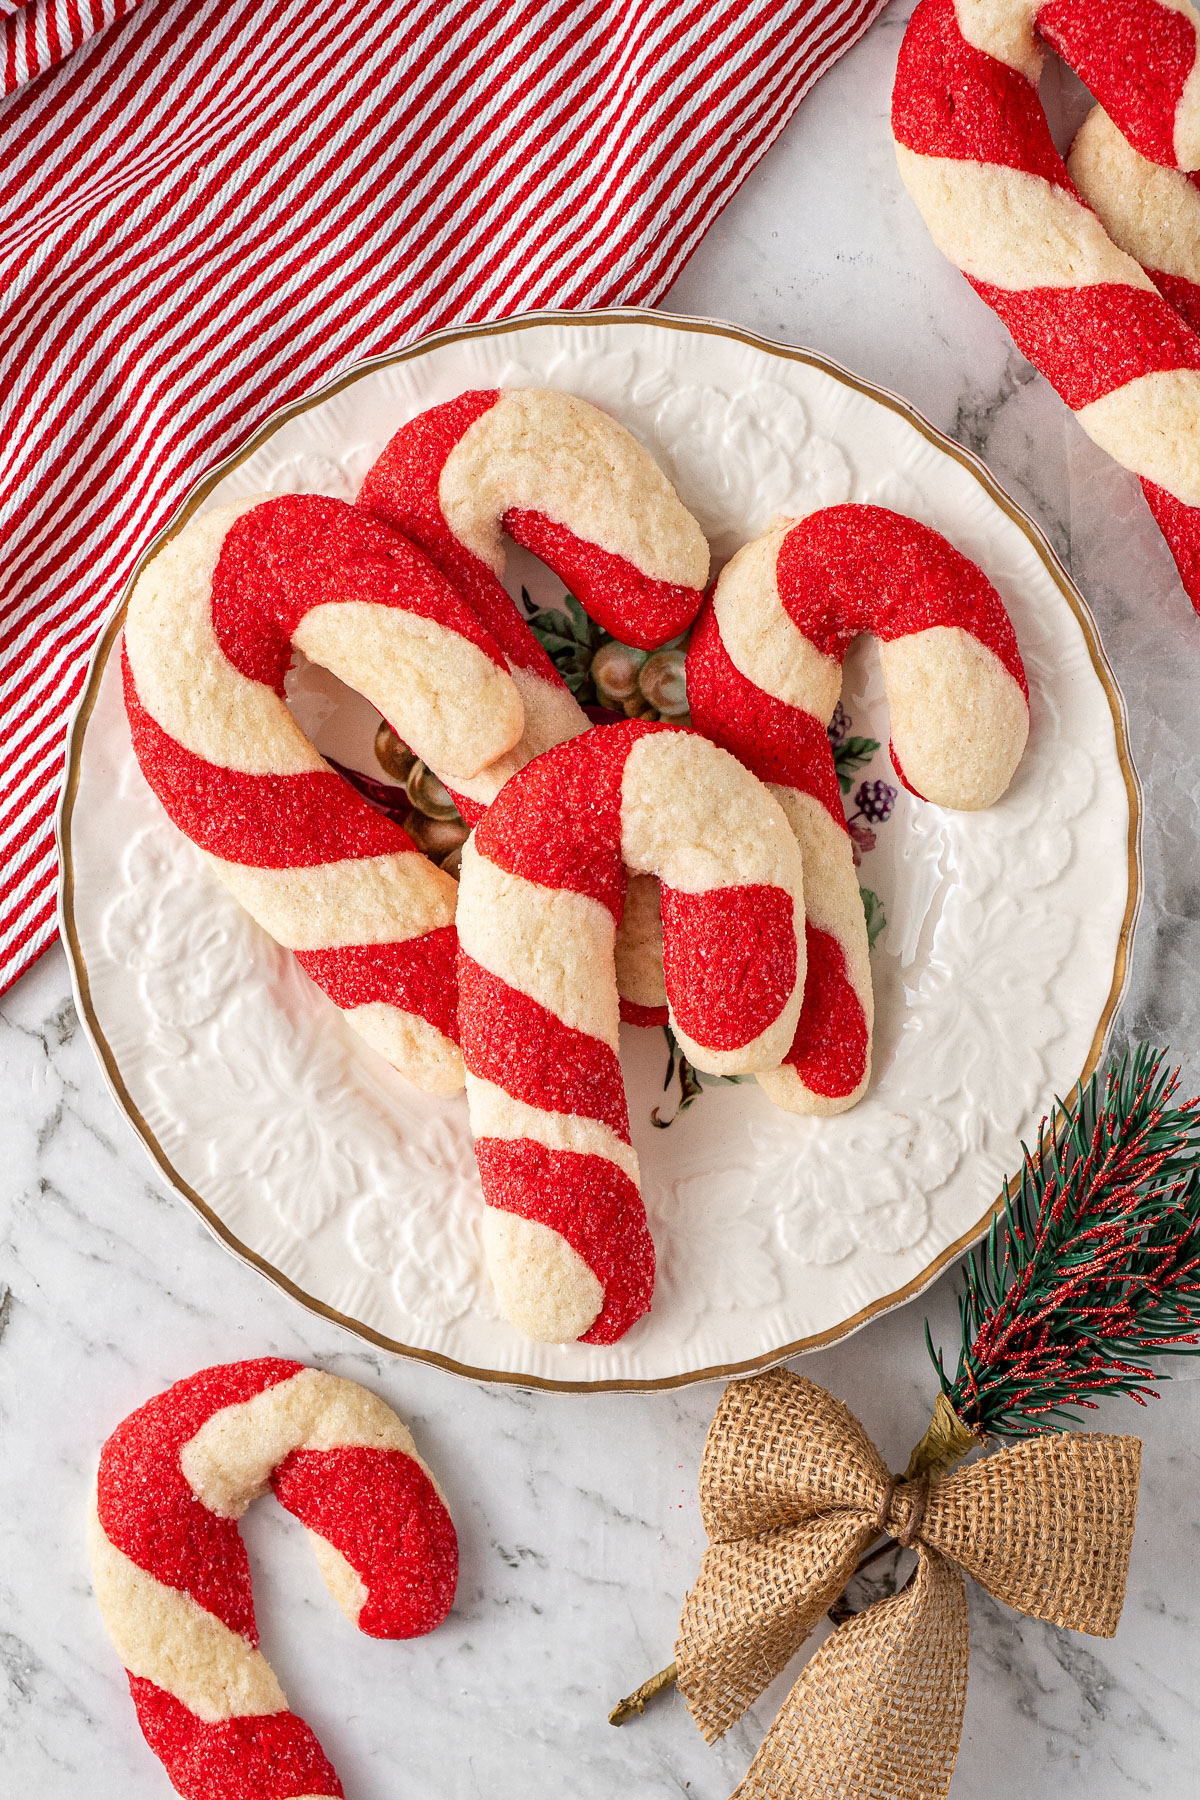
I first saw this idea for candy cane cookies when I was scrolling on Instagram and came across a beautiful reel from Kat at The Loopy Whisk. They were so perfect and fun that I immediately knew I was going to be making a dairy free version.
These are big, soft and buttery sugar cookies just like my classic dairy free sugar cookie recipe but coloured and shaped into candy canes making them perfect for the holidays. They look so good on a Christmas cookie platter, packed into a tin as a gift or left out on a plate for Santa.
I make some variation of sugar cookies every single year at Christmas, and over the years I have had countless comments from friends, family and work colleagues that they cannot believe these really do not contain real butter!
I’ve kept these cookies vanilla flavour as that’s what everyone loves, but you can easily add some peppermint extract to give them a classic candy cane taste as well.
This truely is the best cookie recipe if you’re dairy free or cooking for someone who is. Plus there is no need for any complicated decorating techniques as these cookies are already pretty enough.
Key Ingredients
One of the reasons this sugar cookie recipe is one of my favourites is because it uses pantry staples so I usually have everything I need to make a batch when the desire to bake hits.
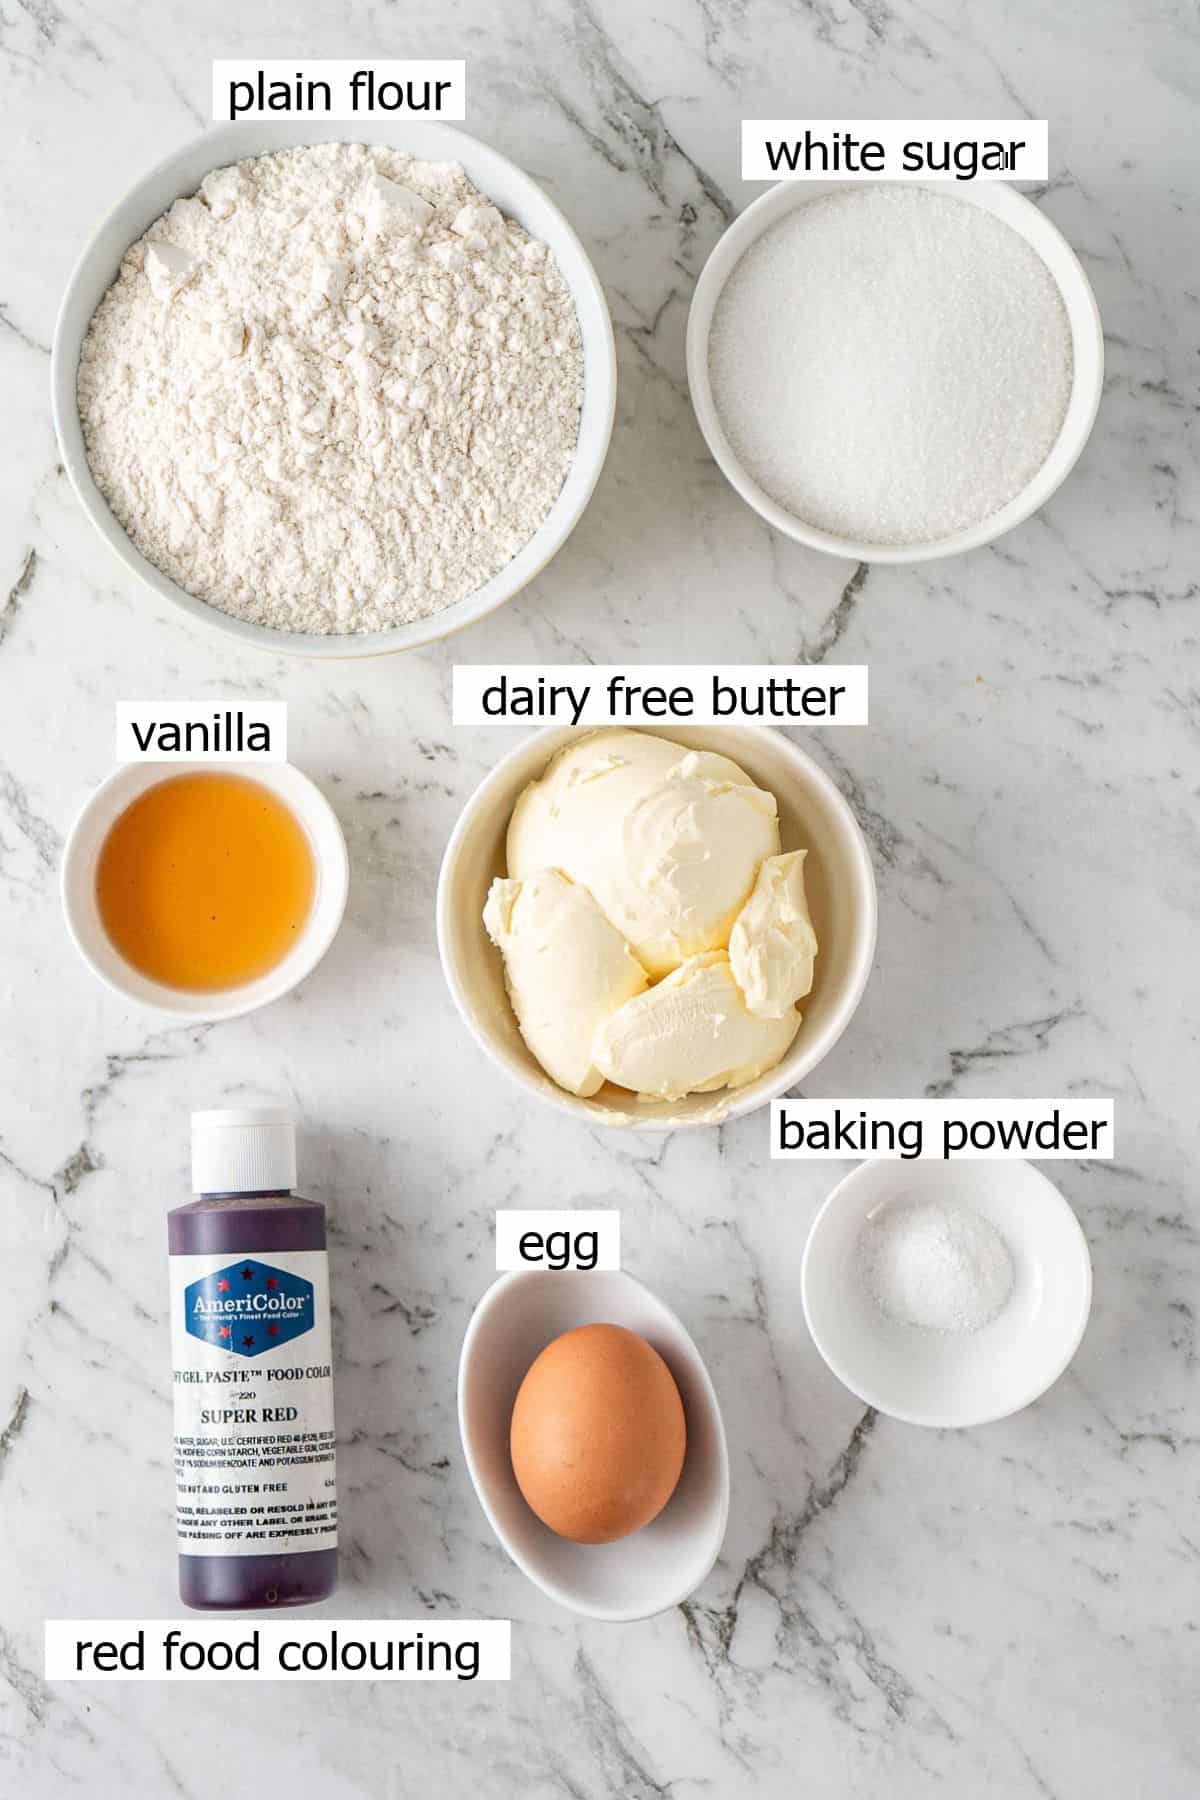
Note all ingredients and their quantities are laid out in the recipe card at the bottom of this post.
- Dairy free butter – I always use Nuttelex buttery for my baking as I find it produces the best result and is dairy free. I’ve not tested this recipe with regular butter so cannot confirm it will yield the same results.
- White sugar – it wouldn’t be a sugar cookie without the sugar! You’ll also need a little extra for rolling, which gives the cookies a sparkly, slightly crunchy outside that is so good!
- Egg – to bind the cookie together and ensure that classic soft texture.
- Vanilla – essential flavouring of the cookie.
- Plain flour – also known as all purpose flour in the US. I haven’t tested making these with gluten free flour.
- Baking powder – just a little bit to give these cookies that perfect soft texture.
- Red gel food colouring – gel colouring is the best as it gives a bold red without adding extra liquid which can make the dough sticky.
You’ll Also Love: Chocolate Peppermint Thumbprint Cookies
Step-By-Step Instructions
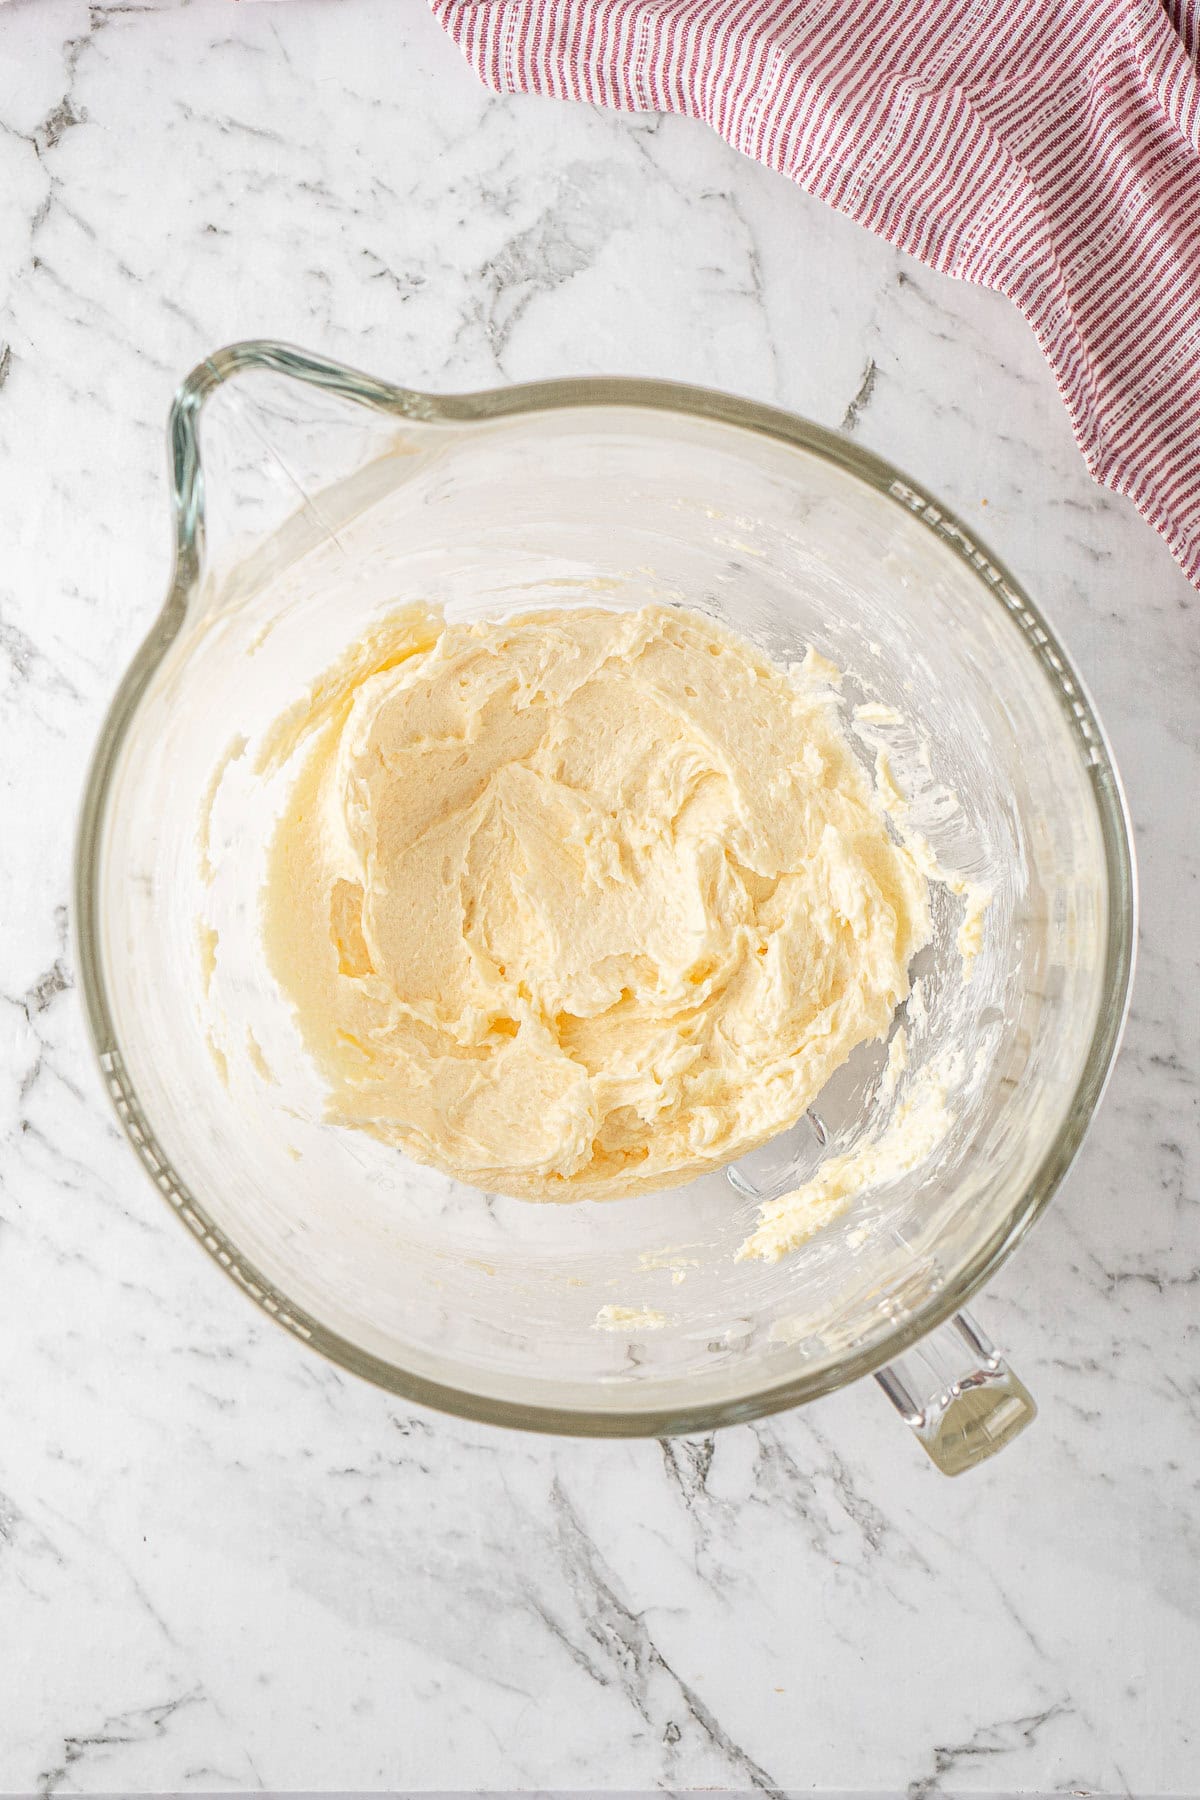
Step 1: Using a hand mixer or stand mixer, beat the dairy free butter and sugar together until light and fluffy. Add the egg and vanilla and mix on high for a couple of minutes until it’s smooth and combined.
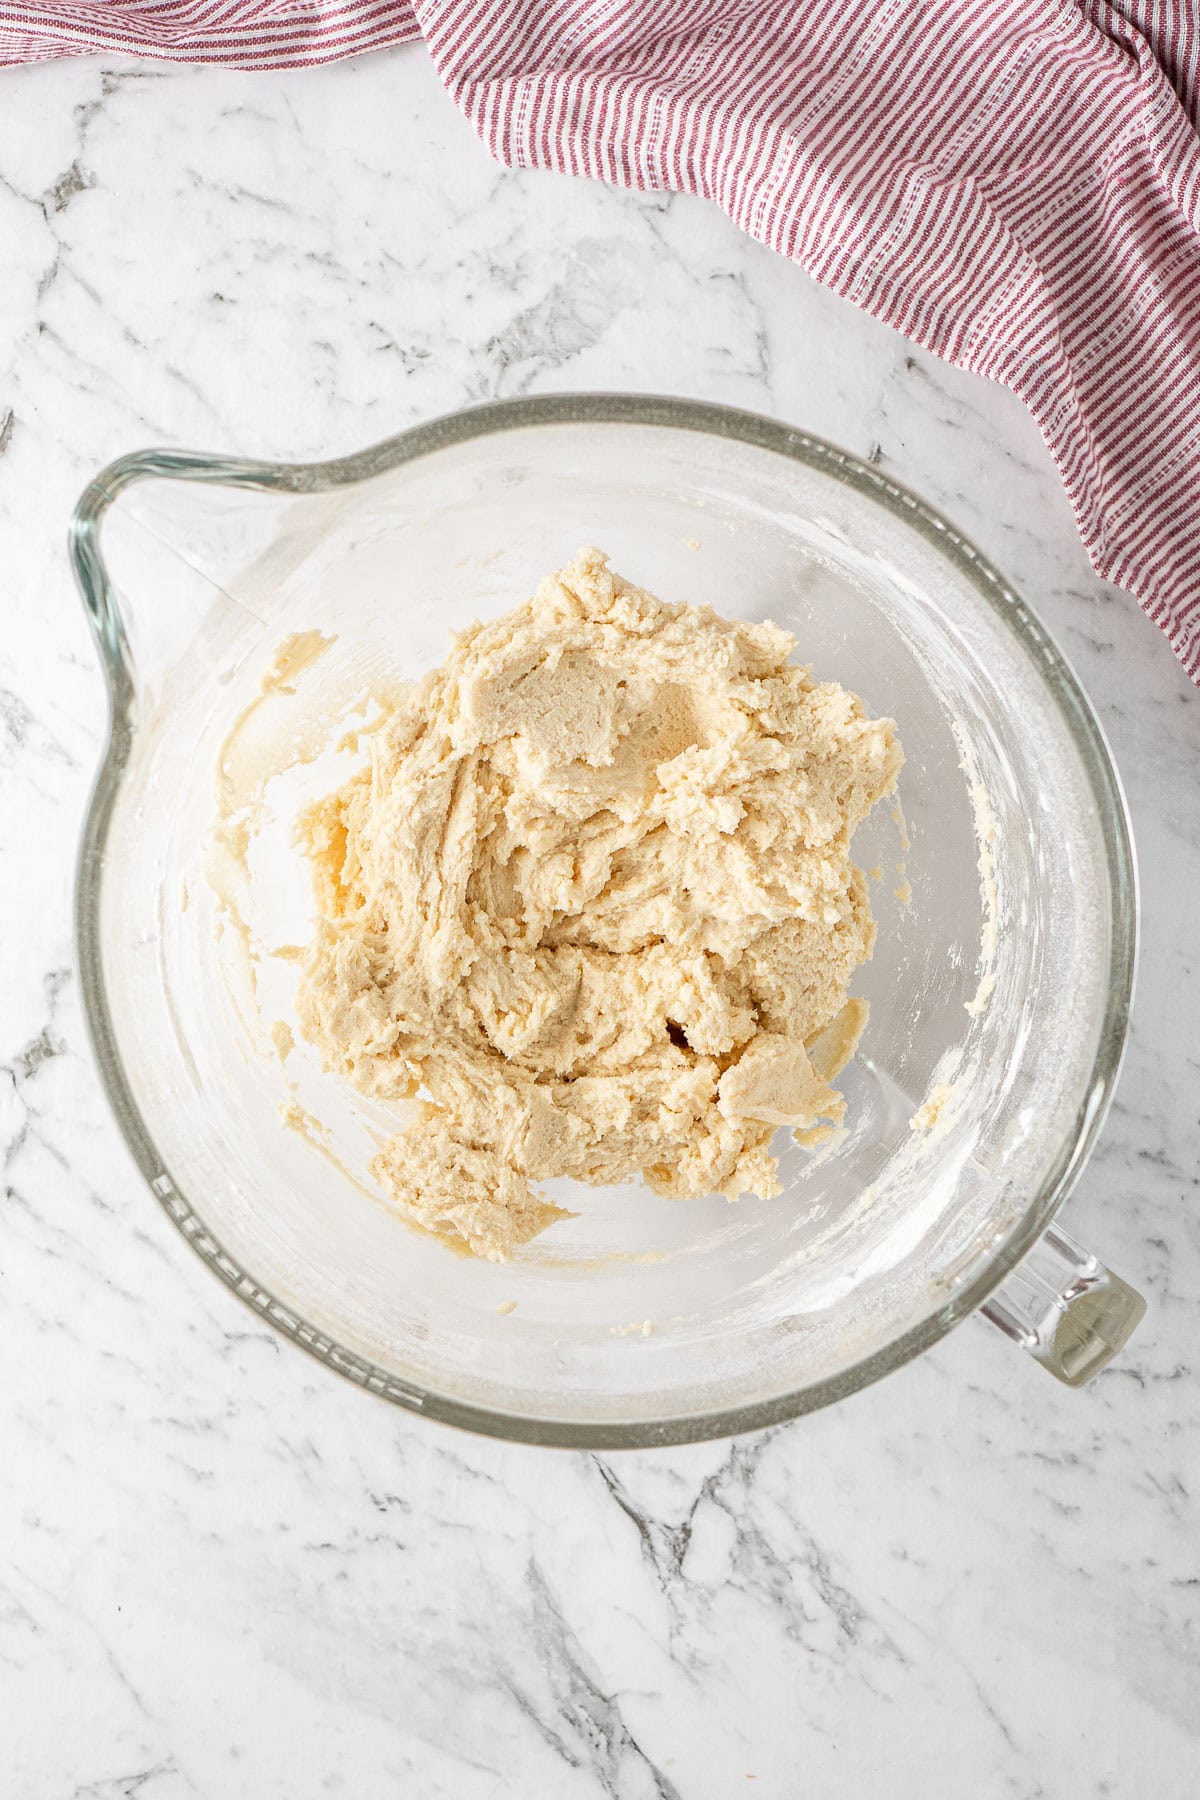
Step 2: Sift in the flour and baking powder and mix on low until the dough just comes together. Stop as soon as there’s no dry flour left.
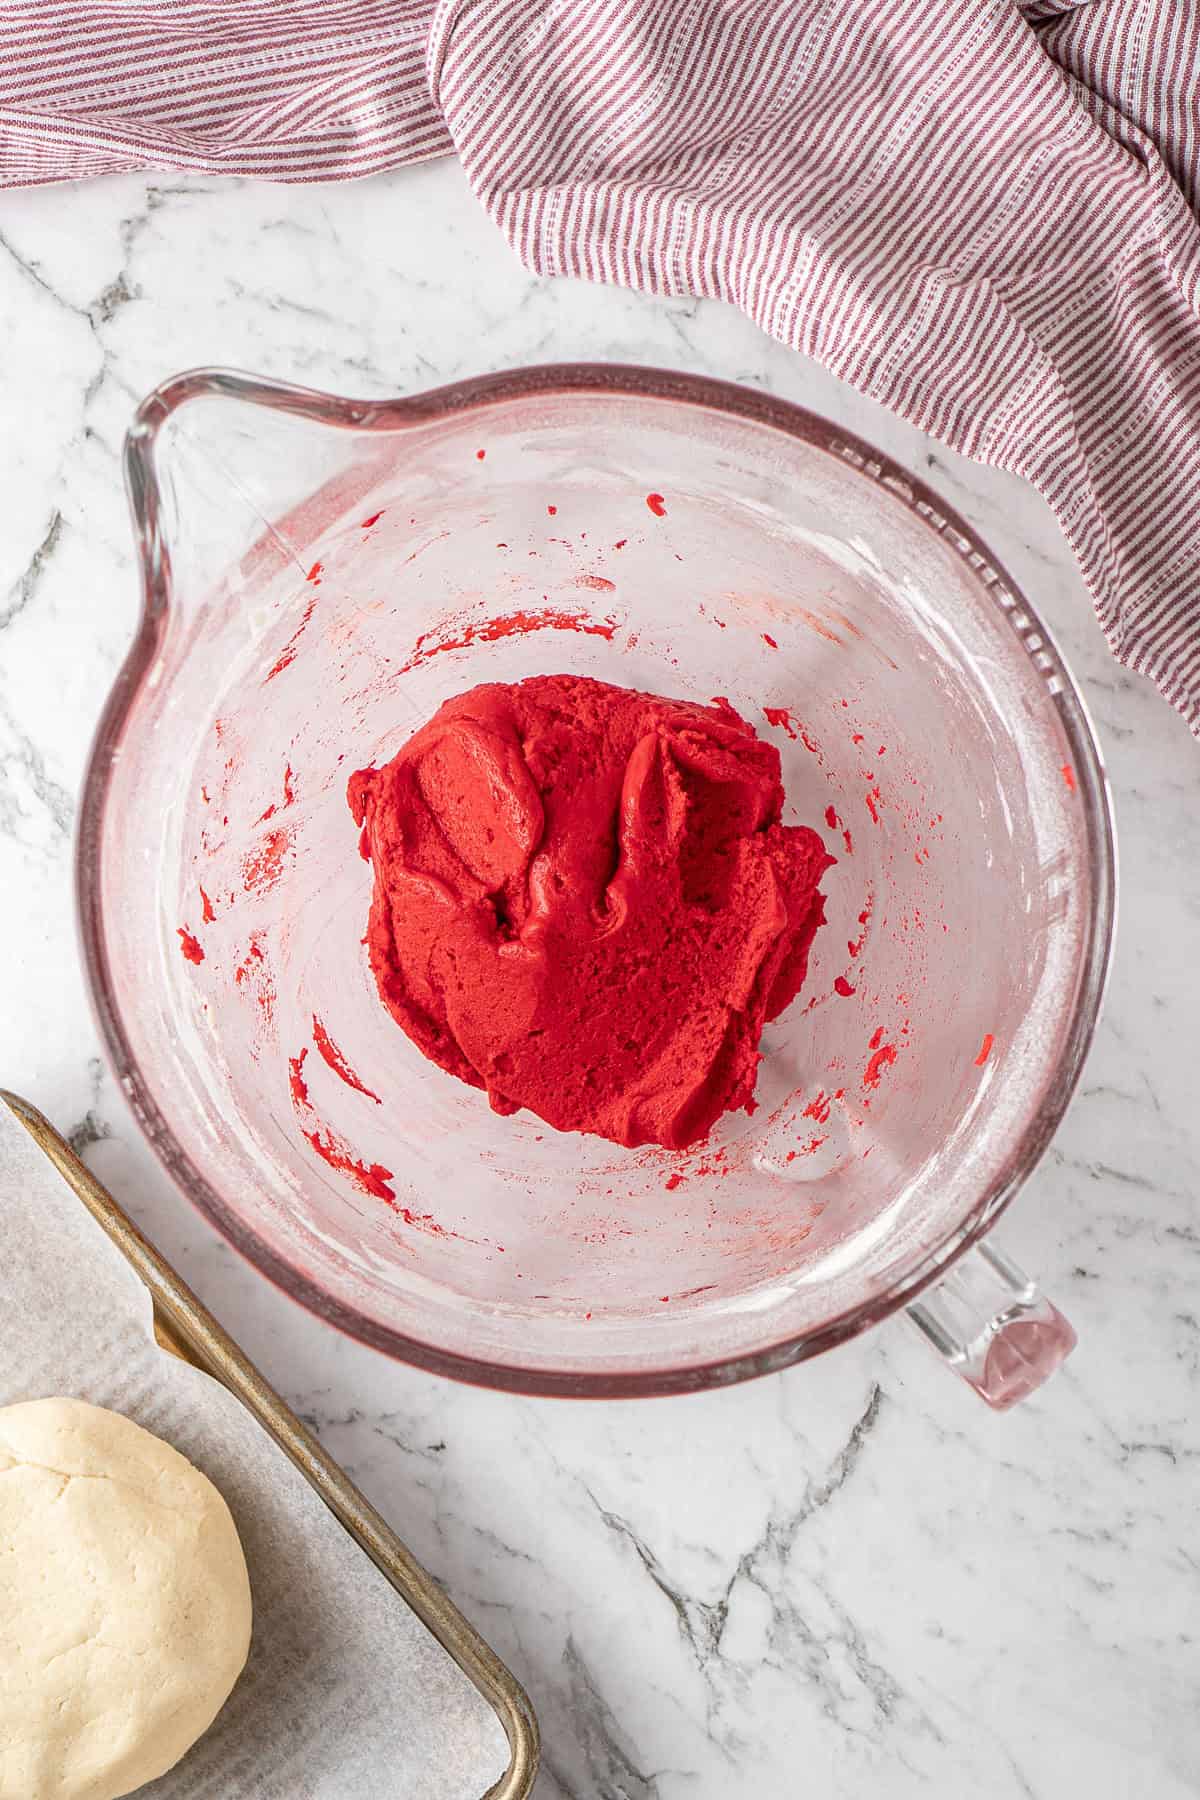
Step 3: Divide the dough in half and mix the red gel colouring into one half until you’re happy with the colour.
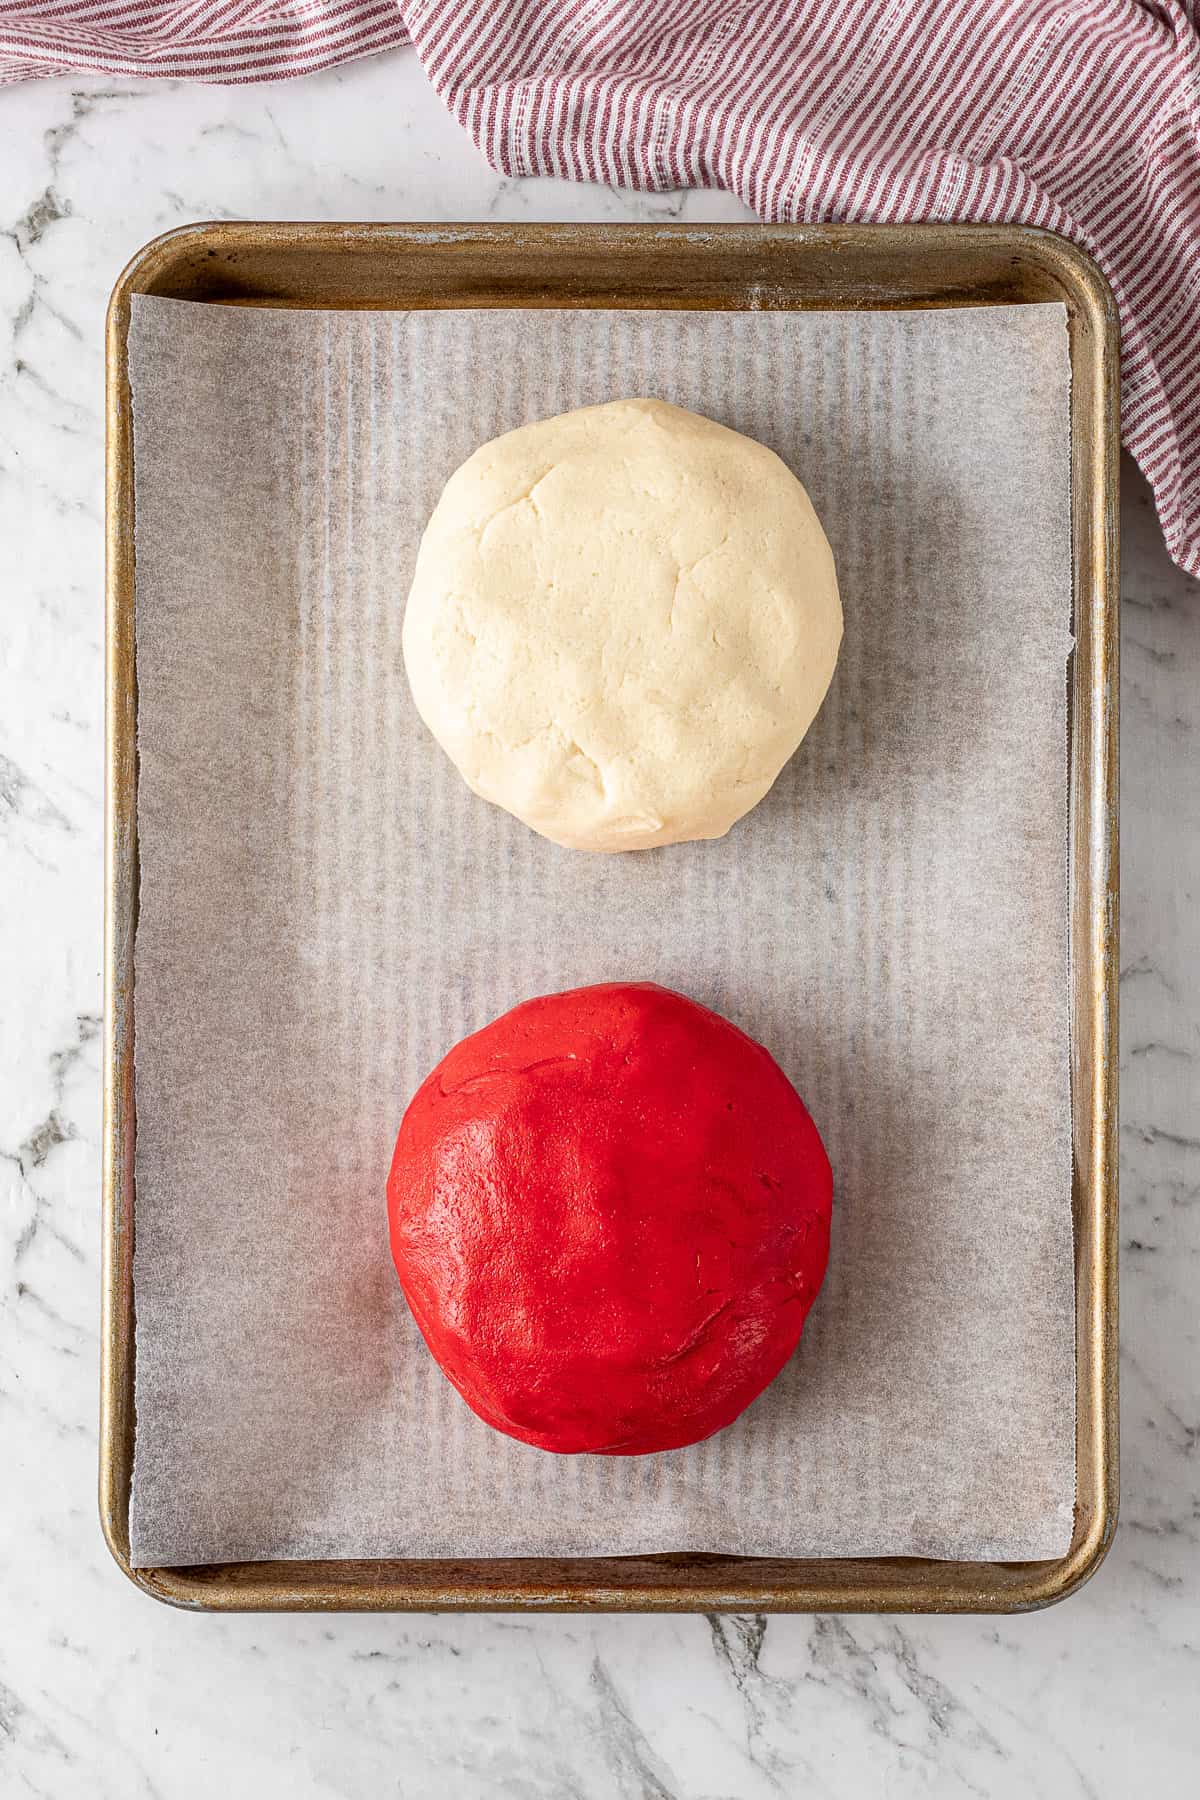
Step 4: Wrap both dough balls in plastic wrap and let them chill in the fridge for 30 to 60 minutes. This firms the dough up so it rolls into ropes without sticking to your hands.
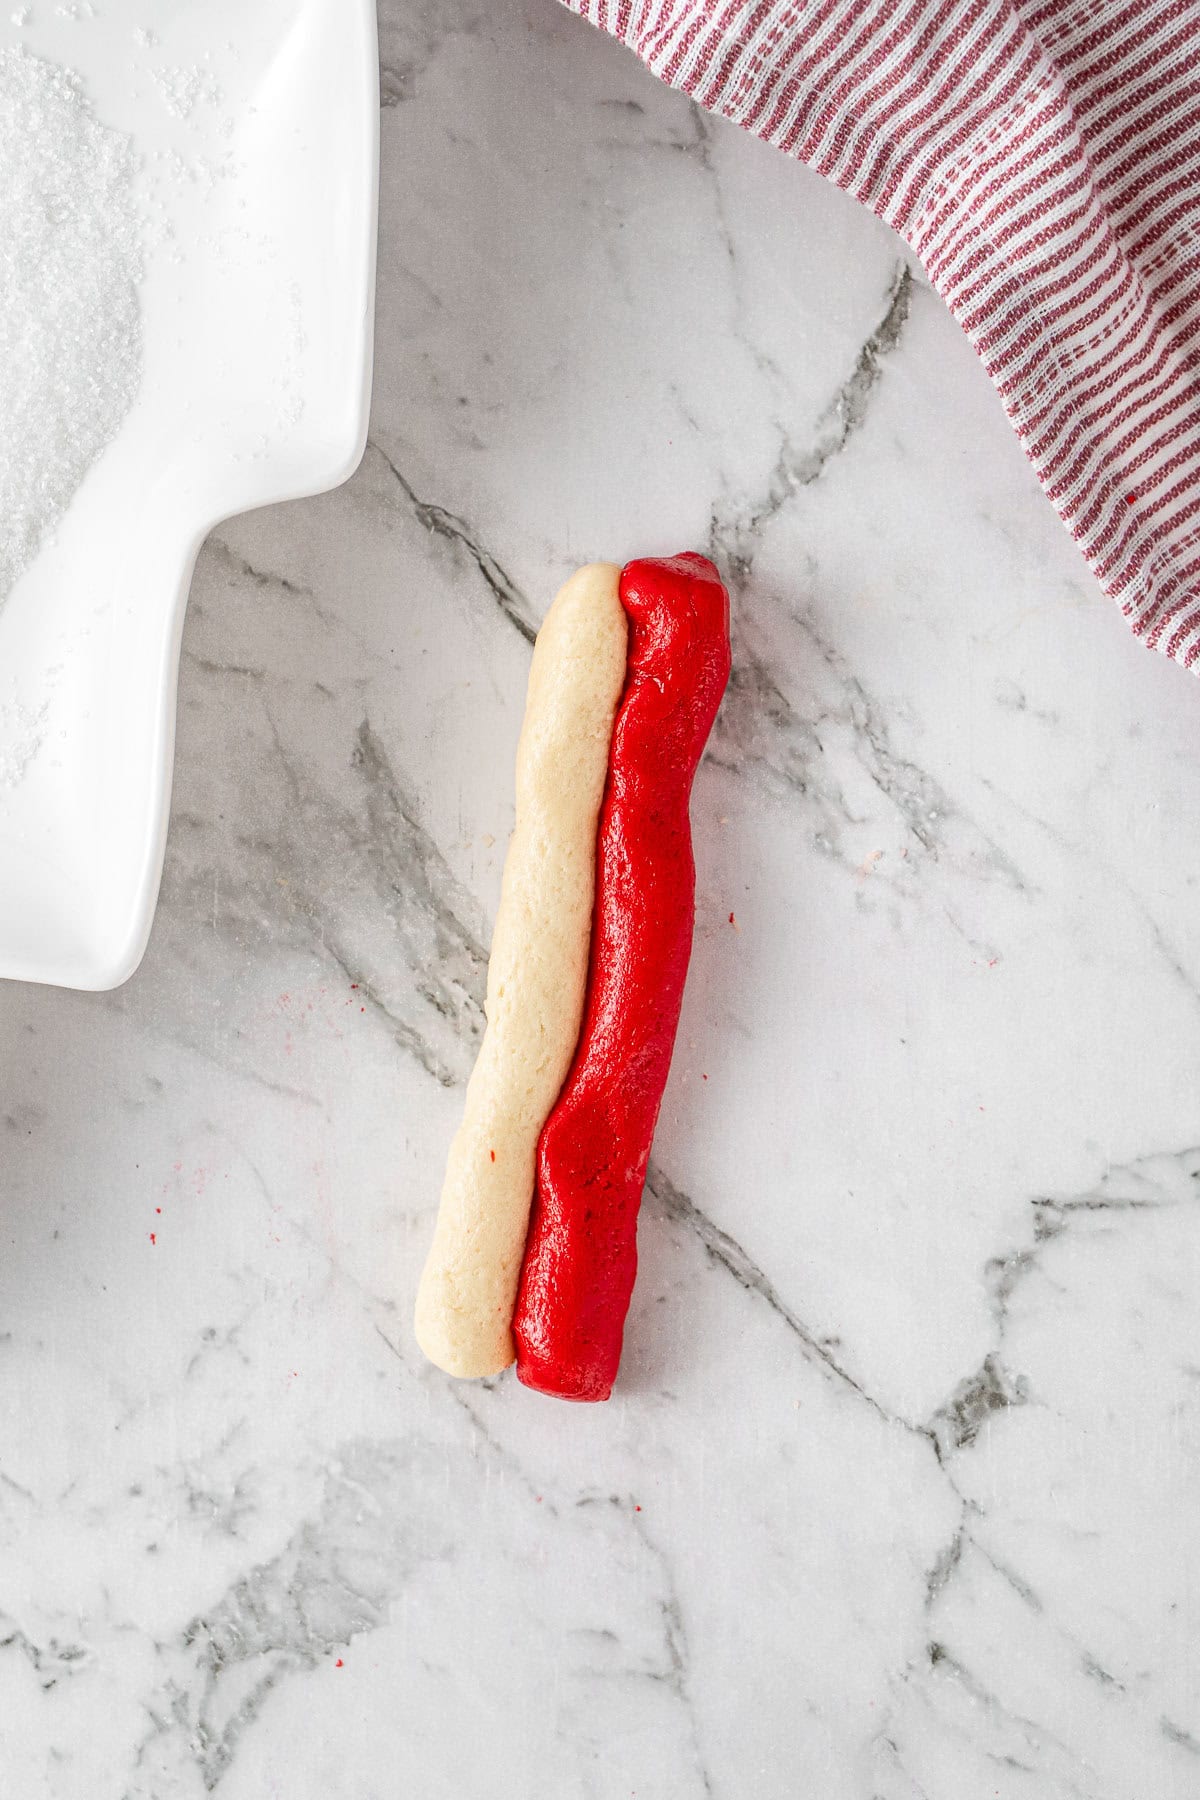
Step 5: Take 1 tablespoon of each colour and roll them into ropes about 10cm (4 inches) long.
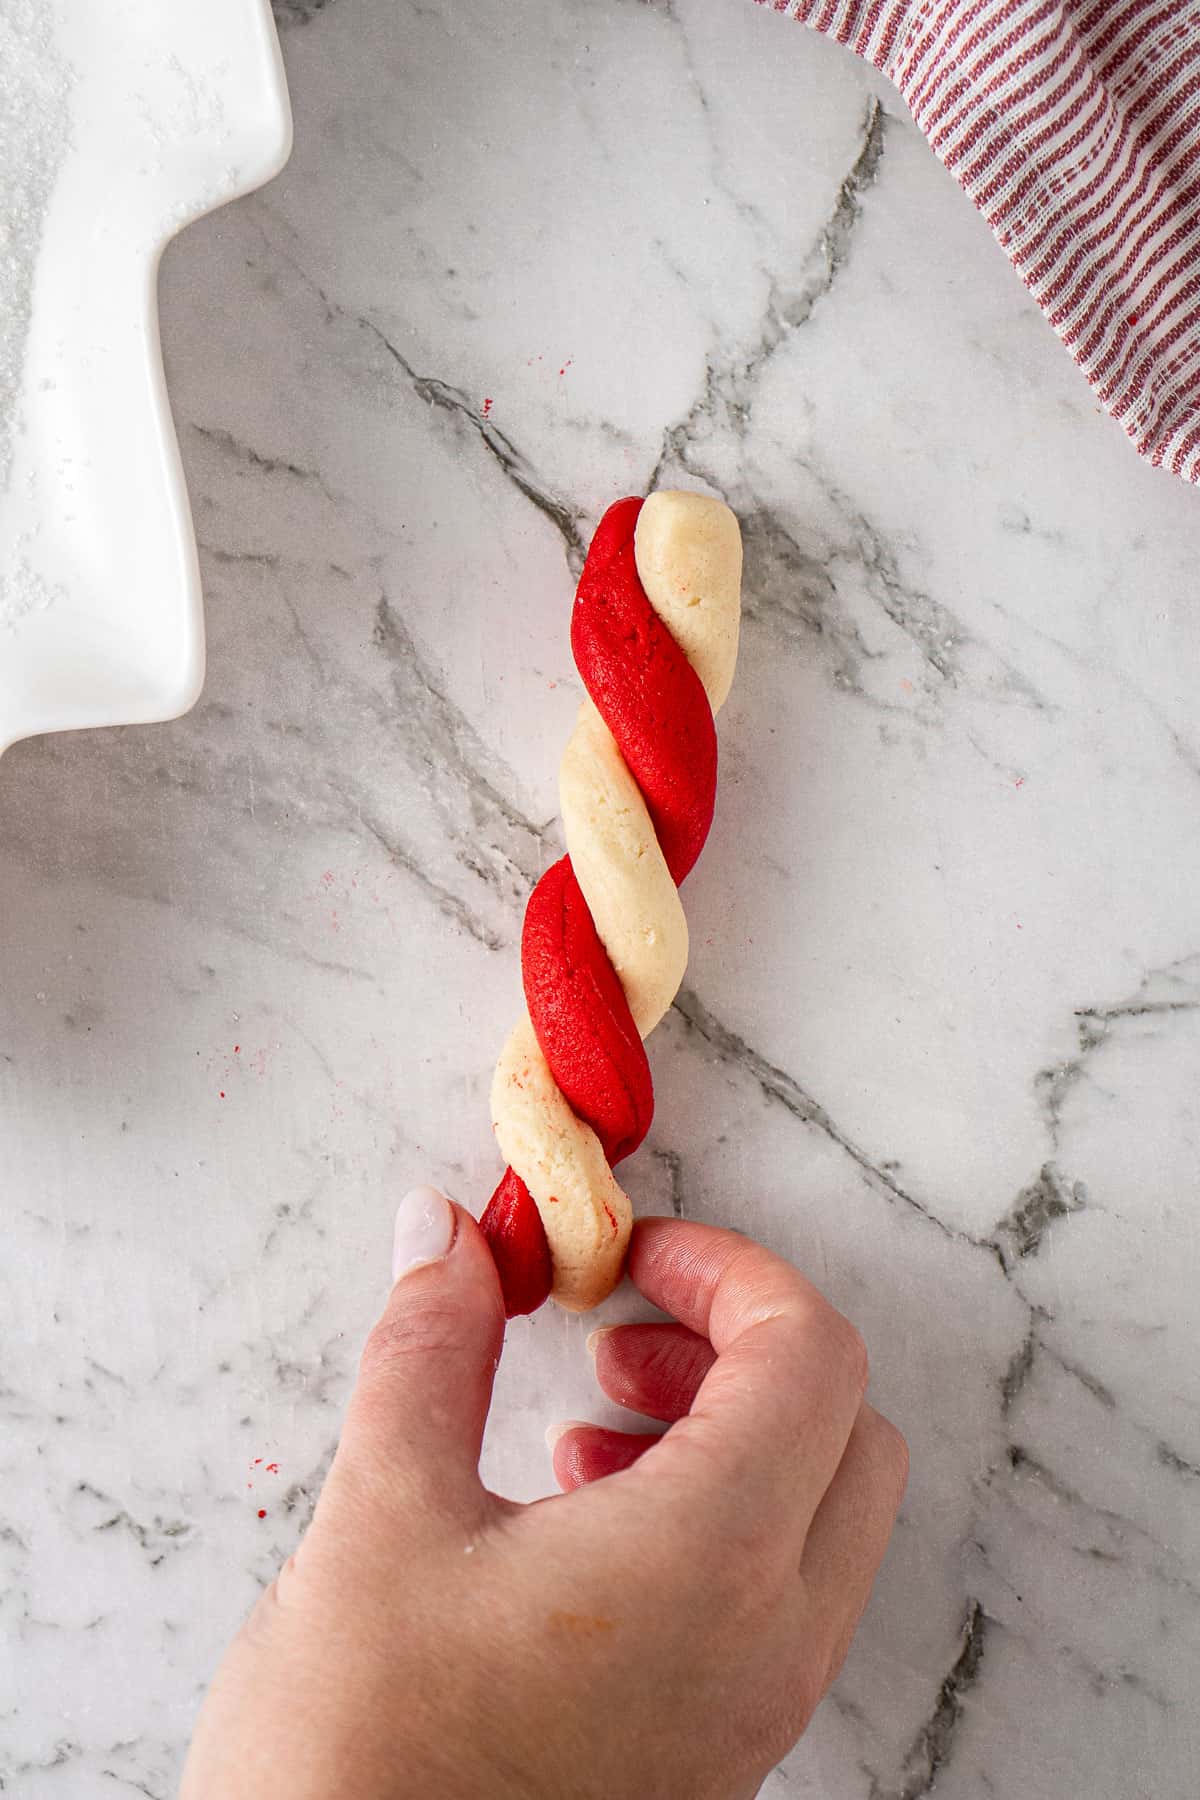
Step 6: Lay the red and white ropes side by side and twist them together. Then gently roll the twist on the bench to smooth it into a log about 15cm (6 inches) long.
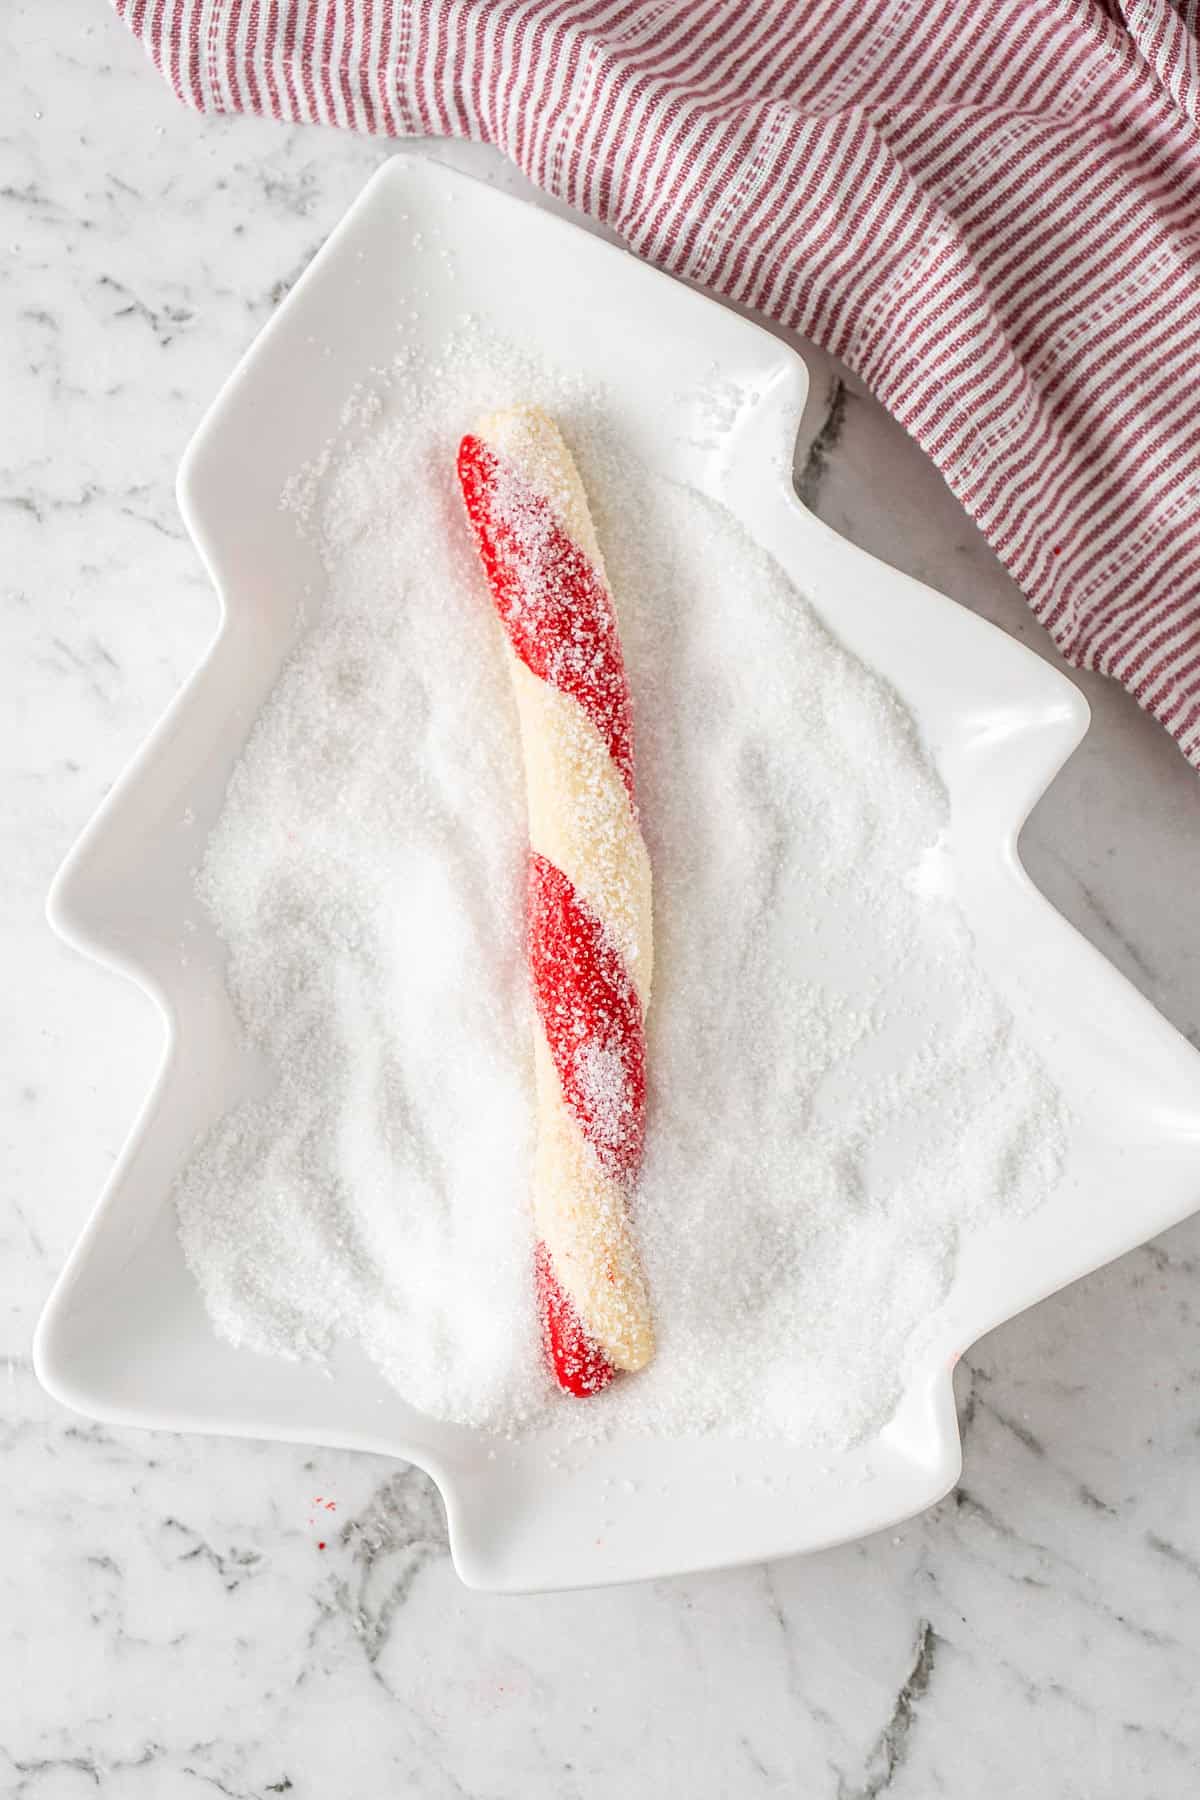
Step 7: Roll the log in the extra sugar until it’s coated.
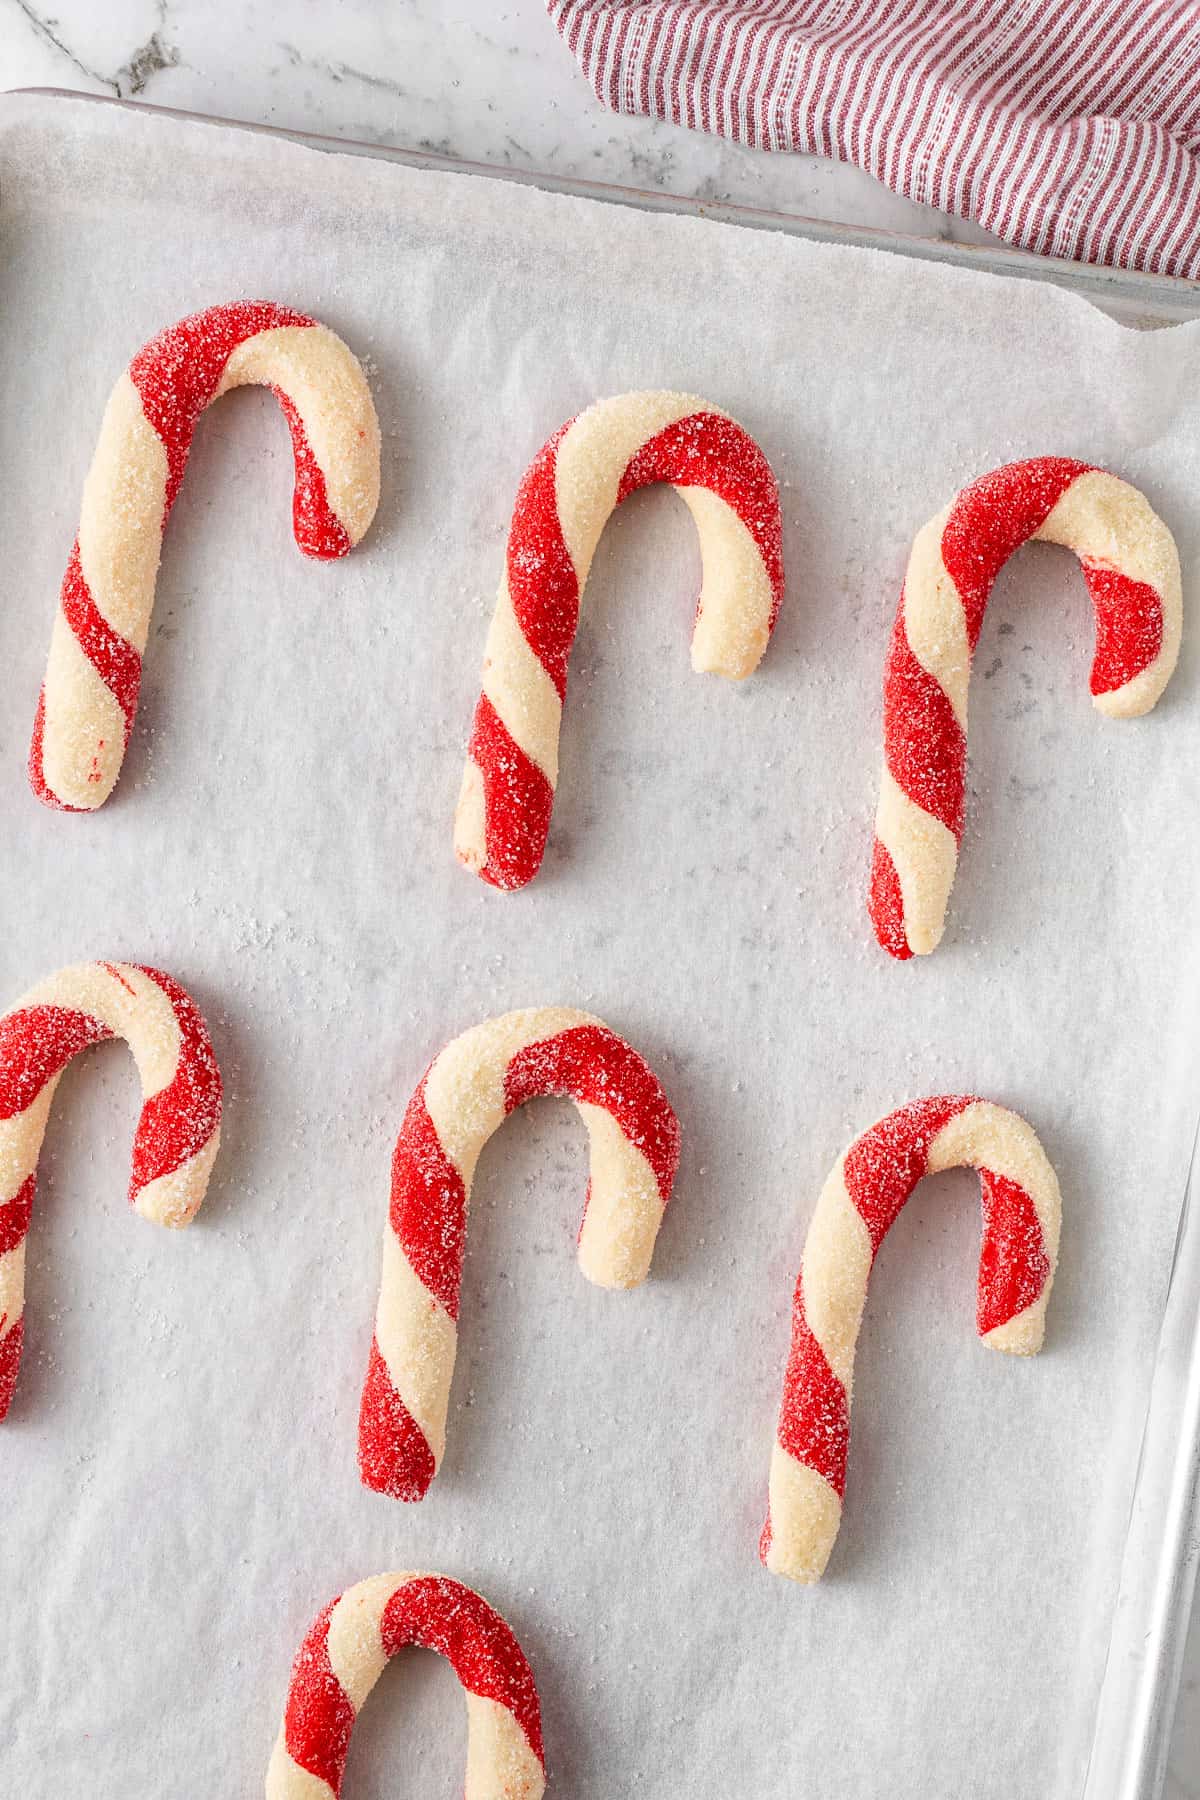
Step 8: Place the cookie dough on a lined baking tray and bend the top over to make the hook, leaving a little space between each one as they spread slightly in the oven.
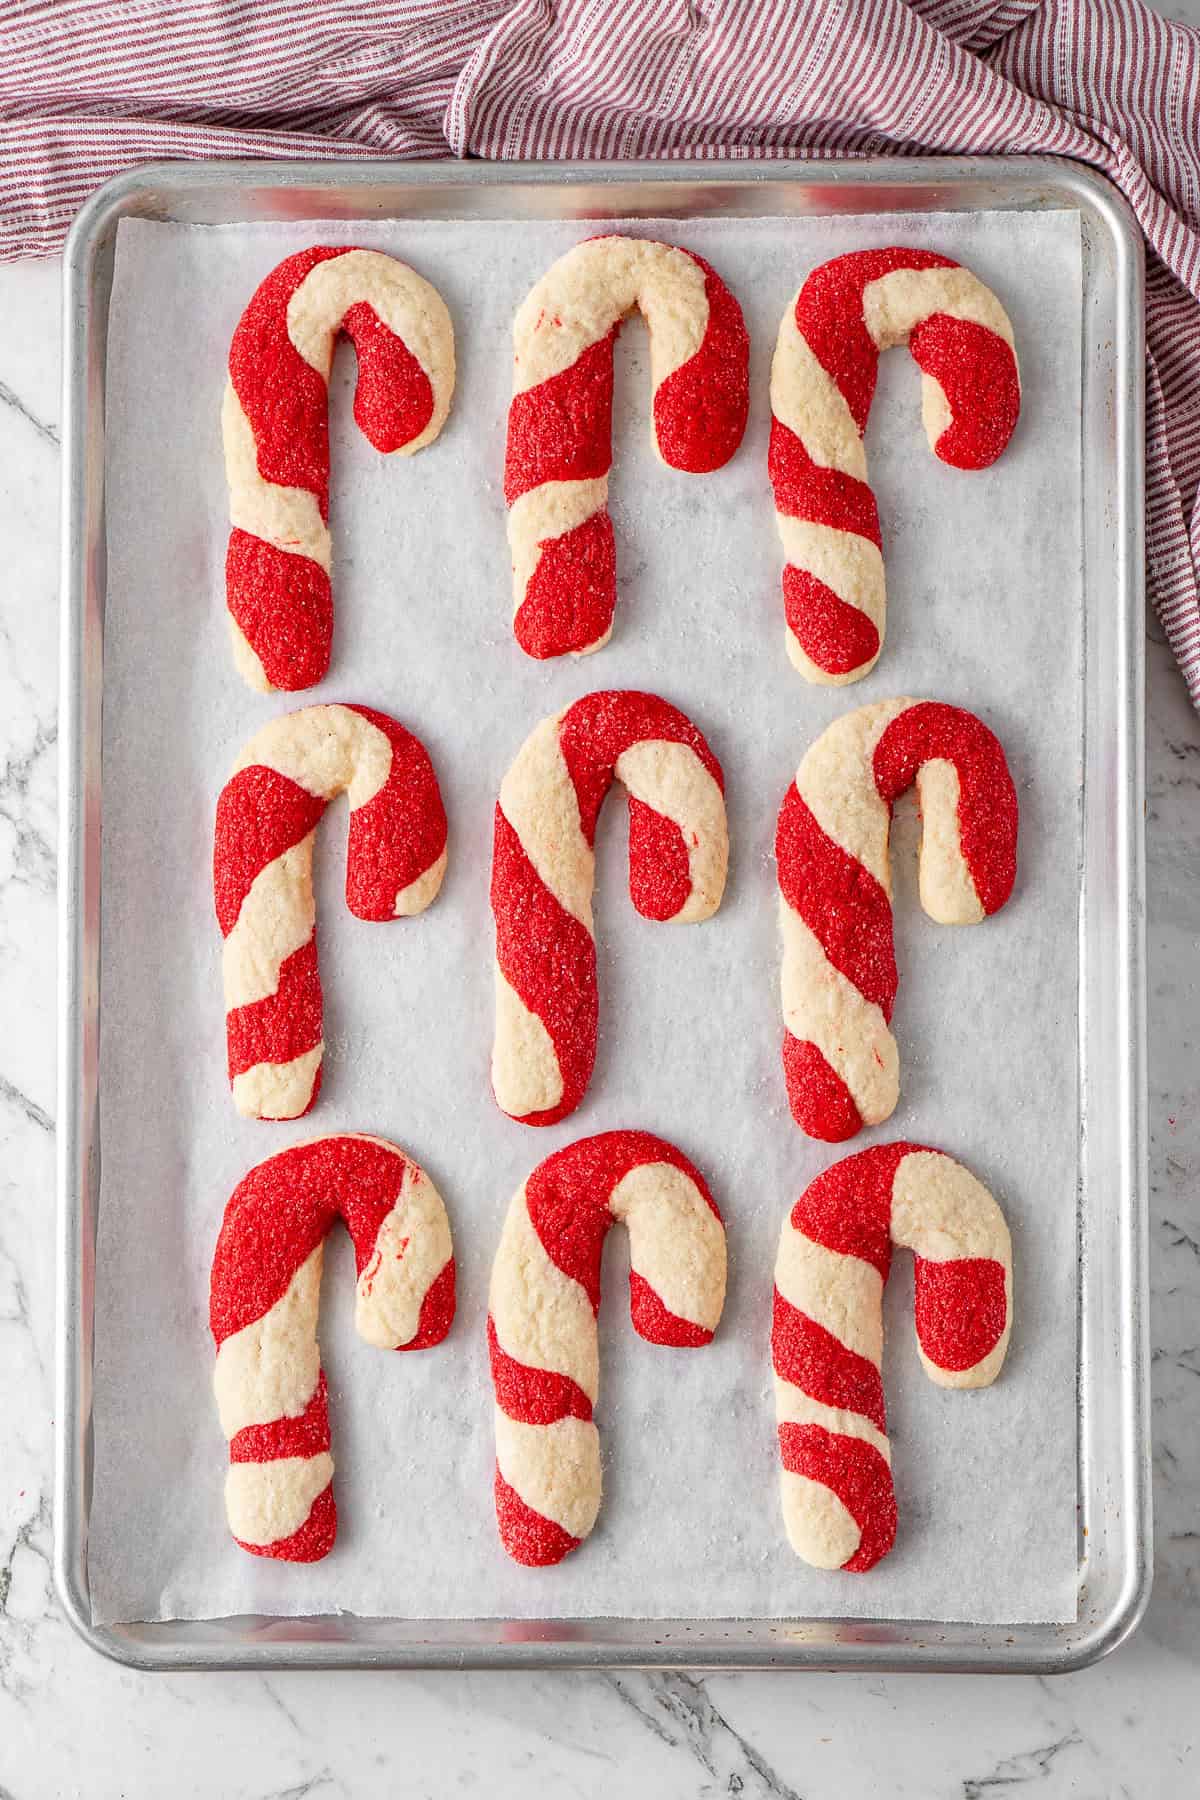
Step 9: Bake for 10 to 12 minutes, until the edges are just starting to lightly brown. They’ll still feel soft but firm up as they cool, so leave them on the trays for 10 minutes before moving them to a wire rack to cool completely.
👉Tip! If your kitchen is warm, which mine always is in a Brisbane December, work in batches so the dough doesn’t get too sticky. If the shaped cookies feel soft before they go in the oven, put the whole tray in the fridge for 10 to 15 minutes. This helps them hold their candy cane shape while baking.
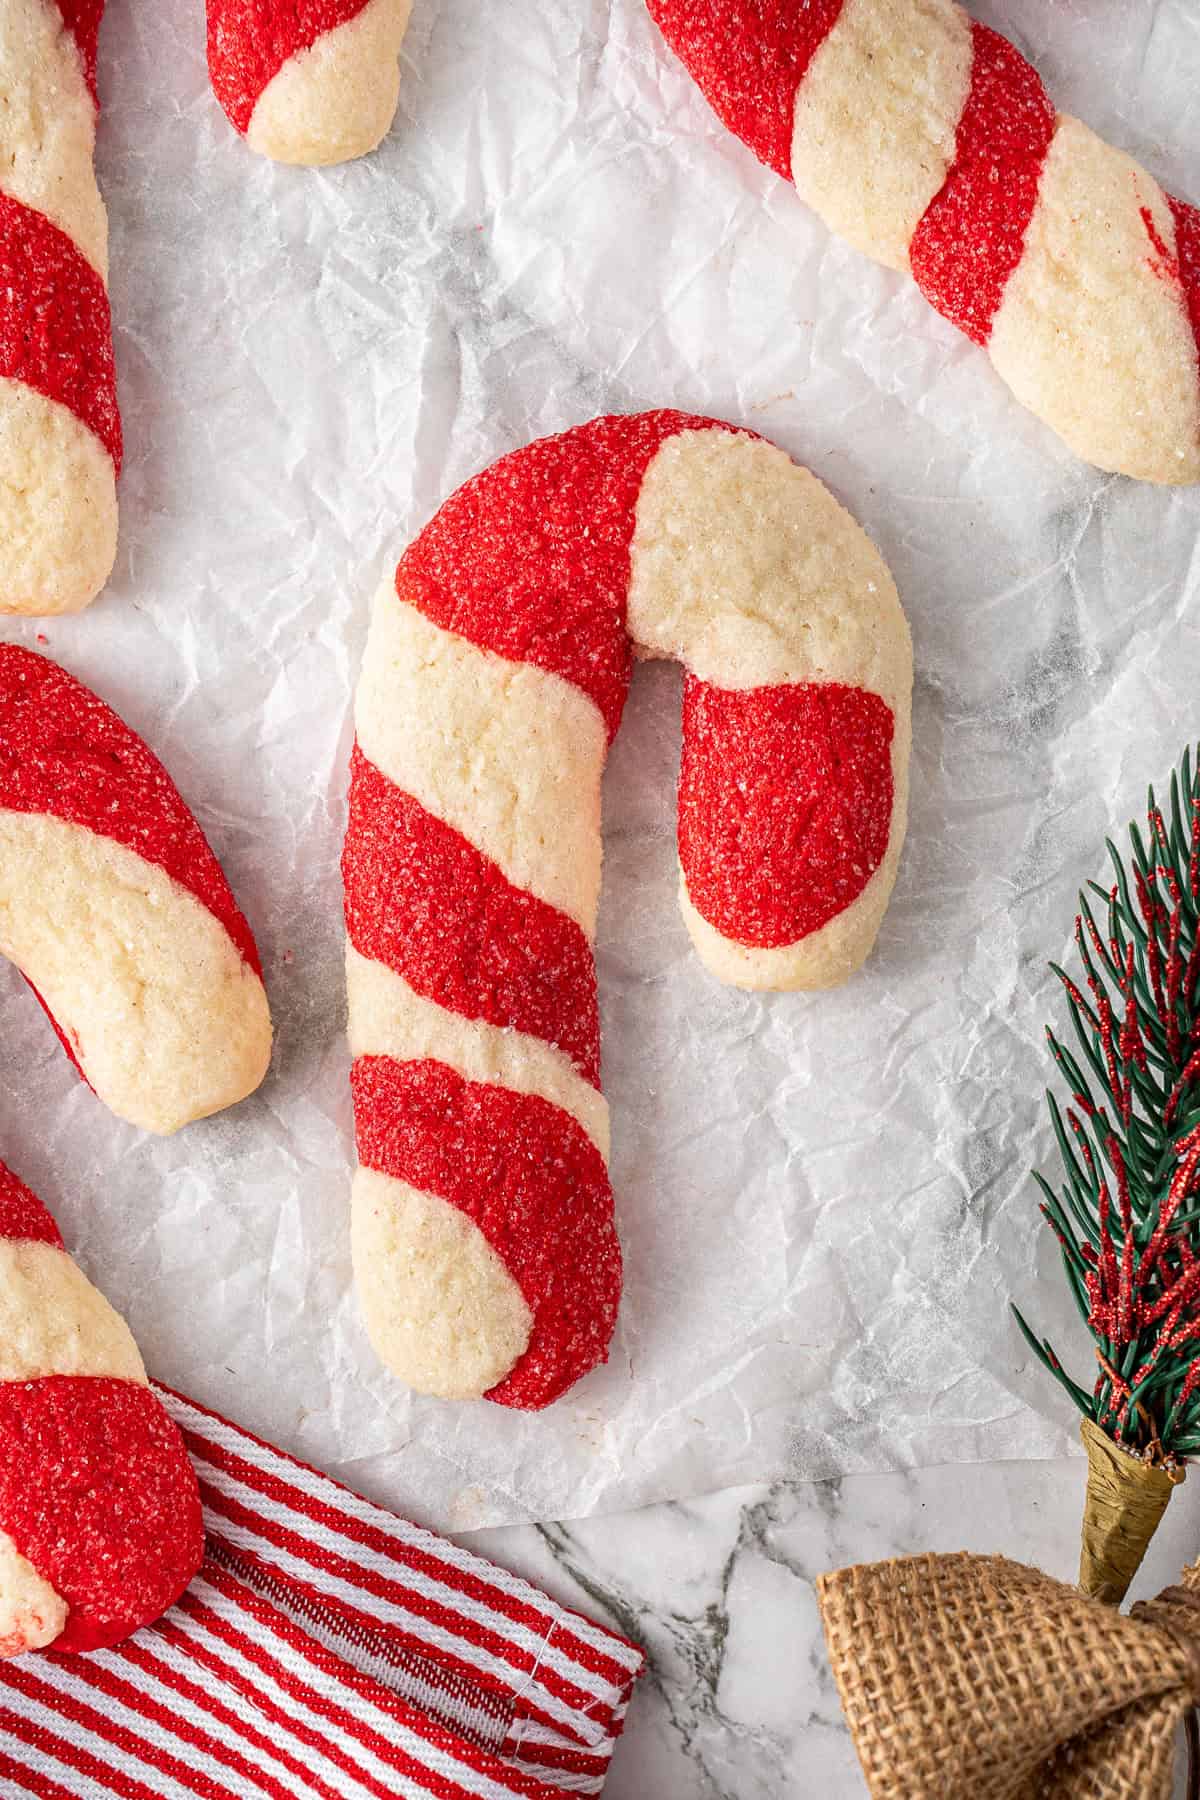
Yield: I like really big cookies, so these are exactly that and make 18 cookies using a total of 2 tablespoons of dough per cookie. If you want smaller cookies, use ½ tablespoon of each colour dough per candy cane and you’ll get closer to 40 cookies total.
Storage Instructions
Store the cookies in an airtight container at room temperature for around a week.
Prep ahead for Christmas: the wrapped dough keeps in the fridge for up to 3 days. Let it sit on the bench for 10 minutes before rolling as it’ll be quite firm. You can also freeze the cookie dough and let defrost in the fridge overnight before shaping and baking.
Baked cookies can also be frozen in an airtight container with baking paper between the layers for up to 3 months, then thawed at room temperature for about 30 minutes.
Recipe FAQs
Yes. Mine are vanilla because that’s the classic sugar cookie flavour my family loves, but if you want them to taste more like a candy cane, swap 1 teaspoon of the vanilla for ½ teaspoon of peppermint extract instead.
This usually means the dough was a bit too warm before baking. You can chill the shaped cookies on the tray for 10 to 15 minutes before they go in the oven to prevent this, or just use a spoon to gently reshape the cookies as soon as they come out of the oven while still soft.
I haven’t tested this recipe with gluten free flour so can’t promise the same result. Kat’s gluten free candy cane cookies are where I got the idea, so that’s the recipe I’d use instead.
If you do make this recipe, please be sure to leave a comment and ⭐⭐⭐⭐⭐ rating below! And tag any of your creations on Instagram with @eightforestlane as I would love to see.
More Dairy Free Christmas cookies:
Vegan Gingerbread Men
Chocolate Crinkle Cookies
Dairy Free Snickerdoodles
Snowflake Sugar Cookies
Dairy Free Candy Cane Cookies
Equipment
Ingredients
- 170 grams (¾ cup) dairy free butter
- 165 grams (¾ cups) white sugar/granulated sugar
- 1 egg at room temperature
- 2 teaspoons vanilla extract
- 335 grams (2¼ cups) plain flour/all-purpose flour
- ½ teaspoon baking powder
- Red gel food colouring
- 55 grams (¼ cup) white sugar extra for rolling
Instructions
- Preheat the oven to 180°C (350°F) and line 2 baking trays with baking paper (parchment paper).
- Using a hand mixer, or a stand mixer fitted with the paddle attachment, cream the 170 grams dairy free butter and 165 grams white sugar/granulated sugar in a large bowl until light and fluffy.
- Add the 1 egg and 2 teaspoons vanilla extract and mix on high for 2–3 minutes until fully combined.
- Sift in the 335 grams plain flour/all-purpose flour and ½ teaspoon baking powder, then mix slowly until the dough just comes together.
- Divide the dough in half. Leave one half plain and knead Red gel food colouring into the other until you reach the colour you want.
- Wrap each dough ball in plastic wrap (cling wrap) and chill for 30–60 minutes. This makes the dough easier to roll.
- Scoop 1 tablespoon (about 20g) of each dough and use your hands to roll them into 10cm (4 inch) ropes.
- Twist one white and one red rope together, then roll gently into a smooth log about 15cm (6 inches) long.
- Roll the log in the extra 55 grams white sugar until coated. Place it on a lined baking tray and bend the top over into a hook to make a candy cane shape. Repeat with the remaining dough, leaving space between the cookies.
- Bake for 10–12 minutes, swapping the trays halfway, until the edges just start to turn light golden. They’ll still be a little soft but will firm up as they cool.
- Cool on the trays for 10 minutes, then move to a wire rack to cool completely.
Notes
Nutrition
Nutritional information is provided as a guide only and is calculated using automated online tools, therefore we cannot guarantee the accuracy. We encourage you to make your own calculations based on the actual ingredients used in your recipe.



Never wonder what's for dinner again
Get a brand new dairy free meal plan every week, plus members only recipes and the whole of Eight Forest Lane with no ads. The planning is done, you just shop and cook.
Start your 7 day free trial →