
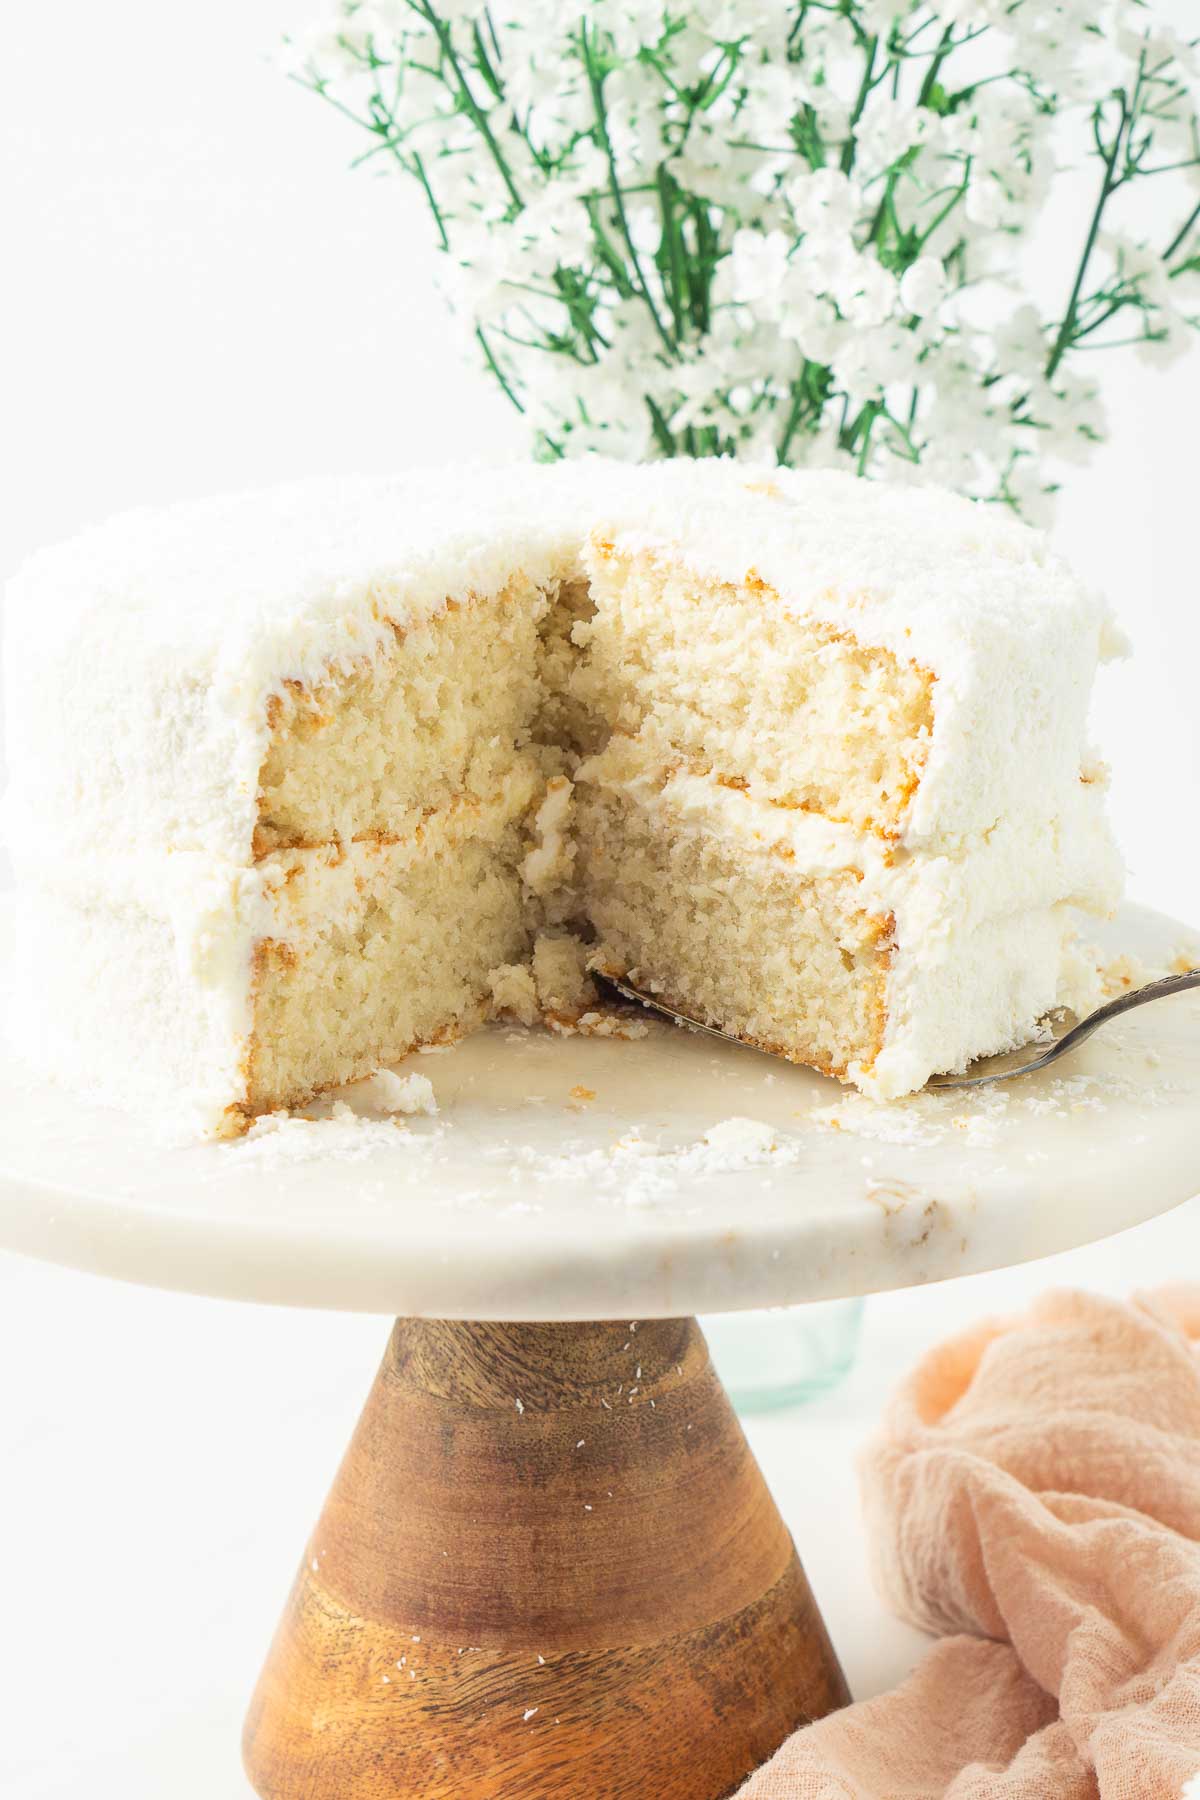
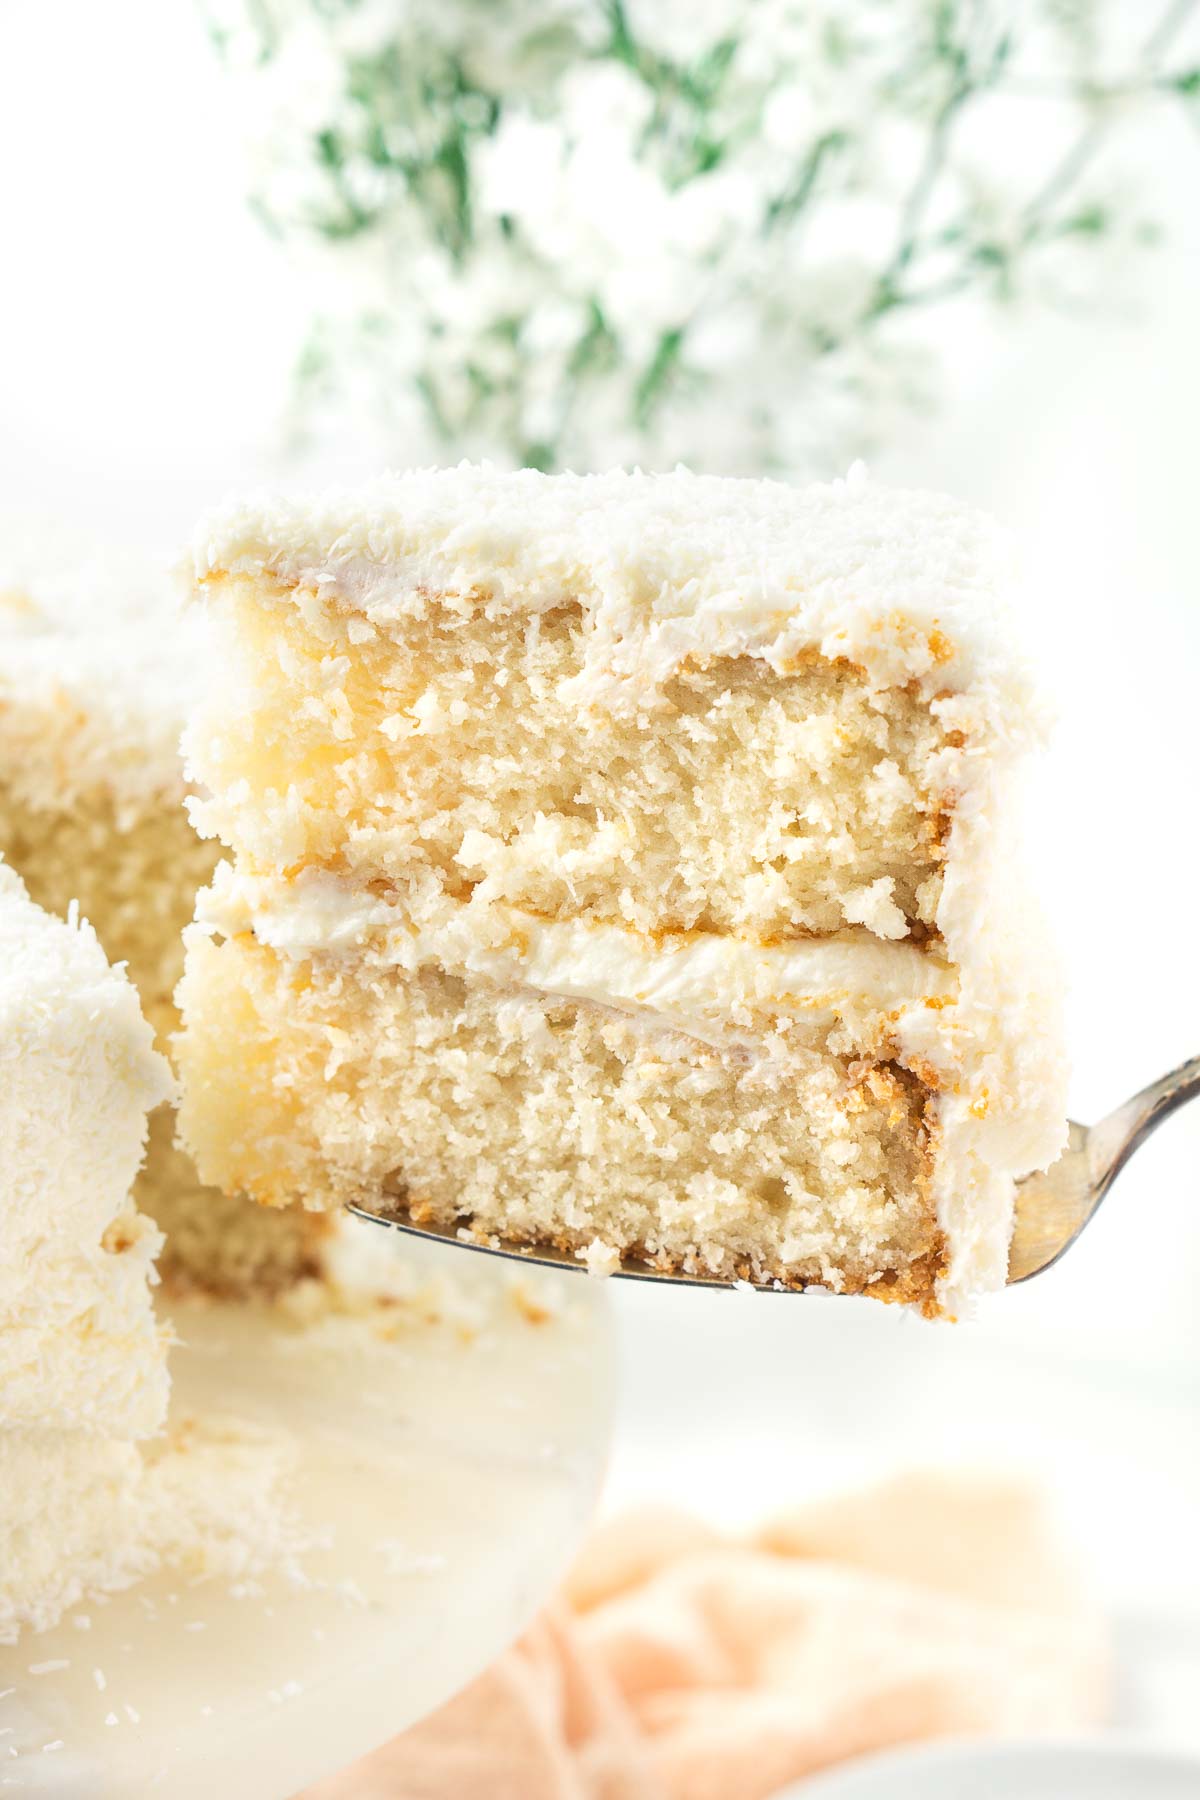
This vegan coconut cake recipe is so easy, coming together in just one bowl! The light and fluffy cake is packed full of coconut flavour and topped with a creamy vegan buttercream frosting. This is the perfect cake for all celebrations!
Featured Comment
⭐⭐⭐⭐⭐ I made this cake for a birthday cake for a friend, it was amazing!! Thank you Sally for this recipe! ❤️ – Julie
This recipe for dairy free coconut cake might just be one of the easiest layer cake recipes I have on the website. It all comes together in one bowl, and all you need is a whisk and a large mixing bowl.
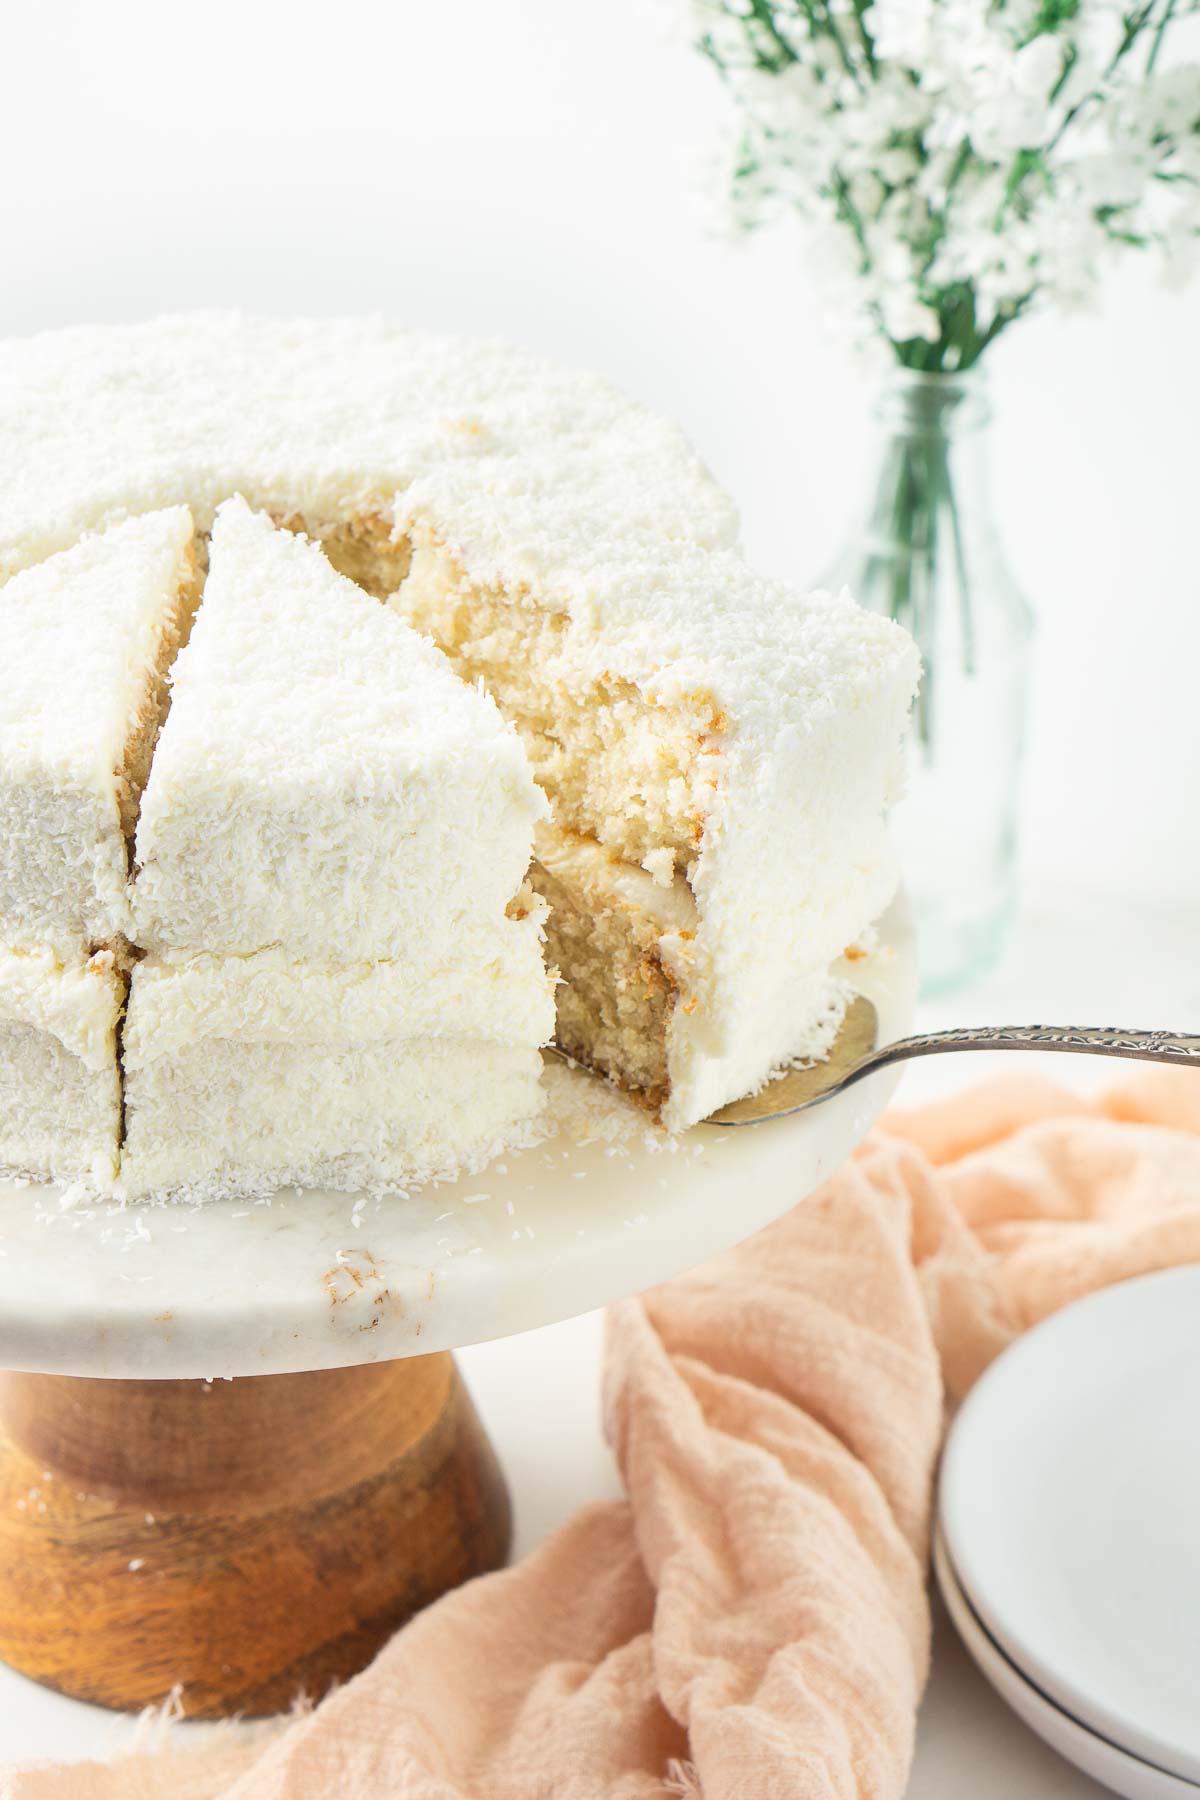
But don’t let the ease of this recipe let you think it’s anything other than delicious. The result is a super soft and delicious cake that is full of both vanilla and sweet coconut flavour and has me very seriously asking the question…is coconut cake better than vanilla cake?
Don’t get me wrong, I’ll always love the simplicity of a vegan vanilla cake, but this coconut cake is like a fancier version with the subtle extra flavour and texture of coconut. The addition of coconut milk in the batter makes the cake extra soft and almost melt in your mouth.
It’s sweet, but not overpowering, just in the way that it should be.
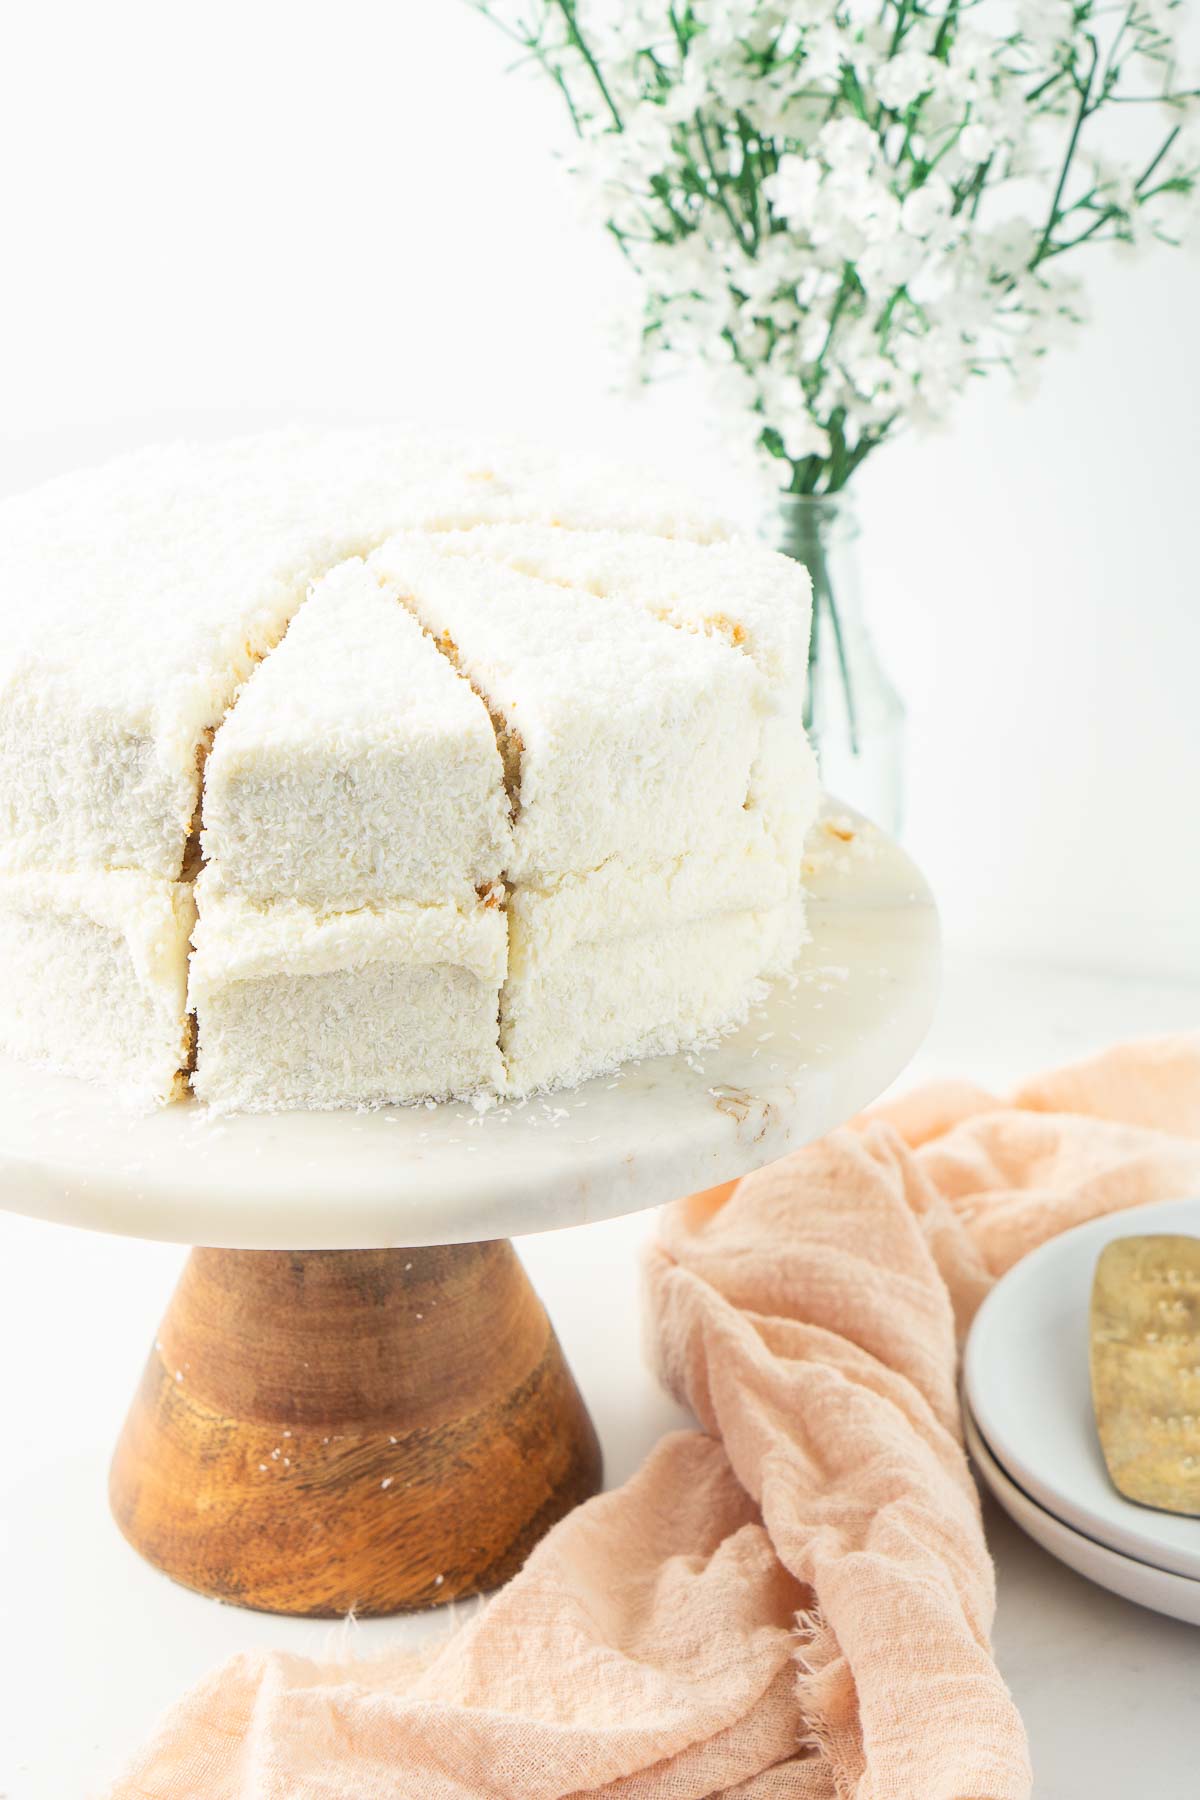
Also by covering the cake with extra coconut you get this elegance in its presentation that is actually so simple to achieve and really hides any imperfections in the buttercream making it a great option if you’re short on time or don’t feel comfortable with decorating.
I’ve simply used more desiccated coconut, but you could use toasted coconut flakes which also look really pretty.
Key Ingredients
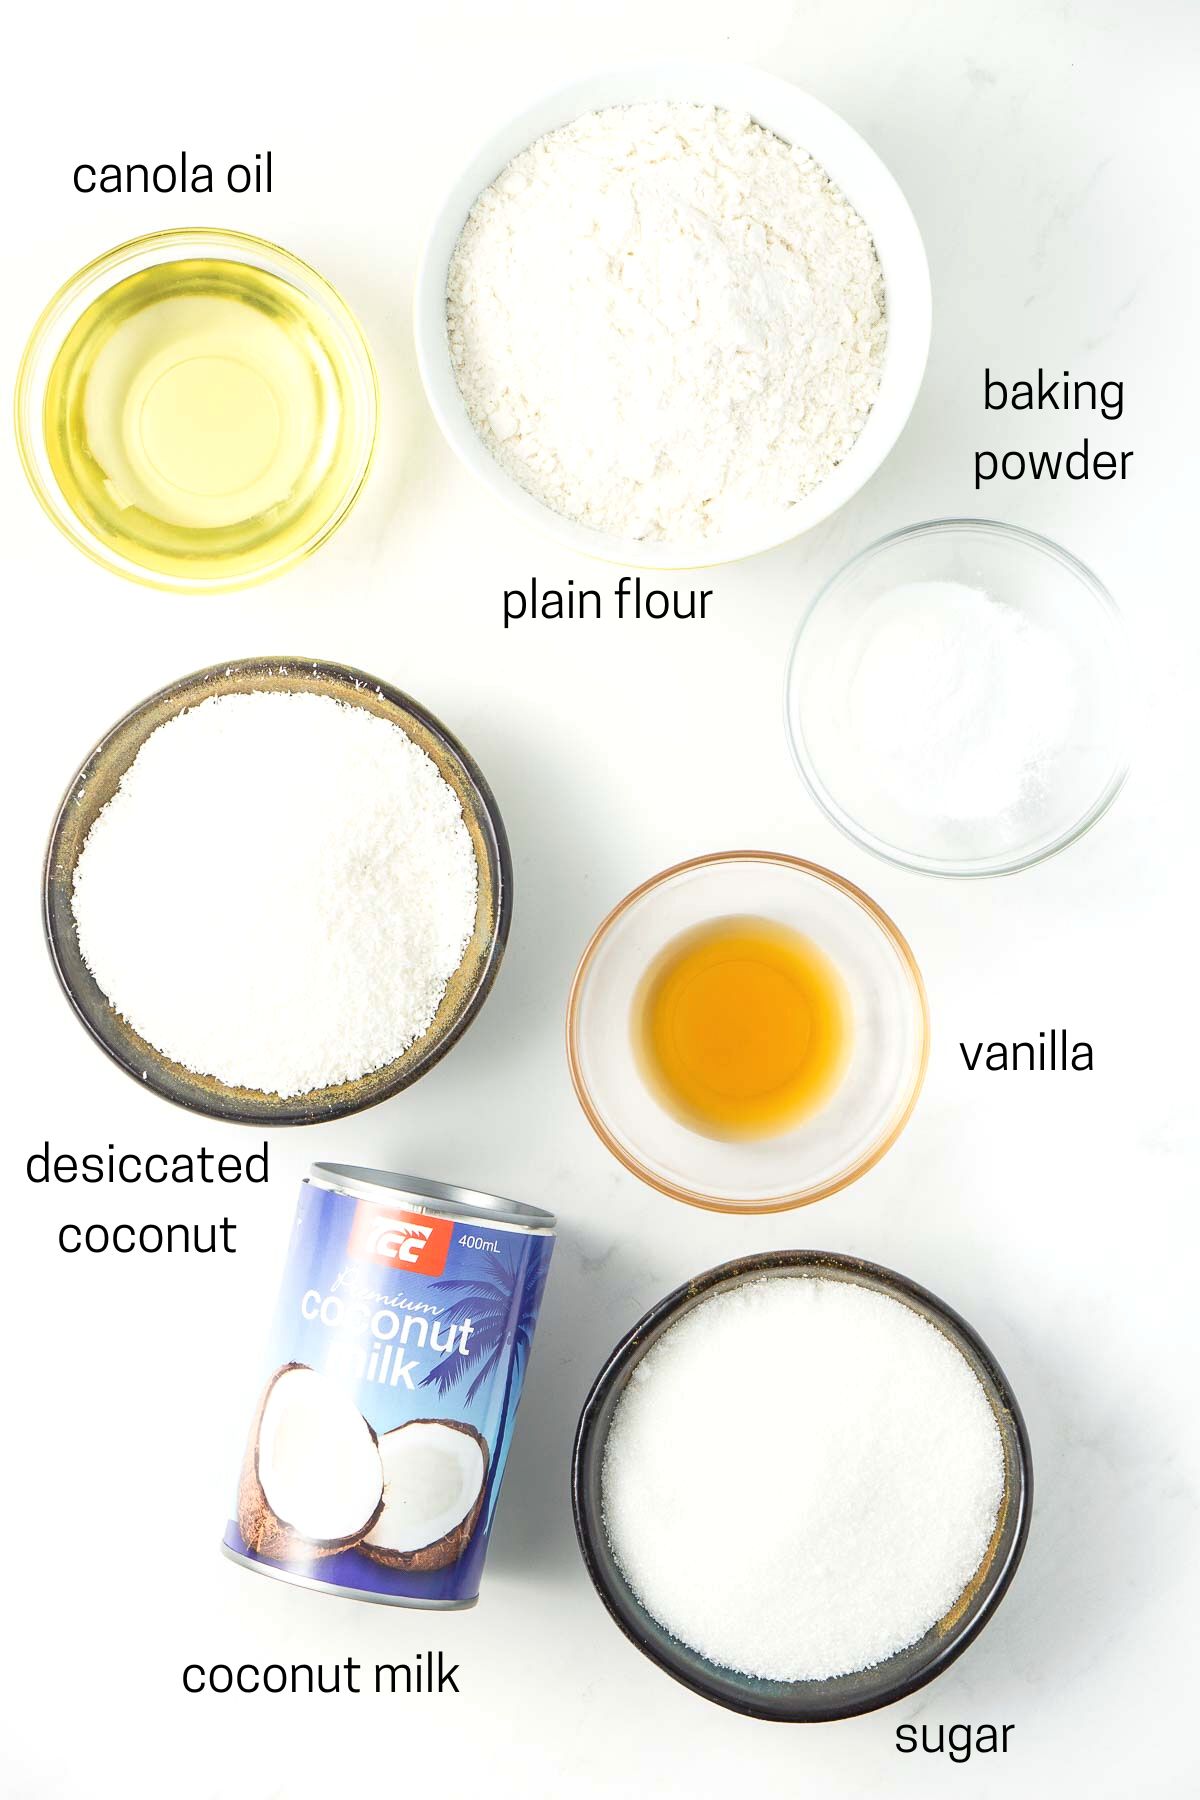
This vegan coconut cake uses just 7 ingredients for the cake, all of which are pantry staples and does not contain any egg-replacers.
Note all ingredients and their quantities are laid out in the recipe card at the bottom of this post.
- Canola oil – used for moisture and to bind the cake, you can use any light tasting oil instead. You could also use melted coconut oil, however I didn’t want to overpower the cake with too much coconut flavour.
- White sugar – for sweetness.
- Vanilla extract – for flavour.
- Coconut milk – make sure to use coconut milk from the can as the richness and extra fat content will ensure this cake has a beautiful coconut flavour and super soft texture.
- Plain flour – known as all purpose flour in the US.
- Baking powder – gives the cake lift and keeps it nice and light.
- Desiccated coconut – extra coconut flavour in each bite!
Step-By-Step Instructions
I feel like I say this a lot about my vegan cakes, but they really are so easy to make! This one comes together in just one bowl and you don’t need an electric mixer.
For this cake I’m using 2 x 7 inch cake pans. I love this sized cake but if you don’t have them you could also use 8 inch pans, just note that the layers will be a bit thinner. You could also make a single layer 9 inch cake, or a three layer 6 inch cake.
If you use a different sized pan, make sure to adjust the baking time depending on which size pan you use. You want to go by when the cake is cooked rather than the listed cooking time.
Start by whisking together your oil, sugar and vanilla and then add in the coconut milk. Make sure to give your coconut milk a good shake before using it to make sure it hasn’t separated.
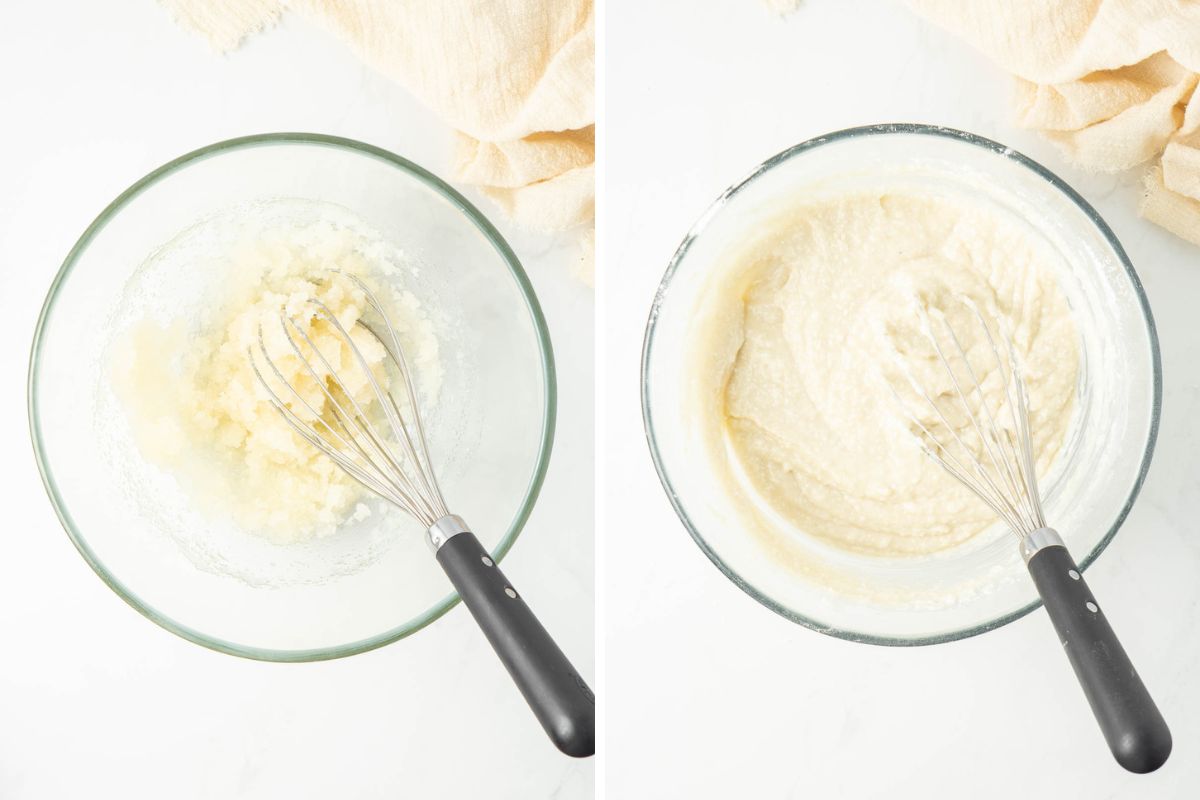
Whisk that all together, and then sift in the plain flour and baking powder. Gently mix until combined and then add in the desiccated coconut and fold through. The batter will be quite thick and sticky.
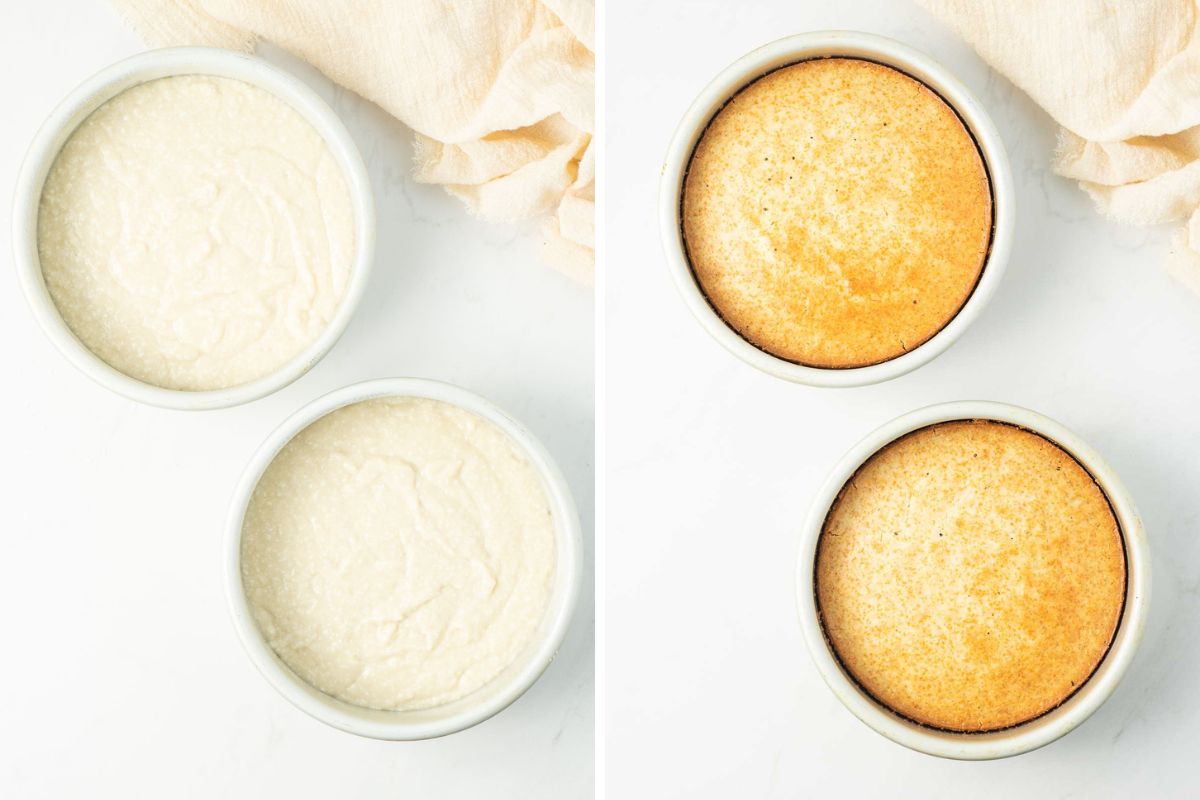
Pour the batter evenly between the two pans and then bake in a preheated oven until a skewer when inserted in the centre comes out clean and the top springs back when lightly pressed.
Let cool for about 10 minutes in the pan before turning out to a wire rack to cool completely.
Assemble and Decorate
To assemble the cake you’ll need to make a batch of my vegan vanilla buttercream, or you could even use my vegan cream cheese frosting if you prefer. For extra coconut flavour you can use coconut milk as the dairy free milk in the buttercream.
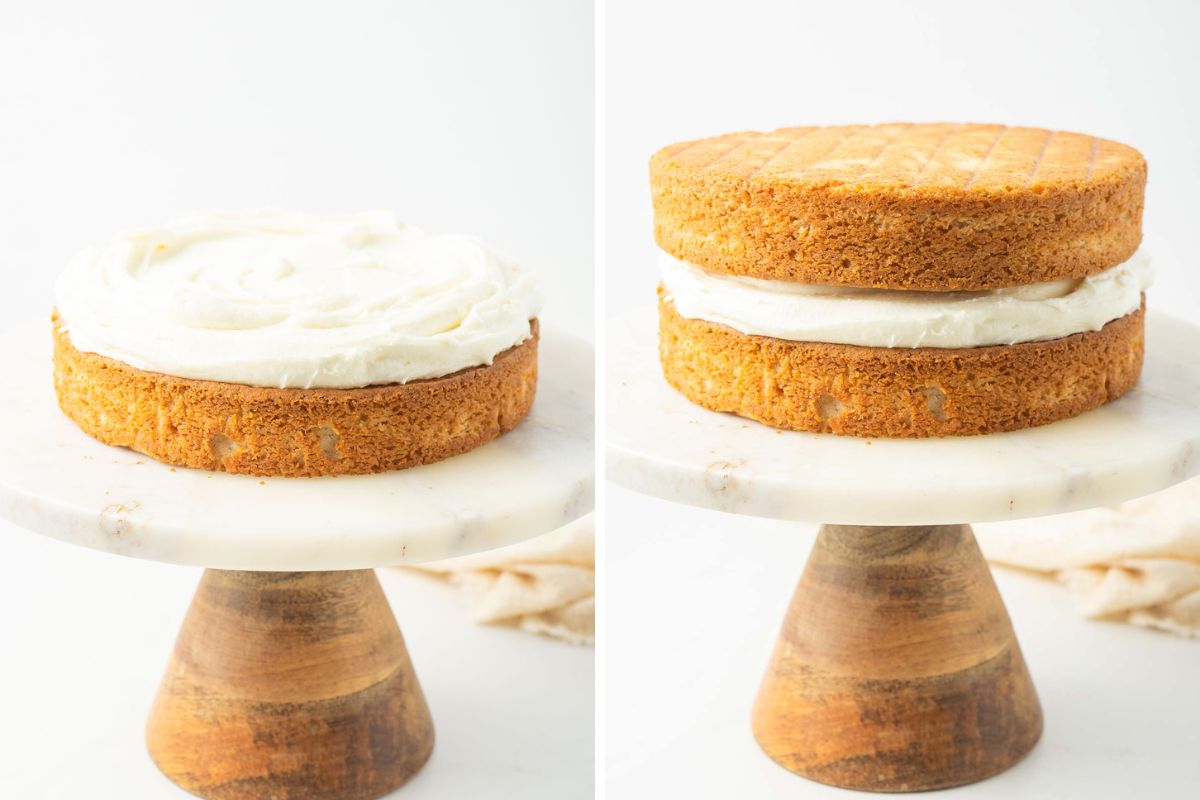
Start by placing some buttercream on your serving plate or cake stand and secure your first layer. Place a generous amount of buttercream on top and spread it out. Place the second layer on top upside down.
Place more buttercream on top and around the sides using a knife and smooth down evenly. It very much doesn’t need to be perfect.
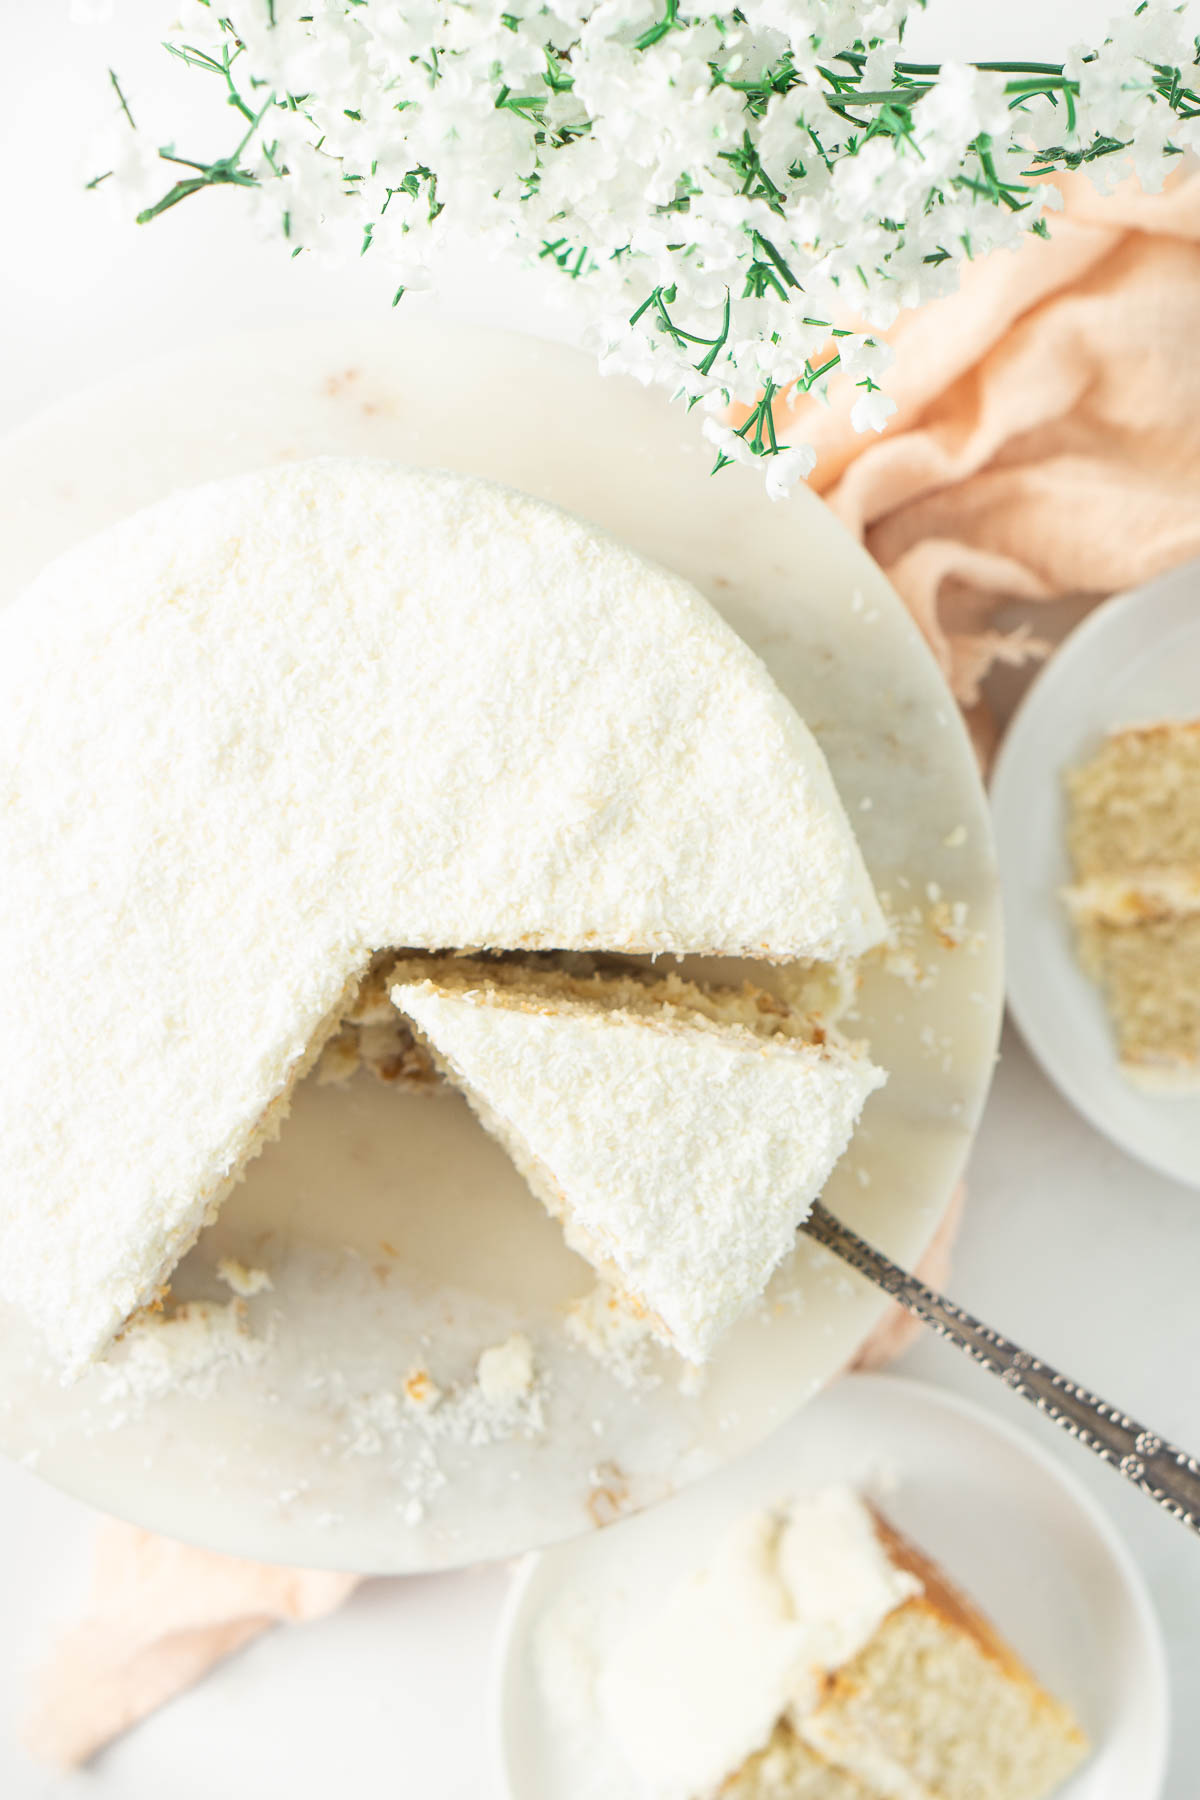
To decorate, gently scoop some extra desiccated coconut into your hand and gently press into the sides and top of the cake so it’s completely coated. Fair warning, this is very difficult to do without getting coconut everywhere but the result is really pretty so I think it’s worth it!
Place the cake in the fridge before serving to firm up to ensure cleaner slices.
Storage Instructions
I prefer to keep this cake, and all layer cakes, stored in the fridge. They’ll last up to 4 days. It can be kept at room temperature for about 2-3 days, but make sure to keep well covered and in a cool and dry spot.
To make ahead of time, you can also freeze the layers by wrapping them in plastic wrap and then aluminium foil and freezing for up to three months. Let them defrost still wrapped overnight in the fridge. To serve, make the buttercream and assemble.
You can also freeze individual slices of cake by wrapping them tightly in plastic wrap and freezing for up to three months.
If you do make this recipe, please be sure to leave a comment and ⭐⭐⭐⭐⭐ rating below! And tag any of your creations on Instagram with @eightforestlane as I would love to see.
More vegan cake recipes:
Vegan Red Velvet Cake
Vegan Carrot Cake
Vegan Banana Cake
Vegan Caramel Cake
Vegan Coconut Cake
Ingredients
- ½ cup canola oil
- 1 cup white sugar/granulated sugar
- 1 tablespoon vanilla extract
- 1 ½ cups coconut milk canned
- 2 cups plain flour/all purpose flour
- 1 tablespoon baking powder
- 1 cup desiccated coconut
- 1 batch
vegan vanilla buttercream - extra desiccated coconut for decorating
Instructions
- Preheat the oven to 180°C and grease and line 2 x 7 inch round cake tins with baking paper and cooking spray.
- In a large bowl, whisk together canola oil, sugar and vanilla until combined. Add in the coconut milk and mix together.
- To the bowl, sift in the plain flour and baking powder and gently mix until the batter just comes together. Add in the desiccated coconut and fold through to combine.
- Pour the batter evenly into the prepared cake tins and bake for 30 minutes or until a skewer when inserted in the centre comes out clean. Remove from the oven and let cool for 10 minutes in the pan before turning out onto a wire rack to cool completely.
- Once the cakes are cool, prepare a batch of vegan vanilla buttercream and assemble the cake. Place a small amount of frosting on a cake plate/stand and place the first layer down. Cover with a thick layer of frosting before placing the second layer on top, upside down to ensure you have a flat top. Cover the top of the cake with another thick layer of frosting and use a knife to spread it around the sides.
- To decorate, gently press some extra desiccated coconut around the sides and over the top. Keep in the refrigerator until ready to serve.
Notes
Nutrition
Nutritional information is provided as a guide only and is calculated using automated online tools, therefore we cannot guarantee the accuracy. We encourage you to make your own calculations based on the actual ingredients used in your recipe.


Jacie says
Held up well, until I went to cut it. The cake was moist but then fell apart in chunks when we sliced it, not sure what went wrong.
I went rogue and frosted with vanilla buttercream, but would recommend coconut flavored frosting to lean into the coconut taste. My mistake!
Overall, came together easy and rose nicely.
Shay says
Jump to recipie absolutely beautiful
Angie says
Sally
Just want to check it’s definitely a TABLESPOON of baking powder and vanilla essence, not a teaspoon. Seems a lot
Sally says
Hey Angie, yes those quantities are correct for this recipe. Thanks!
Julie pine says
I made this cake for a birthday cake for a friend, it was amazing!!
Thank you Sally for this recipe! ❤️
Sally says
Thanks Julie, so glad you enjoyed it!
Kono says
This might be one of the best cakes I’ve ever baked. Great recipe!
Sally says
So happy you loved it!! Thanks 🙂