
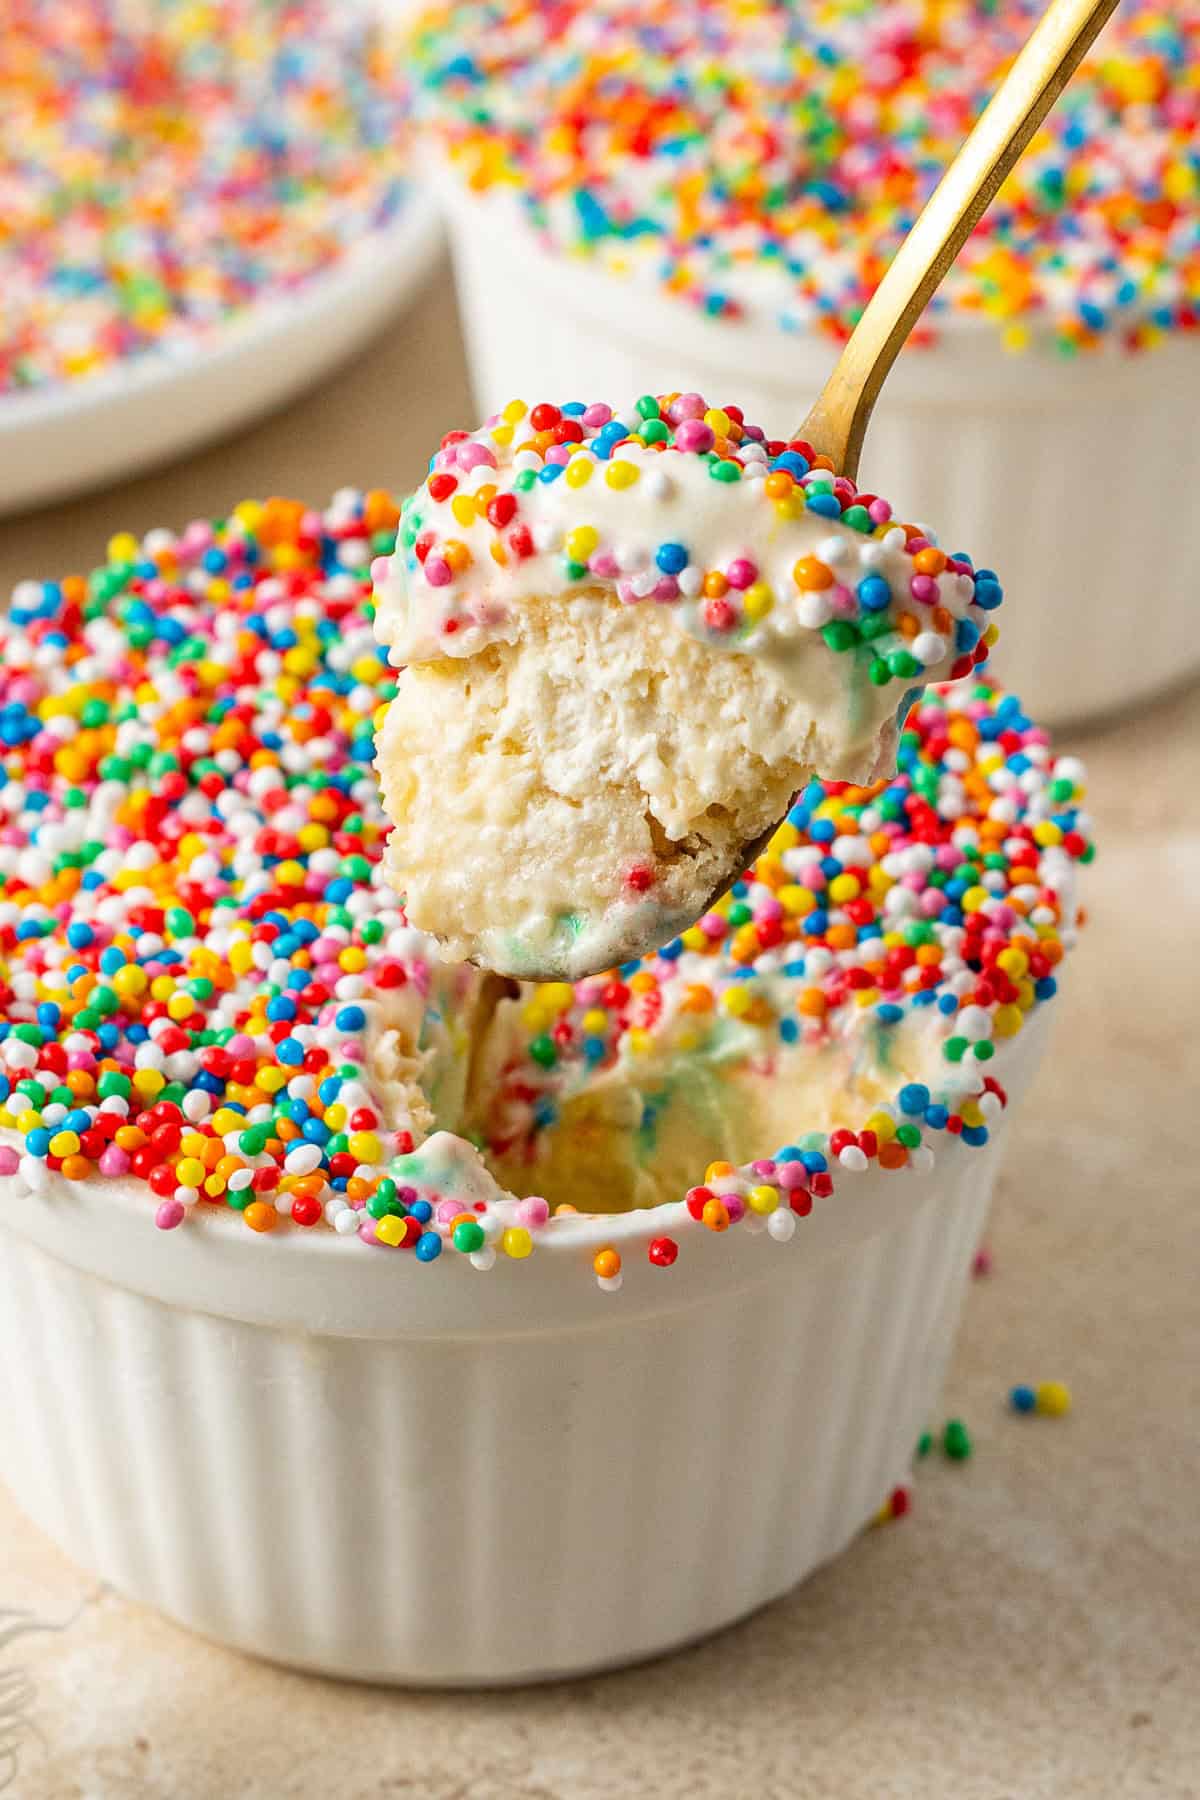
These easy dot cake mug cakes are my dairy free version of the viral dessert that’s been everywhere lately. A soft, vanilla butter cake is cooked in the microwave and topped with dairy free ice cream and 100s and 1000s sprinkles. This recipe makes just two individual frozen desserts with minimal effort making it perfect for a weeknight sweet treat.
If you’ve been on social media in the last week, you’ve probably come across some version of the dot cake. The original comes from The Dotcakes, a bakery in New York who gained attention after influencers started sharing them on TikTok.
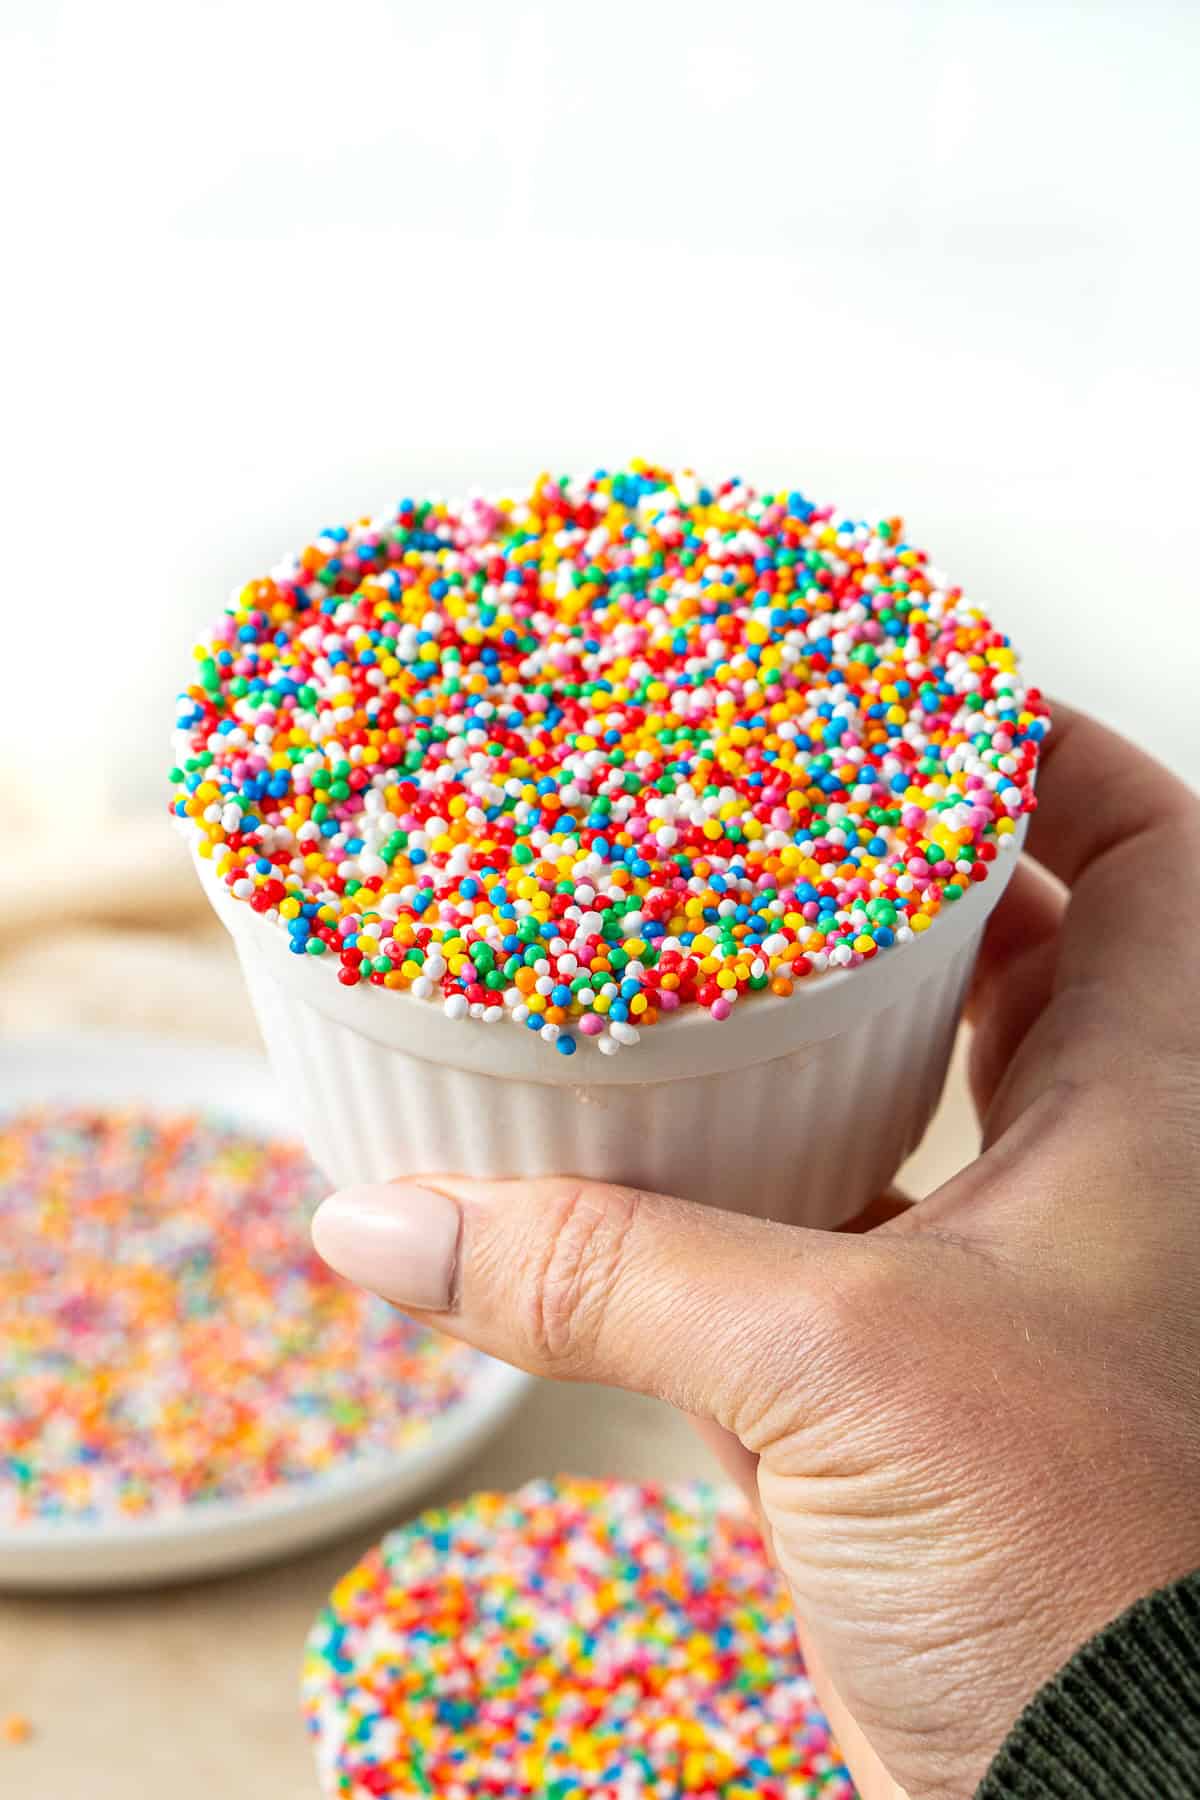
They are single serve cakes topped with buttercream and a layer of nonpareil sprinkles (what we call 100s and 1000s in Australia). They are obviously delicious but also fun and nostalgic so of course they were going to go viral!
As a true Aussie kid, I grew up eating 100s and 1000s on ice cream basically every night for dessert. So when I decided I would make a version of these at home, I knew that I was going to skip the buttercream and replace it with some dairy free vanilla ice cream to make a frozen dessert.
I also decided to make these with a simple mug cake cake as the base as it keep this recipe super easy and you don’t end up with any waste from making a larger butter cake. Great if you’re in Summer now as you can skip the oven!
So if you’re curious about the viral dot cakes or are just looking for a simple and delicious dessert without the effort, definitely give this version a try!
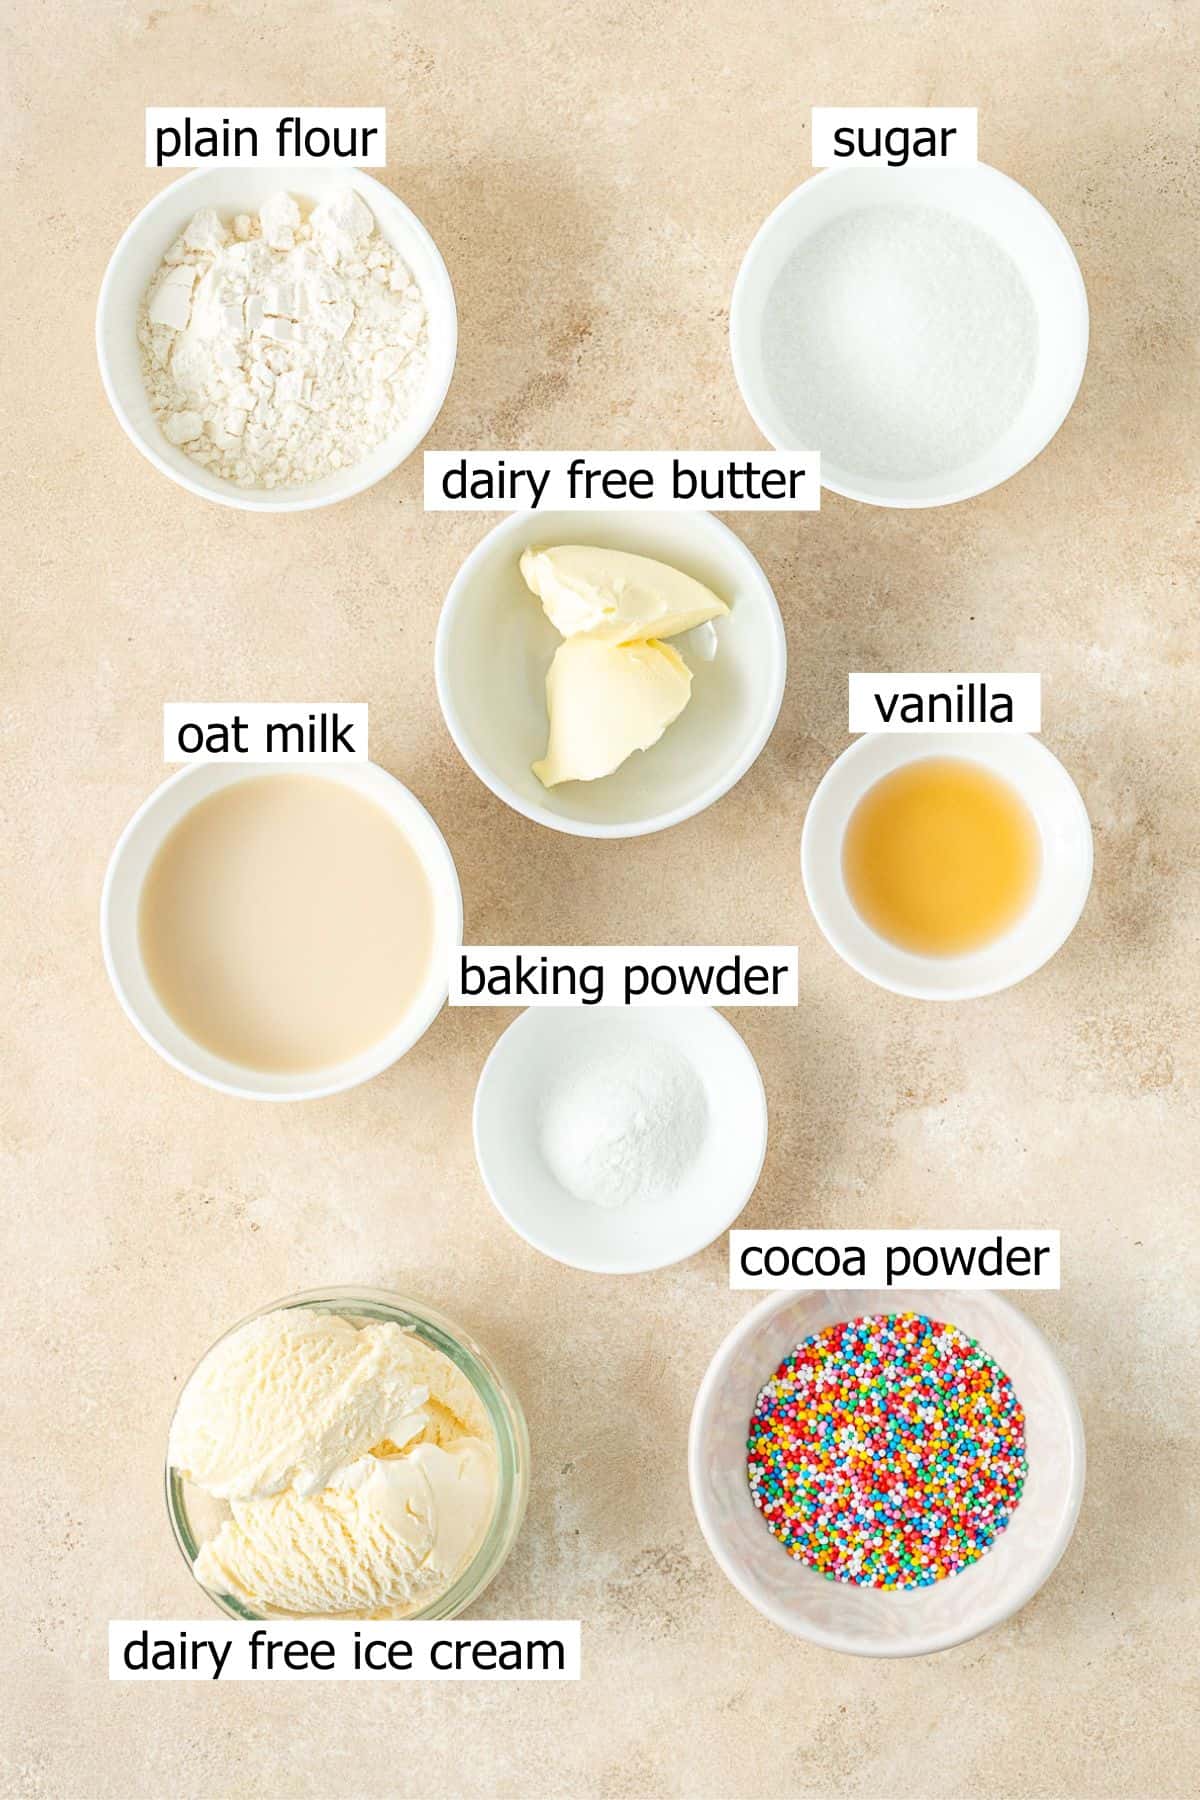
Key Ingredients
You’ll only need a few basic pantry staples to make these dot cake mug cakes, making them a great option to make when you didn’t really plan for dessert.
Note all ingredients and their quantities are laid out in the recipe card at the bottom of this post.
- Dairy free butter – while I usually use oil in mug cakes for ease, I really wanted these to taste like a proper butter cake so we are using a quality dairy free butter substitute here for the best flavour. I love and always use Nuttelex Buttery which is an Australian product. In the US, the closest alternative is Earth Balance which I understand to be very similar.
- White sugar – just a couple of tablespoons to keep things lightly sweet without being over the top.
- Vanilla extract – we’re using a full teaspoon between the two cakes to really make sure they have a delicious vanilla flavour.
- Dairy free milk – any variety works. I usually use oat milk, but soy or almond milk will work the same.
- Plain flour – also known as all purpose flour in the US.
- Baking powder – just a little bit so the cakes rise when cooking and stay nice and soft.
- Dairy free vanilla ice cream – use any brand you like the taste of or make your own vegan vanilla ice cream.
- 100s and 1000s – While you can use any sprinkles, just like with fairy bread I really think they have to be 100s and 1000s for that satisfying crunch and signature look.
You’ll Also Love: 100s & 1000s Sugar Cookies
Essential Tools
- Ramekins – you’ll want two ramekins of a similar size, roughly 150–180ml (5–6 fl oz) capacity. You can of course also use small mugs.
- Electric beaters – while not a requirement, the batter comes together really quickly with electric beaters as we want to cream the butter and sugar properly to give the cake that classic butter cake taste and texture.
Step-By-Step Instructions
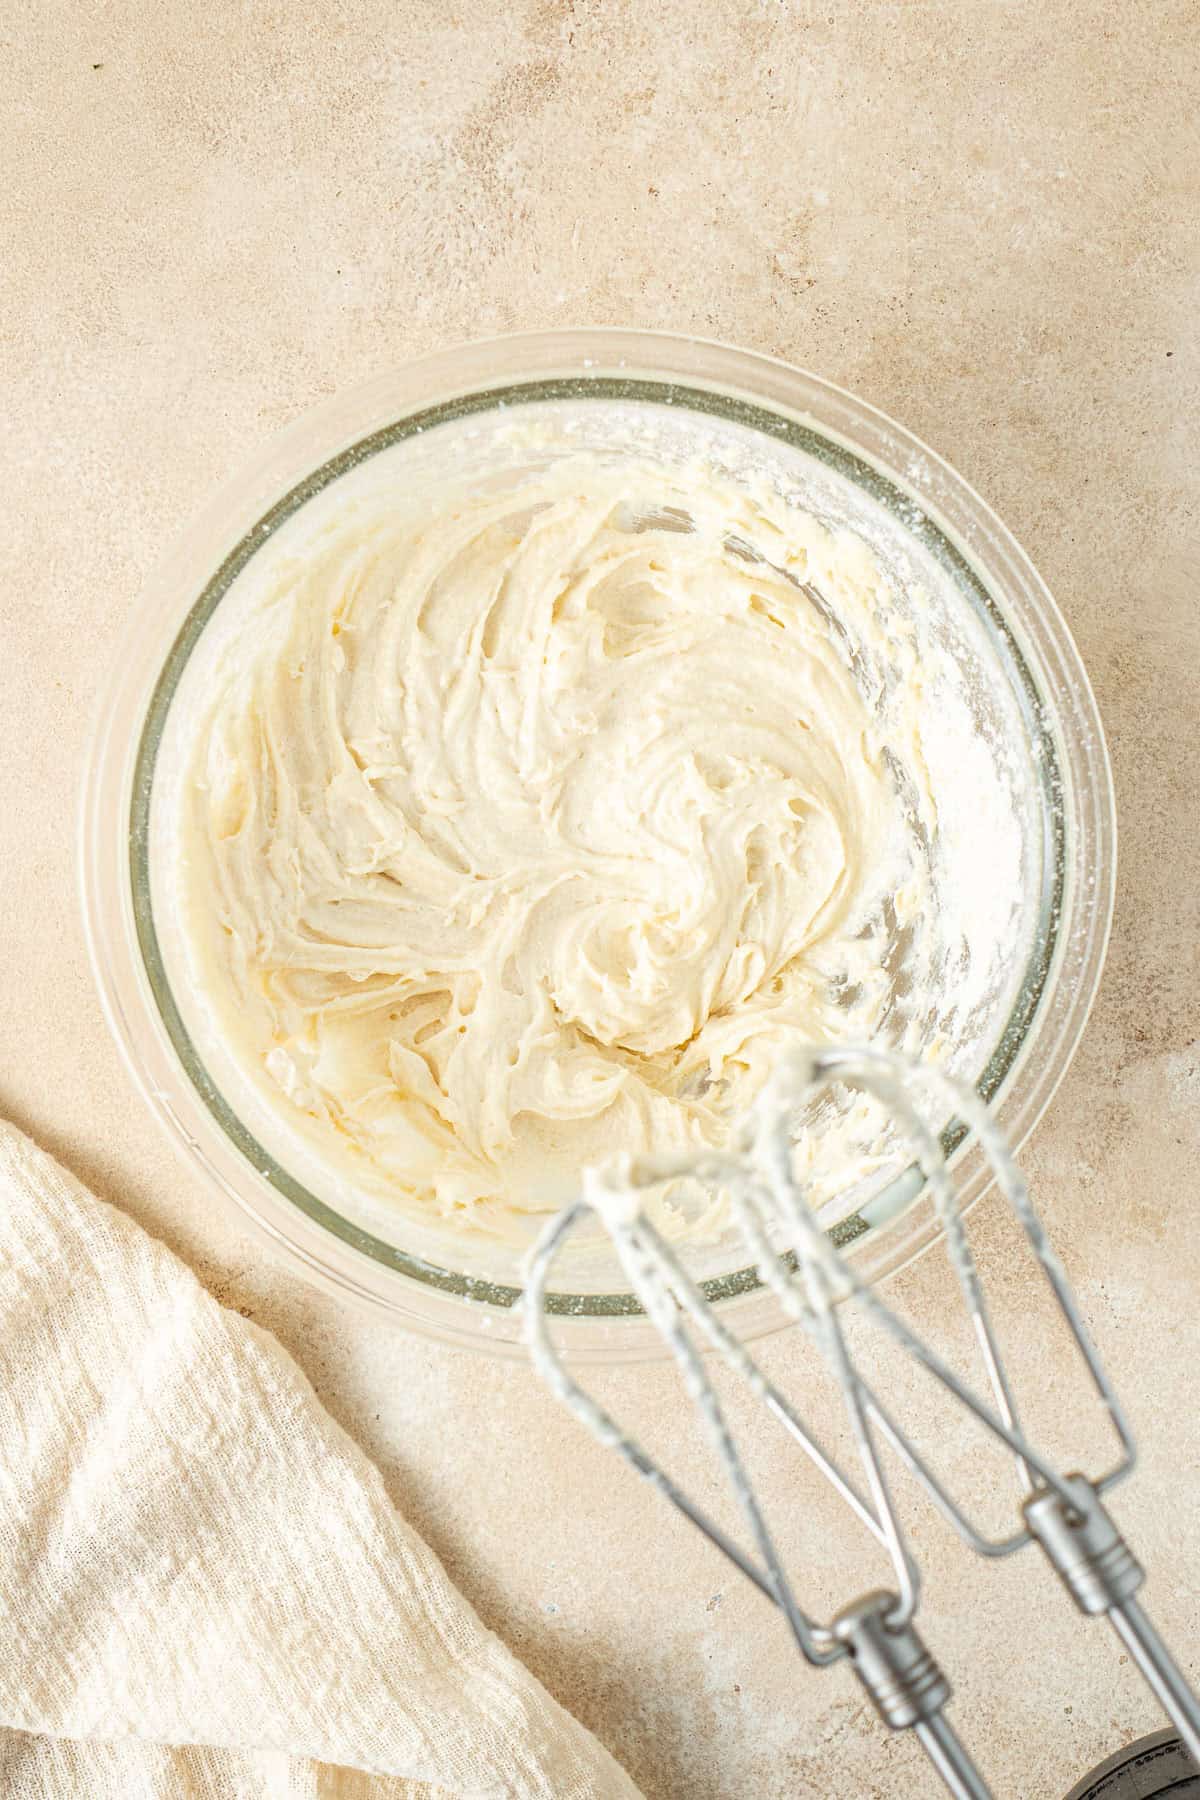
Step 1: In a small bowl, beat the dairy free butter and white sugar together using electric beaters. Add in the vanilla extract, dairy free milk, plain flour and baking powder and mix until you have a smooth batter.
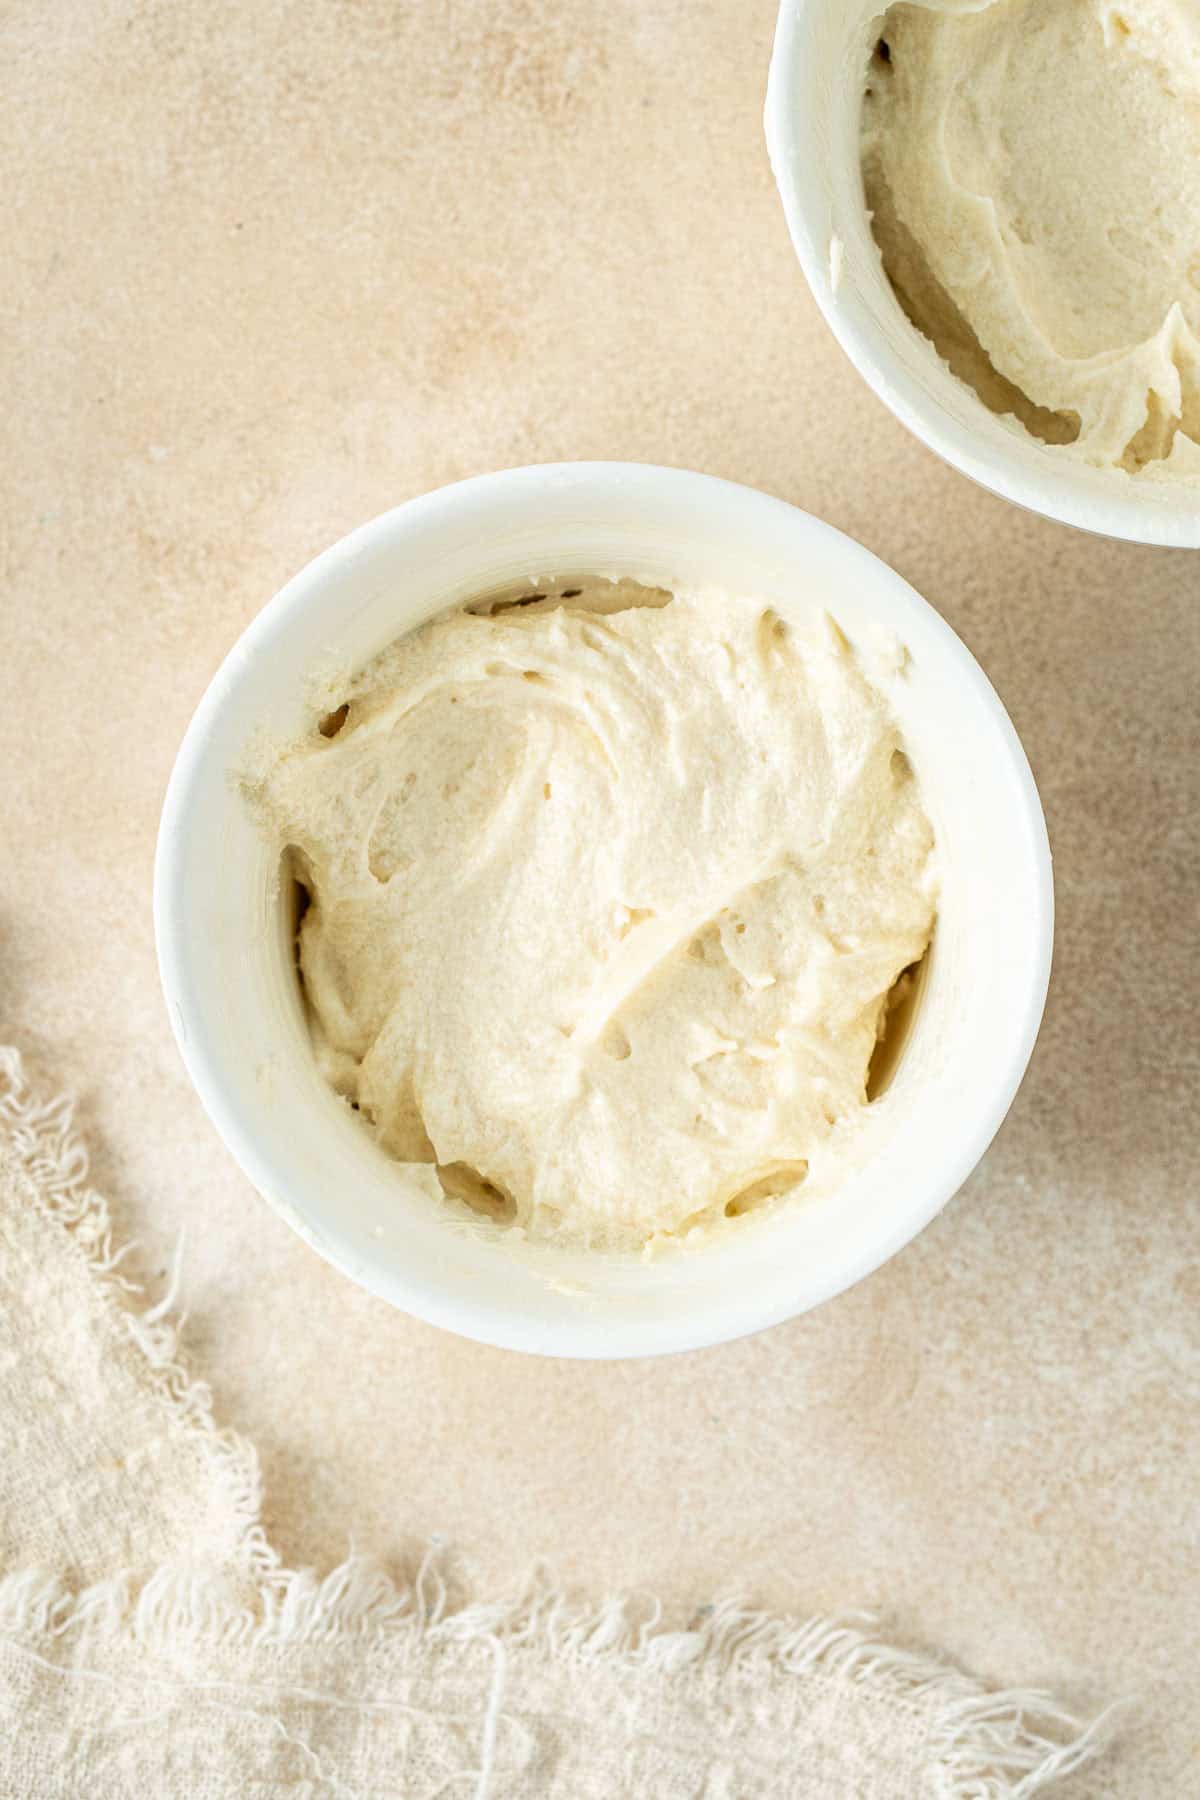
Step 2: Lightly grease your two ramekins or mugs and divide the batter evenly between them. They should be filled halfway as the cakes will rise a little in the microwave.
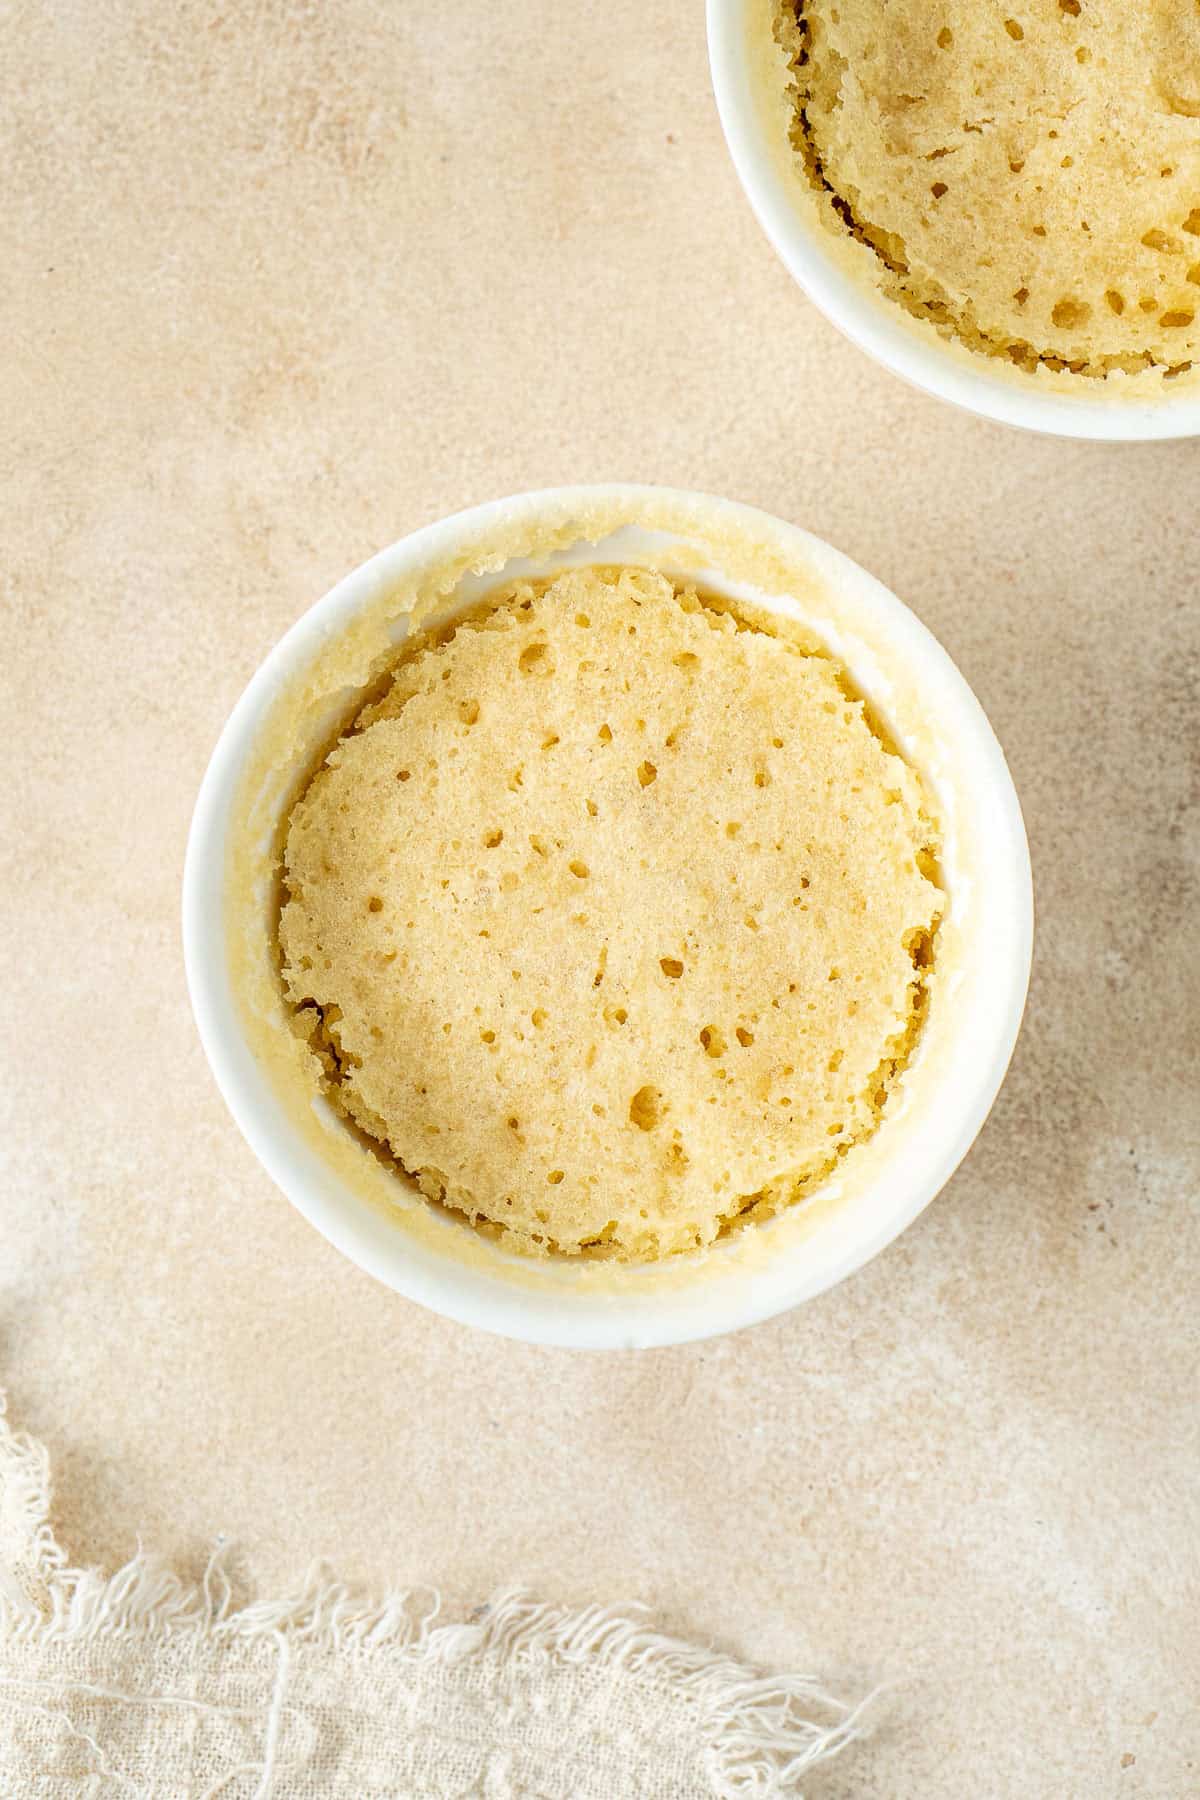
Step 3: Microwave one ramekin at a time for about 75 seconds. Microwave wattages vary quite a bit, so keep an eye on them from around the 60-second mark. The top should look just set but soft. It’ll continue to cook a little from the residual heat as it sits.
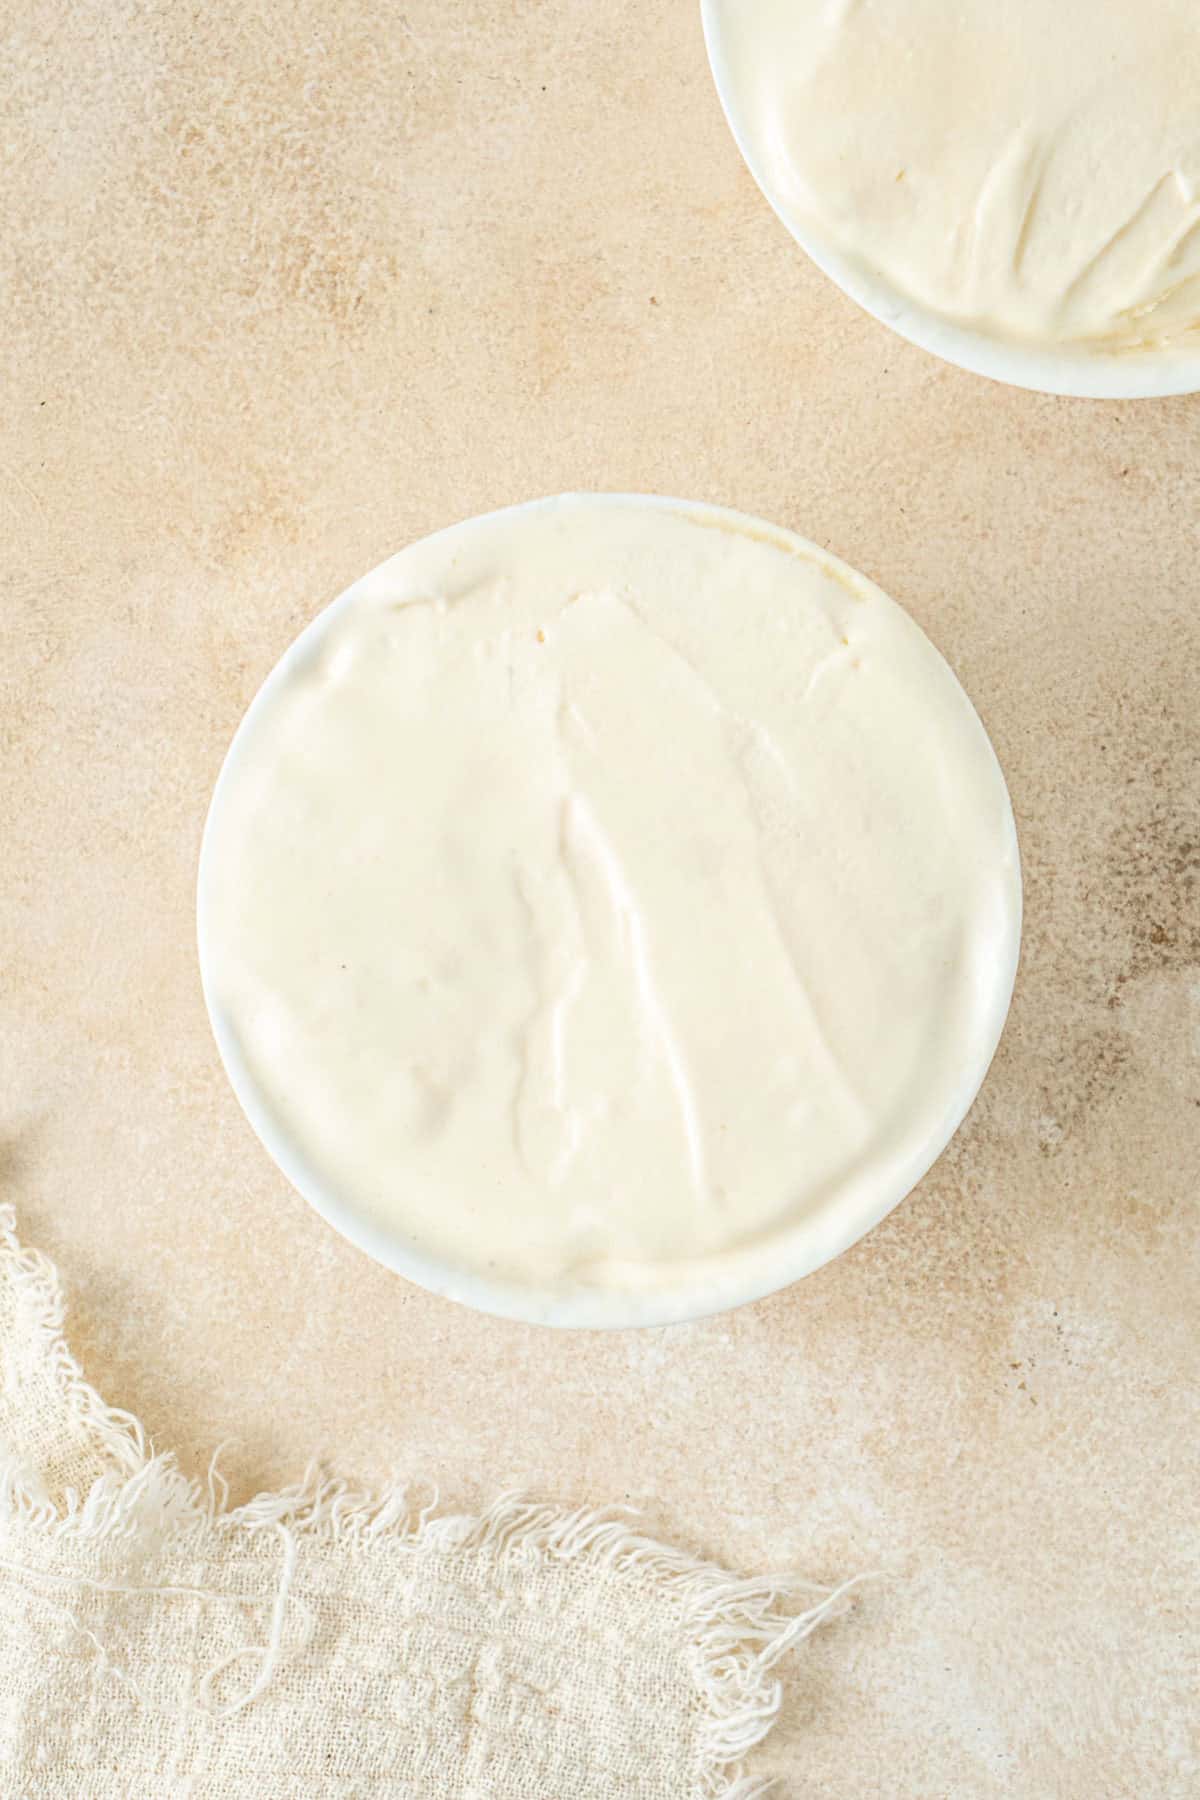
Step 4: Allow the cakes to cool slightly before adding a scoop of ice cream on top. Use a knife or small spatula to smooth it into a flat, even layer. Place them straight into the freezer for 3 hours, or until the ice cream is completely firm.
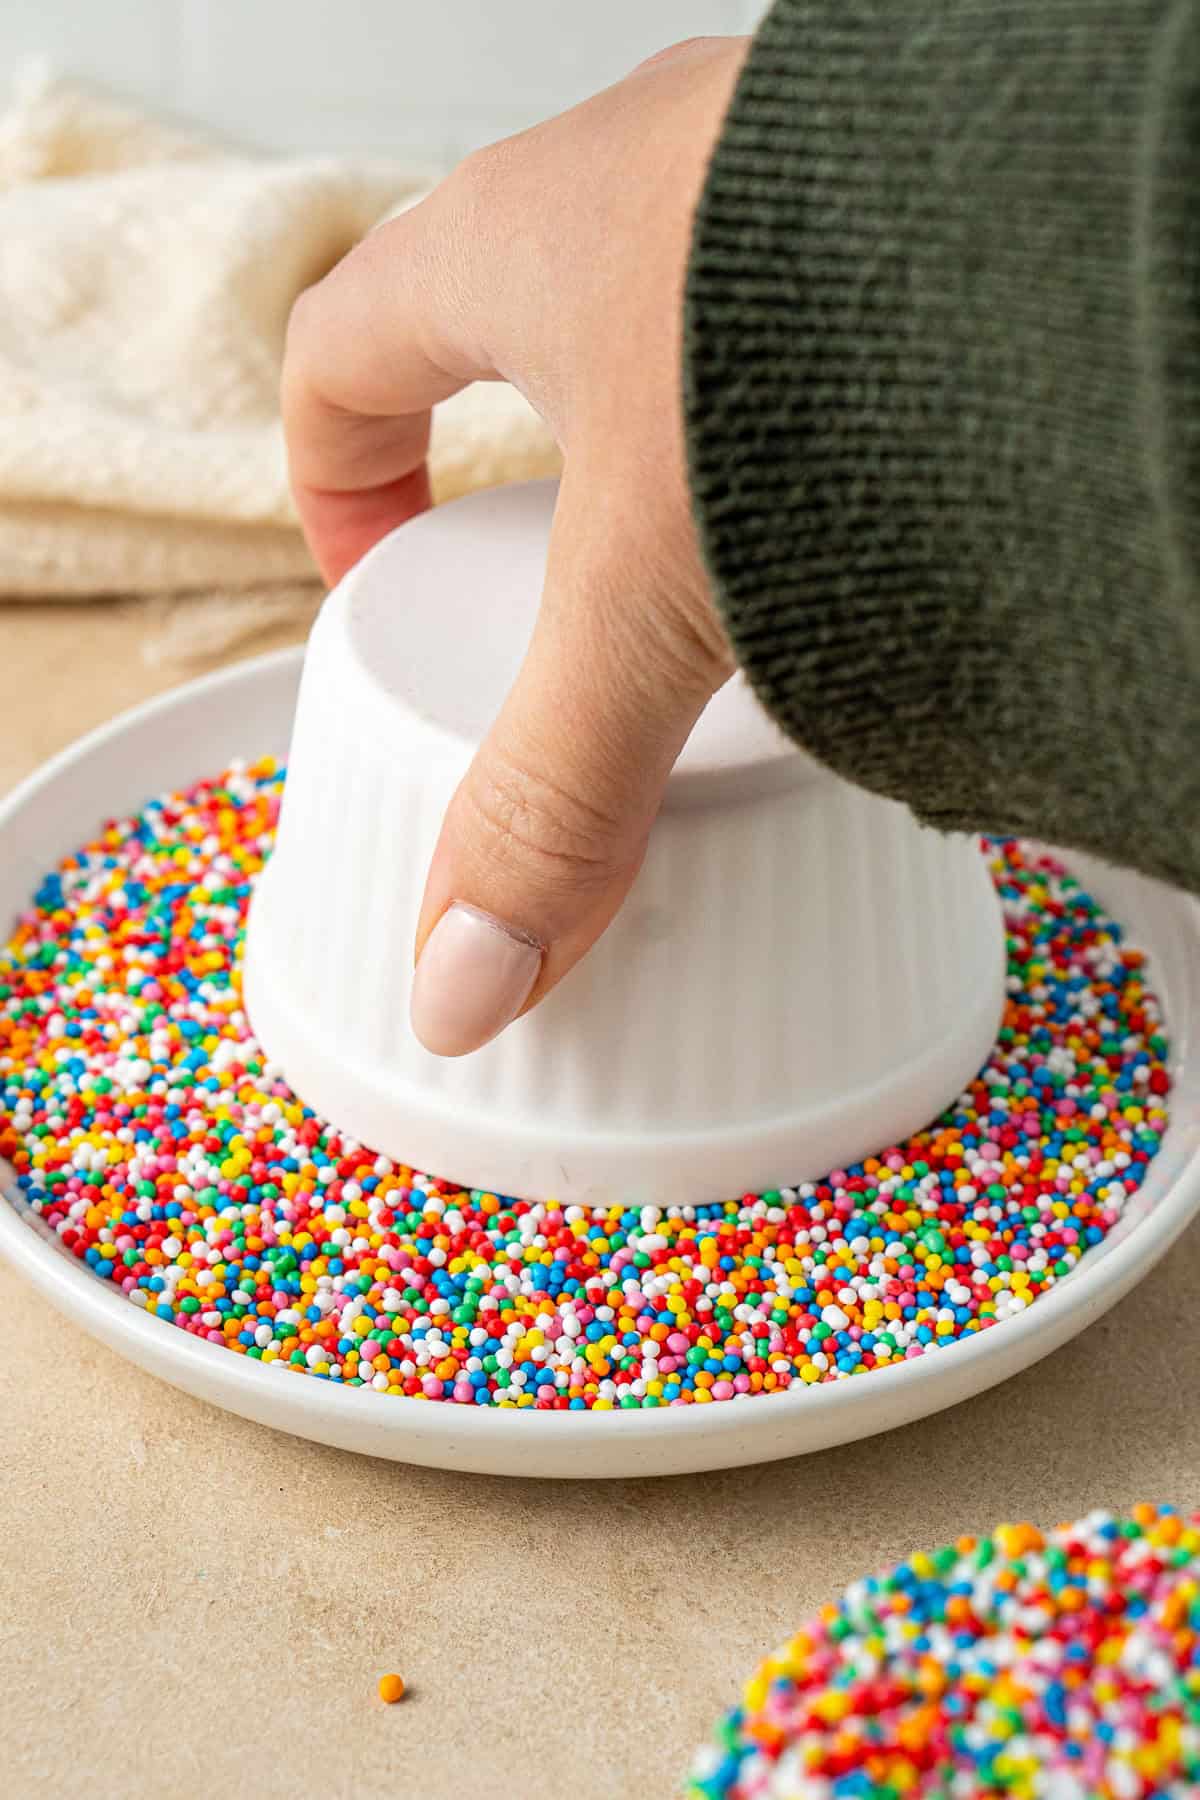
Step 5: When you’re ready to serve, scatter some 100s and 1000s onto a small flat plate. Carefully dip the ice cream top into the sprinkles, pressing gently so they stick.
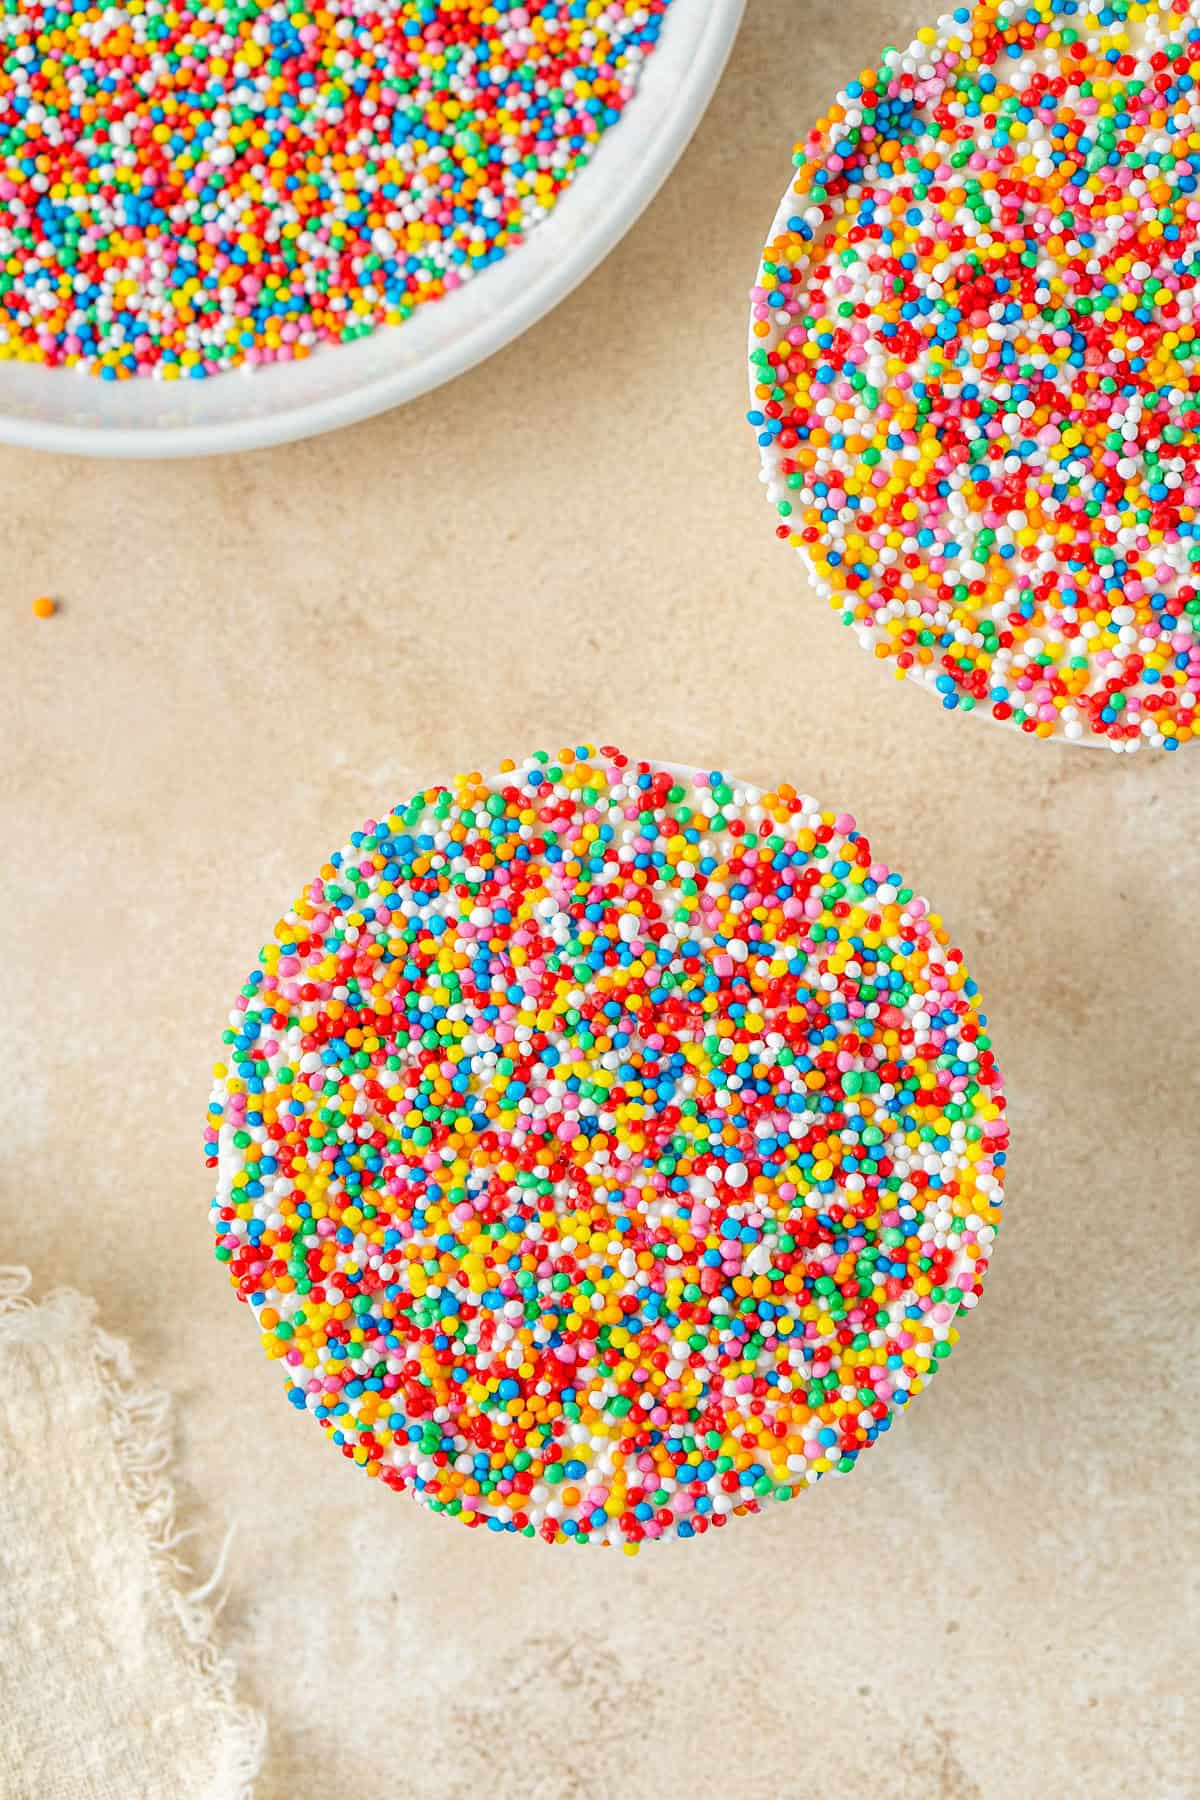
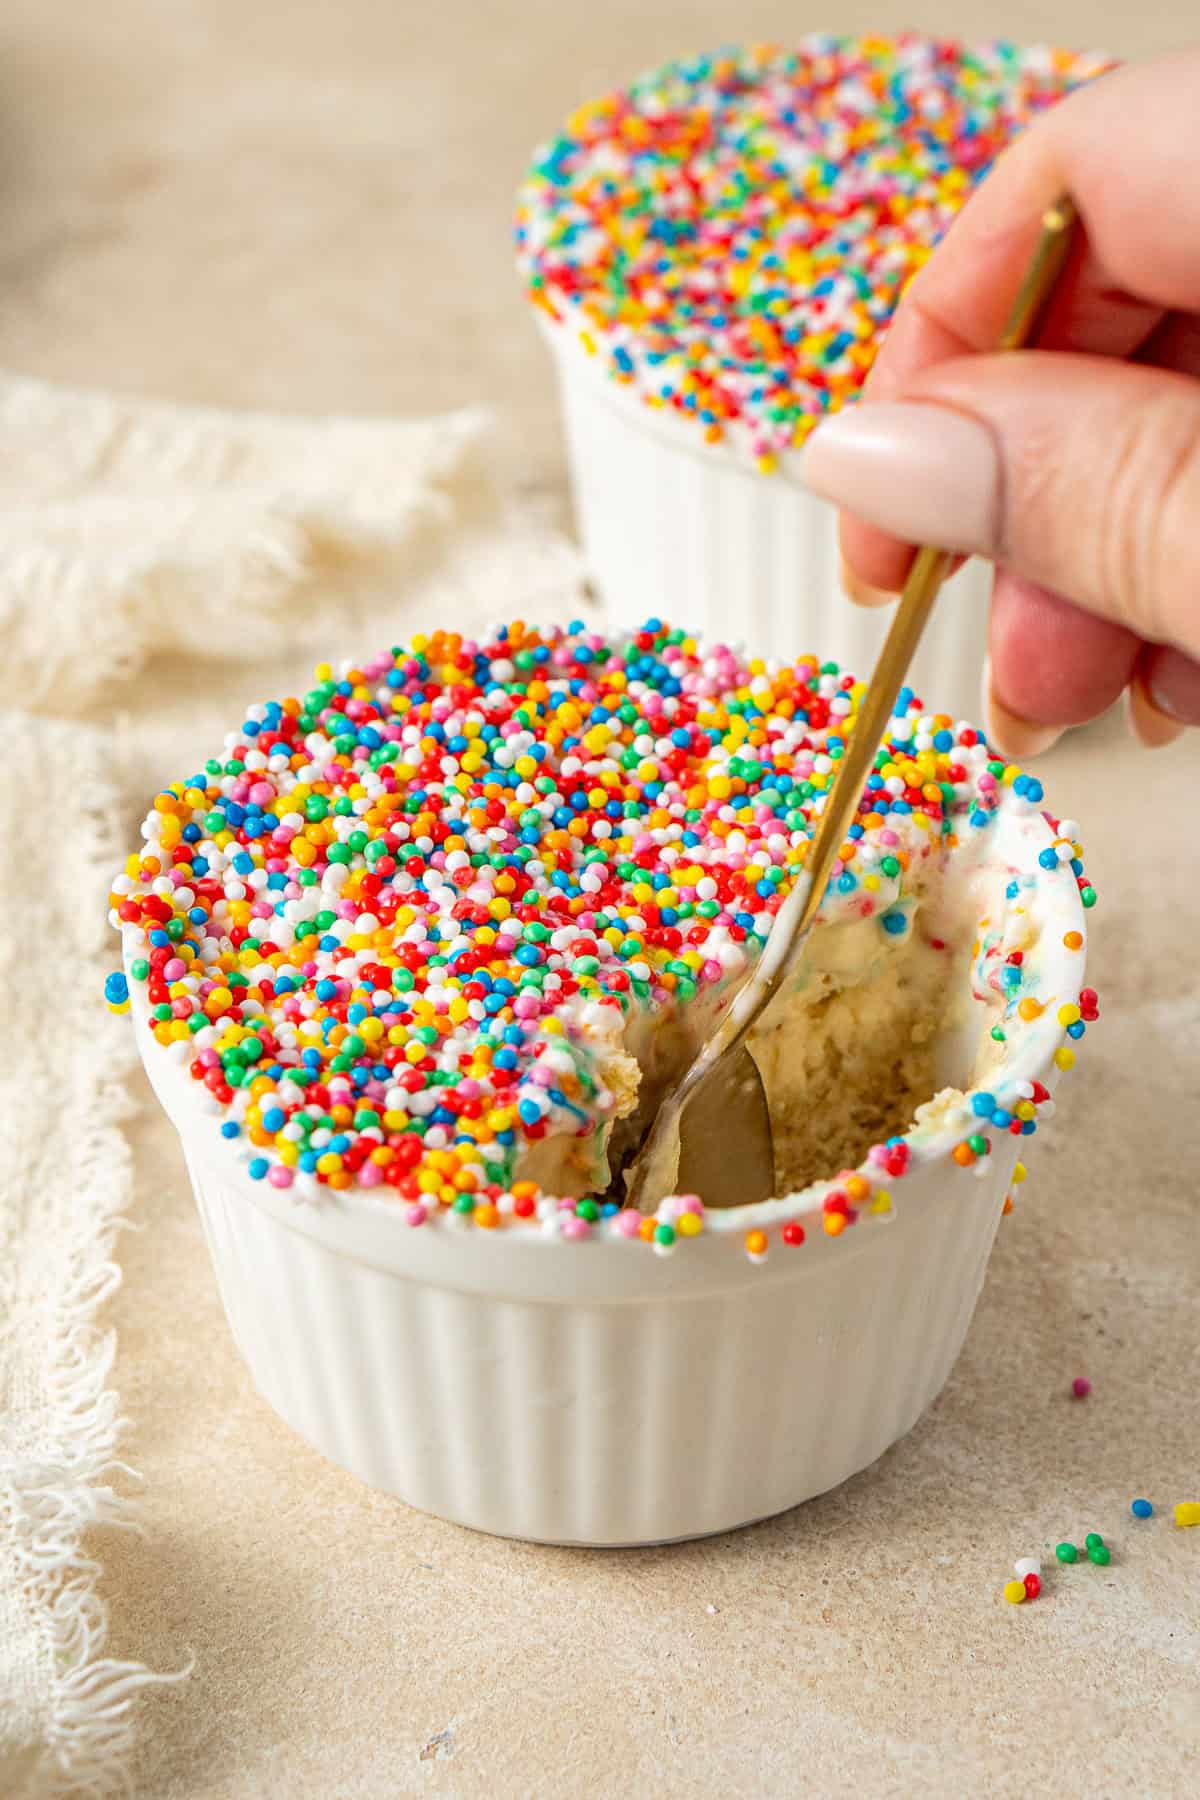
Step 6: Serve immediately!
👉 Tip! Let your dairy free vanilla ice cream sit out for about 10 minutes minutes while the cakes cool so it’s slightly softened. This makes it much easier to spread on top of the cakes.
Storage Instructions
Once assembled, the cakes can be stored in the freezer (covered or transferred to an airtight container) for up to 2 days before dipping in sprinkles.
Add the sprinkles just before serving so they stay crunchy and don’t bleed into the ice cream.
Recipe FAQs
You could bake the ramekins in a conventional oven at 180°C (350°F) for around 12–15 minutes, or until a skewer comes out clean. The rest of the method stays the same.
It depends! It’s always best to check the ingredients as some brands may use carmine which is a red colouring derived from insects. The main brand you buy from the supermarket in Australia, Dollar Sweets, is vegan friendly.
Of course. I wanted to keep this classic vanilla flavoured but you can use any ice cream that you like.
Yes! If you want to stick to the original format and use buttercream instead of ice cream, you can use my dairy free vanilla buttercream recipe or try my vegan cream cheese frosting!
If you do make this recipe, please be sure to leave a comment and ⭐⭐⭐⭐⭐ rating below! And tag any of your creations on Instagram with @eightforestlane as I would love to see.
More dairy free mug cakes:
Biscoff Mug Cake
Butterscotch Mug Cake
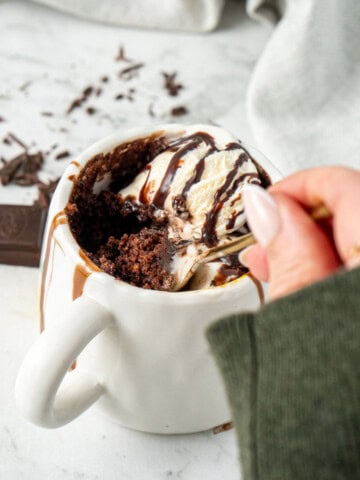
Easy Chocolate Mug Cake
5 Minute Banana Bread Mug Cake

Easy Viral Dot Cake Mug Cakes (Dairy Free)
Ingredients
- 35 grams dairy free butter see notes
- 2 tablespoons white sugar
- 1 teaspoon vanilla extract
- 2 tablespoons dairy free milk
- ¼ cup plain flour
- ½ teaspoon baking powder
- 2–3 scoops dairy free vanilla ice cream slightly softened
- 100s and 1000s sprinkles for decorating
Instructions
- In a small bowl, beat the dairy free butter and white sugar together using electric beaters until lighter and fluffy.
- Mix in the vanilla extract and dairy free milk until combined. Add the plain flour and baking powder and stir until just combined and smooth. Don’t overmix.
- Divide the batter evenly between two lightly greased ramekins.
- Microwave one ramekin at a time for about 75 seconds, depending on your microwave wattage. The cakes should look set on top but still be soft as they’ll finish cooking from the residual heat.
- Allow the cakes to cool slightly for 10 minutes before placing a scoop or two of dairy free vanilla ice cream on top of each cake. Using a knife or spatula, carefully smooth it out into a flat, even layer. Pop the cakes into the freezer until the ice cream is fully set, about 3 hours.
- Scatter some 100s and 1000s onto a plate. Take the cakes out of the freezer and dip the flat ice cream top into the sprinkles, pressing gently so they stick. Serve immediately!
Video
Notes
Nutrition
Nutritional information is provided as a guide only and is calculated using automated online tools, therefore we cannot guarantee the accuracy. We encourage you to make your own calculations based on the actual ingredients used in your recipe.


Never wonder what's for dinner again
Get a brand new dairy free meal plan every week, plus members only recipes and the whole of Eight Forest Lane with no ads. The planning is done, you just shop and cook.
Start your 7 day free trial →