
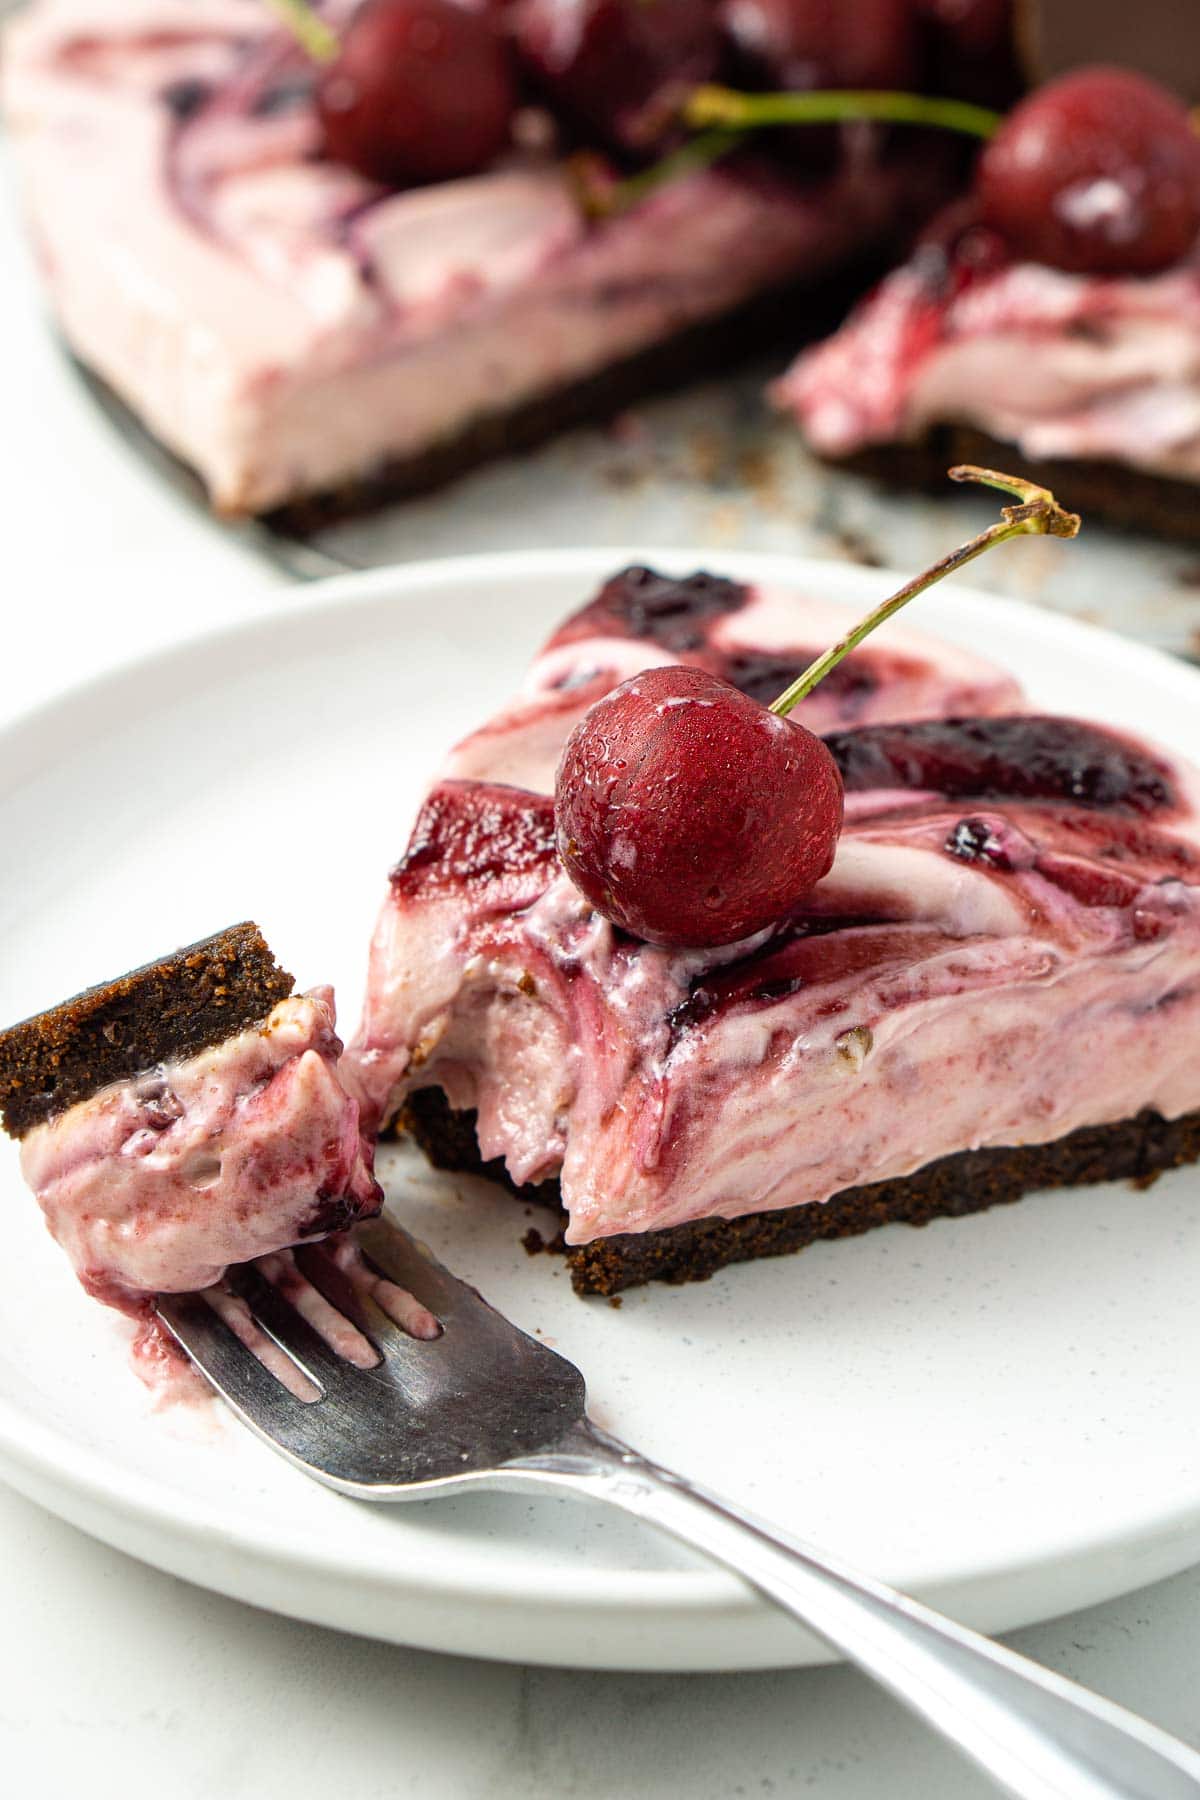
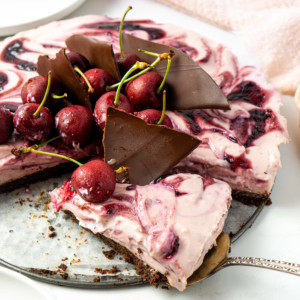
This is not your average cheesecake. It’s a soft, luscious and silky smooth chocolate cherry cheesecake that is full of sweet cherry flavour that pairs perfectly with the rich, buttery chocolate biscuit base. This no-bake cheesecake is perfect for a warm summer evening to celebrate the glorious December cherry season.
Every year I patiently wait for December to come and the delicious Australian cherries to appear at the supermarket. They are quite possibly my favourite fruit and aside from just eating them in bulk, I also love to bake desserts with them.
Because chocolate and cherry are the ultimate in dessert flavour combinations. You can find it in this epic chocolate and cherry cake, as well as this flourless chocolate cake already on my site celebrating this pairing.
I’ve always resisted no-bake cheesecakes as every single recipe I find tends to have gelatin added. Not wanting to do that, I found you can make a no-bake cheesecake that will still set without it by using a combination of block cream cheese and condensed milk. The trick is all in the method.
The result here is a super lush, creamy cheesecake that definitely has a different texture than once with gelatin but one that is so decadent that you just want to keep going back for another bite.
Key Ingredients
This dessert is based on my favourite no-bake cheesecake recipe which uses everyday ingredients and no gelatin.
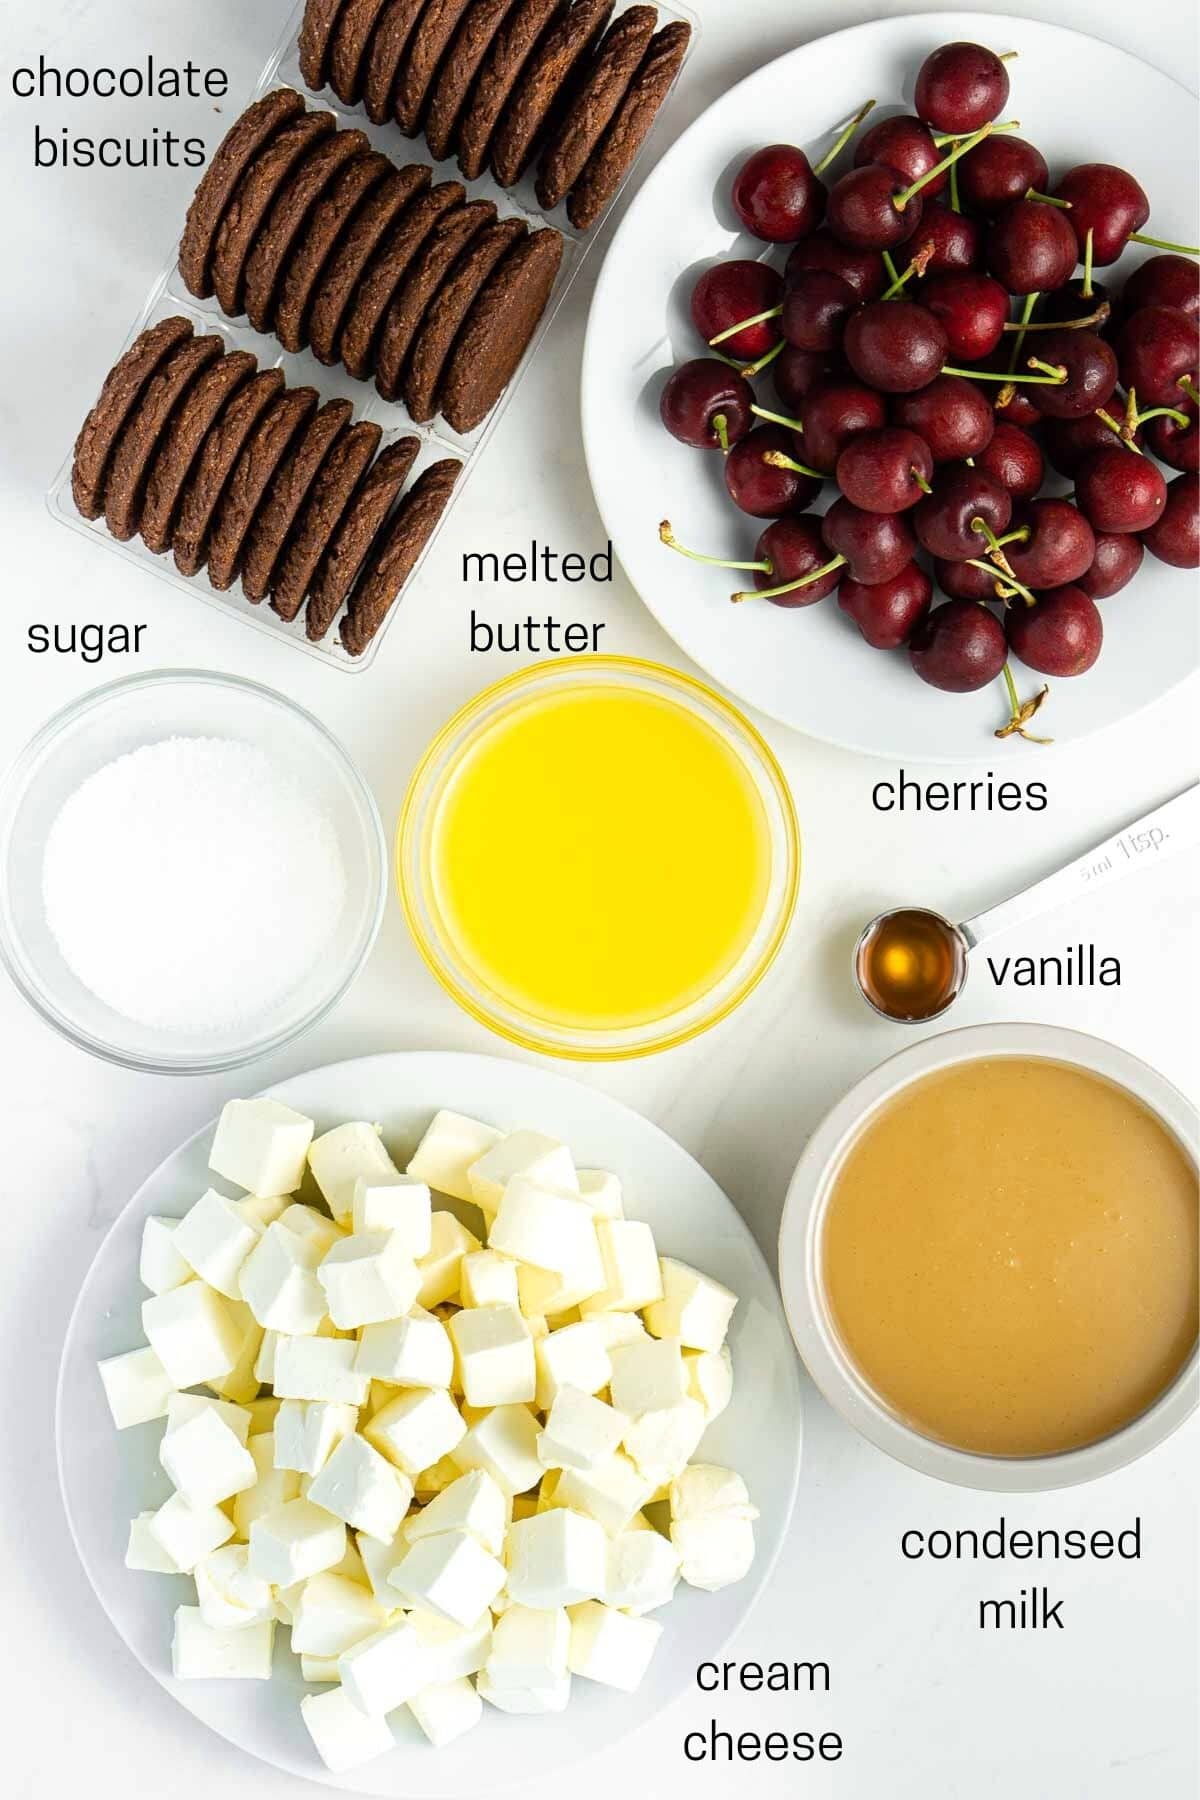
Note all ingredients and their quantities are laid out in the recipe card at the bottom of this post.
- Chocolate biscuits – I use Arnott’s chocolate ripple biscuits as they are the classic, rich, chocolatey biscuit but you can use any you love. Oreo’s would definitely work instead.
- Vegan butter – a little melted vegan butter is going to make the base deliciously buttery but also help hold it all together. If you don’t mind using dairy you can use regular butter here instead.
- Cream cheese – while I don’t usually eat dairy, I do make an exception for block cream cheese as this is essential for making this cheesecake set. I haven’t tried a spreadable non dairy alternative but I don’t think it would work the same. Instead, I buy the lactose free Philadelphia block cream cheese to make sure my tummy is able to handle it and I get a perfect cheesecake every time.
- Sweetened condensed milk – to reduce the amount of dairy in this cheesecake I like to use the new plant-based version which is made from rice and oat. I also find it’s not quite as sweet as the original which is perfect for my tastes but either plant based or original will work in this recipe.
- Vanilla – always vanilla for that little extra flavour boost.
- Cherries – as the name suggests, we can’t have a cherry cheesecake without cherries!
- Sugar – combined with the cherries, the sugar is going to make our cherry puree to add to the cheesecake.

Step-By-Step Instructions
To make this cheesecake you will need a couple of tools that are going to make this recipe so much easier. This is a food processor and a stand mixer.
If you don’t have these you can still try this recipe, but it’s going to be a bit harder to get the desired consistency which is essential for this recipe to ensure the cheesecake sets.
As with all my cheesecake recipes, it is essential that you read the recipe in full before starting to ensure the best results.
Start by making the cherry puree. To do this, pit the cherries and add to a small saucepan with the sugar and place over medium heat. The cherries will start to soften and the liquid will start to boil. Gently boil them until the cherries are completely soft.
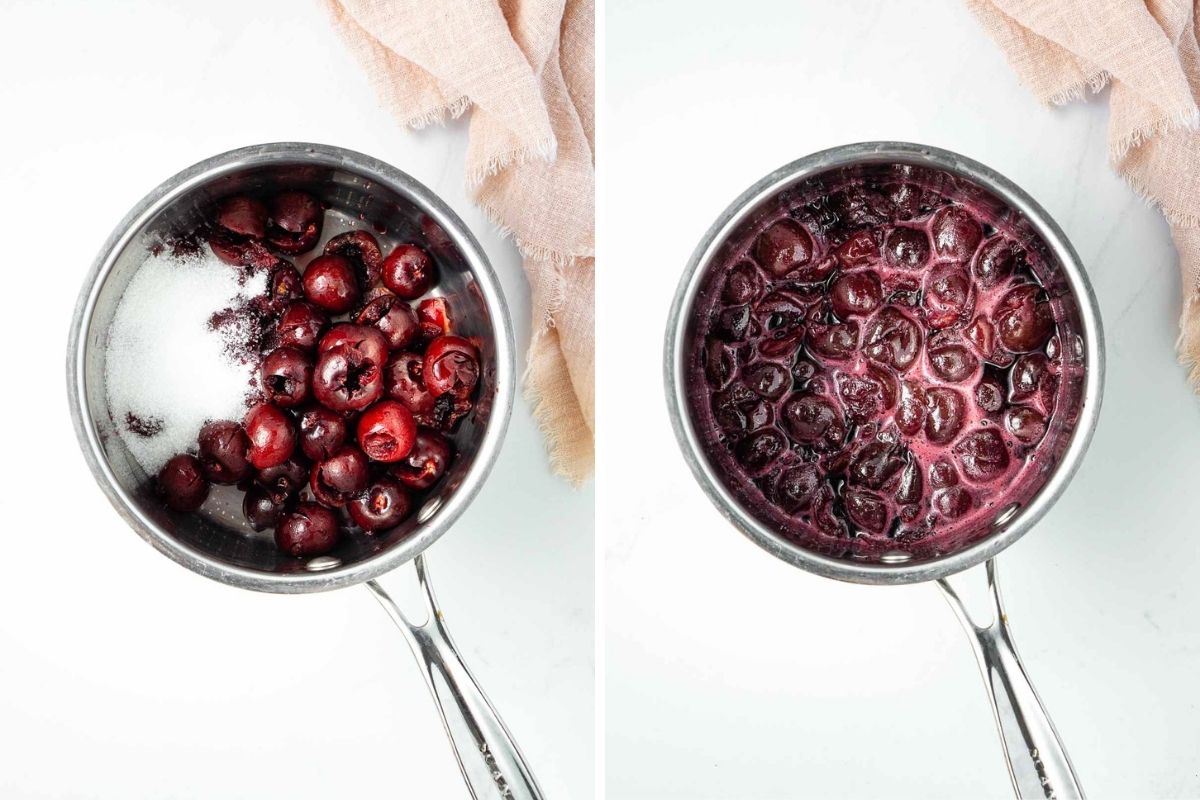
Add the cherries to a blender or use a stick blender to puree the cherries. This works best if the cherries have cooled a little bit first otherwise things can get a bit messy. Once pureed you should have about 1 cup or 250ml of liquid.
Add the pureed cherries back into the saucepan and bring to the boil. You want to reduce the mixture down to about 150mls so that it’s nice and thick, almost jamy. Once done, set aside to cool in the fridge.
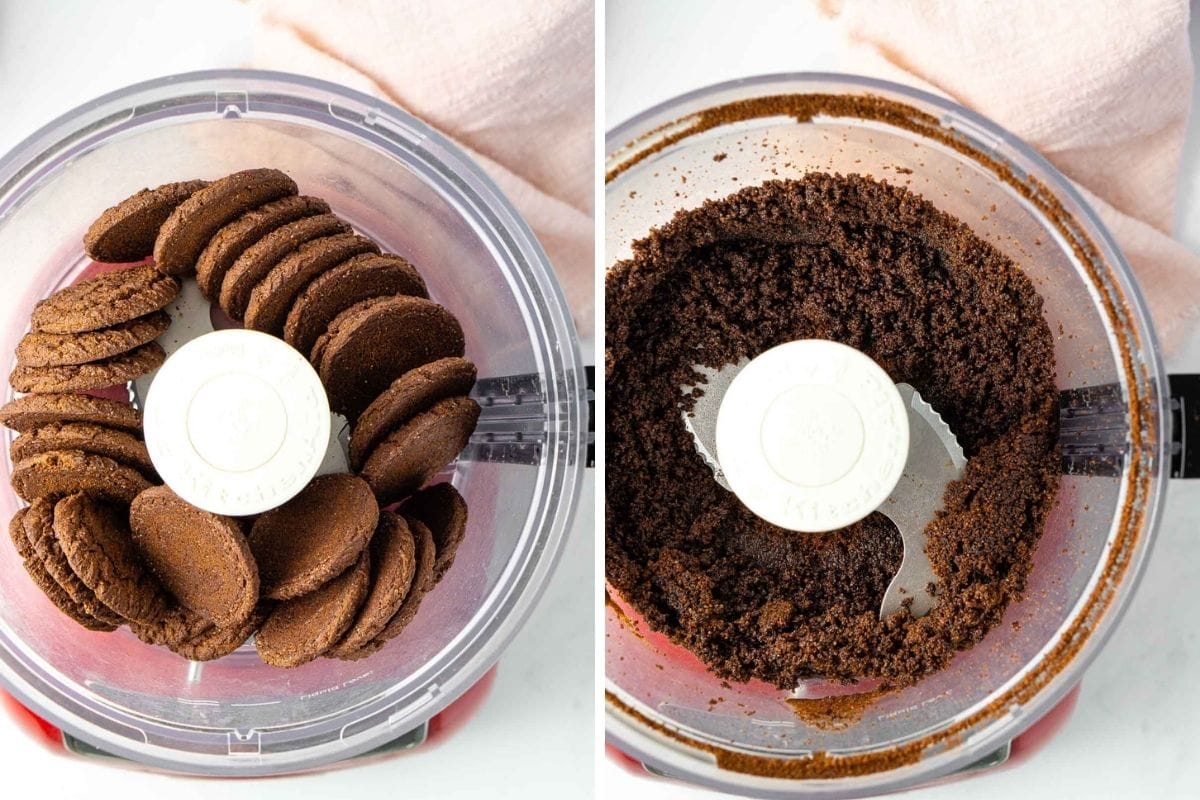
Next, make the base by adding the chocolate biscuits to the food processor and blitz to a fine crumb. Add in the melted butter and mix until you get the consistency of wet sand and it sticks together when you squeeze it.
Place the biscuit mixture into a round springform pan that’s been lined with baking paper and press down firmly with the bottom of a glass until it’s evenly covering the base. Set aside in the fridge to chill for about 30 minutes.
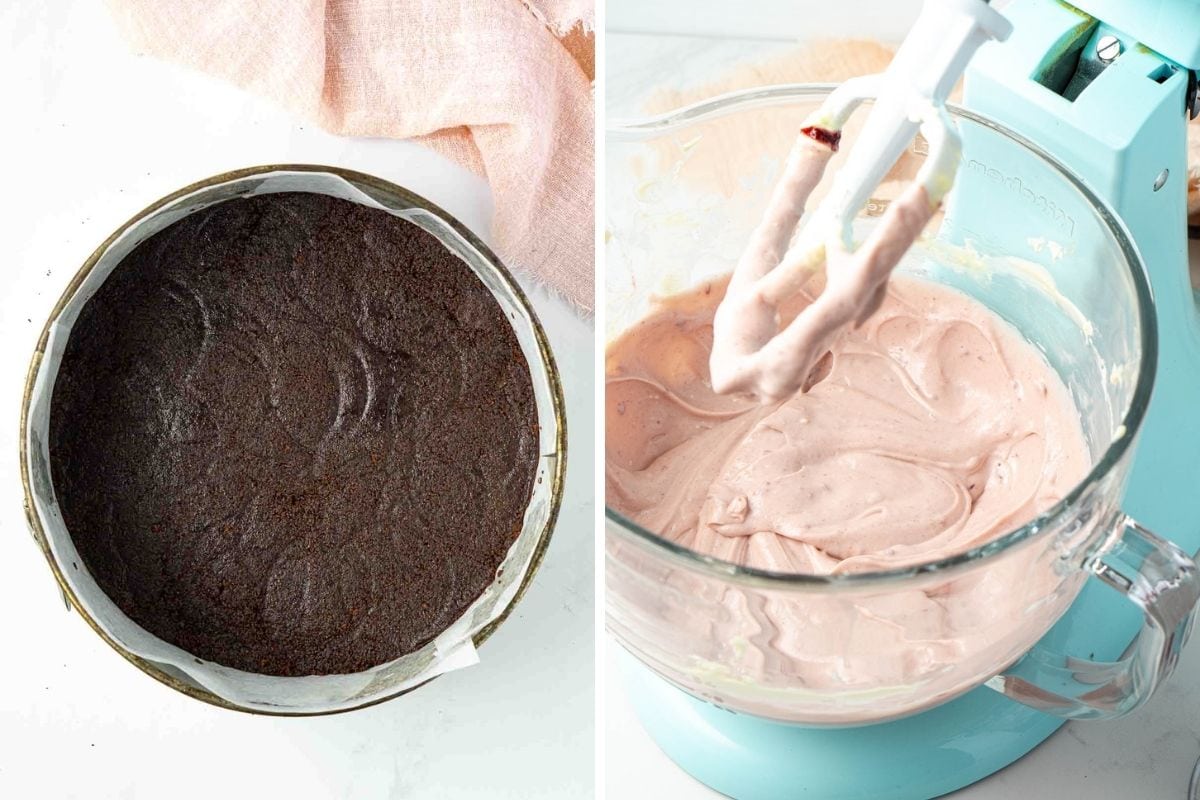
For the filling you want to make sure your ingredients are at room temperature – this is an important factor to ensuring the perfect texture when set. To do this easily with the cream cheese just cut it into cubes and let sit on a plate. It will come to room temp much quicker than if you just leave it in the solid block.
Place the cream cheese into the bowl of a stand mixer with the paddle attachment fitted and begin mixing, slowly before turning up to medium. You want to whip the cream cheese for AT LEAST 5 minutes or until it’s looking really really creamy.
Stop the mixer and add in the vanilla. Continue to whip for another 5 minutes, scraping down the sides and bottom of the bowl to make sure the mixture is beating evenly.
Once this mixture is combined and really soft and creamy, with the mixer running on medium low, slowly drizzle in the sweetened condensed milk a little at a time. Continue mixing until all of the condensed milk has been added.
This slow process of combining the condensed milk with the cream cheese after the cream cheese has been beaten extremely well is what is going to make the cheesecake set and ensure you don’t end up with cheesecake soup.
Finally, add in about a ¼ of a cup of the cherry puree and beat until completely smooth and combined.
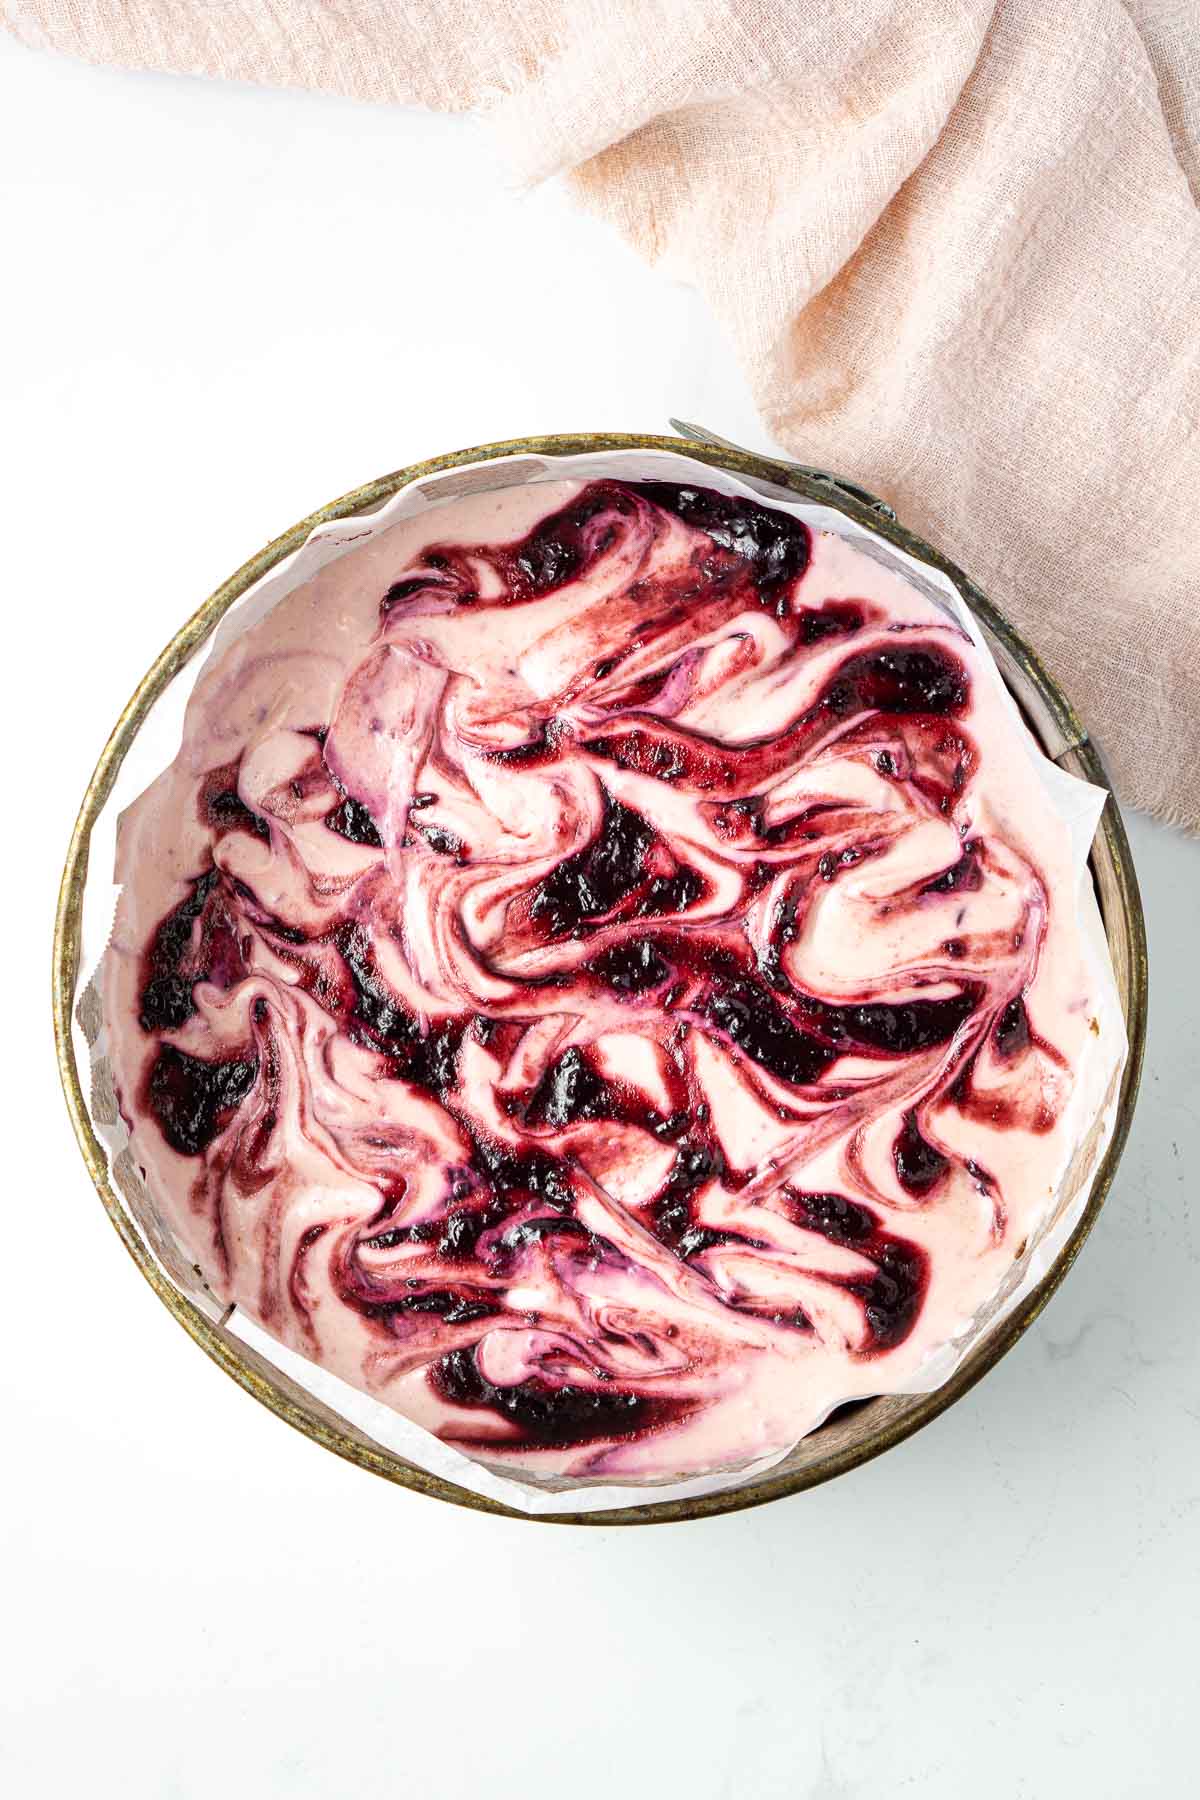
Pour half of the filling mixture into the pan and then dollop on a few spoonfuls of the cherry puree. Use your spoon or a skewer to marble the cherry puree through the cheesecake. Repeat with the remaining filling and cherry puree.
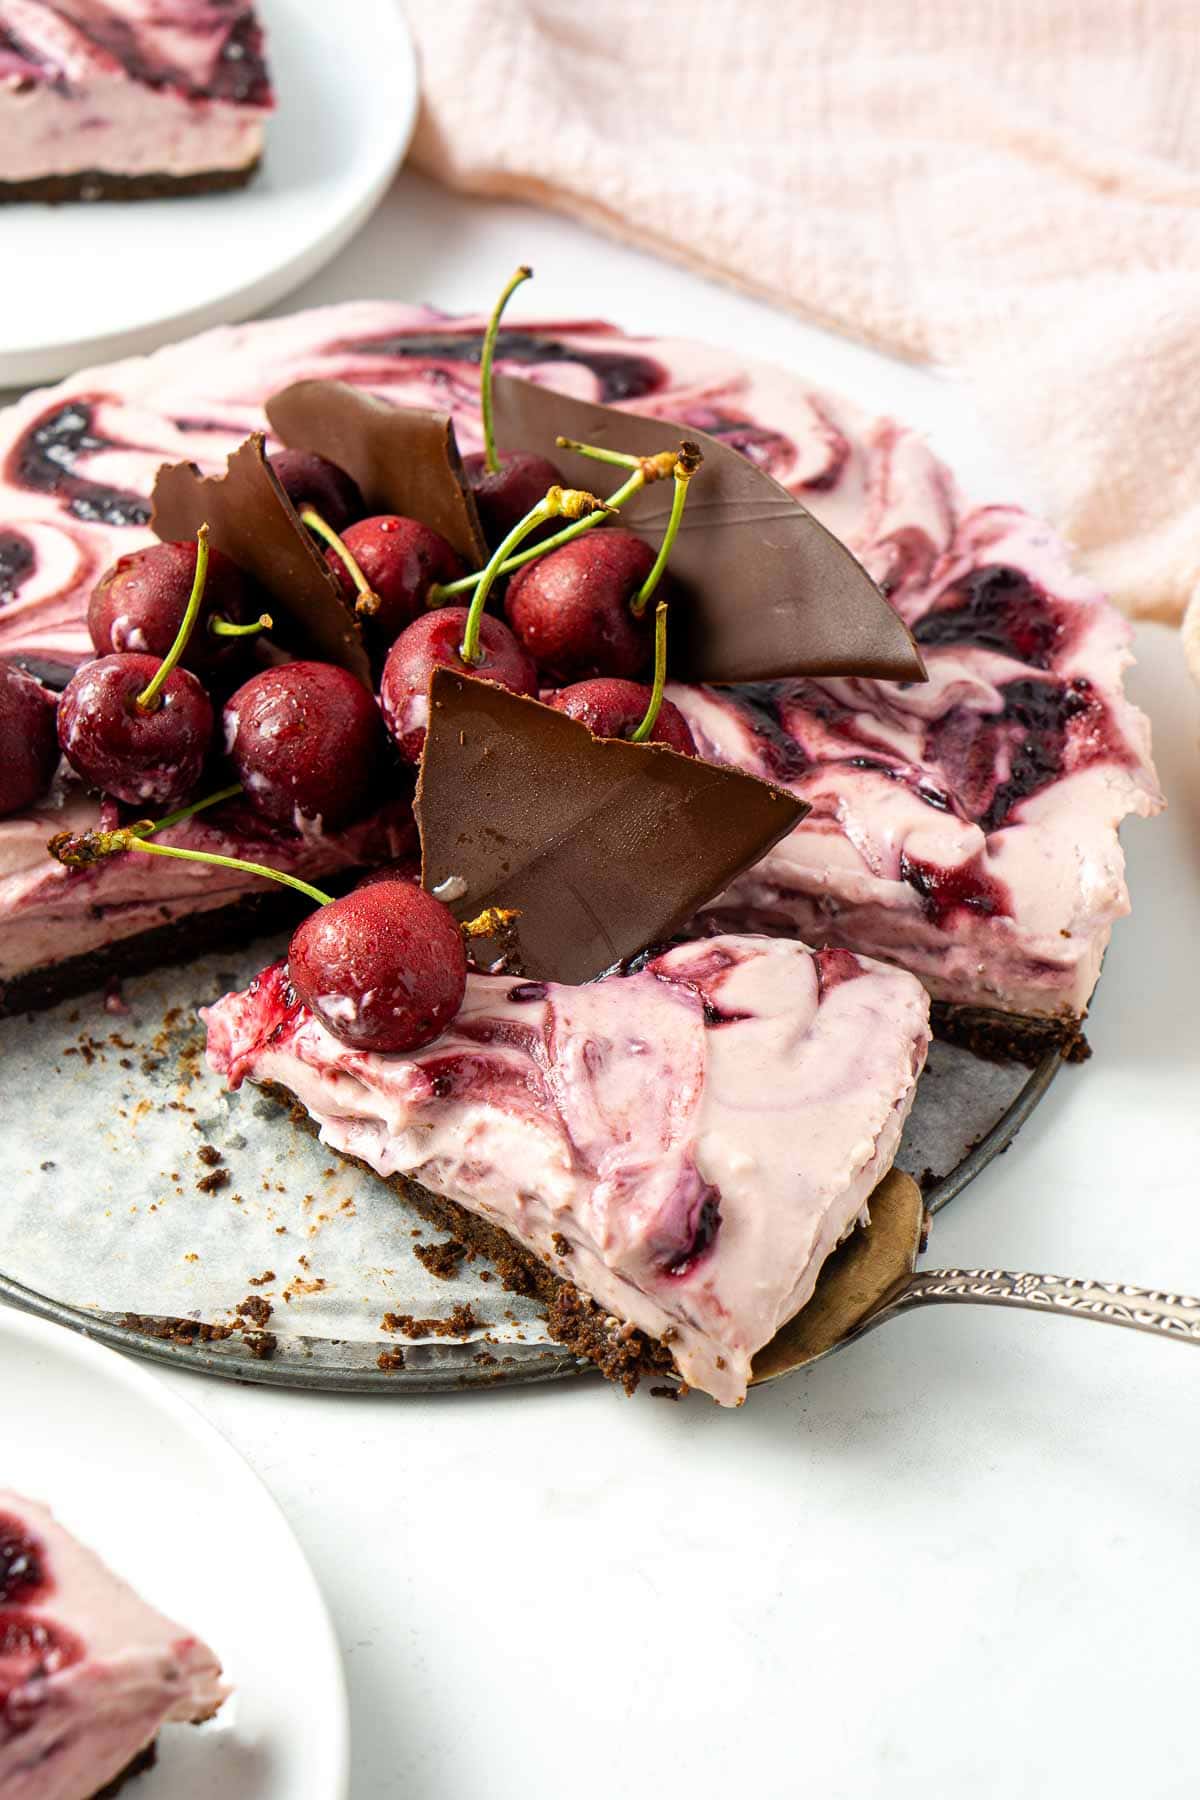
Place the cheesecake in the fridge to set for a minimum of 24 hours before slicing and serving.
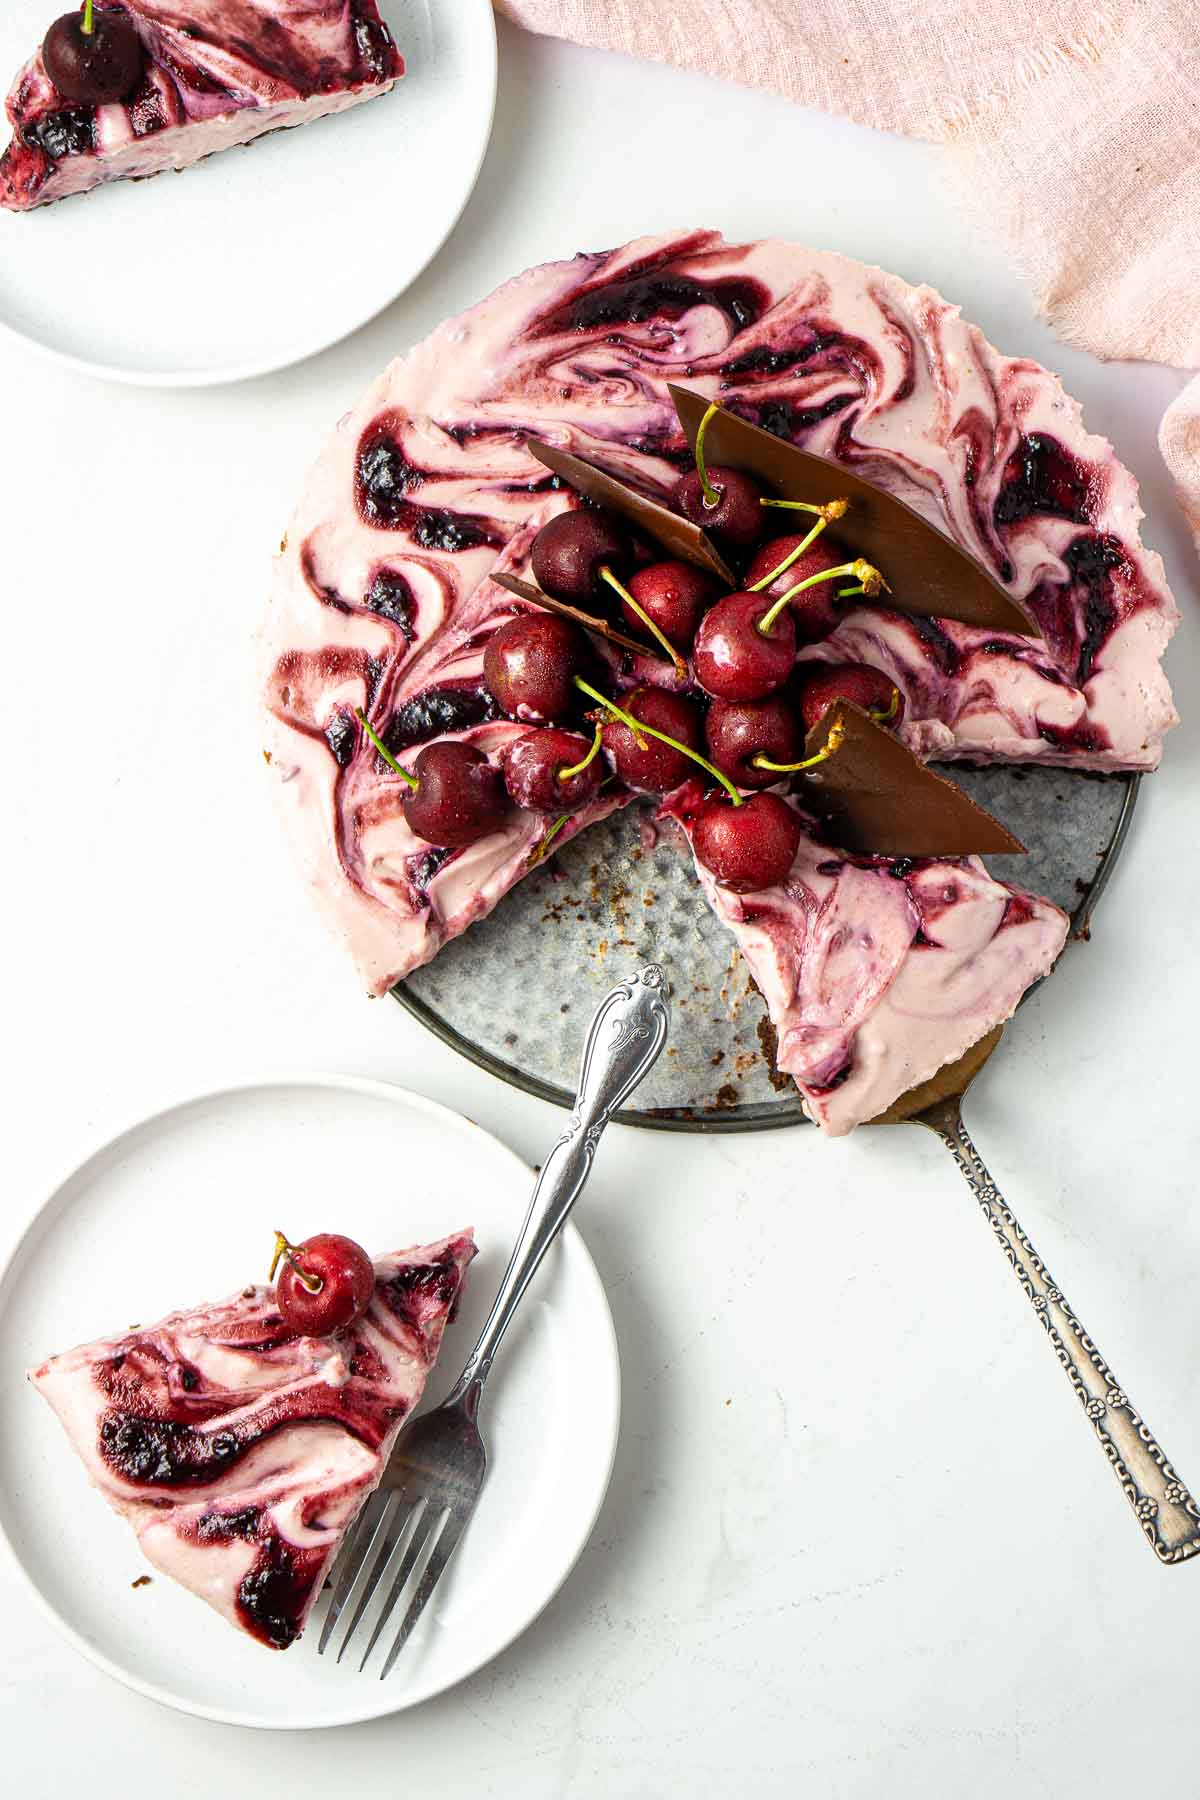
To serve, top the cheesecake with fresh cherries and dark chocolate. Serve the cheesecake straight from the fridge. On a warm day (like the humid Brisbane day I was trying to photograph this cheesecake in) be sure to place any uneaten cheesecake back in the fridge straight away so that it doesn’t melt.
Recipe FAQs
No. While I use a dairy free substitute for the condensed milk, I haven’t been able to find a suitable dairy free alternative to block cream cheese (the spreadable ones are not suitable for this recipe). This version however uses lactose-free cream cheese making it still ok for those who have trouble digesting dairy.
If you do make this recipe, please be sure to leave a comment and ⭐⭐⭐⭐⭐ rating below! And tag any of your creations on Instagram with @eightforestlane as I would love to see.
More Christmas Desserts:
Chocolate Pavlova
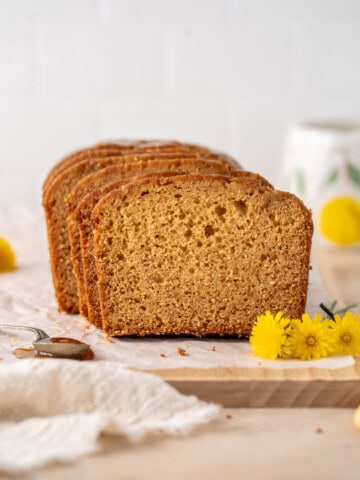
Gingerbread Loaf Cake
Gingerbread House
Upside Down Christmas Fruit Cake
Chocolate Cherry Cheesecake
Ingredients
- 300 grams cherries
- ¼ cup white sugar/granulated sugar
- 200 grams chocolate biscuits
- 6 tablespoons (84 grams) butter melted
- 2 x 250 gram blocks of cream cheese room temperature
- 1 cup condensed milk
- 1 teaspoon vanilla extract
Instructions
- Make the cherry puree. Pit the cherries and add to a small saucepan with the sugar and place over medium heat. Gently boil them until the cherries are completely soft.
- Add the cherries to a blender or use a stick blender to puree the mixture. Once pureed you should have about 1 cup or 250ml of liquid.
- Add the pureed cherries back into the saucepan and bring to the boil. Reduce the mixture down to about 150mls so that it's nice and thick. Set aside to cool in the fridge.
- Add the chocolate biscuits to the food processor and blitz to a fine crumb. Add in the melted butter and mix until you get the consistency of wet sand. Place the biscuit mixture into a round springform pan that’s been lined with baking paper and press down firmly with the bottom of a glass until it’s evenly covering the base. Set aside in the fridge to chill for about 30 minutes.
- Place the cream cheese into the bowl of a stand mixer with the paddle attachment fitted and begin mixing, slowly before turning up to medium. Whip the cream cheese for at least 5 minutes or until it’s looking really creamy. Stop the mixer and add in the vanilla and continue to whip for another 5 minutes scraping down the sides and bottom of the bowl to make sure the mixture is beating evenly.
- Once this mixture is combined, with the mixer running on medium low, slowly drizzle in the sweetened condensed milk a little at a time. Continue beating until all of the condensed milk has been added and the mixture is smooth. Add in about a ¼ of a cup of the cherry puree and beat until completely smooth and combined.
- Pour half of the filling mixture into the pan and then dollop on a few spoonfuls of the cherry puree. Use your spoon or a skewer to marble the cherry puree through the cheesecake. Repeat with the remaining filling and cherry puree.
- Place the cheesecake in the fridge to set for a minimum of 24 hours before slicing and serving. Serve topped with fresh cherries and more chocolate.
Notes
Nutrition
Nutritional information is provided as a guide only and is calculated using automated online tools, therefore we cannot guarantee the accuracy. We encourage you to make your own calculations based on the actual ingredients used in your recipe.


S says
My chesecake is not setting (think 5 mins mixing was too long) , could it be mixed with gelatin and then set to save it?
Sally says
Sorry to hear this! This cheesecake does need at least 24 hours to properly set, and it’s ability to set is based on that process of mixing. I haven’t used gelatin before but if you’re familiar with using it then it should work to help set it.
sherry says
chocolate and cherries and condensed milk? nothing better … 🙂
Sally says
Totally agree!