Homemade chocolate lava cakes are the ultimate decadent dessert. These warm, rich and fudgy cakes have an oozy chocolate centre that flows out when cut open. Making just two cakes, this recipe is perfect to share with your loved one. Plus they are dairy-free and can be made in just 20 minutes!
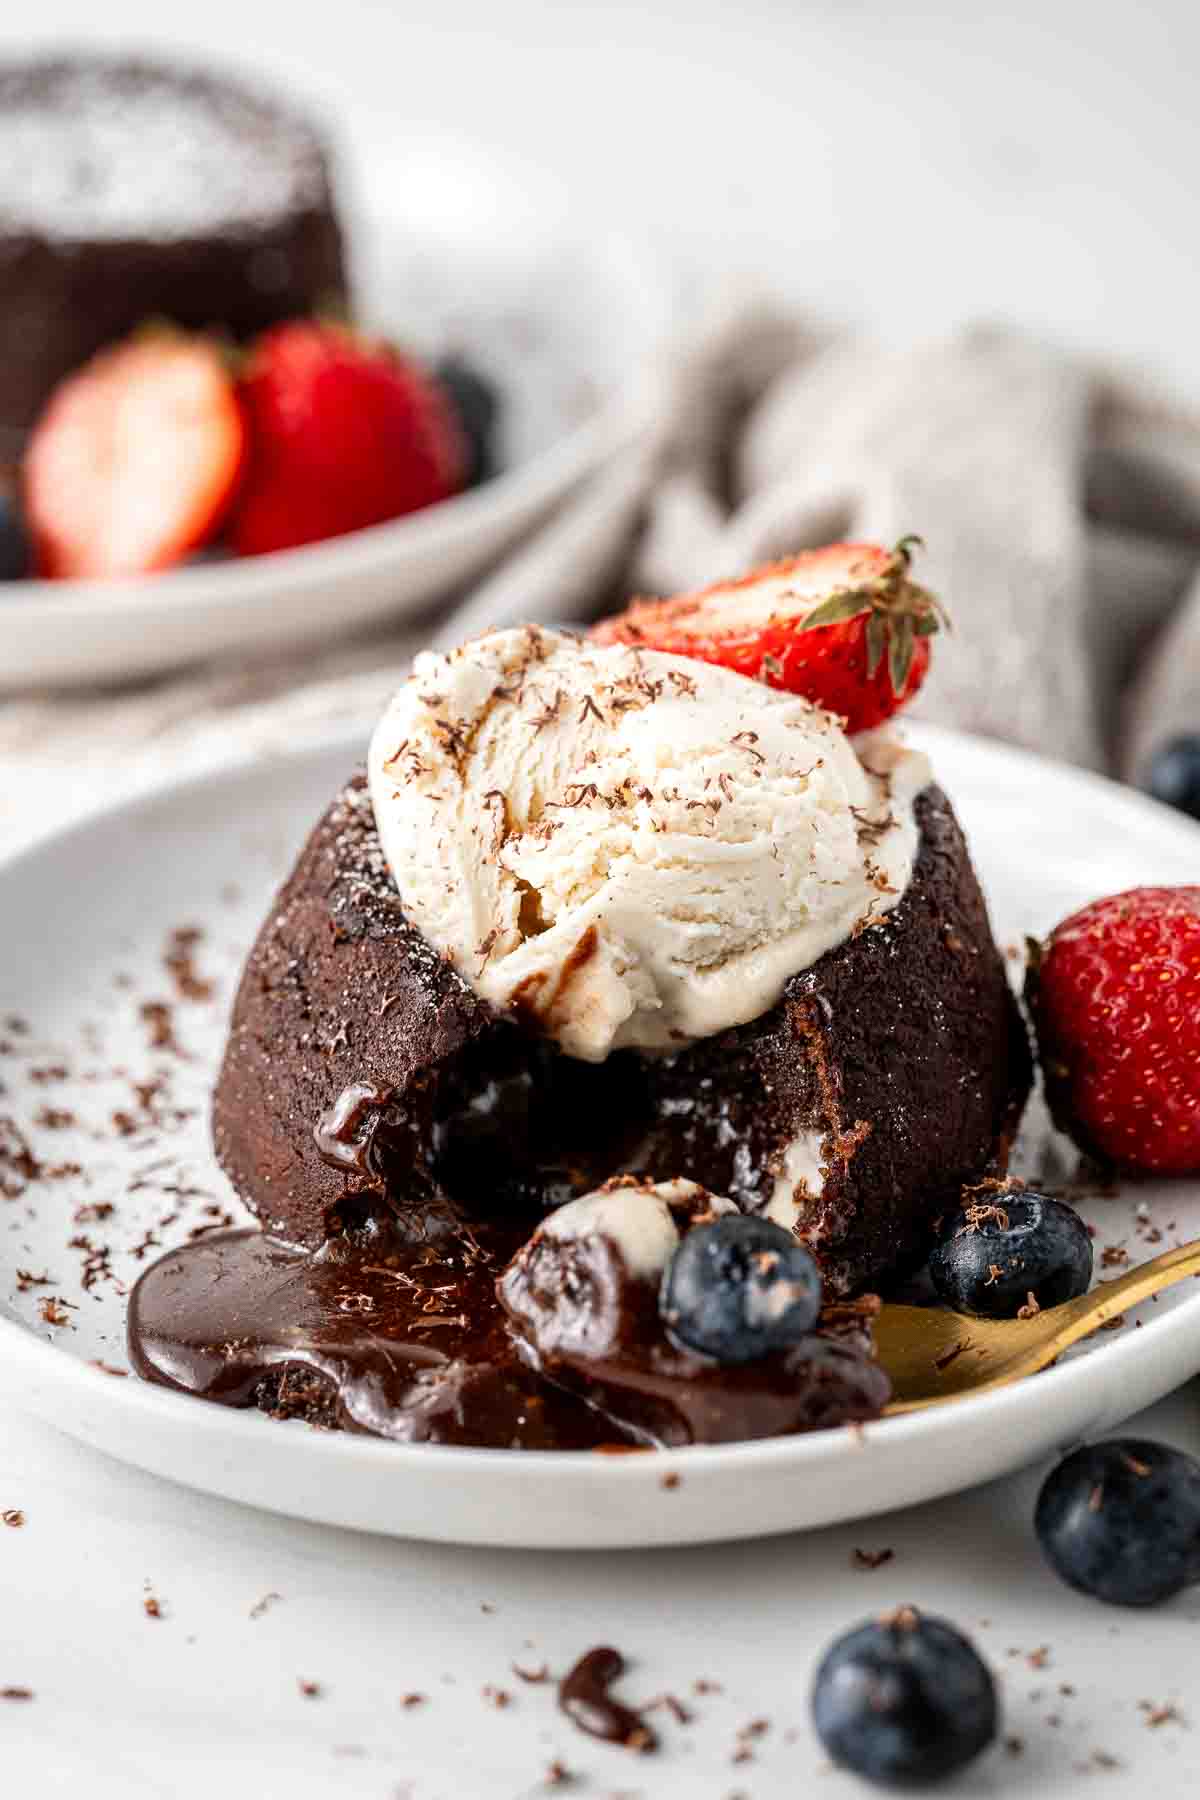
There is no better recipe to celebrate Valentine’s Day or Galantine’s Day with than these oozy and delicious individual dairy-free chocolate lava cakes. This recipe makes just 2 little cakes so it is perfect to share with your lover, your bestie, your mum, or yourself (yes valentine’s day is also a legitimate excuse to eat a double serve of dessert).
One of the reasons I love these little cakes so much is that they come together so quickly! Maybe I should warn you that once you realise that there is less than 20 minutes between you and one of the most delicious desserts ever, it can be hard to not make them every day.
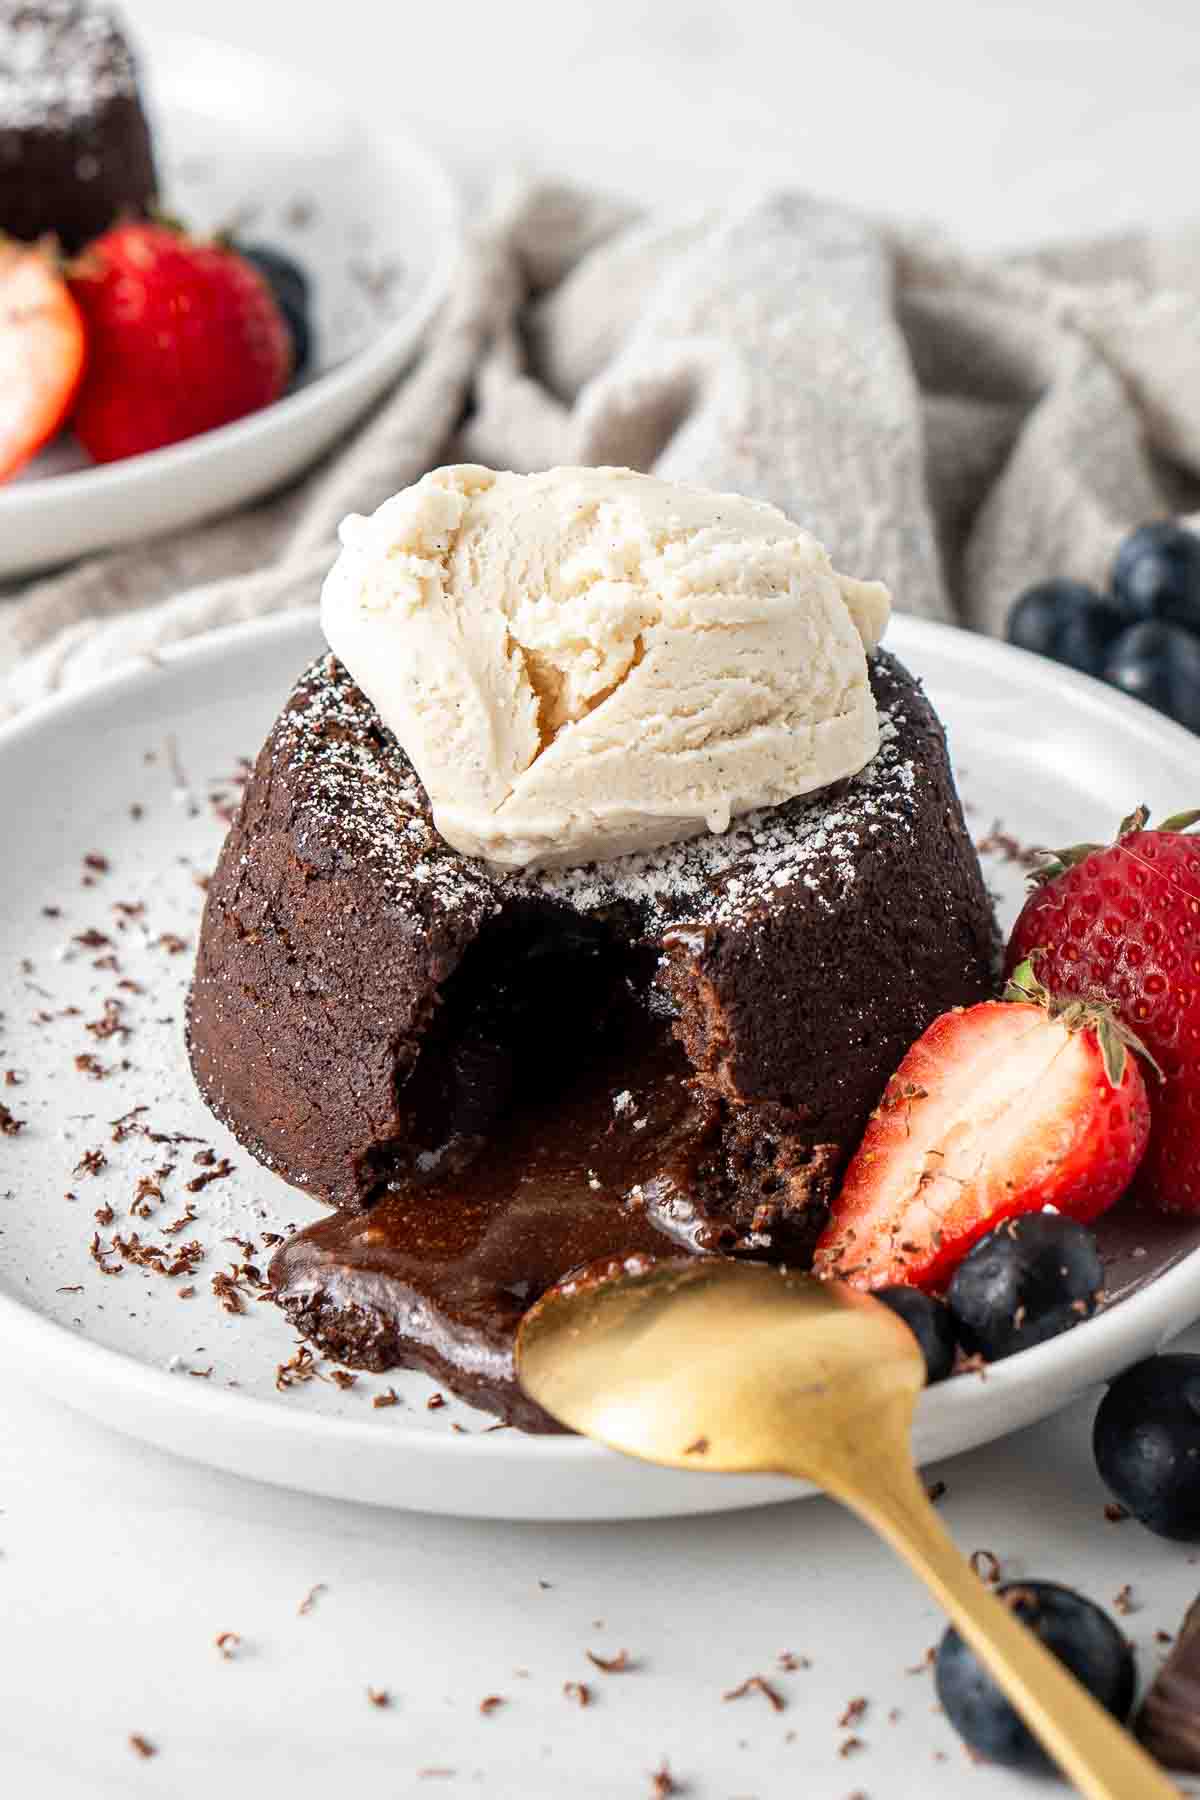
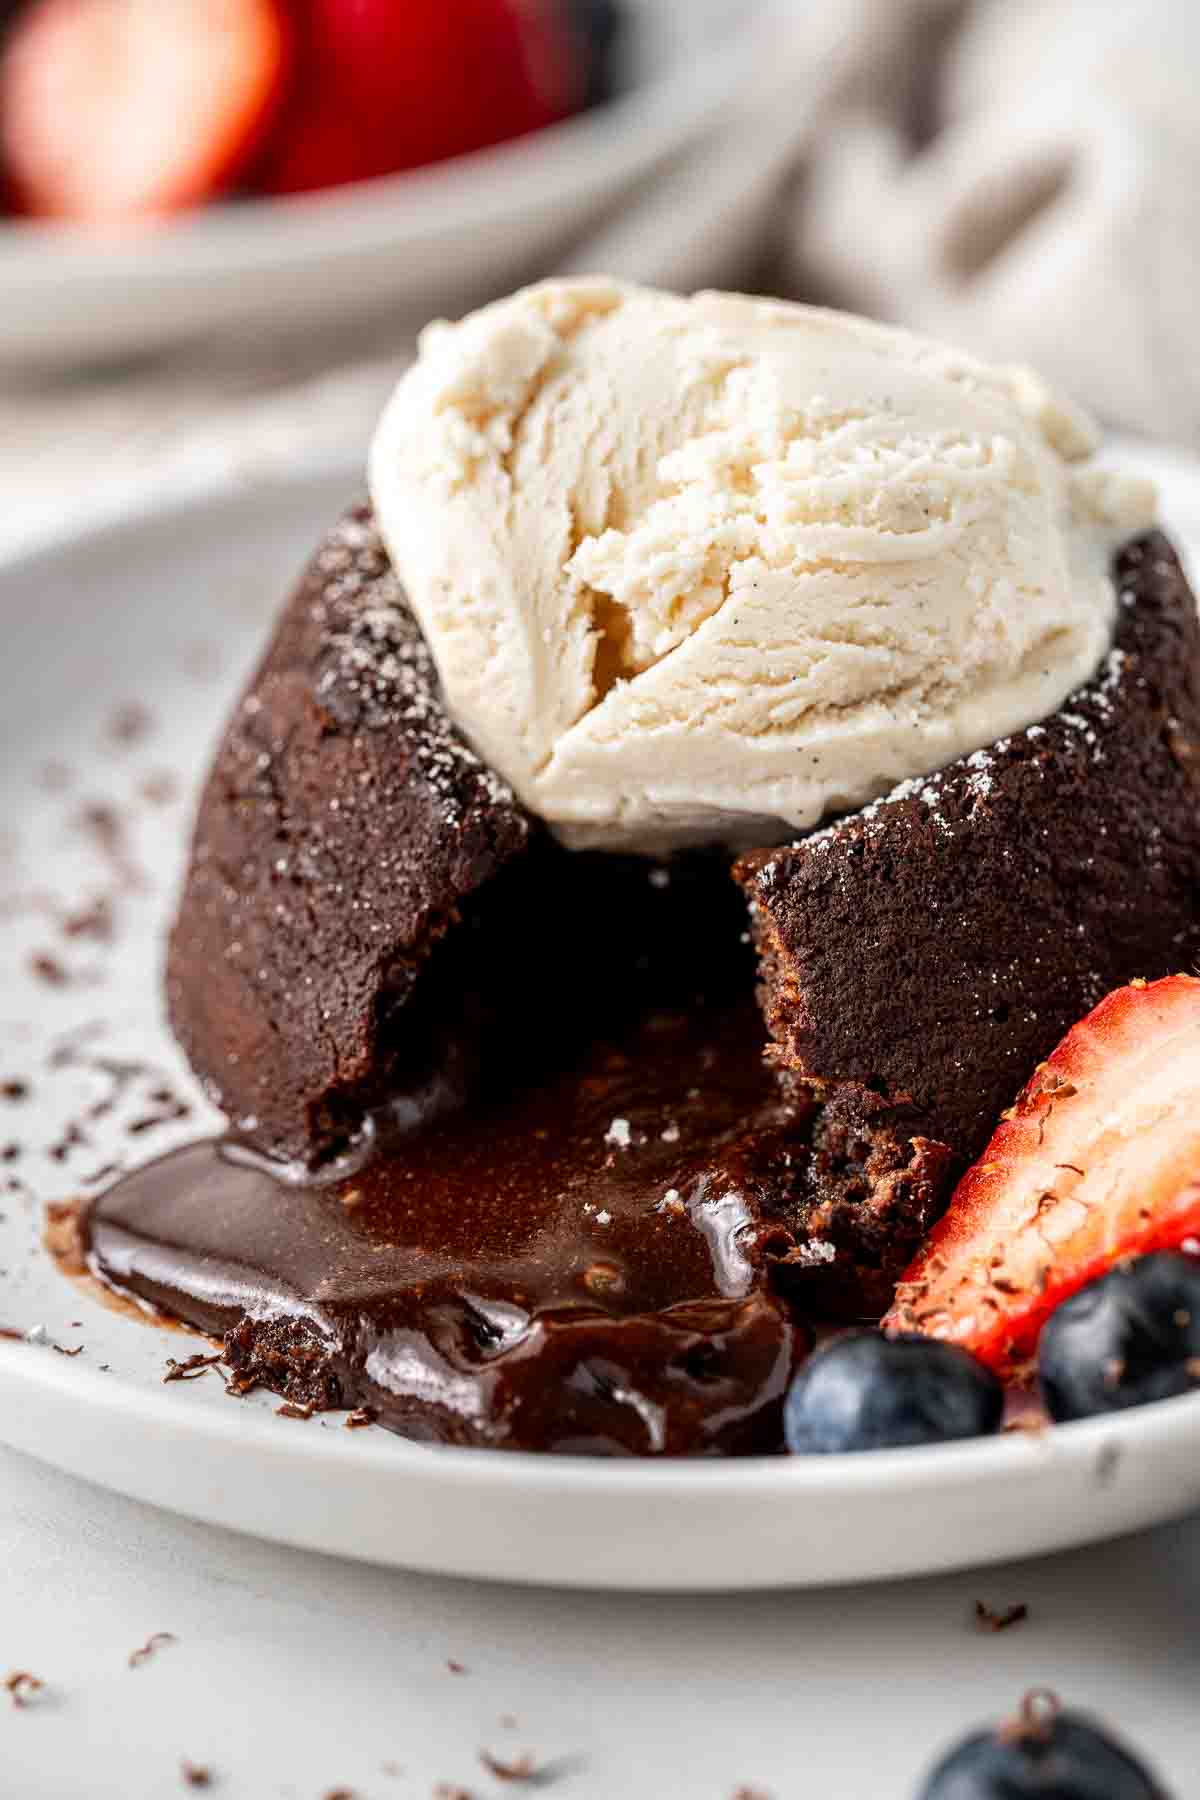
I can’t tell you how satisfying it is to take these little cakes out of the oven, turn them upside down on a plate and then break into them with a spoon and watch the warm and gooey molten centre ooze out. This centre essentially acts as a rich chocolate sauce for your cake and sticks to the back of your spoon, feeling so rich and indulgent – it really is the perfect date night dessert.
Key Ingredients
To make these chocolate lava cakes you’ll need just a few basic pantry ingredients. You might even have everything you need on hand now!
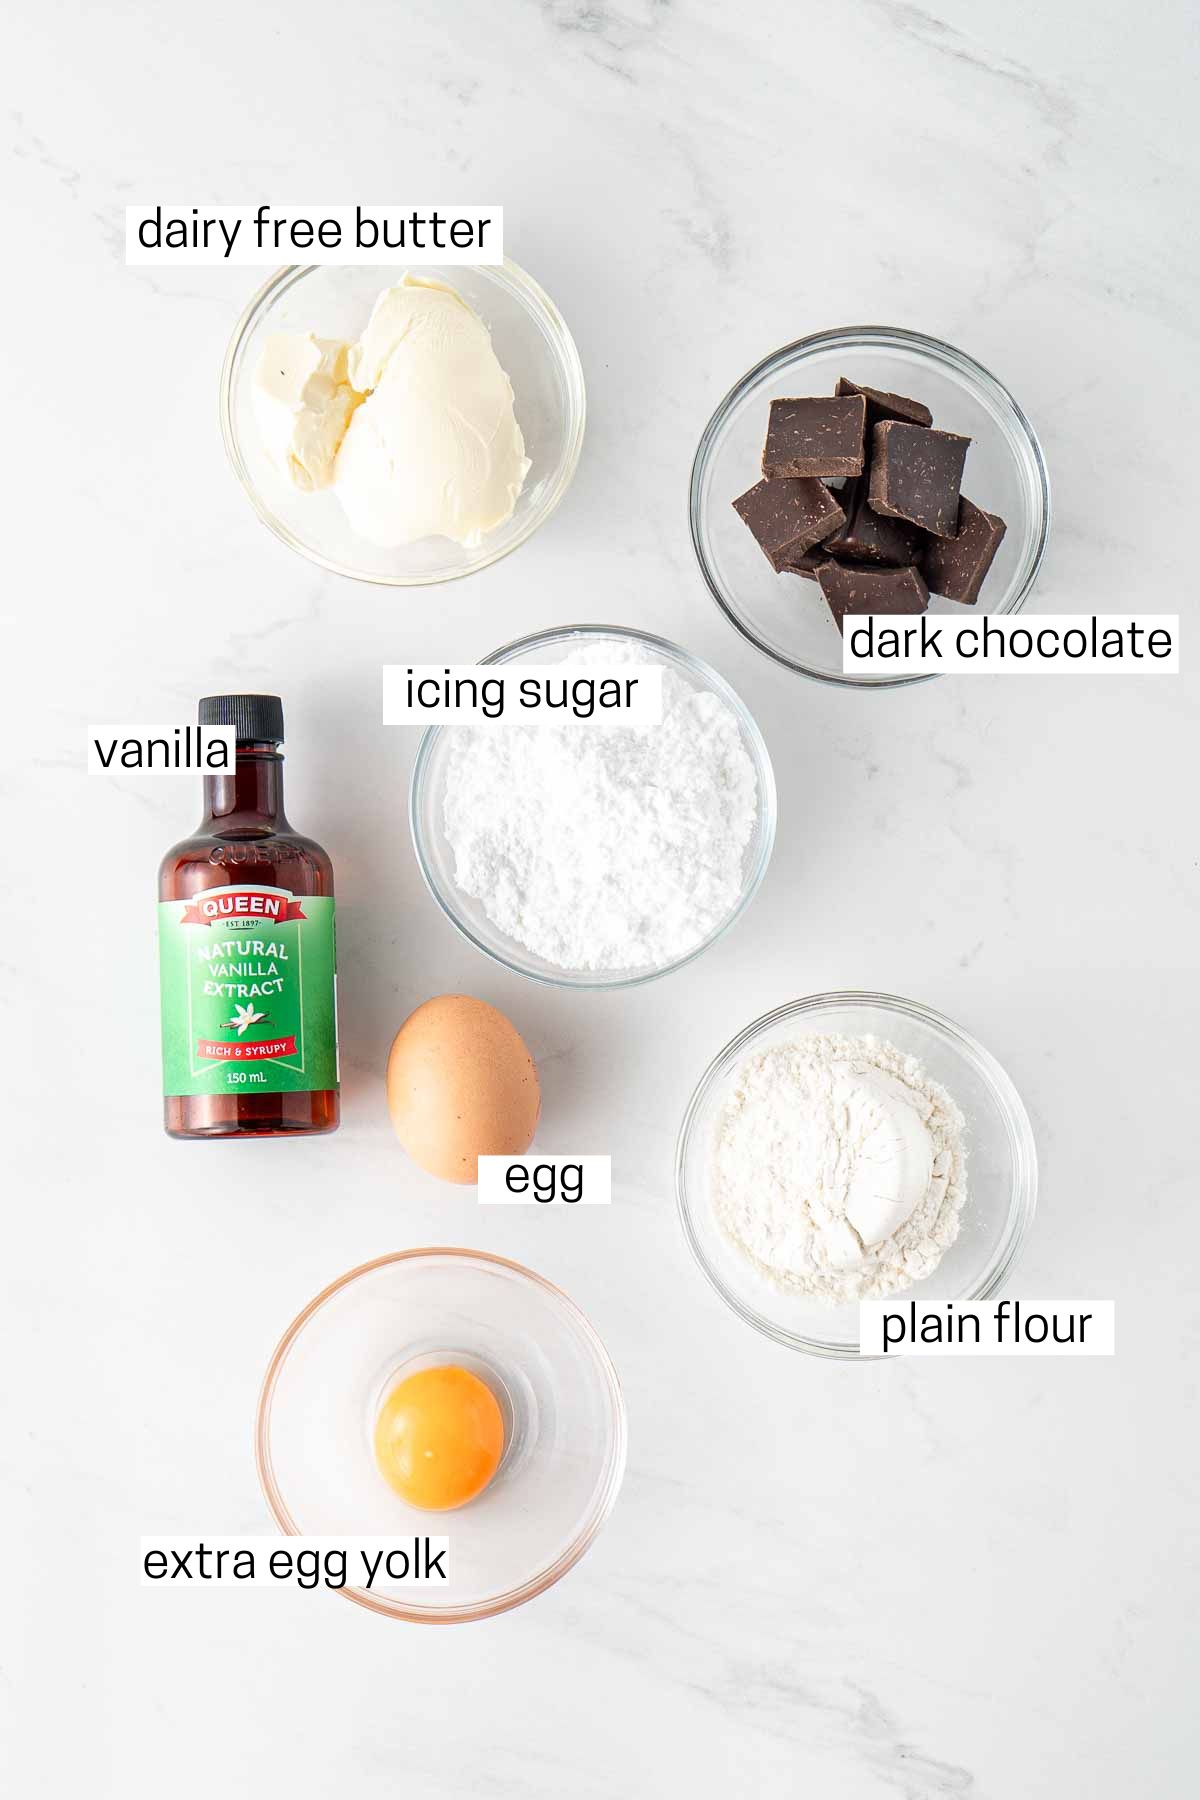
Note all ingredients and their quantities are laid out in the recipe card at the bottom of this post.
- Dairy-free butter – I like to use Nuttelex to replace butter in most of my recipes as it is vegan and gives a ‘buttery’ flavour without being greasy. As this is an Australian product, the closest US alternative I believe is Earth Balance. Otherwise any good quality dairy-free butter alternative will work.
- Dark chocolate – to ensure these cakes are dairy free, make sure to use one that you know to be safe to eat. A high quality 70% dark chocolate should be fine.
- Icing sugar – essential to get the oozy centre texture. I do not recommend replacing with any other sugar as you will yield a different result.
- Egg – again essential for the texture of these cakes, we’re using a whole egg plus an extra yolk for that rich and oozy centre.
- Vanilla extract – enhances the chocolate flavour.
- Salt – cuts through the sweetness and brings out the chocolate flavour.
- Plain flour – also known as all purpose flour in the US. This gives our cakes a little structure around that oozy centre.
Step-By-Step Instructions
I always thought that molten lava cakes would be really difficult to make, but this recipe makes it so easy to get it right every single time.
To make these cakes, you don’t need any fancy equipment, just a bowl, a whisk and a couple of small ramekins.
Start by melting the chocolate and the dairy-free butter in a microwave safe mixing bowl until smooth and silky. Do this in 20 second bursts, mixing well with a metal spoon in between each, until the chocolate has completely melted.
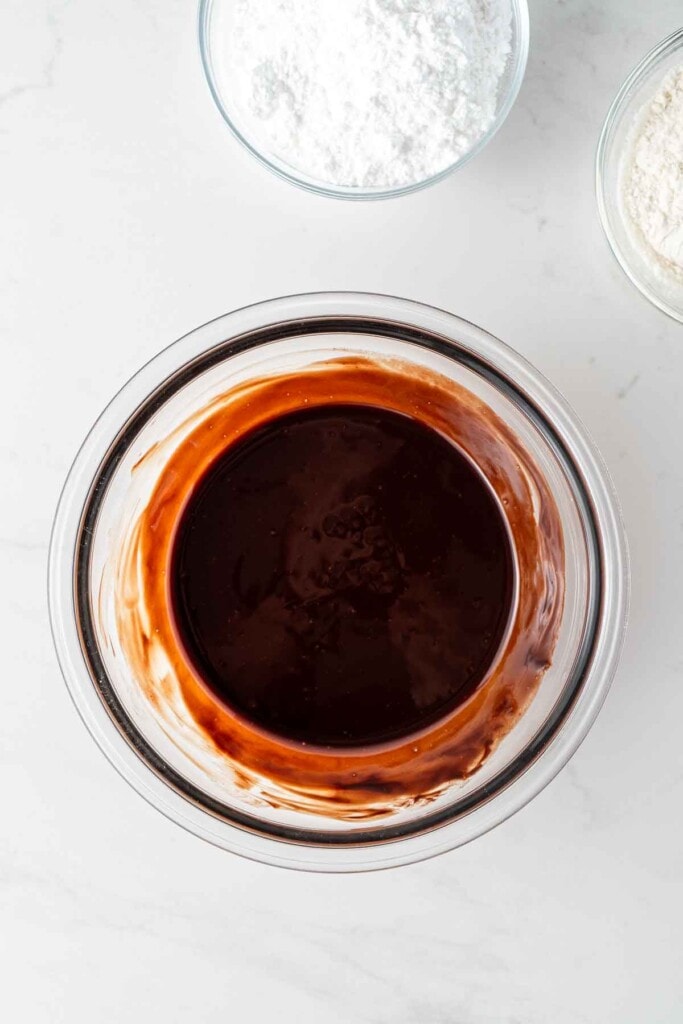
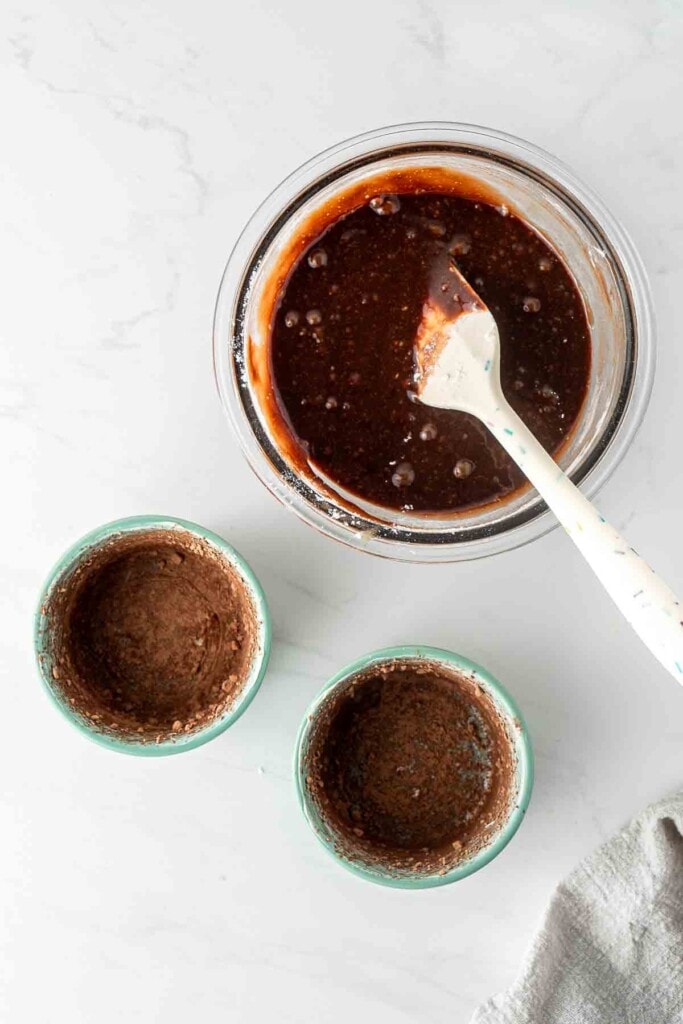
In order, mix in the icing sugar then the egg and extra yolk using the whisk. Add in the vanilla, salt and flour and whisk until just combined. Your batter should be sticky, smooth and shiny.
Split the mixture between two ramekins that have been greased with extra dairy free butter and dusted with cocoa powder, and bake in a preheated oven for 12-15 minutes. The cooking time will depend on your oven and how gooey you like the centres. You want the cakes to be set on top but not firm.
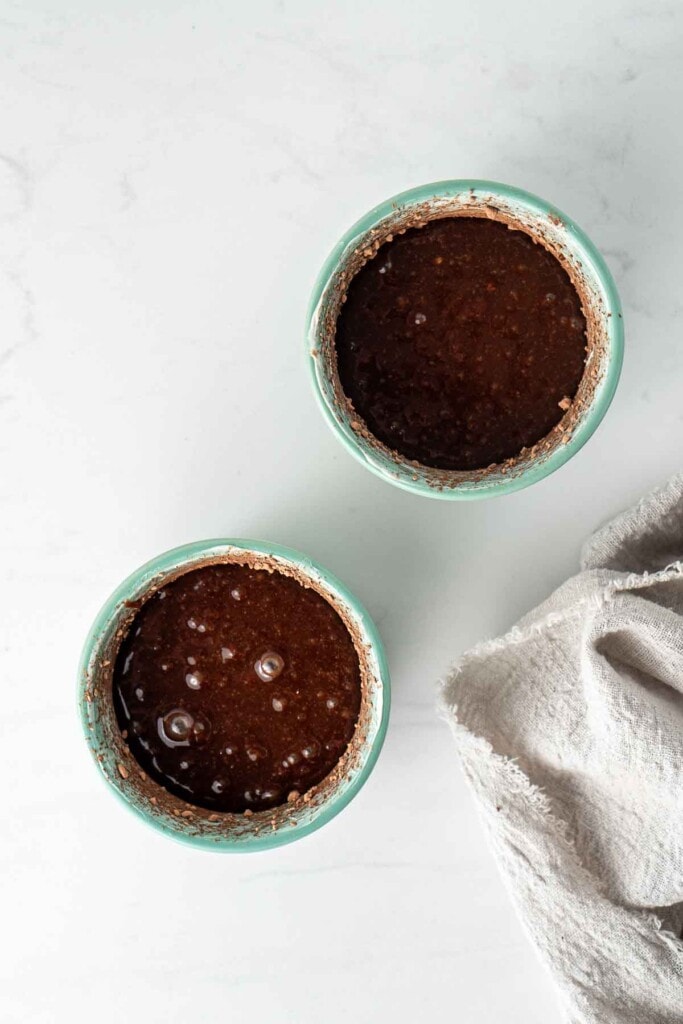
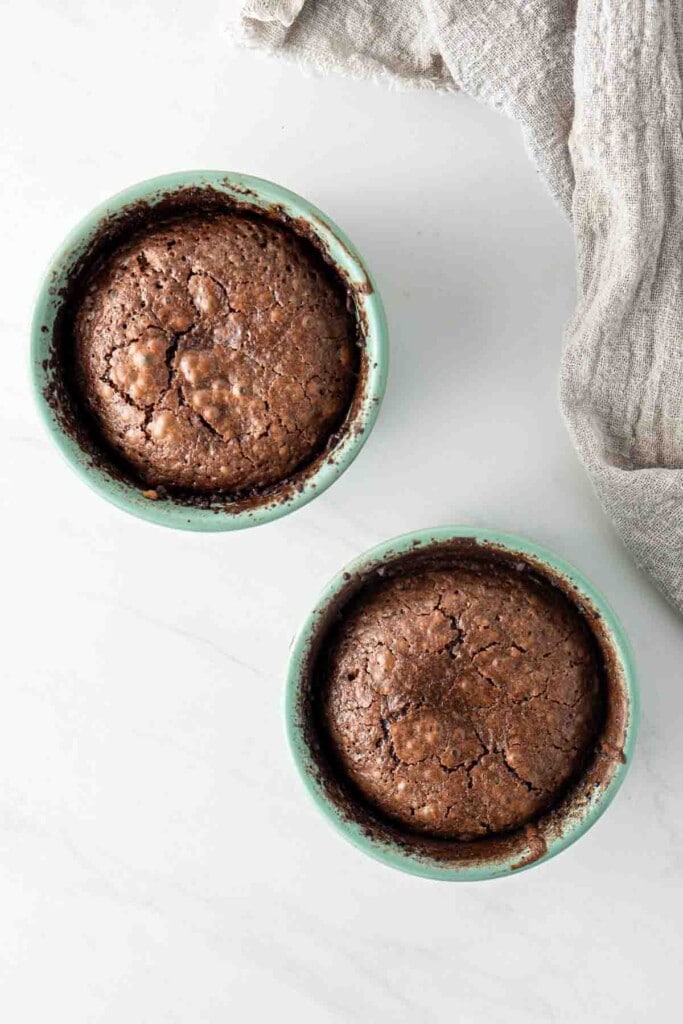
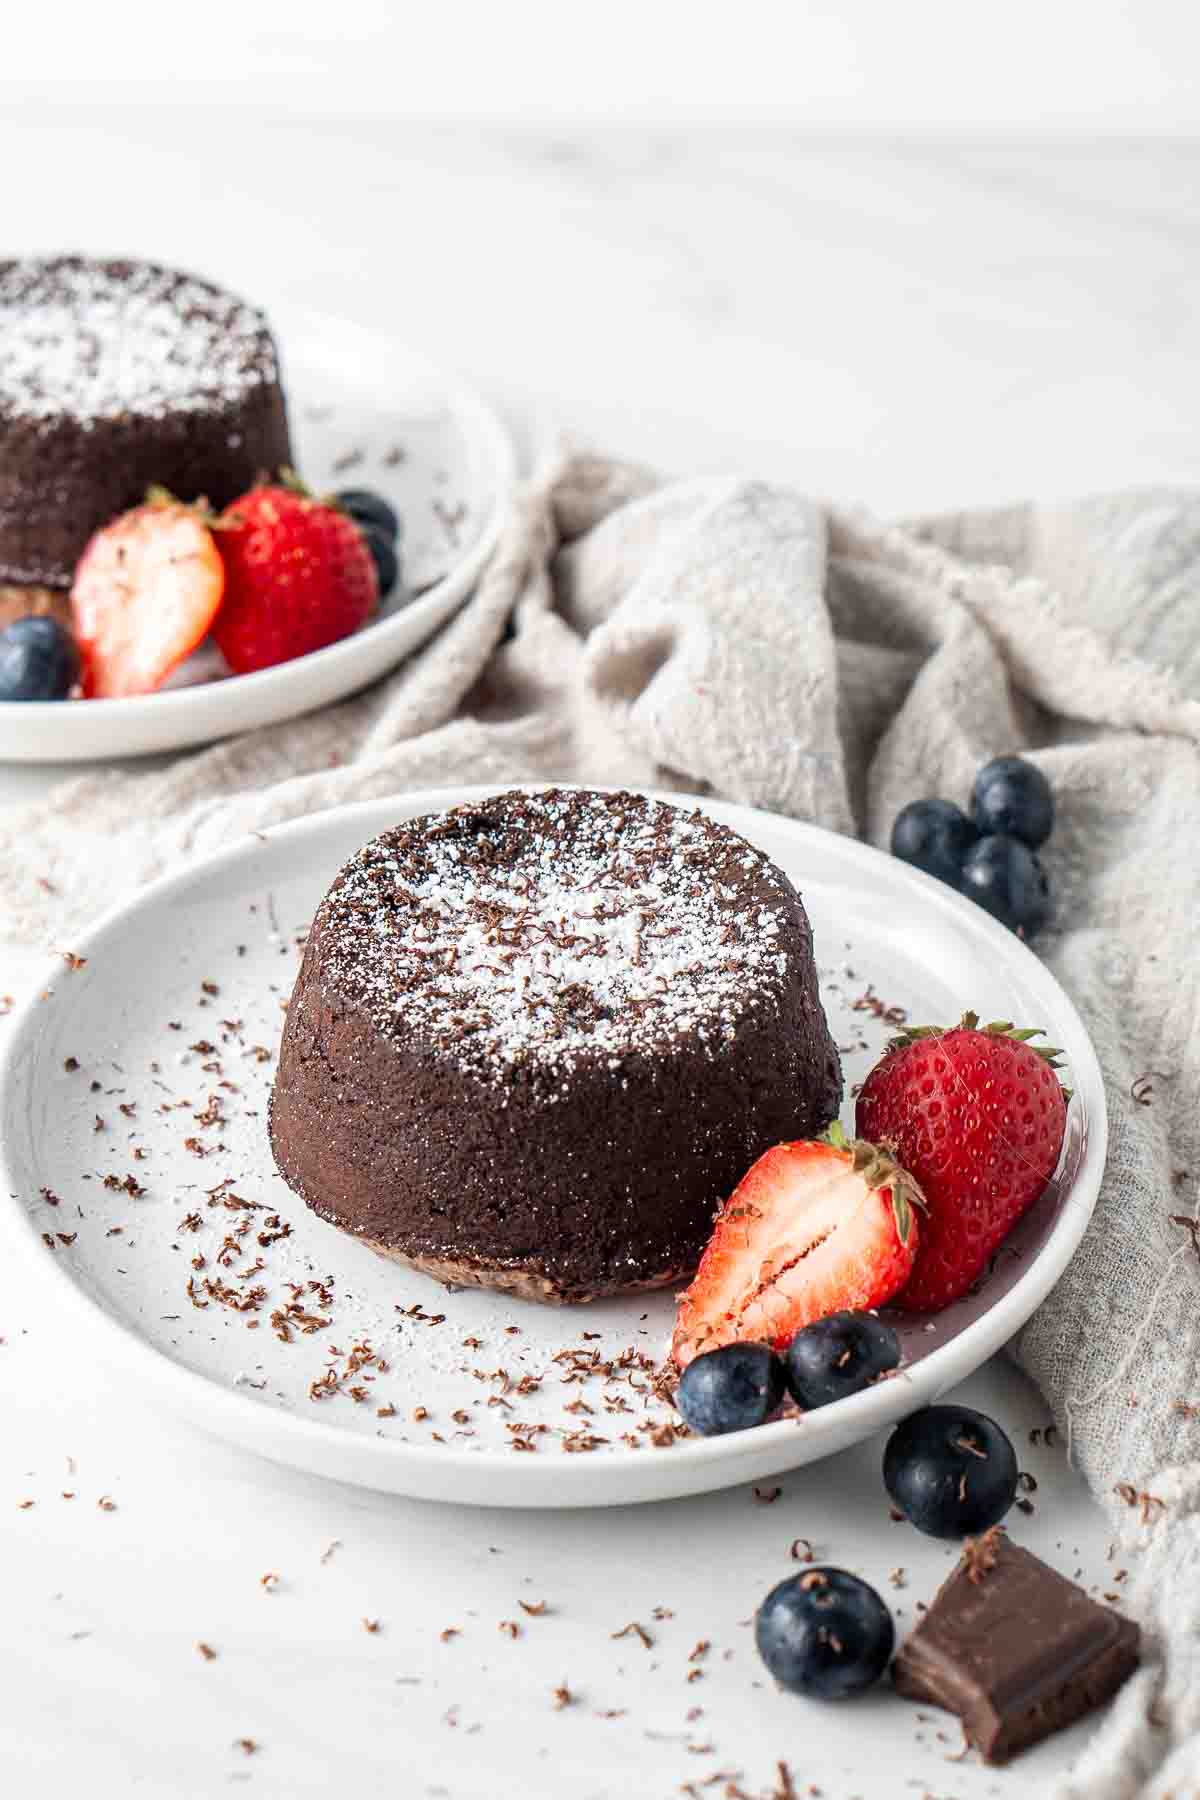
Turn the ramekins upside down on a plate and tap them slightly to release the cakes.
Top simply with a dusting of icing sugar, some fresh berries or your favourite ice cream (I recommend this vegan vanilla ice cream which is pictured and so incredibly delicious) and enjoy straight away while they are still warm.
Tips for Success
While these little lava cakes are a fairly simple recipe, there are a few things to consider to ensure you get them exactly right.
- Preheat the oven fully before baking. Preheating plays an essential role in the cooking of these lava cakes as due to the quick cook time, we want to ensure the high temperature helps bake the exterior of the cakes faster than the centre leaving us with that gooey centre.
- Use room temperature eggs. Making sure we’re not adding cold eggs to the batter will help them mix into the chocolate and butter better and ensure that our batter isn’t cold when it goes into the oven, allowing more even cooking. If you forgot to get them out early, just place in some warm water for a few minutes.
- WATCH THEM CLOSELY. When cooking your lava cakes, make sure to pay attention as every oven will cook slightly different. My previous oven gave me perfect cakes at 12 minutes, my brand new one is closer to 15 minutes. You want the top to be cooked but still wobbly in the centre. Always err of the side of under cooked for the best taste.
More Chocolate Desserts for Valentine’s Day (or any day really):
Vegan Chocolate Rose Cupcakes
Chocolate Torte (Gluten-Free)
No-Bake Chocolate Tart (Vegan)
Homemade Tim Tams (Vegan)
Chocolate Honeycomb Cake
Vegan Chocolate Pancakes
Baked Chocolate Doughnuts
Chocolate Lava Cakes
Ingredients
- ¼ cup (60 grams) dairy-free butter
- 60 grams dark chocolate
- ½ cup icing sugar
- 1 egg + 1 egg yolk
- ¼ teaspoon vanilla
- pinch salt
- ¼ cup plain flour
Instructions
- Preheat oven to 200°C and grease two ramekins with dairy-free butter or oil spray and dust with cocoa powder.
- Add dairy-free butter and dark chocolate to a microwave safe bowl and microwave in 20 second bursts, stirring well between until it is melted and smooth.
- Whisk in the icing sugar until combined. Add in the egg and egg yolk, again whisking until smooth. Add in vanilla, salt and plain flour and whisk together.
- Split the batter between the two ramekins and bake in the oven for 12-15 minutes. Turn the ramekin upside down on a plate and lightly tap the bottom and sides to release the cake. Carefully remove the ramekin and top the cake with a dusting of icing sugar, some fresh berries and a scoop of ice cream.
Notes
Nutrition
Nutritional information is provided as a guide only and is calculated using automated online tools, therefore we cannot guarantee the accuracy. We encourage you to make your own calculations based on the actual ingredients used in your recipe.

Made this recipe? Leave a review!