

This is the chocolate self saucing pudding recipe my mum taught me! This classic dessert has a soft, cakey pudding surrounded with a thick and rich, gooey chocolate sauce. It is ready to eat in just 45 minutes, plus this version is made dairy free and is perfect for cosy winter evenings.
⭐⭐⭐⭐⭐ tried the recipe tonight and it was delicious! have had to make more dairy free recipes lately and wanted one for a self-saucing pudding so this was perfect. will definitely be a go to recipe so thank you for sharing! – laura
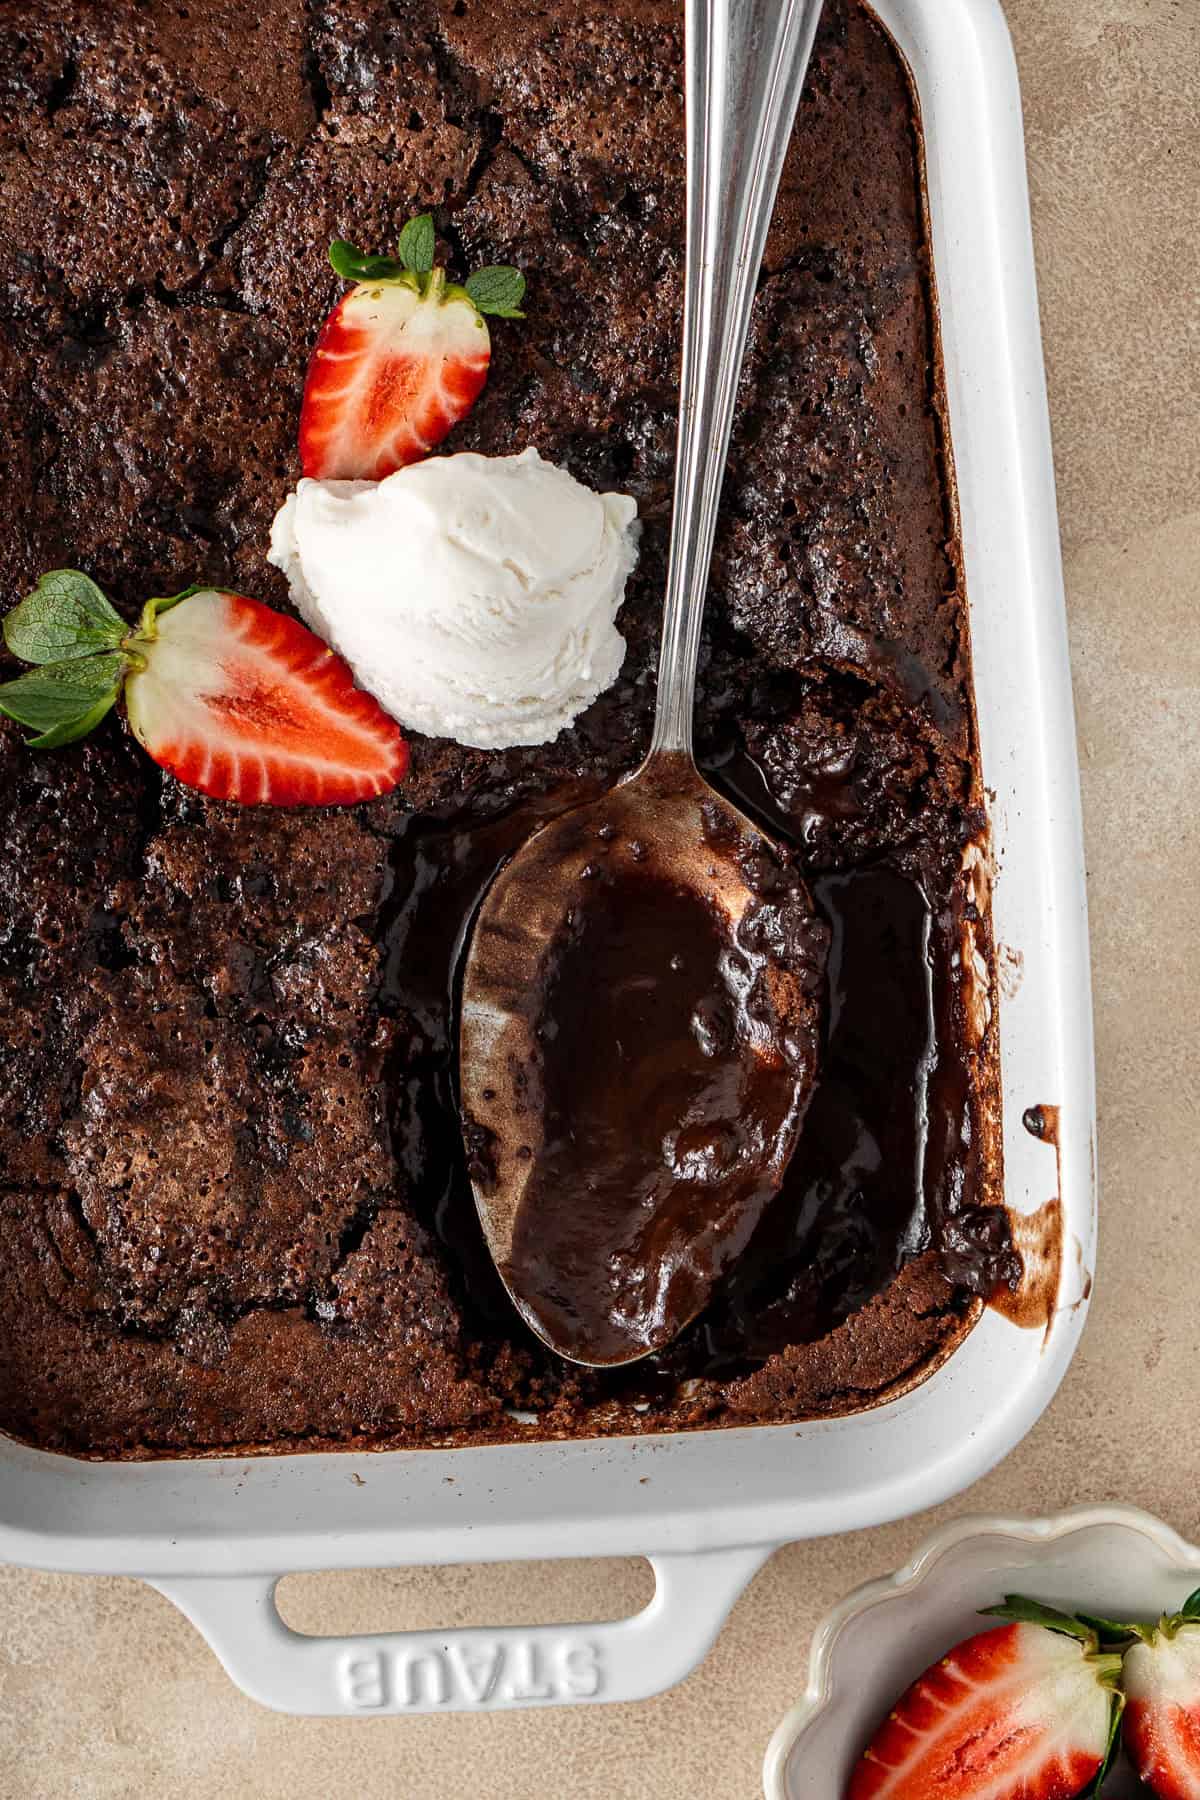
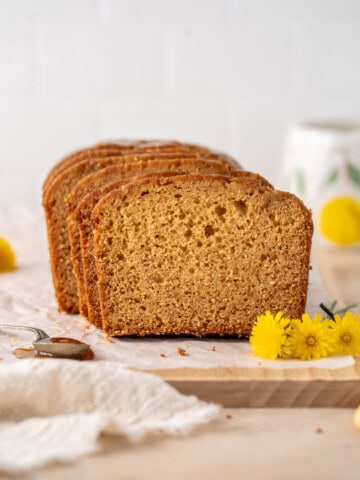
I love sharing the classic dessert recipes that I grew up with. These are the recipes that taught me to love baking like this cinnamon tea cake, and this easy, one bowl, egg free chocolate cake. But this chocolate self saucing pudding recipe has to be my favourite dessert and I’ve been making it for years!
This is the traditional recipe that my mum used to make (although I’ve adapted it now to be dairy free). It produces a soft, cakey pudding under a lightly crispy top, and a thick, gooey chocolate sauce.
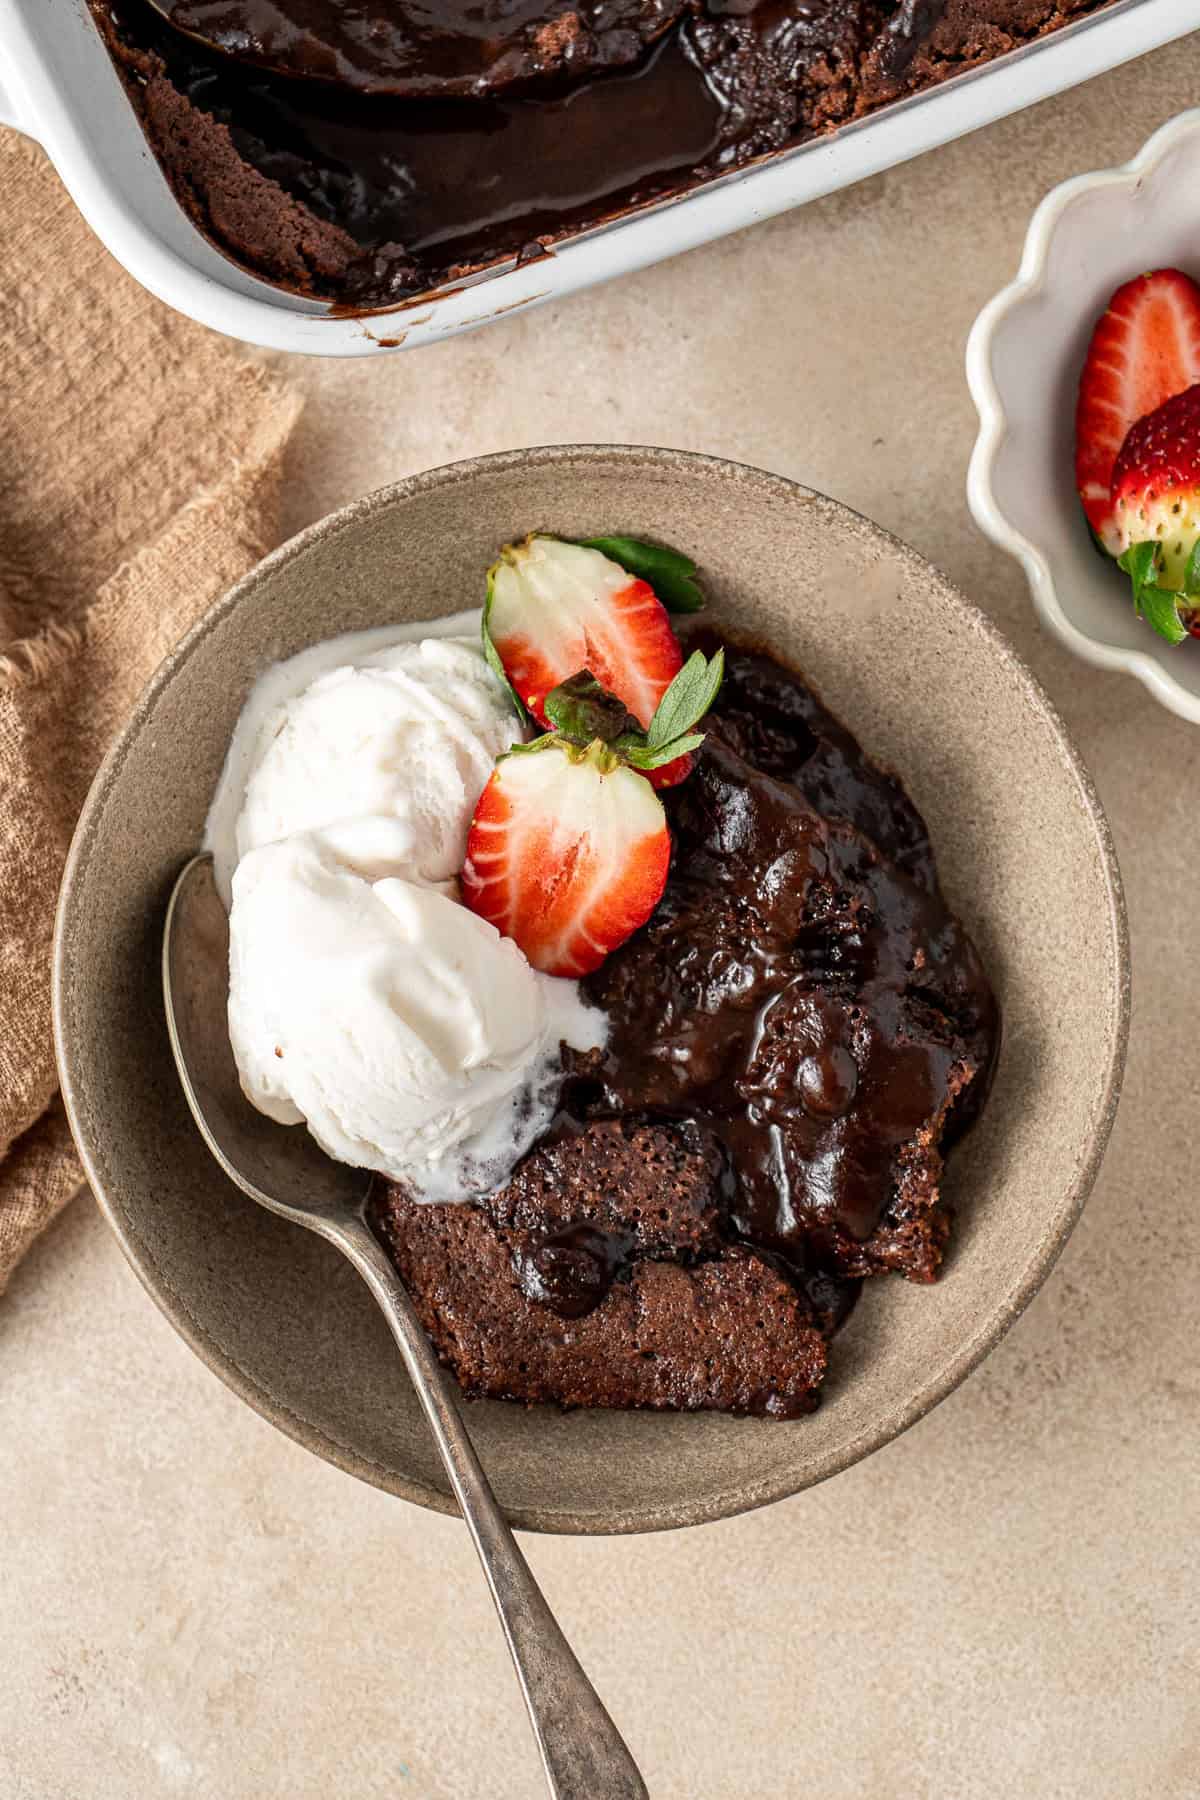
My mouth is watering typing this as it really is the one of the best cosy winter desserts. Serve it up with a big spoon straight out of the oven and top with a big scoop of dairy free vanilla ice cream (or cream if you are going full old-fashioned).
For more classic winter puddings, try this vegan sticky date pudding or this self-saucing butterscotch pudding as well.
What Is a Self Saucing Pudding?
A self saucing pudding is a baked dessert that magically makes its own sauce as it cooks. As it bakes, the batter rises to form a soft sponge on top, while the sugar, cocoa and water sink to the bottom and turn into a rich, gooey chocolate sauce.
If you’re not in Australia or the UK, you might know this dessert as chocolate pudding cake or hot fudge pudding cake. It’s the same idea, a cake-like chocolate pudding that bakes its own sauce underneath.
Key Ingredients
This chocolate self saucing pudding in a no fuss, simple dessert. It is perfect for beginner bakers and you probably already have everything you need in your pantry.
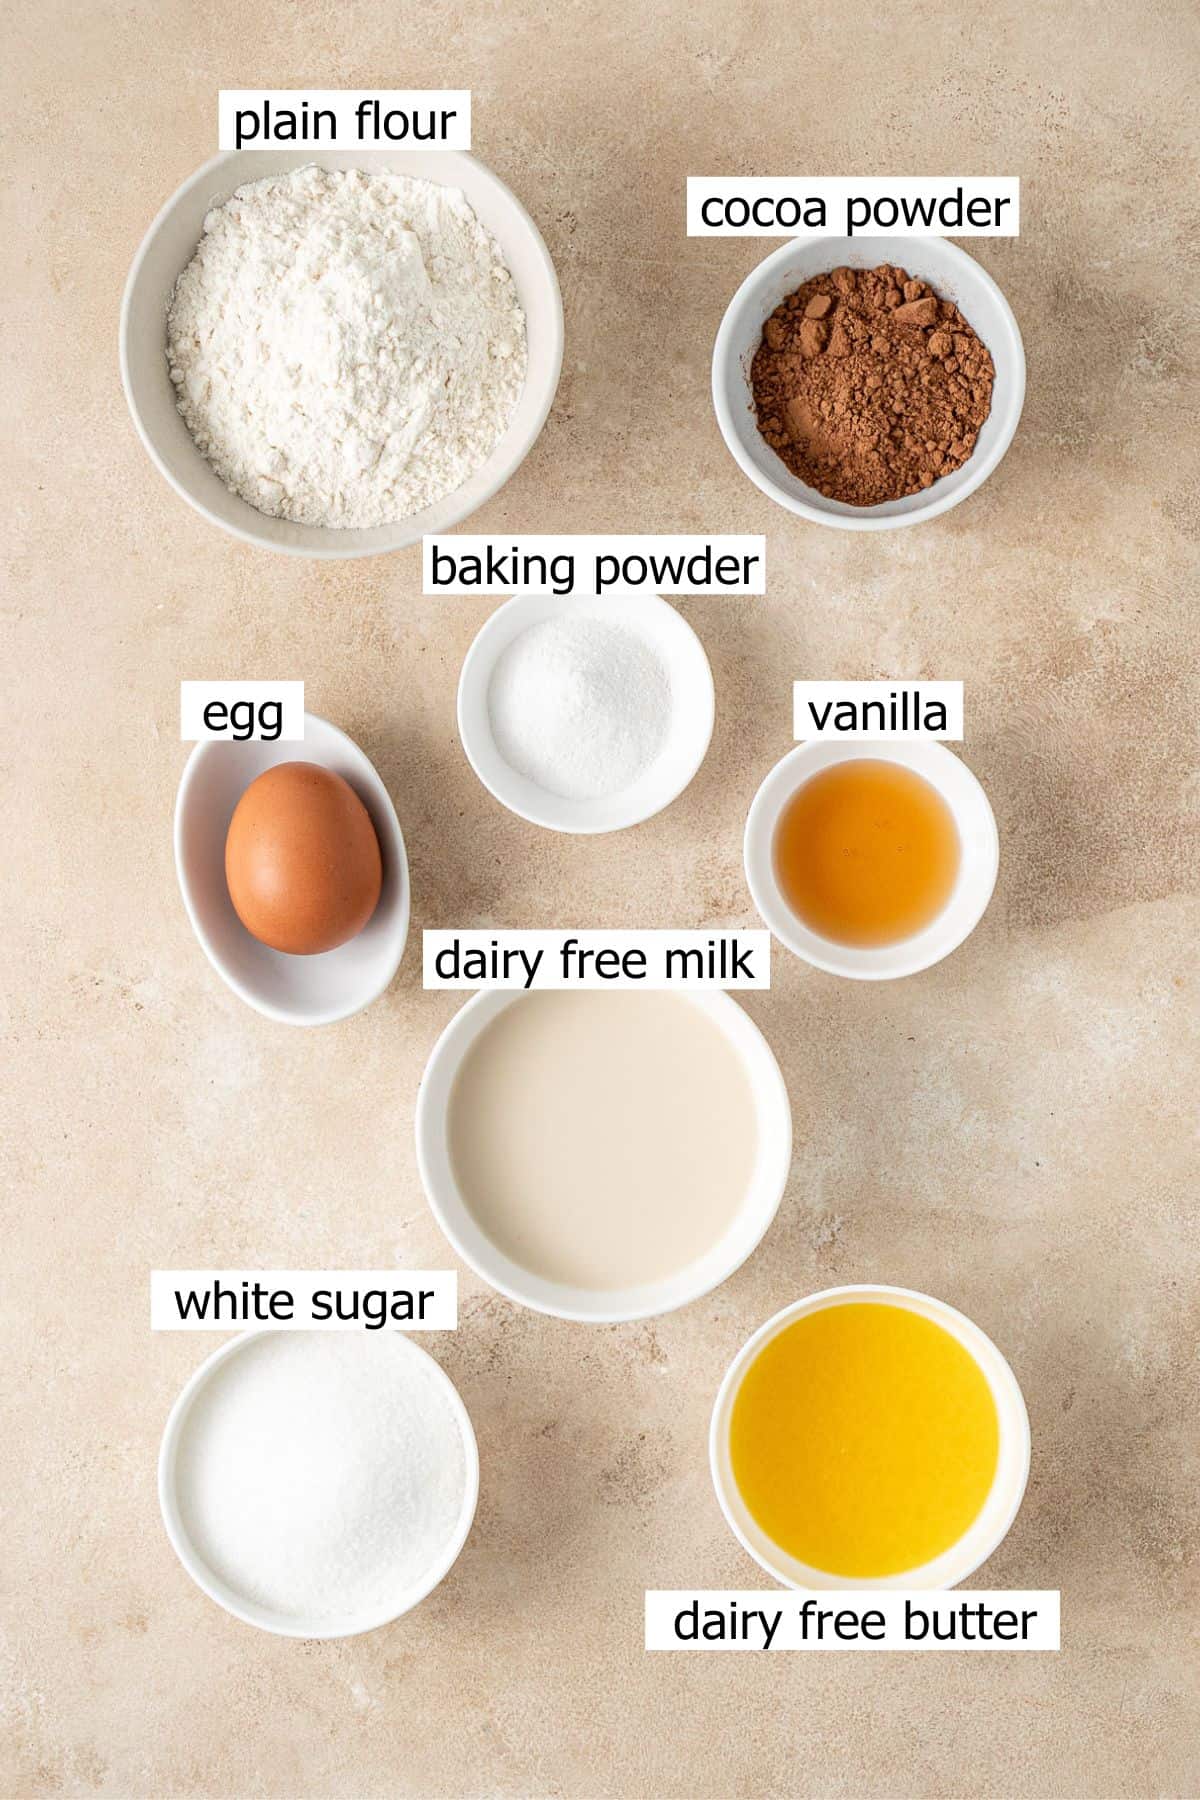
Note all ingredients and their quantities are laid out in the recipe card at the bottom of this post.
- Dairy free butter – it’s important to use a good quality dairy free butter for the best flavour. I always use Nuttelex Buttery which is an Australian product. In the US, the closest alternative is Earth Balance which I understand to be very similar.
- Egg – helps bind the cake and keep it soft. I’ve not tried this recipe with any egg replacers.
- Vanilla – always make sure to use vanilla extract not essence for the best flavour.
- White sugar – for both the cake and for the topping that is going to help create your sauce.
- Dairy free milk – you can use any dairy free milk in this recipe, I’ve used soy milk, oat milk and almond milk all with good results.
- Cocoa powder – for that deep chocolate flavour make sure to use a good quality cocoa powder.
- Plain flour – also known as all purpose flour in the US.
- Baking powder – gives the cake rise and keeps the texture soft and light.
You’ll Also Love: Golden Syrup Dumplings
Step-By-Step Instructions
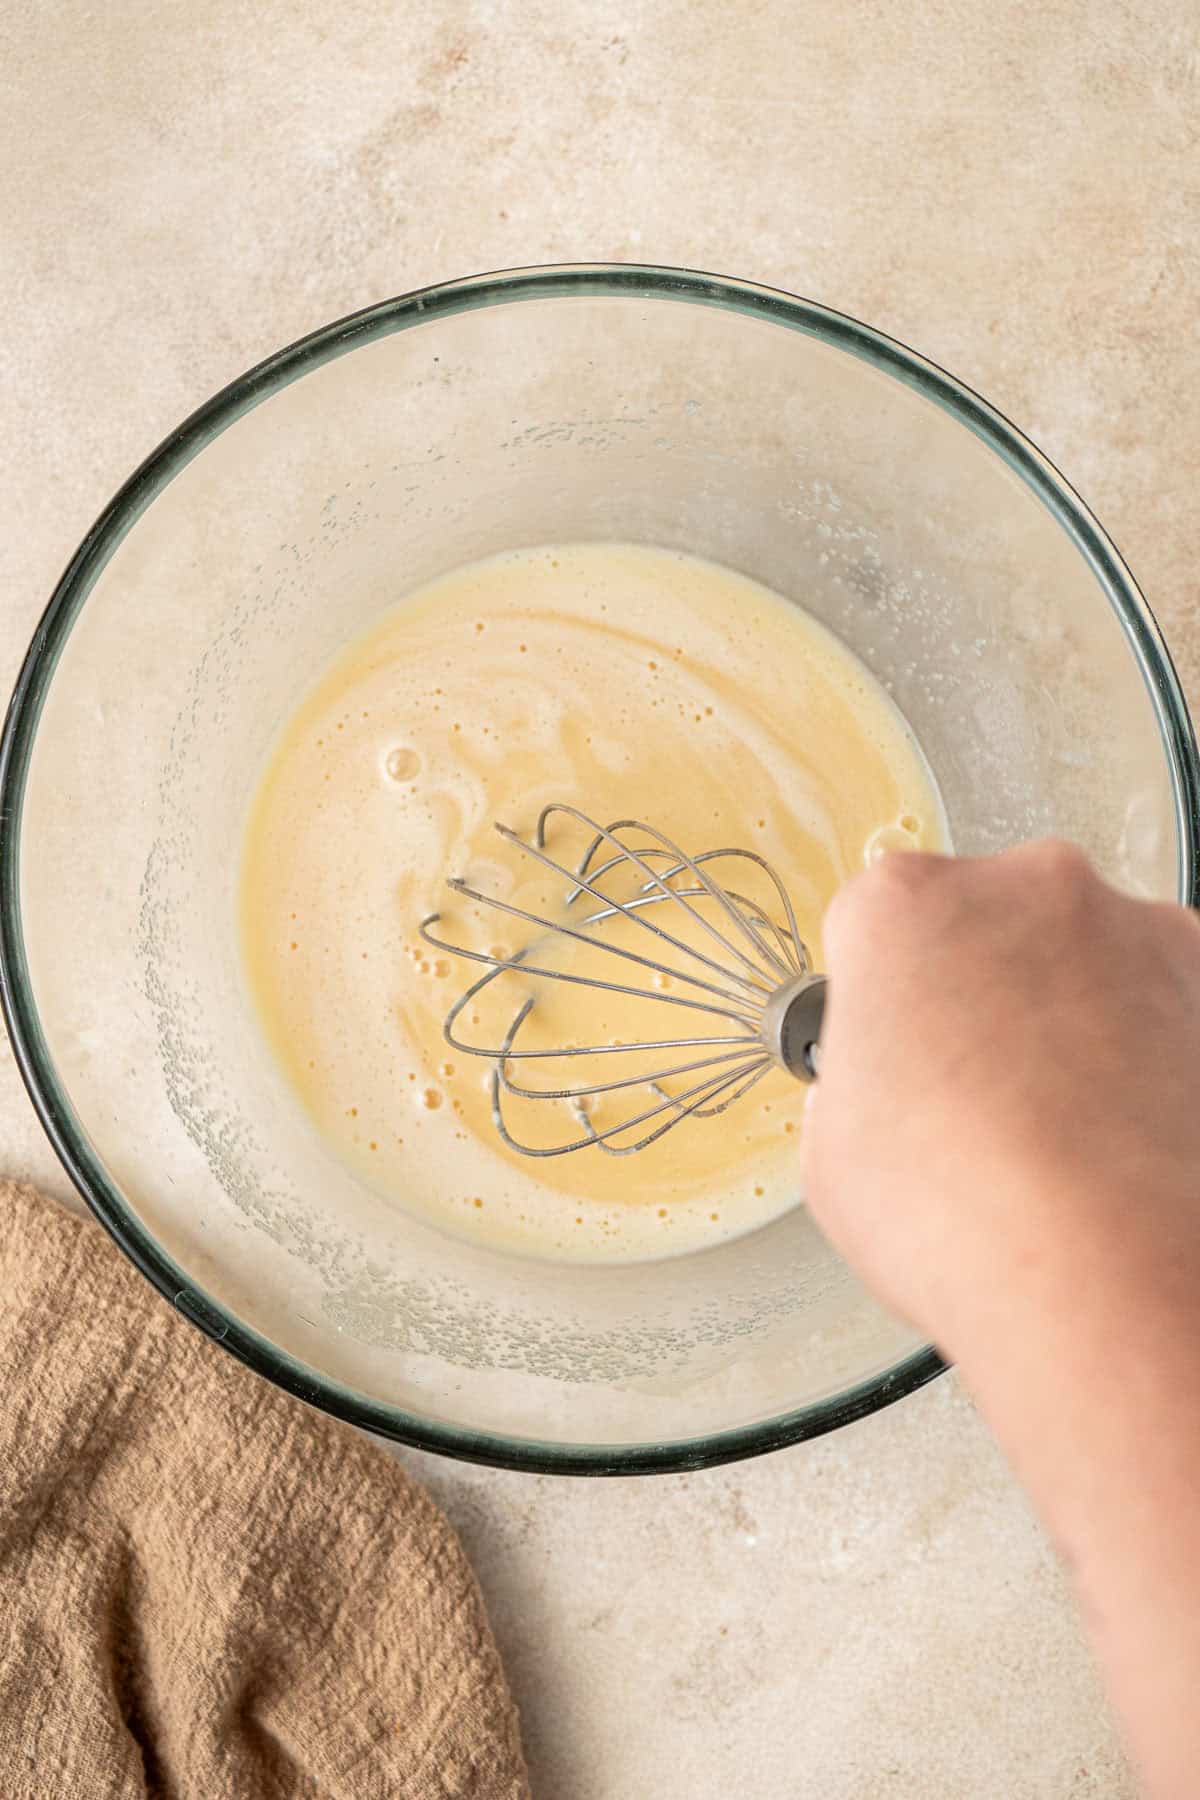
Step 1: In a large bowl, whisk together the melted dairy free butter, egg and vanilla until just frothy. Add the sugar and whisk, then pour in the dairy free milk and whisk again until combined.
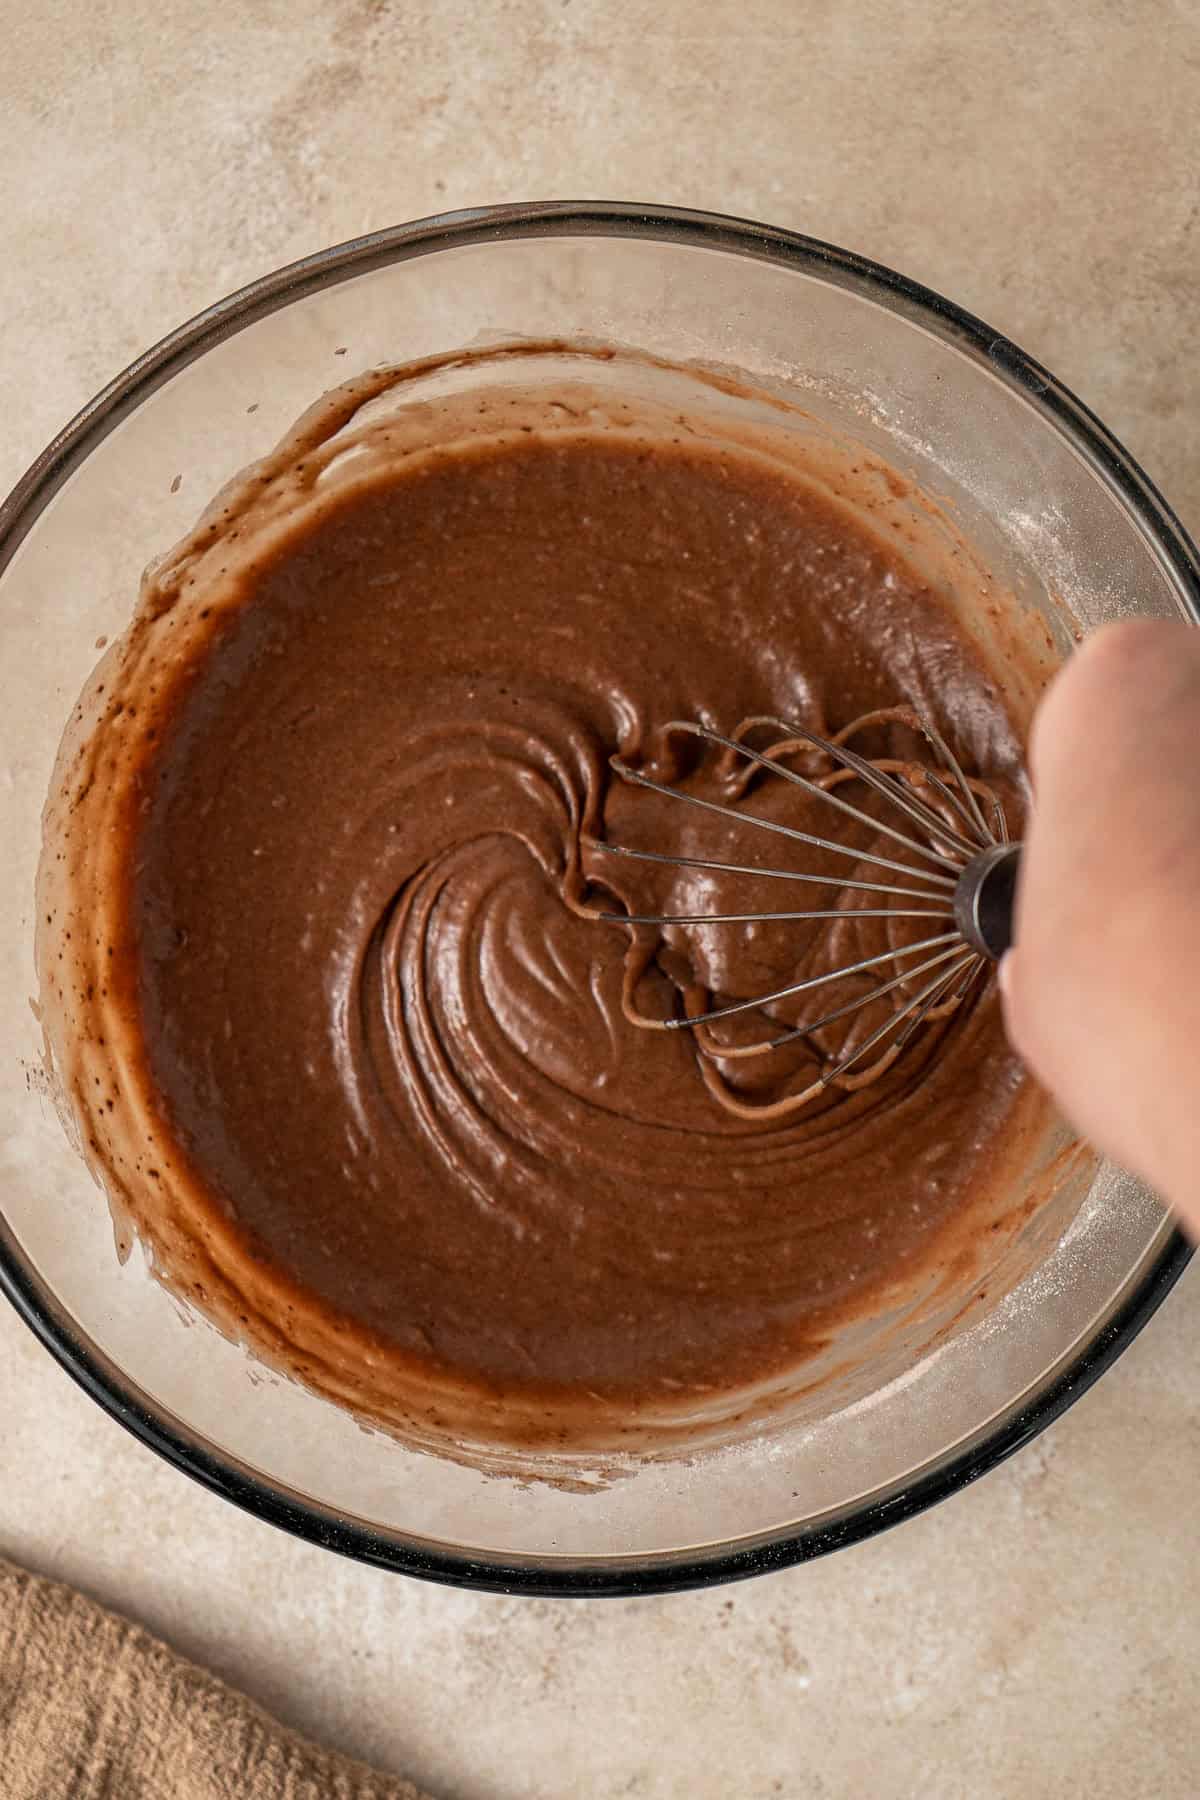
Step 2: Sift the flour, cocoa and baking powder straight into the bowl and whisk until you have a thick batter, then pour it into an ovenproof baking dish and spread it out evenly.
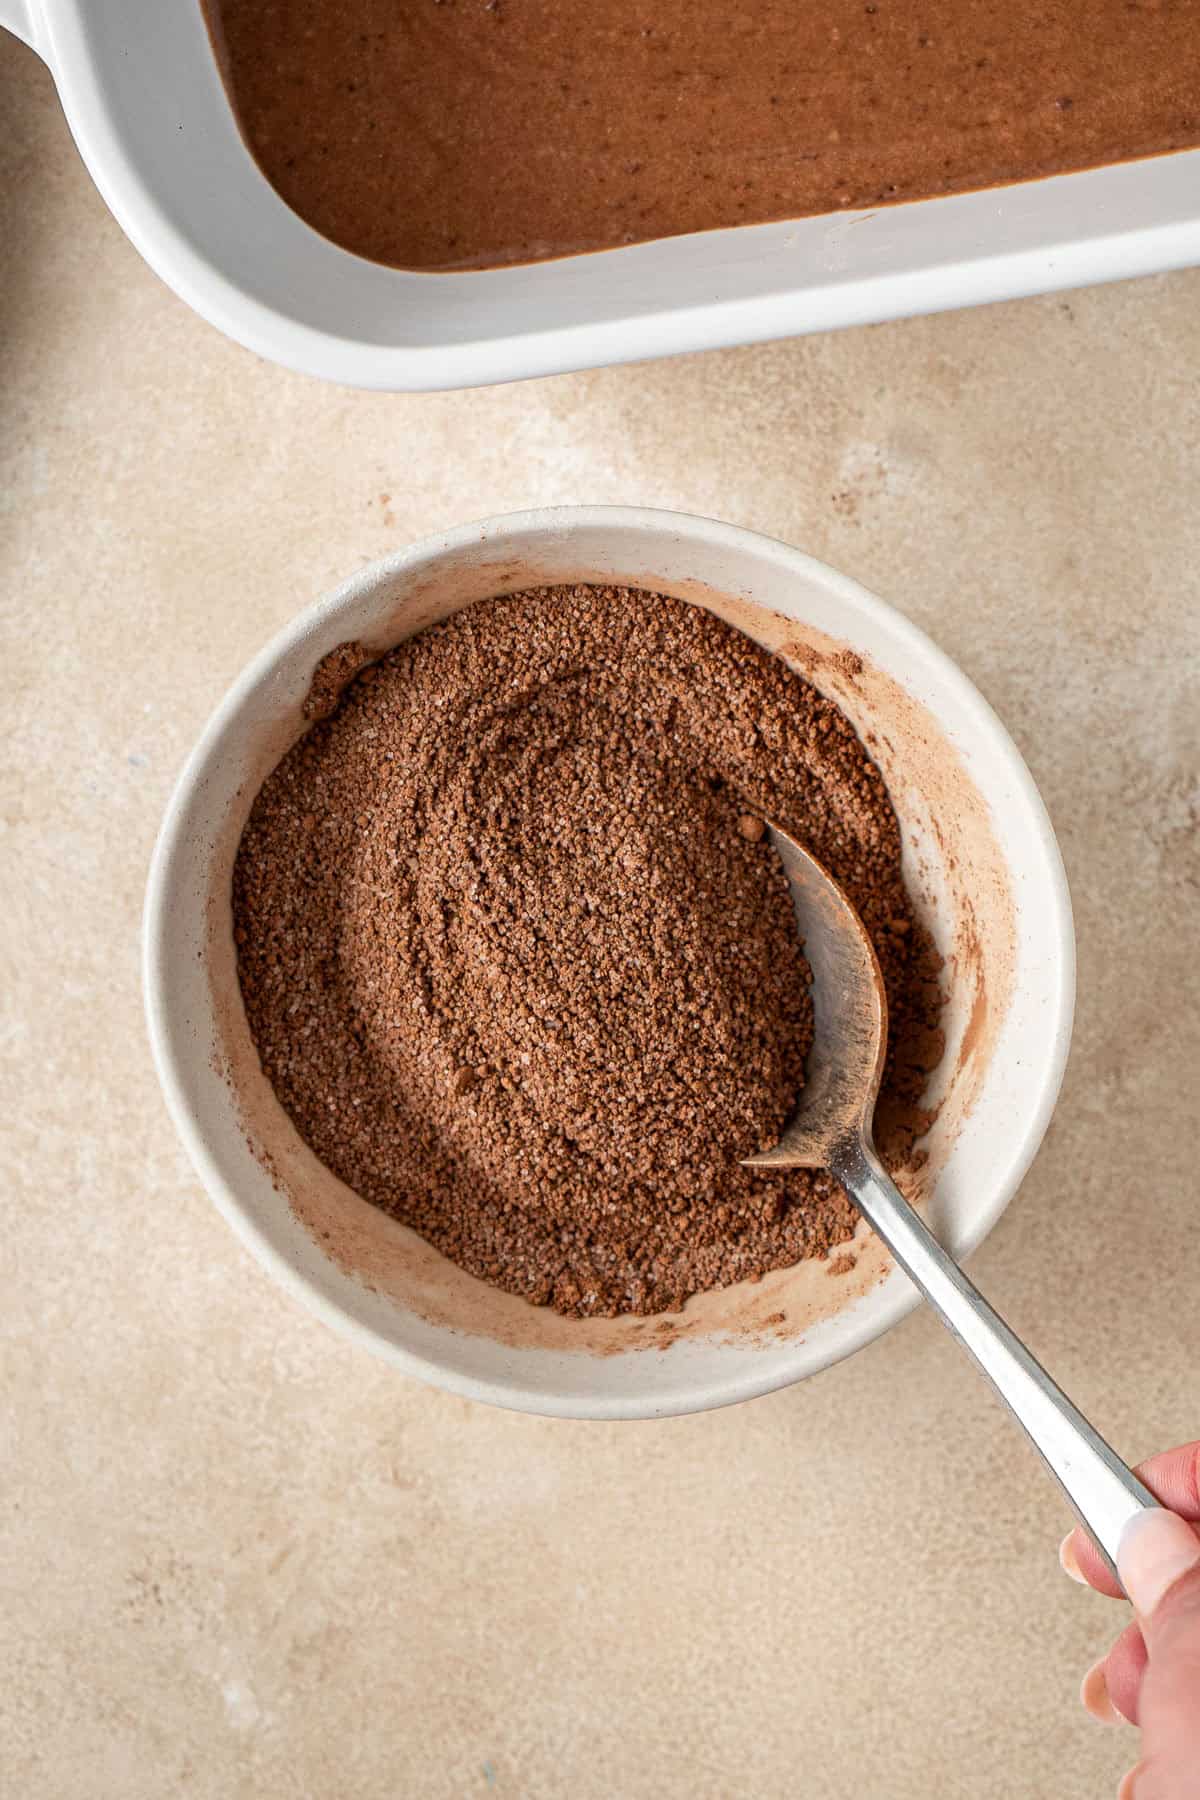
Step 3: Mix the extra sugar and cocoa together to make the topping.
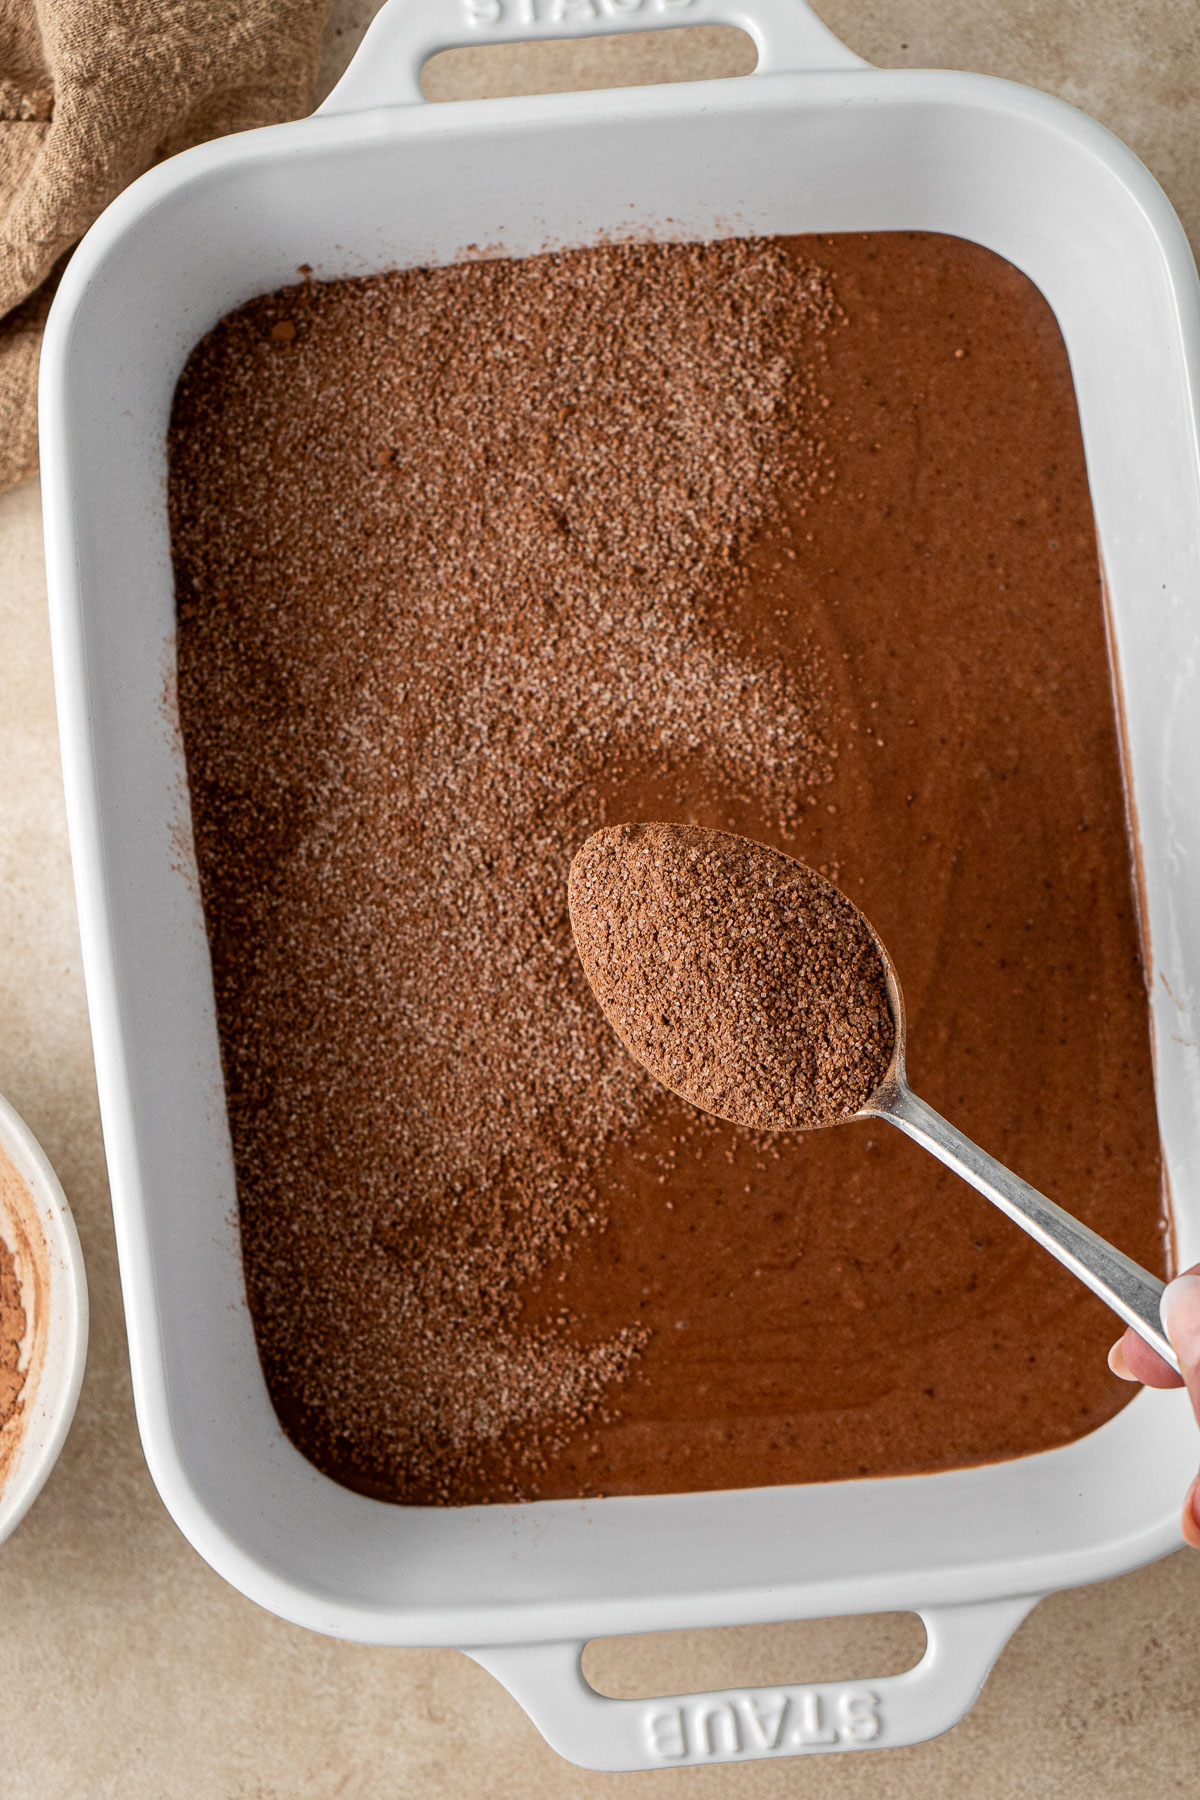
Step 4: Sprinkle the topping evenly over the top of the batter.
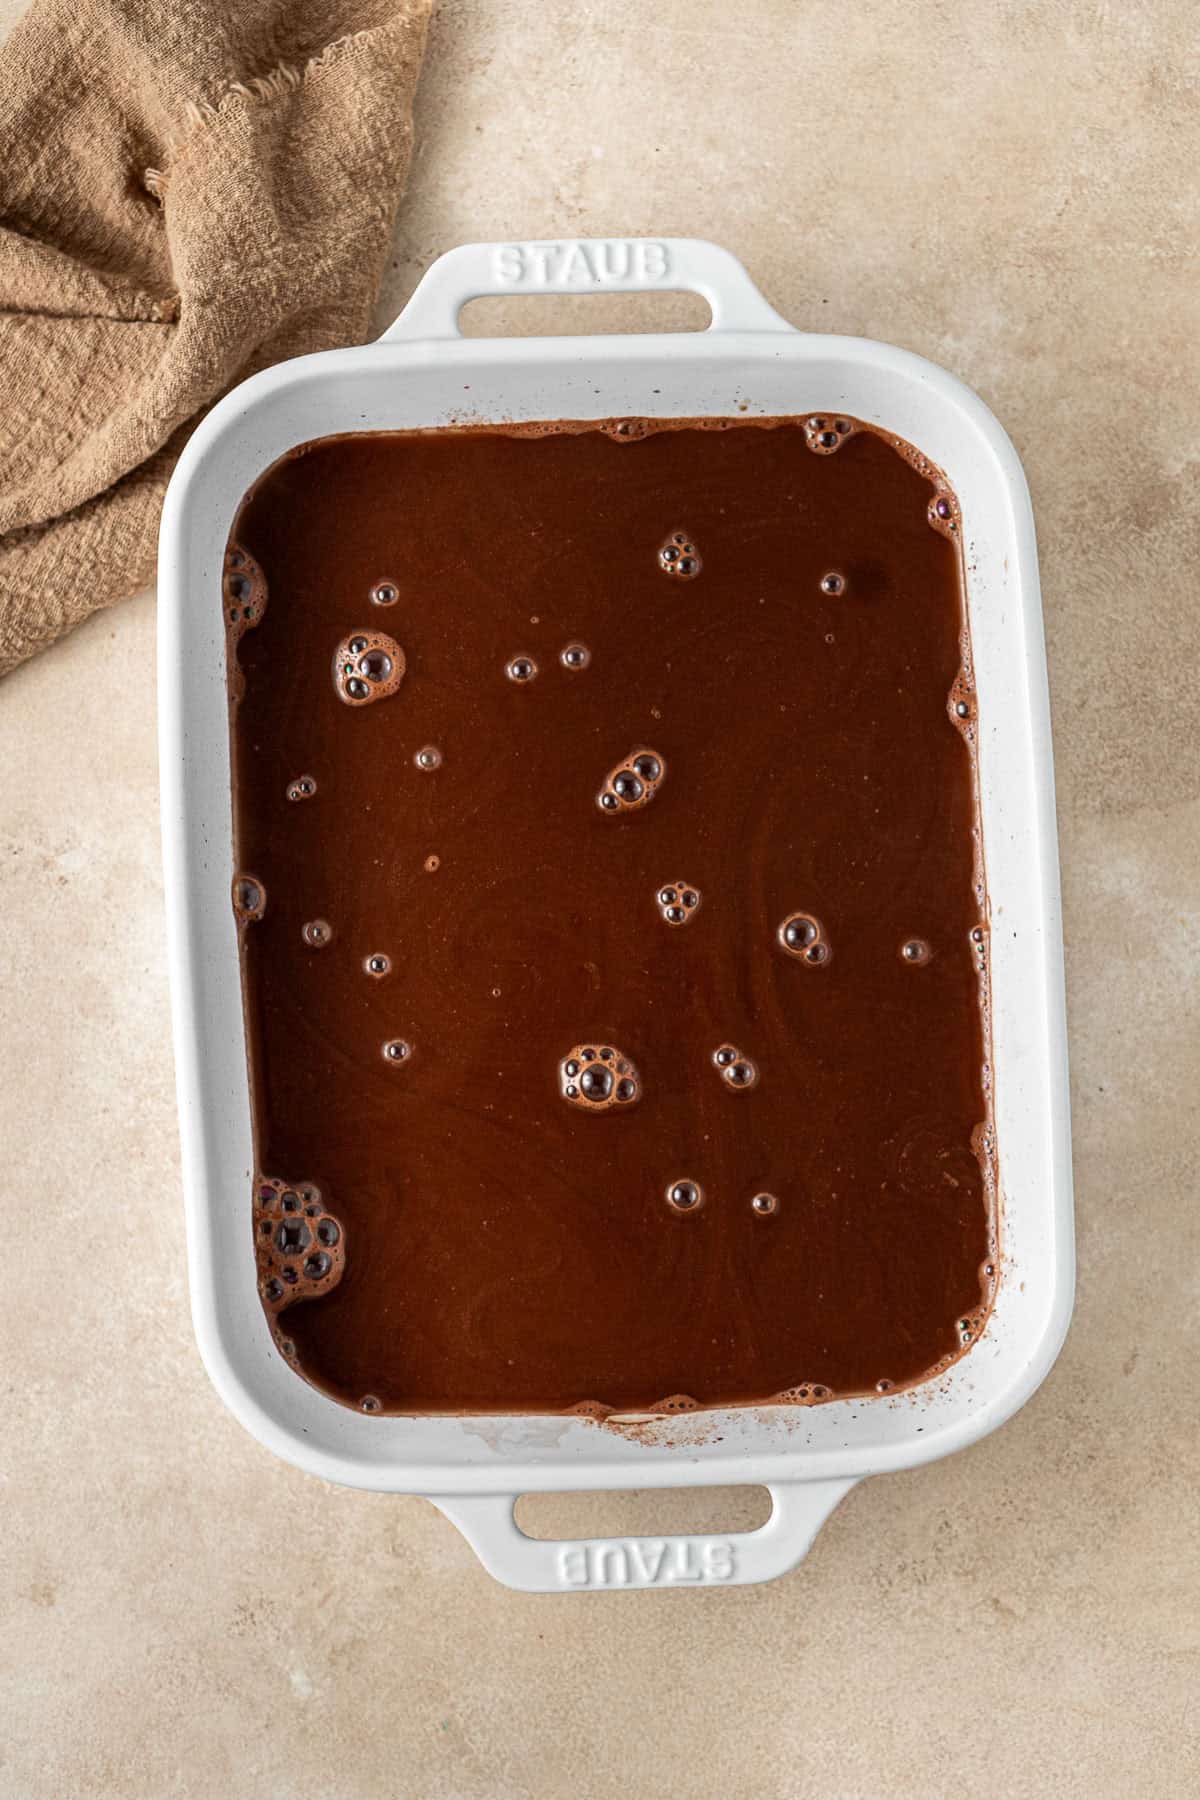
Step 5: Pour the hot water over the back of a metal spoon and over the batter, so it spreads evenly without disturbing the batter underneath.
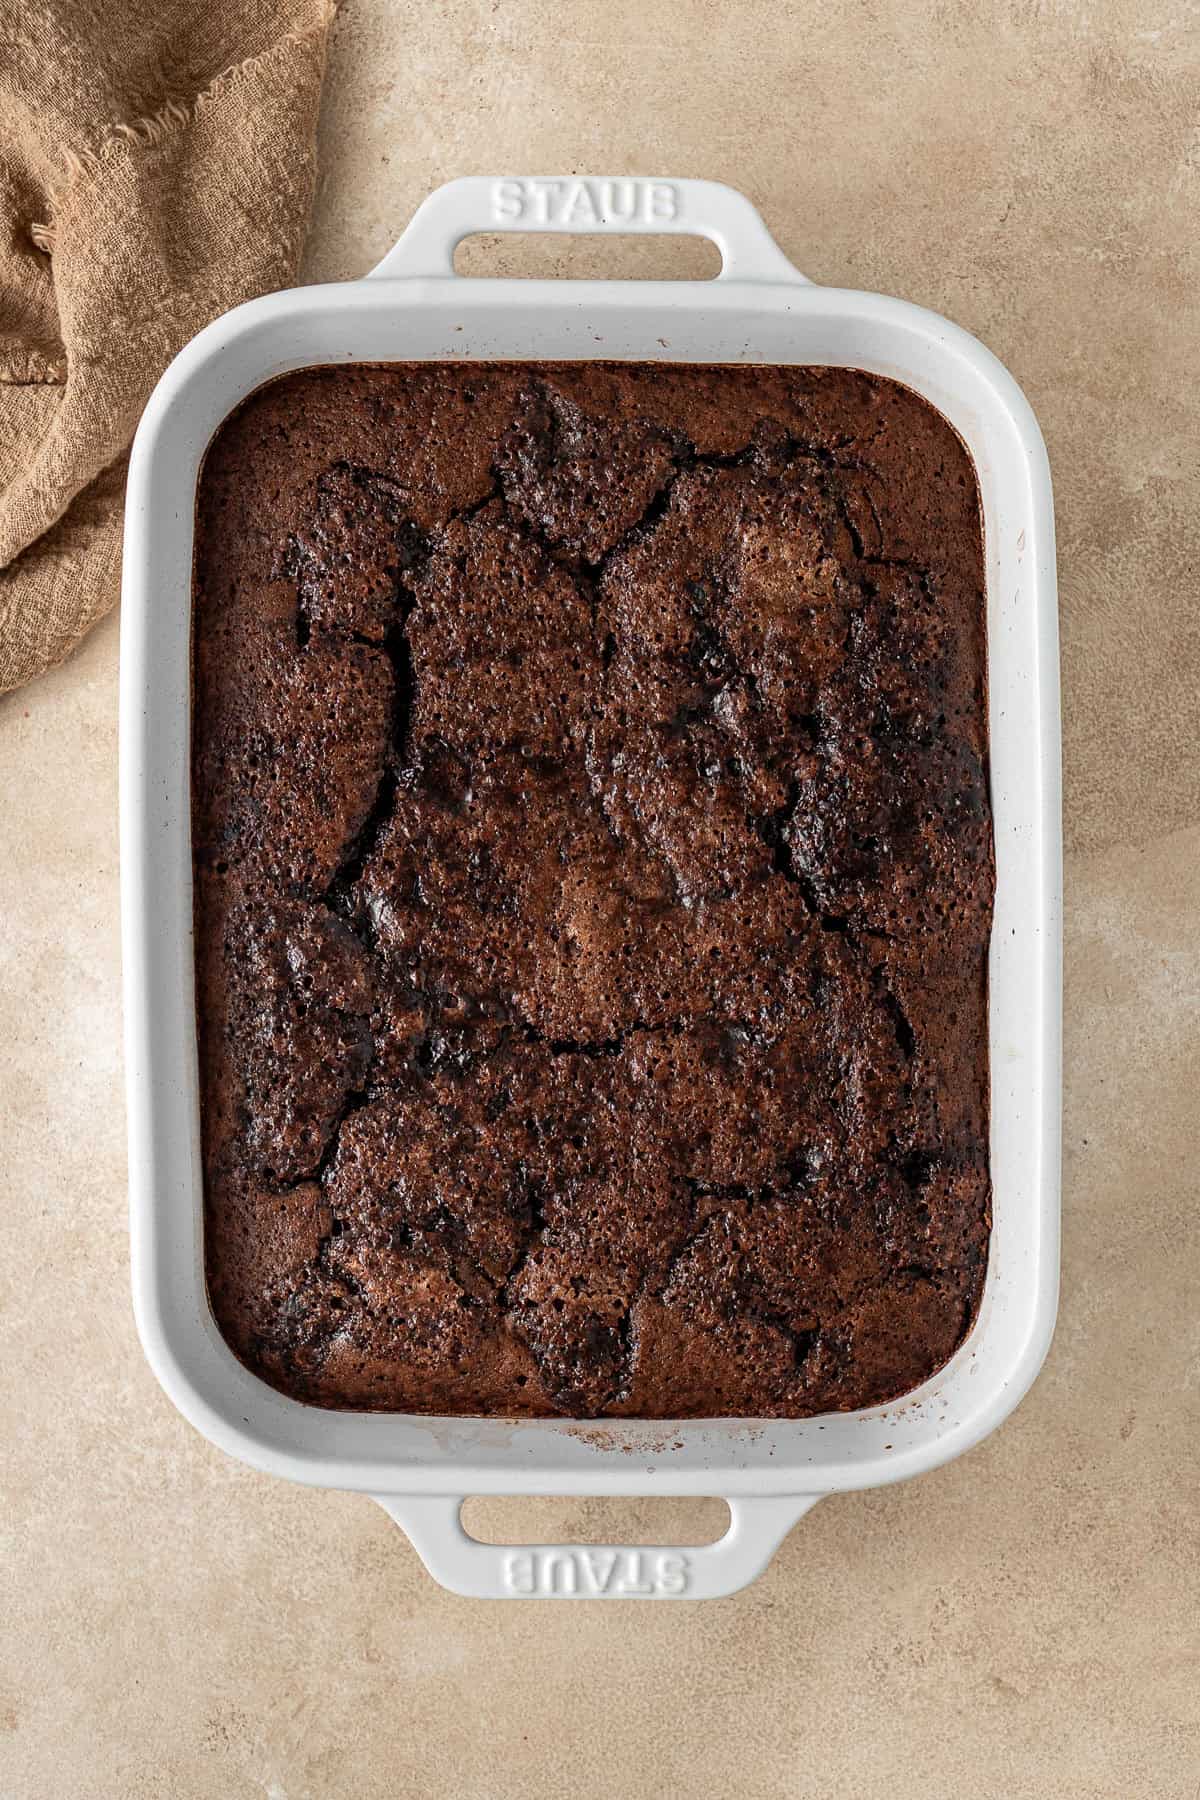
Step 6: Bake at 180°C/350°F for 30 to 35 minutes, until the top is firm and lightly spongy with the sauce bubbling around the edges. Serve while warm.
👉 Tip! Pouring the hot water over the metal spoon acts to evenly disperse the water and prevent the pour of the water from creating divots in the top of the pudding so you are left with a nice flat top. Don’t skip this step!
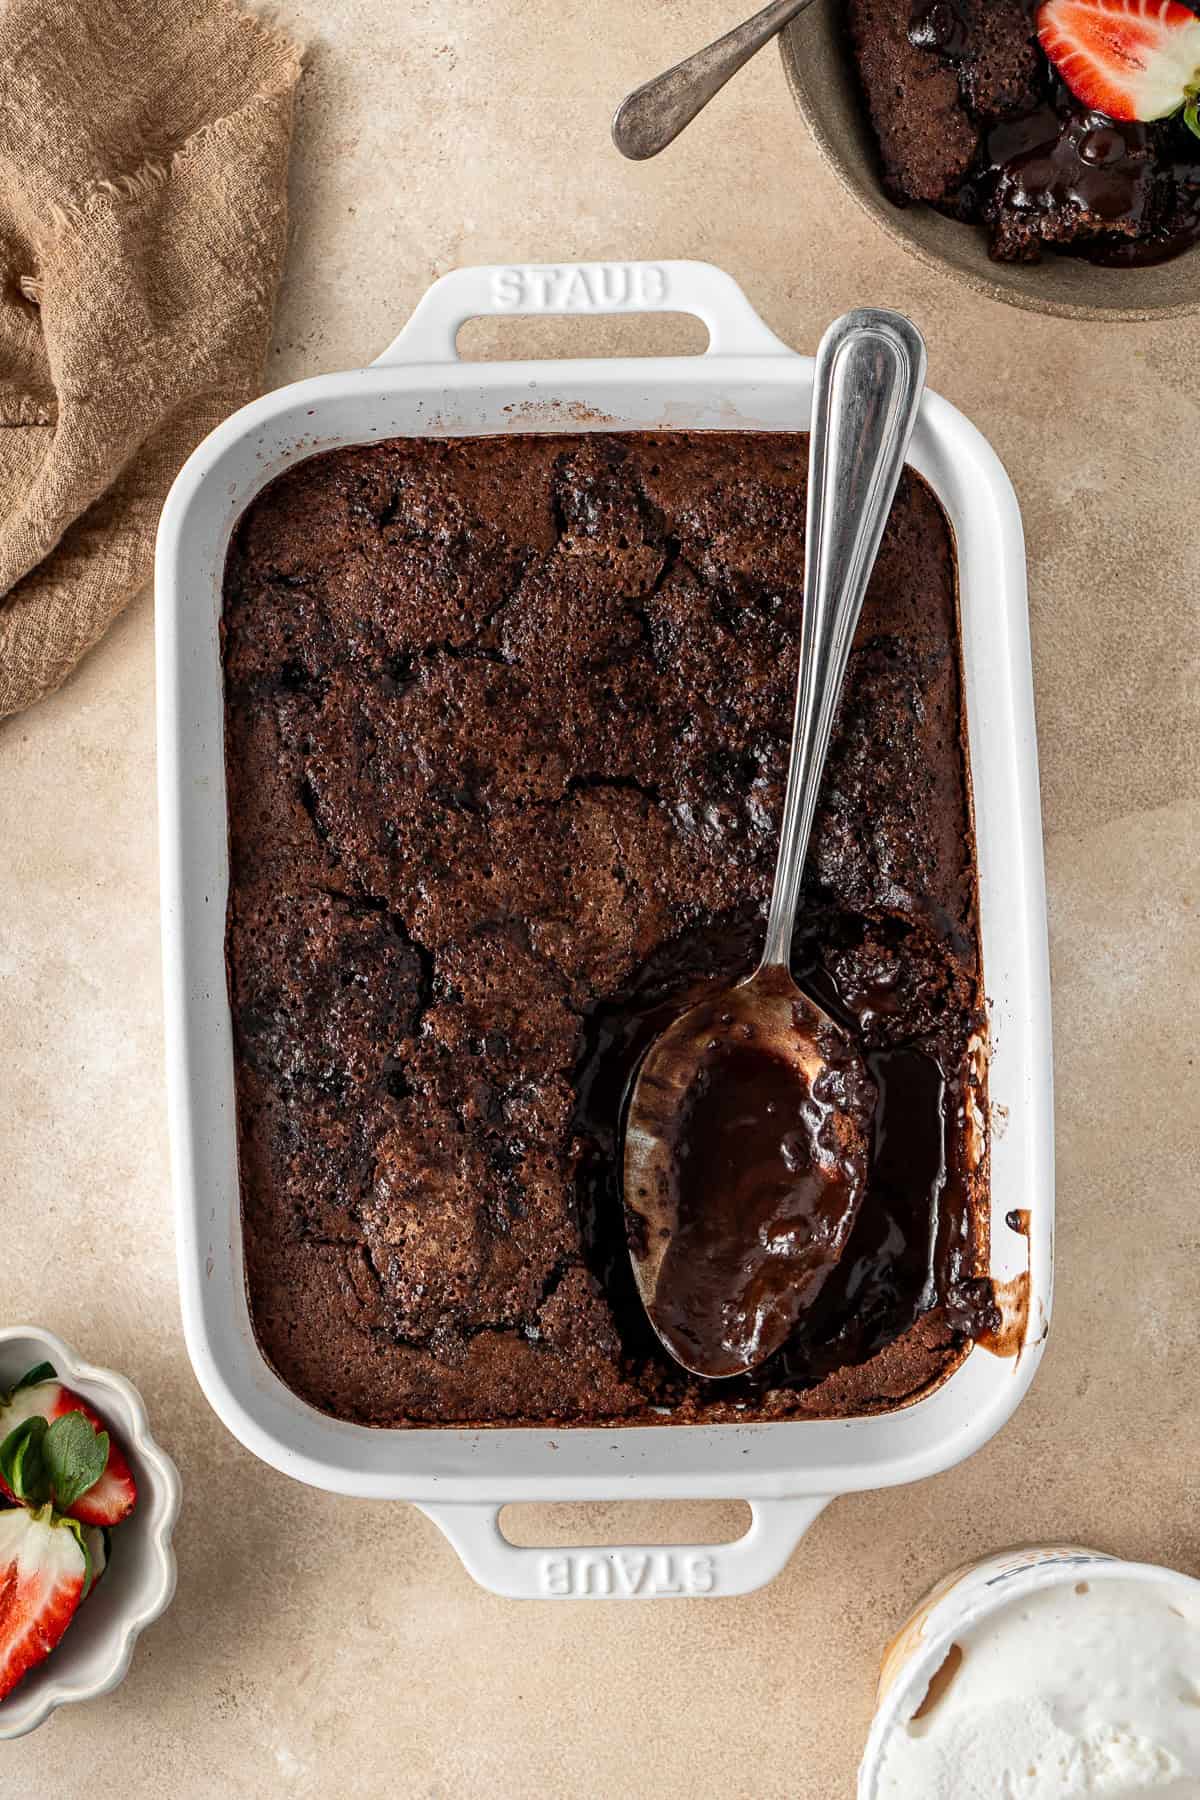
Serving suggestion: This pudding is wonderful just as it is, but it’s even better with a scoop of dairy free vanilla ice cream, cream or dairy free custard. Add a few fresh strawberries or raspberries if you have them to cut through the richness.
Storage Instructions
This pudding is best served straight from the oven, while hot and saucy, but it does make a generous amount, so leftovers are likely unless you’re feeding a crowd.
Store any leftovers in an airtight container in the fridge for up to 3 days. To reheat, warm gently in the microwave, or in the oven covered with foil, until heated through.
The sauce reduces and thickens after chilling and reheating, but it still tastes delicious.
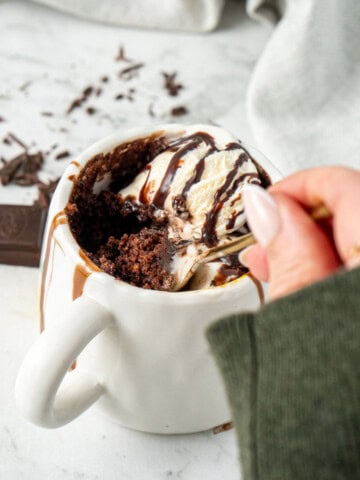
👉 Want a quick single serve version you can make in a microwave? Try my easy chocolate mug cake instead!
Recipe FAQs
The pudding will be ready when the top is firm and the sauce is bubbling around the edges. You can check if it’s done by inserting a skewer into the centre of the pudding – if it comes out clean, it’s ready.
Yes, you can reheat leftovers of the pudding in the microwave or oven. To reheat, warm gently in the microwave, or in the oven covered with foil, until heated through. The sauce reduces a little on reheating, but it still tastes delicious.
Yes, if you would like you can add nuts or chocolate chips pudding to give it extra flavour and texture. Simply stir them into the batter before pouring it into the dish.
Not really. Self saucing puddings are really best baked fresh, since the baking powder starts working once the batter is mixed, and the sauce is at its best straight from the oven.
If you do make this recipe, please be sure to leave a comment and ⭐⭐⭐⭐⭐ rating below! And tag any of your creations on Instagram with @eightforestlane as I would love to see.
More winter desserts:
Vegan Sticky Date Pudding With Caramel Sauce
Vegan Apple Crumble
Chocolate Lava Cakes
No-Bake Chocolate Tart (Vegan)
Chocolate Self-Saucing Pudding
Equipment
Ingredients
For the pudding:
- 60 grams (¼ cup) dairy free butter melted
- 1 egg room temperature
- 1 teaspoon vanilla extract
- 110 grams (½ cup) white sugar/granulated sugar
- 125 ml (½ cup) dairy free milk
- 150 grams (1 cup) plain flour/all purpose flour
- 2 tablespoons cocoa powder
- 2 teaspoons baking powder
For the sauce:
- 110 grams (½ cup) white sugar/granulated sugar
- 2 tablespoons cocoa powder
- 375 ml (1 ½ cups) hot water
To serve (optional):
- dairy free vanilla ice cream
- fresh strawberries
Instructions
- Preheat the oven to 180°C/350°F.
- In a large bowl, whisk together the 60 grams dairy free butter, 1 egg and 1 teaspoon vanilla extract until just frothy. Add the 110 grams white sugar/granulated sugar and continue to whisk. Add the 125 ml dairy free milk and whisk again until combined.
- Sift the 150 grams plain flour/all purpose flour, 2 tablespoons cocoa powder and 2 teaspoons baking powder directly into the bowl and whisk until the batter is thick.
- Pour the batter into an ovenproof casserole dish.
- Mix the extra 110 grams white sugar/granulated sugar and 2 tablespoons cocoa powder together and sprinkle evenly over the top of the batter.
- Pour the 375 ml hot water over the back of a metal spoon and over the batter, so it spreads evenly without disturbing the batter underneath.
- Bake for 30–35 minutes, or until the top is lightly spongy.
- Serve while still warm with dairy free vanilla ice cream and fresh strawberries.
Notes
Nutrition
Nutritional information is provided as a guide only and is calculated using automated online tools, therefore we cannot guarantee the accuracy. We encourage you to make your own calculations based on the actual ingredients used in your recipe.
This recipe was originally published in June 2022 and has been updated in 2026 with new photos and more helpful information. The recipe remains the same.

Susan Smith says
Can I substitute Almond Flour to lower the carbs in this recipe please?
Sally says
Hi Susan, I wouldn’t recommend almond flour for this one. You’re welcome to test it, but almond flour behaves very differently to regular flour so I can’t promise a good result. Instead I’d look for a recipe that has been specifically developed to be low carb.
J says
Love this. I make gluten free version that is an absolute hit! Thank you
Sally says
Amazing! So glad you enjoy this recipe 🙂
Rachel says
This looks delicious and quick and easy to make. Could it be made ahead of time and kept in the fridge until ready to bake?
Laura says
Tried the recipe tonight and it was delicious! Have had to make more dairy-free recipes lately and wanted one for a self-saucing pudding so this was perfect. Will definitely be a go to recipe so thank you for sharing!
Sally says
Amazing! So glad you enjoyed this one Laura, it’s a favourite for sure!
Robyn says
This sounds and looks absolutely amazing Sally! I love that you have managed to keep the recipe, despite the recipe book getting lost.
Sarah says
Gooey sticky chocolaty goodness, what’s not to love? And something I can whip up with things I have already, win win!
Sally says
Thanks Sarah, hope you enjoy it!
Jaimie says
What a classic, and so easy! I look forward to trying this on the weekend – forecast cold and rainy…. it’s meant to be!
Sally says
Sounds perfect for a cosy weekend!
Gavin Sutherland says
Lovin’ the simplicity of this recipe – I have a dinner party coming up soon, can I make the dessert in advance and store in the fridge until ready to bake? Cheers
Sylvie says
I love how easy and quick this recipe is, and how delicious the dessert looks! It would make a great comforting dessert for the cold days ahead as well 🙂
Sally says
Thanks Sylvie, it really is a favourite for winter!