
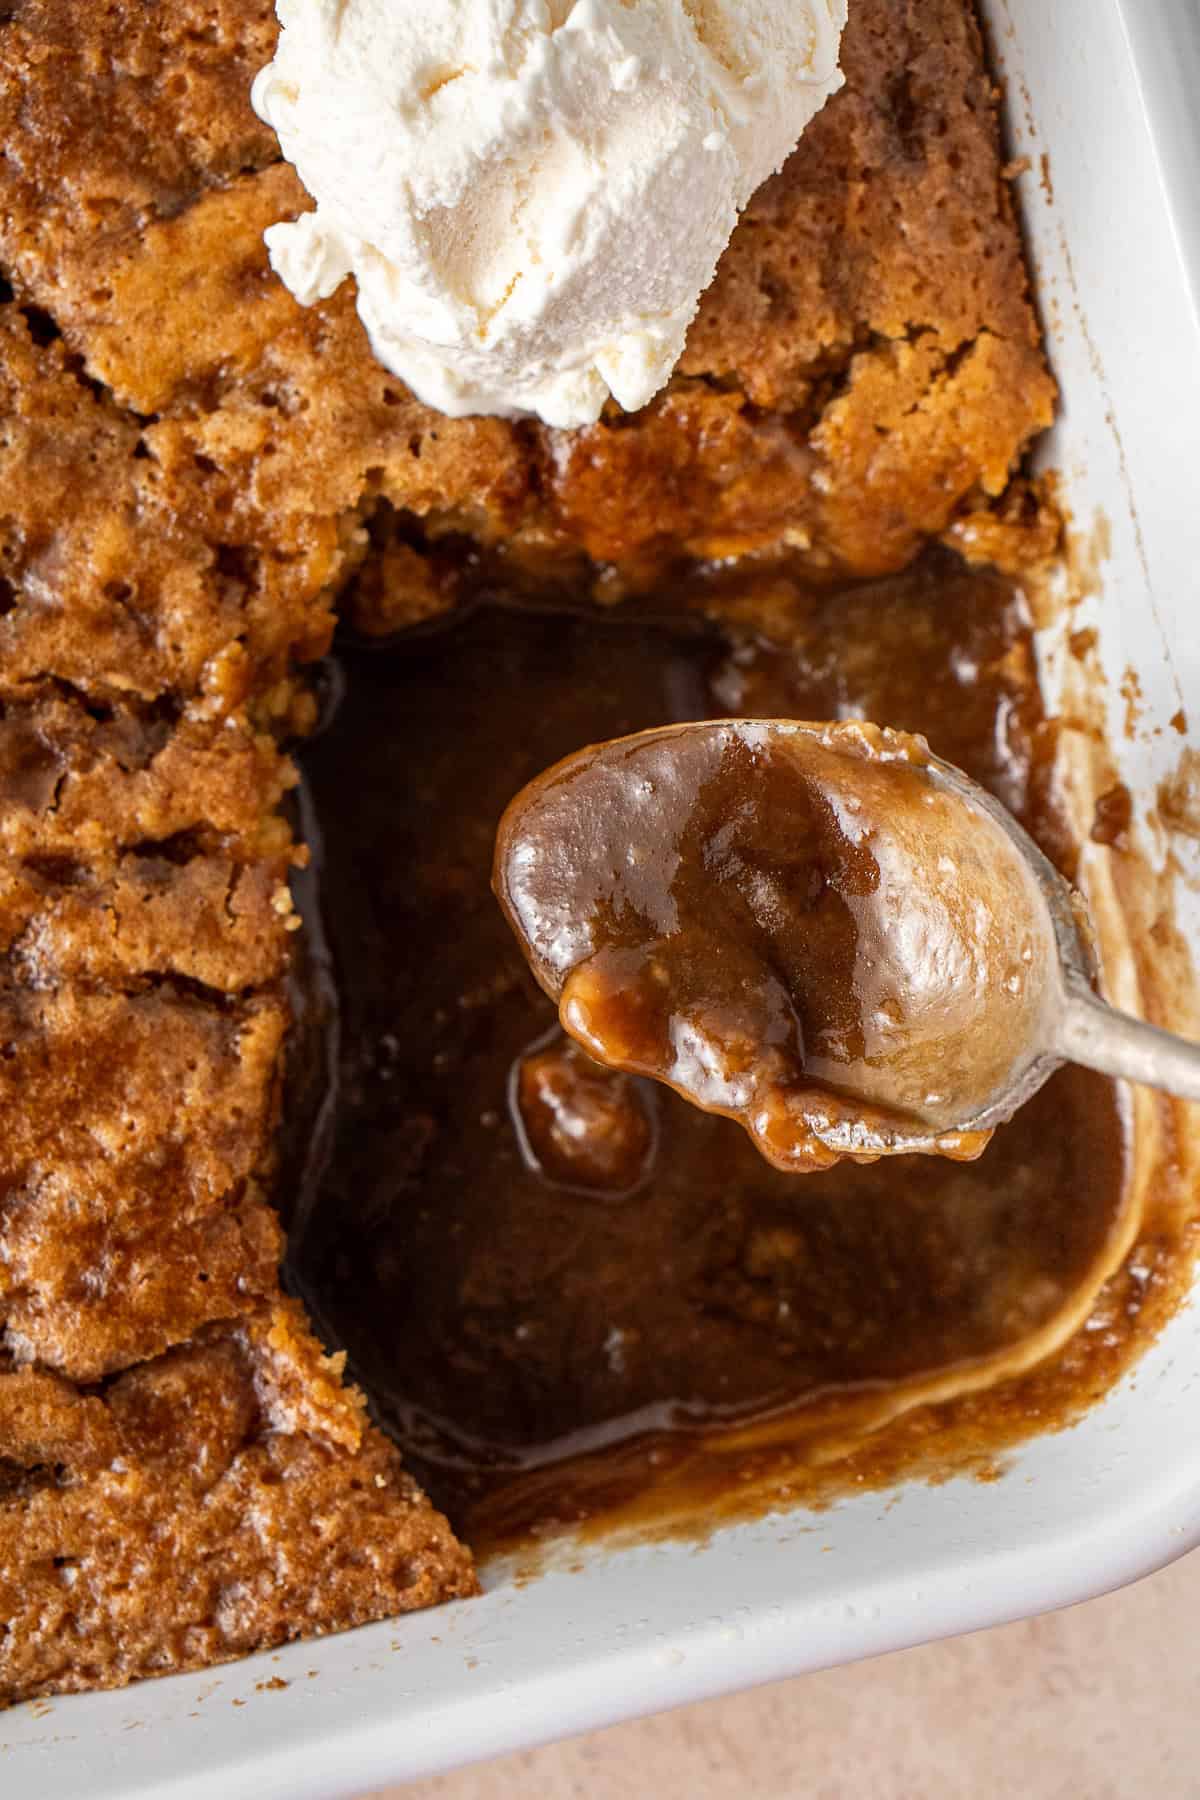
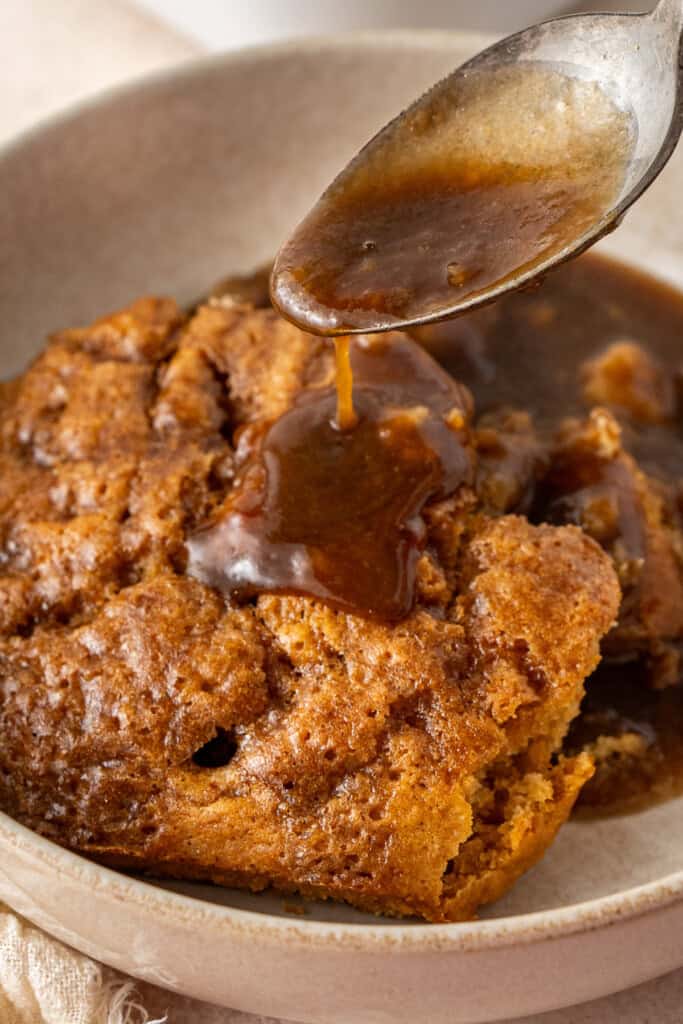
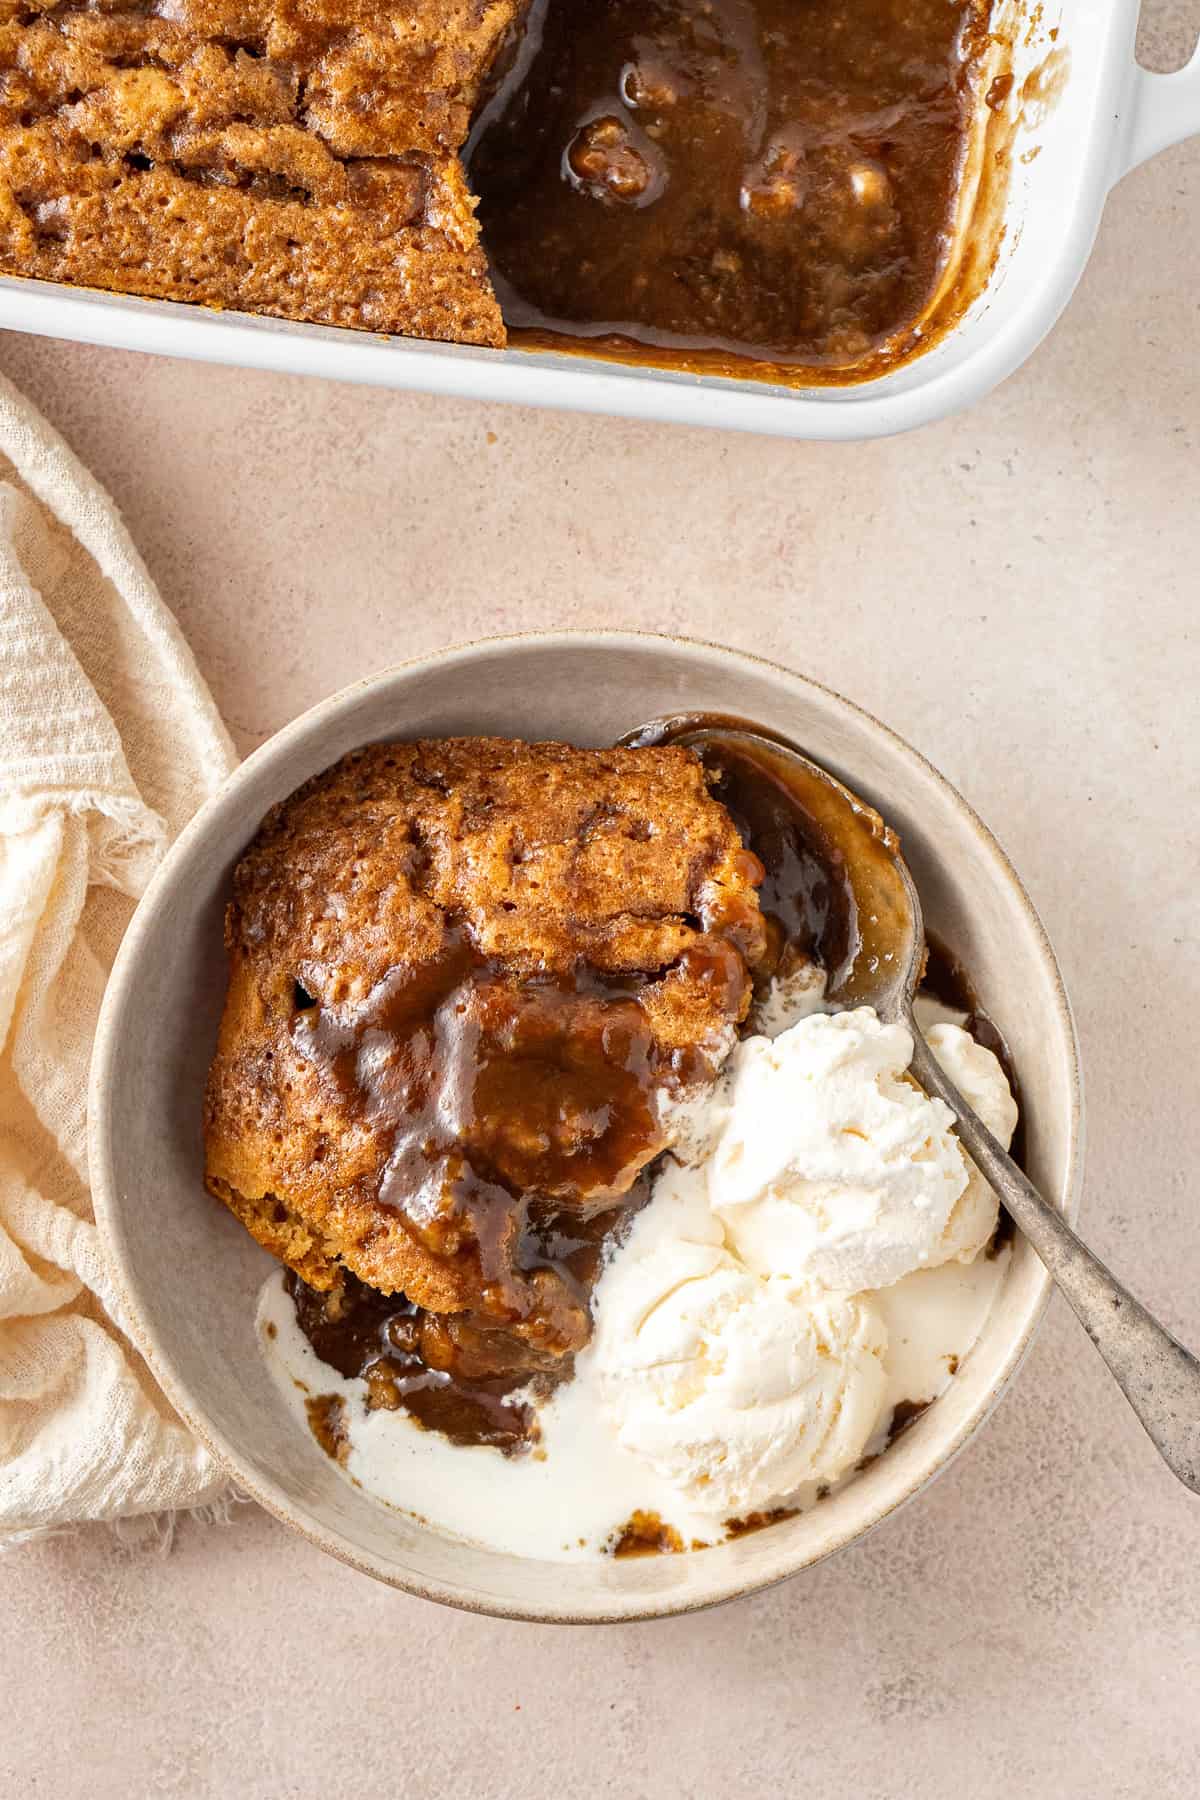
This cosy and comforting butterscotch self saucing pudding is a classic Aussie dessert that is always a family favourite! With its soft and fluffy cake topping and a rich butterscotch sauce that forms magically underneath while baking, this pudding is the ultimate winter treat. And yes, it absolutely must be served warm with a big scoop of vanilla ice cream!

One of my favourite things about winter is obviously the desserts! I have a whole collection of my favourite cosy winter dessert recipes if you’re looking for more inspiration, but today we’re talking about one of my all time favourites – self saucing butterscotch pudding.
This is of course the butterscotch flavoured version of the classic chocolate self saucing pudding which is probably one of the very first things mum taught me to make (and definitely on my winter baking bucket list every year!).
This dessert is for those that love sweets. Its rich and indulgent and it really must be served with your favourite vanilla ice cream which completes the full cosy experience.
My recipe is of course dairy free, made through a couple of simple swaps but you’d never taste the difference. Its a really easy dessert to make that is casual enough for a weeknight but impressive enough for a dinner party.
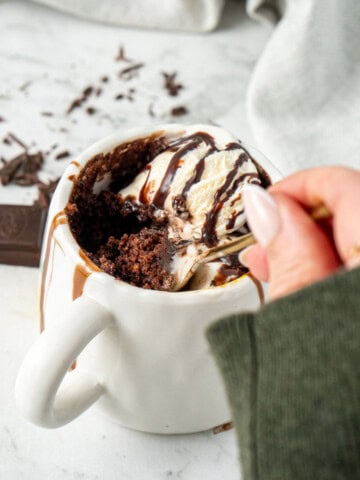
If 40 minutes of baking time feels a little long when you really just want dessert, or you’re not really wanting to feed a crowd, make this 2 minute butterscotch mug cake instead!
Key Ingredients
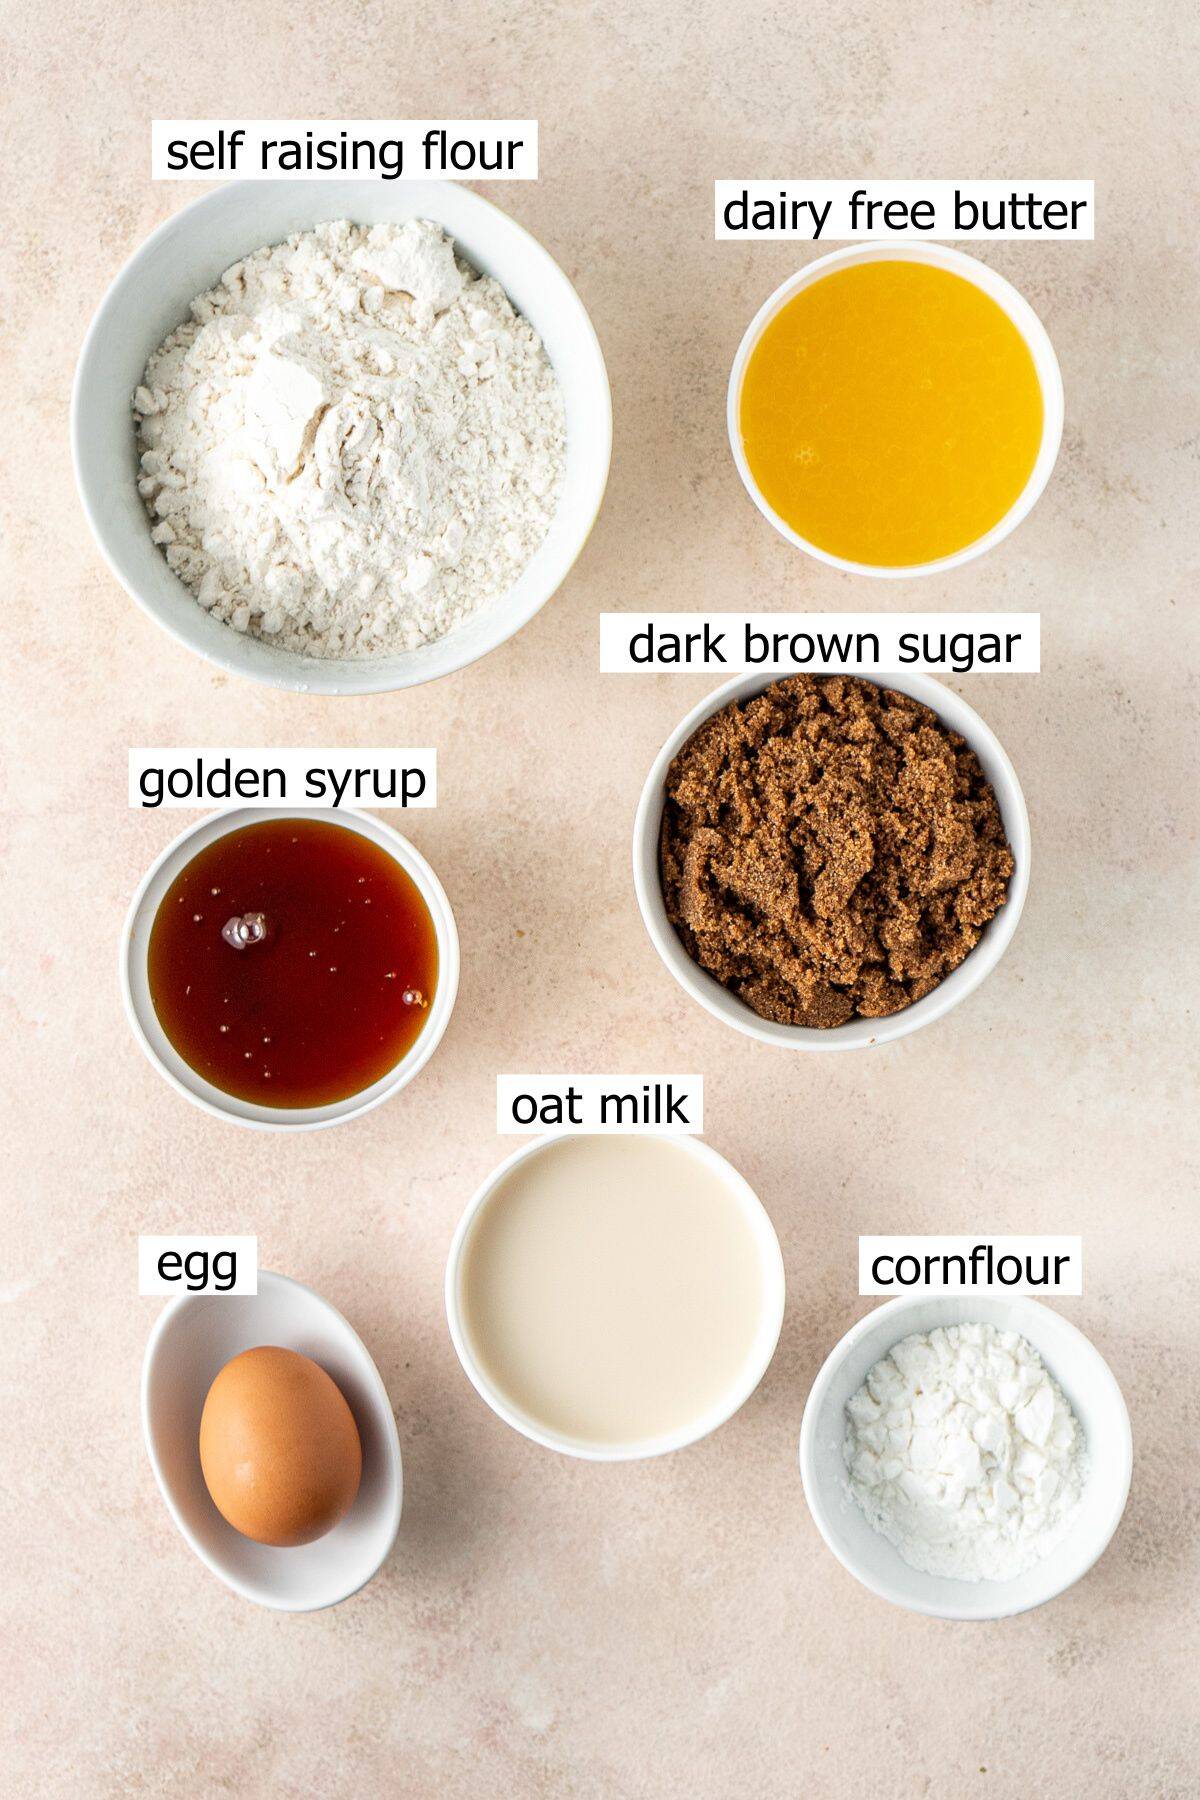
To make this butterscotch self saucing pudding, you only need a handful of basic pantry staples.
Note all ingredients and their quantities are laid out in the recipe card at the bottom of this post.
- Dairy free butter – I always use Nuttelex buttery to replace butter in my recipes to keep them dairy free as I find it has the best taste and texture. In the US I believe the most similar alternative is Earth Balance.
- Egg – this recipe uses an egg to bind the ingredients together and help keep the pudding light and soft.
- Dairy free milk – I like to use oat milk but you can use soy milk, almond milk or any other dairy free milk you prefer. You could also use lactose free milk if you wanted to just avoid the lactose without removing all the dairy.
- Golden syrup – the key to the butterscotch flavour. This is a common ingredient in Australia and the UK and there really isn’t an alternative that is going to work the same when it comes to flavour.
- Self raising flour – making this a super easy recipe we use self raising flour as it already contains a leavener. If you don’t have any, you can make your own by combining baking powder and plain flour (all purpose flour).
- Dark brown sugar – dark brown sugar gives extra richness and deep caramel flavour however regular brown sugar will also work fine.
- Cornflour – also known as corn starch in the US, is used in the topping which when combined with the brown sugar will create a beautiful and thick butterscotch sauce in the bottom of the dish.
How to Make Butterscotch Self Saucing Pudding
Honestly, this is one of the easiest desserts you’ll ever make, and it’s always a crowd-pleaser especially on a cold winter night!
Step 1: Preheat your oven to 180°C (350°F) and grease the baking dish with dairy free butter.
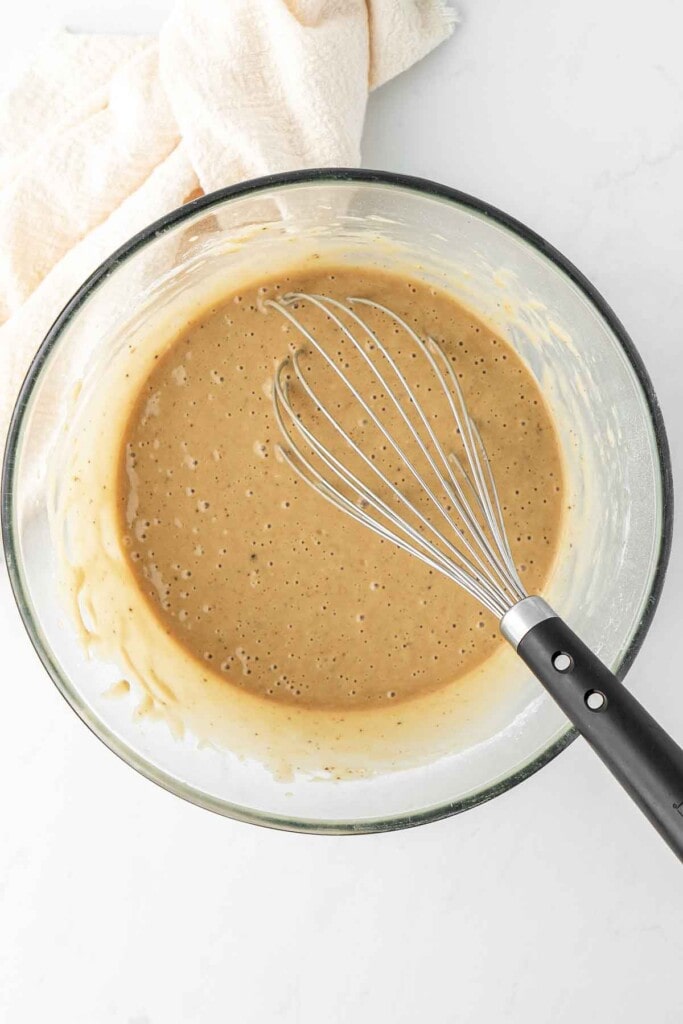
Step 2: In a large mixing bowl, whisk together the melted dairy free butter, egg, milk, and golden syrup until smooth. Add the dark brown sugar and self raising flour, and mix until just combined with no lumps.
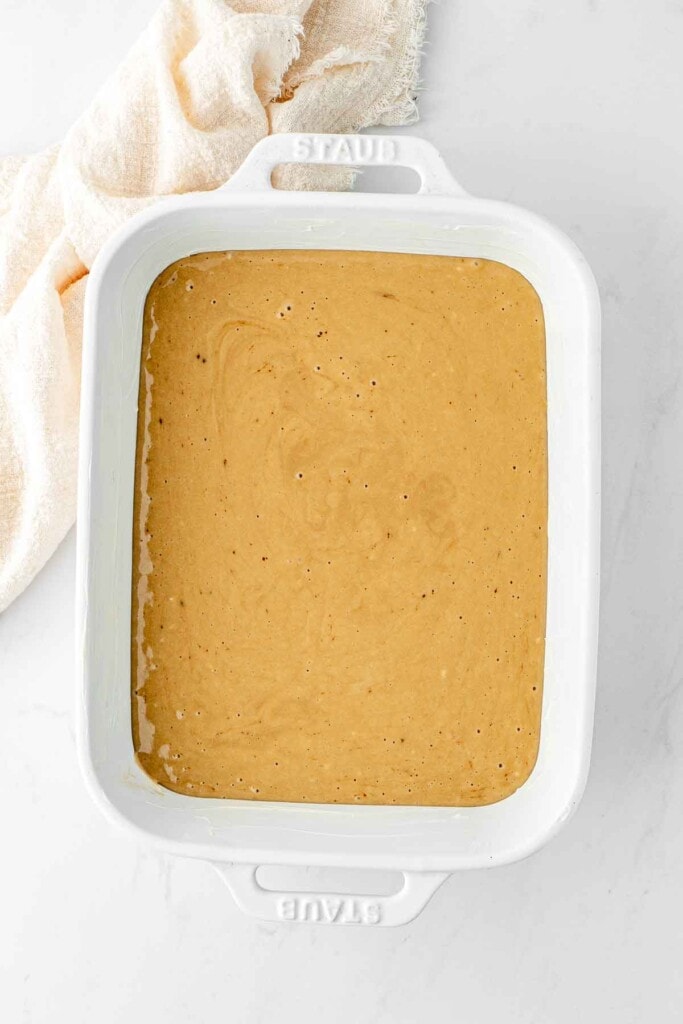
Step 3: Pour the pudding batter into your prepared baking dish, spreading it out evenly.
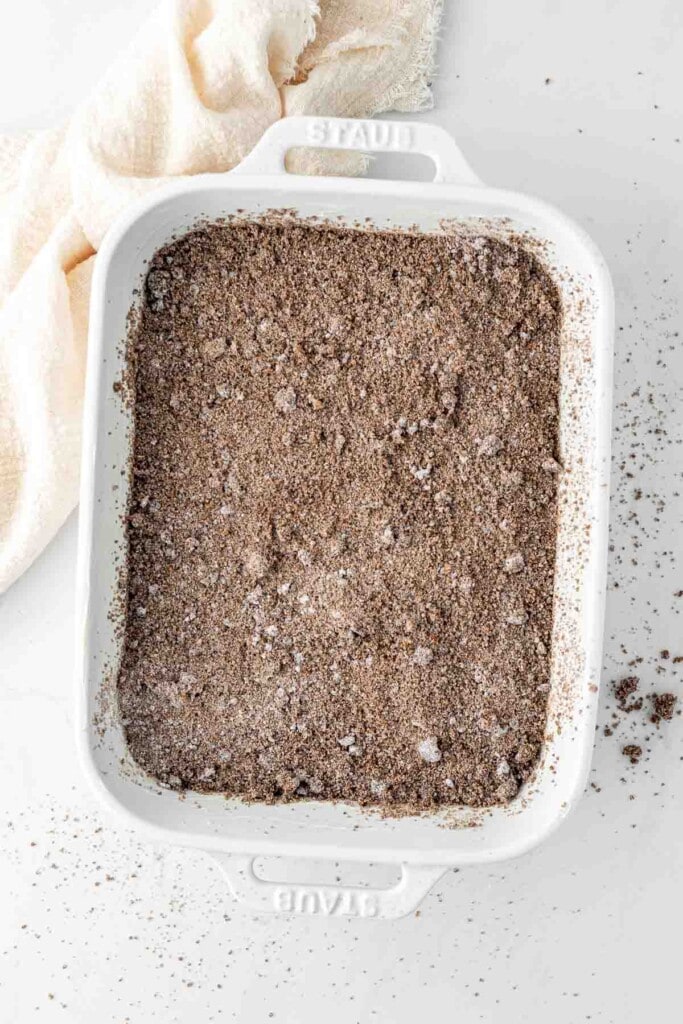
Step 4: In a separate small bowl, stir together the dark brown sugar and cornflour to make the topping. Sprinkle it evenly over the top of the batter.
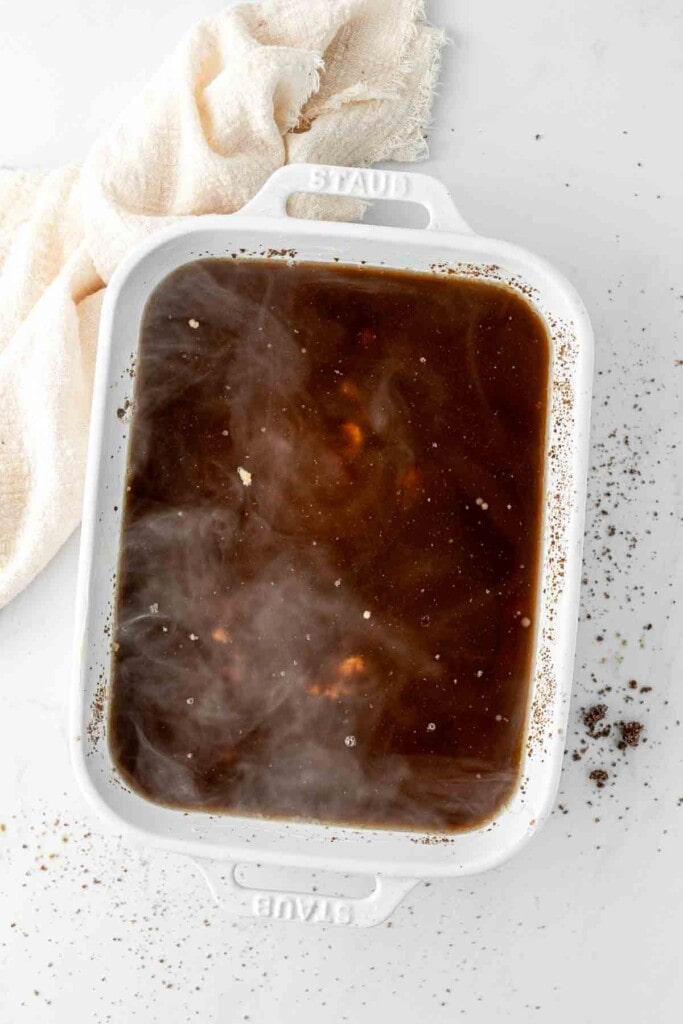
Step 5: Carefully pour the boiling water over the back of a metal spoon onto the pudding. This helps the water sit on top without disturbing the batter.
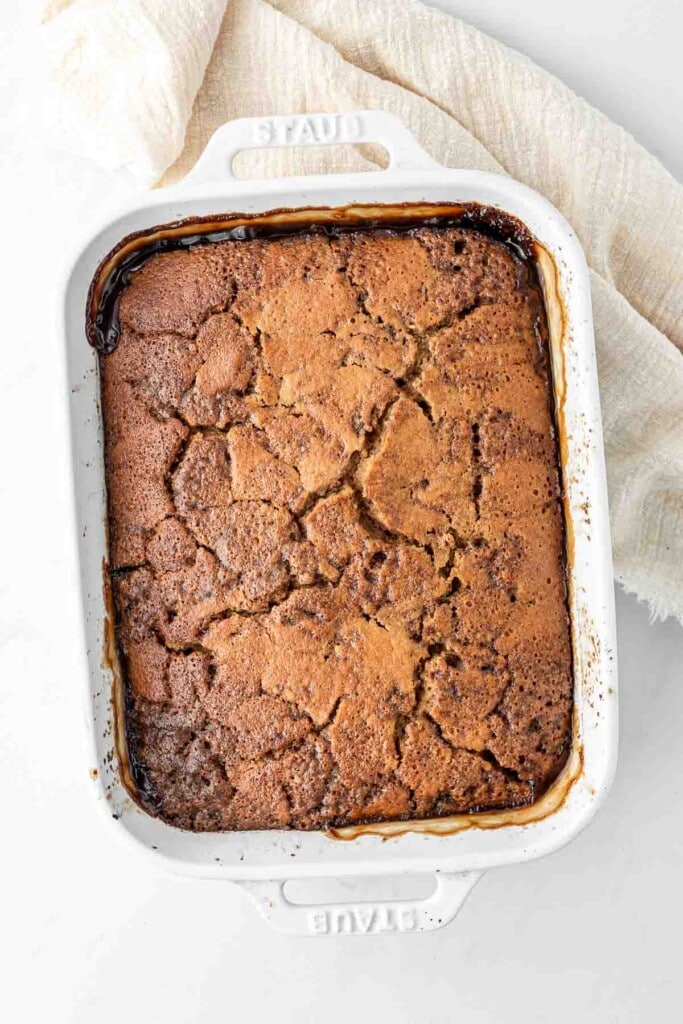
Step 6: Bake for 40 minutes or until the top is golden and the sponge is set. A skewer inserted into the cake should come out clean while the sauce starts to bubble from the sides.
Step 7: Let the pudding sit for a few minutes to cool slightly, then serve warm with a big scoop of dairy free vanilla ice cream.
Recipe FAQs
Yes, a rectangular 34x24cm dish is ideal, but similar sizes or even ramekins will work. Just keep in mind the baking time might vary slightly depending on the shape and depth.
I wouldn’t recommend it. Golden syrup is what gives this butterscotch self saucing pudding its signature flavour. Substituting it with another sweetener like maple syrup will change the taste completely.
Absolutely! If you’re not dairy free, feel free to use regular milk and butter in equal amounts.
Absolutely! Leftover pudding can be reheated in the microwave or oven. Simply place individual servings in a microwave-safe dish and heat in short intervals, stirring occasionally, until warm. You can also reheat the entire baking dish in a preheated oven at a low temperature until warmed through.
If you do make this recipe, please be sure to leave a comment and ⭐⭐⭐⭐⭐ rating below! And tag any of your creations on Instagram with @eightforestlane as I would love to see.
More classic winter desserts:
Vegan Sticky Date Pudding
Vegan Apple Crumble
Strawberry Crumble
Easy Apple Turnovers

Butterscotch Self Saucing Pudding
Ingredients
For the pudding:
- 100 grams dairy free butter melted
- 1 egg
- ½ cup dairy free milk
- 4 tablespoon golden syrup
- ¼ cup dark brown sugar
- 1 ¼ cup self raising flour
For the topping:
- ¾ cup dark brown sugar
- 2 tablespoon cornflour/cornstarch
- 2 cups boiling water
- Vanilla ice cream to serve
Instructions
- Preheat your oven to 180°C (350°F) and grease a rectangular 34x24cm baking dish with dairy free butter.
- In a large mixing bowl, combine the melted dairy free butter, egg, milk, and golden syrup and mix well to combine. Add in the dark brown sugar and self raising flour and whisk until your pudding batter comes together.
- Spoon the pudding batter into the greased baking dish, spreading it evenly.
- In a separate bowl, prepare the topping by combining the dark brown sugar and cornflour and sprinkle the topping mixture evenly over the pudding batter.
- Carefully pour the boiling water over the back of a metal spoon over the pudding. The spoon will ensure that the water sits on the top rather than causing an indent in the pudding batter.
- Carefully place the baking dish into the oven and bake for approximately 40 minutes, or until the pudding is golden on top and the cake is set. It should spring back when pressed slightly.
- Remove the pudding from the oven and allow it to cool slightly before serving while still warm, with vanilla ice cream.
Notes
Nutrition
Nutritional information is provided as a guide only and is calculated using automated online tools, therefore we cannot guarantee the accuracy. We encourage you to make your own calculations based on the actual ingredients used in your recipe.

Megan Levy says
It looks wonderful, but the sauce went solid, no doubt because of the cornflour, Don’t know what I did wrong.
Sally says
Hi Megan, did the sauce go solid after cooling? That will happen with this pudding but it should be liquid when removed from the oven. If not, then it’s possibly slightly over baked.
Callie says
Delicious! Made this yesterday as dessert for our Father’s Day meal as my dad loves butterscotch but I cannot have dairy. It was a HIT!
Zac says
Just made this. Incredible! Love it!!
Sally says
So happy you loved it!!
Tim Greensill says
Made this for Father’s Day. Everyone absolutely loved it. Will be making this again!
Sally says
So glad you enjoyed this one!