
This royal icing recipe is my favourite to use when decorating sugar cookies. Using everyday ingredients you probably already have on hand, this icing tastes incredible, is really easy to make and sets hard. This is really the only icing recipe you’ll need for decorating cookies!
Making and decorating cookies for special occasions is one of my favourite activities to do, especially at Christmas time. To be honest, It’s really not Christmas in my eyes until I’ve made some pretty cookies, decorated in bright colours and patterns.
When decorating cookies, it’s important to use an icing that sets hard as this will mean your designs wont bleed or smudge. This will also mean you can stack the cookies for easy storage which makes transporting them or giving them as a gift much more practical.
So what exactly is royal icing?
Royal icing is a super shiny, hard set icing used to decorate cookies, cakes, gingerbread houses and anything else you can think of. It is primarily used around Christmas time or other special occasions as royal icing allows the piping of intricate designs that dry hard allowing the cookies to be stacked and stored easily.
The icing is made using egg whites, icing sugar, and flavouring like lemon juice or vanilla extract. To get the desired consistency between outlining and flooding, sometimes a little water is used.

Royal icing with egg whites vs meringue powder
Traditionally royal icing is made with raw egg whites. This is my preferred method as the alternative is to use meringue powder instead and this is not an ingredient I’ve been able to find easily in Australia (you can get it from some specialty shops but it’s not really available for your everyday home baker).
If you do happen to find it and are looking for a recipe that uses meringue powder instead, then this is the recipe I’d use.
So what about using raw egg whites? A lot of people do feel uncomfortable about using raw eggs in recipes however as long as the eggs are fresh from a quality source and prepared correctly, there is no reason to worry.
The Salmonella bacteria, if present, lives on the external surface of the egg shell so when using, try and minimise the chance of any shell falling into the egg white (so use an egg separator, not the shells to seperate the eggs) and make sure to use straight away, don’t leave the egg white sitting around on the bench for too long.
However if this still feels a bit funky, you can use the liquid egg whites that come in a cartoon that you can buy in the supermarket. This option means there is no separating of the eggs required and the egg whites have been pasteurised making the risk of them containing the Salmonella bacteria very low – they are considered safe for raw consumption.
I’ve made this royal icing using both fresh raw egg whites and pasteurised liquid egg whites and both work perfectly so choose what you prefer.
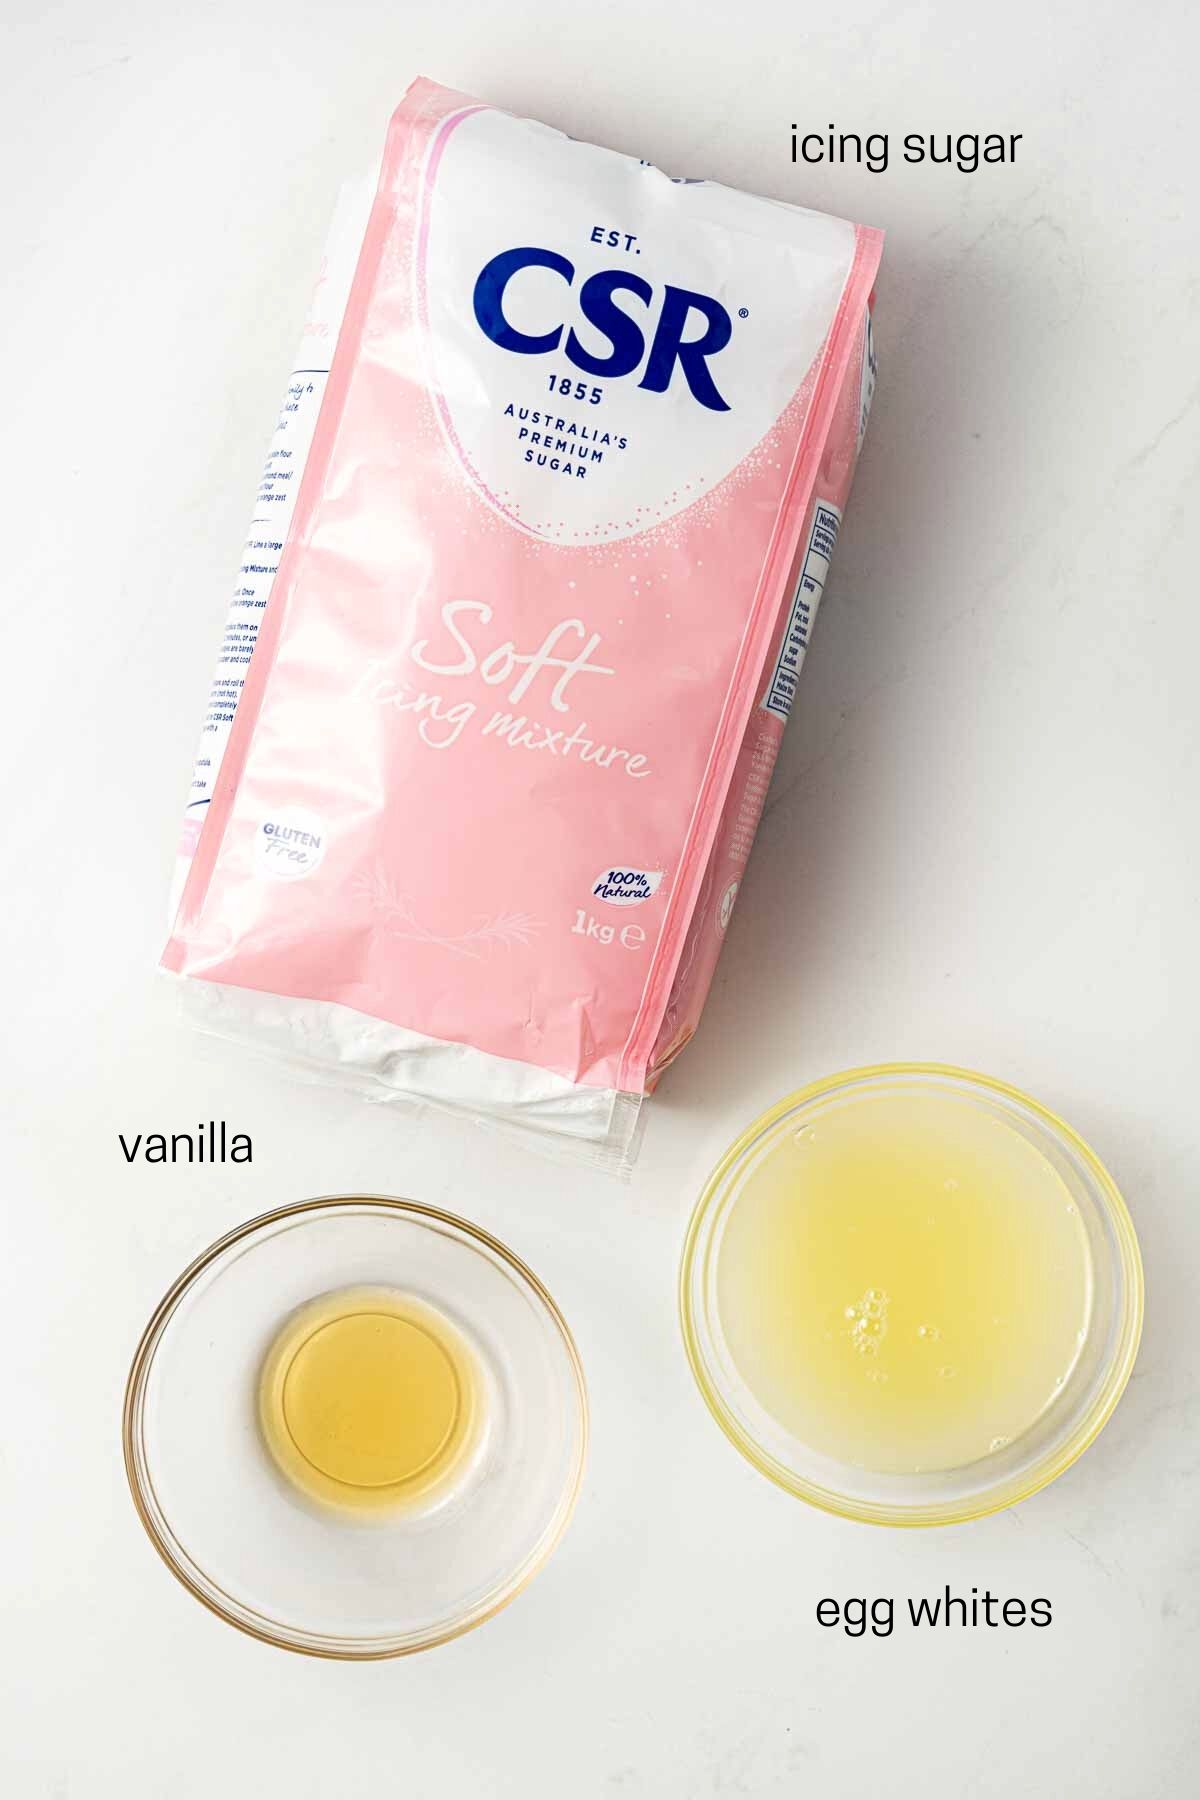
Ingredients for royal icing
This recipe uses just 3 ingredients, all of which should be easily found at your local supermarket.
- Egg whites – as discussed above you can use either fresh egg whites or liquid egg whites from the carton. Whichever you choose, this is the most important ingredient to ensure that silky, shiny icing that sets hard.
- Icing sugar – or powdered sugar in the US
- Vanilla – this is optional but I love the extra flavour it gives to the icing
And finally, grab your favourite food colourings. I love my Americolor gel food colouring kit as the gel colours are super vibrant and I only need a very small amount to get the desired colour meaning the food colouring won’t change the texture and consistency of my icing.
How to make royal icing
To make this icing, I recommend using a stand mixer as it’s going to make the process a lot easier. If you don’t have one however, you can simply use a handheld electric mixer.
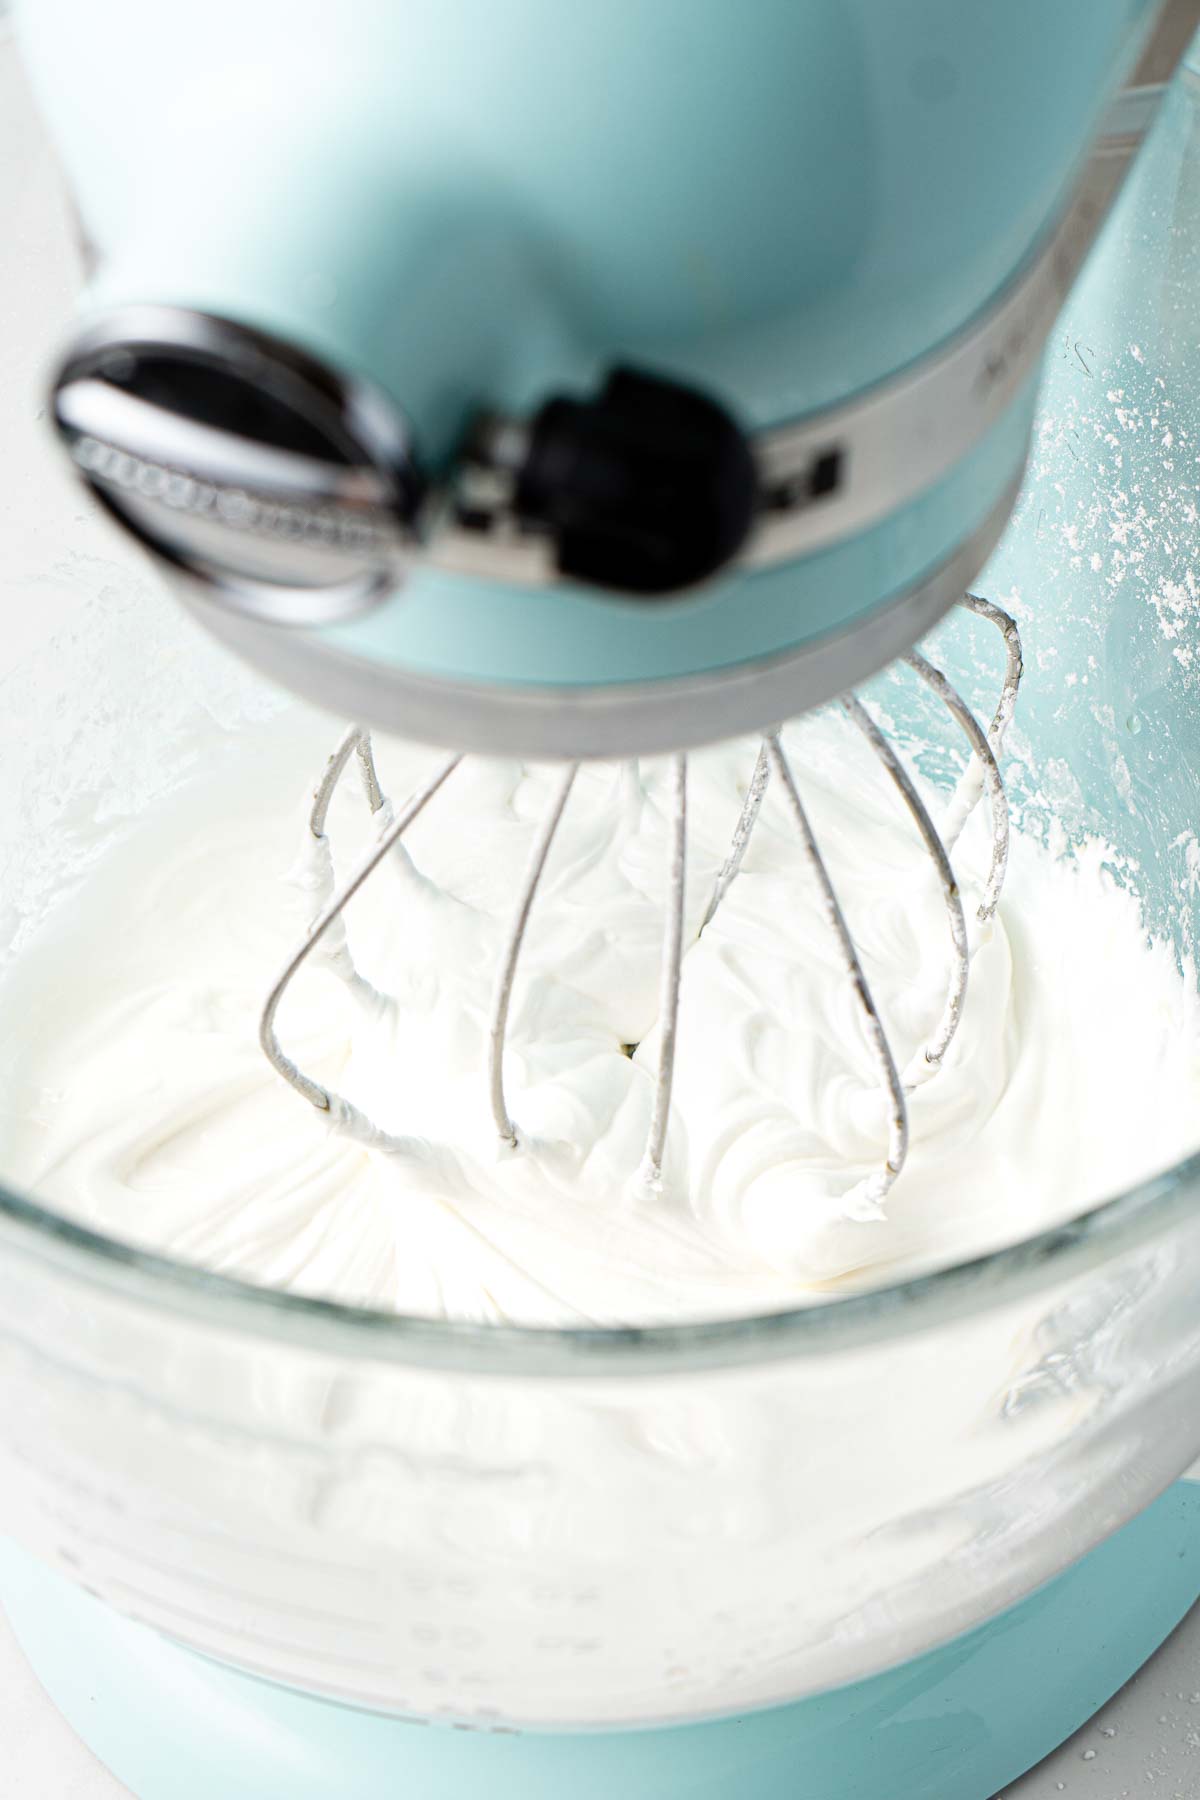
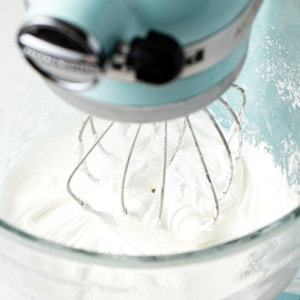
Start by adding your egg whites to the bowl, and then using the whisk attachment, start beating the egg whites until they become frothy.
From here, this is where the stand mixer will make things much easier, start adding your icing sugar one tablespoon at a time. You want to do this slowly, combining each tablespoon of sugar into the egg whites completely before adding in the next.
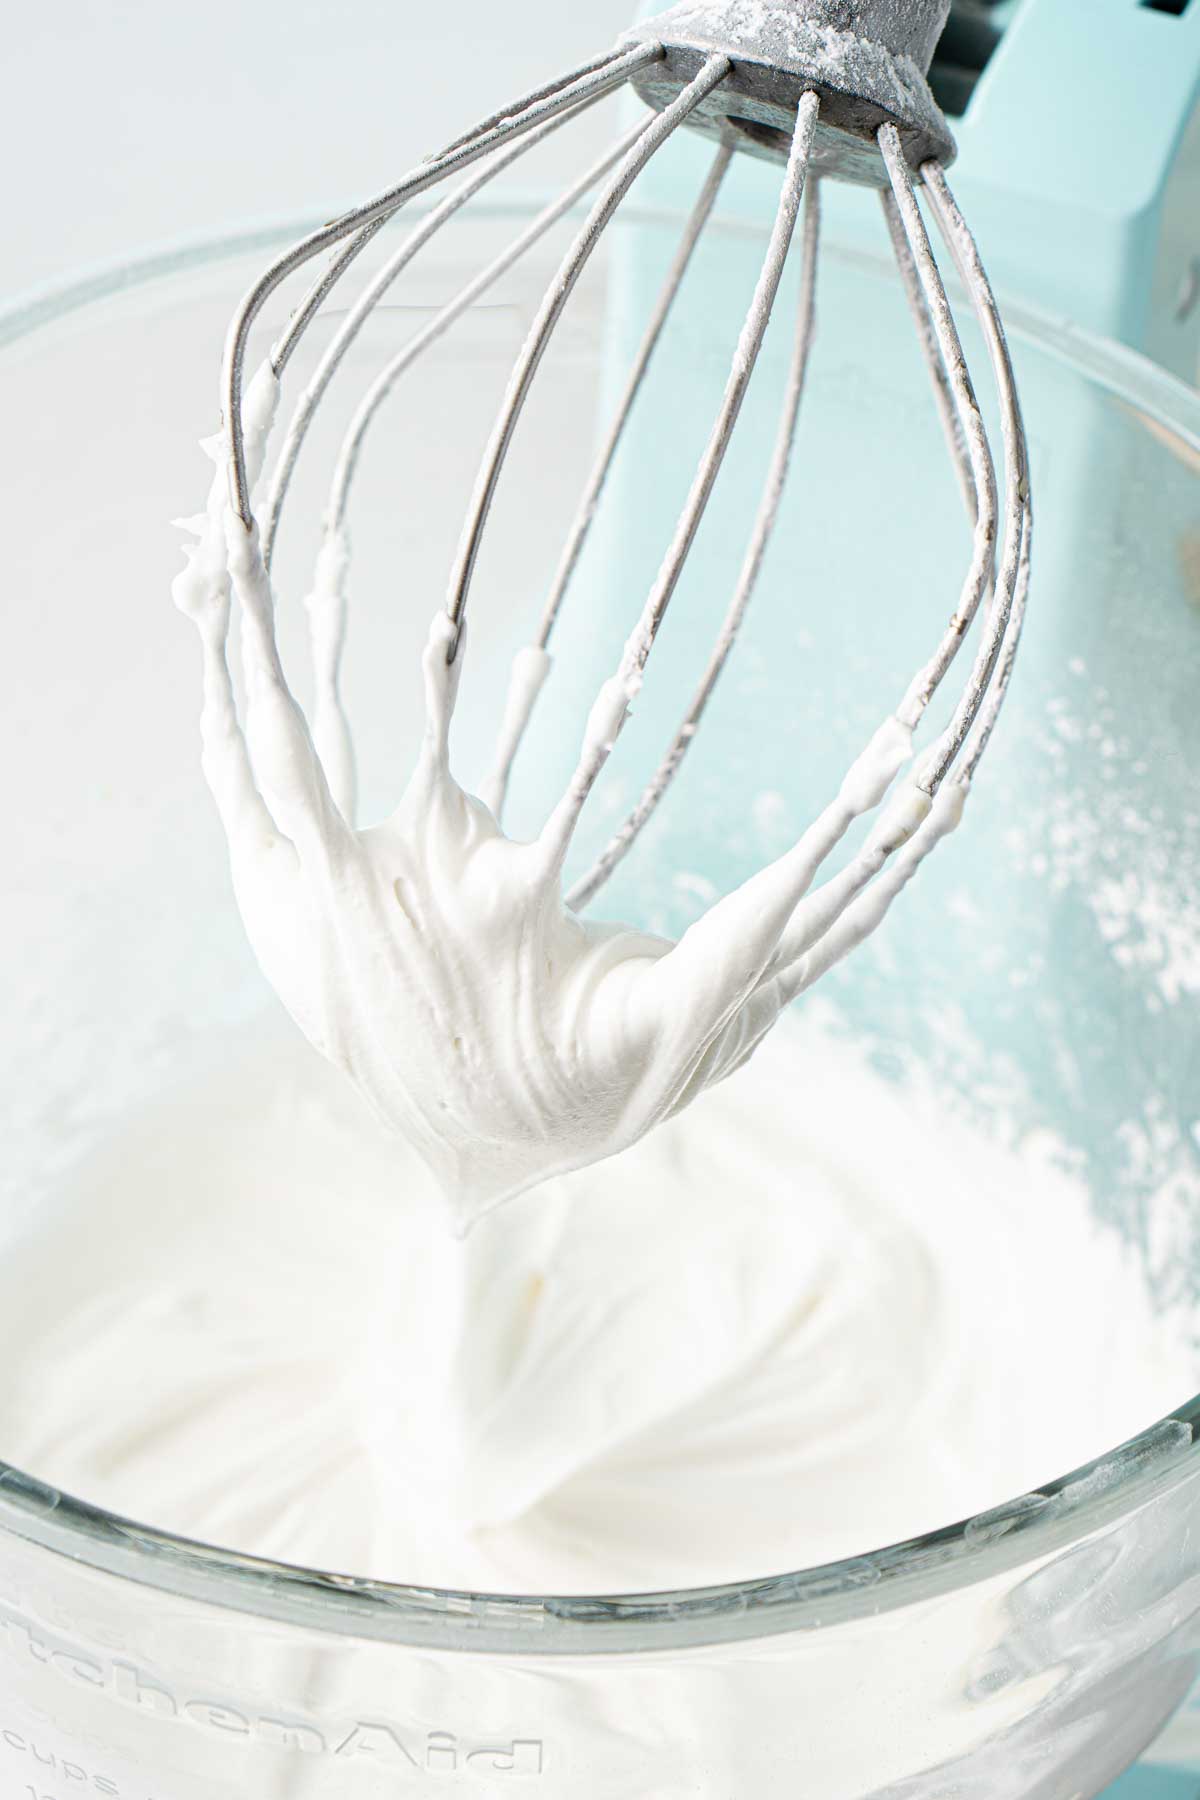
The icing will start to get really creamy and shiny. Continue until all of the sugar has been incorporated. Scrape down the sides with a spatula if necessary as well.
Finally, add in the vanilla extract and mix together for another couple of minutes until the icing is really smooth.
From here, you can separate the icing into separate bowls to tint your desired colours depending on how you’re going to decorate your cookies.
Remember, this icing dries hard, so when not using make sure to cover the bowl with a damp tea towel which will keep it from drying out.

Decorating sugar cookies with royal icing
There are so many ways to decorate cookies using this icing. Sugar cookies are the best to use but this icing is also the perfect glue for a gingerbread house. Here are some examples for inspiration;
Snowflake sugar cookies
100s & 1000s sugar cookies
Easter sugar cookies
Homemade gingerbread house
Gingerbread men
Decorating sugar cookies is generally done in two steps; outline and flooding.

You first pipe the stiff icing around the edges of the cookies forming an outline. This needs to be quite firm so that it sits up and doesn’t melt and make a mess. Definitely do a test one first and make sure it’s looking ok before moving on.
Once that outline has crusted and is firm, you’ll thin down the remaining icing so it is a smooth consistency and pipe in the center of the cookies. This is known as flooding. The icing will spread so be careful not to over fill. Spread out the icing into all the gaps with your piping tip or use a toothpick. If you see any air bubbles you can pop these with a toothpick.
This is now the base of your cookie. Once the icing has hardened (usually a couple of hours) you can pipe on top your designs.
Note that the cookies will need 24 hours for the icing to completely harden and be ready to stack.

Royal icing alternative
Want something a little easier, need a vegan option, or simply still not 100% sure about the egg whites? Then you can try this super simple cookie icing that is used in my vegan cinnamon sugar cookie recipe.
This icing doesn’t have as strong a flavour and isn’t as shiny in it’s finish, but it still sets hard and is a great alternative for decorating cookies.
Recipe FAQs
There could be two reasons for this, either your cookies where not completely cool or your icing is too thin. If it’s the later, you can mix in some extra icing sugar to thicken the consistency to get it stiff enough to hold it’s shape when piping.
I use the smallest round tip I own. I’m not sure of the number but just look for a small round tip. You can experiment with different sizes as well depending on how fine you need the detail.
It’s important that royal icing is always stored in an airtight container in the fridge when not in use as it will start to harden when exposed to the air. It will last in the fridge for up to 3 days. To use, you will need to give it a good mix and let it warm up on the bench slightly before using.

How to Make Royal Icing
Ingredients
- 2 egg whites
- 3 cups icing sugar sifted
- ½ teaspoon vanilla extract
- gel food colouring optional for decorating
Instructions
- In the bowl of a stand mixer with the whisk attachment fitted, place the egg whites and begin whipping until frothy.
- Add in the icing sugar a tablespoon at a time, combining each tablespoon of sugar into the egg whites completely before adding in the next.
- Once all of the icing sugar has been added in, add in the vanilla and continue beating for a couple of minutes until the icing is thick, smooth and shiny. If it’s too stiff add a very small amount of water a little at a time until the mixture is smooth but be careful not to add too much as you want to make sure the icing will stand on its own.
- Colour the icing with the food colouring as needed for decorating.
Notes
Nutrition
Nutritional information is provided as a guide only and is calculated using automated online tools, therefore we cannot guarantee the accuracy. We encourage you to make your own calculations based on the actual ingredients used in your recipe.


sherry says
meringue powder? interesting. never heard of that …