This is the easiest method to poach chicken breast so that it’s perfectly cooked and juicy, every time! This tutorial will show you that poaching chicken is so much easier than you may think. Poached chicken is great for meal prep and can be shredded or diced and used in so many different recipes.
This recipe is part of my foundational recipes series, helping you build out a repertoire of simple, everyday recipes that form the basis of more complex home cooked meals.
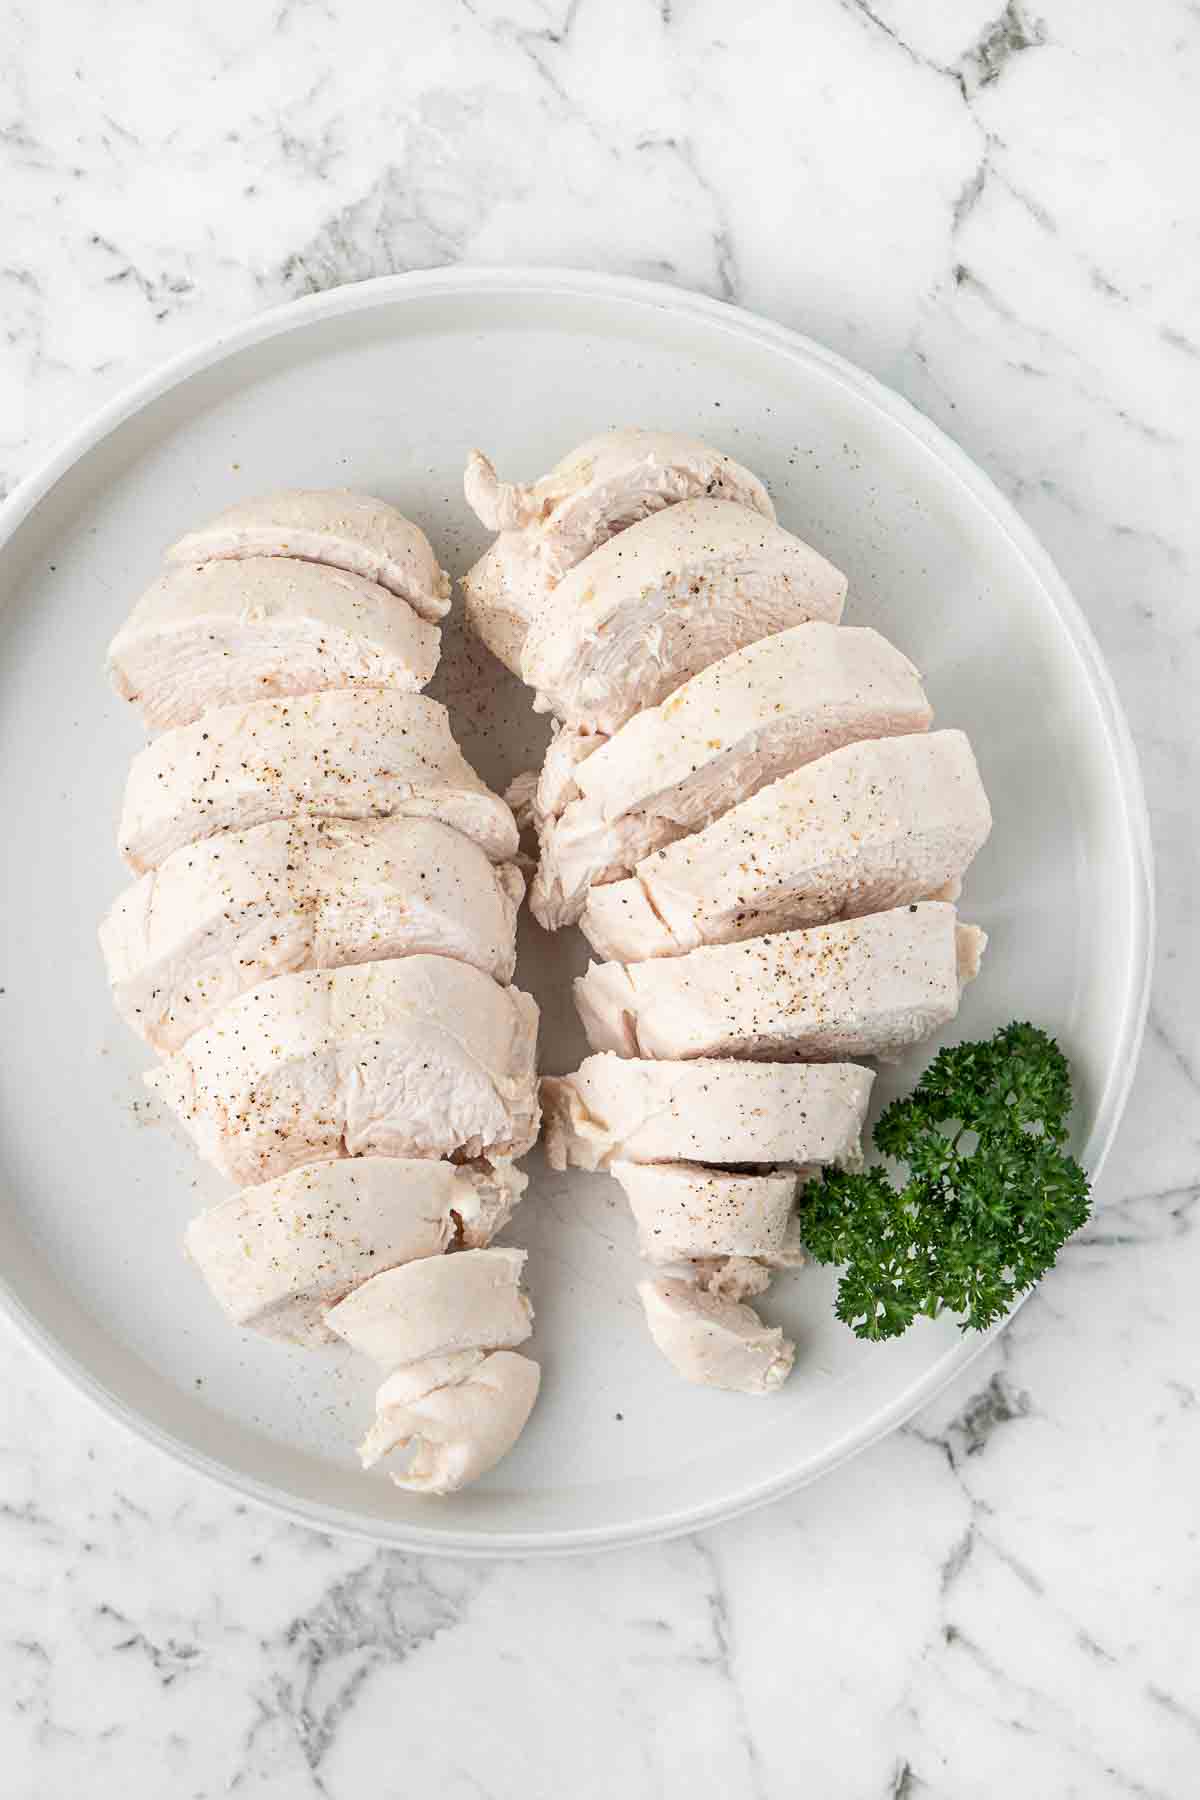
So many recipes call for cooked chicken, but what do you do if you don’t have any leftover in the fridge or don’t want to pick up a rotisserie chicken from the supermarket? Poached chicken is the answer as its so simple and can be used in so many different recipes.
What is poaching?
So before we get too far into this post, let’s talk about what poaching actually is, and why you should cook your chicken this way.
Poaching is a method of gently cooking in liquid (usually water) at a low temperature. It’s a fantasic way to cook chicken, erspecially chicken breast, because the low and slow method helps it retain moisture, making it tender and juicy.
The chicken is then usually shredded, sliced or diced and used in salads, sandwiches, soups or really anything else that calls for cooked chicken. See lower down this post for a list of recipes you can use poached chicken in.
Keeping poached chicken in the fridge is an easy way to make sure you are adding extra protein into a healthy and balanced diet as it’s made without oil. It forms a great base to build on with healthy fats, carbs and of course veggies.
Key Ingredients
You really don’t need much to make poached chicken, but this is what I’ve found to give the best results.
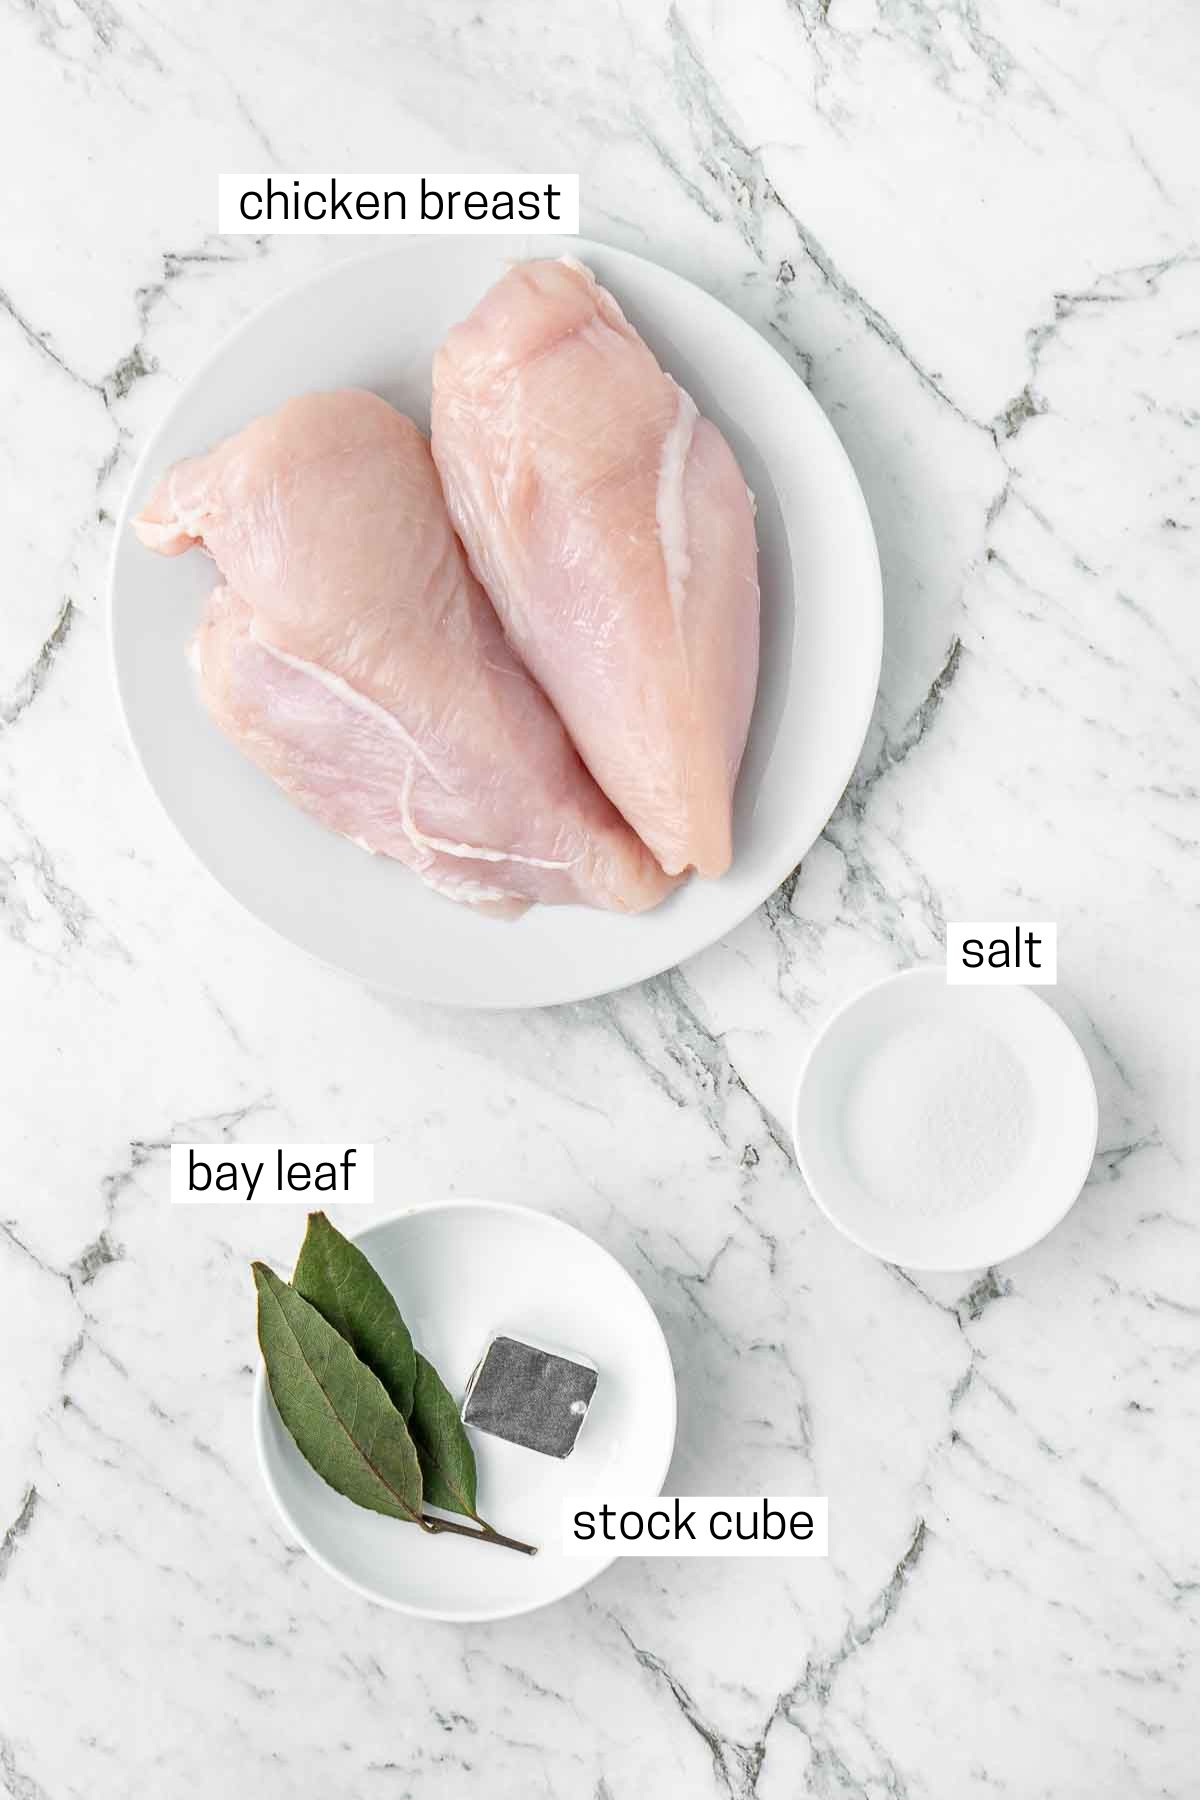
Note all ingredients and their quantities are laid out in the recipe card at the bottom of this post.
- Chicken breast – the size of your chicken breast will determine the cooking time, but ideally you want to make sure they are all of similar size to ensure they cook evenly.
- Water / Stock – you can poach the chicken just in water or you can use chicken stock. I usually do water and then add in a stock cube just to add that little bit of extra flavour.
- Flavourings – you can really add anything extra into your poaching liquid. I usually keep it simple with a generous amount of salt and a few bay leaves. But any herbs such as thyme would work as would some black peppercorns.
Step-By-Step Instructions
To get started, you’ll need a pot that is large enough to fit the quantity of chicken you want to cook, while being submerged in water. Other than that, I recommend a thermometer so you can easily confirm the chicken is cooked through.
Start by adding your chicken to the pot and covering in your poaching liquid. In this case, I am covering the chicken with water and then adding in the stock cube, salt and bay leaves. The water or stock should be cold / room temperature as we want the liquid to slowly heat up with the chicken.
Set the pot on the stove on medium heat and allow it to slowly come to the boil. Do not rush this, just let it happen slowly.
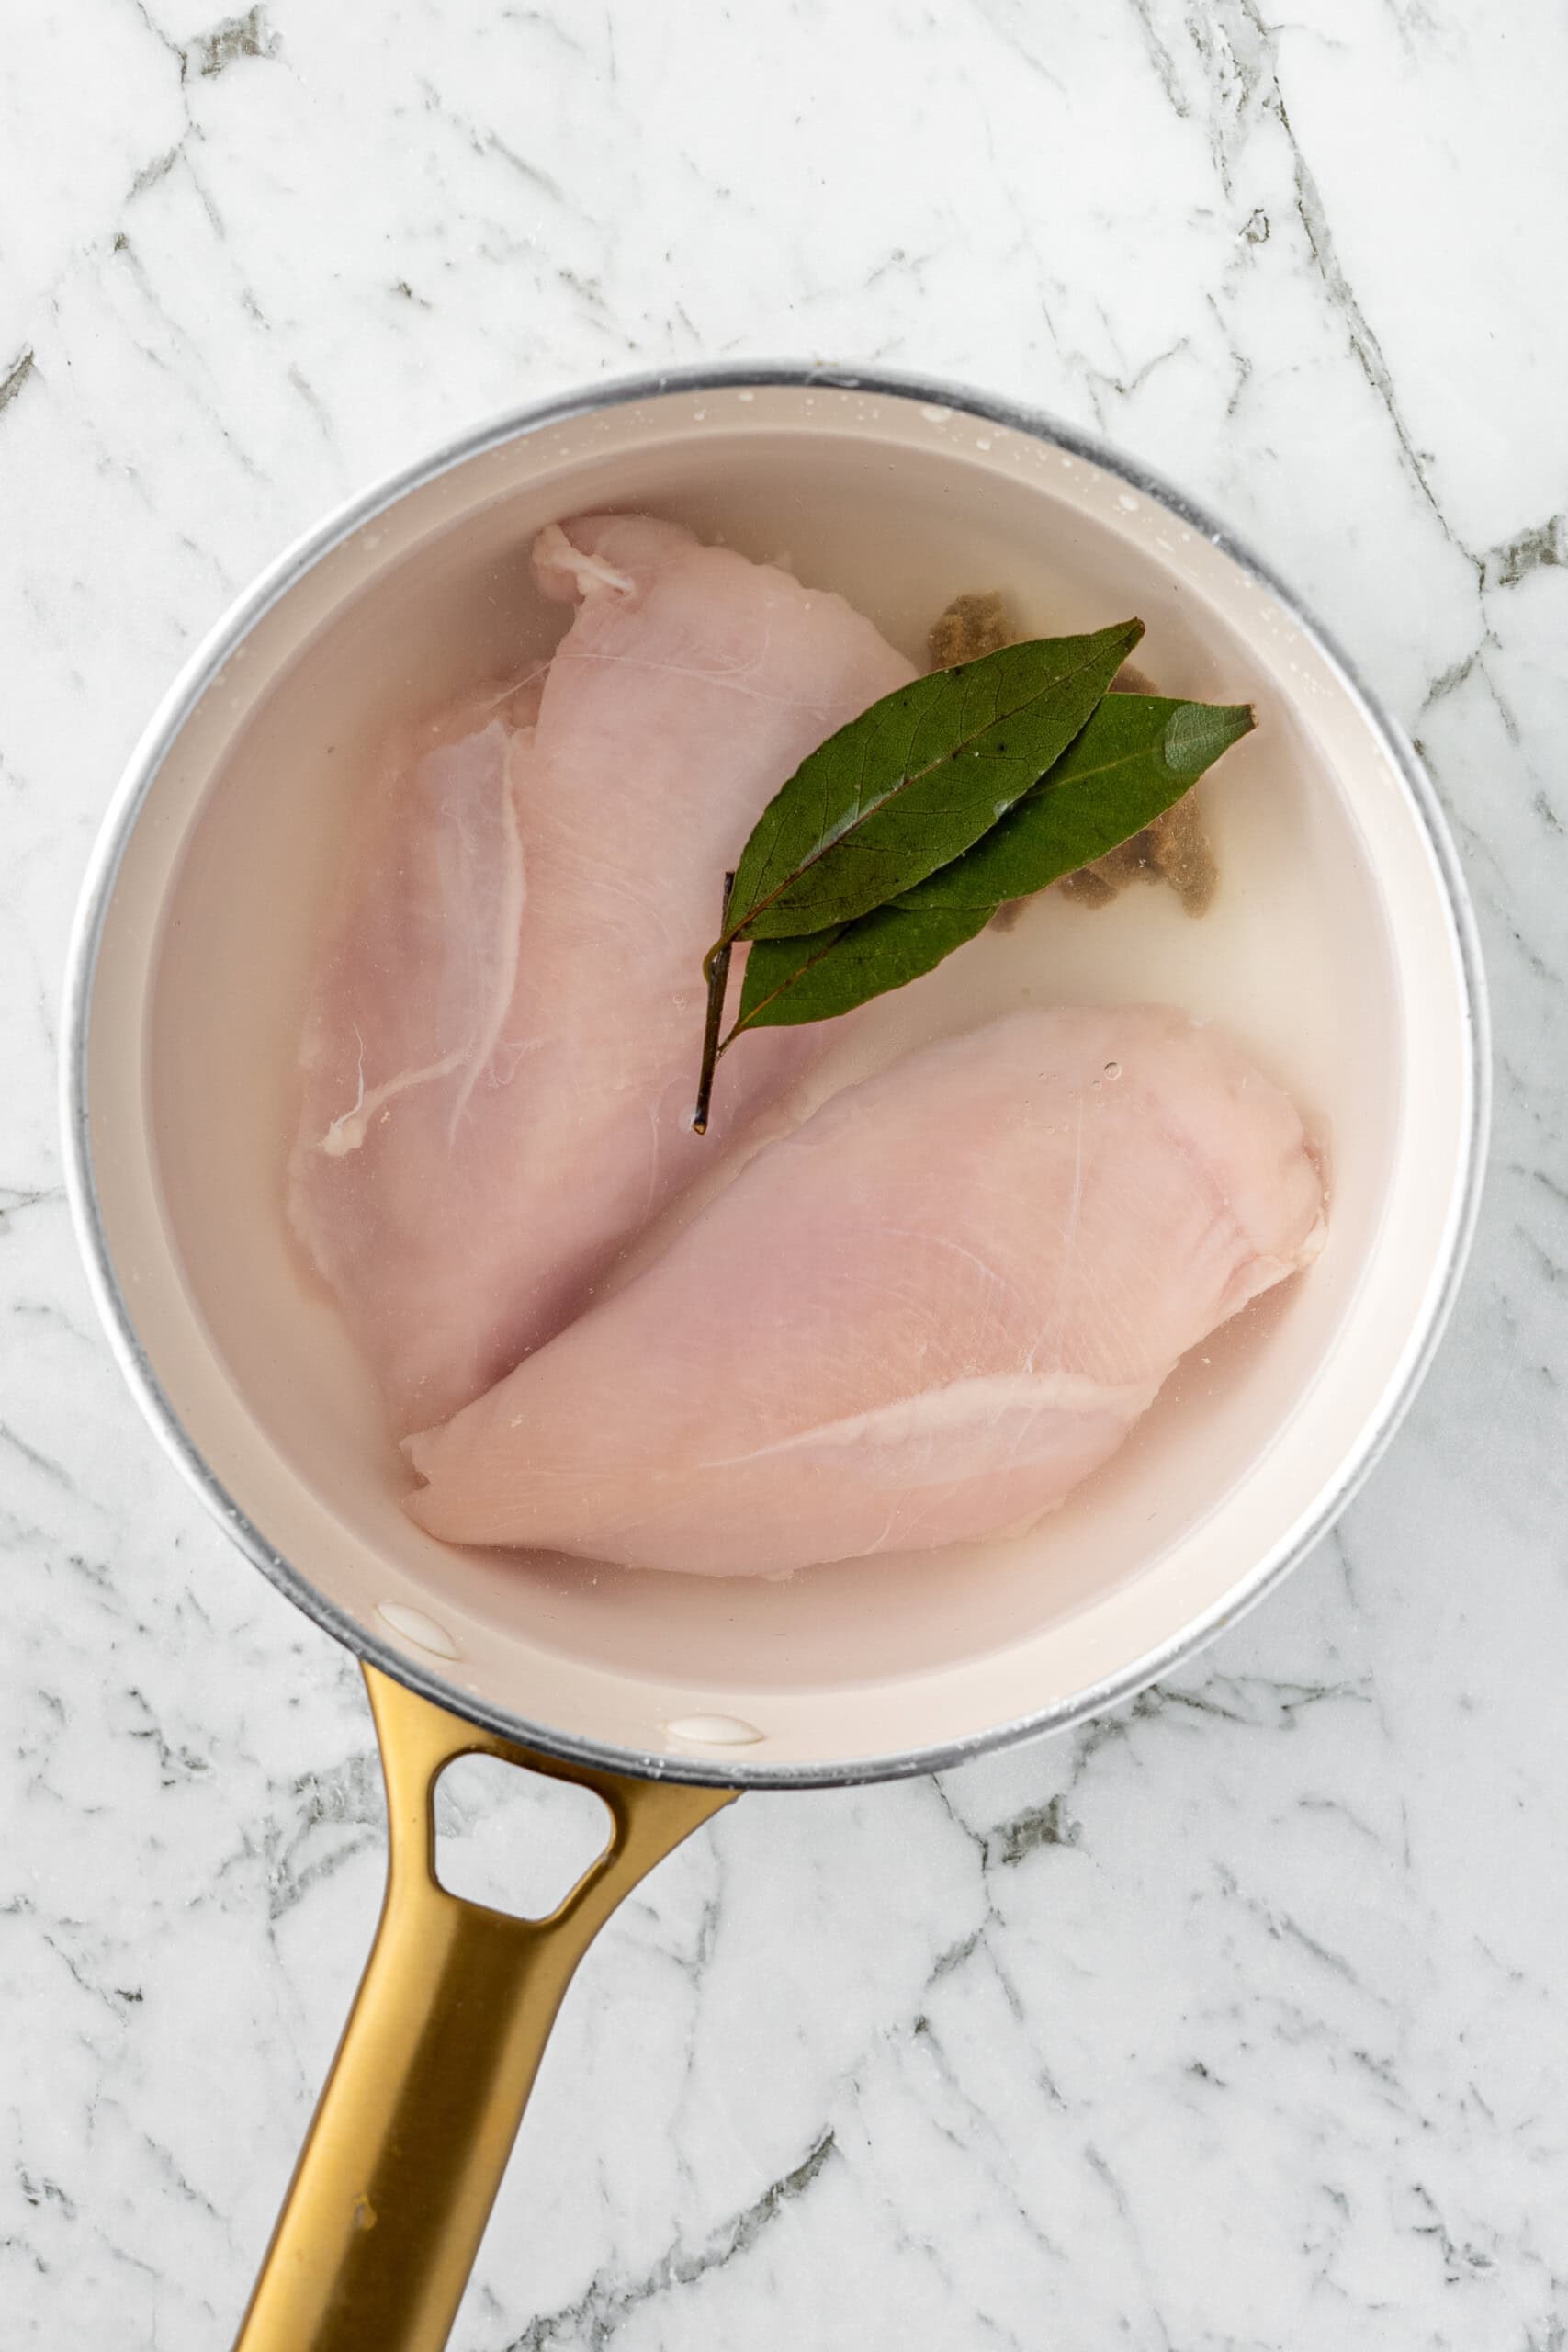
From here, depending on how large my chicken breasts are I may turn down the heat to low allow the chicken to simmer for 3-5 minutes first, before covering and turning off the heat completely.
Allow the chicken to sit in the poaching liquid with the lid on for 20-30 minutes, again depending on the size of your chicken breast. The good news is that because of this method of poaching, your risk of the chicken overcooking and becoming dry is quite low.
The easiest way to check the chicken is cooked is to use a thermometer. Once it’s 74°C / 165°F, then the chicken is done.
Remove the chicken from the liquid and let it rest for 5-10 minutes before shredding, slicing or dicing for use.
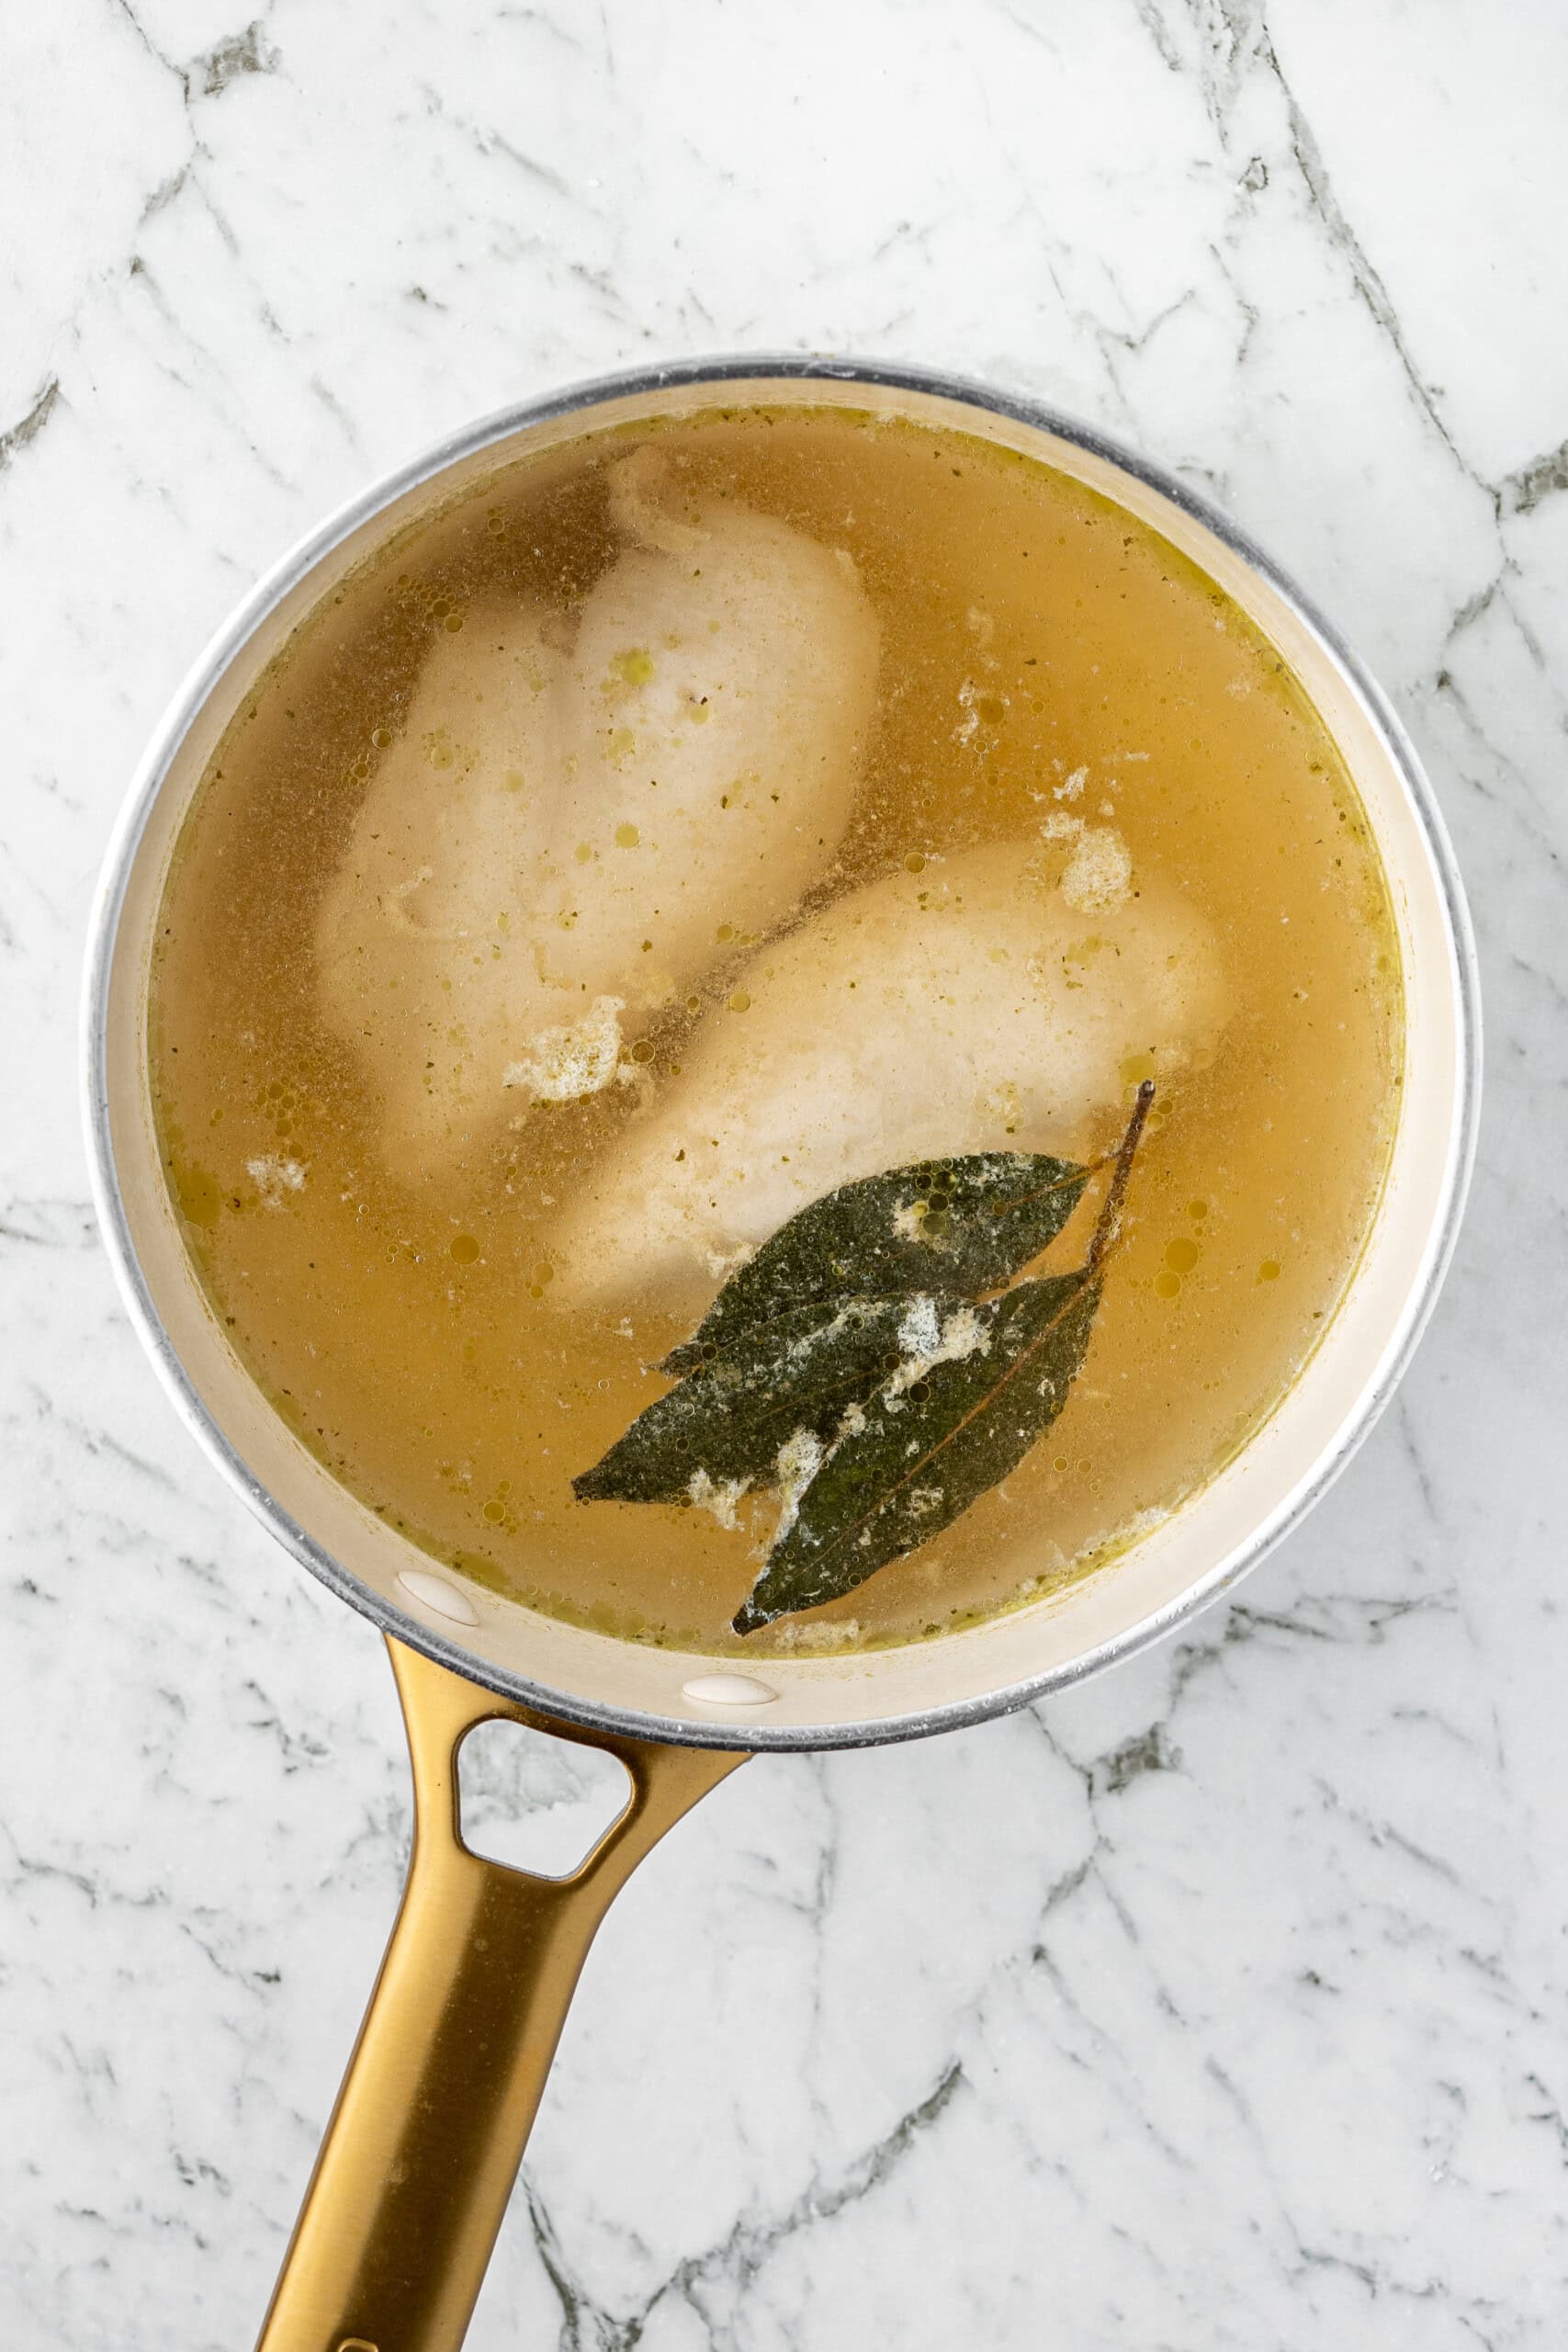
Why turn off the heat?
Many recipes for poached chicken call for you to allow the chicken to simmer at a very low temperature for around 10-15 minutes. While this definitely works, I prefer the slower method as I feel my stove never quite gets low enough in temperature for that super slow simmer, so my chicken tends to be a little tough and rubbery.
When I use the method of turning the heat off and leaving it to sit longer, the chicken is much more tender and juicy and overall more enjoyable to eat.
Storage Instructions
You can store the cooked chicken either as whole chicken breasts, or shredded (which I think is easiest for quick uses throughout the week), in an airtight container for up to 4 days, although I do usually try and use it within 3 days.
You can also freeze the shredded chicken, but it will dry out a little more. Frozen cooked chicken is therefore perfect to add to more saucy dishes. Use the fresh chicken for your salads and sandwiches.
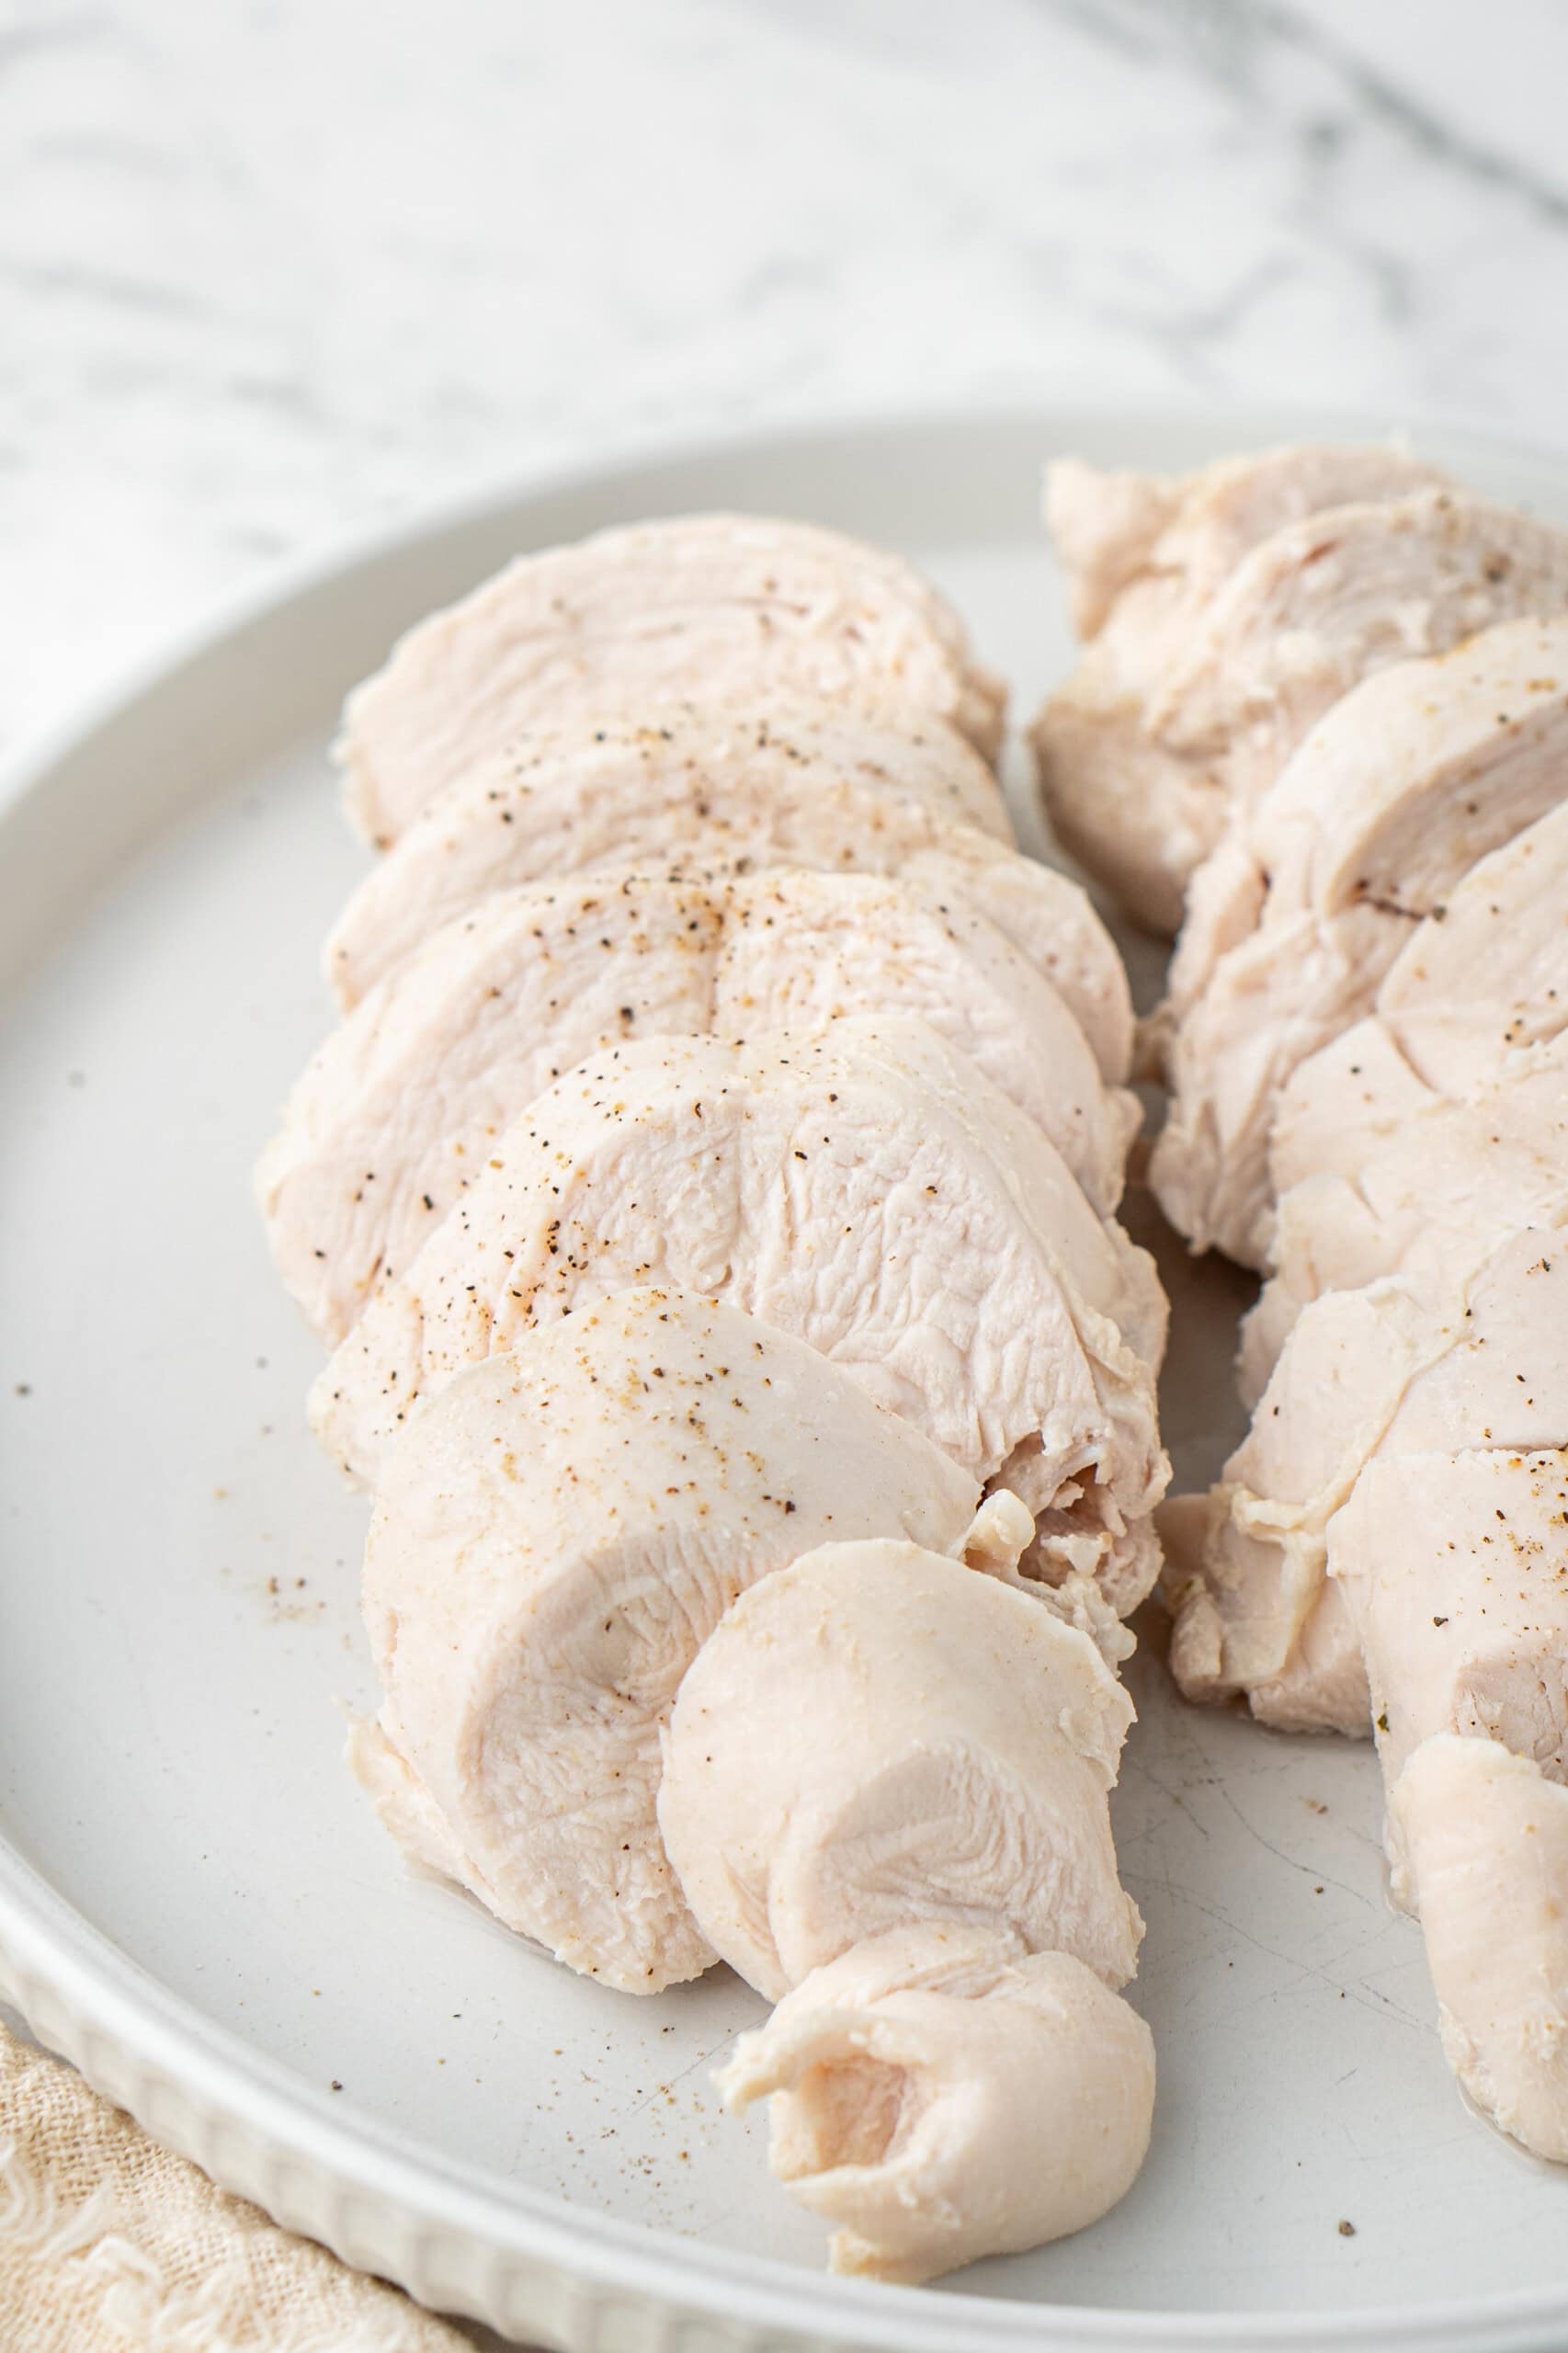
How to use poached chicken
Poached chicken is so versatile. It’s perfect for meal prep as you can then use it throughout the week to create a bunch of different recipes, or create super simple salads and sandwiches.
You can also add the chicken to tacos, nachos or pizzas.
If you’re looking for more inspiration, try using your poached chicken in one of these recipes where it calls for cooked chicken;
- Dairy Free Chicken Pot Pie
- Dairy Free Creamy Chicken Soup – skip step 1 and simply add in your shredded poached chicken at step 7
- Chicken Salad Sandwich
- Chicken Bacon Ranch Wraps – use poached chicken in place of the air fried chicken tenders
Recipe FAQs
The easiest and most reliable way to check is by using a meat thermometer. The internal temperature of the chicken should reach 74°C (165°F). If you don’t have a thermometer, you can cut into the thickest part of the chicken—it should be white throughout with no pink.
Yes, the poaching liquid can be used as a light stock. If you’ve added aromatics like bay leaves or other herbs and vegetables, it will be even better to keep for additional uses. Just strain it and store it in the fridge for up to 3 days, or freeze it for up to 3 months.
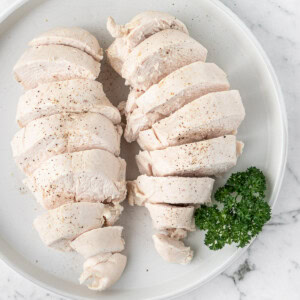
How to Poach Chicken Breast
Equipment
Ingredients
- 2 chicken breasts
- Water enough to cover the chicken
- 1 chicken stock cube
- 1 teaspoon salt
- 2 bay leaves
Instructions
- Place the chicken breasts in a pot. Cover them with water, ensuring the water level is high enough to fully submerge the chicken. Add the stock cube, salt, and bay leaves.
- Set the pot on the stove over medium heat. Let the water slowly come to a gentle boil. Avoid rushing this step—allow the liquid to heat up gradually along with the chicken.
- Once the water reaches a gentle boil, depending on the size of the chicken breasts, reduce the heat to low and allow the chicken to simmer gently for 3-5 minutes.
- After simmering, cover the pot with a lid and turn off the heat completely. Let the chicken rest in the poaching liquid for 20-30 minutes. The size of your chicken breasts will determine the exact time, but this method helps prevent overcooking and keeps the chicken moist. The chicken is done when the internal temperature is 74°C / 165°F.
- Once cooked, remove the chicken breasts from the pot and let them rest for 5-10 minutes before shredding, slicing, or dicing. Use the chicken in your favourite recipes.
Notes
Nutrition
Nutritional information is provided as a guide only and is calculated using automated online tools, therefore we cannot guarantee the accuracy. We encourage you to make your own calculations based on the actual ingredients used in your recipe.


Made this recipe? Leave a review!