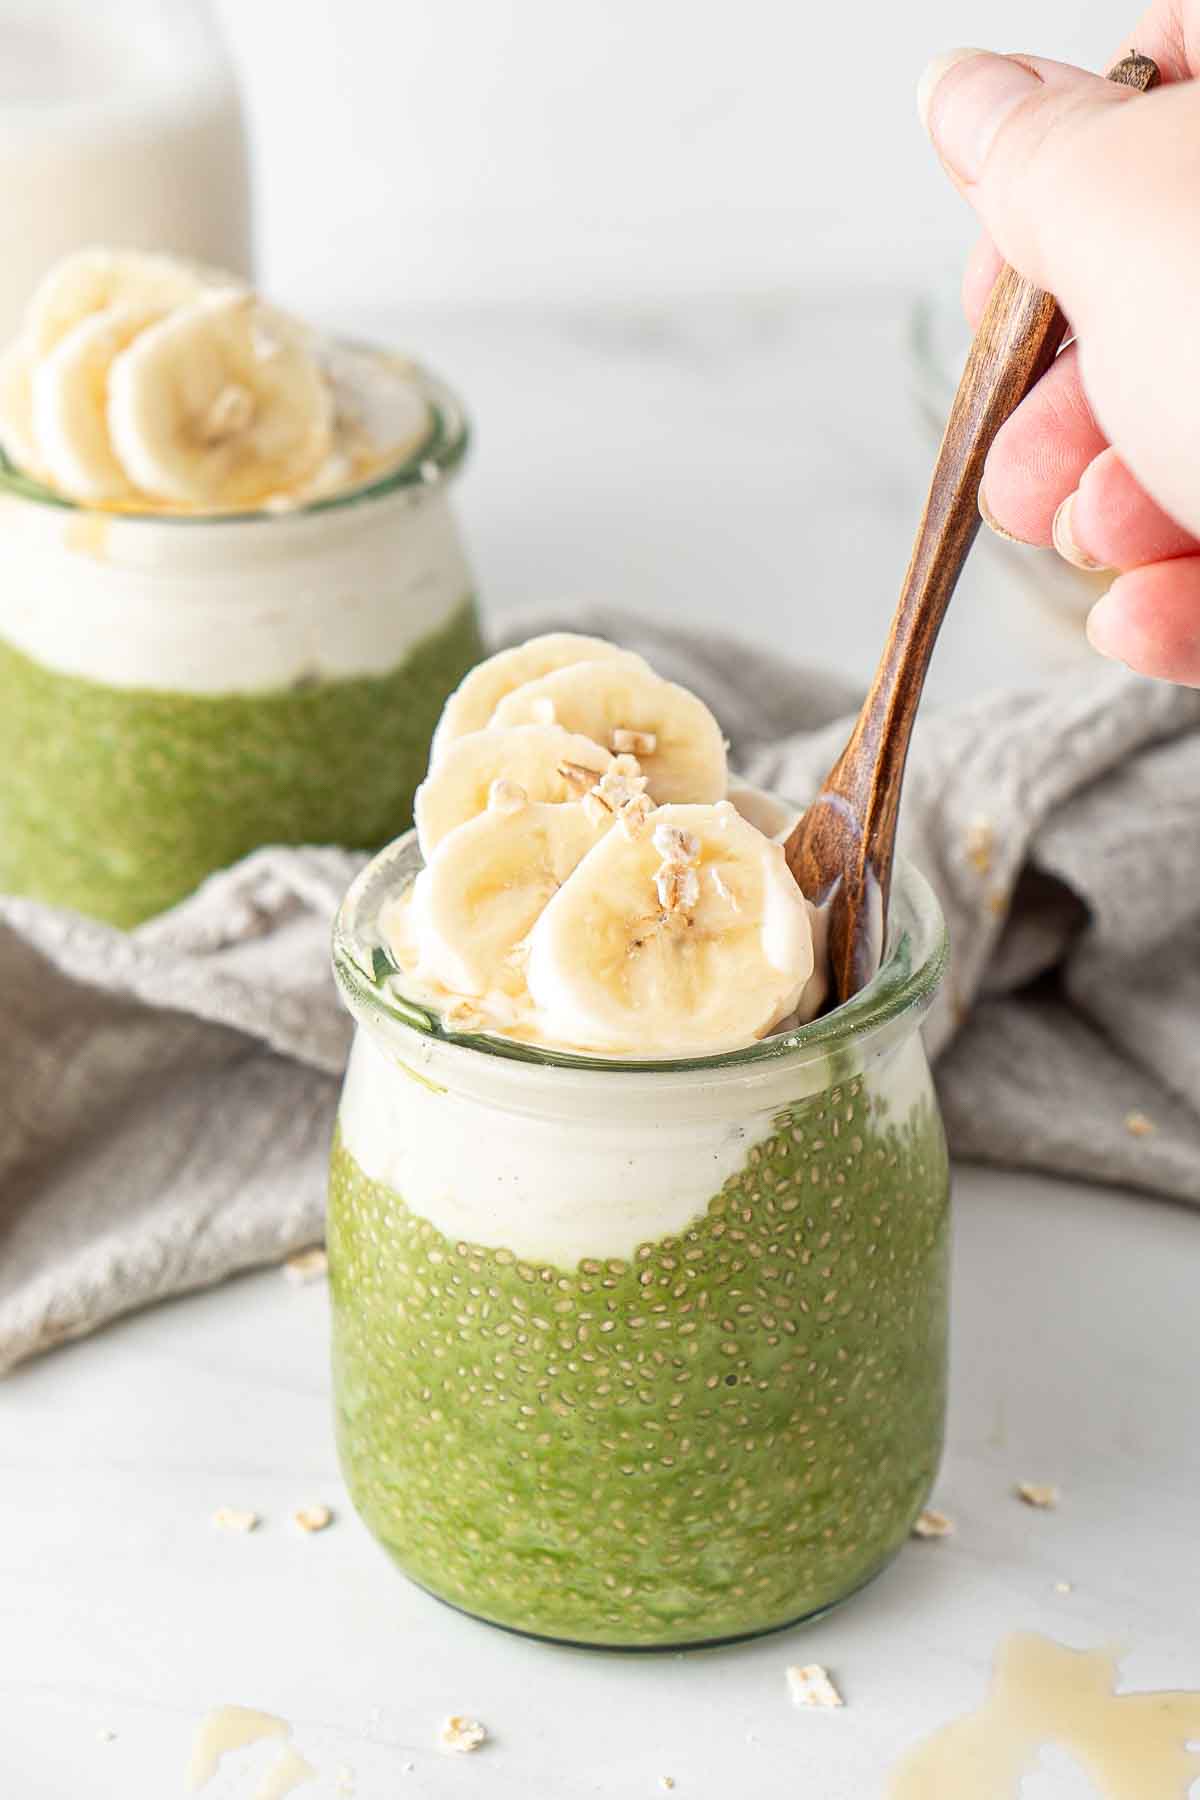
This matcha chia pudding is the perfect easy and healthy breakfast! It’s light and creamy, with a rich matcha green tea flavour. This vegan and dairy free breakfast is made with just 4 ingredients plus your toppings, making it a great prep ahead option for busy mornings that will keep you full all the way through until lunch.
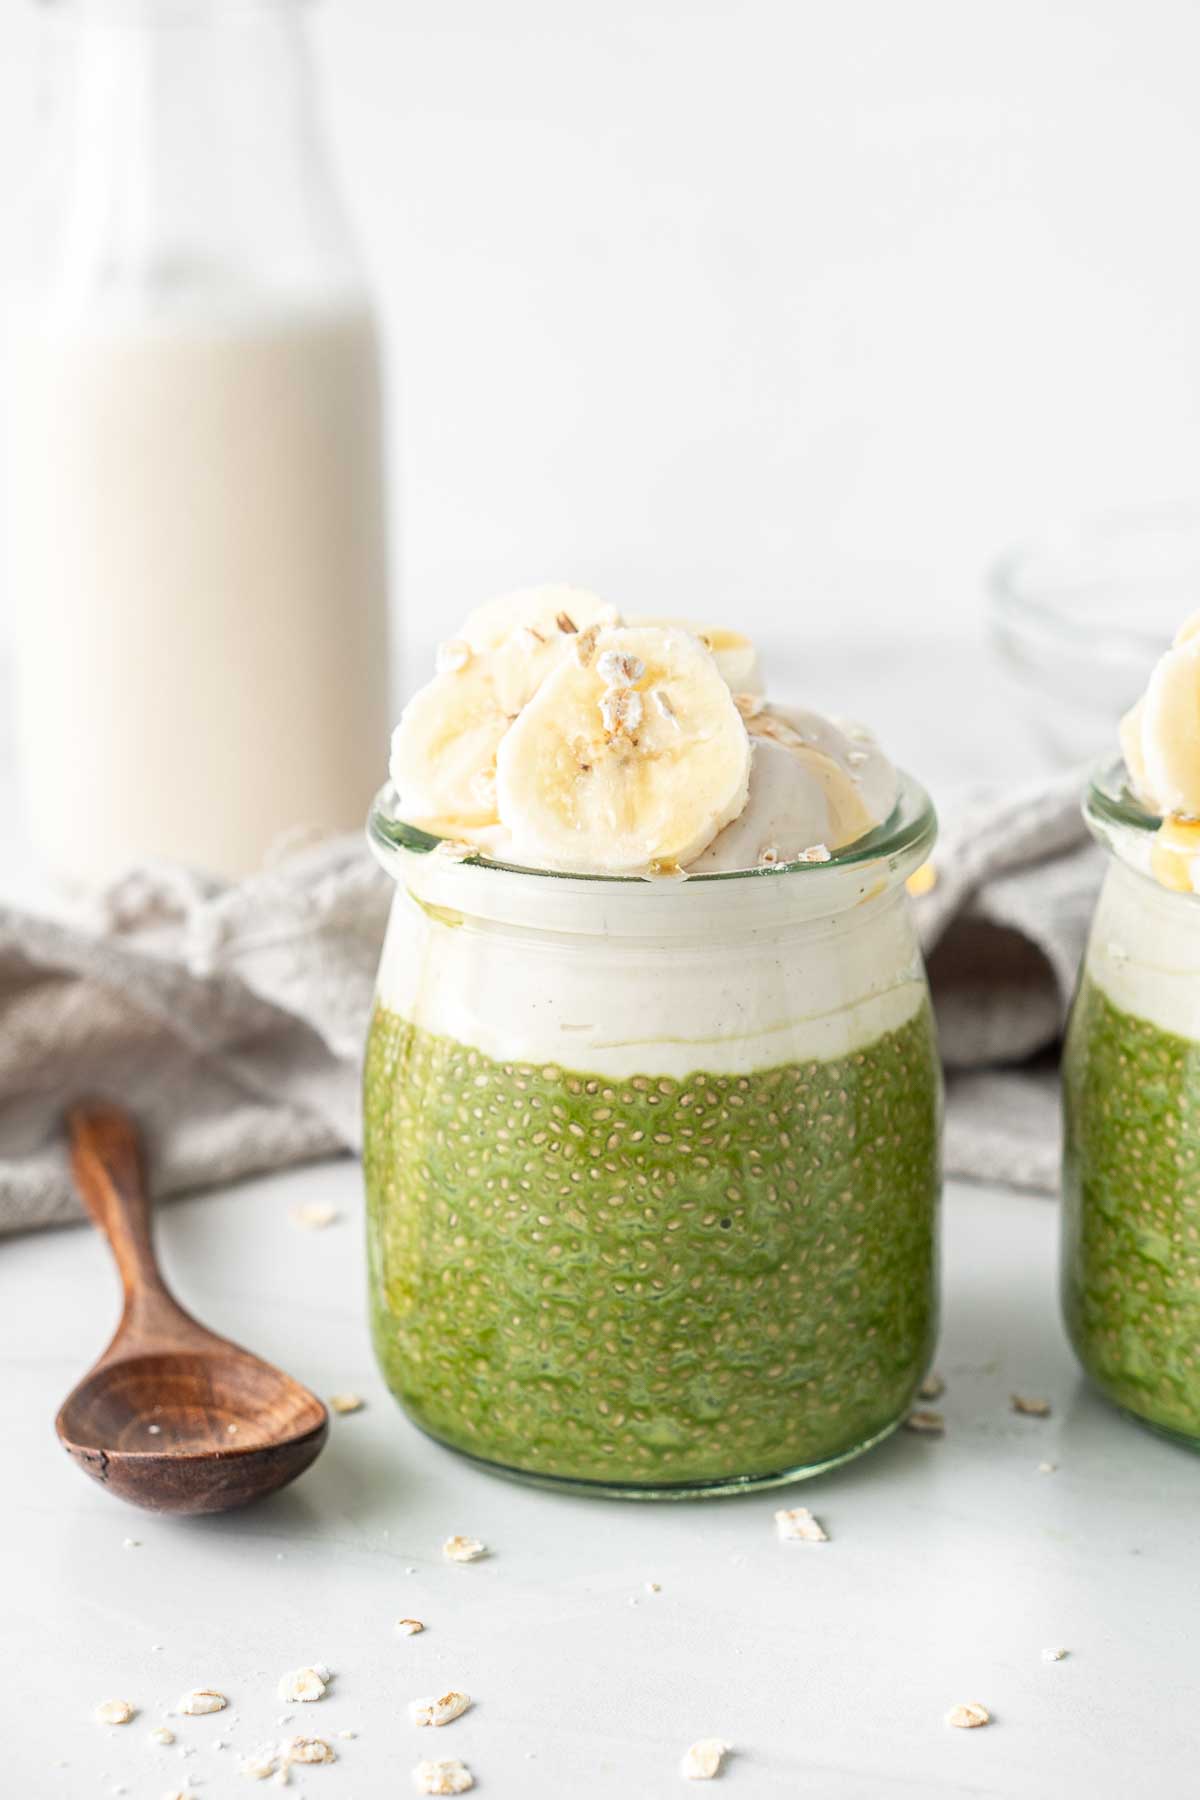
Whether you’re looking for a healthy grab and go style breakfast or wanting to have a delicious afternoon snack that is going to be energising rather than leave you feeling sluggish, then this matcha chia pudding is for you.
If you love matcha lattes and that delicious green tea flavour then you are going to love this recipe. It’s not an overpowering taste, but one that is complemented by the creamy texture and the toppings of yoghurt and banana.
The combination of both matcha and chia seeds in this breakfast will give you a great boost of antioxidants, fibre, and is a good source of plant-based protein. Plus green tea is known to be beneficial for speeding up your metabolism and lowering bad cholesterol.
Now I am no nutritionist but that all sounds like a pretty good reason to add this recipe to my regular rotation. Plus the fact it tastes so delicious and kind of feels like dessert for breakfast.
One note on chia pudding if you haven’t had it before, there is texture. I feel like chia pudding may not be for everyone but if you love matcha then give this recipe a try and see what you think. If you’re unsure about the texture, load up on your toppings to help with the balance.
Chia puddings don’t look like much but they are incredibly filling so you will feel satisfied after eating a jar meaning you’re more likely to not need a snack to get you through to lunch.
Key Ingredients
This chia pudding uses just 4 ingredients plus any toppings you’d like to add to serve making it a very simple make ahead breakfast.
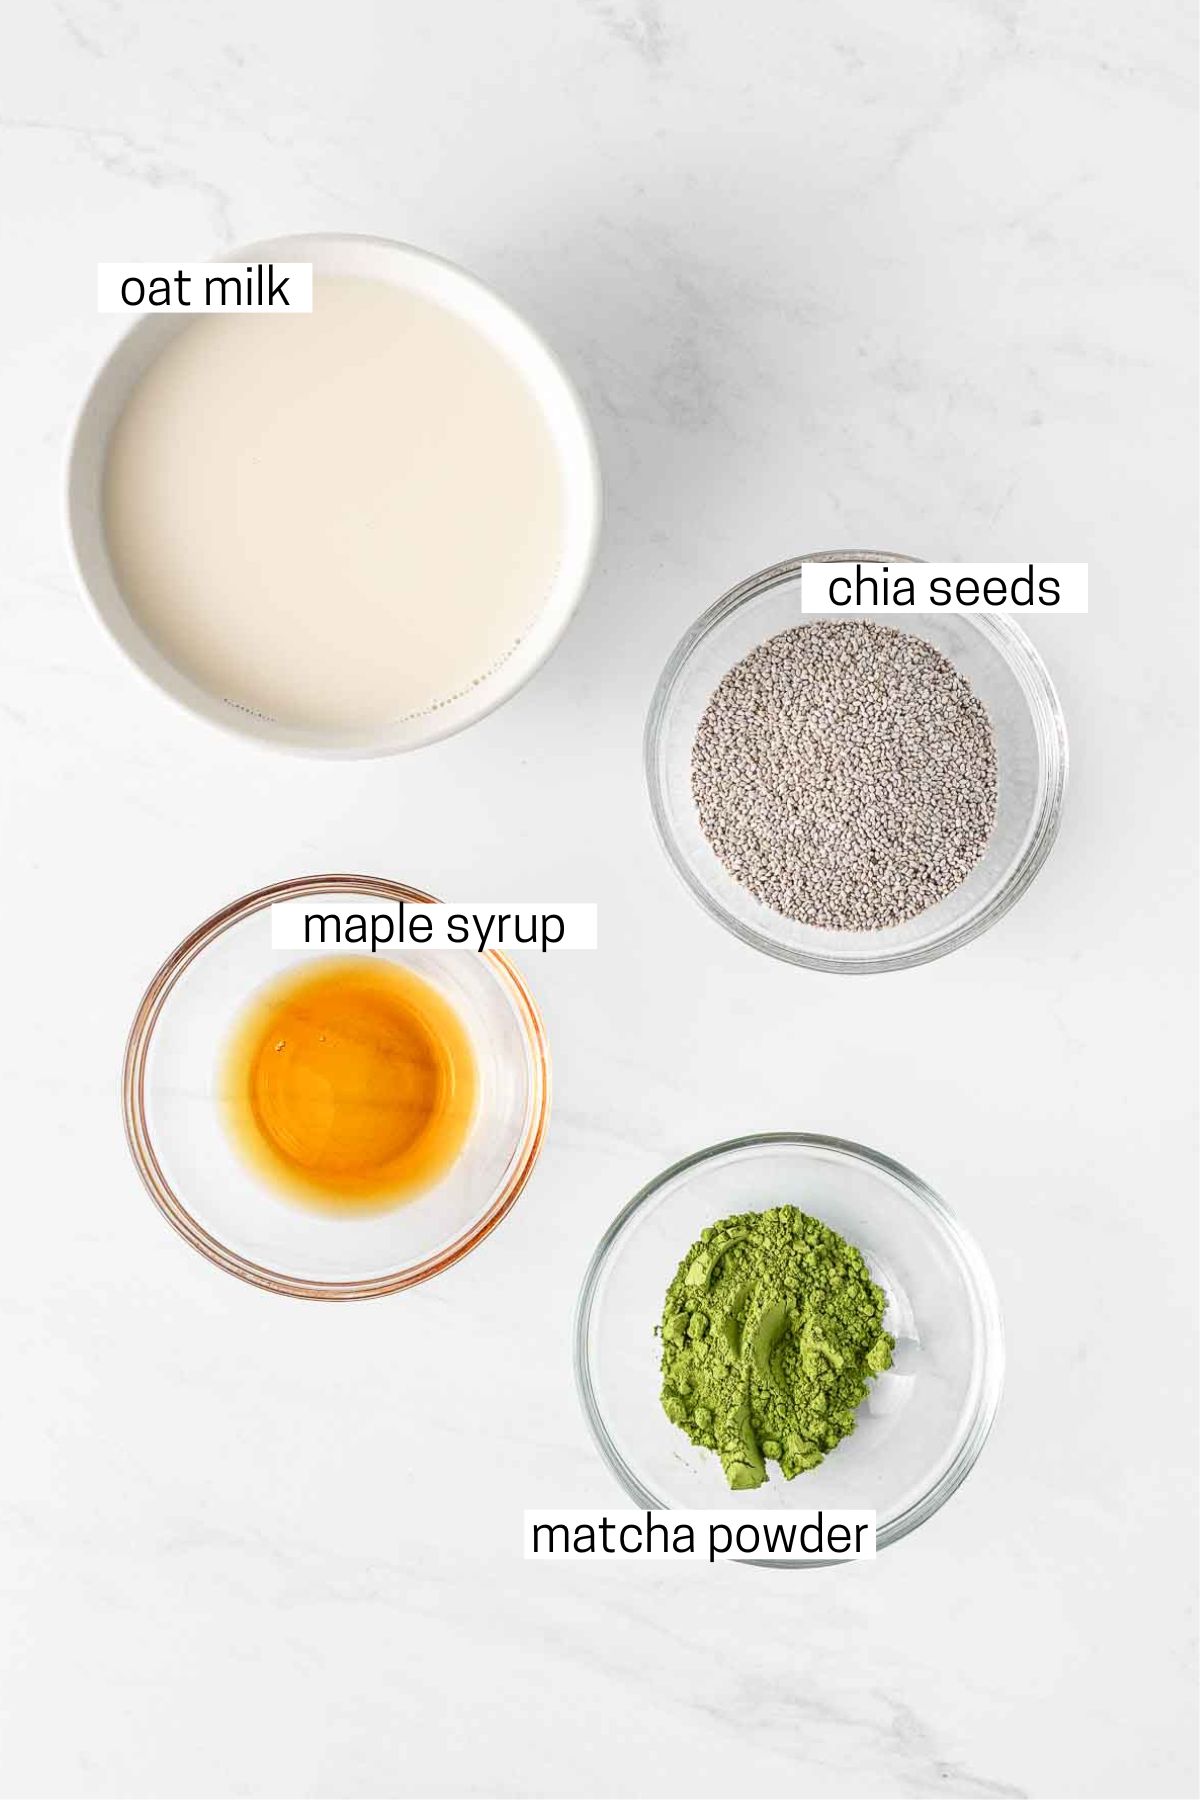
Note all ingredients and their quantities are laid out in the recipe card at the bottom of this post.
- Matcha powder – this finely ground green tea powder has many health benefits and is going to give our puddings their strong green tea flavour. I picked up some when I was travelling in Japan but you can find it available at speciality tea shops or online via Amazon.
- Dairy free milk – I am using oat milk here as I find the flavour quite mellow with the matcha but you can use soy milk, coconut milk, rice milk or any nut milk. If you’re not dairy free regular milk will also work fine.
- Chia seeds – you can use black or white chia seeds here, there is no difference and they work the same. I used white as that’s what I had on hand.
- Maple syrup – for a hint of sweetness and to balance out the bitterness of the green tea. You can adjust the amount based on your tastes or omit altogether however I don’t recommend this for the best taste. If you are non-vegan you can also substitute with honey.
- Dairy free yoghurt – for the topping, My current favourite is a soy greek yoghurt that has a hint of vanilla flavour, but again, use one you like.
- Banana – you can top your matcha chia puddings with any fresh fruit but banana or blueberries work well with the flavour of the green tea.
Variation: You can also add a little granola to the top for some extra crunch. Homemade granola is a great addition to your meal prepping. If you’d like to make it yourself, try my honey nut granola recipe.
Step-By-Step Instructions
To make matcha chia pudding, you really don’t need much equipment but while you don’t need it for this recipe, a matcha whisk is a great idea if you really want to get into the ritual of matcha.
You’ll start by making your matcha. To do this, warm some of the milk in the microwave. You want it warm but not hot as you don’t want to burn the green tea powder. Add the matcha powder to the warm milk and use your matcha whisk or a regular balloon whisk to gently incorporate the powder into the milk until it’s completely dissolved.
This process is going to ensure the powder is incorporated into the liquid and doesn’t form clumps. The warm milk also is going to assist this process. If you do have an electric milk frother, that will also work really well in this step to ensure the powder is well incorporated.
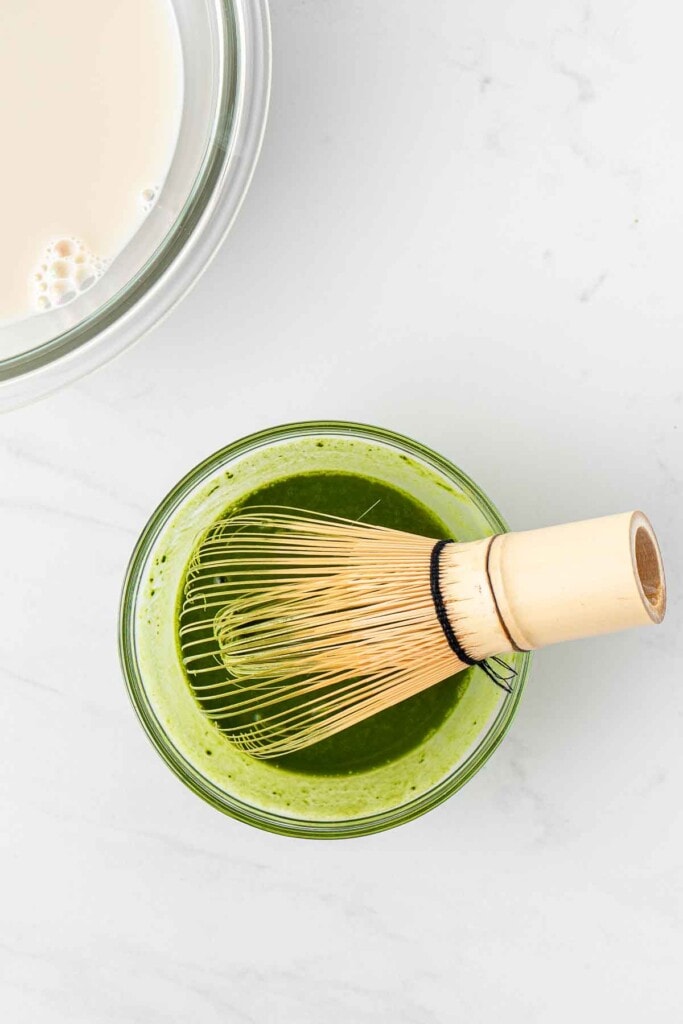
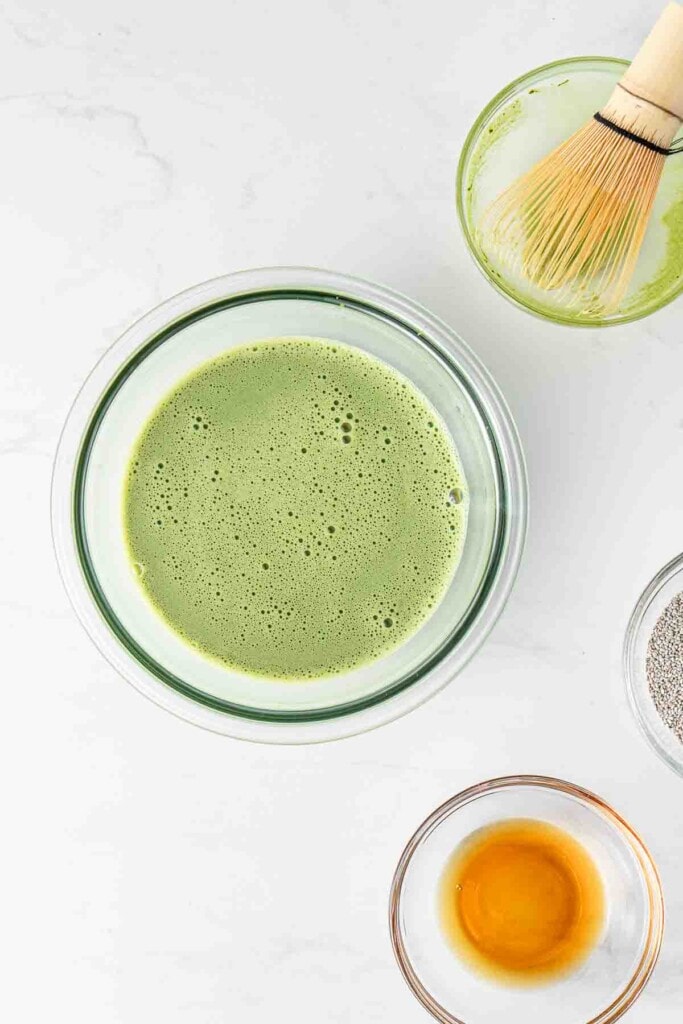
Once the powder is incorporated into your small amount of milk, add this to the remaining milk and continue to whisk until it’s all mixed together.
From here you can add in your chia seeds and maple syrup. Put away the matcha whisk and either use a regular whisk or a spoon to combine everything together. Let the mixture sit for a few minutes and then mix again to ensure the chia seeds have fully incorporated.
This amount makes enough for 2 chia puddings so I like to separate it into 2 small jars with lids to store in the fridge but you can just keep it in the bowl and scoop out your portions when ready to eat.
The jars I am using I just bought off Amazon. A quick search for chia pudding jars will give you a few options but I like these ones as they are a thick, solid glass and have a plastic lid making them great for meal prep such as these chia puddings or my vanilla overnight oats.
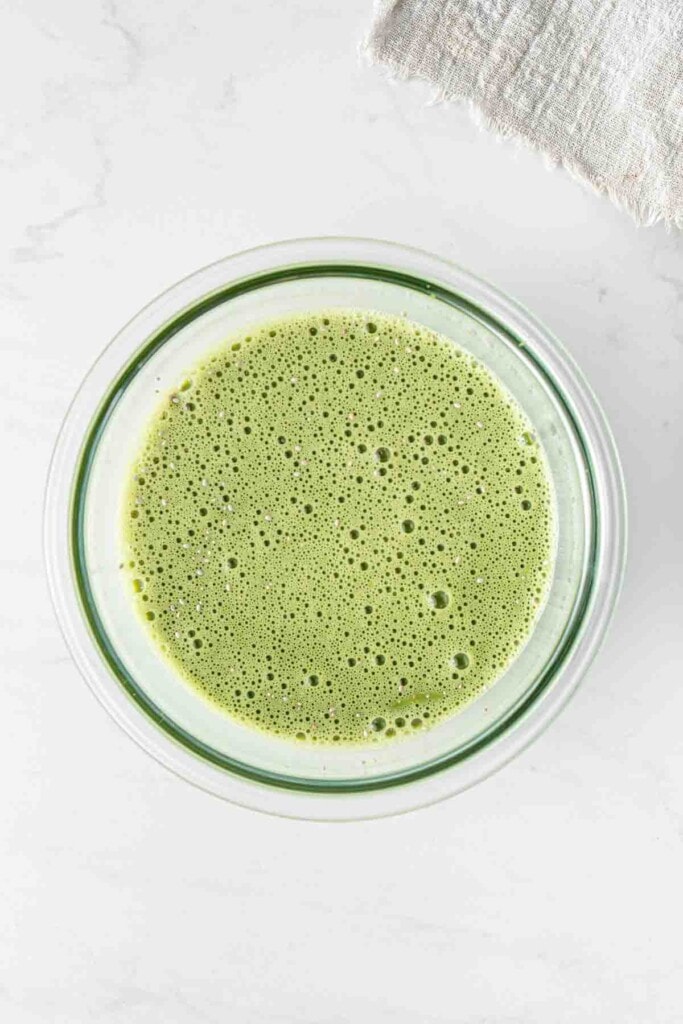
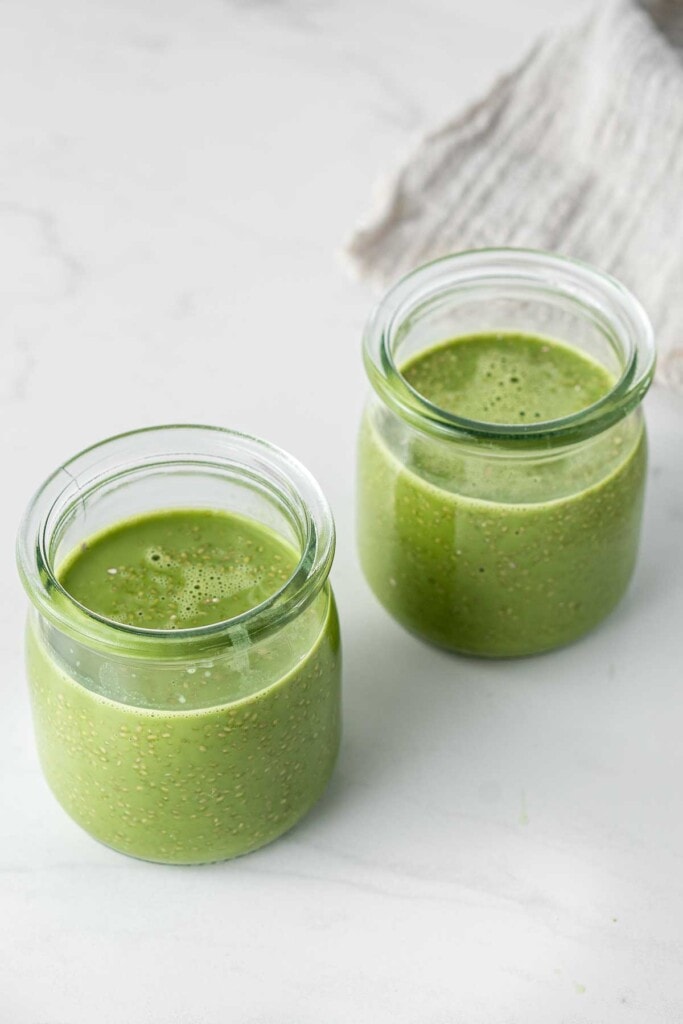
The chia seeds need time to absorb the liquid and create a gel or pudding like consistency. A minimum of 2 hours in the fridge should be enough but if you can prep these the night before you’ll ensure your chia seeds have fully hydrated and the puddings are their best.
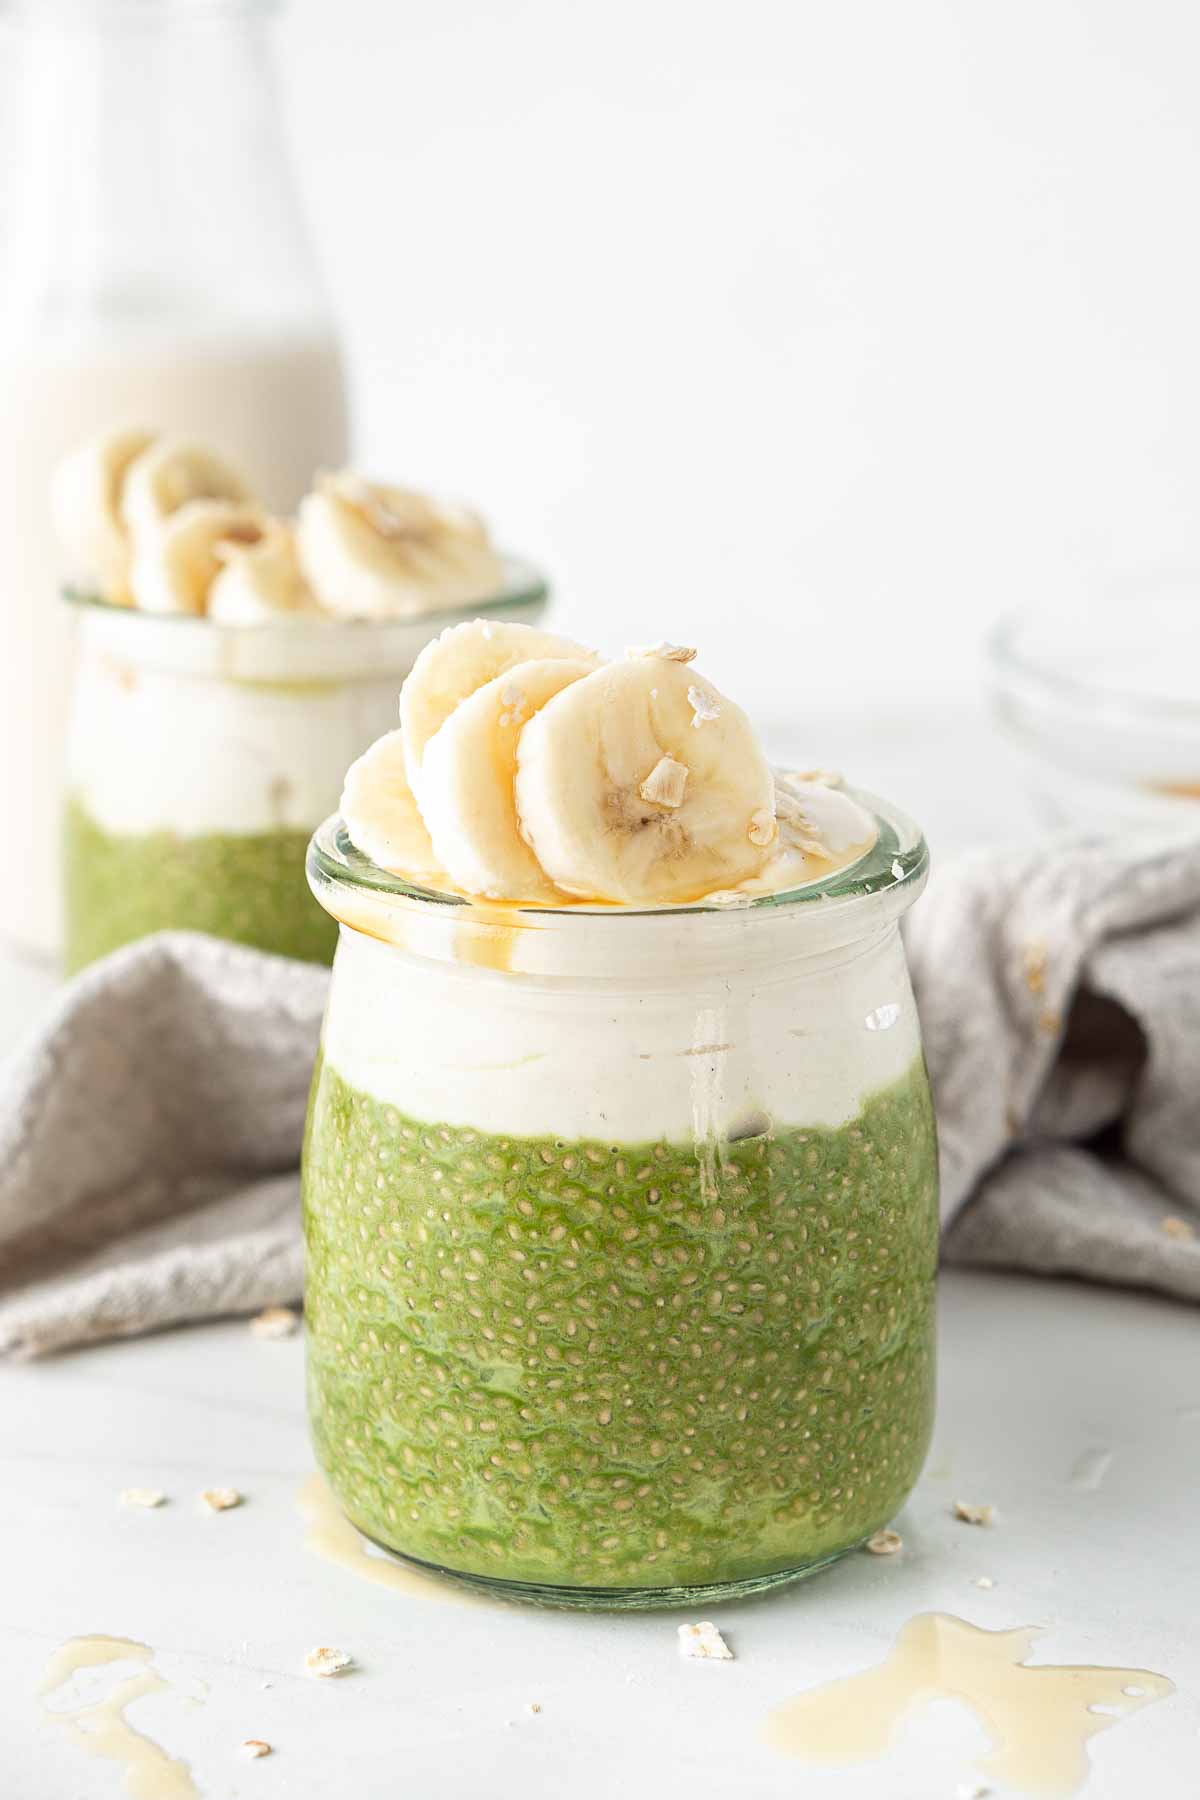
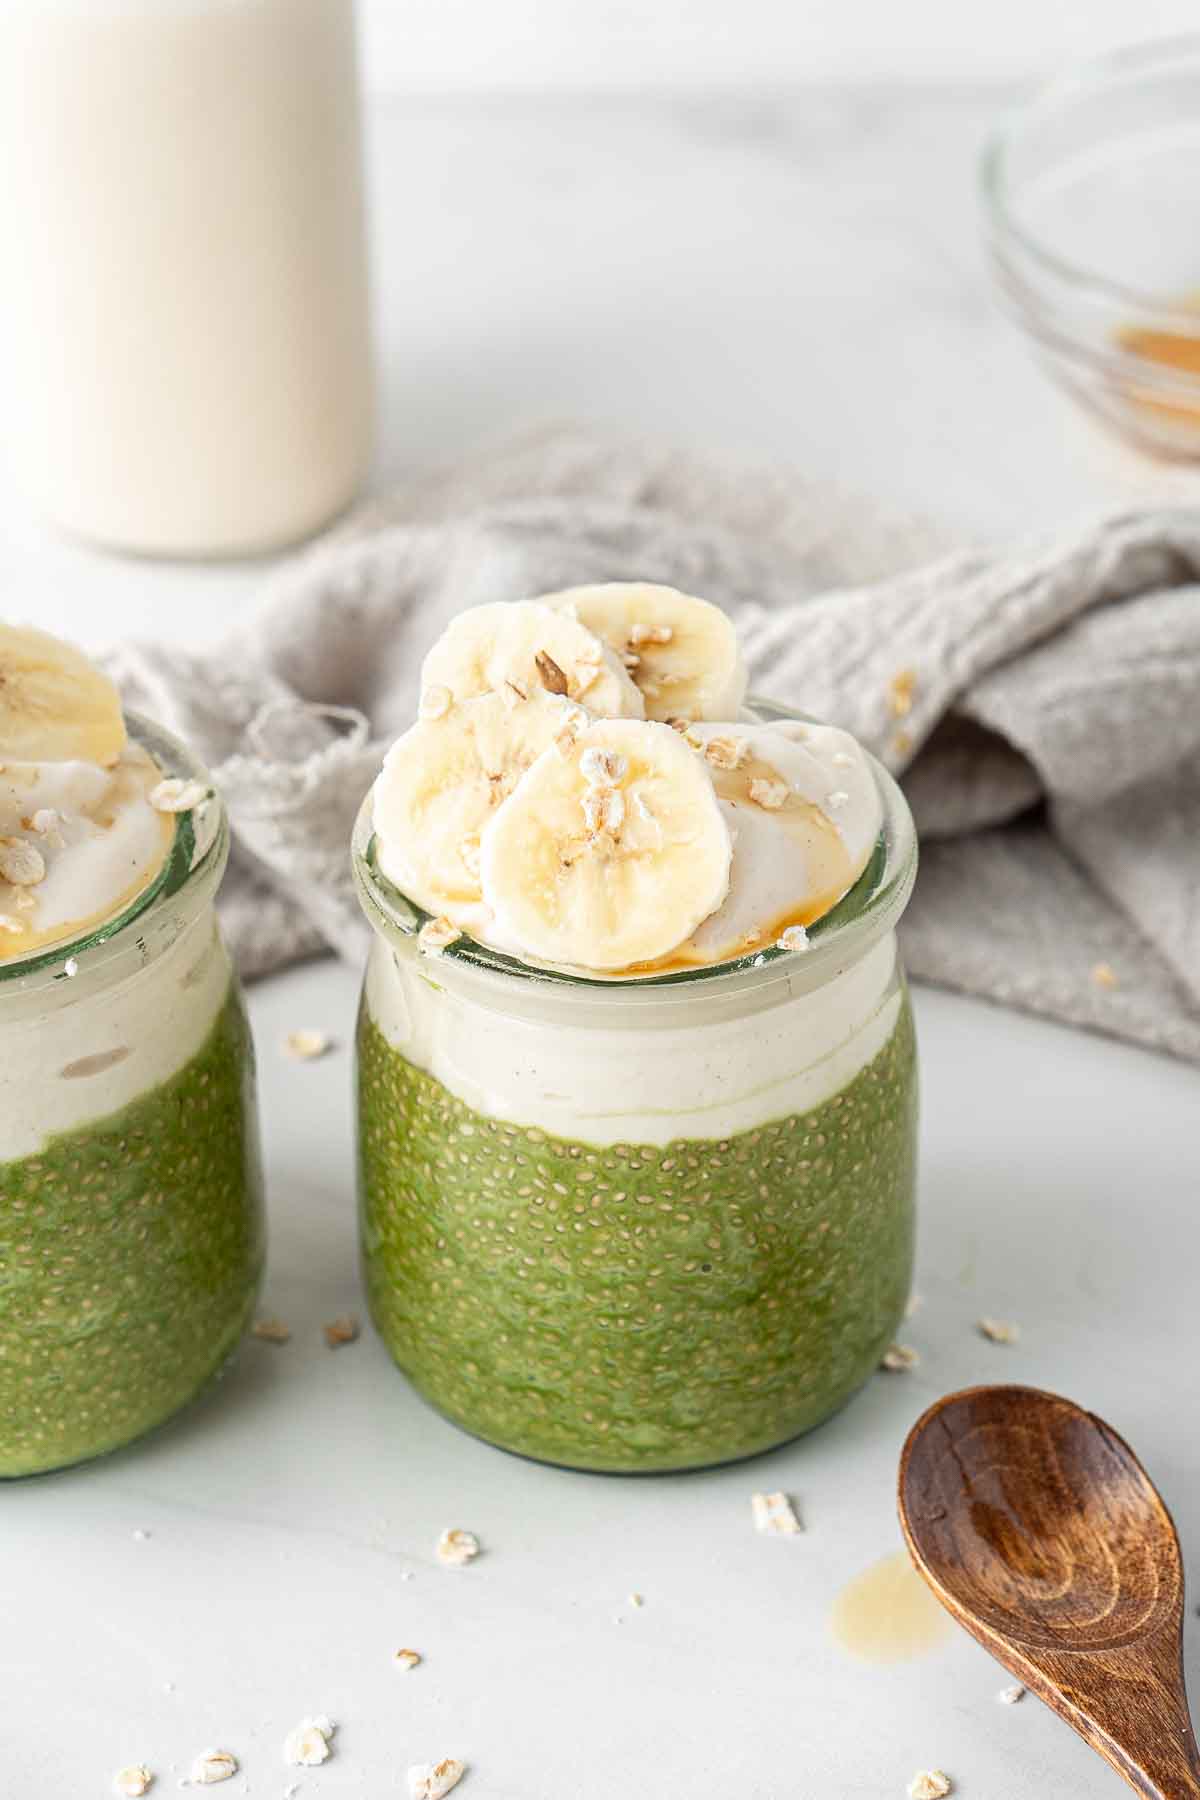
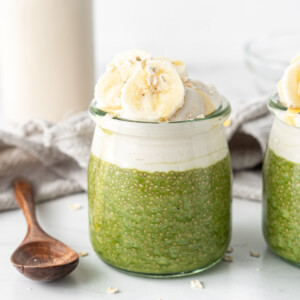
You can enjoy them as is, but they are best topped with some dairy free greek yoghurt and some fresh banana slices.
Tips for making matcha chia puddings
- Mix the pudding twice before dividing into your jars. Once you add the chia seeds, mix all the ingredients well and then let them settle for a few minutes and mix again. This will ensure that the chia seeds combine fully and you don’t end up with clumps.
- Make ahead and refrigerate overnight. While the puddings can be eaten after just 2 hours in the fridge, for the best texture, prep them the night before and leave in the fridge overnight. This will allow the chia seeds to absorb as much milk as they can, providing you with the best, creamiest texture.
- If your puddings are too thick, add a tablespoon or 2 more milk and mix through before serving until you reach your desired consistency.
- You can adjust the amount and type of sweeter that you use in this recipe but I don’t recommend omitting it all together as matcha and chia seeds do have a slightly bitter taste.
Recipe FAQs
The best part about this recipe is that it is great meal prep. It will last in the fridge for at least 4-5 days meaning you can double the recipe and have breakfast sorted for the week. I recommend storing the puddings without the toppings and then adding those as you’re ready to eat.
A bamboo matcha whisk is going to be the most effective tool to break down the matcha and incorporate it into your milk ensuring a smooth finish without any clumps. If you don’t have one, you can of course still make this recipe, you may however find benefit from first sifting the matcha powder.
You can also use an electric milk frother for similar results or by shaking the powder and warm milk in a small jar.
More healthy breakfast ideas:
Smashed Avocado on Toast
Healthy Banana Bread with Oats
Mango and Kale Smoothie
No-Bake Peanut Butter Muesli Bars
Matcha Chia Pudding
Equipment
Ingredients
- 1 ½ teaspoons matcha powder
- 1 cup non dairy milk such as oat milk
- ¼ cup chia seeds
- 1 tablespoon maple syrup
Toppings, optional
- dairy free yoghurt
- banana slices
Instructions
- Start by warming ¼ cup of the milk in the microwave. Add the matcha powder to the warm milk and whisk well until the matcha is fully dissolved. Add the matcha to the remaining milk and continue to whisk until combined.
- To the matcha mixture, add the chia seeds and the maple syrup. Using a spoon, stir well to combine. Let the mixture sit for a few minutes and then mix again to ensure the chia seeds are fully incorporated.
- You can leave the mixture in the bowl or divide the mixture into 2 jars and place on lids before placing into the refrigerator to set for a minimum of 2 hours but preferably overnight.
- To serve, top the jars with your favourite dairy free yoghurt and some fresh banana slices.
Notes
Nutrition
Nutritional information is provided as a guide only and is calculated using automated online tools, therefore we cannot guarantee the accuracy. We encourage you to make your own calculations based on the actual ingredients used in your recipe.


Made this recipe? Leave a review!