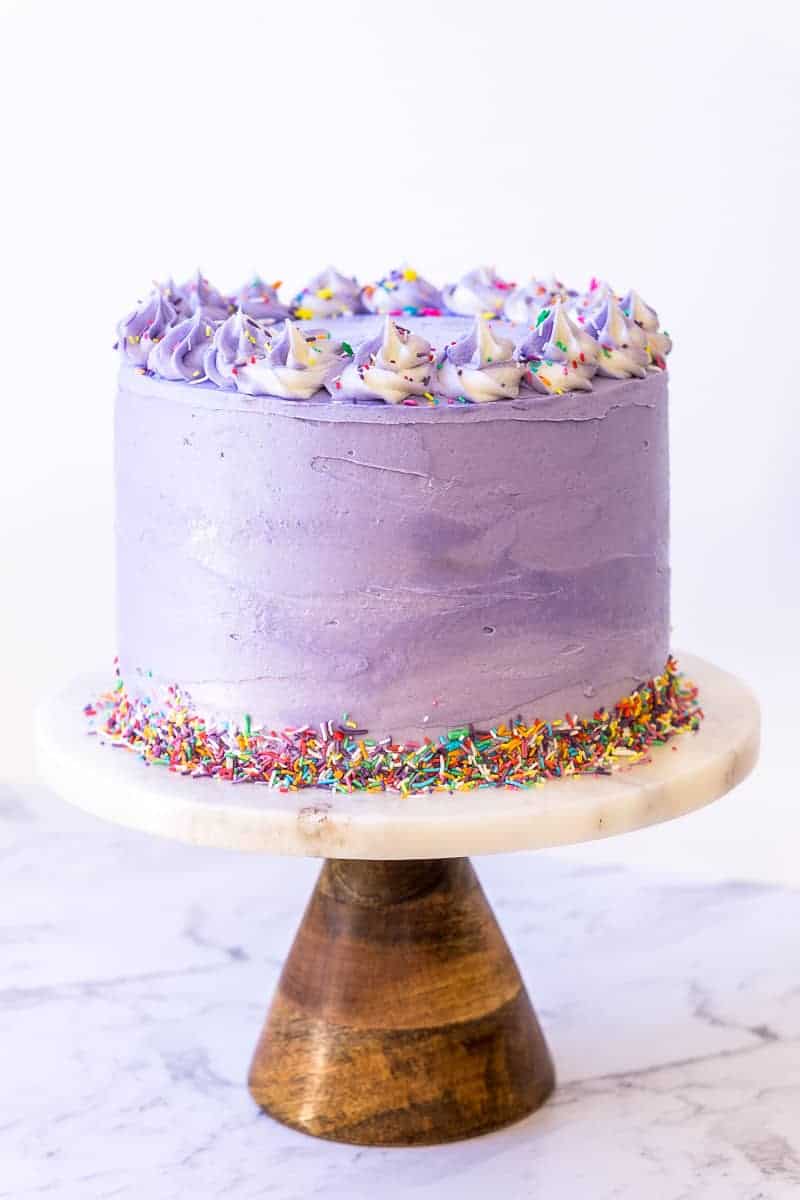
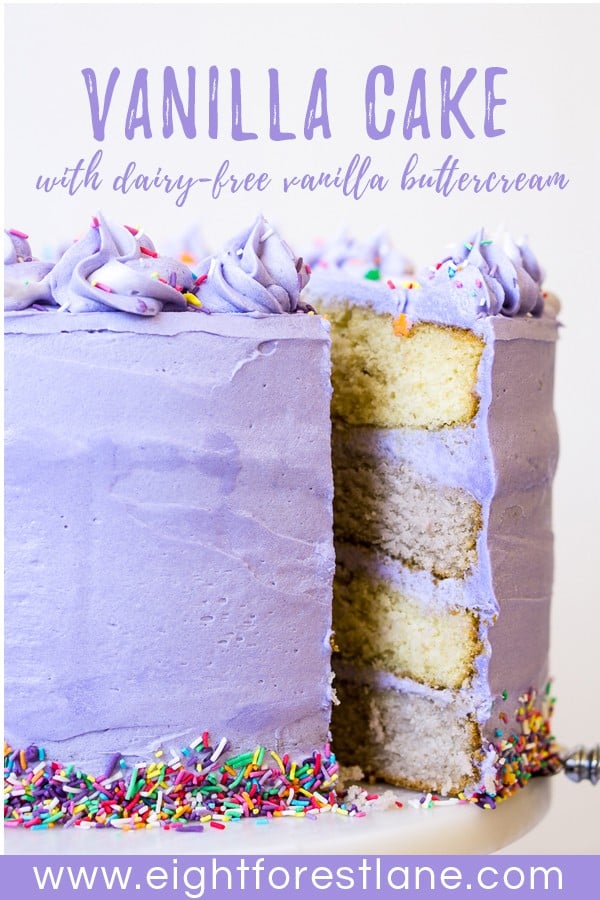
This is the perfect dairy-free vanilla layer cake for any celebration. Its is soft and light, while still stable enough to handle mountains of the best vegan vanilla buttercream, so with every bite you get the combination of the soft cake and the creamy sweet frosting.
Decorate it with some simple piping and a lot of sprinkles and you have a cake that is bound to impress whatever the occasion!
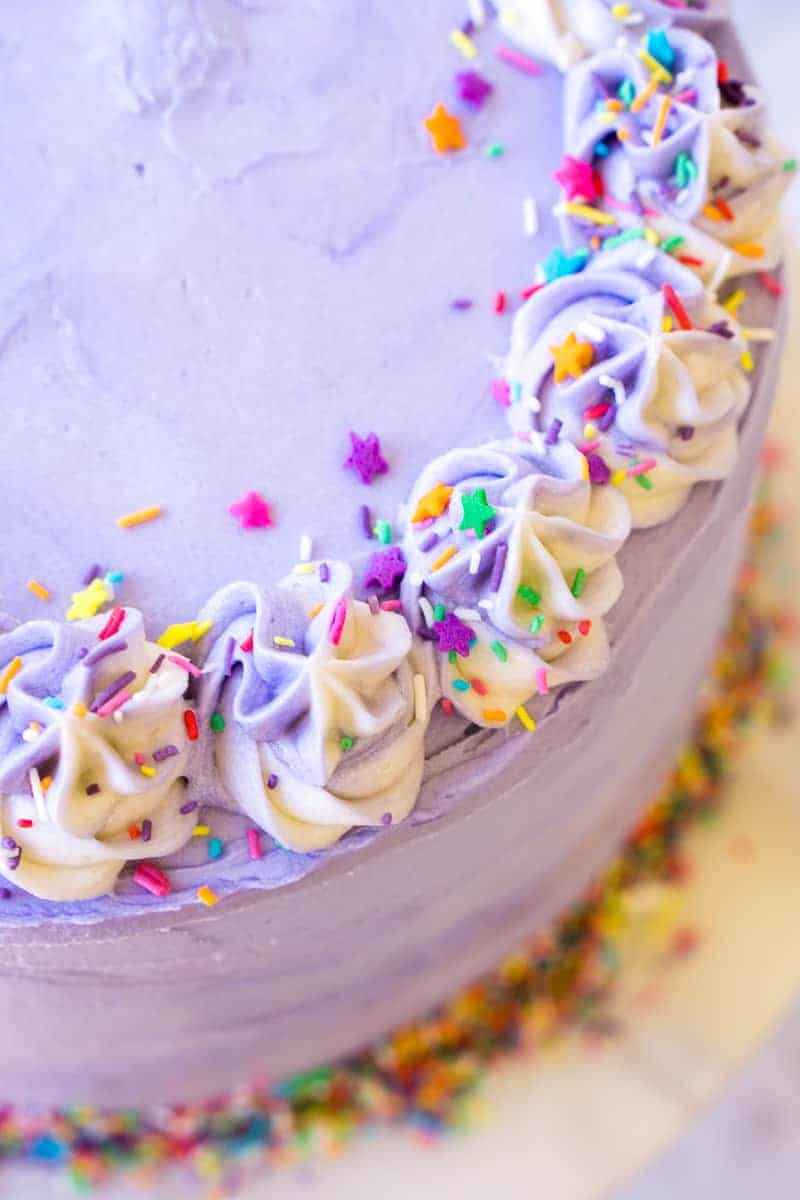 Vanilla cake is one of those staple recipes. A good recipe for a vanilla cake will mean that you are ready for any time there is a need for cake as vanilla is always a good choice when feeding a crowd, which is exactly what this cake does best.
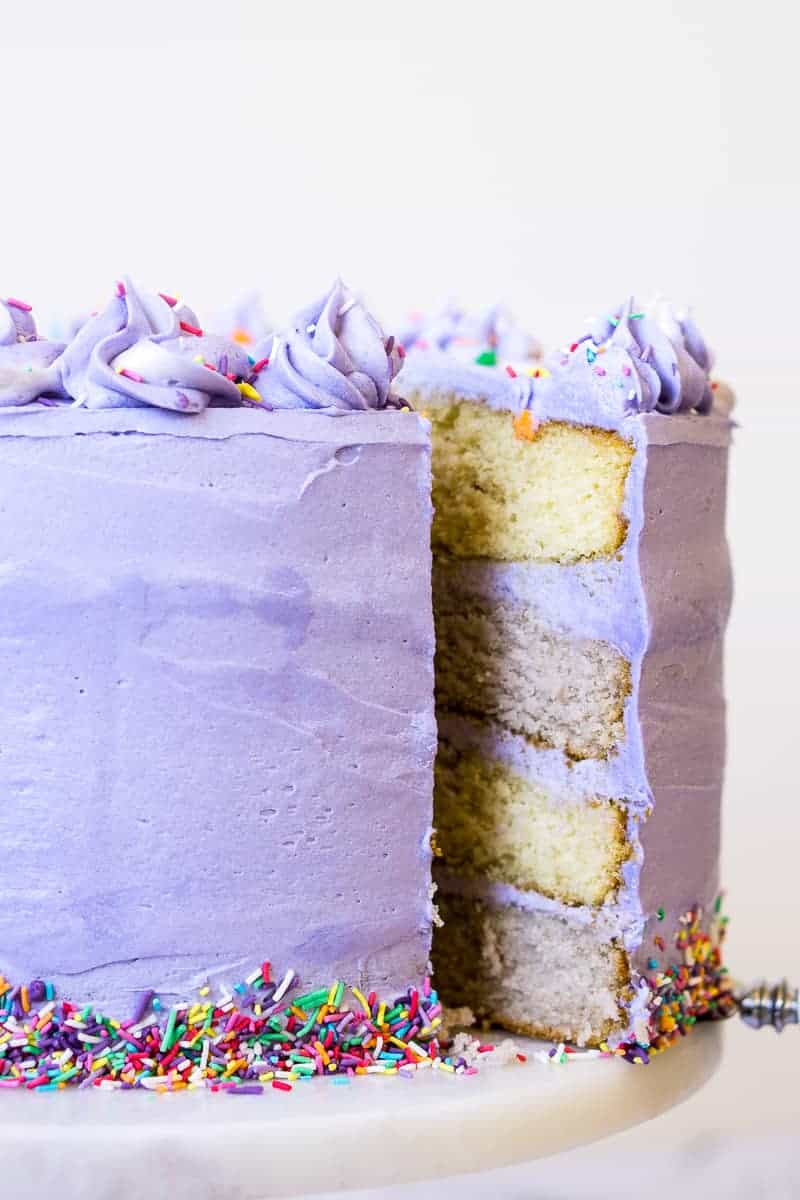
I made this cake for Mother’s Day this year, and the main focus for me with this cake was height. I wanted a cake that would sit high and proud and when cut show off it’s layers. I therefore needed to make sure I had a simple vanilla cake recipe that was not only going to hold up to the layering without collapsing, but also taste amazing. There really is no point to me if a cake looks pretty but doesn’t taste equally as good.
Taste is everything.
I started looking at a few of my favourite baking bloggers for inspiration and with their experience to guide me, I made a few changes and adaptations to suit my needs and to of course make the cake completely dairy-free and the end result is one of the best vanilla cakes I have ever eaten!
 How to Make the Vanilla Layer Cake
As I mentioned before, I really wanted to get a bit of height with this cake therefore I knew it was going to have to be 4 layers. I find pan sizes quite difficult as everything I read tends to be in the American measurements and they don’t seem to convert easily to our pans.
I knew to get the size cake I wanted with this quantity of batter, I would need 4 x 8 inch round cake pans. What I had was 2 x 21.5 cm round cake pans from Kmart. It was close enough, and I knew from my coconut and carrot layer cake that I could easily bake the cakes in 2 batches and re-use the pans, because I don’t think it’s necessary to own 4 of the same size cake pan, and also I definitely don’t have an oven big enough to handle that.
As you would expect, to make 4 cakes we are dealing with a lot of batter. Get out your biggest mixing bowl for this one.
In one bowl, combine your dry ingredients. In another, combine your butter, sugar, eggs and both vanilla and almond extracts. Can I just say how much I love the boost of flavour the almond extract gives this cake. You can’t really taste it, but rather it just gives a little something else to the cake and it might just be the key to why this cake taste so good.
 For this cake, I use my hand mixer purley because I like the level of control it gives me. It is a good arm workout though with the amount of batter we are working with, so you may find a stand mixer is easier. Both will work, it just comes down to what you have and what your preference is.
After you have a big bowl of creamy, light, eggy mixture, you want to slowly start adding your dry ingredients, about ½ cup at a time, alternating with the milk. Doing this slowly is so important to not only make sure you don’t end up with a big ol mess in the kitchen with flour and milk flying out of the bowl, but also to make sure it mixes consistently through the batter and you don’t end up overmixing.
Overmixing = dense cake. Once all of your milk and flour has been incorporated into the batter, stop mixing.
I always use my kitchen scales to make sure I am evenly separating the batter into the cake pans so that my layers are the same thickness. For years I avoided kitchen scales, but seriously they are one of the best additions to my baking kit. I think I got mine for about $15. They don’t need to be expensive, but they just add a little extra consistency and confidence to my baking, so if you don’t have a set I do recommend you pick some up.
As I said, I bake this cake in 2 batches as I only have 2 pans. To do this, once the first 2 cakes have finished baking, leave the cakes to cool in the pan for 10 minutes before turning them out onto a wire rack to cool completely. Wash the pans in warm soapy water and rinse with cold. Spray with non-stick spray, line the bottom with parchment paper, and you are ready to use them again. The remaining cake batter will be fine on the bench while the first batch is cooking.
 How to Assemble the Vanilla Layer Cake
Once the cakes are completely cool, you are ready for the fun bit – the assembly. The cakes do need to be completely cool however otherwise the icing WILL melt and the cakes will not stack well and you may end up with a leaning tower situation.
If your cakes have domed in the oven and are not completely flat, you can use a bread knife to level them off.
Spread a little buttercream on the base of your serving board or cake stand to secure your first layer. Top with buttercream and then the next layer. Continue to stack, alternating between a layer of buttercream and cake until you are left with a nice tall cake.
The secret to a perfectly frosted cake starts with what is called a crumb coat. A crumb coat is like a undercoat when painting. Basically it seals in all the crumbs and provides some stability, so that when you go to decorate you have a smooth work surface and don’t end up with messy, crumby frosting.
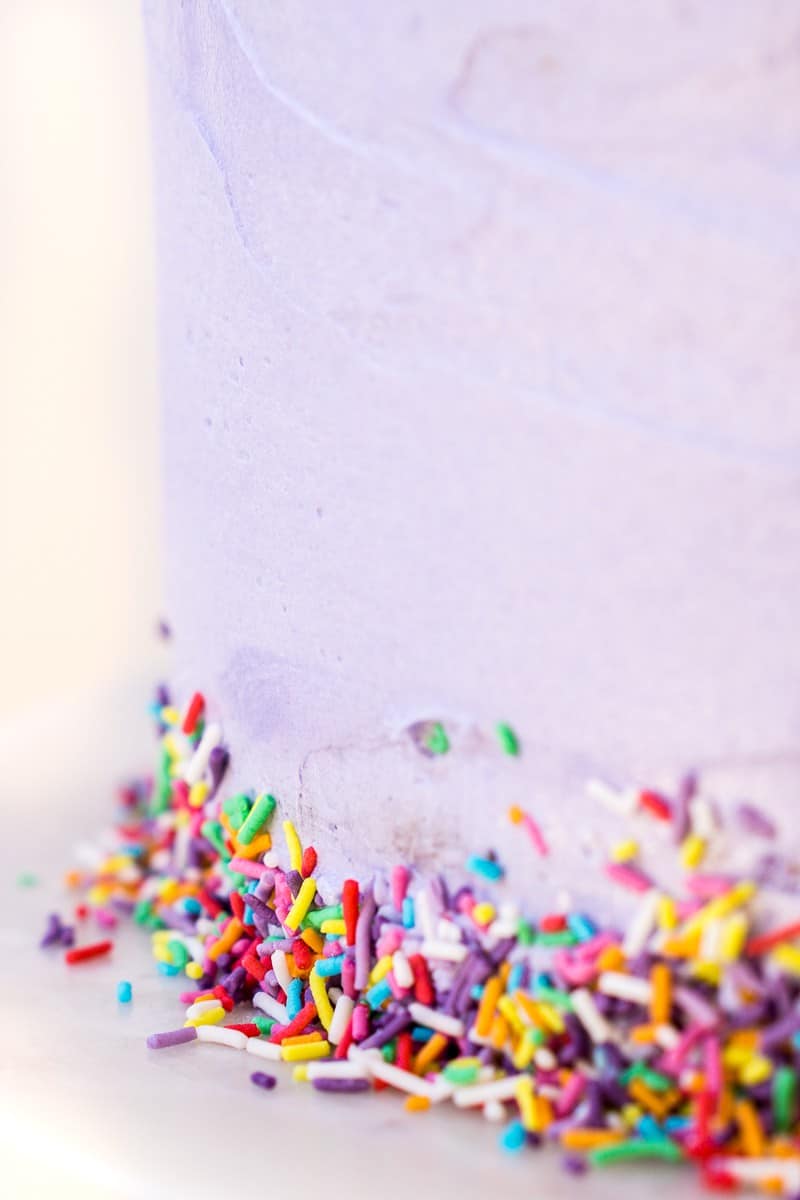 To do a crumb coat, spread a small amount of frosting around the sides of the cake, and then using a large cake knife, smooth the frosting around so that the cake is completely covered in a thin layer of the frosting. Drag your cake knife around the sides again to remove any excess frosting, you should be able to still see the cake through the thin layer. Make sure any gaps have been filled in so you are left with flat, straight sides.
After the crumb coat, it is important to chill the cake for at least 4 hours. I like to make my cake up until this step the day before I need it so the bulk of the work is done. I can then leave the cake to chill overnight in the fridge, then all that needs to be done on the day is the finishing touches. It’s a lot less stressful this way!
Your leftover frosting can be stored overnight in the fridge as well making sure it is covered. Take it out and let it warm up to room temperature before using again.
Once your cake has chilled, it is ready for its final coat of frosting. This should now go on nice and smooth on the top and sides. To finish the cake, I like to heat my cake knife with some boiling water so it is warm, just make sure to dry off any moisture before using it on the cake. The heat from the knife helps to give the buttercream a super smooth finish.
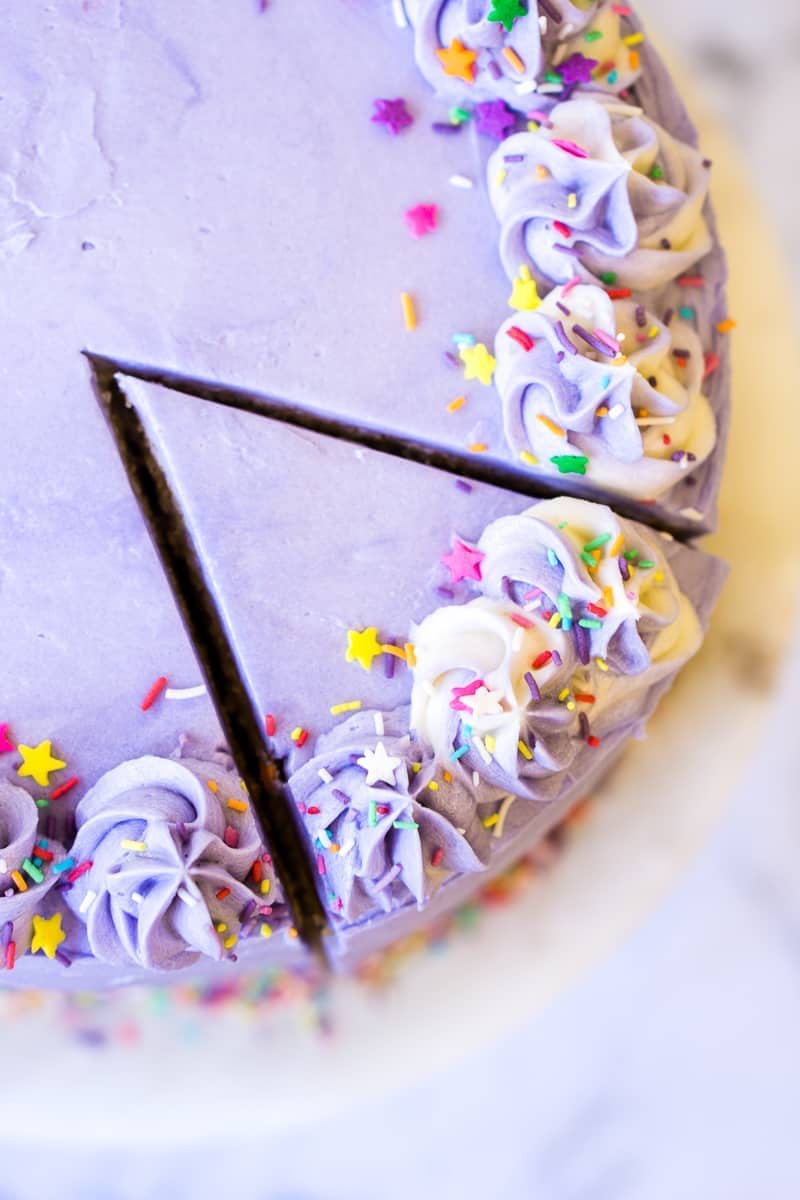
I used a Wilton 1M piping tip to decorate the top with a few two tone frosting swirls. This is a really helpful video that shows you exactly how to pipe two-tone frosting. I covered any imperfections around the bottom of the cake with sprinkles and then of course added more to the top. Sprinkles just give cakes like this a little more character and fun. How cute are the little stars? I got them recently from Lollipop Cake Supplies which is a great Brisbane based store specialising in all things cake and decorating.
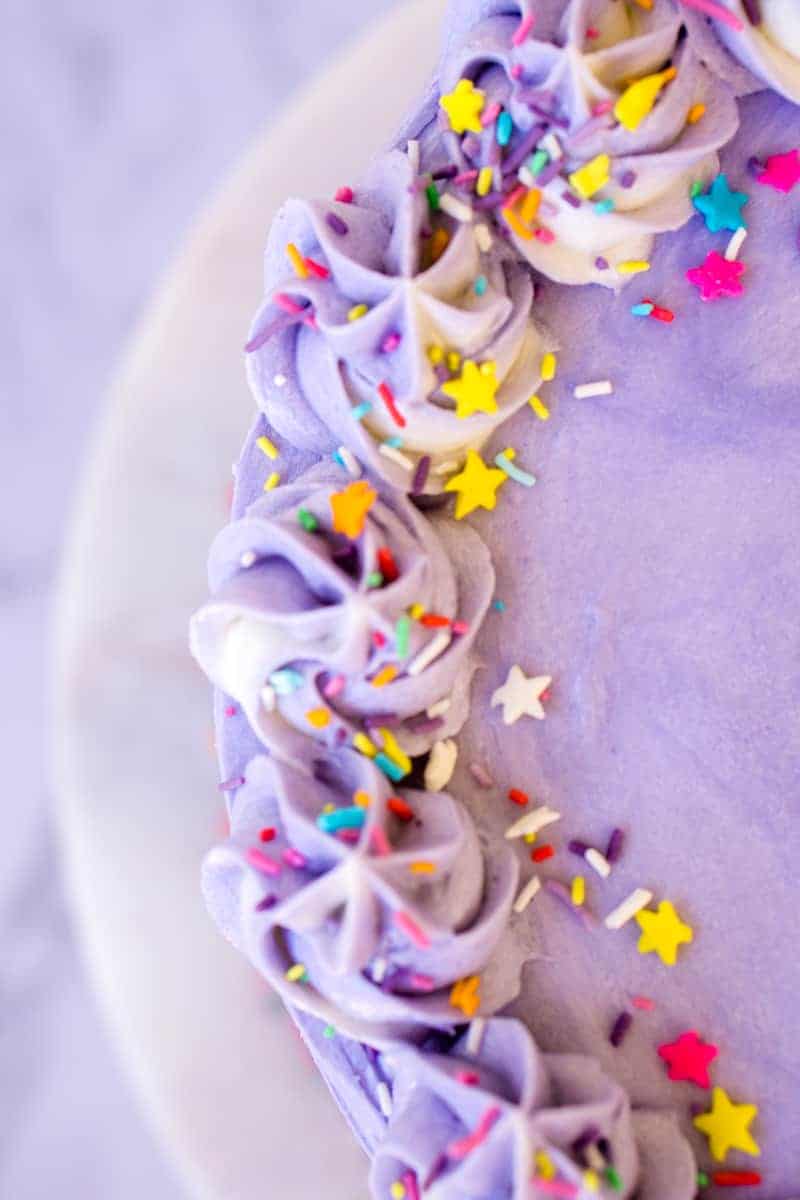 This cake may look intimidating but I assure you it is not. Take your time, follow the recipe and you will be amazed at how it comes together. When it comes to decorating, all it takes is patience and practise. Decorating a whole cake like this was super intimidating to me at first, but once I started practising my techniques and actually just having a go, I realised that it wasn’t as difficult as I had expected, you just need to give it a try and like all things, practise really does pay off.
If you like this cake, make sure you let me know in the comments!
Vanilla Layer Cake
Ingredients
Vanilla Layer Cake
- 3 ¾ cups plain flour
- 1 ¾ tablespoons baking powder
- ½ teaspoon salt
- 1 ½ cups (345g) dairy-free spread*
- 1 ¾ cups white sugar
- 4 large eggs , room temperature
- 2 large egg whites , room temperature
- 1 tablespoon vanilla extract
- ½ teaspoon almond extract
- 1-½ cup vanilla almond milk
- few drops violet food colouring (optional)
Vanilla Buttercream
- 1 cup (250g) dairy-free spread*
- 6-7 cups icing sugar
- 1 ½ teaspoons vanilla extract
- ¼ teaspoon salt
- 2-3 tablespoons vanilla almond milk
- few drops violet food colouring (optional)
- sprinkles (optional)
Instructions
- Preheat oven to 180C and spray 2, 8 inch round cake pans with cooking oil and line with baking paper.
- Make the Vanilla Cake. In a bowl, sift flour, baking powder and salt. Set aside. In another large bowl, cream dairy-free spread and sugar with a handheld electric mixer or in a stand mixer with a paddle attachment. Add in vanilla and almond extract and beat through. Add eggs, one at a time beating well in between each, scraping down the sides with a rubber spatula as necessary. Add the egg whites and beat well until light and creamy.
- Add in the dry ingredients ½ cup at a time while beating the mixture on low speed. Alternate adding the dry ingredients with the milk, again in small increments until everything has combined, being careful to stop as soon as everything is mixed in to ensure the batter is not overmixed. The batter should be smooth and creamy.
- Divide the batter into 4. I like to use my kitchen scales to weight it out to make sure it is exact. Tint the batter with a few drops of food colouring depending on your desired result. Spread batter into prepared cake pans and place in the preheated oven for 25 minutes or until a skewer when inserted comes out clean and cake springs back when lightly touched.
- Let cakes cool for 10 minutes in the pans before turning out onto a wire rack to cool completely. Wash pans, spray with cooking oil and line with baking paper and fill with the remaining batter. Again bake for 25 minutes before allowing to cool completely.
- Make the Vanilla Buttercream. Using a handheld mixer or a stand mixer with the paddle attachment fitted, lightly beat the dairy-free spread so it’s smooth. Add in 3 cups of icing sugar. Beat until creamy. Add in another 3 cups of icing sugar and beat on medium. While mixer is running, add in vanilla and milk, one tablespoon at a time until desired consistency is reached. If mixture is still too thin, add more icing sugar ½ cup at a time until frosting is smooth but thick enough to hold its shape.
- Assemble the cake. Level the cakes with a bread knife if required. Smooth a little buttercream on a cake stand or serving board and place the first layer down. Top with buttercream to cover the cake, then add the next layer. Again add more buttercream, then a cake layer until all four layers have been sandwiched together. Top with more buttercream and smooth out with a cake knife. For the best frosting results, crumb coat the cake by adding a thin layer of frosting around the sides of the cake and scraping away any excess. You should be able to see the cake through the frosting yet still have smooth, straight sides. Let cake chill in the fridge for 4 hours or overnight.
- Remove cake from fridge and finish frosting with another layer around the sides and the top, before finishing off by piping some swirls around the top and pressing some sprinkles around the bottom and of course a few over the top as well.
Notes
Nutritional information is provided as a guide only and is calculated using automated online tools, therefore we cannot guarantee the accuracy. We encourage you to make your own calculations based on the actual ingredients used in your recipe.
Related Recipes:
Carrot & Coconut Layer Cake
My Best Vanilla Cupcake Recipe
The Perfect Vegan Vanilla Buttercream
Passionfruit Birthday Cake
Save it for later:


Marie says
Is this cake easy to make?
Julie says
Do you have a chocolate cake recipe?
Sally says
Hi Julie, I have this chocolate honeycomb cake (you could leave out the honeycomb for a plain chocolate cake) or this easy one bowl chocolate cake.
Marie says
I love your cake. I am making it tomorrow.
Sally says
Hope you enjoy it Marie!
Jen says
Hi, I was wondering if I substitute the flour with gluten free flour and water for the almond milk would the cake turn out fine?
Sally says
Hi Jen. I would advise not to make these substitutions as water is not a suitable replacement for the almond milk as it will change the flavour and texture of the cake. As for the gluten free flour, I have not tested it in this recipe but I would suggest you would end up with a denser cake as the removal of the gluten has not been accounted for. Thanks.
Lynsee says
I just discovered your blog while trying to find a frosting recipe for my daughter who is dairy and soy free. I’m really excited to try this! However, I have a son who is allergic to almonds. (My life is super fun!) do you think this recipe would hold up if I substitute the almond extract and almond milk? What would you suggest?
Sally says
Hi Lynsee! I’m so glad your here – it can be hard to find recipes that cater for allergies and still taste good!
For this cake, if you don’t mind the subtle taste of coconut, coconut milk (the stuff from the can) would work here perfectly and just leave out the almond extract. Otherwise oat milk would also work.
Karen says
Hi! I love the look of this cake. I will probably make it in a smaller scale for my daughters first birthday cake. One question on the icing. How did you get it to look like a purple/white marble/swirl look?
Sally says
Thanks Karen! That sounds perfect 🙂
To do the two tone style of frosting, I add white frosting to one side of my piping bag with a spatula pressing it agains the side, then do the same to the other side with the purple frosting. When you go to pipe, these colours swirl together which will give you that two tone swirl effect.