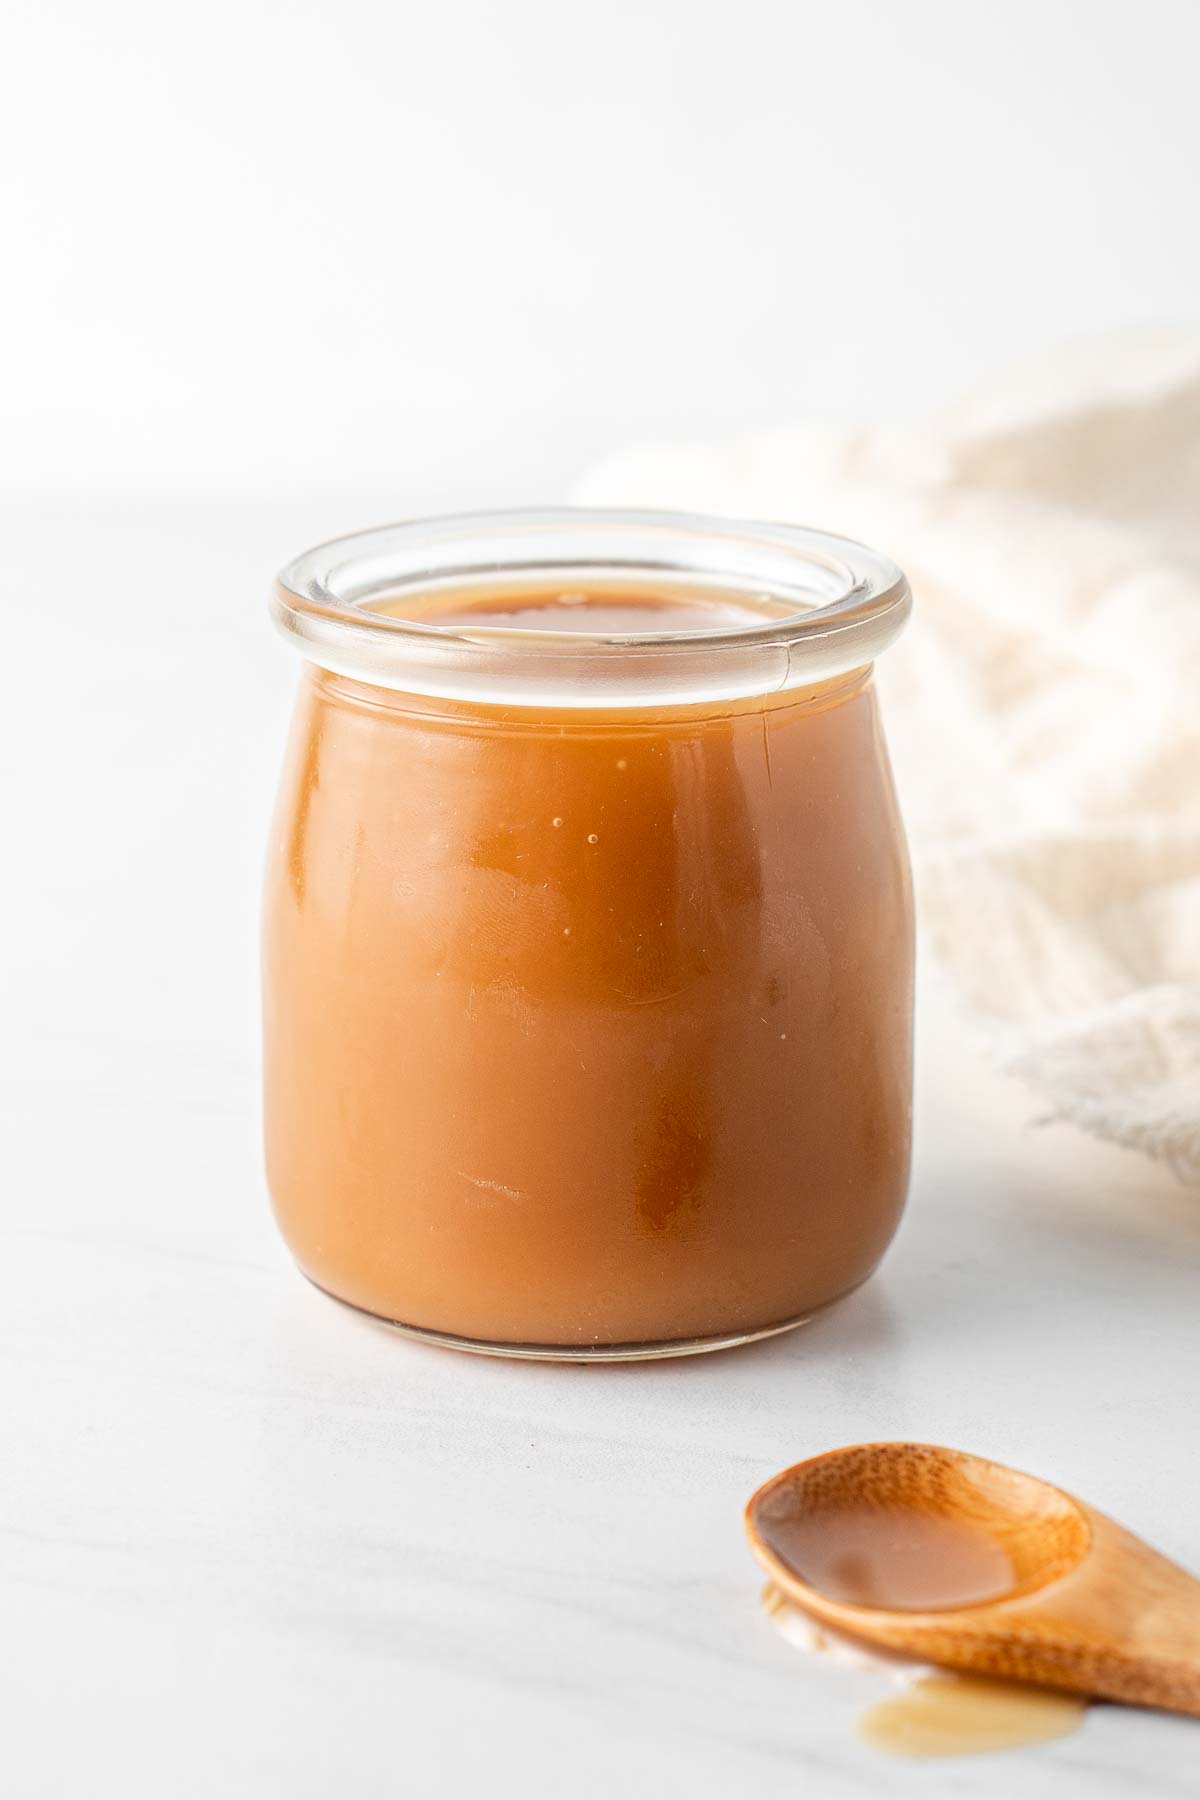
This vegan condensed milk recipe is just 3 ingredients and makes the most delicious dairy free substitute in your favourite recipes. Plus this version is completely coconut free giving it a neutral and ‘milky’ taste that won’t overpower any other flavours.
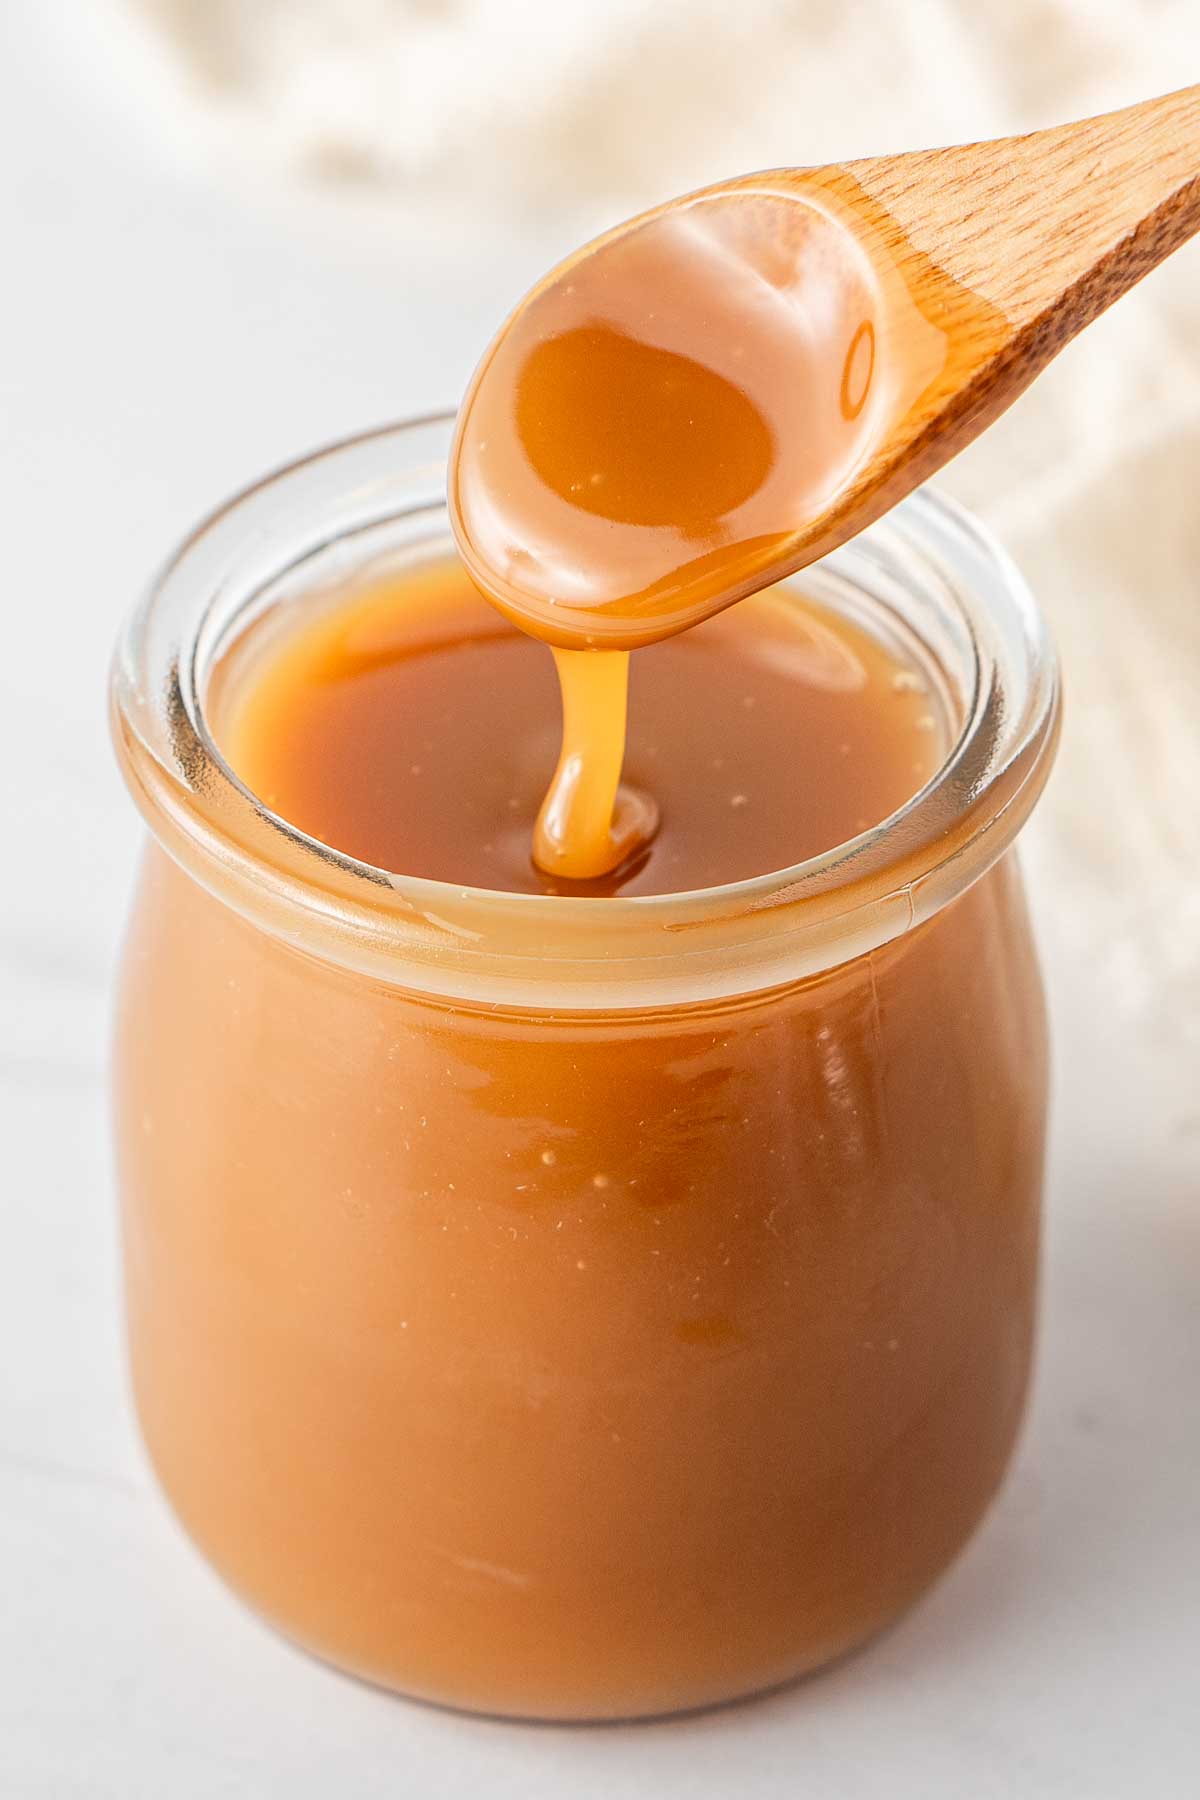
I obviously do a lot of cooking and baking, and one of the staple ingredients I always struggled to find a dairy free and vegan alternative to is sweetened condensed milk. Condensed milk plays such an important role in many recipes such as ice cream, cheesecake, fudge, and even in rum balls.
The premade supermarket option in Australia doesn’t leave much room for choice, with the only product readily available being Pandaroo’s sweetened condensed coconut milk. This product is excellent and I use it often, however there does come a point in every dairy free and vegan cook’s life where we just get sick of coconut.
I love coconut, but as an intentional flavour, not in everything creamy I make.
For a while, Nestle produced a vegan sweetened condensed milk option that was very good (and coconut free). I used it in many recipes and loved the neutral taste which allowed other flavours to shine and not be overpowered by coconut.
But alas, it seems to be either discontinued or just permanently out of stock at every supermarket!
Feeling frustrated by this, it was Mum that told me growing up, she never bought condensed milk from the supermarket, it was always homemade so she encouraged me to just make it myself.
So I set about with a lot of dairy free milks and even more sugar and made more batches of vegan condensed milk than I can count, all to find the perfect balance and combination of ingredients that was going to create that creamy, sweet and neutral taste that you would expect from regular condensed milk all while being dairy free.
I don’t know that I’ve ever tested a recipe this many times before, so you can feel confident that this recipe is going to be your go to whenever you come across a recipe that calls for condensed milk.
Key Ingredients
Homemade condensed milk is so easy to make, and for this vegan version you will only need 3 ingredients.
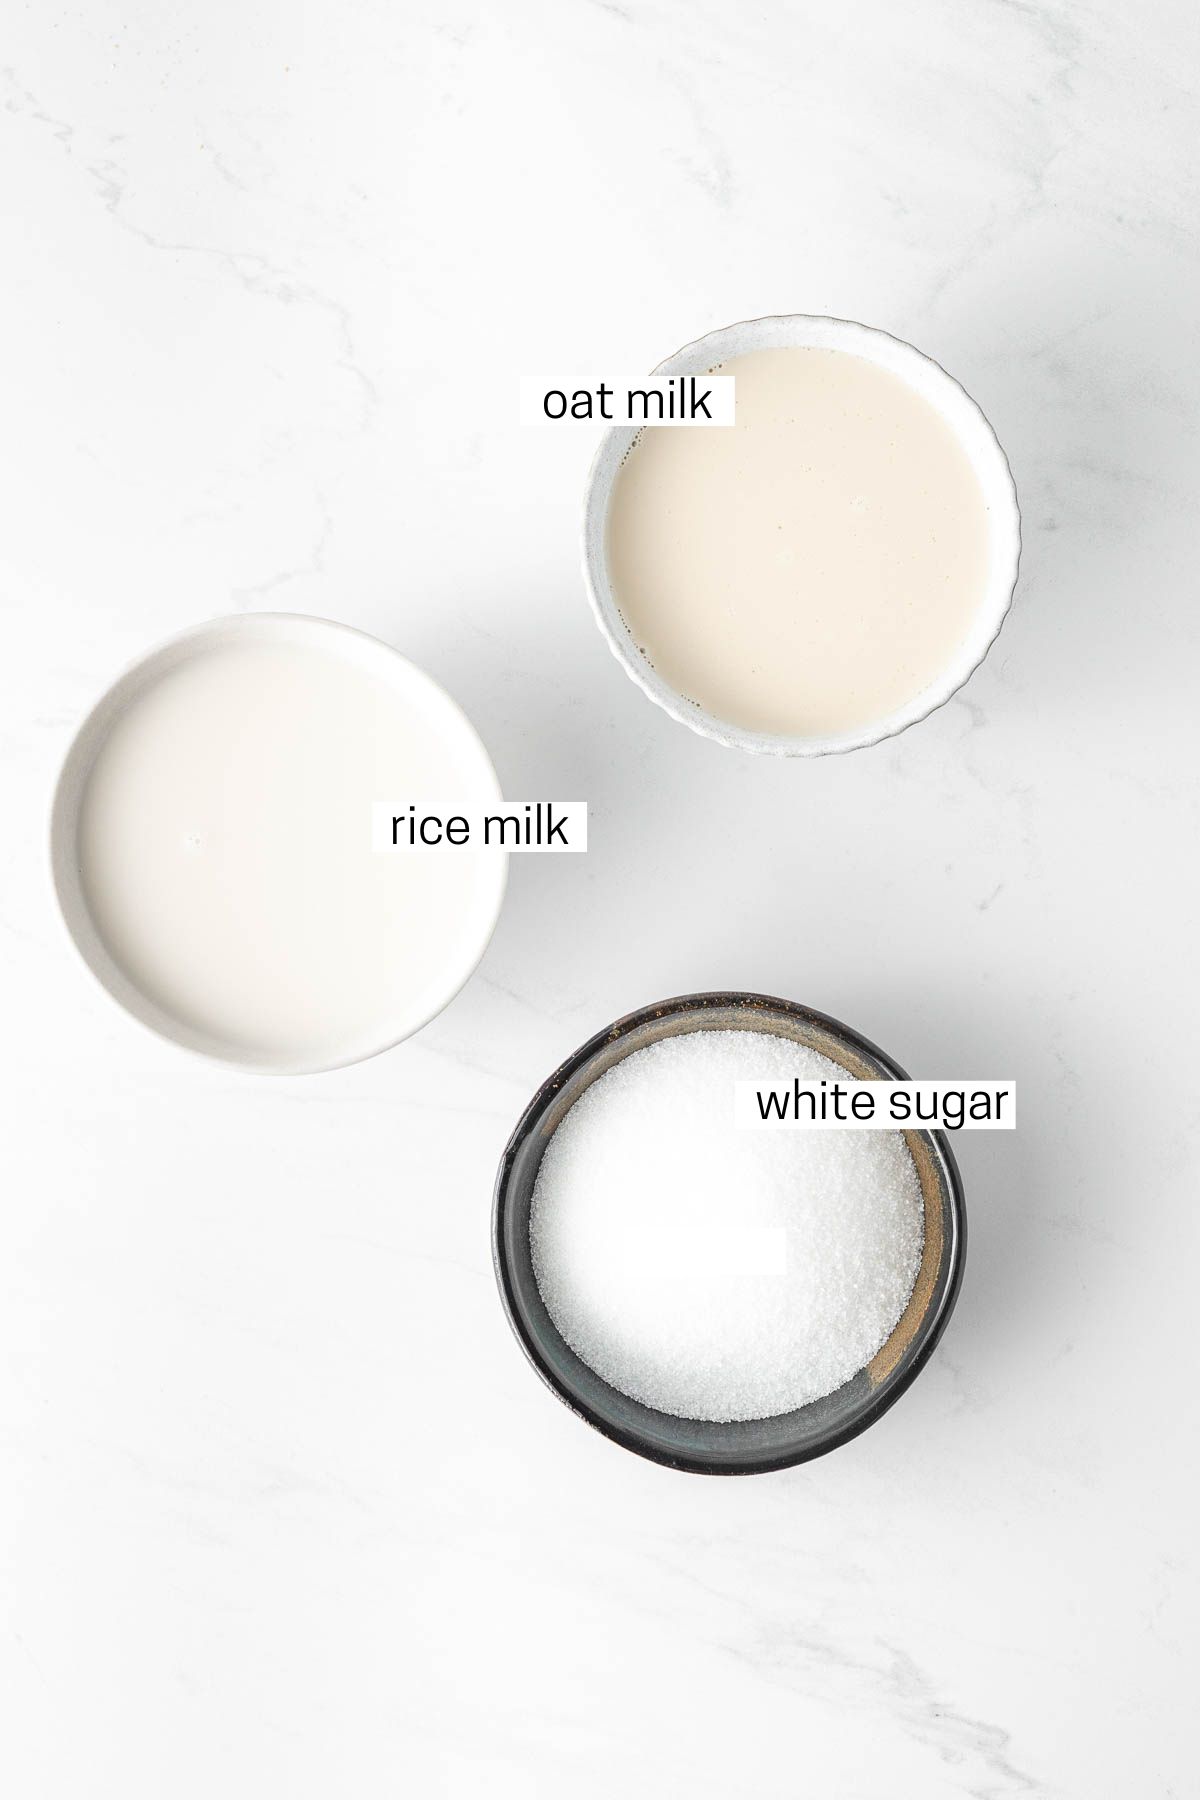
Note all ingredients and their quantities are laid out in the recipe card at the bottom of this post.
- White sugar – essential for the taste and texture of this recipe, therefore I do not recommend using any other sugar substitutes instead. In Australia, the UK and Europe, all white sugar is vegan however in the US you may need to look for sugar labelled as organic.
- Rice milk – is naturally sweet and light with a mild flavour which is perfect to achieve a result that is more neutral and ‘milky’ in taste.
- Oat milk – is thicker and creamier than rice milk which allows us to achieve the perfect texture.
Step-By-Step Instructions
Making condensed milk isn’t hard, but it does require patience. Rushing or trying to speed up the process is not going to help our end result here so pop on an episode of your favourite show or grab a book to keep you busy while you wait for the magic to happen!
To start, grab a small saucepan and add in your sugar with your dairy free milks. Place the saucepan on the smallest burner on your stove and turn it down low. This is the key to condensed milk, it’s low and it’s slow.
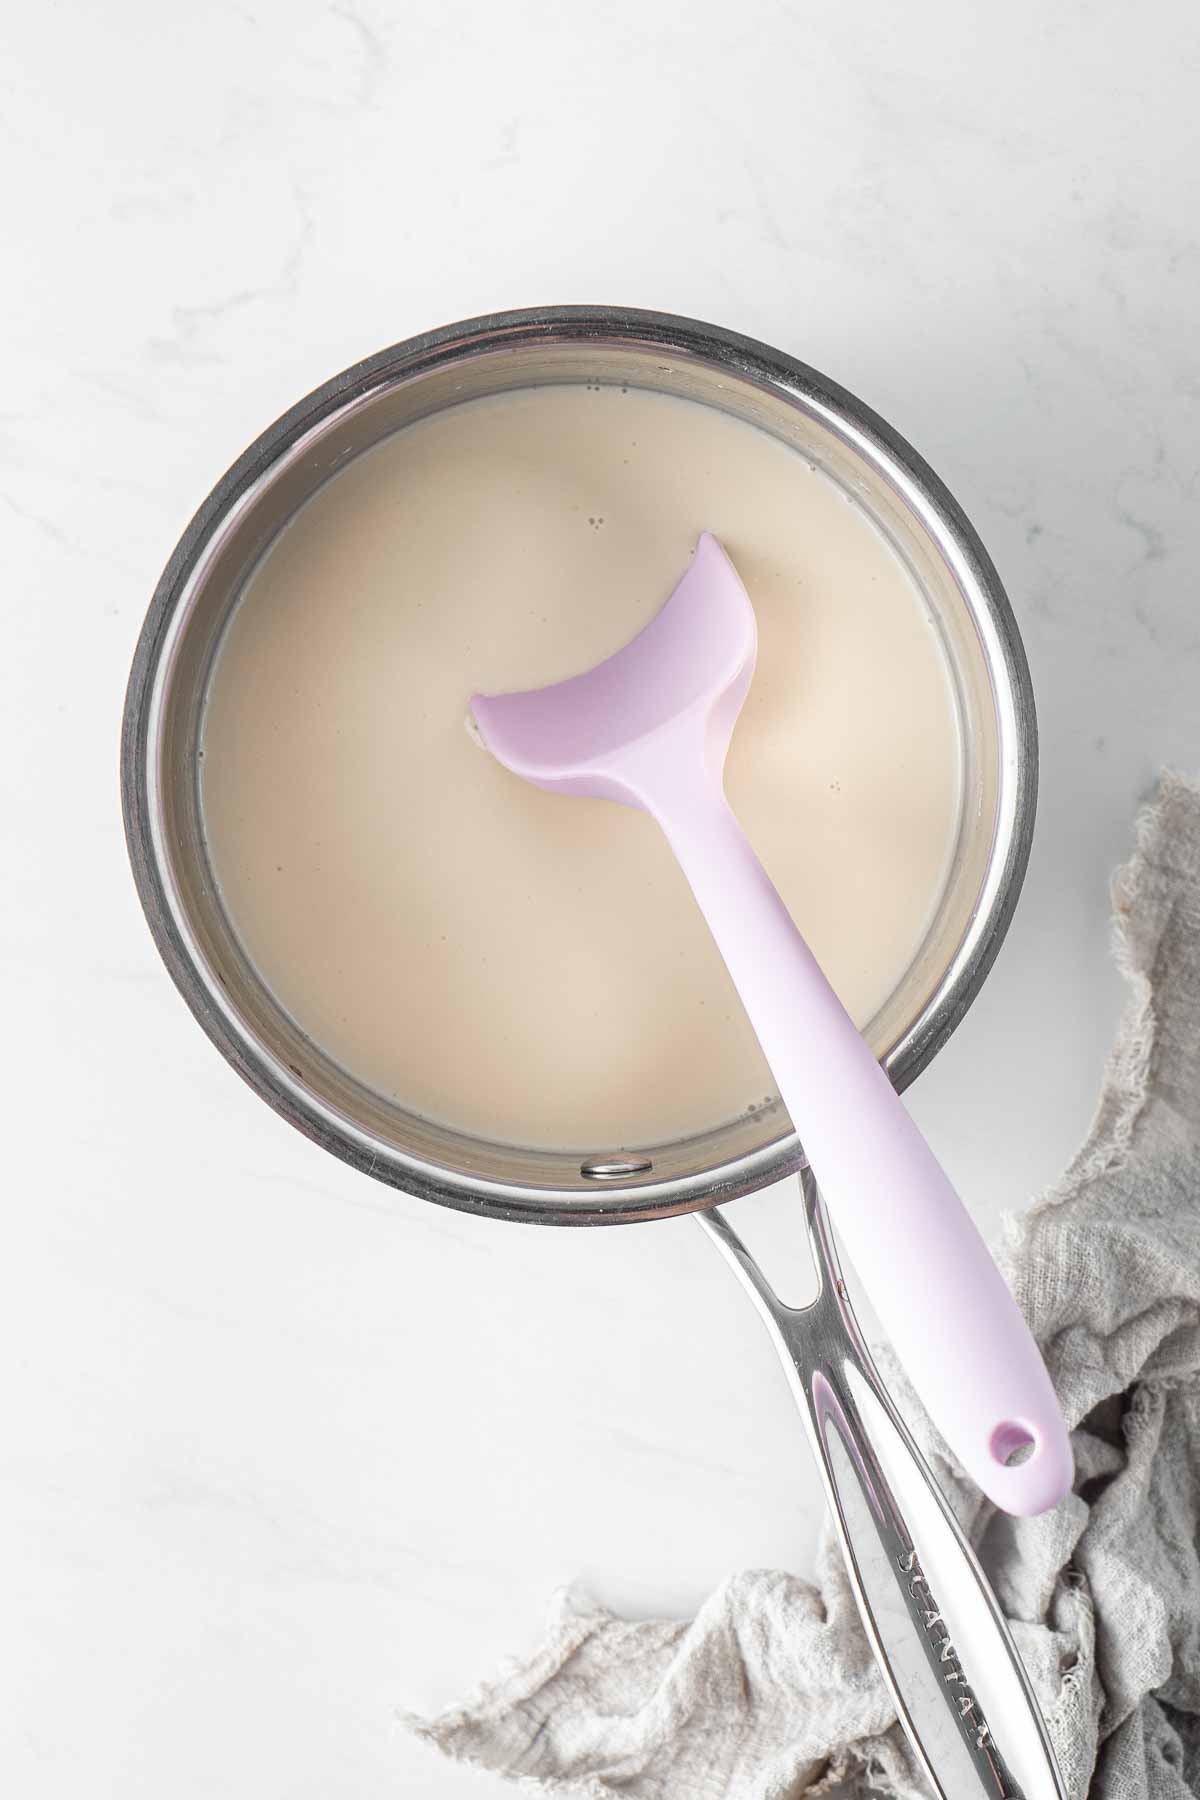
Set your timer for 1 hour and use a spatula to stir the milk mixture every now and then for the first 5-10 minutes or until the sugar has dissolved. From here, you can just let it sit over low heat, checking and stirring once every 10-15 minutes.
The milk mixture will start to lightly bubble as it heats, but it shouldn’t be boiling. As it cooks, the mixture will start to reduce in the pan.
At around the 1 hour mark, check the milk. By now, the volume should have reduced so you may find the mixture is starting to boil. From here it’s best to watch over the pot and when this happens take the pot off the heat, mix really well and then return it.
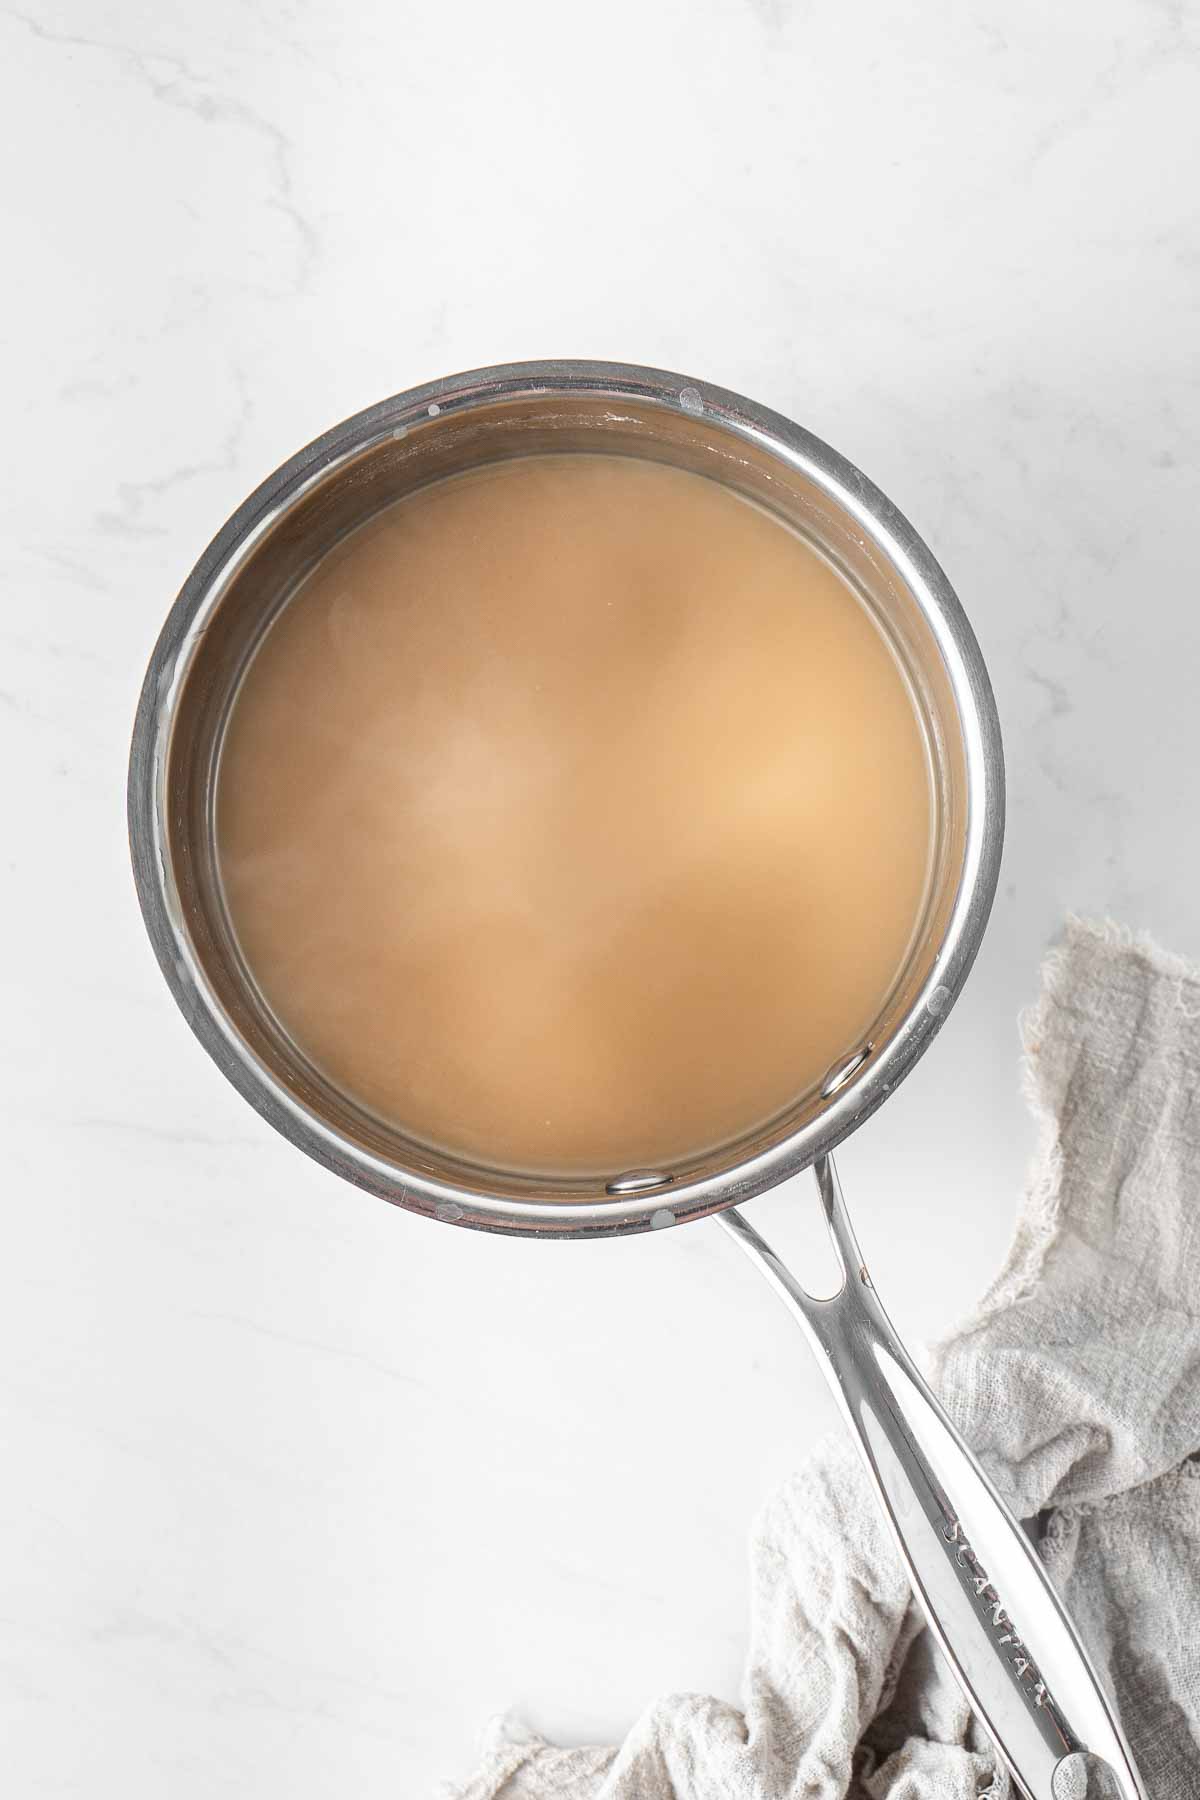
Repeat this process as often as needed and watch the milk start to darken in colour and become thick and shiny, usually it’s an additional 10-15 minutes of cooking required at this point.
You’ll know it’s done when it’s reduced in volume by half or just under (pour the mixture into a 1 cup measuring cup to check, if you still have mixture remaining, return it to the pot and continue cooking), and the milk mixture is thick enough to coat the back of a spoon.
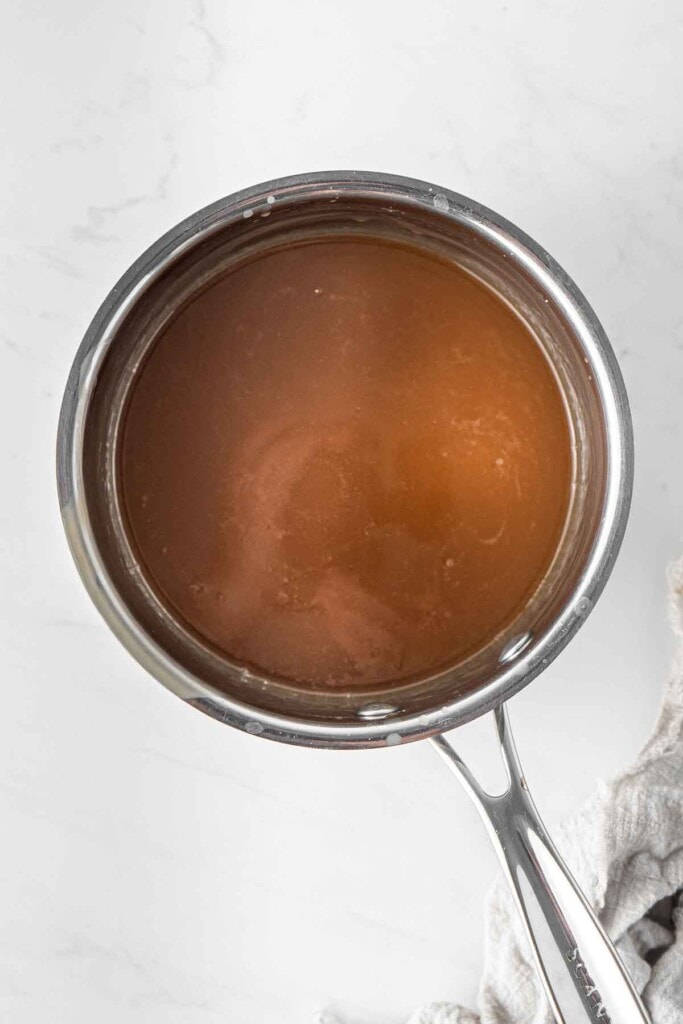
The mixture should still be a bit thinner than you’d expect for condensed milk at this point, but it will continue to thicken as it cools.
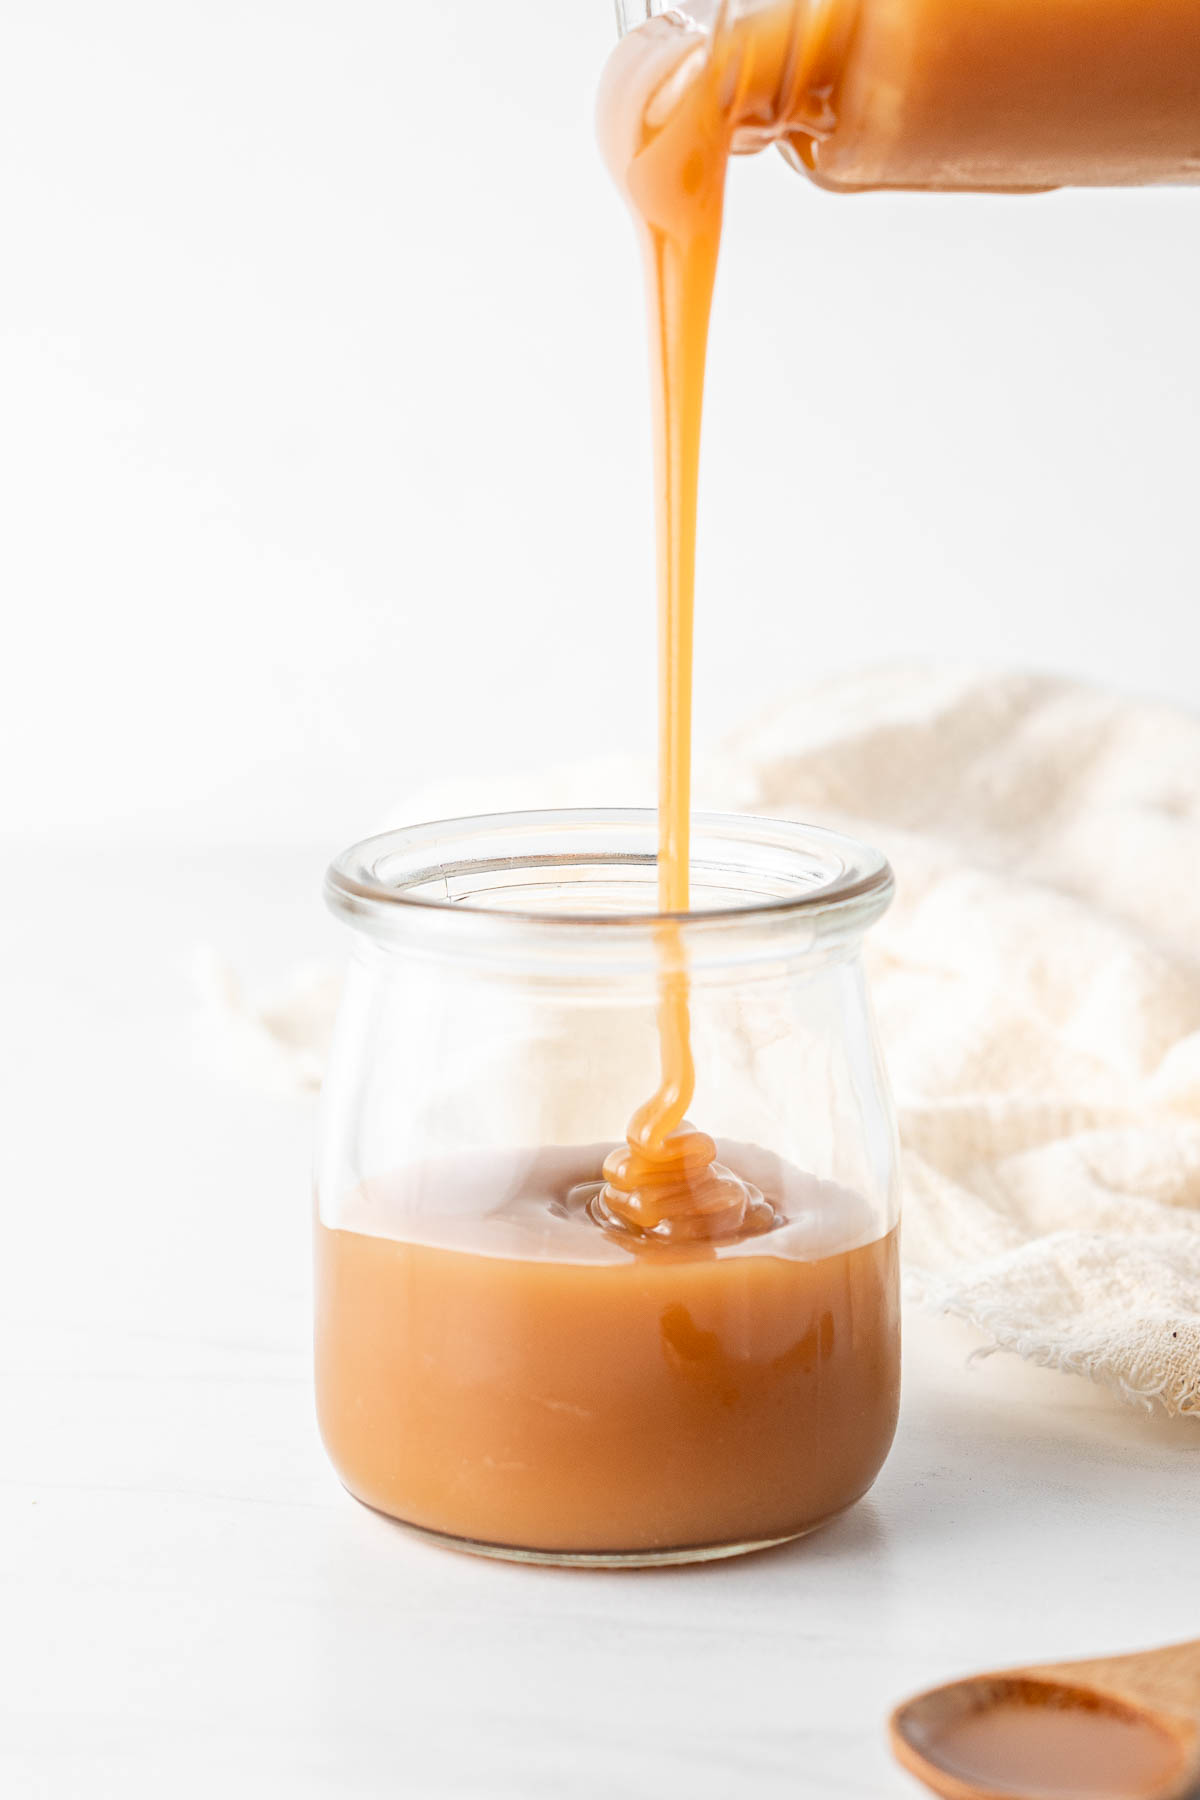
Remove the condensed milk from the heat and pour it into a jar or a container with a lid and place in the fridge immediately to cool completely, preferably overnight. Make sure to do this step straight away as if you let the vegan condensed milk cool in the pot a skin will form and this will then cause lumps.
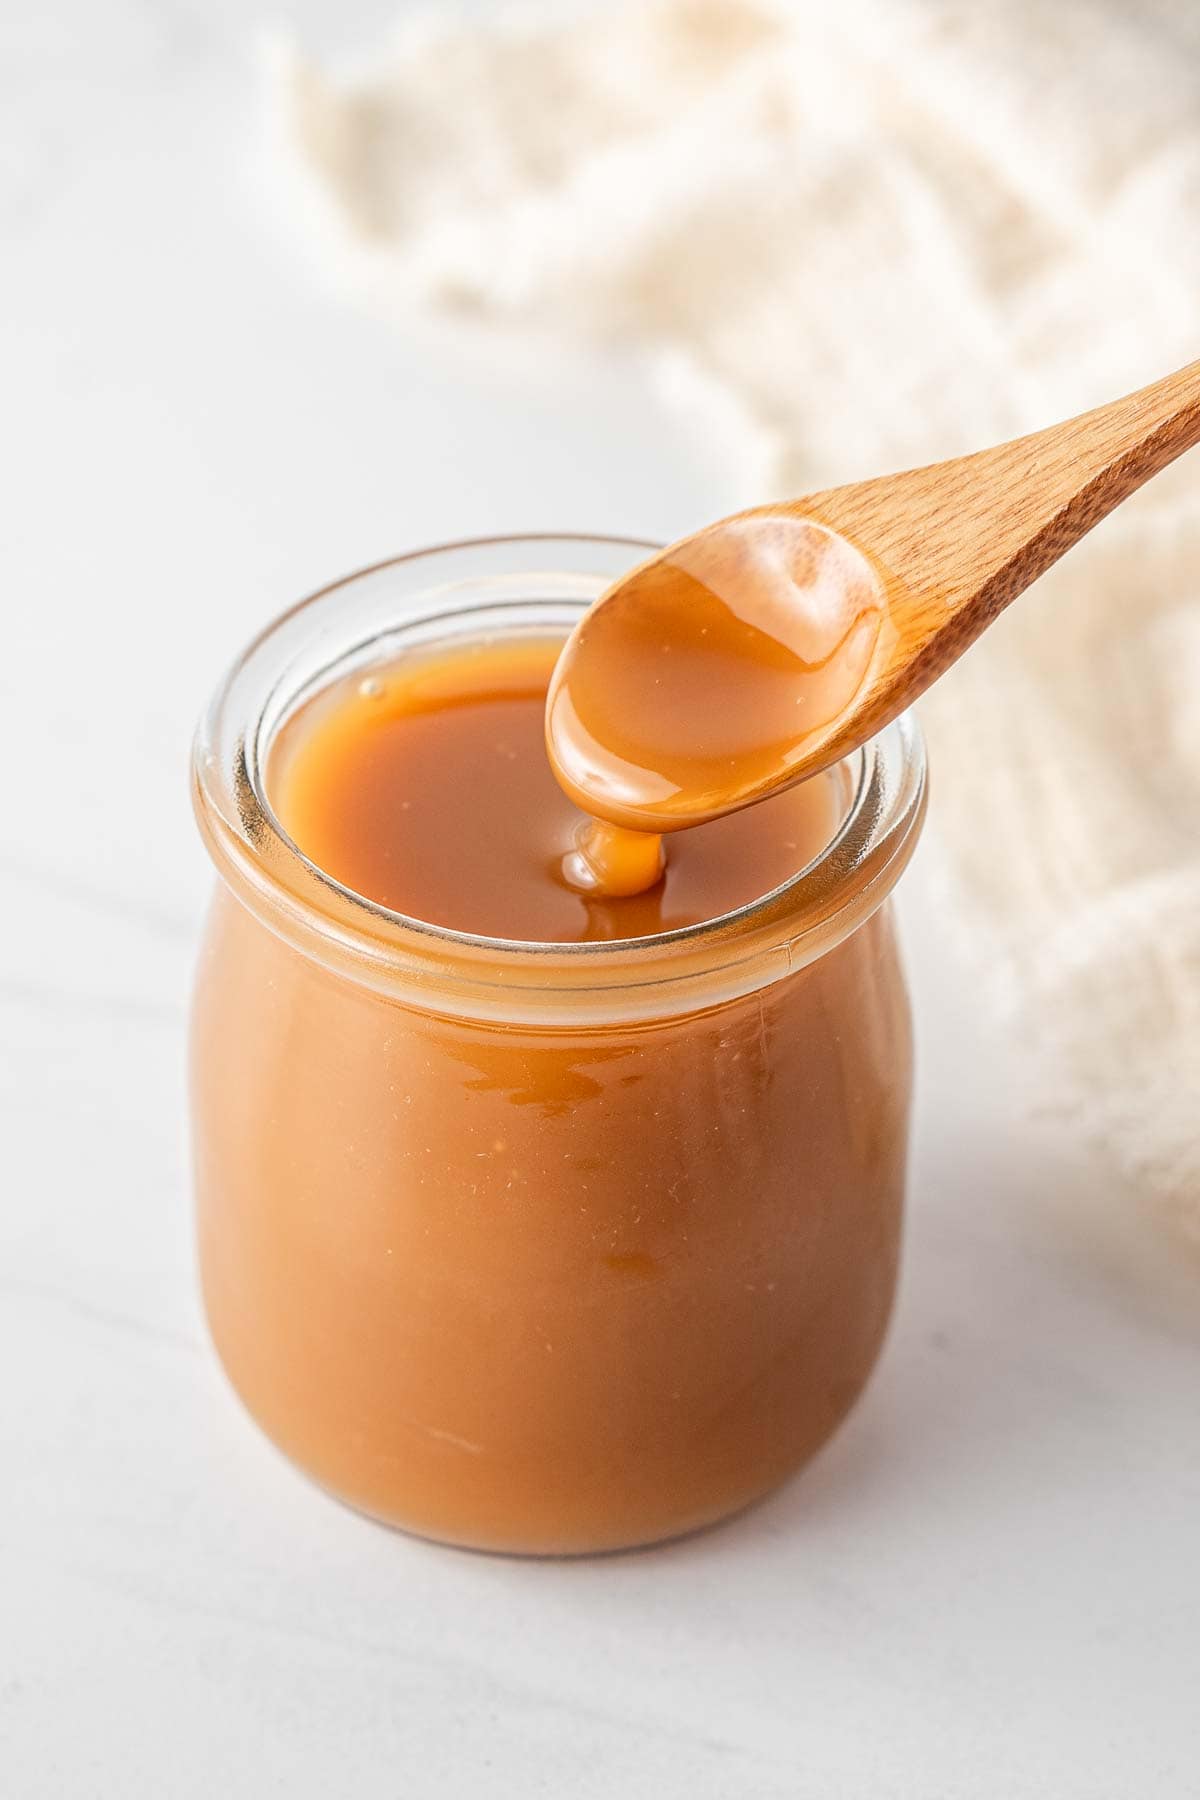
Once cool, the condensed milk should be quite thick but still be able to be drizzled. If it’s too thick, let it come to room temperature before using.
What milk is best for vegan condensed milk?
When testing this recipe, I tried a few different milks and combinations to determine which worked best and produced the best results.
The combination of non dairy milks that yielded the best result in terms of taste, texture and colour was rice milk and oat milk.
When using just oat milk, the taste was a bit stronger and the colour darker, more like a caramel. The taste was still more like condensed milk rather than caramel so this was definitely still a usable end result however I just found that the combination with the rice milk tasted more neutral and ‘milky’ and was slightly lighter in colour.
I also tested with almond milk and while the colour was very light, more like what you’d expect with traditional condensed milk, the texture was quite grainy and therefore I wouldn’t recommend almond milk. This issue with the texture is the same reason I also don’t want to use all rice milk.
Making vegan condensed milk with coconut milk
Just when I thought I was done testing, I gave in and decided to try this recipe with coconut milk (despite the objective of this experiment being to find a coconut free alternative) to ensure that if you wanted to use coconut milk or preferred the taste of coconut milk, you could in fact yield a delicious result.
For coconut milk, make sure to use a good quality canned coconut milk (full fat). You can simply use 1 can to the same amount of sugar and cook on low. As coconut milk is thicker with a higher fat content, it will be done in closer to 50 minutes.
Coconut milk is a great option if you are using the sweetened condensed milk in coconut flavoured desserts such as rum balls. It is also much lighter in colour meaning it will create a brighter end result for lighter coloured desserts however you have the compromise on adding coconut taste for colour.
Tips for success
- Cook it at a low temperature for a long time. You can’t cheat this recipe and crank up the heat – it needs to be reduced slowly so just be patient and you’ll be rewarded.
- The condensed milk needs to reduce by half its volume to ensure it thickens properly as it cools in the fridge. The easiest way to know you’re there is to tip the syrupy mixture into a 1 cup measuring cup. When it’s full, if you still have milk left in your saucepan, it’s not done yet so tip it back into the pot and keep reducing.
- The vegan sweetened condensed milk needs to be completely cold to reach its correct texture before being able to be used in recipes. For this reason, I recommend you make it the day before you plan on making the recipe you require it for.
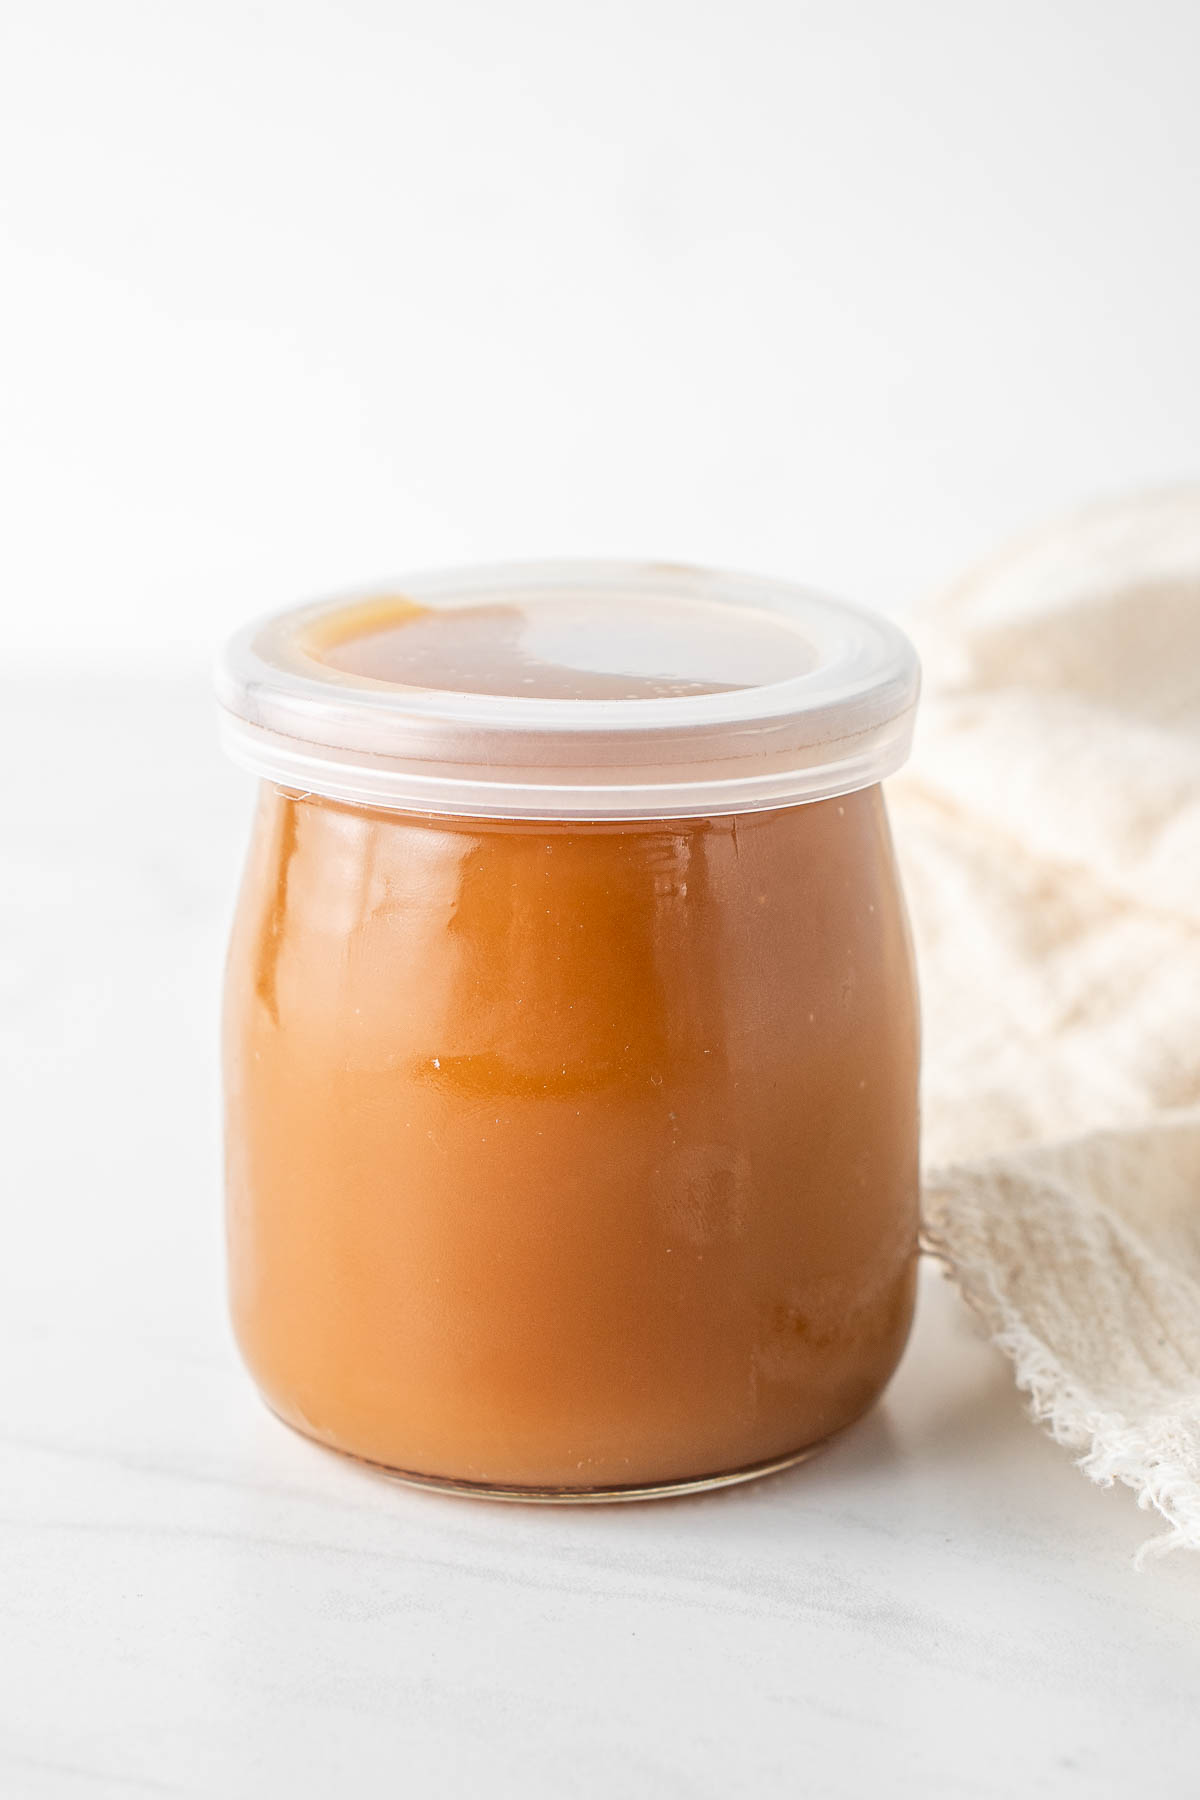
- Cool it down quickly. As soon as the condensed milk is ready, pour it into a jar and place on the lid and set aside in the fridge to cool. If you leave it at room temperature without the lid, a skin may form over the top which will then compromise the texture of your end result.
Recipe FAQs
Sweetened condensed milk or just simply condensed milk is basically just milk that has had sugar added and has then been cooked down to remove most of the water content to create a thick, creamy, sweet dairy product. To make a dairy or vegan version, we just replace regular cows milk with a dairy free alternative milk.
You can store this vegan sweetened condensed milk in the fridge for up to 2 weeks in a glass jar or airtight container. I do not recommend freezing it as it will compromise the texture.
You can use this as a substitute in any recipe that calls for sweetened condensed milk as a dairy free alternative. See a list of all vegan, dairy free or lactose free recipes from Eight Forest Lane that require a dairy free condensed milk below.
Recipes using vegan condensed milk:
Vegan Biscoff Fudge
Rum Balls (Dairy-Free)
Dairy Free Rocky Road Ice Cream
Vegan Baileys (Irish Cream)
Vegan Caramel Slice
Chocolate Cherry Cheesecake
Small Batch Cookies and Cream Cheesecake (No-Bake)
Small Batch Biscoff Cheesecake (No-Bake)
Vegan Condensed Milk
Ingredients
- ⅔ cup white sugar
- 1 cup rice milk
- 1 cup oat milk
Instructions
- In a small saucepan, combine sugar and dairy-free milks. Place the saucepan on the smallest stove burner on low heat.
- Set a timer for 1 hour, stirring the mixture every 5-10 minutes until the sugar dissolves, then let it gently simmer over low heat, stirring every 10-15 minutes.
- After 1 hour, check if the volume has reduced by half and thickened. If the mixture is boiling, briefly remove from heat, mix well, and return until the desired consistency is reached.
- The condensed milk will be done when the volume has reduced by half and is thick enough to coat the back of a spoon. The mixture will continue to thicken as it cools.
- Remove from heat and pour into a jar or container. Cover and refrigerate immediately, preferably overnight before using to ensure it thickens and cools properly.
- Use straight from the fridge or if too thick to drizzle, let it come to room temperature first before using as per your recipe instructions.
Notes
Nutrition
Nutritional information is provided as a guide only and is calculated using automated online tools, therefore we cannot guarantee the accuracy. We encourage you to make your own calculations based on the actual ingredients used in your recipe.


Made this recipe? Leave a review!