This homemade caramel apple galette combines slices of fresh apples, sweet caramel, and warming spices, tucked into an easy dairy-free pastry crust. This rustic dessert has all the flavours of a classic apple pie with a fraction of the work!
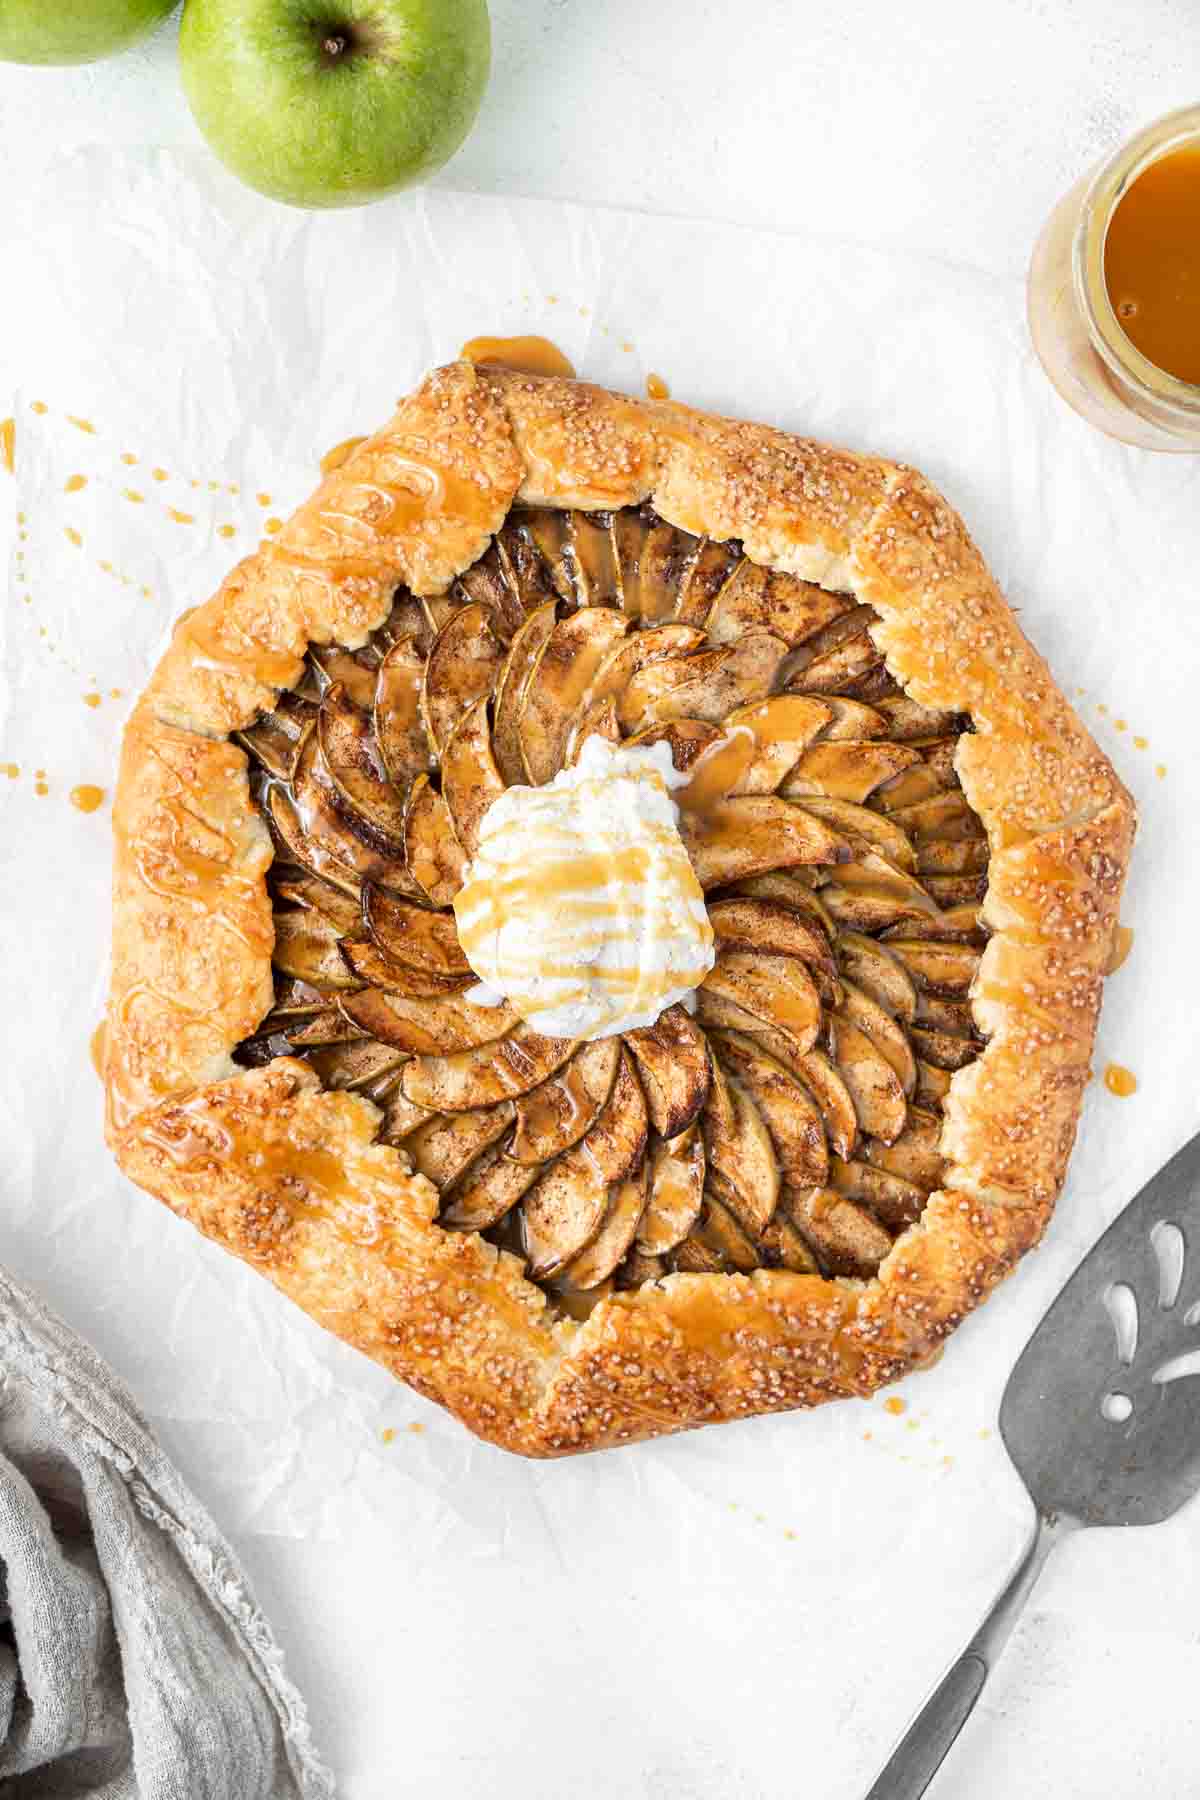
A galette is essentially an open-faced or free-form pie and is a great dessert for when you want to serve something delicious and cosy but don’t want to spend hours in the kitchen preparing. Think of all the flavours (and incredible smells!) of apple pie, but with so much less effort!
This galette is made completely dairy-free thanks to a simple homemade pie crust that is so easy, I promise even if you’ve never made pie dough before, you’ll be fine! It’s super simple, but the result is a buttery, flaky pastry crust that tastes so good, especially when combined with the sweet and tart caramel apple filling.
This caramel apple galette is the ideal dessert for any occasion. Plus, it’s designed to look rustic, meaning you don’t have to get it perfect, which I love!
For the best results, the pie dough does need to rest in the fridge overnight, so I do recommend a little foresight when making this recipe so you can prep the dough the day before.
While you’re prepping, you can also make a batch of my vegan salted caramel sauce, which works perfectly in this recipe as well!
Key Ingredients
This caramel apple galette is very simple and comes together with just a few key elements.
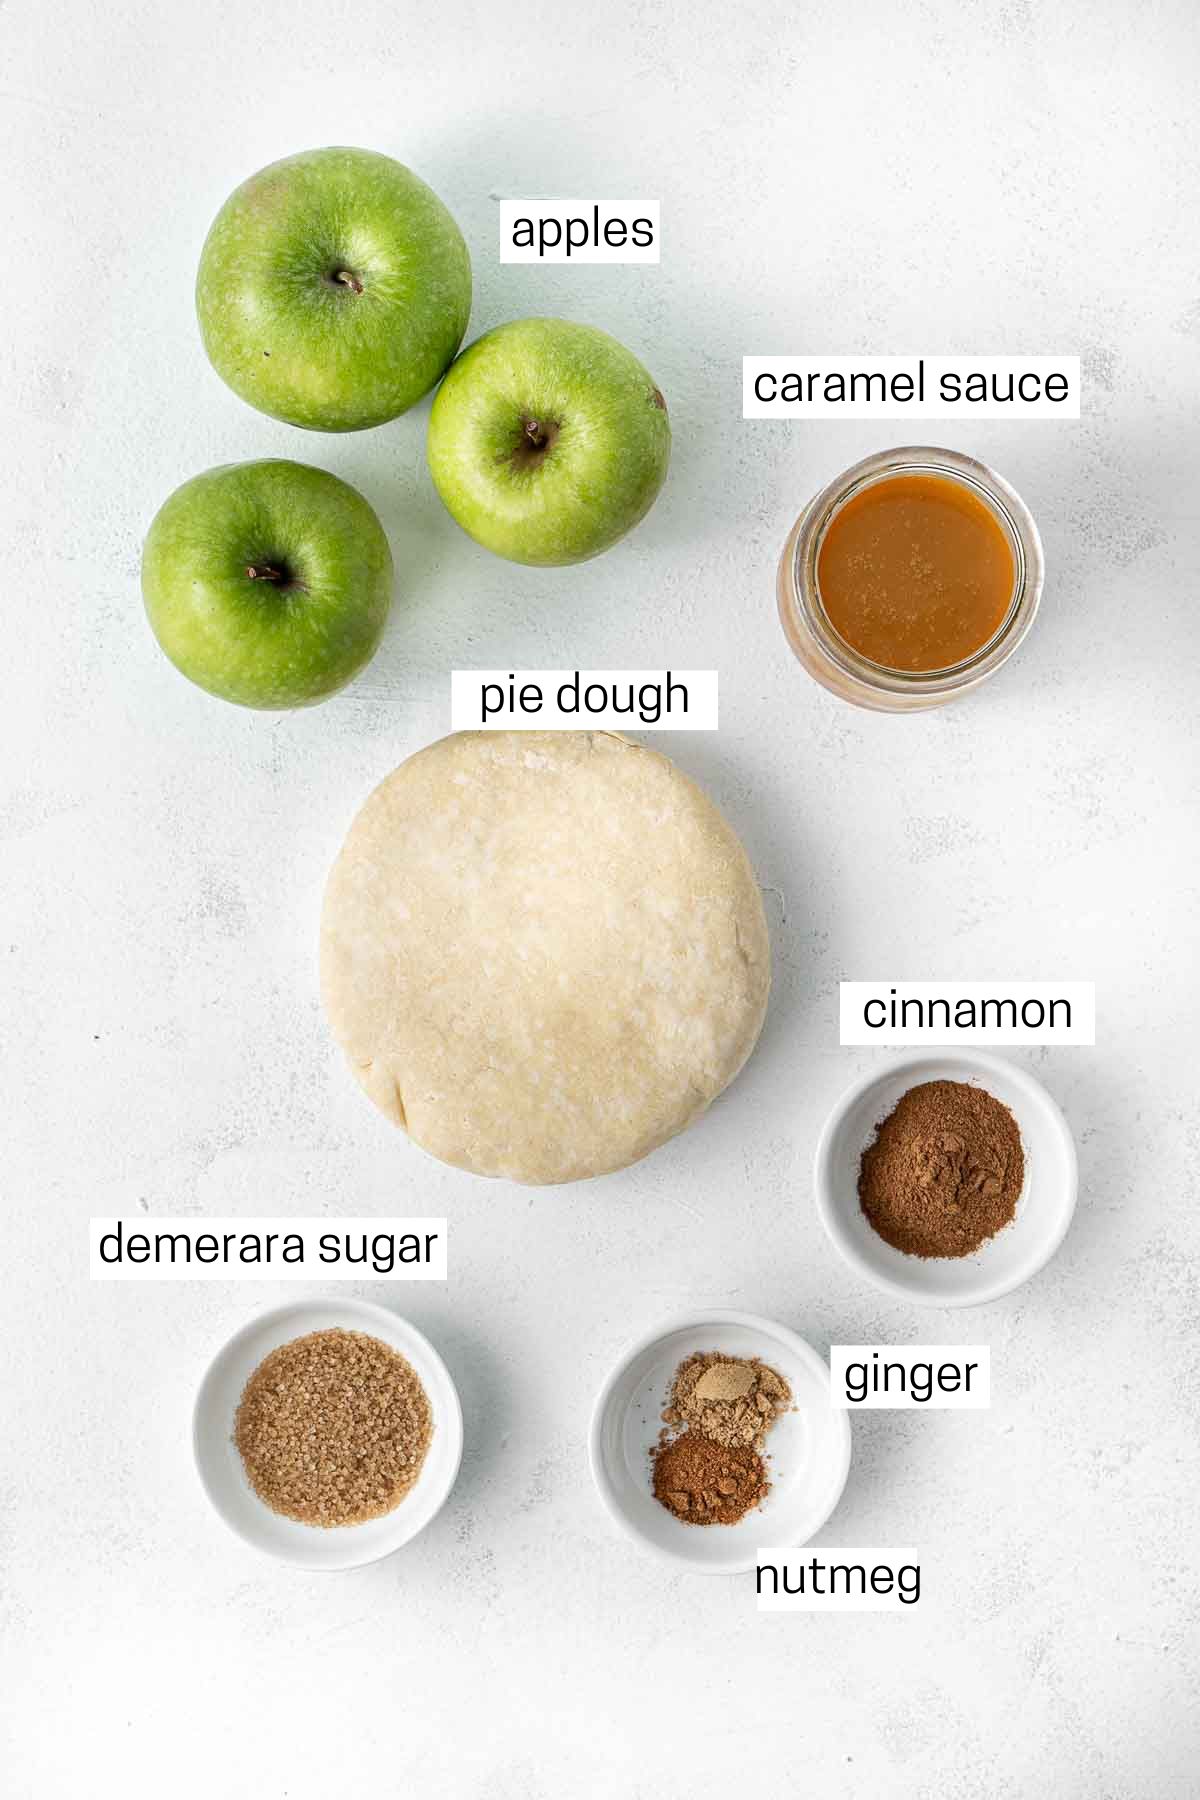
Note: All ingredients and their quantities are laid out in the recipe card at the bottom of this post.
- Pie Crust – You can make your own dairy-free pie crust using my recipe included below or use a store-bought pastry. If you make your own, I recommend doing so the day before so it has enough time to rest and chill in the fridge for the best results.
- Apples – You can use any firm, crisp apple that will hold its shape when baked. I like Granny Smith for this recipe as they are tart, which, when combined with the caramel sauce, means this dessert isn’t too sweet. But you can also use Pink Lady or a combination of both red and green apples. I decided to keep the skin on for this recipe, but you can choose whether to peel your apples or not based on your preference.
- Caramel Sauce – You can use store-bought caramel sauce or make your own. For store-bought, I like Barker’s Butterscotch Caramel Sauce, which is not only delicious but also dairy-free and vegan. However, if you have time, I recommend making a batch of homemade vegan caramel.
- Spices – For the most flavour, I am using a combination of autumnal spices that pair perfectly with the apples. You can simply use ground cinnamon if that’s all you have.
- Demerara Sugar – Optional but adds texture and crunch to the pastry edges that makes this galette super delicious.
Step-By-Step Instructions
As mentioned, I recommend splitting this recipe across two days for the best results. This also makes the recipe much more approachable as it can be easily broken down into quick and simple steps.
The day before you want to serve it, make your pie dough and the salted caramel. For more detail on the step-by-step instructions for making the dough, check out my strawberry galette recipe and my full post on making dairy-free salted caramel for all my tips and tricks.
Once you’ve made these elements, pop them in the fridge to chill until you’re ready to assemble.
Start with your apples. It’s up to you if you’d like to peel them or keep the skins on as I have. Cut the apples in half, remove the core, and then thinly slice. Place the apple slices into a large mixing bowl and toss with the spices.
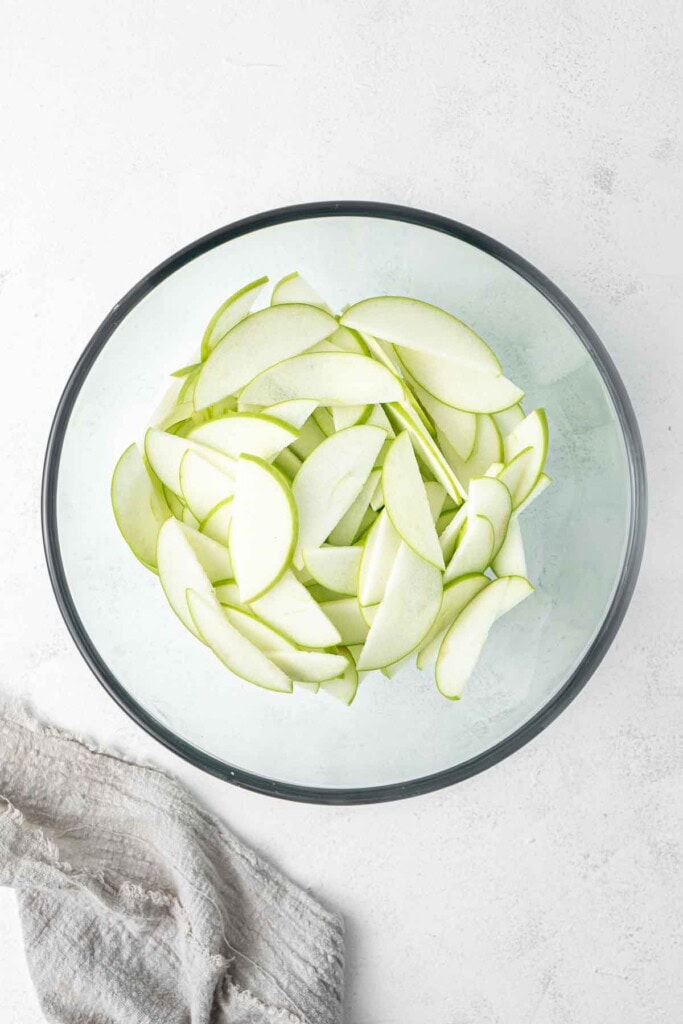
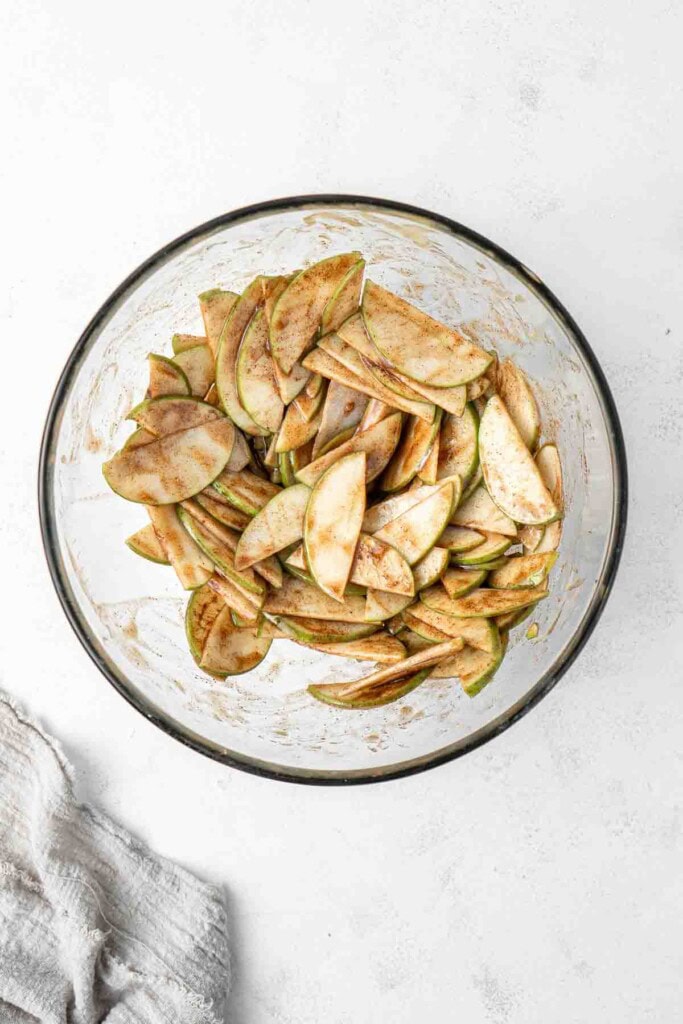
Add the caramel sauce and mix well until all of the apples are coated.
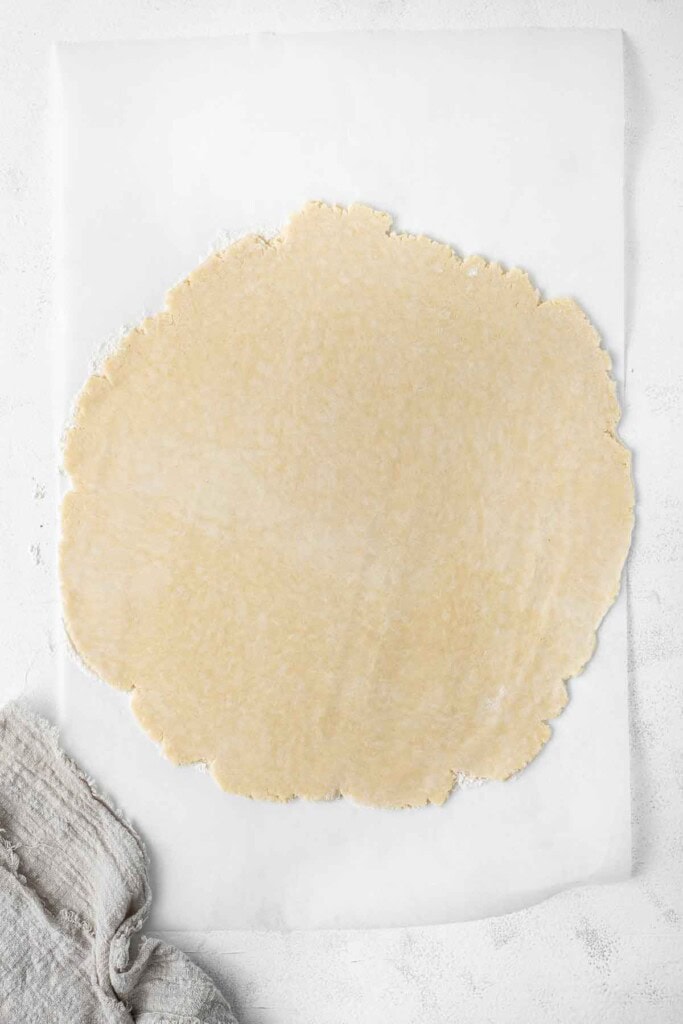
Next, roll out your pie dough on a lightly floured piece of baking paper until you have a circle that is approximately 30 cm / 12 inches in diameter.
If you have a 23 cm / 9-inch round cake pan, you can use it to very gently mark a circle in the centre of your dough to use as a guide for the filling. Otherwise, make sure to leave a couple of inches around the edges as you place your filling over the crust.
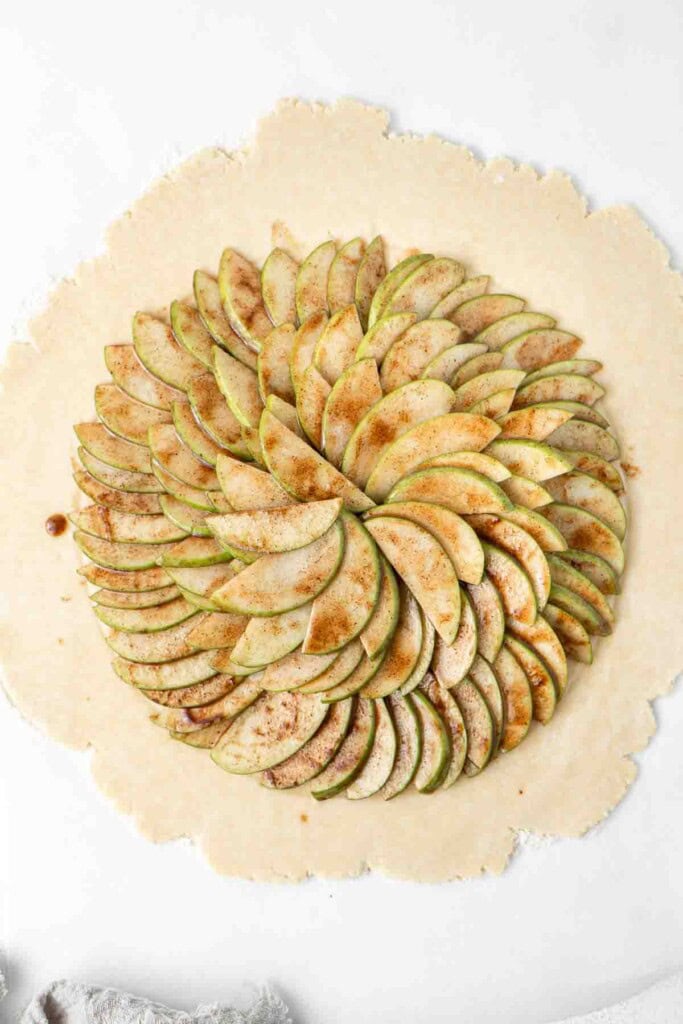
I laid my apple slices out in a circle to get the spiral pattern, but if you don’t have that patience, you can simply place the apple slices into the centre as they fall. Fold up the edges of the crust gently and press to seal.
Place the unbaked galette into the fridge for about 15-20 minutes to chill. This is going to ensure that your pastry doesn’t leak and holds its shape when baking, so do not skip this step. This is about how long an oven takes to properly preheat, so you can turn the oven on at this stage.
If you have a pizza stone, I recommend using it for this recipe to help ensure you get a crispy base and the pastry doesn’t go soggy. However, a heavy-duty baking pan will also work fine. Pop it in the oven while it preheats.
Brush the edges of your galette with a beaten egg or dairy-free milk/aquafaba for a vegan option, and sprinkle with some of the demerara sugar.
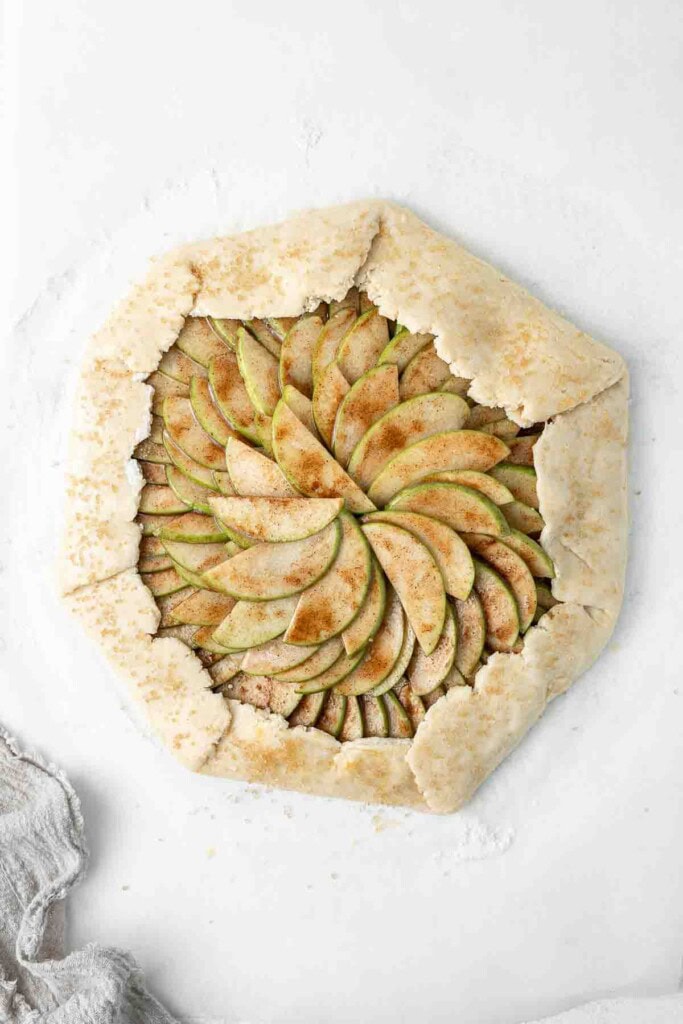
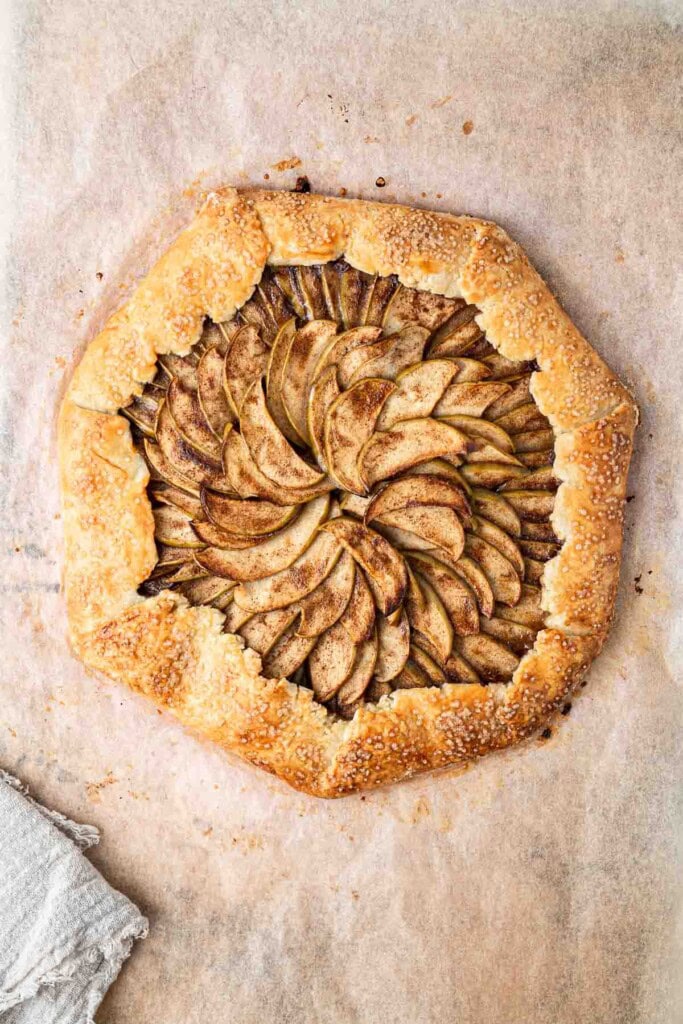
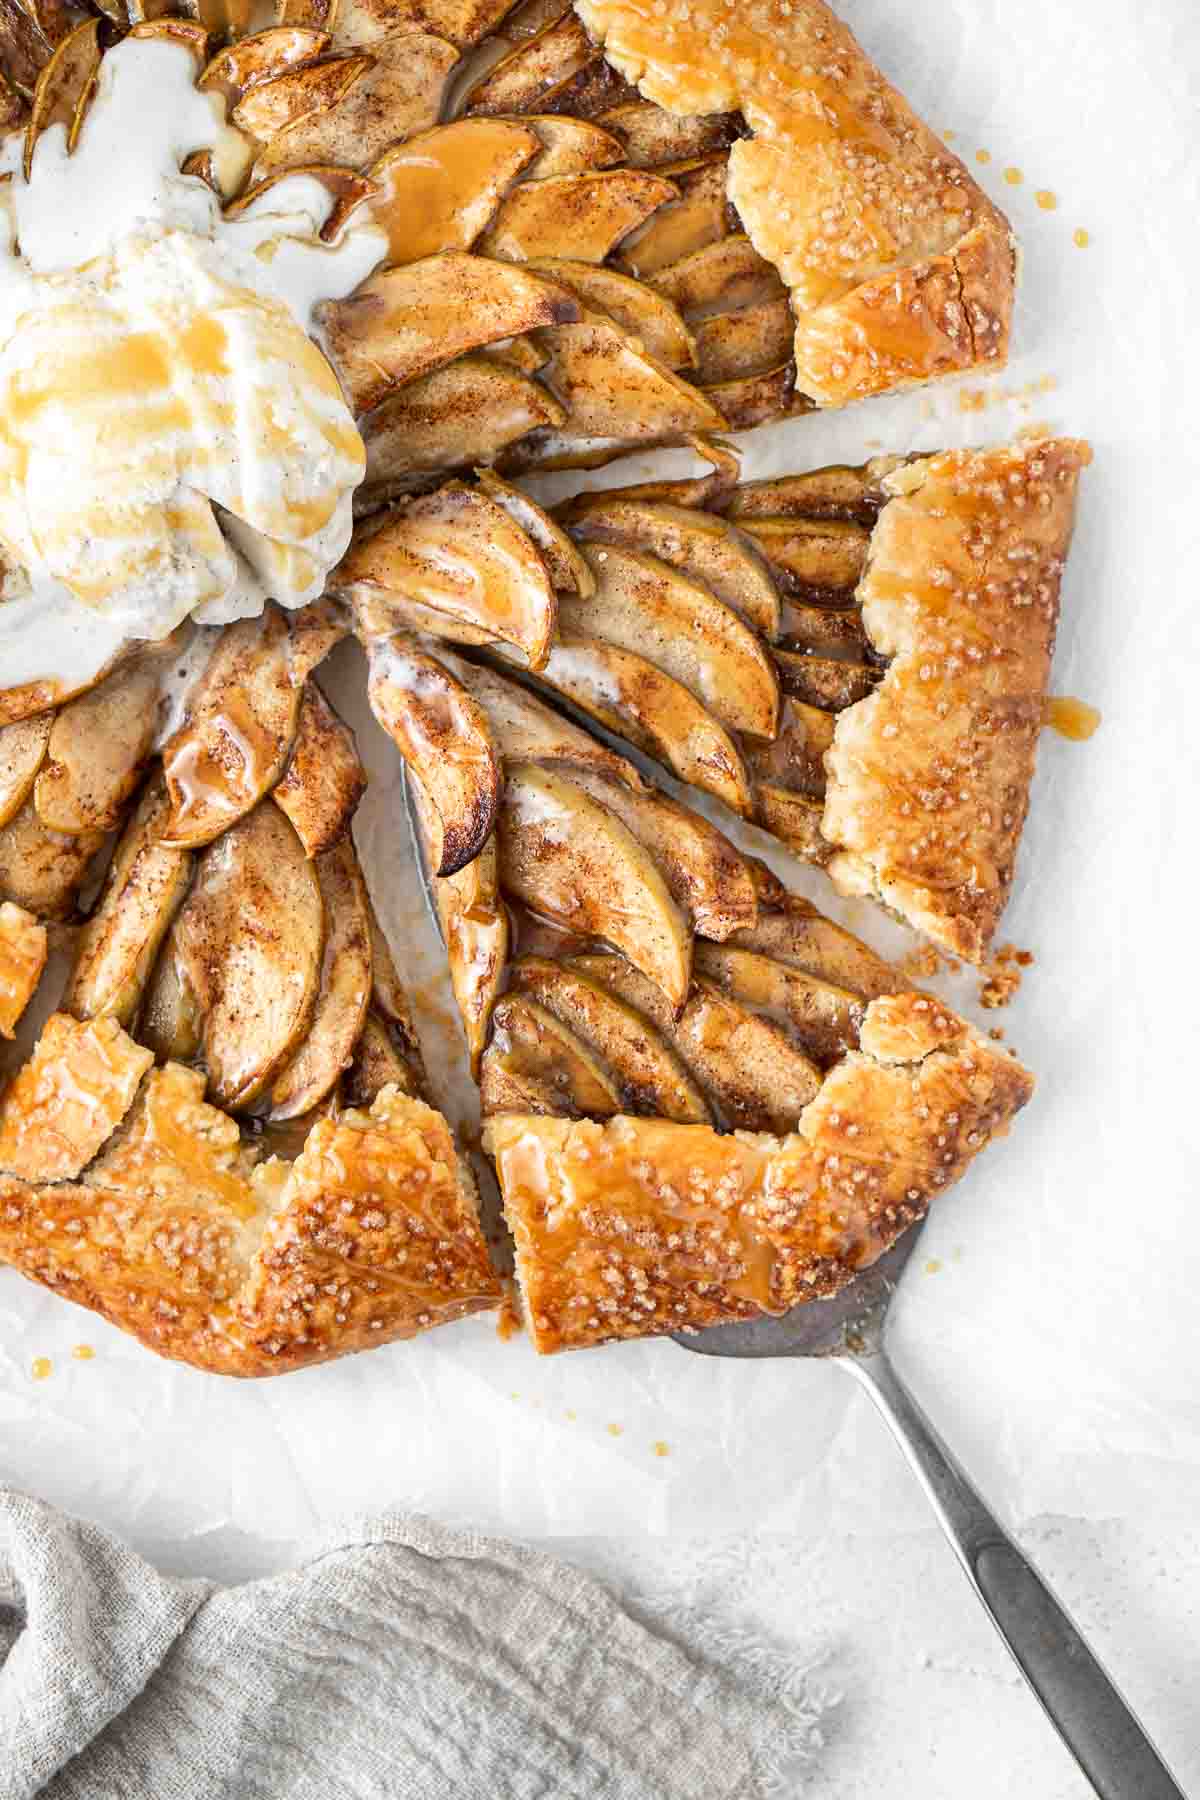
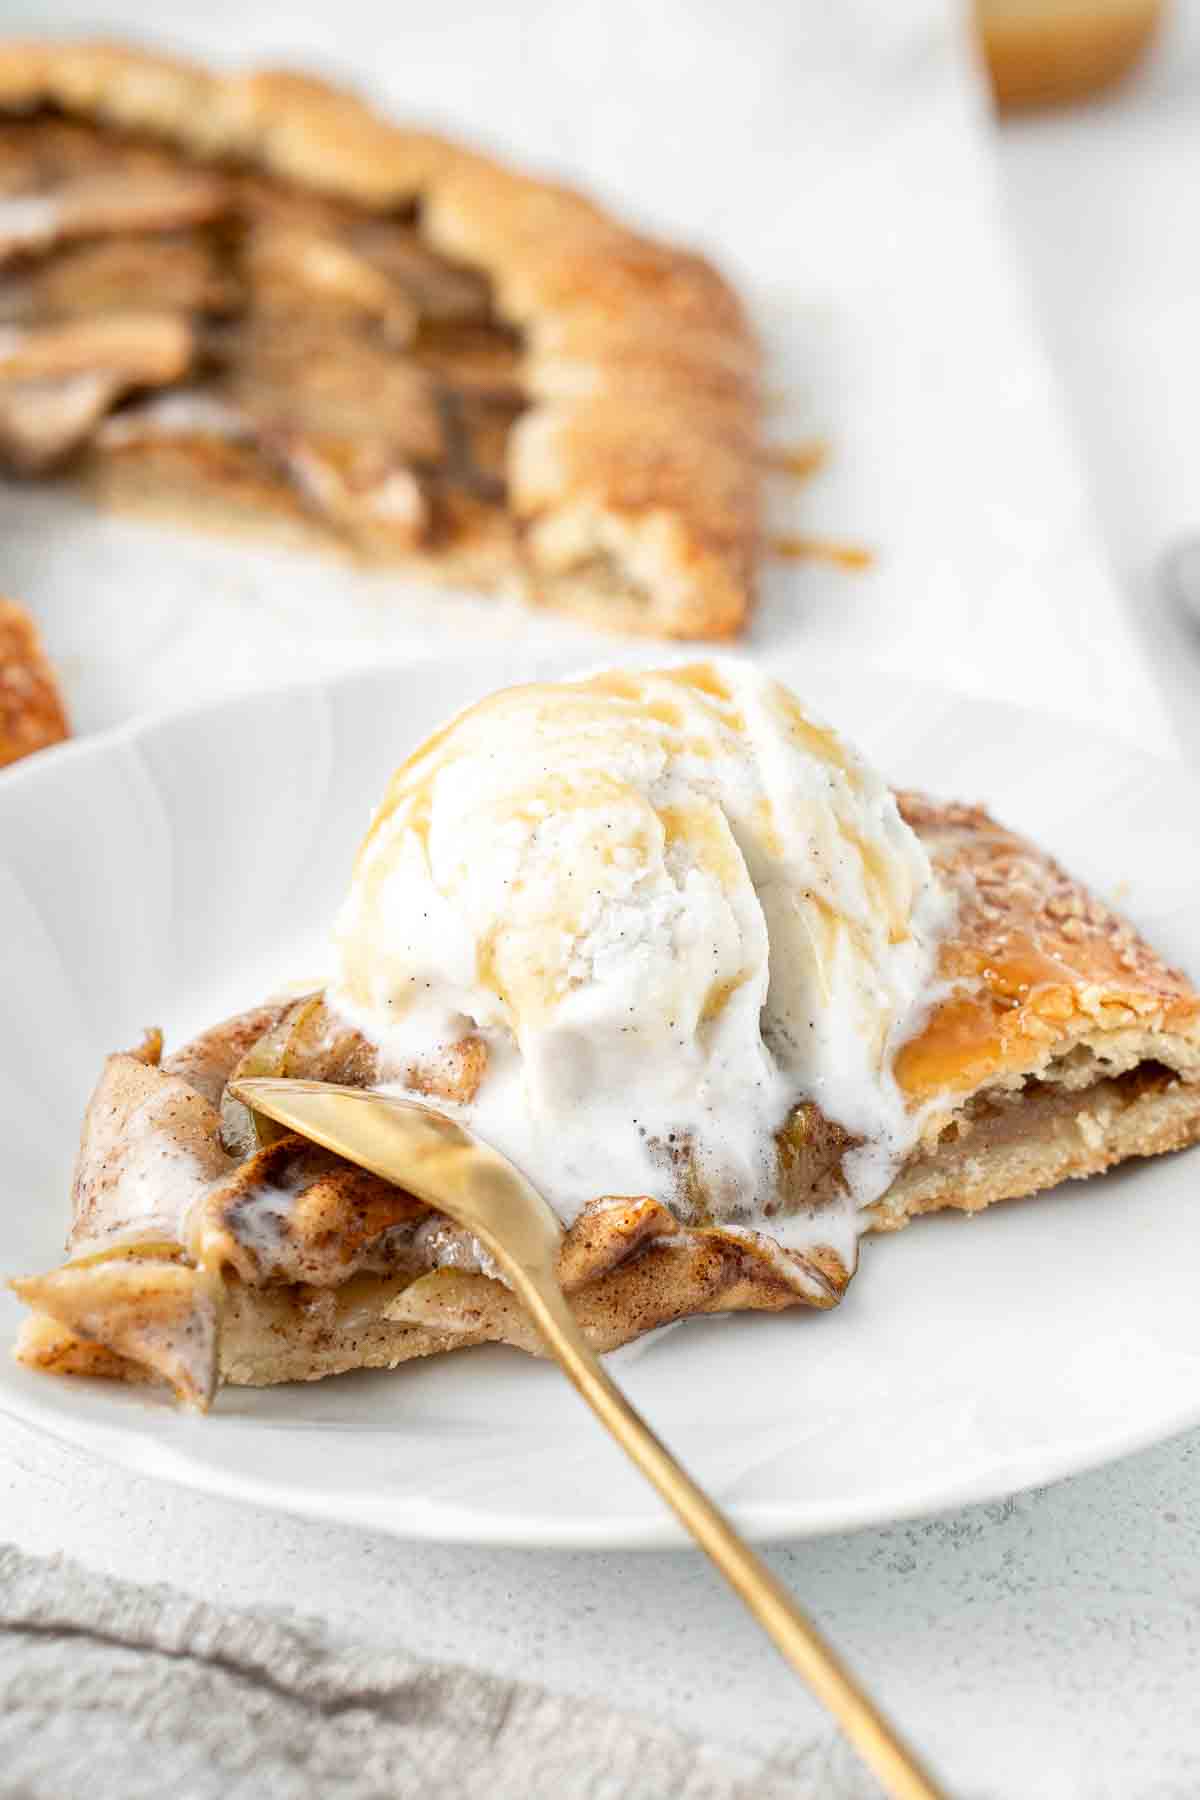
Gently slide the galette onto the heated baking tray or stone and then bake for around 45 minutes or until the edges are golden brown. Allow to cool for about 10 minutes before topping with vegan vanilla ice cream, extra caramel sauce and serving!
Recipe FAQs
You can make the pie dough and caramel sauce up to a week in advance, however, the apple filling and assembly should be done just before baking for the best results.
While this galette is definitely best served fresh and warm from the oven, leftovers can be stored in an airtight container in the fridge for 2-3 days. Reheat slices in the oven to keep the crust crispy.
This apple galette is vegan if you use my homemade caramel sauce or a vegan store-bought version and then simply omit the egg wash at the end and instead brush the edges with either dairy-free milk or some aquafaba (liquid from a can of chickpeas).
More recipes with apples:
Easy Apple Turnovers
Apple Cinnamon Bread
Vegan Apple Crumble
Cinnamon Apple Cake
Caramel Apple Galette
Ingredients
For the pie crust:
- 1 ½ cups plain flour
- 1 tablespoon white sugar
- ½ teaspoon salt
- ½ cup (125 grams) dairy-free butter cold
- 2-3 tablespoons cold water
- 1 egg lightly beaten
- Coarse sugar optional
For the apple filling:
- 2-3 apples Granny Smith, Pink Lady, or any other crisp apple variety
- ¼ cup caramel sauce
- 1 teaspoon ground cinnamon
- ¼ teaspoon ground ginger
- ¼ teaspoon ground nutmeg
Instructions
- Make the pie crust: Start by preparing the pastry crust. In the bowl of a food processor, add the plain flour, white sugar, and salt. Add in the cold dairy-free butter and pulse a couple of times until the mixture resembles coarse crumbs.
- Gradually add 2-3 tablespoons of cold water to the mixture, one tablespoon at a time, and mix until the dough just starts to come together. Ensure you only add enough water for the dough to hold its shape when pressed together.
- Turn the dough out onto a lightly floured surface and gather it gently into a ball. Flatten it slightly to form a disc, wrap it in plastic wrap, and refrigerate overnight.
- Prepare the apple filling: Cut the apples, remove the core, and slice them into thin strips. Place the apples in a large bowl and toss them with the spices, caramel sauce, and a pinch of salt until all the apples are coated.
- On a lightly floured piece of baking paper, roll out the chilled pie crust dough into a circle about 12 inches in diameter. Don’t worry about making it perfectly round; just get it as close as possible to the size.
- Arrange the apple slices in the centre of the pastry in a circle about 9 inches in diameter. Use a standard 9-inch round cake tin as a guide. Gently fold the edges of the pastry over the apples, one section at a time.
- Place the galette in the fridge for 15-20 minutes to chill while you preheat the oven to 190°C (375°F). Place a heavy-duty baking tray or a pizza stone in the oven while the oven preheats.
- Brush the edges of the galette with the lightly beaten egg using a pastry brush and sprinkle with coarse sugar.
- Slide the galette carefully onto the baking tray or stone and bake for 40-45 minutes or until the edges are golden brown. Allow the galette to cool for 10 minutes before slicing and serving with vanilla ice cream.
Notes
Nutrition
Nutritional information is provided as a guide only and is calculated using automated online tools, therefore we cannot guarantee the accuracy. We encourage you to make your own calculations based on the actual ingredients used in your recipe.

Made this recipe? Leave a review!