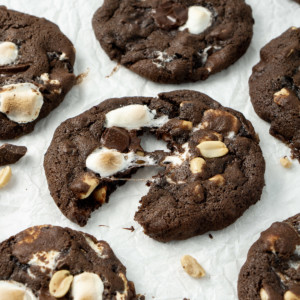
These rocky road cookies are rich and chewy chocolate cookies loaded with peanuts, chopped chocolate and mini marshmallows. They are just like a classic rocky road but loaded into a decadent cookie!
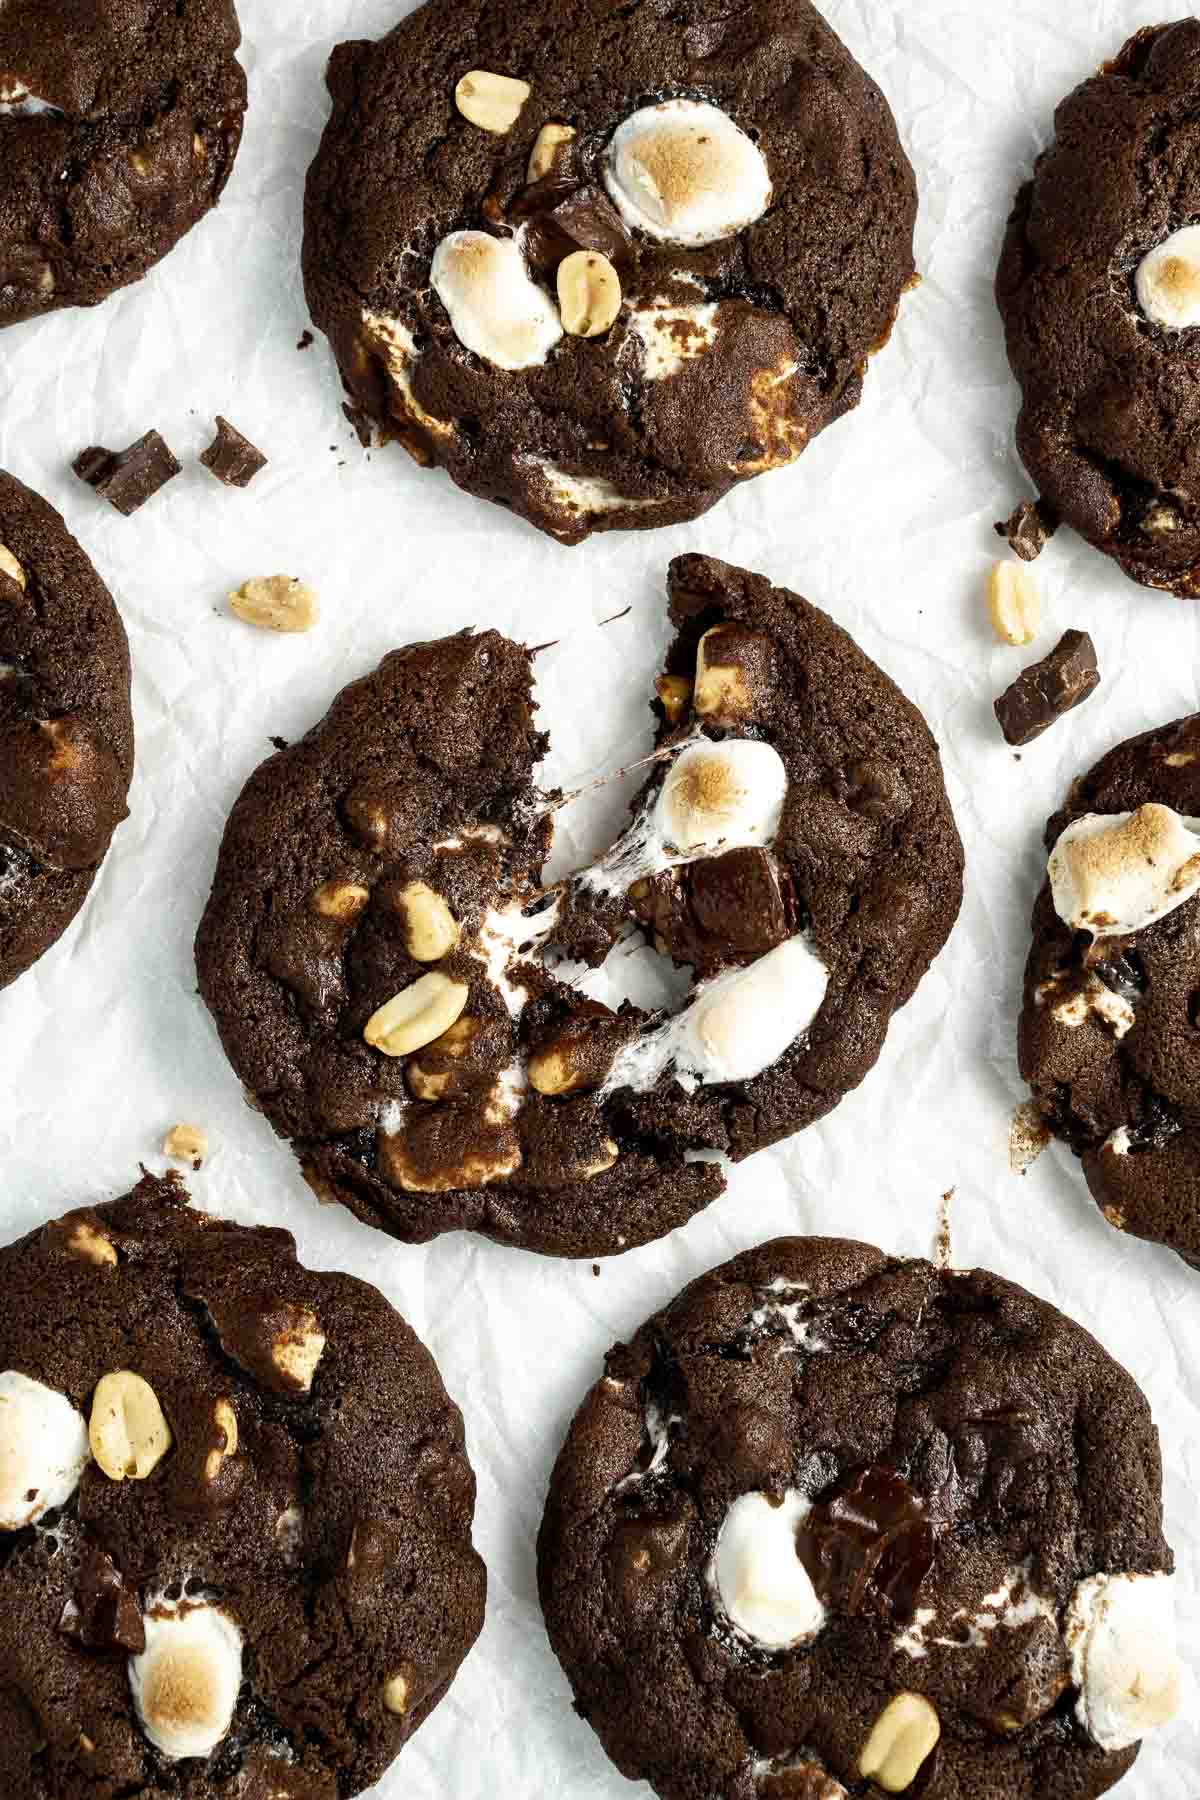
The first time I heard of rocky road cookies I was watching one of the early episodes of Gilmore Girls. Ever since then, I’ve thought about little else as I knew I needed these in my life. Yes, I only watched Gilmore Girls for the first time last year…
Maybe these are common in the US, but in Australia, I’d never heard of them before, but the idea of combining the delicious combination of ingredients from a classic rocky road into a cookie just sounded so amazing.
And the result? Probably the most delicious cookie I’ve ever made.
So what exactly are rocky road cookies? You might be familiar with the classic chocolate treat made usually around Easter or Christmas where nuts, fruits, marshmallows and coconut are mixed through melted chocolate to make the most delicious chocolate slice. I do also have a recipe for classic rocky road on my site which I highly recommend as it’s super addicting.
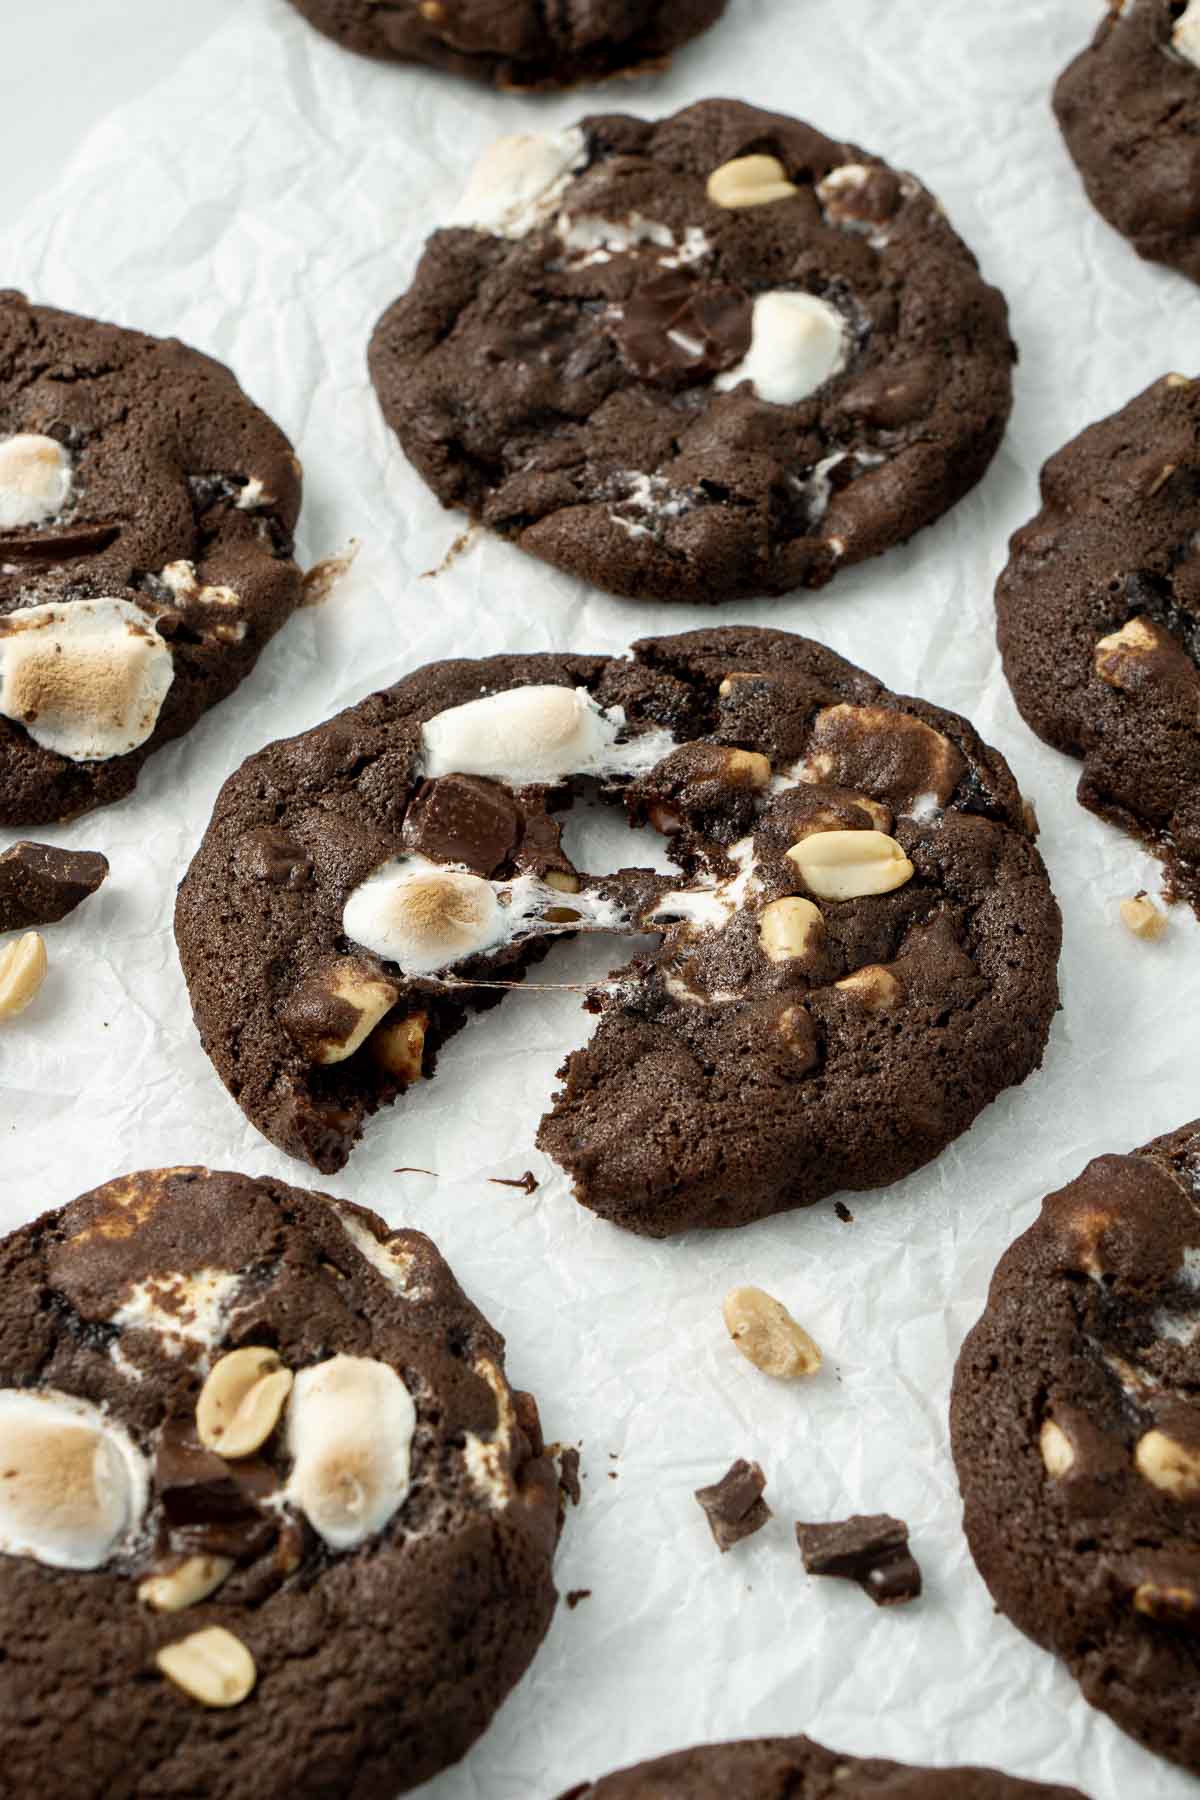
But basically, think of that flavour combo as the base then you turn it into a cookie.
This cookie is made, with a fudgy, chocolate cookie filled with peanuts, marshmallows and extra chocolate. It’s a riff on that classic recipe, but a super delicious version nonetheless.
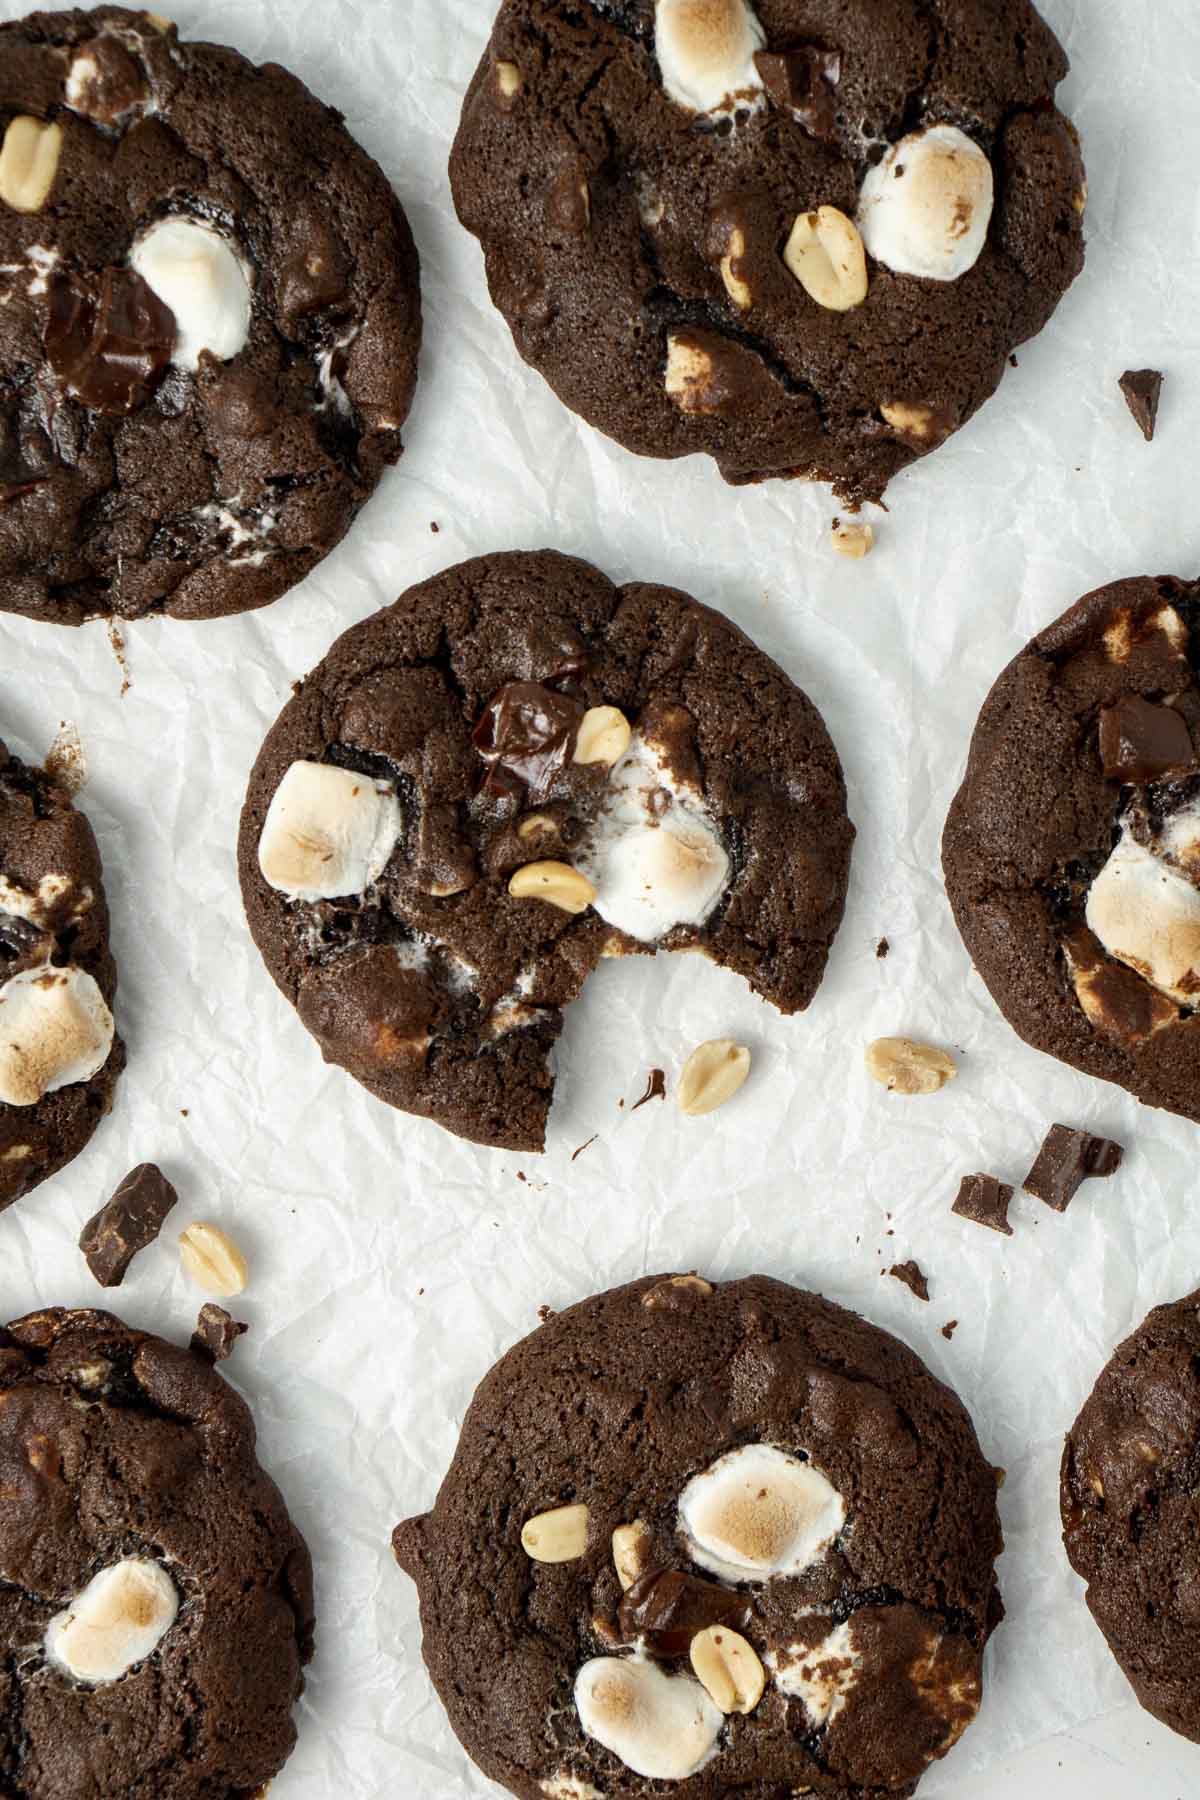
The thing that makes these cookies so special is the combination of textures. You have the sweet and sticky marshmallows, the crunchy peanuts and a soft and chewy chocolate cookie. Not to mention if you don’t let them cool all the way you get pools of melty chocolate that is just incredible.
These cookies are soft, meaning they don’t have a long shelf life so are best enjoyed on the day of baking. While I don’t see that as a problem, if you didn’t want to eat them all at once, you can pop them in the freezer for whenever you need one!
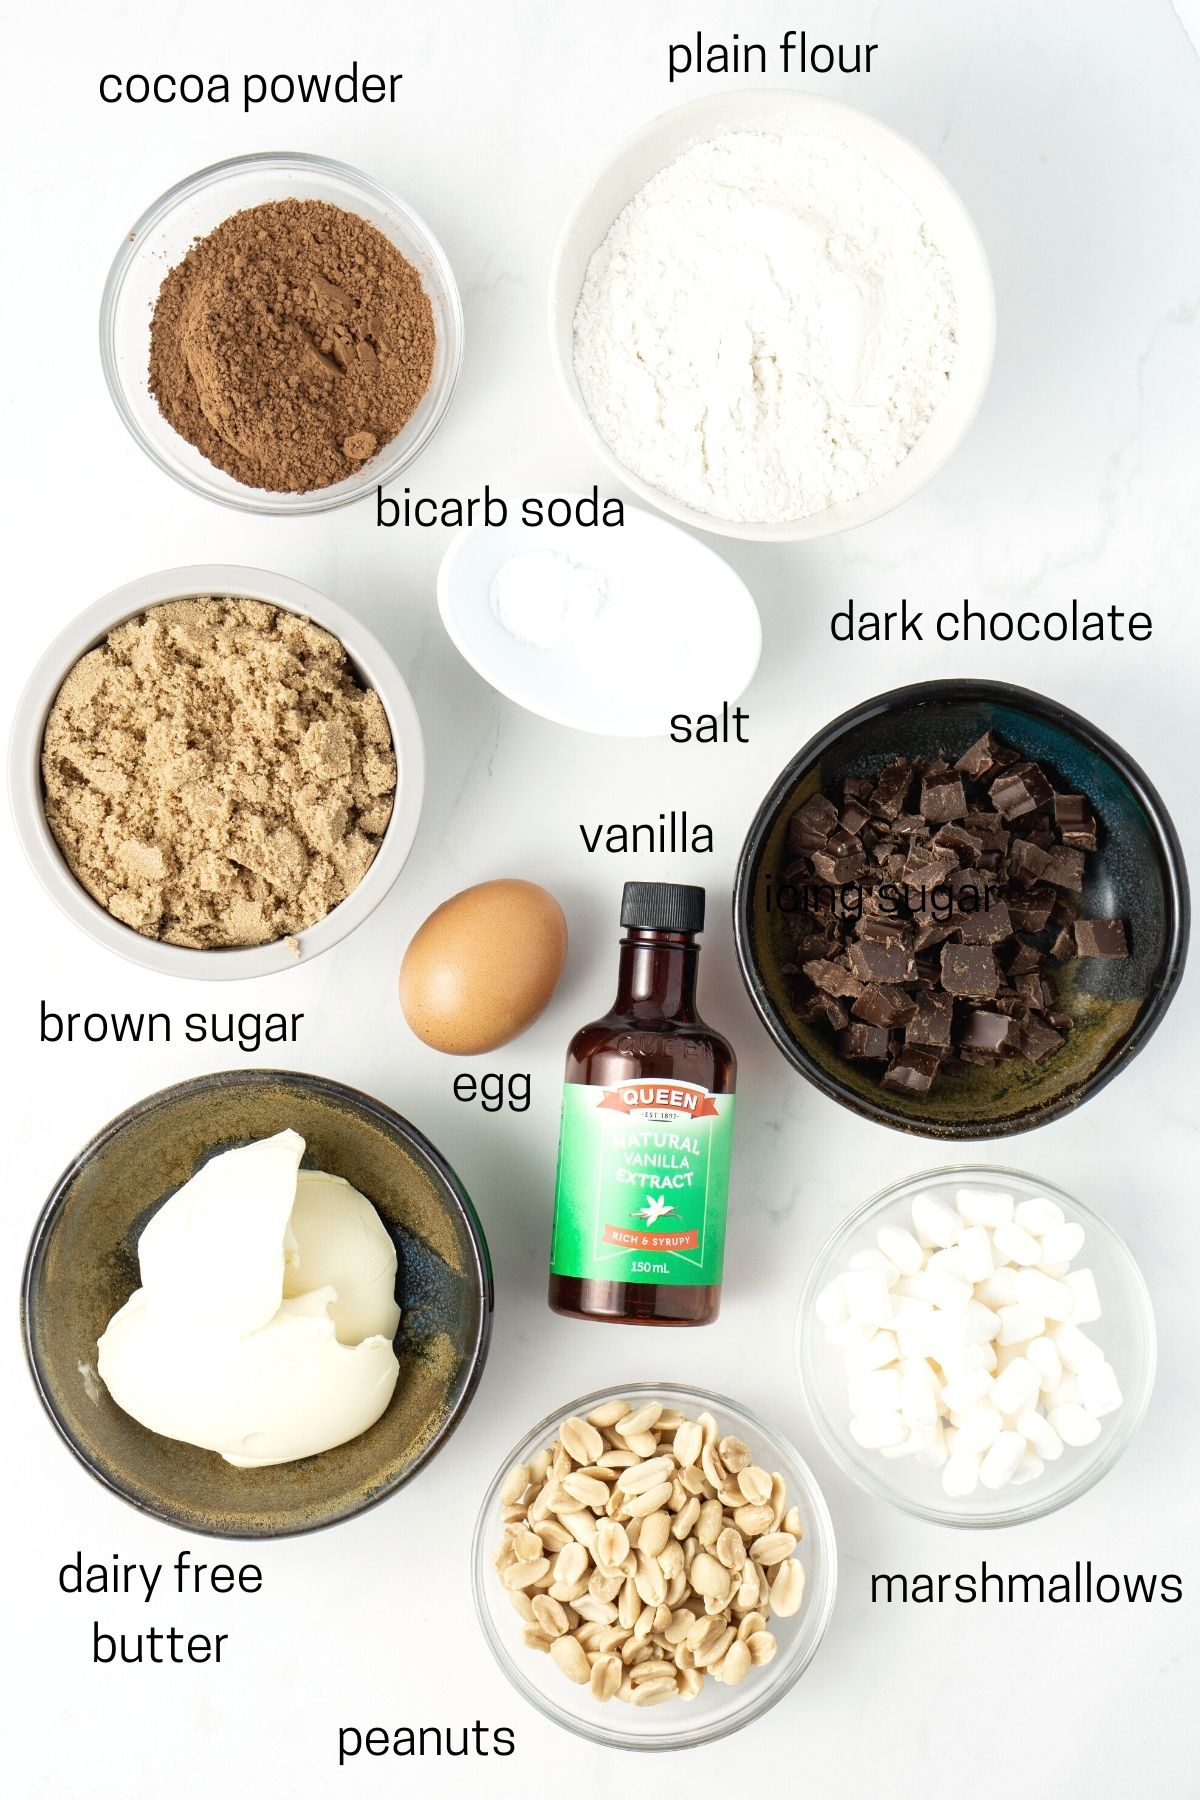
Key Ingredients
These cookies start as a basic chocolate cookie with all the usual ingredients, and then we add in the mix-ins just like a classic rocky road!
- Dairy free butter – I always use Nuttelex buttery as a dairy free butter substitute but any vegan butter will work. You will want to use it cold, straight from the fridge for this recipe.
- Brown sugar – for a rich, soft and chewy cookie.
- Egg – binds the cookie together so it doesn’t fall apart and aids in the key chewy texture.
- Vanilla extract – to enhance the chocolate flavour.
- Cocoa powder – for a rich chocolatey flavour use a good quality cocoa powder. I’ve used Cadbury Bournville cocoa powder my entire life because it’s made from the same beans Cadbury uses to make their chocolate so you know it’s going to taste good.
- Plain flour – just regular plain flour or all purpose flour in the US is used.
- Bicarbonate of soda – known as baking powder in the US, keeps the cookies soft and chewy.
- Salt – essential for flavour.
- Marshmallows – mini marshmallows are the best for this recipe but if you only have the regular sized ones, you can chop them up before mixing through the cookie dough.
- Peanuts – I use raw, unsalted peanuts. You could use chopped almonds or any other nut you like instead. Hazelnuts or macadamia’s would be amazing.
- Dark chocolate – use a good quality 70% dark chocolate block chopped up into chunks. By using chopped chocolate instead of chocolate chips you’ll end up with melty pools of chocolate which is so delicious.
Step-By-Step Instructions
This is such a quick and easy recipe coming together in just 20 minutes, you’ll need a couple of bowls, and an electric mixer (I like my handheld mixer for this recipe as it feels a bit easier/quicker, but you can use a stand mixer with the paddle attachment if you have one).
Start by mixing together all of your dry ingredients in a bowl and then set aside.
Next, cream together the dairy free butter and the brown sugar using your electric mixer. Add in the egg and vanilla and beat together until nice and creamy.
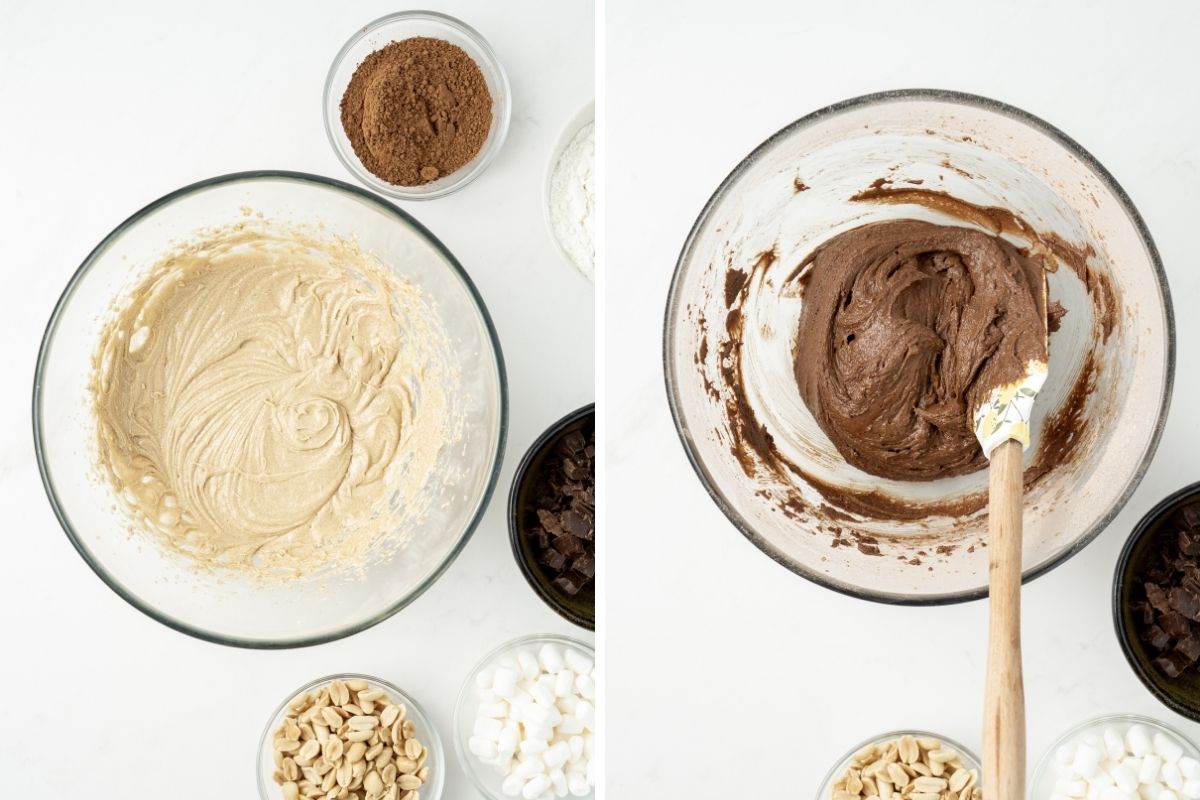
Add the dry ingredients to the wet, doing so in batches so as not to spray flour all over your kitchen.
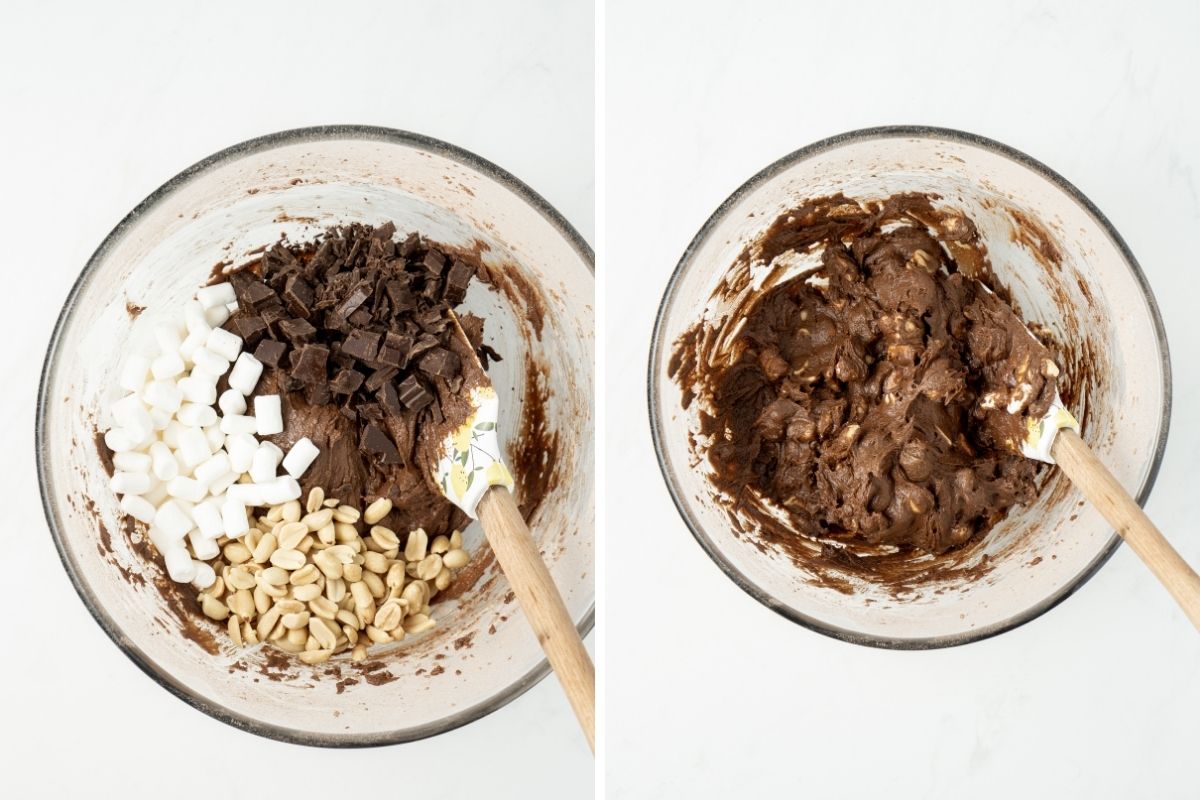
Once you have a sticky dough, add in the peanuts, marshmallows and chopped chocolate (saving a few pieces of each for toppings) and mix through using a spatula until combined.
You don’t technically need to chill this dough, but it is a sticky dough! It’s very hot where I live so I find things get too hot too quickly, so often I will pop the dough in the fridge for about 15-30 minutes, just to cool down a bit and make it a bit easier to work with.
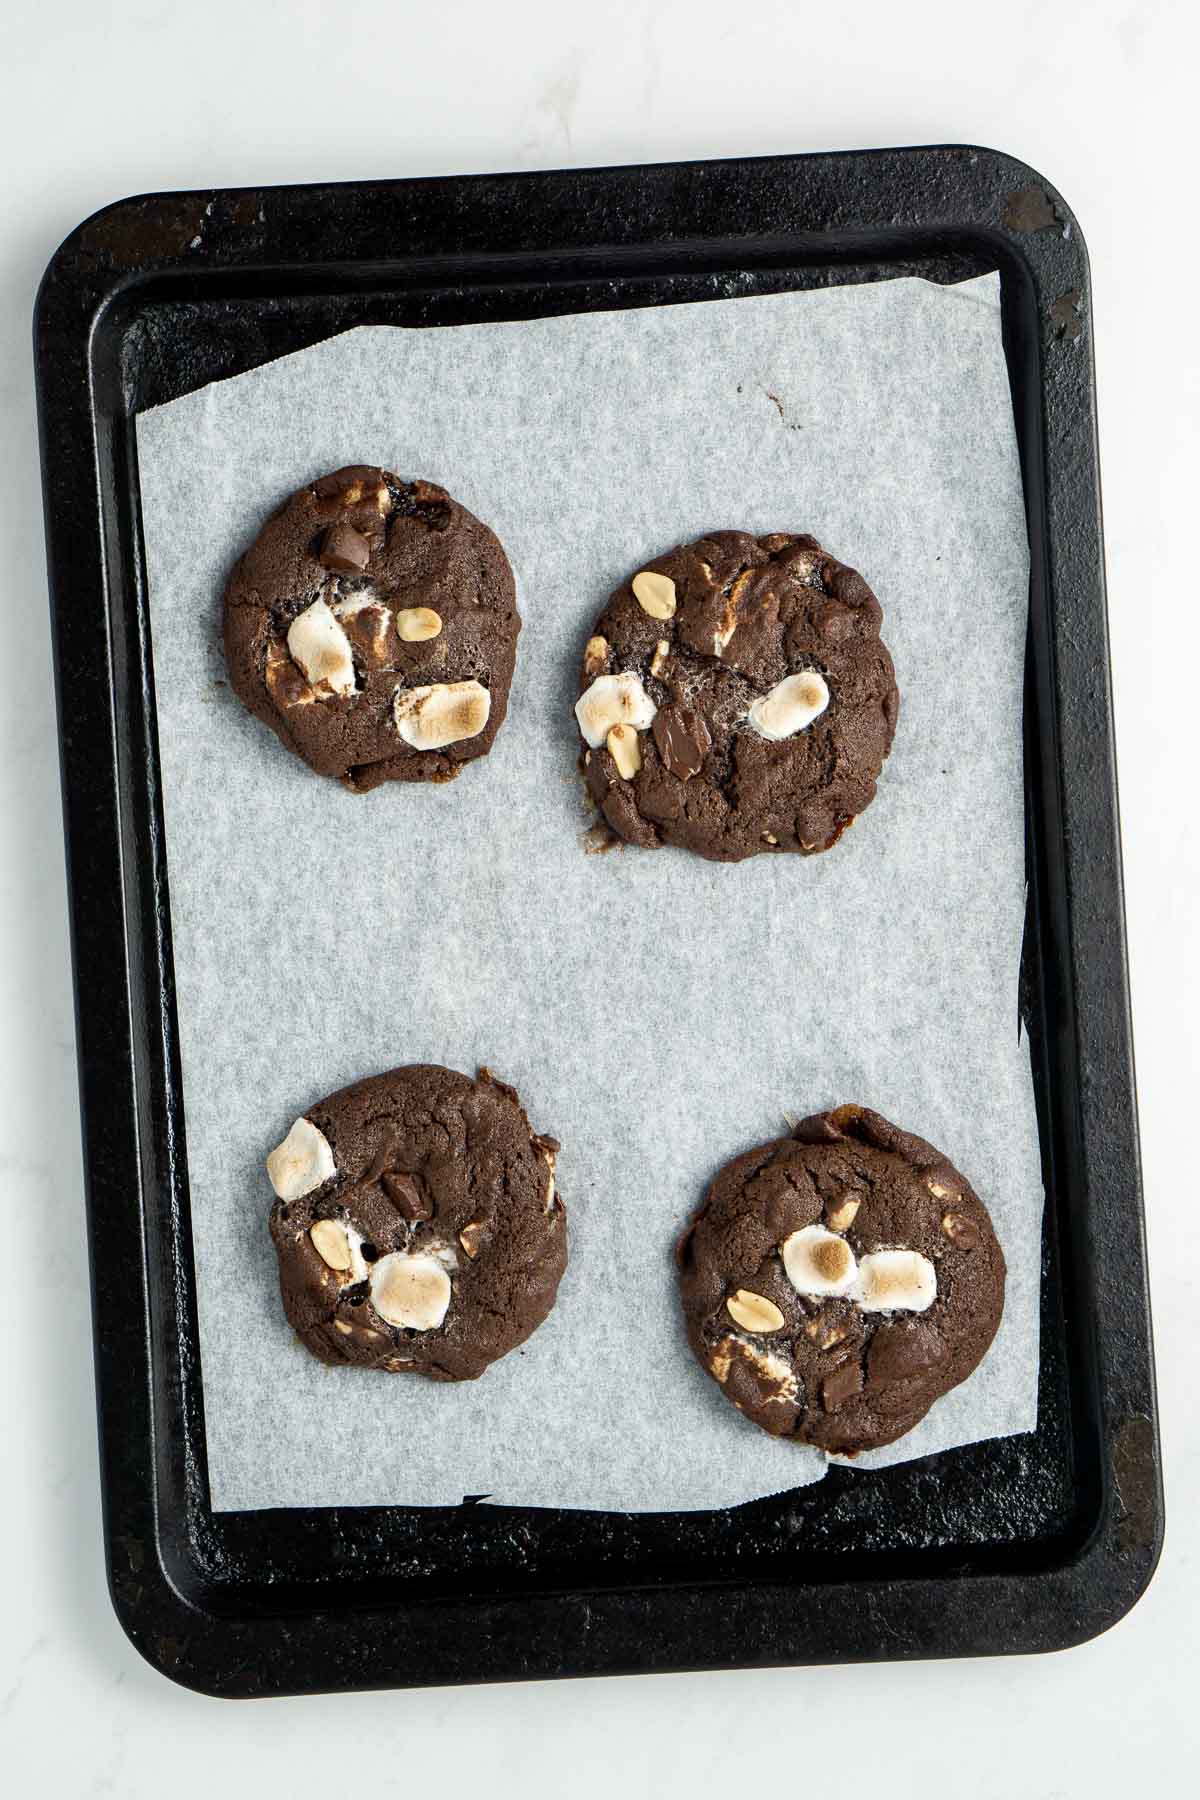
As mentioned, the dough is sticky so I like to use a cookie scoop to make working with it a bit easier and then place 2 tablespoons of dough directly onto the baking tray and then just use my fingers to shape the dough into a round/ball shape. It 100% does not need to be perfect as we can still get professional looking cookies with the following 2 tricks.
First, before baking, press extra peanuts, marshmallows and chopped chocolate into the top of the dough balls.
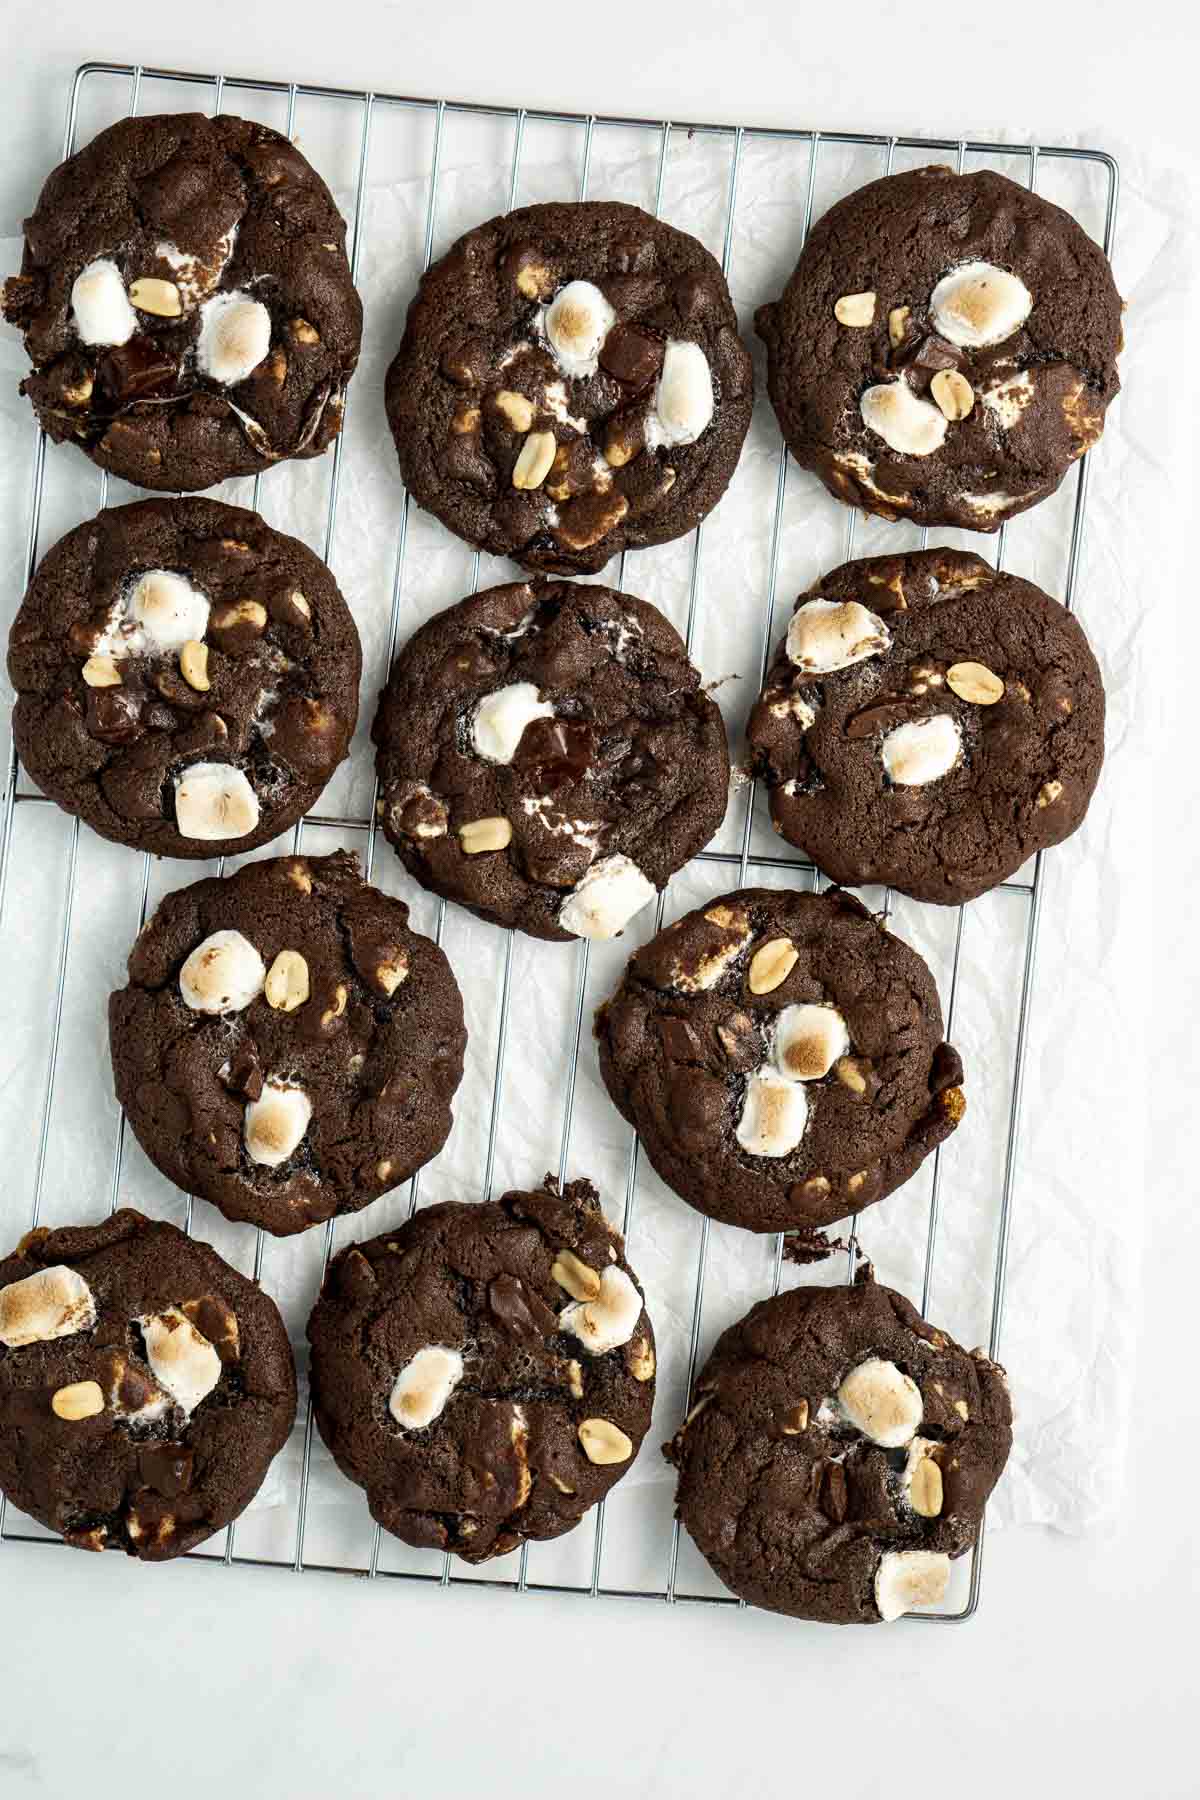
Second, as soon as you pull the tray of cookies out of the oven, use a metal dessert spoon to gently press around the edges of the cookie to shape into a more even circle. Any wonky shapes can be fixed this way. You have a very limited time to do this though before the cookies stiffen, so make sure to do it straight away.
Recipe FAQs
Yes, it is a sticky dough and you won’t really be able to roll it into a ball with your hands. Rather just scoop the dough directly onto the tray and shape with your fingers. If it’s really soft and too difficult to work with, just chill the dough for up to an hour.
You can, however I don’t recommend it. Chocolate chips are made with extra things added to prevent them from melting at high heats meaning they hold their shape during baking.
Chopped chocolate on the other hand will melt and create pools of chocolate that seep into your cookie and provide a much more delicious cookie IMO.
General rule of thumb – use the chocolate you’d be happy to eat on its own.
More classic cookie recipes:
Chewy Chocolate Chip Cookies
Snickerdoodle Cookies
Easy Chocolate Peanut Butter Cookies
Raspberry Thumbprint Cookies
Dairy-Free White Chocolate Macadamia Cookies
Rocky Road Cookies
Ingredients
- ⅓ cup cocoa powder
- 1 cup plain flour
- ½ teaspoon bicarbonate of soda
- ½ teaspoon salt
- ½ cup (125 grams) dairy free butter
- ¾ cup brown sugar
- 1 egg
- 2 teaspoons vanilla extract
- ½ cup mini marshmallows
- ½ cup peanuts
- ½ cup chopped dark chocolate
Instructions
- Preheat the oven to 180°C and line 2 baking trays with baking paper. Set aside.
- In a medium bowl, whisk together the cocoa powder, flour, bicarbonate of soda and salt until combined. Set aside.
- In a large bowl, add the dairy free butter and brown sugar and cream together using an electric hand mixer. Once combined, add in the egg and vanilla extract and continue mixing until well combined.
- Add the dry ingredients to the wet, a little at a time beating between each addition until a soft dough forms.
- Add the mini marshmallows, peanuts and chopped chocolate (setting aside a few pieces of each for toppings) to the bowl and use a spatula to combine. The dough should be pretty sticky however if it’s too soft to work with, place the bowl in the fridge for 30 minutes to an hour to chill. I don’t recommend chilling the dough longer than this as the cookies won’t spread enough.
- Scoop about 2 tablespoons of the cookie dough onto the baking sheet and shape into a rough ball using your fingers. Make sure there is enough space between each to allow for spreading in the oven. Press a few extra marshmallows, peanuts and chocolate pieces into the top of each mound of dough.
- Bake in the preheated oven for about 10 minutes, or until the cookies have flattened and the marshmallows on the top have browned slightly. Let cool on the baking tray for a few minutes to allow them to firm up before transferring to a cooling rack.
Notes
Nutrition
Nutritional information is provided as a guide only and is calculated using automated online tools, therefore we cannot guarantee the accuracy. We encourage you to make your own calculations based on the actual ingredients used in your recipe.


Made this recipe? Leave a review!