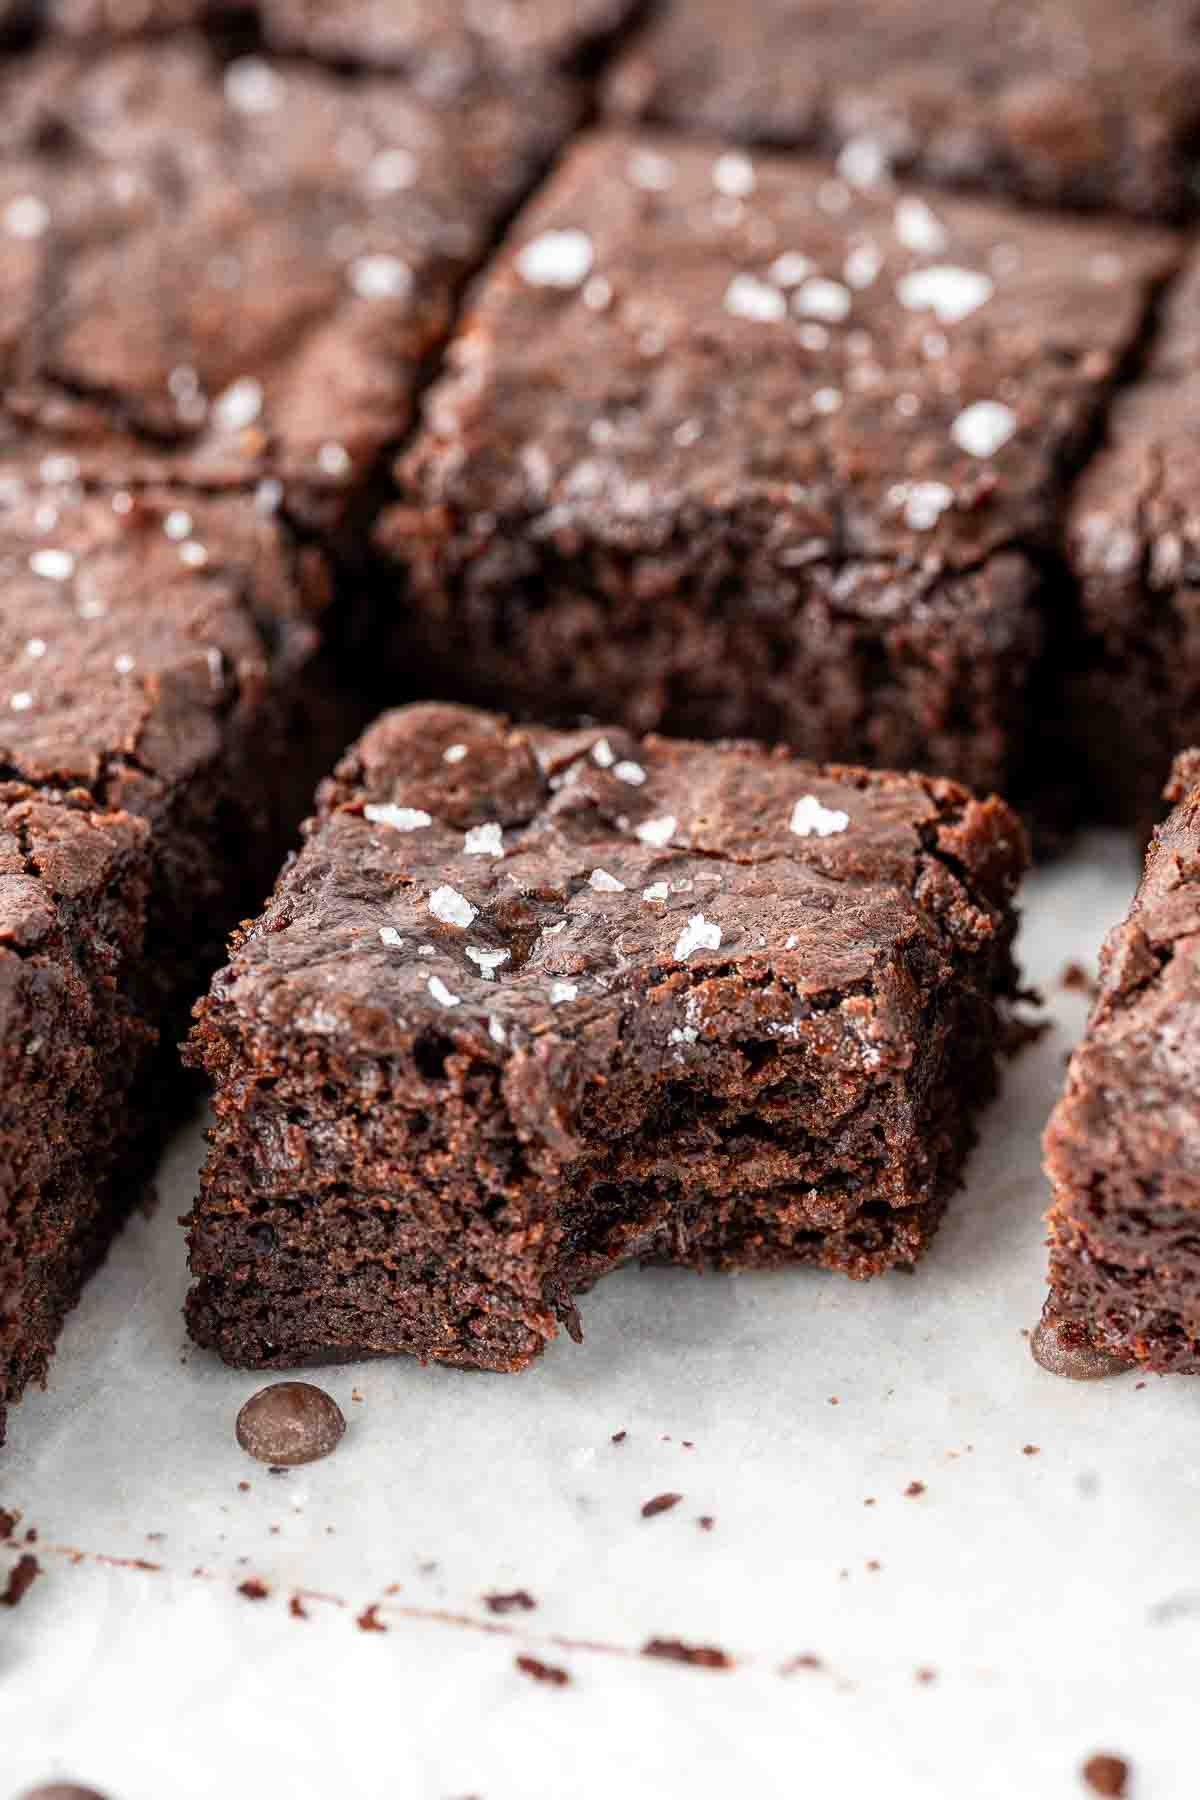
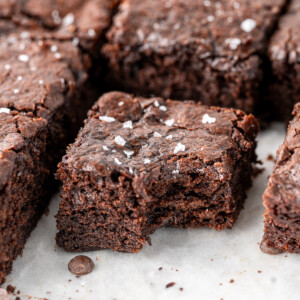
These are the best vegan brownies! They are super easy to make and create brownies that are full of rich chocolate flavour and the perfect fudgy texture with a shiny top. This recipe is made vegan, dairy free and gluten free making it the ultimate dessert for a range of dietary needs.
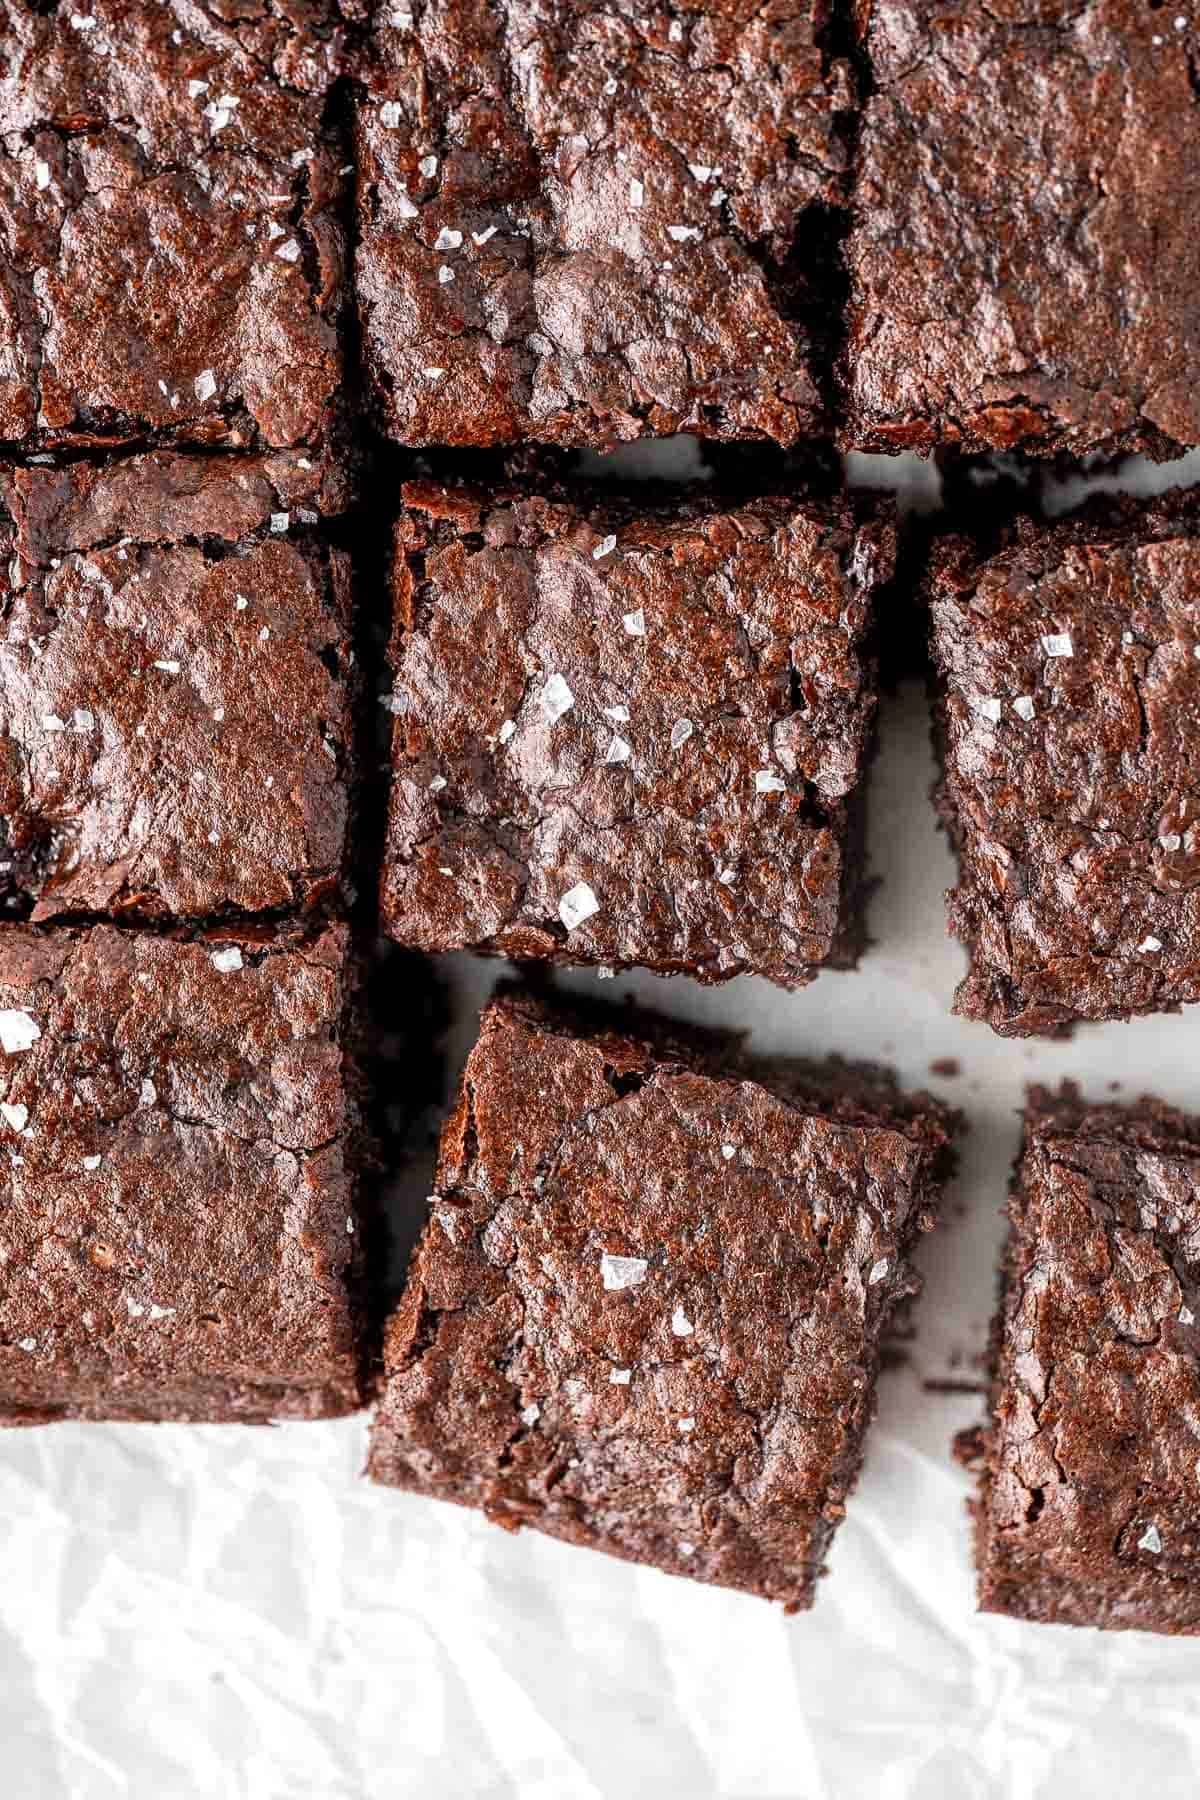
Now some recipes I test more than others, and this one had A LOT of testing (my freezer is well stocked!). I originally had a vegan brownie recipe on the site and while it was good, I wanted it to be great. So, I tested and retested keeping the foundations of my original recipe but tweaking a few ingredients until I found the perfect, soft, rich, gooey, fudgy chocolate brownie.
And after many, many batches of brownies, I am so excited to share that I found it and it’s so delicious you’d never know these brownies are free from gluten, dairy and eggs. That’s right, we’re talking about a delicious and decadent dessert that is ticking a few of the key allergy friendly boxes. Oh and they can also be nut free as well.
That’s right, everyone gets a brownie!
Through all of my testing I realised that brownies can be very forgiving when it comes to taste. Pretty much all of my batches tasted good, but where we struggled was texture and I found that there were a couple of key ingredients and methods that ensured a perfect, fudgy brownie with that shiny top every time.
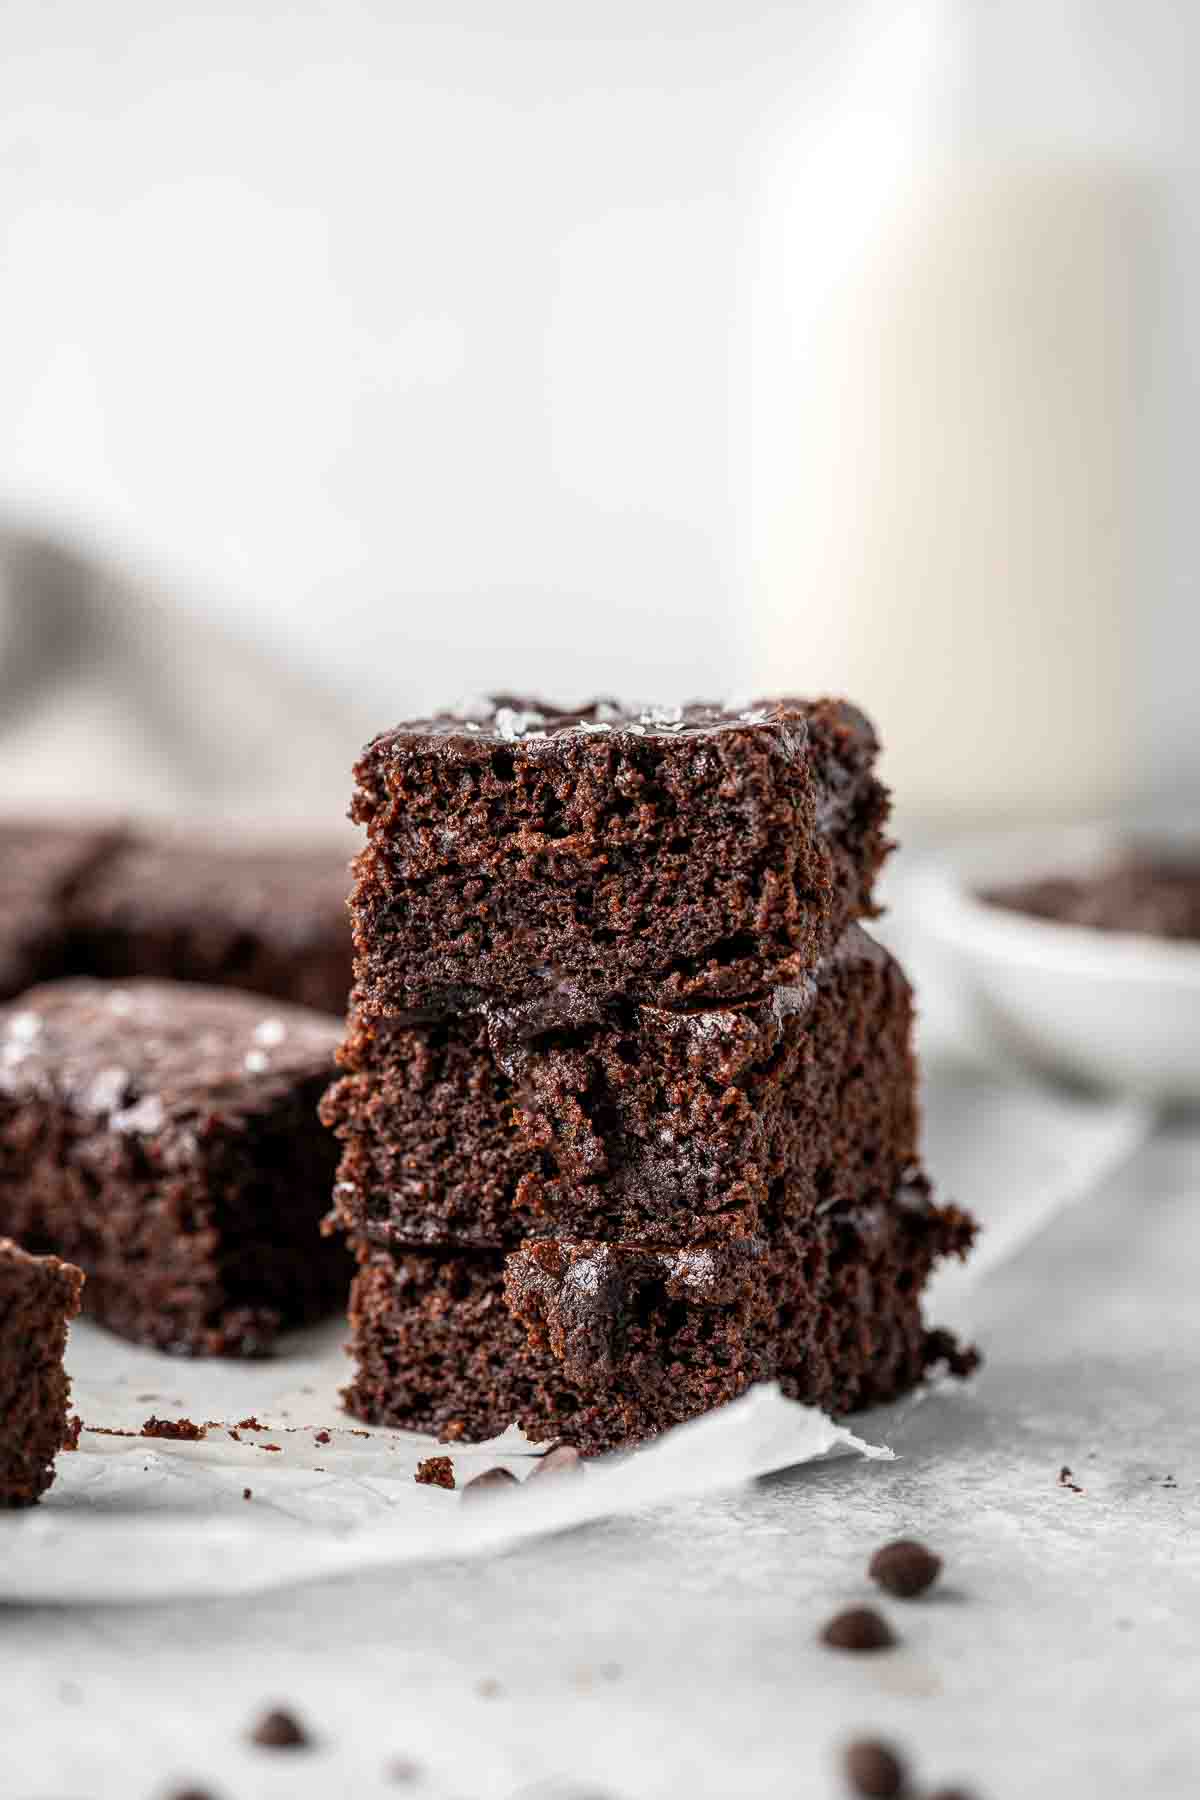
Now to be clear, much like the original vegan brownie recipe I shared, this is not one that is trying to be healthy. No black beans, avocado or sweet potato (what?) will be found here, just a good quality, traditional rich chocolate brownie using simple ingredients. No one will even know they are vegan!
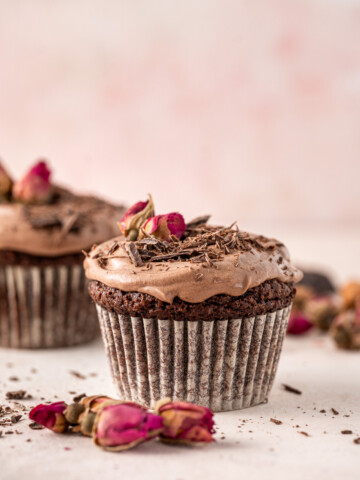
If you need more classic chocolate recipes made vegan, make sure to also try my one bowl vegan chocolate cake or vegan chocolate cupcakes.
Key Ingredients and Substitutions
As I mentioned, I tested this recipe…a lot. So the ingredients listed are quite specific to achieving the outcome that I deem to be the best for taste and texture. However, if you need to swap or change it up, I will give you those options below but know that while the brownie will still taste good, the result will be different to the recipe as written.
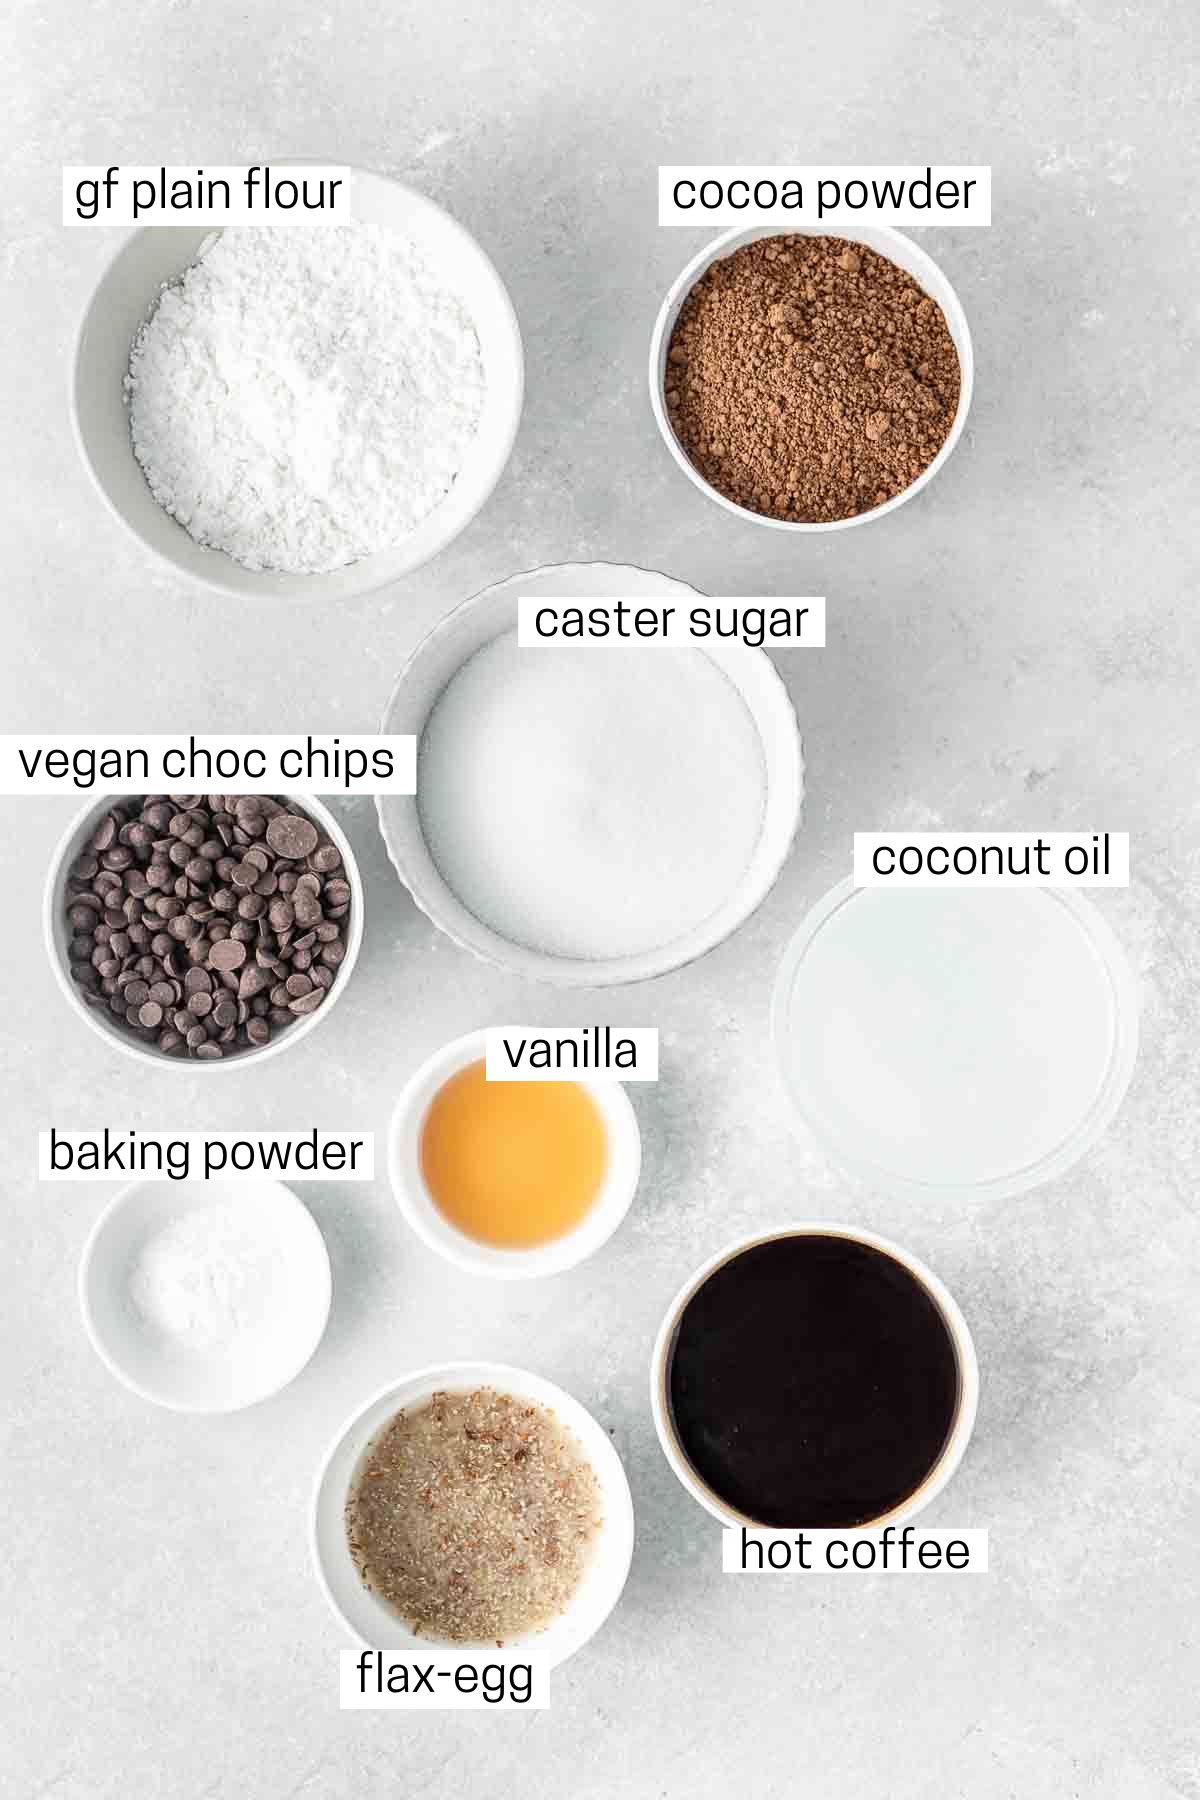
Note all ingredients and their quantities are laid out in the recipe card at the bottom of this post.
- Caster sugar – the key to the shiny top of these brownies is dissolving the sugar and caster sugar makes this a lot easier to achieve as it’s so fine. You can substitute with regular white sugar however and just mix for a little longer.
- Coconut oil – for the softest texture and a really moist brownie. I found coconut oil to have the best flavour. As a substitute if you have a coconut allergy is to use melted vegan butter which will yield a slightly more cake-like texture. I don’t recommend using canola or any other vegetable oil as the brownies end up too oily in taste.
- Vanilla extract – all chocolate recipes need vanilla extract to enhance the richness of the chocolate flavour.
- Flax-egg – this typical egg replacer made by combining flaxseed meal with water to create a gel-like consistency works really well to hold the brownies together. There is no taste due to the richness of the chocolate flavour in this recipe, however if you want to omit you can – your brownies will just have less structure (they may fall apart) but will still have the same incredible taste.
- Coffee – I like to use hot coffee as the main wet ingredient for this recipe for a few reasons, none of which is making these brownies taste like coffee. First, the coffee just enhances the chocolate flavour meaning we get that rich taste without needing to add melted chocolate to the batter. The second reason is that the heat helps to dissolve the sugar which gives us that shiny, crackle top. You can replace it with a plant-based milk but your brownies will have less flavour and be a little more cake-like.
- Gluten free plain flour – I am not personally gluten free but I think the texture of gluten free brownies is better as they seem to be fudgy-er. You can use regular plain flour (all purpose flour) however if you prefer.
- Baking powder – while the flax-egg helps give the brownies the structure that would come from an egg, it doesn’t give the lift. Therefore we’re adding a little baking powder. You can use self-raising flour instead of the combination of plain flour and baking powder.
- Cocoa powder – as this is the key ingredient for the flavour of the brownie, you want to use a good quality cocoa powder. I’ve used Cadbury Bournville cocoa powder my entire life because it’s made from the same beans Cadbury uses to make their chocolate so you know it’s going to taste good.
- Dairy free chocolate chips – I’ve used Pana Organic chocolate chips as they are vegan and gluten free but I’ve also had really good results using chopped dark chocolate. Adding the chocolate chips to the brownie also helps the taste, texture and the shininess of the top so don’t skip it!
Step-By-Step Instructions
I love making brownies because you don’t need any fancy equipment. This is a one bowl brownie recipe, so grab a mixing bowl and a whisk. You will also need a square baking tin, 20×20 cm or 8×8 inch. If you have a 23cm or 9 inch square pan, that will work but your brownies won’t be as thick.
Before you start, prepare your flax-egg by mixing together the flaxseed and water together in a small bowl and let sit for 5-15 minutes.
Next prepare your baking pan by giving it a light spray with cooking oil and then lining the base and sides with baking paper and another light spray of oil, leaving a slight overhang so you can use it to easily lift out the brownies once cool.
In your mixing bowl, add the melted coconut oil (it can still be warm from melting it in the microwave) and the caster sugar. Start whisking vigorously to combine. Add in the hot coffee and vanilla extract and continue whisking until the mixture is frothy and the sugar is dissolved. This step is really important as it’s going to be what gives the brownies that shiny, crinkly top.
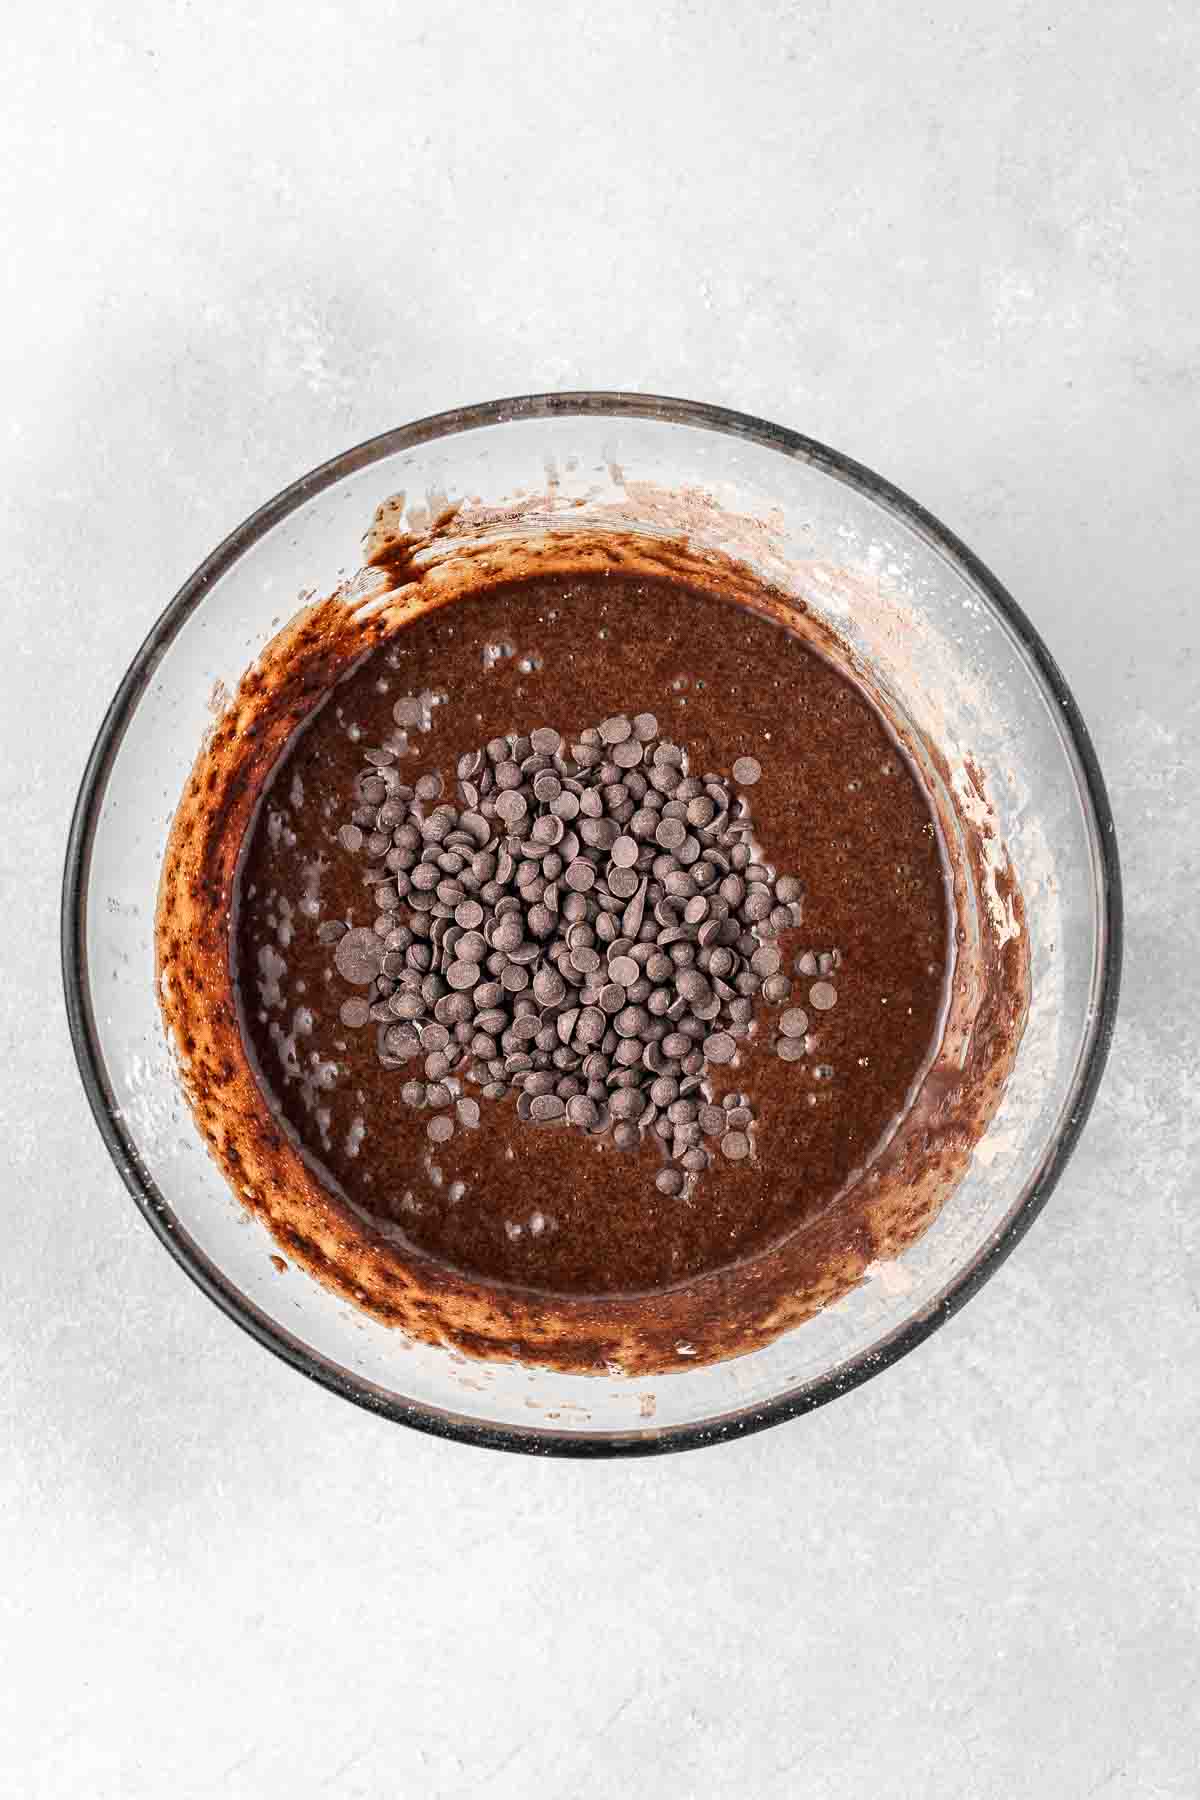
Add in the flax-egg and mix it through to combine. Add your dry ingredients straight into the bowl and mix well to combine until you have a thick, shiny batter. Add the chocolate chips and mix through using a rubber spatula.
Pour the batter into the baking pan and place in the oven for 20-25 minutes or until a skewer inserted comes out with just a few moist crumbs. Baking times will vary depending on your oven so check around the 20 minute mark and go from there. In my oven, 22 minutes is perfect.
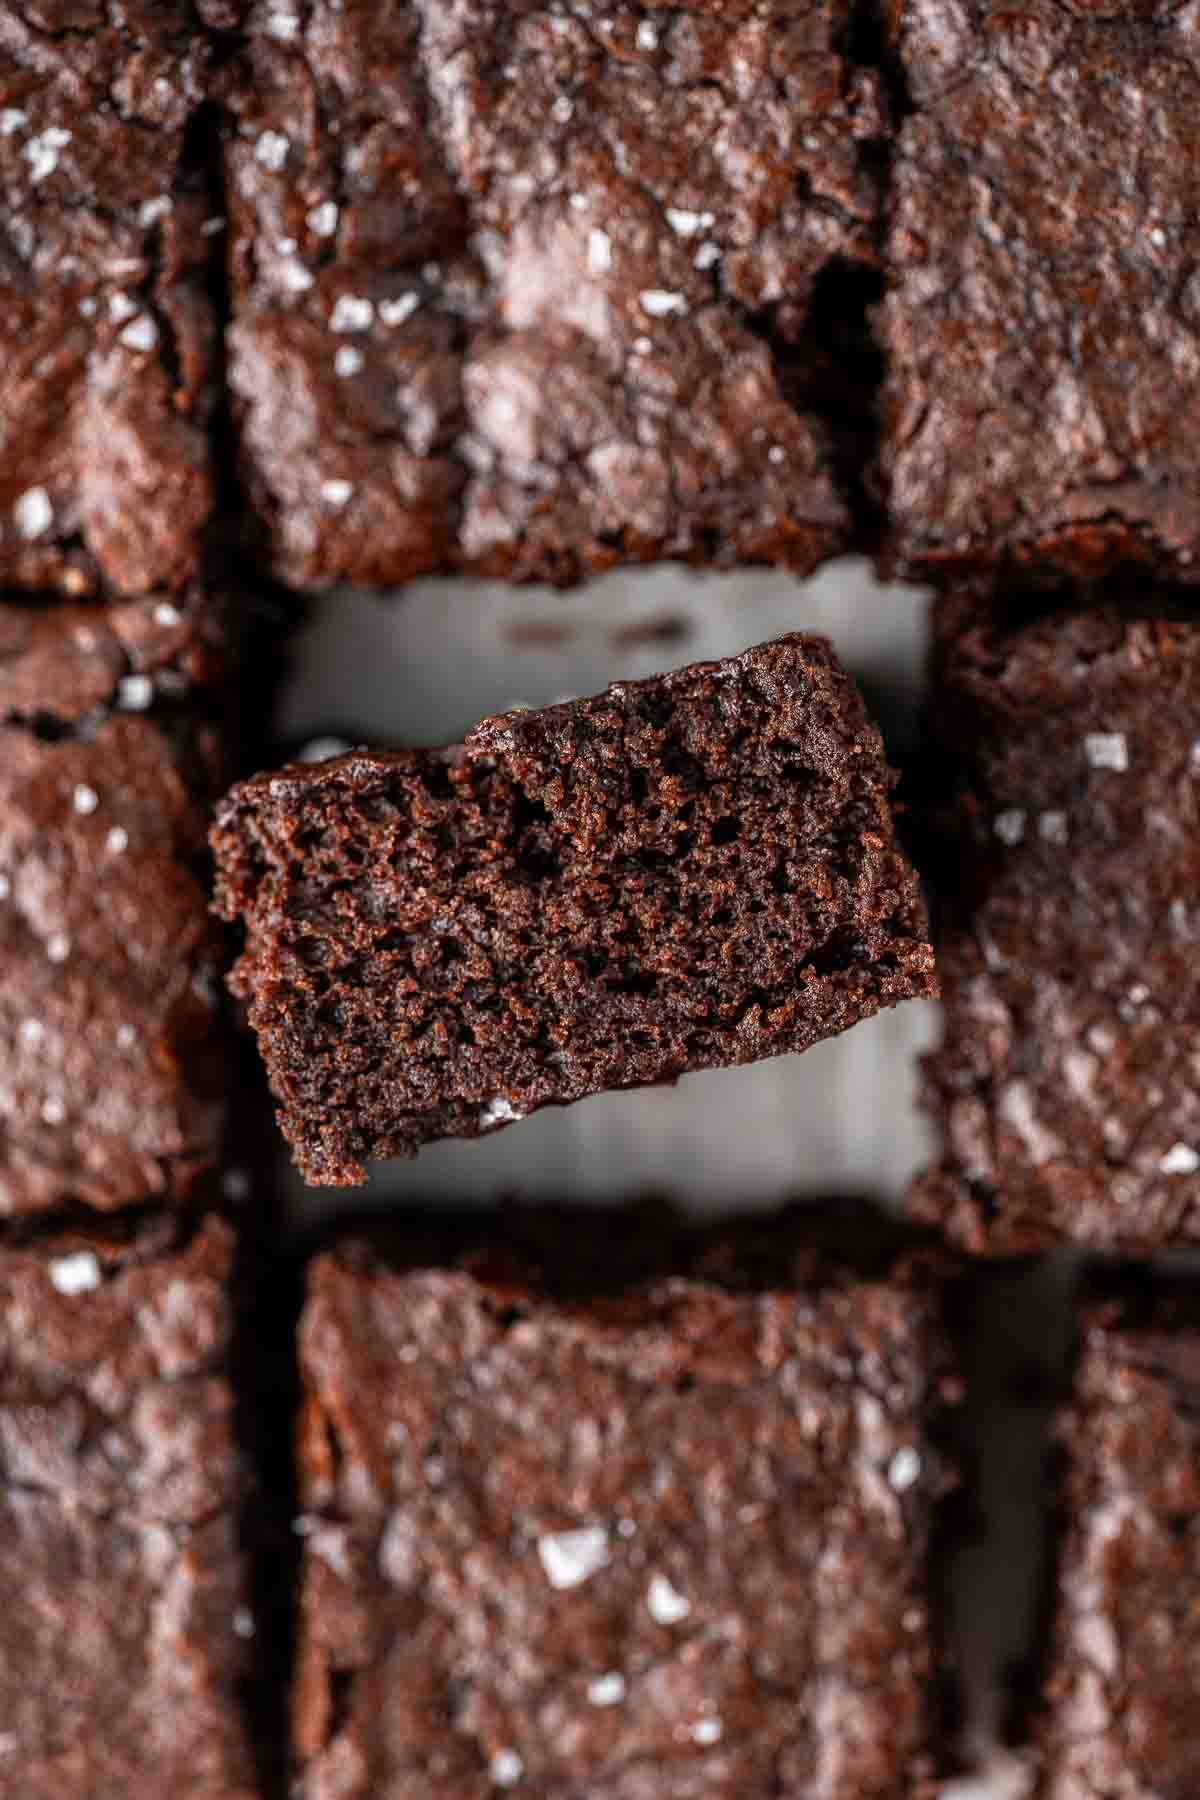
Now this is the hardest part because freshly baked brownies smell incredible, let the brownies cool completely in the pan before lifting them out using that overhang of baking paper and slicing into 16 squares.
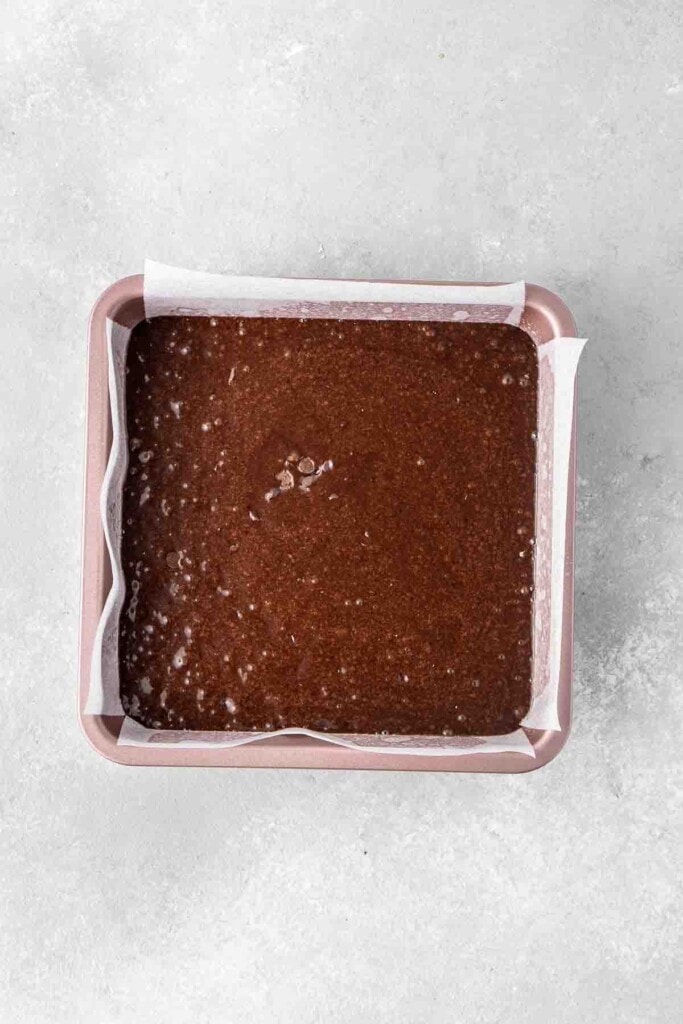
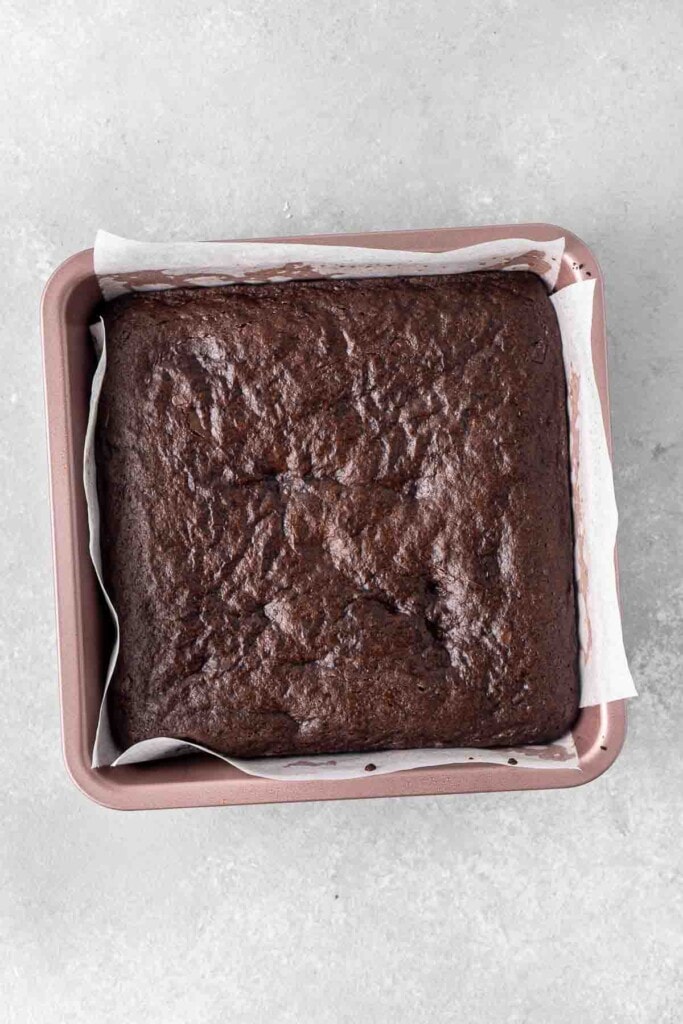
And finally if you are like me and love the salty-sweet combo, a sprinkle of sea salt flakes on top just make these vegan brownies next level. It’s just so good!
How to cut brownies?
The secret to cutting perfect squares of brownies is to first, let them cool completely. Even pop them in the fridge to get cold. This is going to help ensure they don’t break apart when cutting.
Then, grab your sharpest kitchen knife and run it under hot water and dry it off. Then do one big cut through your brownies. Repeat this process, heating the knife and drying it, before each cut until your brownies are in squares.
It’s a bit tedious but it’s going to give you the perfect squares.
Storing and freezing instructions
I personally prefer storing the brownies in the fridge as they will last around 4 days and when cold they go extra fudgy rather than soft and it’s so good. If you want them more the freshly baked texture, just zap in the microwave for 15-20 seconds.
Store the brownies in an airtight container with baking paper between the layers to prevent them sticking to each other.
You can also freeze the brownies this way for up to 3 months.
If you do make this recipe, please be sure to leave a comment and ⭐⭐⭐⭐⭐ rating below! And tag any of your creations on Instagram with @eightforestlane as I would love to see.
More classic desserts made vegan:
Vegan Vanilla Ice Cream (No Coconut!)
Vegan Choc Ripple Cake
Vegan Peanut Butter Bars
Vegan Caramel Slice
Vegan Sticky Date Pudding
Vegan Brownies
Equipment
Ingredients
- ⅔ cup caster sugar
- ½ cup coconut oil melted
- 2 teaspoons vanilla extract
- 1 flax-egg 1 tablespoon flaxseed meal + 2 ½ tablespoons water
- ½ cup hot brewed coffee see notes
- ¾ cup gluten free plain flour
- ½ cup cocoa powder
- 1 teaspoon baking powder
- ½ cup dairy-free chocolate chips
Instructions
- Before you start, prepare your flax-egg by mixing together the flaxseed and water together in a small bowl and let sit for 5-15 minutes.
- Preheat the oven to 180°C and line a 20cm (8 inch) square baking pan with a light spray of cooking oil and baking paper, leaving a slight overhang.
- In a large bowl, add the melted coconut oil (it can still be warm) and the caster sugar. Start whisking vigorously to combine. Add in the hot coffee and vanilla extract and continue whisking until the mixture is frothy and the sugar is dissolved.
- Add in the flax-egg and mix to combine.
- Add the plain flour, cocoa powder and baking powder and mix to form a thick and shiny batter. Finally, add in the chocolate chips and mix through using a rubber spatula.
- Pour the batter into the prepared baking pan and place in the oven for 20-25 minutes or until a skewer inserted comes out with just a few moist crumbs.
- Let the brownies cool completely in the pan before slicing into 16 squares.
Notes
Nutrition
Nutritional information is provided as a guide only and is calculated using automated online tools, therefore we cannot guarantee the accuracy. We encourage you to make your own calculations based on the actual ingredients used in your recipe.
This post was originally published on the 31st May 2020 and has been republished with an updated recipe, more helpful information and new photos.


Nadia says
Followed recipe exactly BUT.. when cutting they crumbled and didn’t hold their shape, sooo disappointed! Please tell me why they crumbled, as i couldn’t cut a solid piece that held it’s shape!!
Sally says
Hi Nadia sorry this happened! Before cutting, make sure the brownies have been allowed to cool completely in the pan. Cutting them while still warm usually results in them not holding their shape. Also the blog post has a couple of tips about how to ensure a clean cut including running your knife under hot water and making sure the knife is very sharp.
Lucy says
love these SO much! just took another batch out of the oven a few minutes ago. it can be so hard finding recipes that dont include things like vegan butter and all those nasties that they put in it. these are easy and quick, I can whip up a batch in no time! thank you so much for this BEAUTIFUL recipe!
Sally says
So glad you love this recipe! Thanks Lucy 🙂
Christine Smith says
I’m about to make this but I can’t see at what step you add the chocolate.
Sally says
Hi Christine, thanks for noticing that error! You need to add the chocolate chips last to the batter before adding it to your pan to bake. I’ve updated the recipe now as well. Hope you enjoy!
Priya says
Hi Sally I have a severe nut and peanut allergy(also egg allergy), can I use different milk instead of almond milk?
Sally says
Hi Priya, yes you certainly can. I often use oat or soy with the same results, but your favourite substitute should work fine as these brownies are pretty forgiving. The only one I wouldn’t recommend is coconut milk in these brownies. Let me know if you give it a try!
Gavin says
MY (vegan) little sis is coming to visit soon so I’ll whip these up for here then – awesomely simple recipe, thanks!
Sally says
Thanks Gav, I am sure she will be very happy with a batch of these made by you!
Alex says
One of my best friends is vegan – and I cannot wait to make these for her! She is going to love them, as am I! Yum!
Sally says
How thoughtful Alex I am sure she will love them!
Jaimie says
LOVE that these only take 30 minutes.. can’t wait to try!
Sally says
Thanks Jaimie, hope you enjoy them!
Rebecca Allum says
These look great and even better that they are so easy!
Sally says
We love that too!
Sylvie says
These brownies look absolutely delicious – you would never guess they are vegan! I loved to read about how you developed the recipe and I agree – eggs are the trickiest ingredient to substitute!
Sally says
Thanks Sylvie, so glad you enjoyed reading about the process!