
This easy zucchini slice is the classic Aussie favourite recipe made dairy free. Using grated zucchini, carrot, bacon and onion, this egg slice comes together with very low effort. Enjoy it hot or cold for a delicious, high protein snack, light lunch, or simple dinner the whole family will enjoy!

When I was in my early 20s, living in an apartment and working a casual retail job while at university, I found a recipe for zucchini slice in a magazine and started taking it to work as I needed something that could be enjoyed cold. During this time of my life I was always on the look out for more cheap and easy meals that I could make that were not only healthy, but also delicious.
Honestly it’s been years since I’ve made one, but you know what, zucchini slice is a recipe that holds up. Even though my life situation has evolved a lot over the years, what I am looking for when it comes to recipes remains the same.
It is still a super easy way to use up veggies and stretch them a bit further. It’s also still a fantastic meal prep option for easy and healthy lunches served with a salad or a grab and go snack.
Zucchini slice is kind of a combination between a quiche and a zucchini fritter. That’s the best way I can think to describe it. So if you’ve never tried it, chances are you’ll love it if you love those other classic recipes.
While it may not be as budget-friendly in 2025 thanks to the current cost of eggs, it’s still a really fantastic recipe to use regular everyday ingredients in a different way.
Why I think you’ll love this easy zucchini slice recipe:
- It’s the perfect high protein meal prep lunch
- It’s your classic, family favourite recipe but dairy free
- It’s easy to make with simple ingredients
Key Ingredients
To make this the best zucchini slice recipe, you will need to stick to this set ratio of ingredients as outlined in the recipe card below. As always, feel free to adapt and change the veggies and add-ins as you like and based on what you have available, but be sure to maintain the ratio of ingredients otherwise you may find your slice becomes soggy or too dry.

Note all ingredients and their quantities are laid out in the recipe card at the bottom of this post.
- Zucchini – the key to this slice! Zucchini sizes vary so much but as a guide you’ll need 1 large or 2 small-medium sized zucchini.
- Carrot – optional, and you can just add extra zucchini but I like the contrast of flavour, texture and colour that it gives the slice.
- Eggs – the eggs form the structure of the slice.
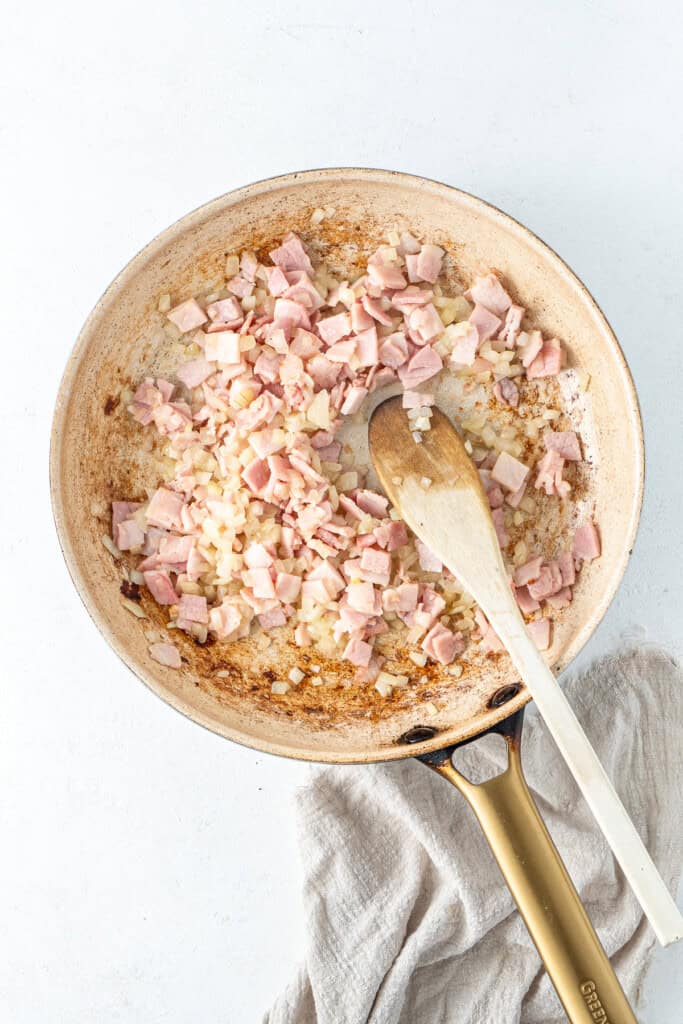
- Bacon – you can use any bacon you like (or even sub for diced ham) but I usually just use middle bacon. I recommend cooking it first with the onion as this will create a better texture and deeper flavour in the slice.
- Onion – while some recipes don’t require the onion to be cooked beforehand I do recommend it for the best taste and texture. There is nothing worse than biting into crunchy onion IMO!
- Garlic – not always included in a zucchini slice recipe but I love the extra flavour it provides. You could also substitute with ½ teaspoon garlic powder if you prefer a more subtle garlic flavour.
- Nutritional yeast – keeping this zucchini slice dairy free, I am using some nutritional yeast to add that ‘cheesy’ taste without adding shredded tasty cheese which is usually included in the recipe.
- Self-raising flour – popular in Australian and UK pantries, this flour has a raising agent already added meaning you don’t need to add baking powder. If you only have plain flour (also known as all purpose flour), you can just add 1 ½ teaspoon baking powder.
Zucchini Slice Variations
As mentioned, this is a great recipe to customise based on your tastes and what you have available.
- The bacon can be swapped for ham, or even leftover diced chicken. You can also omit to make the zucchini slice vegetarian and instead add additional veggies or some dairy free feta cheese.
- Instead of making a slice, you can cook them in a muffin pan to make savoury zucchini muffins.

Step-By-Step Instructions
When I say this recipe is easy, I really mean it! You can start by prepping all of your ingredients including grating the zucchini and carrot, and chopping up the bacon and onion.
You don’t need to worry about squeezing out the liquid from the zucchini for this recipe unless your zucchini seems to be particularly watery.
Start by heating a pan on the stove over medium heat. Add a little olive oil and the chopped bacon and onion. This step is optional in a few recipes, but I don’t think it is as the flavour and texture of the slice is so much better when the bacon and onion has been fried first. Once cooked, set this aside to cool for a few minutes.
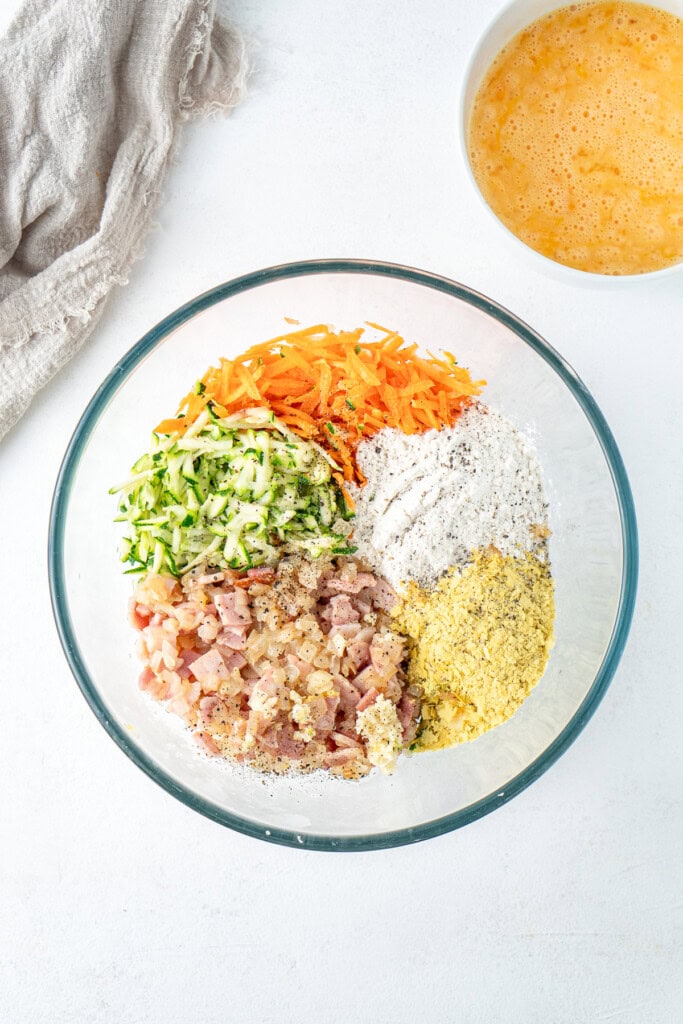
In a large mixing bowl, add the grated zucchini, carrot, nutritional yeast, crushed garlic, self-raising flour, and the cooked onion and bacon mixture. Give it a good season with salt and pepper.
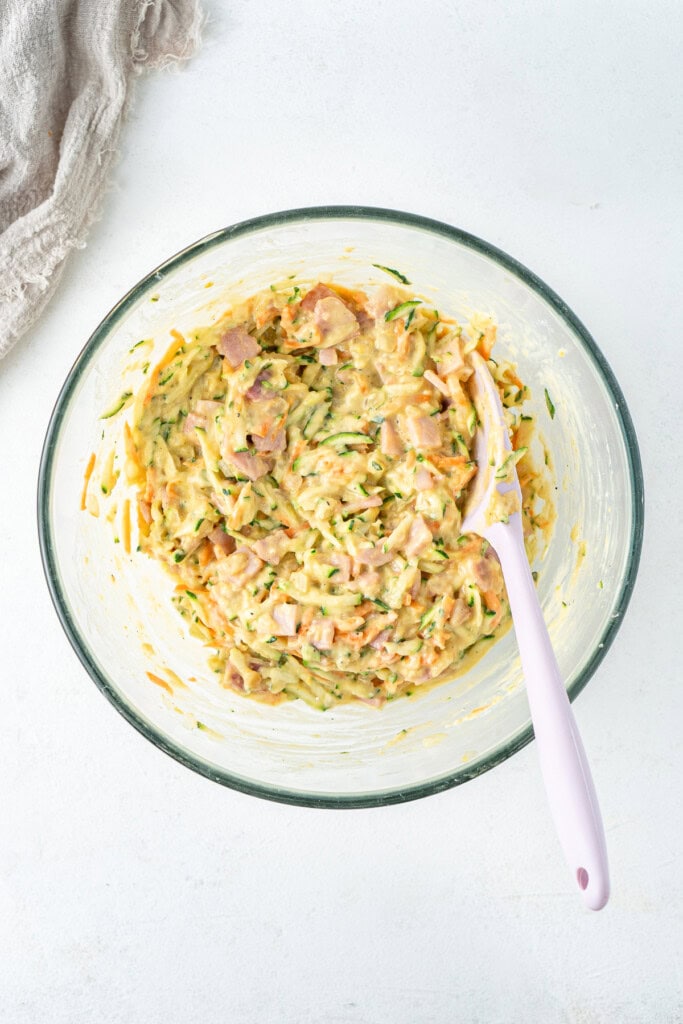
In a smaller bowl, crack the eggs and whisk them to combine. Pour the beaten eggs into the bowl with the rest of the ingredients and give it a really good mix to combine, ensuring the flour is completely mixed though.
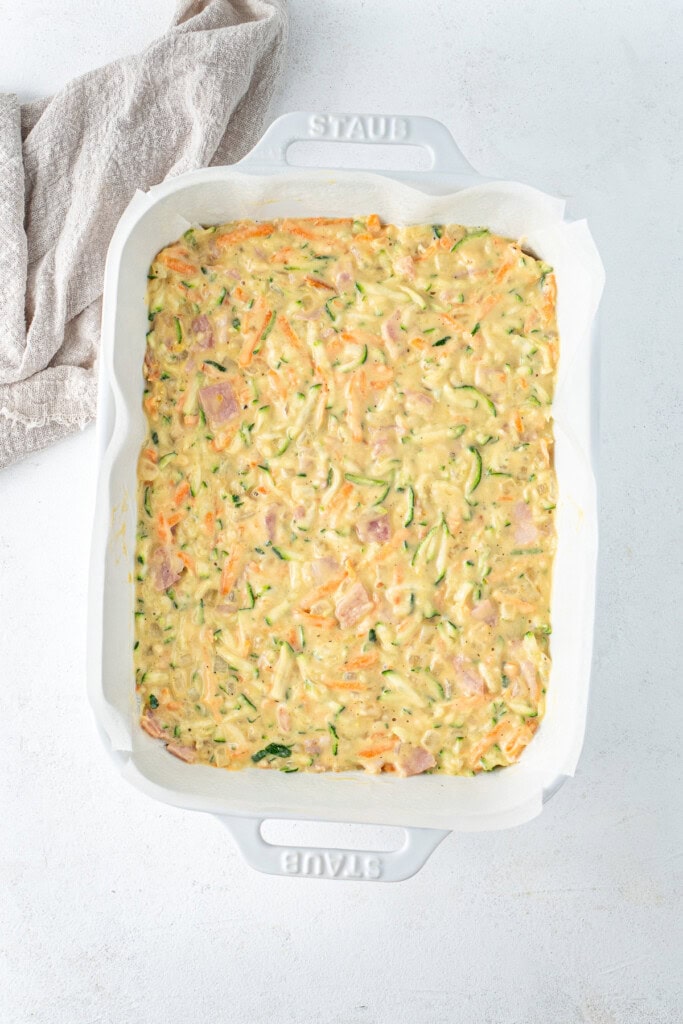
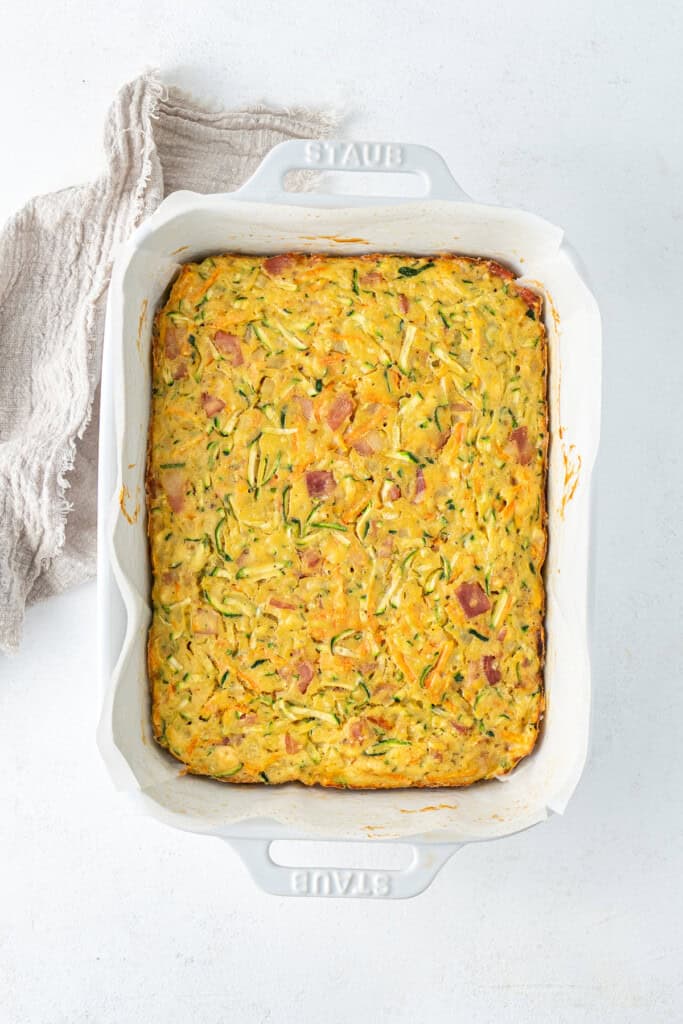
Pour the batter into a rectangular baking dish that’s been lined with baking paper. Your pan should be around 20cm x 30 cm in size. I am using my favourite rectangular STAUB baking dish which is 10.5″ x 7.5″ or approx. 20cm x 27cm.
Bake the slice for around 40 minutes, or until the top is golden and it’s set in the centre. To test you can make sure a skewer when inserted into the centre comes out clean.
👉Tip! Allow the slice to cool completely in the pan before removing and slicing as it will still be quite soft when warm. Once it’s cool, you’ll be able to slice it into nice clean pieces.

Storage and Freezing Instructions
As mentioned earlier this zucchini slice recipe is fantastic for meal prep as it’s freezer friendly and tastes delicious cold (I actually prefer it cold from the fridge!).
To store, place the cooled slices in an airtight container in the refrigerator for up to 4 days.
To freeze, wrap each slice tightly in plastic wrap, then place in a freezer-safe container or zip-lock bag. They will last in the freezer for up to 2 months.
Either thaw overnight in the fridge, or if you’d prefer to eat it warm, reheat straight from frozen in the microwave in 30-second bursts until hot.
Recipe FAQs
If your zucchinis are particularly watery, you can lightly squeeze out the excess liquid using a clean tea towel or paper towel. This helps avoid a soggy slice, but it’s not always necessary and I usually don’t worry about it.
While I haven’t tested it, you can try swapping the self-raising flour for a gluten free self-raising flour blend. The texture of the slice may change slightly as gluten free flour tends to absorb more moisture but it should work fine.
Zucchini slice is super versatile and can be served warm or cold. I usually do a simple side salad but you could also do some veggies like this air fryer broccolini.
It also packs perfectly into lunchboxes with cherry tomatoes, cucumber sticks, or fruit on the side.
👉 If you love cheesy, creamy, dairy free recipes, check out all my favourite recipes that use nutritional yeast. They will change how you think about dairy free cooking!

If you do make this recipe, please be sure to leave a comment and ⭐⭐⭐⭐⭐ rating below! And tag any of your creations on Instagram with @eightforestlane as I would love to see.
More easy lunch recipes:
Vegetarian Mini Quiches
Chicken Salad Sandwich
Healthy Egg Salad Bagel
Vegetable Fritters

Easy Zucchini Slice
Equipment
Ingredients
- ½ tablespoon olive oil for sautéing
- 200 grams bacon chopped into small pieces
- 1 brown onion finely chopped
- 2 zucchinis about 200 grams, grated
- 1 carrot grated
- 2 cloves garlic crushed
- ¼ cup nutritional yeast
- 1 cup (1.00 cup) self-raising flour 150 grams
- 5 eggs
- Salt and pepper to taste
Instructions
- Preheat your oven to 180°C (350°F) and line a 30 x 20 cm slice tin with baking paper.
- Heat a drizzle of olive oil in a frying pan over medium heat. Add the chopped onion and bacon and cook for 5-7 minutes, or until the onion is soft and the bacon is golden. Set aside to cool slightly.
- Crack the eggs into a jug or small bowl and whisk until combined.
- In a large mixing bowl, add the grated zucchini, carrot, nutritional yeast, crushed garlic, self-raising flour, and the cooked onion and bacon mixture. Season with salt and pepper.
- Pour in the whisked eggs and mix well to combine.
- Pour the mixture into the prepared tin and smooth the top. Bake for 35-40 minutes, or until golden and set in the centre.
- Allow to cool slightly before slicing. Serve warm or cold.
Nutrition
Nutritional information is provided as a guide only and is calculated using automated online tools, therefore we cannot guarantee the accuracy. We encourage you to make your own calculations based on the actual ingredients used in your recipe.

Never wonder what's for dinner again
Get a brand new dairy free meal plan every week, plus members only recipes and the whole of Eight Forest Lane with no ads. The planning is done, you just shop and cook.
Start your 7 day free trial →