
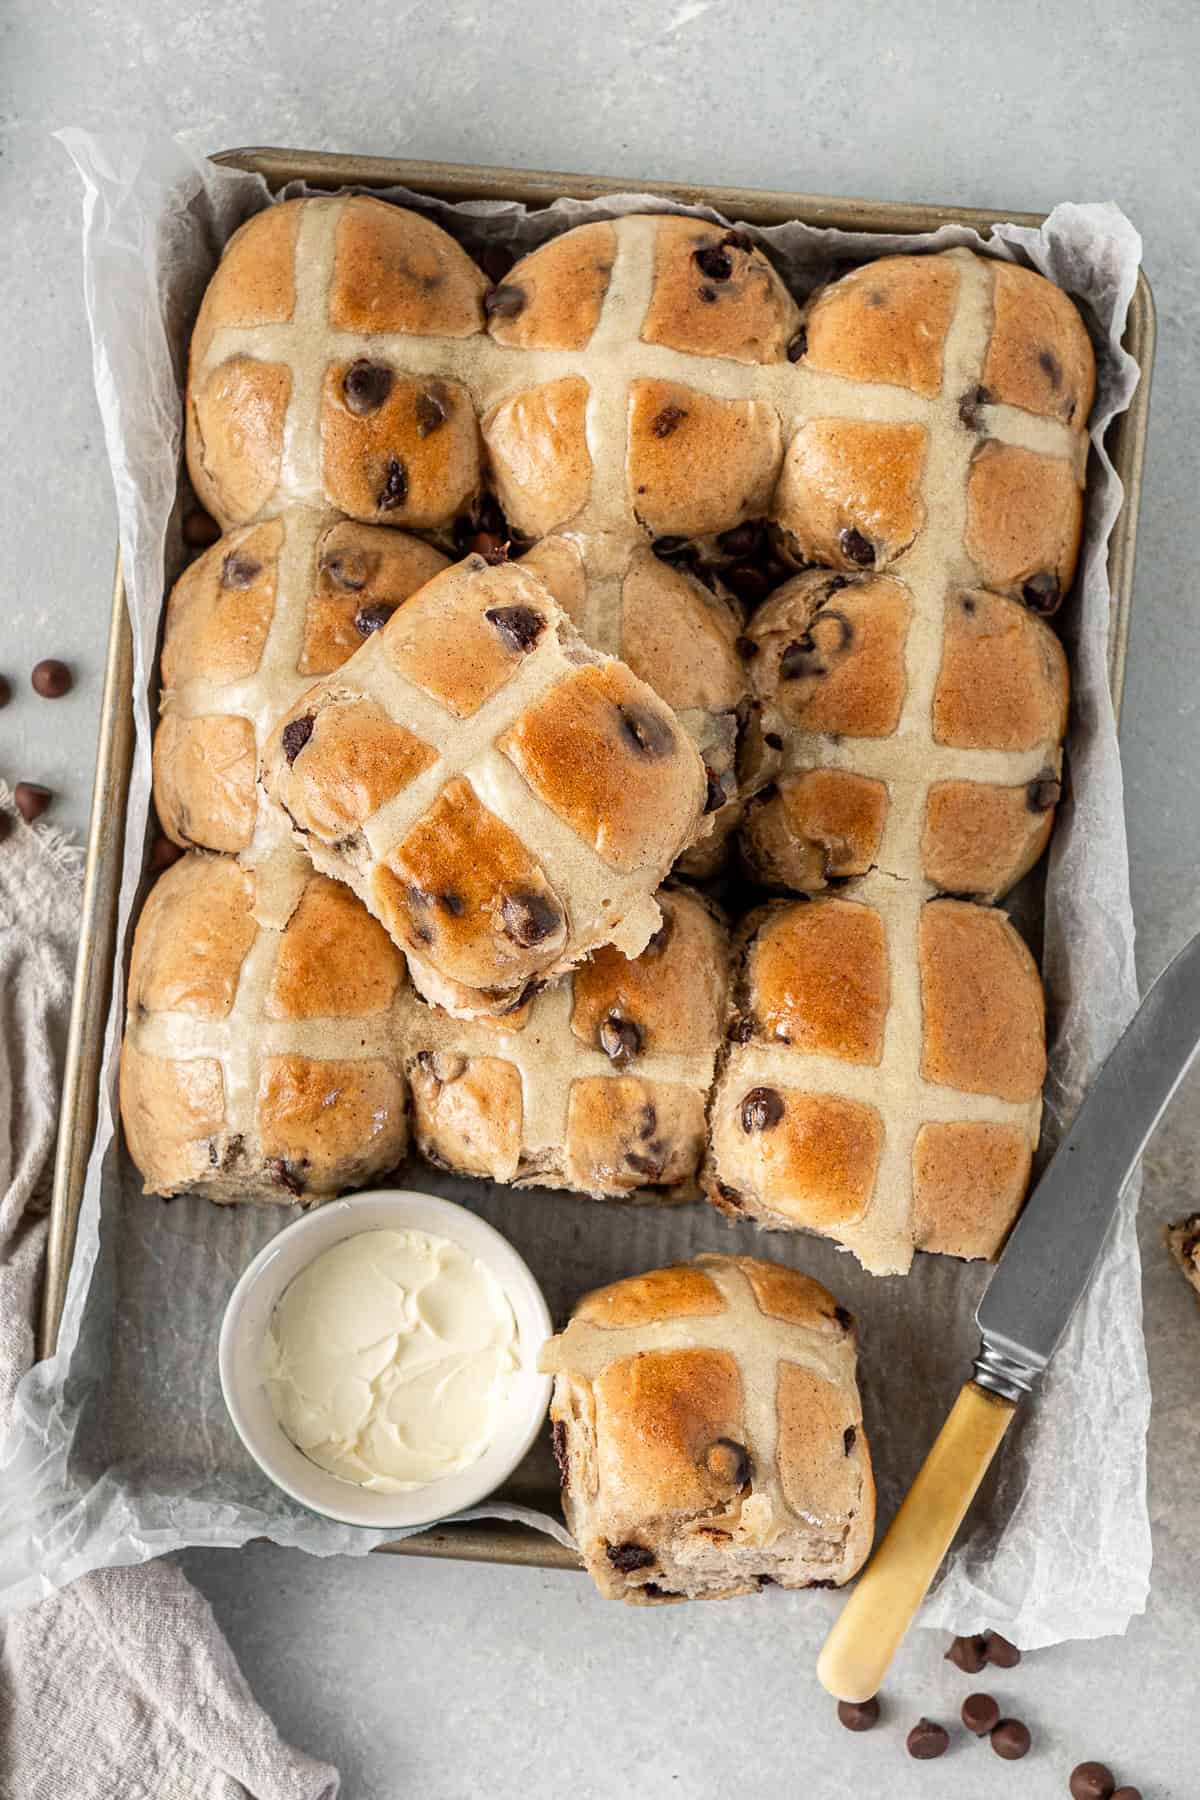
These choc chip hot cross buns are a family favourite twist on the classic Easter treat. Replacing the traditional fruit with dark chocolate chips, these buns maintain their delicious spiced taste and are even better served warm or toasted with some dairy free butter. With step-by-step photos, let me show you just how easy it is to make these at home!
If you’re looking for more hot cross bun flavours, make sure to also try my classic hot cross buns, chocolate hot cross buns, or try these fruit-free chai spiced hot cross buns.

Since starting Eight Forest Lane one of the things that brings me great joy is the simple traditions around the holidays that I get to share. Hot cross buns are one of them and every year around Easter I like to publish a new flavour variation. For 2025, we’re doing choc chip!
Now I like to compare this to choc chip ice cream (which I love!). I mean sure chocolate ice cream is good, but choc chip combines delicious vanilla flavour with chocolate in every bite. This feels the same as I have all the benefit of the taste of a classic hot cross bun but with all the goodness of chocolate in each bite.
Honestly, these are by far my favourite hot cross bun flavour that I’ve made. Yes they are simple, but sometimes simple is just so good!
If you love hot cross buns but really could leave the sultanas, then don’t just make fruit-free buns, make these choc chip hot cross buns!
Key Ingredients
Just like any hot cross buns recipe or yeasted bread recipe, we’ll need a few key ingredients plus our flavour components.
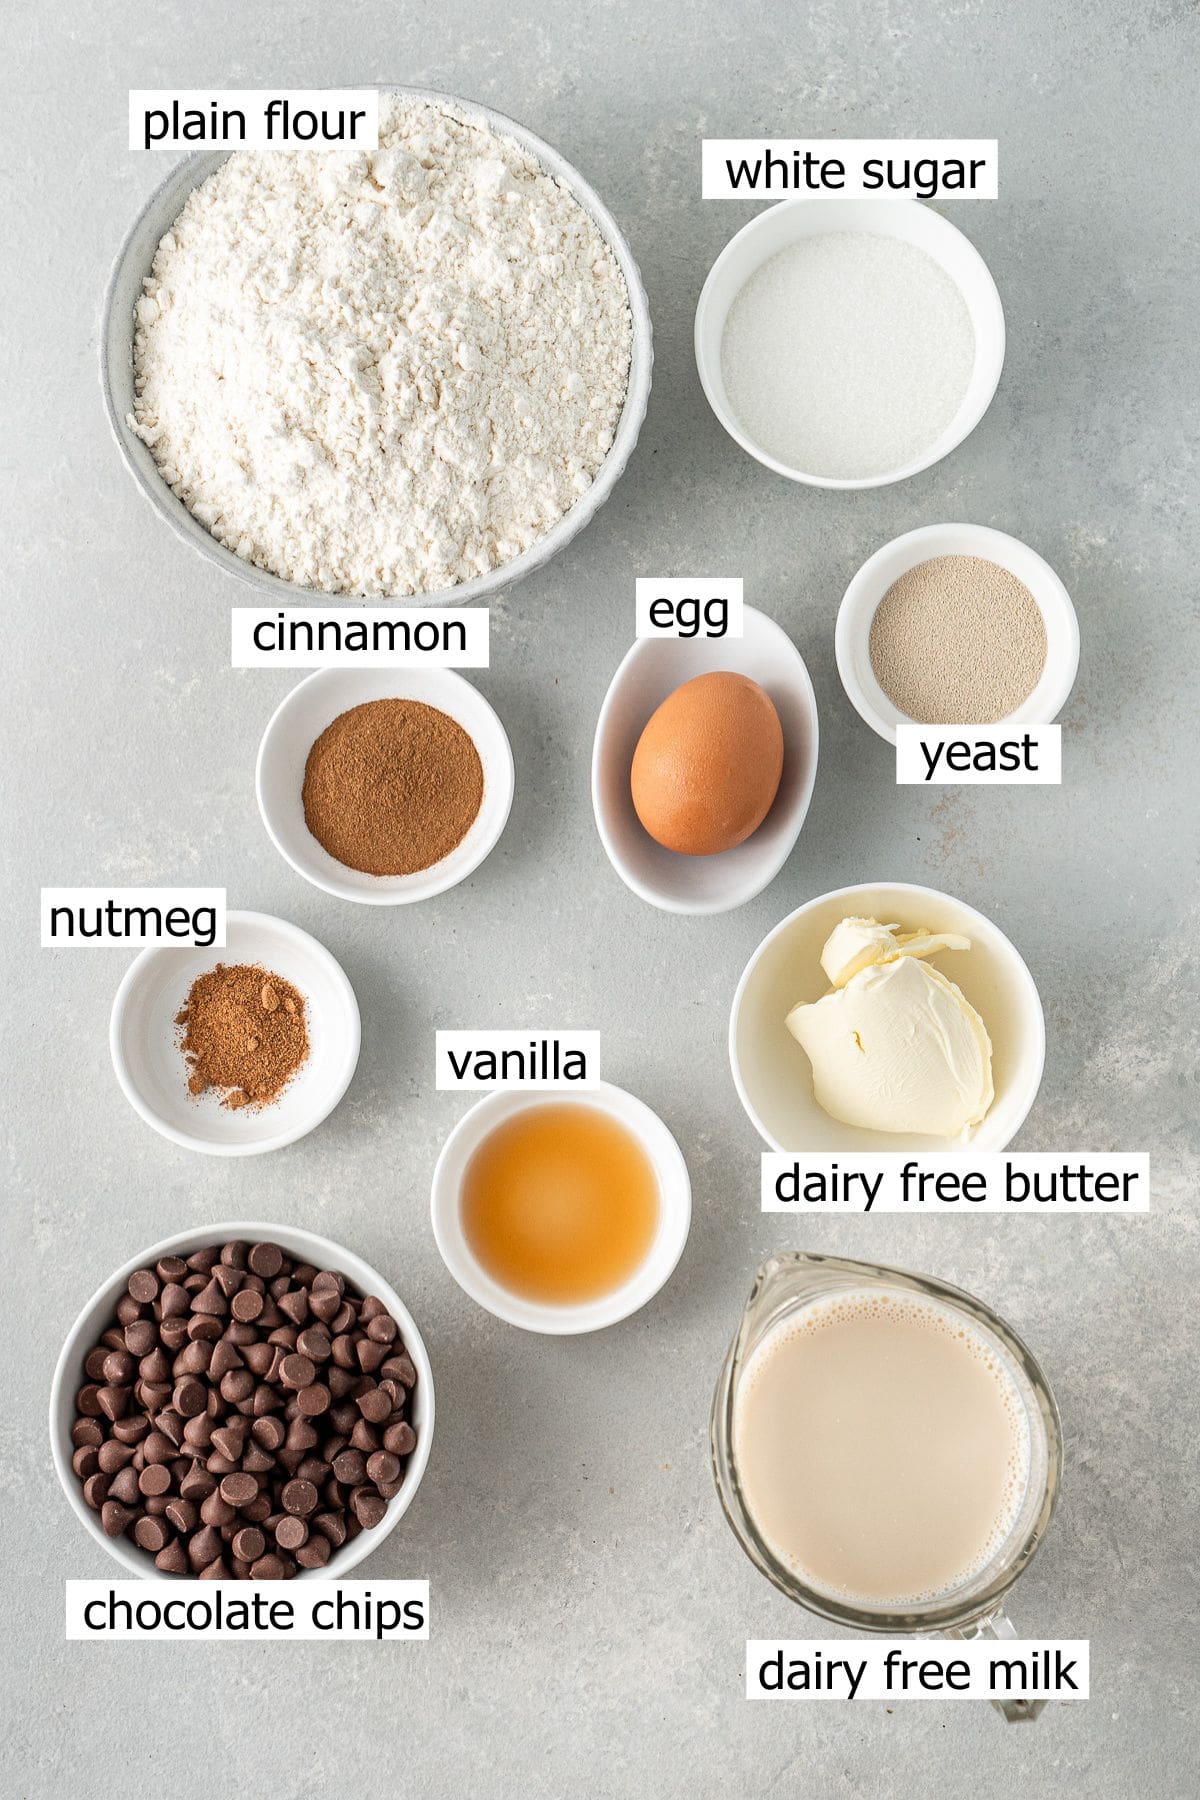
Note all ingredients and their quantities are laid out in the recipe card at the bottom of this post.
- Yeast – dry yeast will make your dough light and fluffy, give it rise and give it that bready taste and texture.
- White sugar – feeds the yeast which makes it able to give the bread rise keeping it soft and light without being overly sweet.
- Dairy free milk – I use oat milk or almond milk in this recipe, but any dairy free milk will work. It’s main purpose is to activate the yeast and bind everything together.
- Plain flour – also known as all purpose flour in the US.
- Spices – I am using a combination of cinnamon and nutmeg to give the buns that delicious spiced flavour without being overpowering to the choc chips.
- Dairy free butter – adds richness and flavour. I recommend using a quality dairy free butter substitute here for the best flavour. I love and always use Nuttelex Buttery which is an Australian product. In the US, the closest alternative is Earth Balance which I understand to be very similar.
- Eggs – for even more richness and softness to your end result.
- Chocolate chips – for this recipe I like to use dairy free 70% dark chocolate chips. The chocolate chips hold their shape better than chopped chocolate therefore hold up better in the buns during the rise in a warm environment.
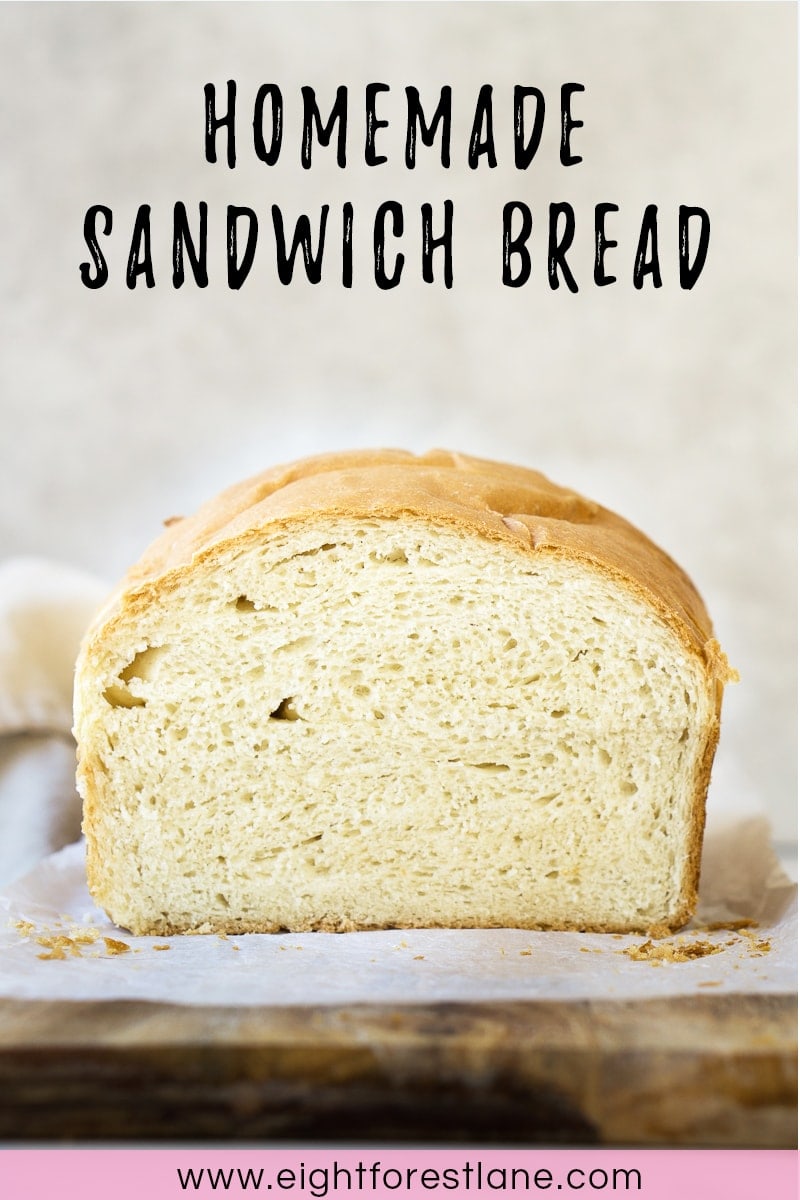
🤓 Choc chip hot cross buns are made with a sweet, rich dough. A rich dough is characterised by the amount of fat present. In this case it is the addition of milk, butter and eggs to create a super soft end product which is different to a lean dough that is used to make my sandwich bread and focaccia which tends to not be as soft and has a crusty exterior.
Step-By-Step Instructions
All of my hot cross buns follow a similar method, so if you’ve made any of my other variations before then you should be right! But if this is your first time then I recommend that you read through all the steps before starting to make sure you know what to expect next.
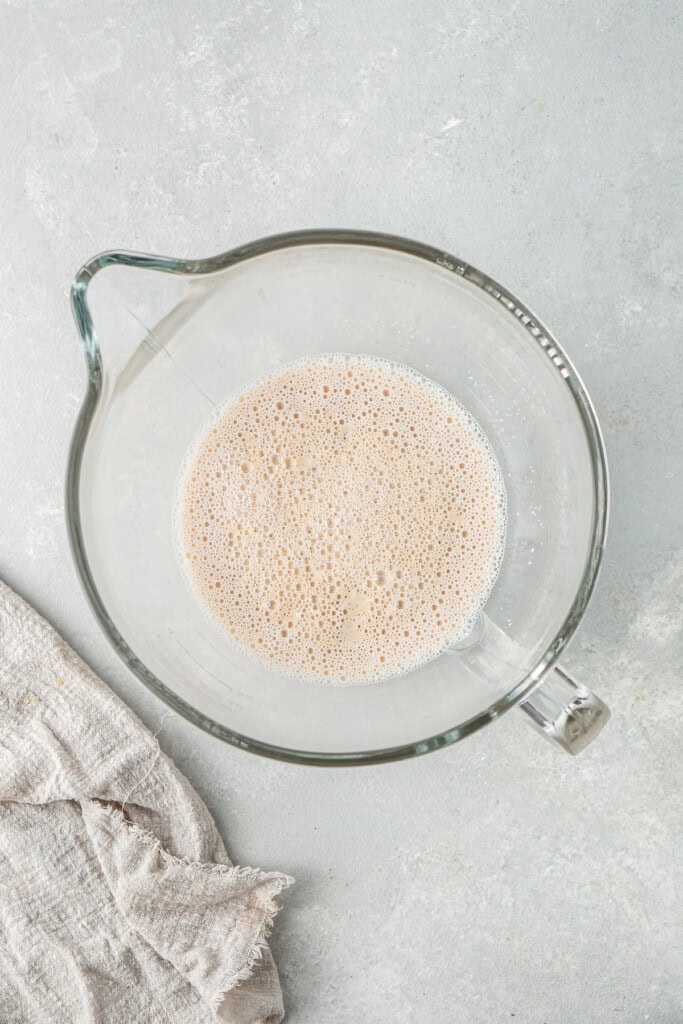
The first step is to ‘bloom’ the yeast by whisking it together with the sugar and warm milk. Let this mixture sit for 10 minutes until it becomes frothy. This step helps ensure your yeast is alive meaning your buns are going to rise correctly.
👉Tip! The milk needs to be warm but not hot otherwise this will kill the yeast. If you can hold your finger in the liquid without it feeling uncomfortable, then that’s about perfect.

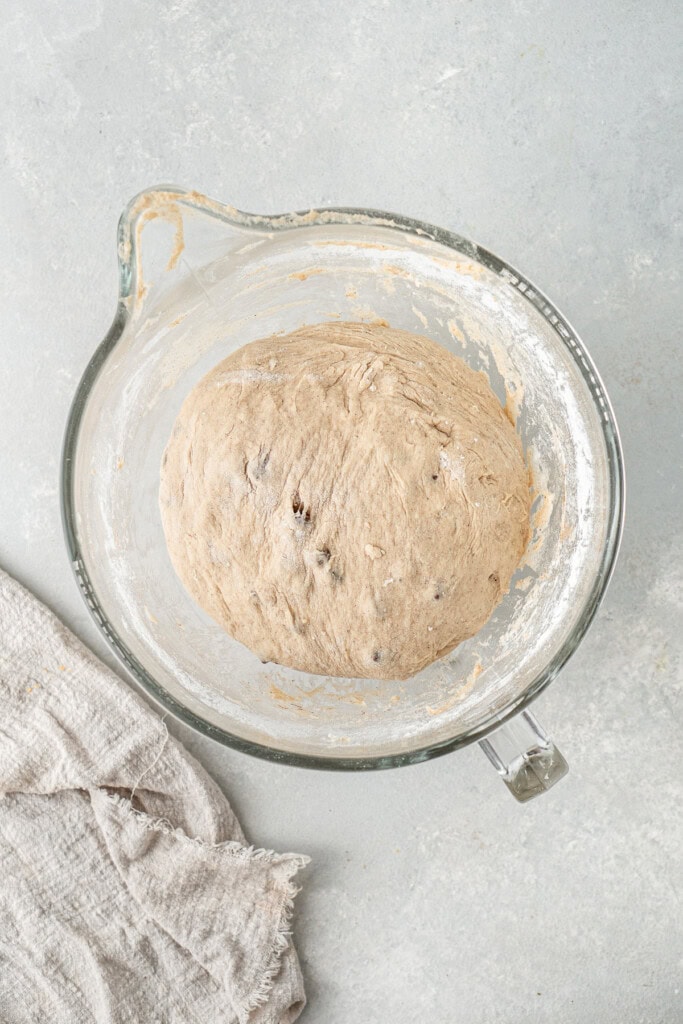
Make the dough by gradually mixing all the ingredients into the yeast mixture using a dough hook attachment on a stand mixer. If you don’t have a stand mixer, then you are going to need a wooden spoon and some strong arms, motivation and persistence.
Once the dough pulls away from the sides of the bowl it is ready for its first rise. The dough should be quite soft and sticky, so use a spatula to scrape the dough from the bowl and turn onto a floured surface to shape into a ball carefully with floured hands.
👉Tip! The dough will be quite sticky but you want to avoid adding in too much extra flour as this will alter the texture of the buns. Gently shape the dough using floured hands on a floured surface and sprinkle the dough with a little extra flour when handling it gets a bit too sticky.

Place the dough back into the bowl, cover with a tea towel or some plastic wrap and sit aside in a warm place for 1 hour.
👉Tip! The dough needs to rise in a warm, dry spot in order to rise correctly. During the warmer months here in Brisbane, I usually just put my bowl outside under the veranda in the shade as the air temp is warm enough (or just on the counter if my air con is not on). In winter when this isn’t an option I like to preheat the oven to 100°C (200°F) and then when ready for the rise turn it off and sit the bowl on the bottom shelf with the door open.

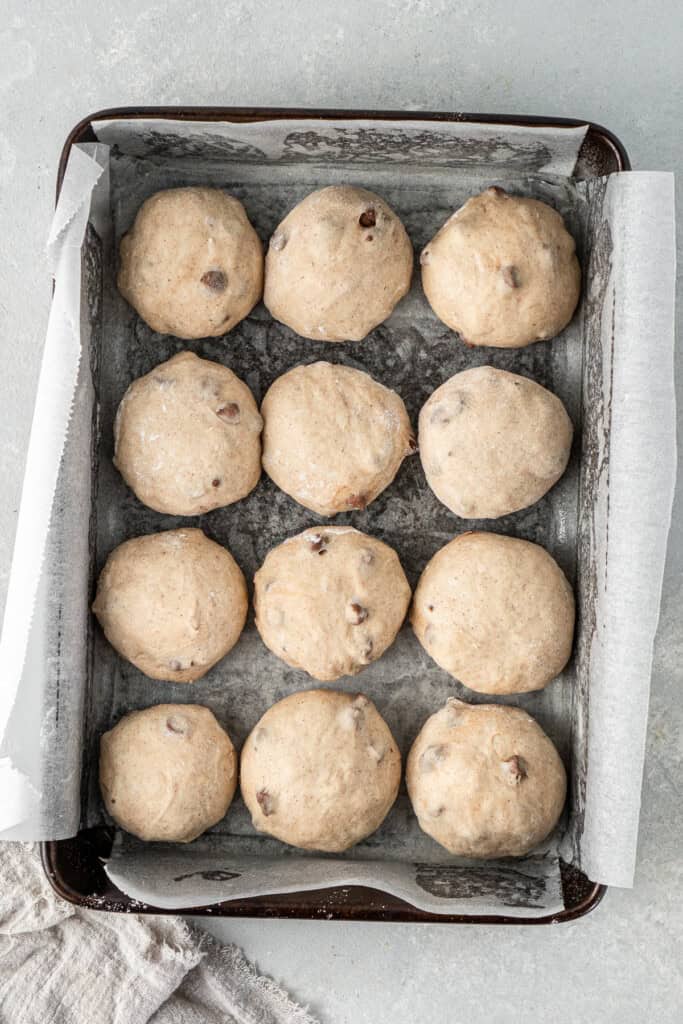
Once the dough has risen, punch down the dough, and turn onto a floured surface. Gently shape into a ball. Divide the dough into 12 pieces and shape each into a ball. Place the dough balls evenly into a baking pan and cover and set aside again for 20-30 minutes for the second rise.
While the dough is on its second rise, make the paste for the crosses, and preheat the oven.
Pipe the flour paste over the uncooked buns in a cross pattern and place the buns in the oven to bake for 30 minutes.


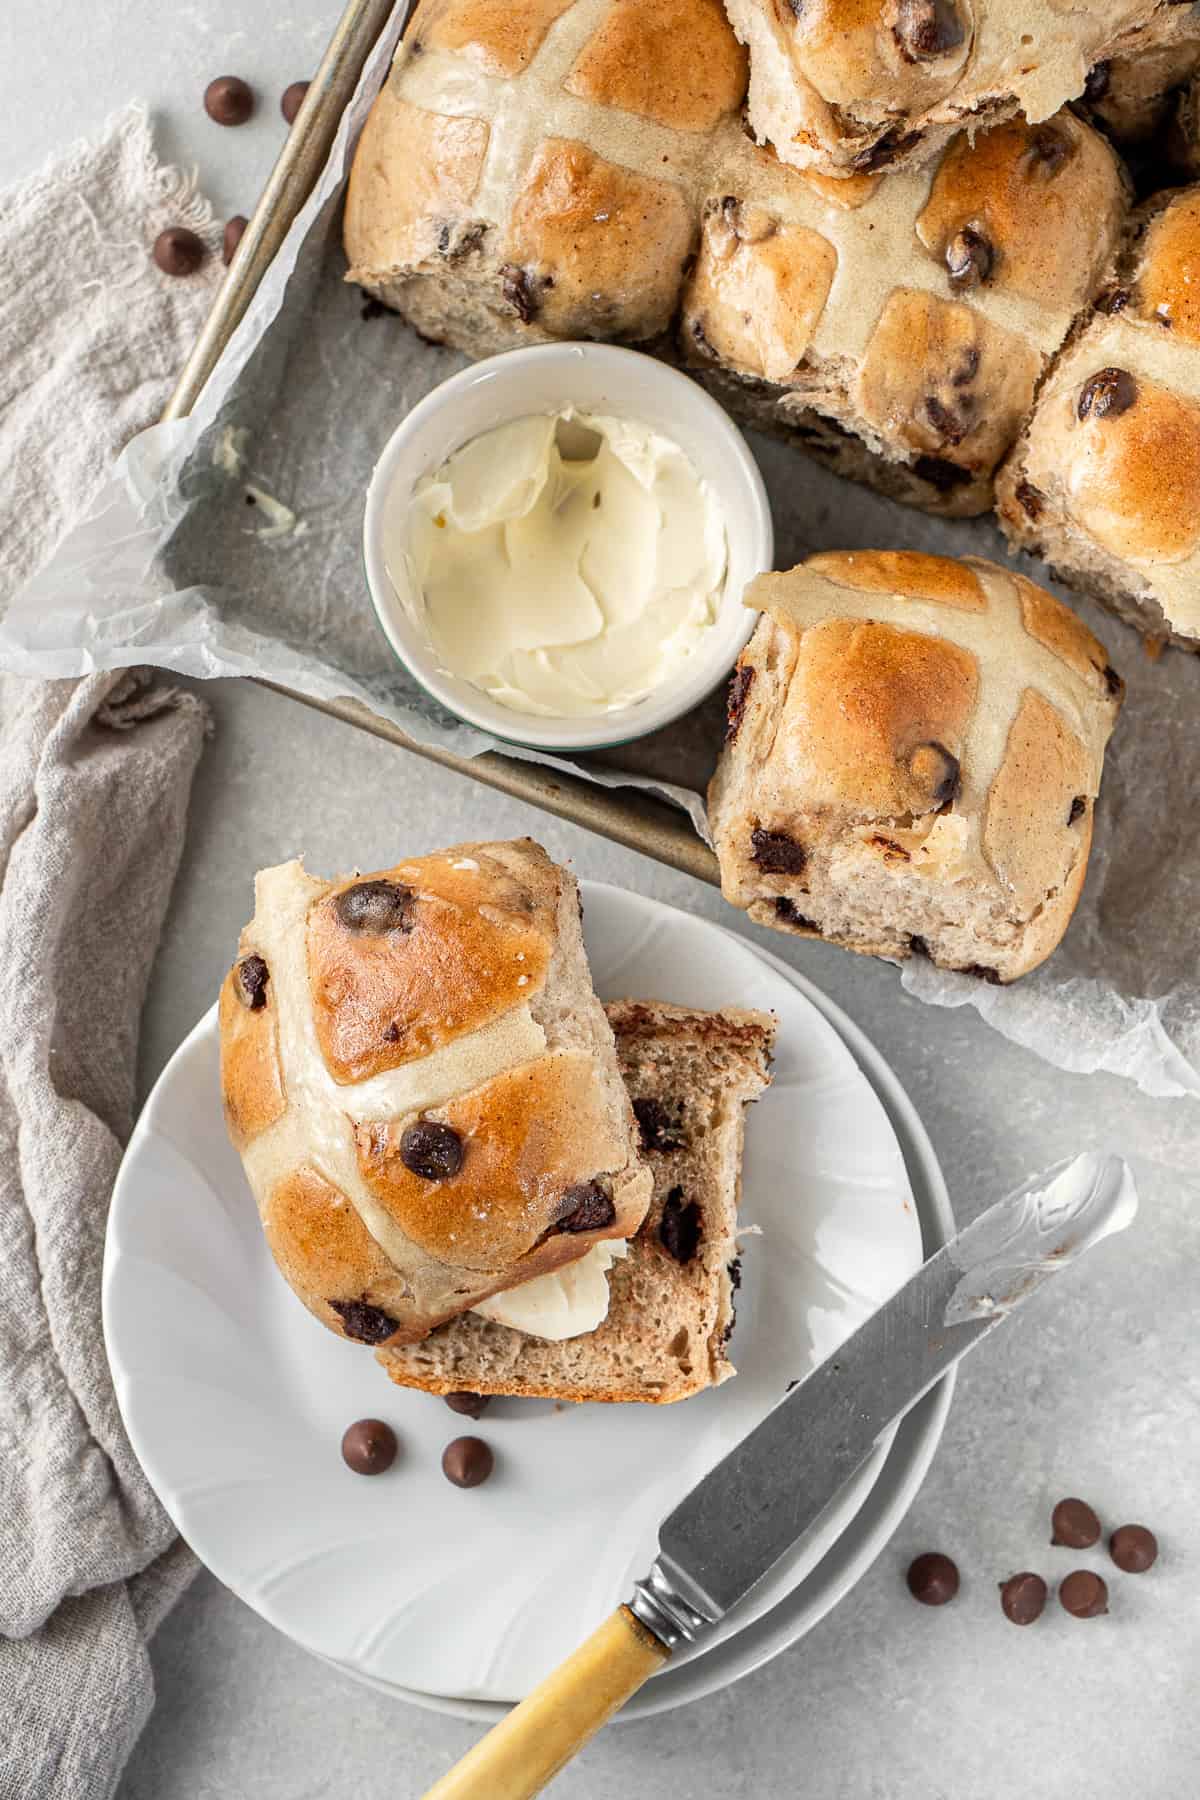
While baking, make the sugar glaze. Once the buns are cooked, use a pastry brush to brush the glaze over the baked buns.
👉Tip! You know the buns are done when you tap the top of them and they sound hollow. This trick works for all bread recipes.
Hot cross buns are never as good as while still warm from the oven so that the chocolate chips are still melty. Make sure to split them and add some extra dairy free butter – they are so good!


Storage Instructions
Store your freshly baked buns in an airtight container at room temperature for up to 3 days.
These choc chip hot cross buns are at their best for the first 2 days, after which they will start to be a bit stale and crumbly due to the lack of preservatives. When they get to this point I like to simply toast them and serve with extra dairy free butter.
If you don’t think you can eat this many buns while they remain fresh, they also freeze really well. Wrap each bun tightly in plastic wrap and freeze for up to 3 months. Defrost at room temperature before unwrapping and zapping in the microwave for around 15 seconds and they’ll taste freshly baked!
You can also use leftover or stale choc chip hot cross buns to make this hot cross bun bread and butter pudding!
Recipe FAQs
If you don’t have a stand mixer, you can mix the dough by hand. Start by combining the ingredients in a large bowl, and once the dough comes together, turn it out onto a floured surface and knead it by hand for 8-10 minutes until smooth and elastic.
There are a couple of common reasons this may happen when making yeast based recipes. Check that your yeast is not expired and that your milk wasn’t too hot (which can kill the yeast). Also make sure the dough is rising in a warm, draft-free spot.
Yes, you can. After the first rise, punch the dough down and cover it with plastic wrap. You can refrigerate it for up to 24 hours before shaping and proceeding with the second rise.
If you do make this recipe, please be sure to leave a comment and ⭐⭐⭐⭐⭐ rating below! And tag any of your creations on Instagram with @eightforestlane as I would love to see.
More Easter recipes:
Easter Bunny Cupcakes
Vegemite and Cheese Hot Cross Buns
Easter Sugar Cookies
Easy Rocky Road

Choc Chip Hot Cross Buns
Equipment
Ingredients
- 1 x 7 gram packet dry yeast
- ¼ cup white sugar/granulated sugar
- 1 ½ cups dairy free milk warmed
- 4 ¼ cups plain flour/all purpose flour
- 2 teaspoons ground cinnamon
- ½ teaspoon ground nutmeg
- ½ teaspoon salt
- 1 teaspoon vanilla extract
- ½ cup (60 grams) dairy free butter
- 1 egg room temperature
- 1 cup dark chocolate chips dairy free
For the crosses:
- 4 tablespoons plain flour/all purpose flour
- 3-4 tablespoons water
For the glaze:
- ½ cup water
- ½ cup sugar
Instructions
- In the bowl of a stand mixer, whisk together the yeast, sugar, and warmed milk. Cover with a clean, damp kitchen towel and let sit for 10 minutes, until the mixture is frothy.
- Add 2 cups of flour and mix on low using the dough hook attachment. Add the remaining flour along with the cinnamon, nutmeg, salt, vanilla, dairy free butter, and egg. Mix on medium speed until the dough begins to come together. Add in the chocolate chips and mix gently to incorporate.
- Once the dough is smooth and slightly elastic, shape it into a ball using well floured hands. Place it back into the bowl, cover with a damp towel, and let rise for 1 hour, or until doubled in size.
- Punch down the dough to release the air. Turn it out onto a floured surface and gently shape back into a ball.
- Shape the dough into 12 even pieces and roll each piece into a ball. Place the dough balls in a 9×13-inch tray lined with baking paper, leaving space between each. Cover with a damp towel and let rise for 20 minutes.
- Preheat the oven to 180°C (350°F). In a small bowl, mix together the flour and water to make a thick paste for the crosses. Transfer the paste to a zip-lock bag, snip off the corner, and pipe crosses onto the buns.
- Bake for 25–30 minutes, or until the buns are golden brown and make a hollow sound when tapped.
- While the buns are baking, make the glaze. In a small pot, heat the water and sugar over medium heat until the sugar has dissolved.
- Remove the buns from the oven and immediately brush them with the glaze. Let the buns cool slightly before serving.
Notes
Nutrition
Nutritional information is provided as a guide only and is calculated using automated online tools, therefore we cannot guarantee the accuracy. We encourage you to make your own calculations based on the actual ingredients used in your recipe.


Never wonder what's for dinner again
Get a brand new dairy free meal plan every week, plus members only recipes and the whole of Eight Forest Lane with no ads. The planning is done, you just shop and cook.
Start your 7 day free trial →