
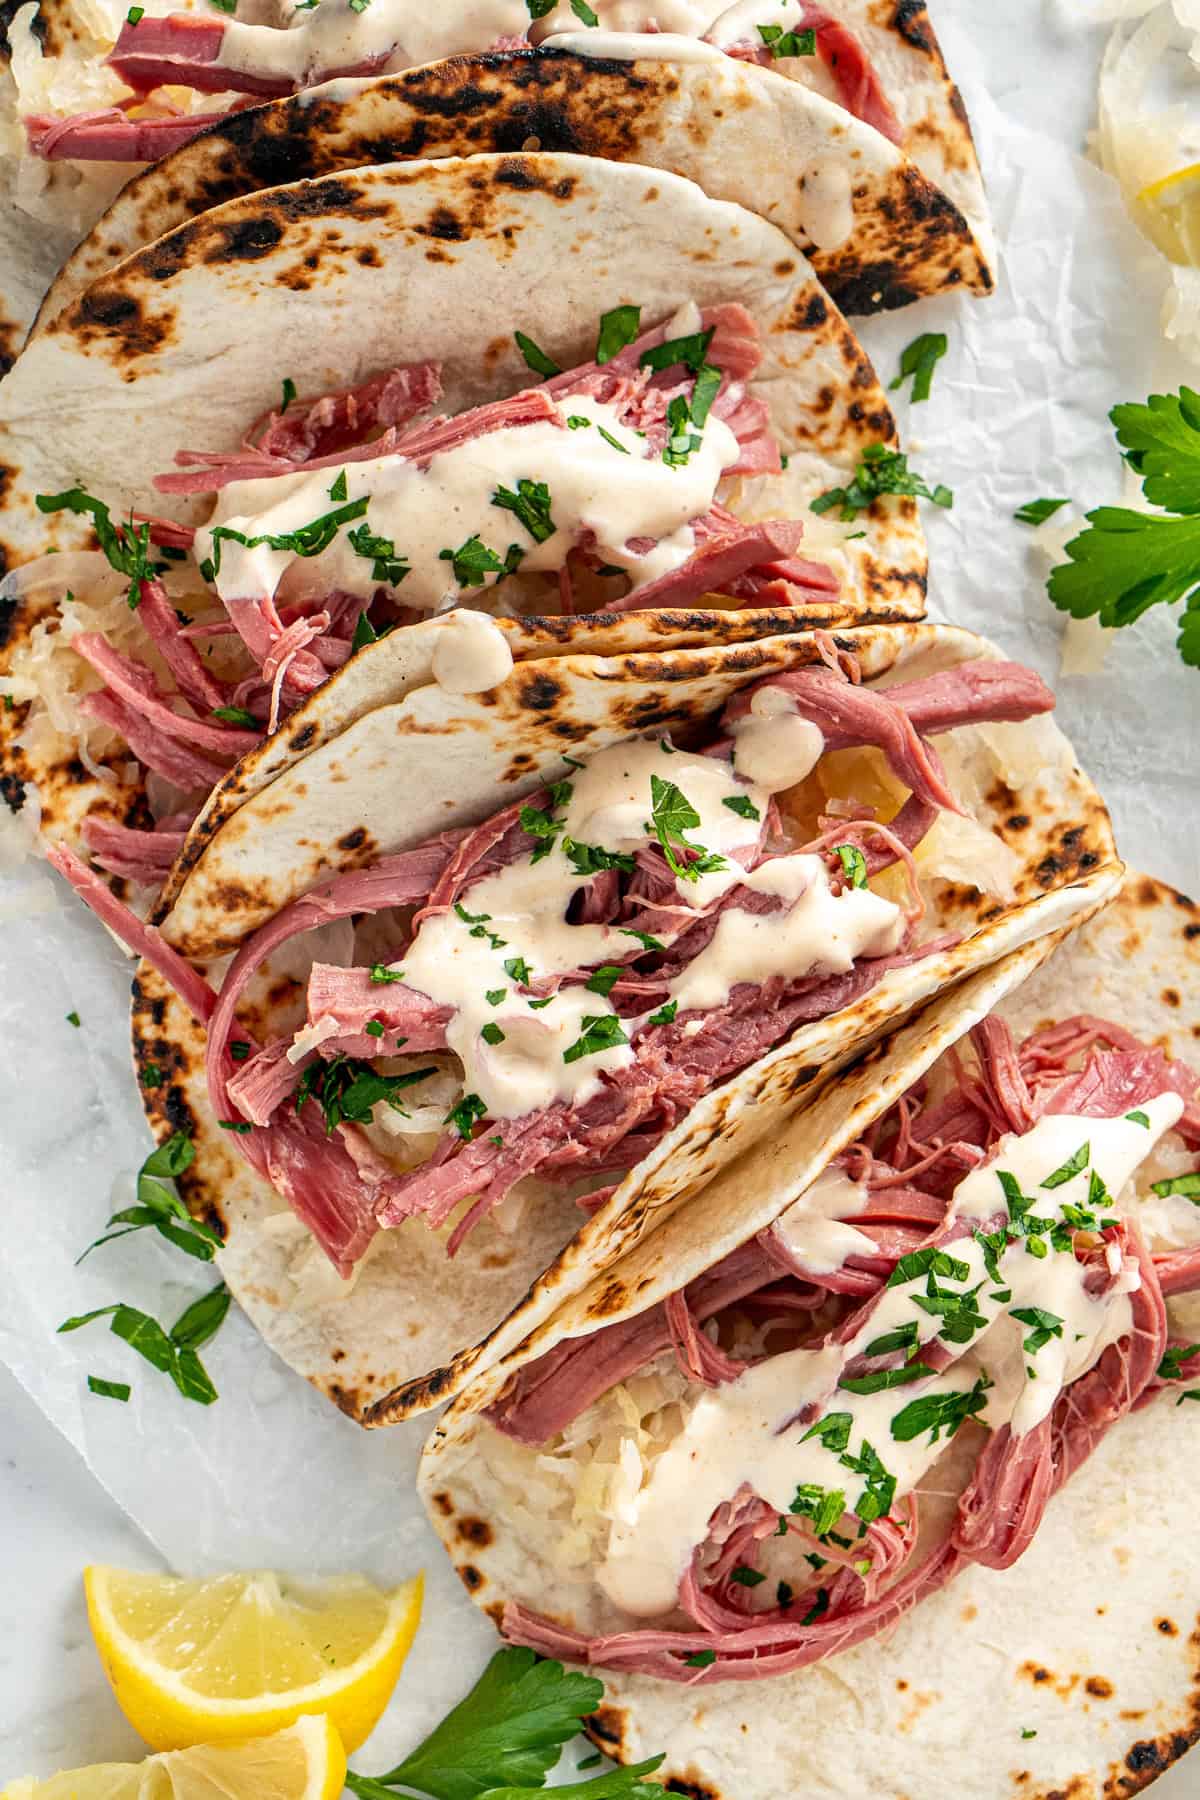
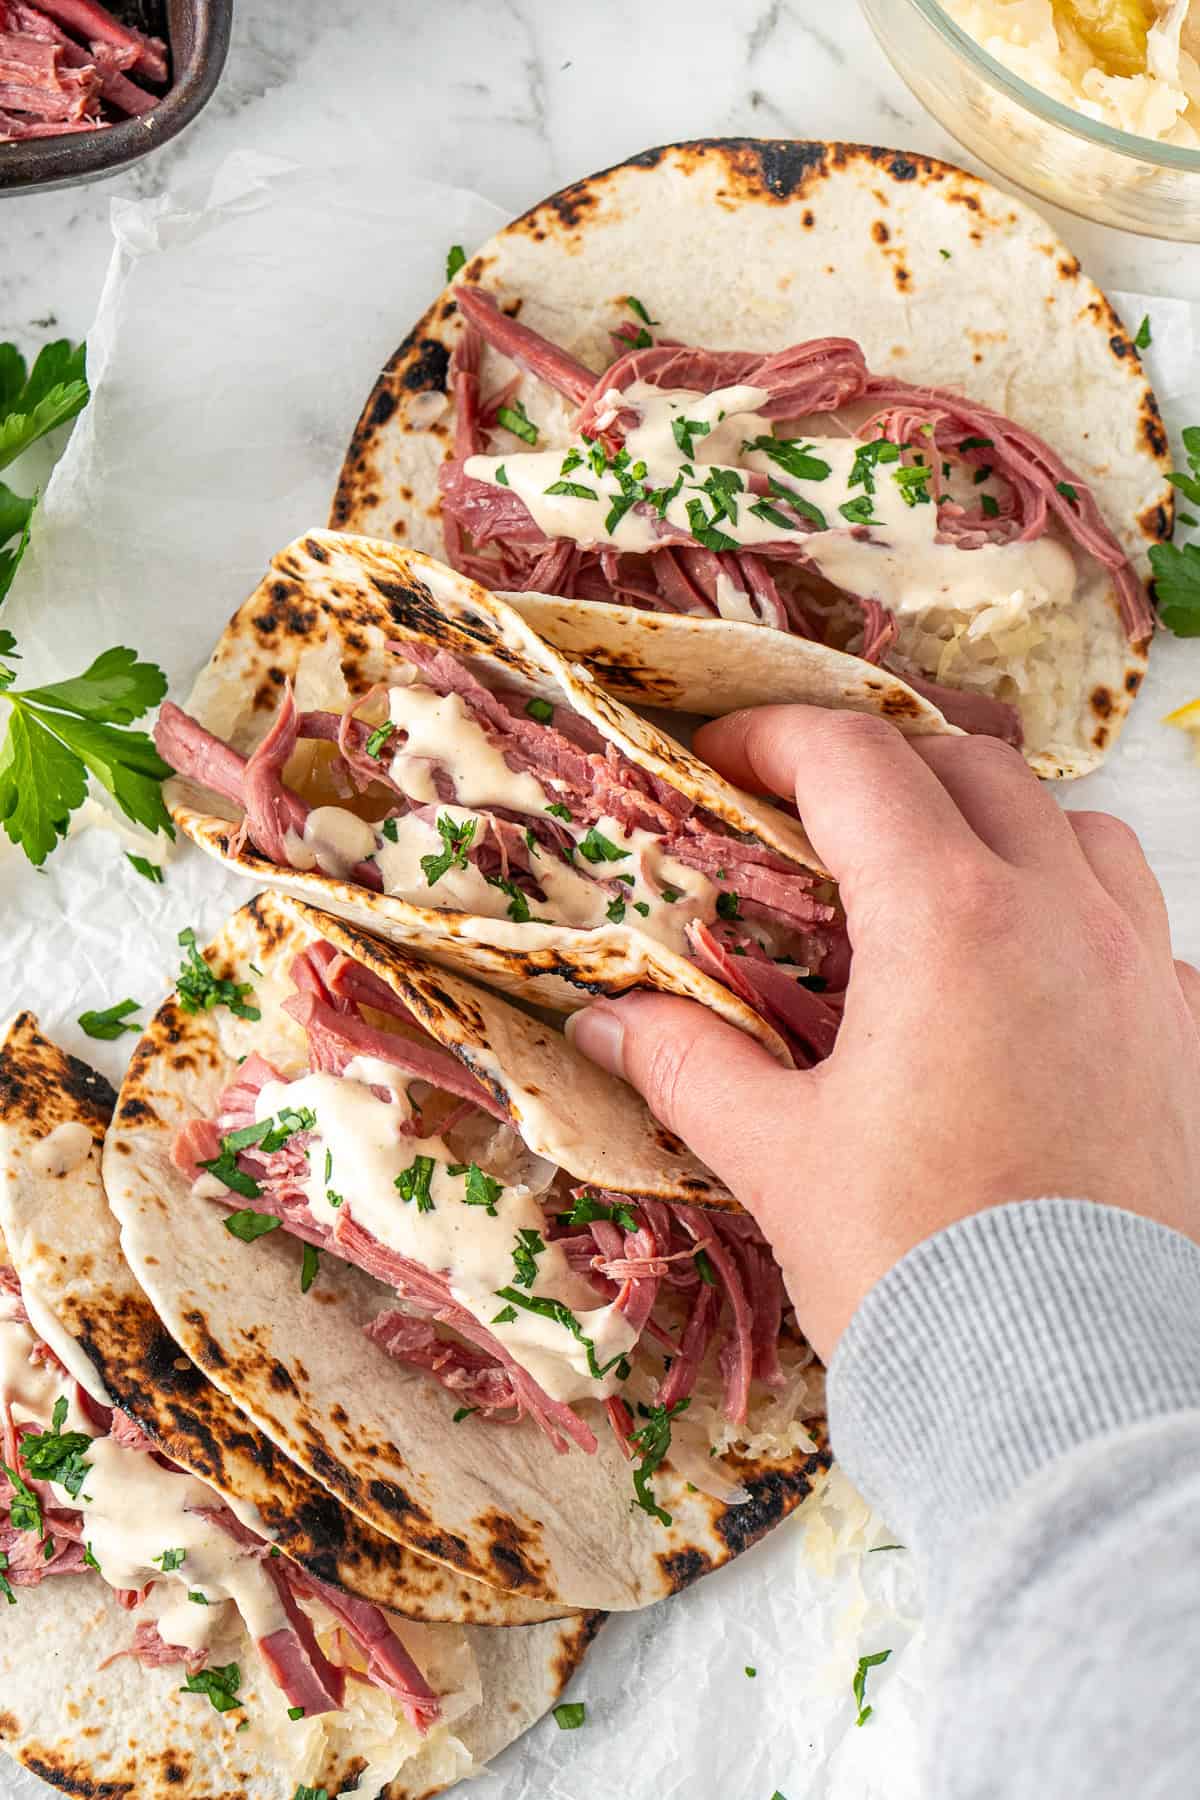
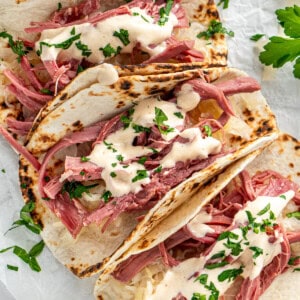
These corned beef tacos are an unexpected twist that works surprisingly well and might just become your new favourite way to enjoy corned beef! The beef is cooked until tender and easy to shred, then paired with a creamy, tangy sauce and sauerkraut. These tacos are ideal for weeknights or whenever you want a delicious dinner without the fuss.
I first made corned beef tacos when I had a craving for shredded beef tacos and the supermarket didn’t have any chuck roasts. Instead, I picked up a silverside roast and thought, let’s try this instead. It’s safe to say that I was not only impressed with the result, it’s become one of my favourite ways to eat corned beef!
This recipe uses corned beef that is first slow cooked to produce super juicy and tender meat that falls apart. But if you’re like me and don’t always plan that far in advance, I have a tip for you. Pressure cooking the corned beef not only produces the same tender, fall apart meat in half the time but I actually think it has more flavour. Don’t worry though, I have both instructions included in the recipe below.
And while you may think that corned beef is the star of the show here, it really is just the vessel that allows us to enjoy the most incredible sauce. This sauce does contain quite the ingredients list but let me tell you it’s worth it.
The sauce is my copycat version of the Lane’s BBQ ‘Sorta White’ sauce which is similar to an Alabama white sauce. It’s creamy, tangy and a little spicy from the secret ingredient – horseradish! If these tacos were a reuben, this would be the Russian dressing.
Key Ingredients
As mentioned, to make these corned beef tacos you’ll need a few ingredients plus the sauce (which is technically optional but not really once you try it!).
Note all ingredients and their quantities are laid out in the recipe card at the bottom of this post.
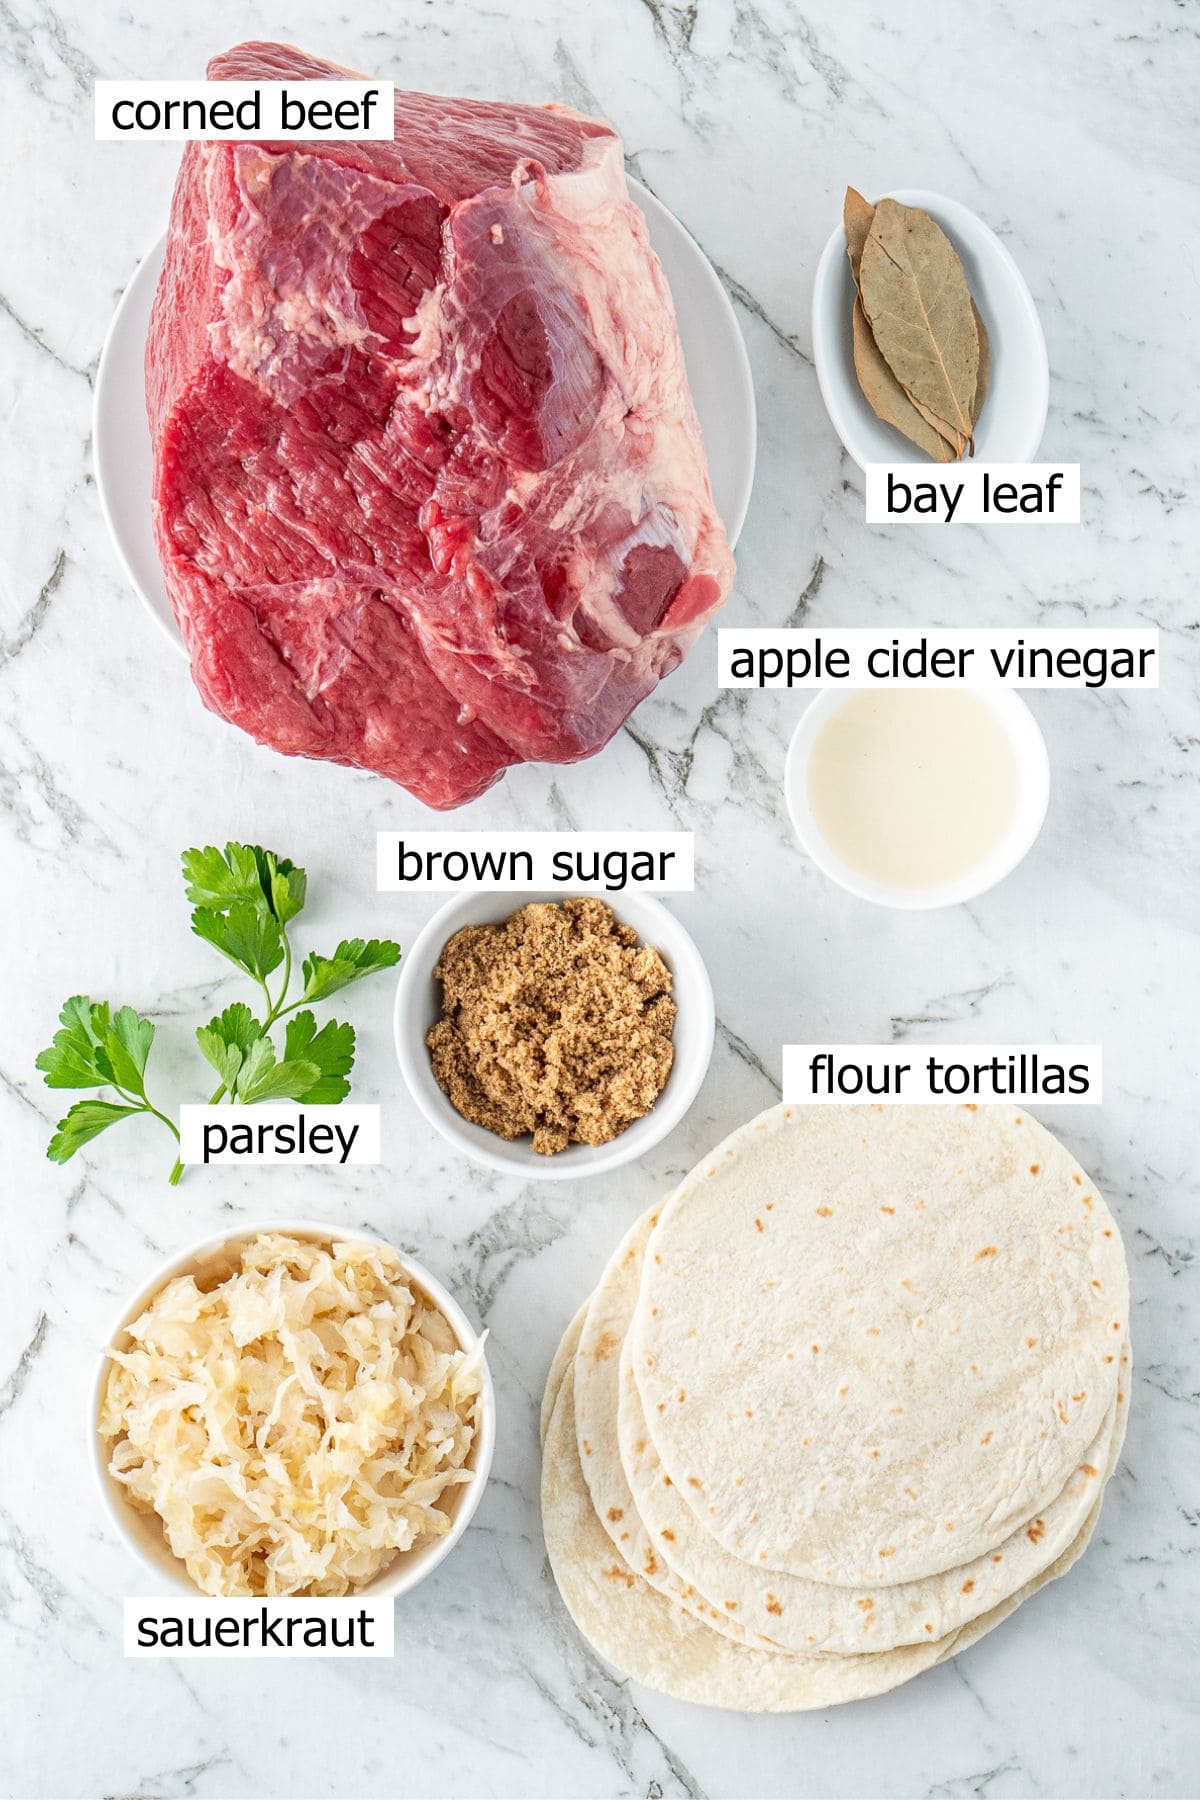
- Corned silverside – I am using a corned silverside as this is the most commonly found. You can grab these from the supermarket or the local butcher which is often slightly better quality.
- Brown sugar – balances the saltiness of the corned beef and helps deepen the flavour.
- Apple cider vinegar – helps to make the meat more tender. You can use white vinegar instead – I usually use whichever is closer.
- Sauerkraut – you can find this either in the fridge section or in the canned vegetable section of the supermarket. Use any that you prefer.
- Flour tortillas – use the street style, smaller tacos for this recipe. You can also use corn tortillas as well if you want to keep this recipe gluten free.
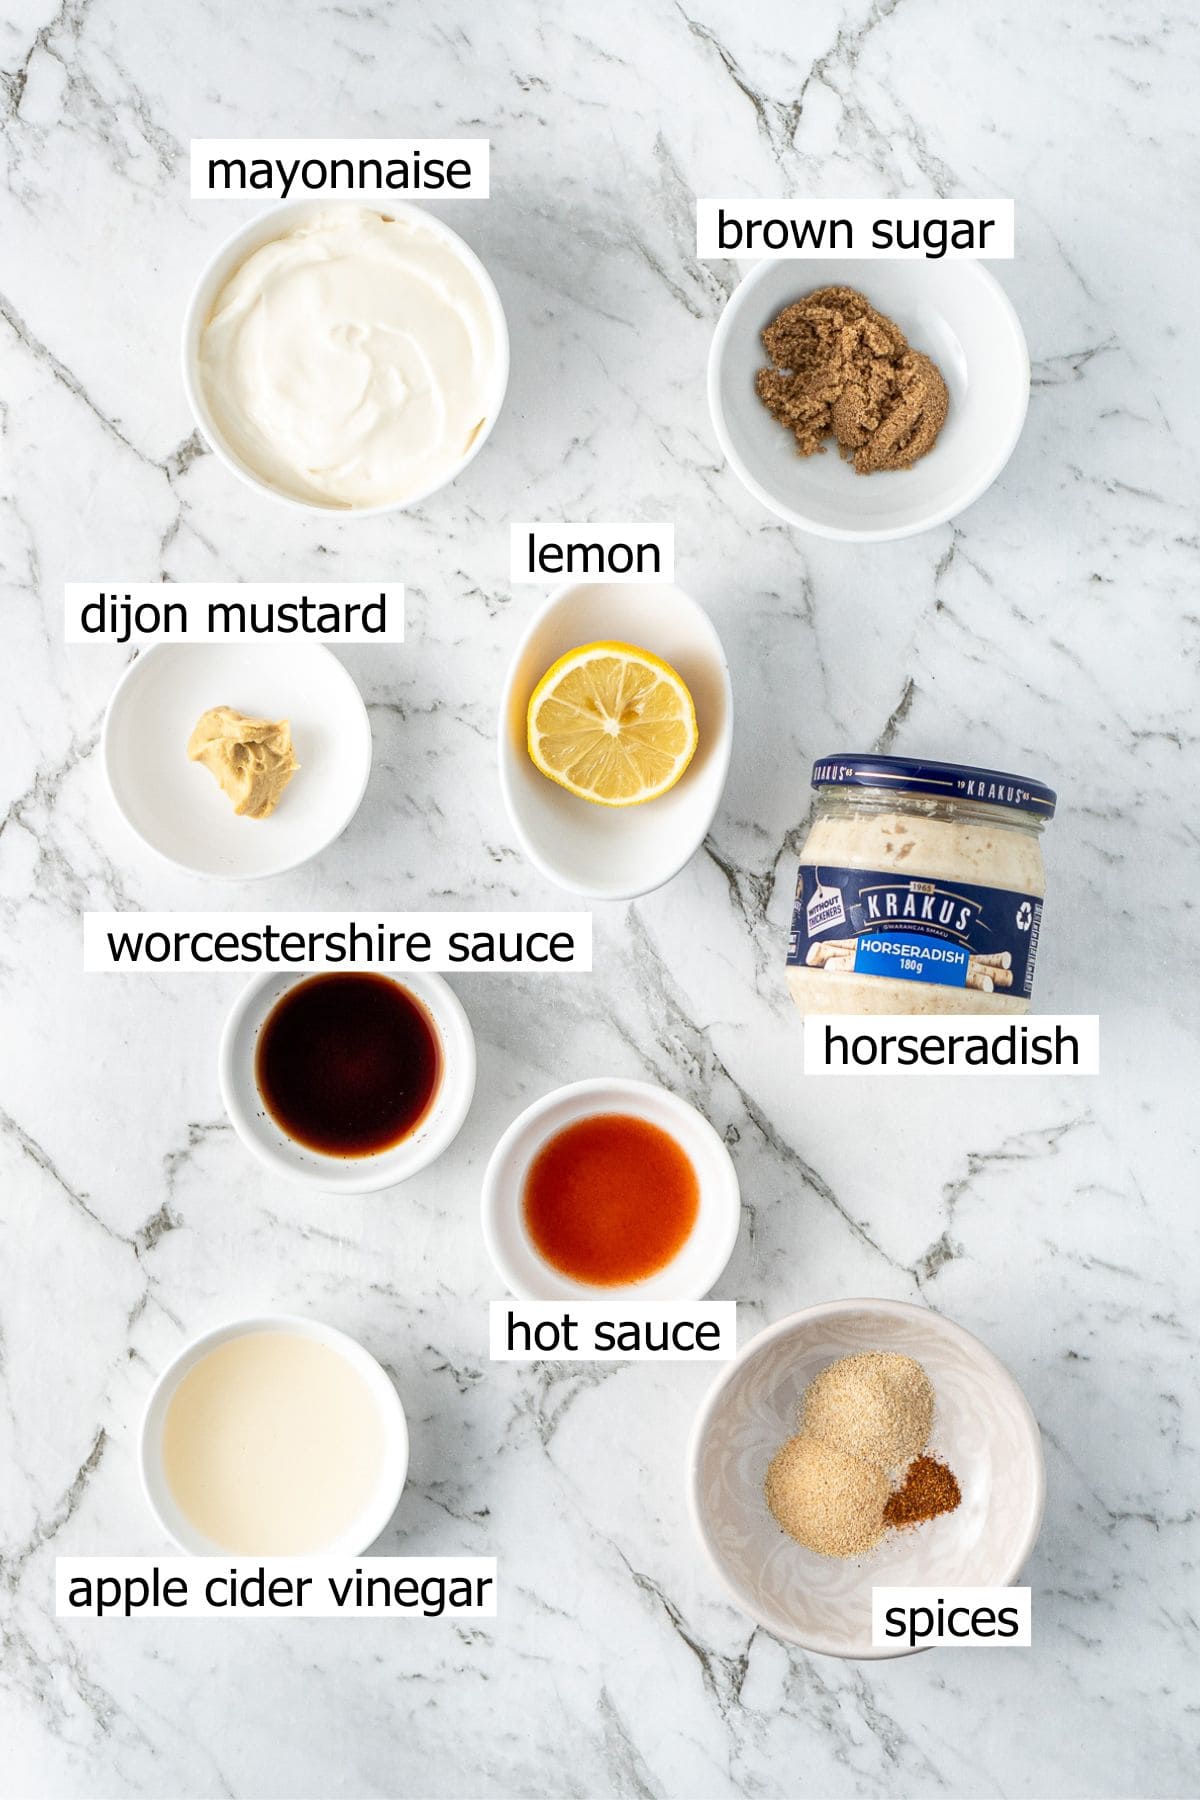
To make the optional Alabama-style white sauce, you’ll need:
- Mayonnaise – use a good quality mayo that you like. I always use Heinz as I find it has the best flavour and creaminess.
- Apple cider vinegar – this is a tangy sauce. You can substitute with white wine vinegar as well.
- Brown sugar – for a little sweetness to balance.
- Dijon mustard – adds a little more tang and compliments the horseradish flavour.
- Worcestershire sauce – it might be hard to pronounce but it’s one of those pantry staple ingredients that just adds so much depth of flavour to the sauce.
- Hot sauce – you can use any hot sauce you like, but I tend to just use Franks Red Hot as I keep this in the pantry.
- Horseradish – the most difficult ingredient to find on this list if you’re dairy free as most horseradish sold in the supermarket contains some form of cream/dairy. You’re looking for one that is pure horseradish. I bought mine from an international grocery store. If you can’t get it you can skip it, but the addition is definitely worth the effort to find it.
- Spices – to really enhance the flavour we add a little onion powder, garlic powder, and just a pinch of cayenne pepper to taste.
- Lemon juice – use fresh juice for the best flavour. Adjust the amount based on your taste and how tangy you want the sauce.
👉 If you don’t want to make the sauce yourself you can buy the Lane’s BBQ one which is delicious and I do recommend, or you can substitute with regular mayonnaise or dairy free sour cream.
Step-By-Step Instructions
To make these corned beef tacos I do recommend that you use a pressure cooker to get the best results, if you have one. I just think it works the best. But if you only have a slow cooker, you can use that as well, just follow the instructions from my slow cooker corned beef recipe.
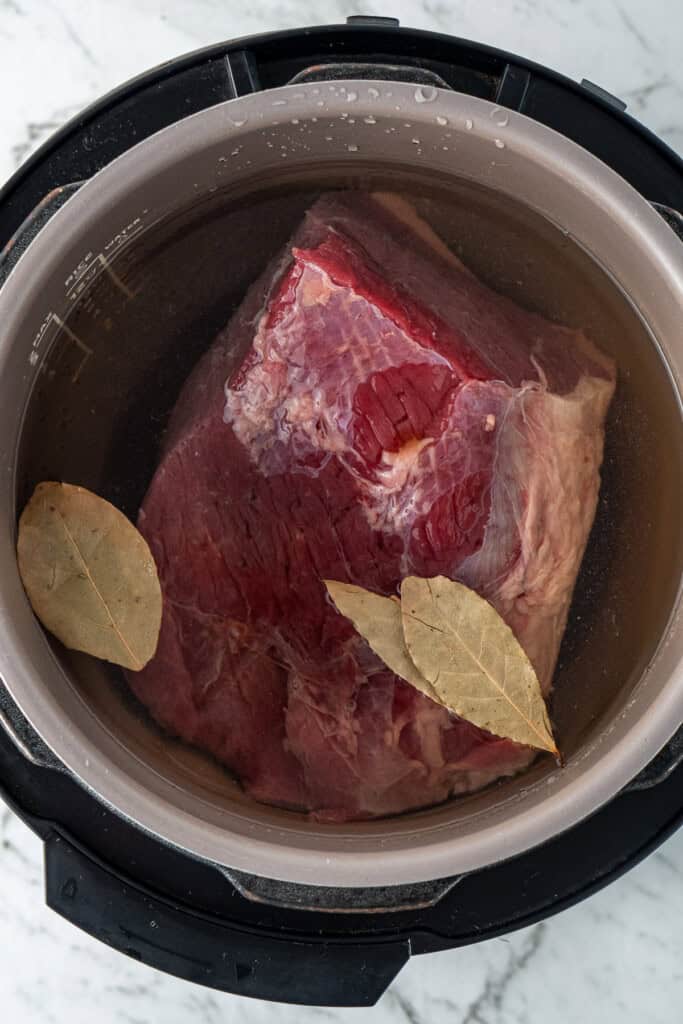
Step 1: Start by removing the silverside from its packaging and placing it into the bowl of the pressure cooker. Pour in enough water to fully submerge the beef, being careful not to go over the maximum fill line. Stir through the brown sugar and apple cider vinegar, then add the bay leaves.
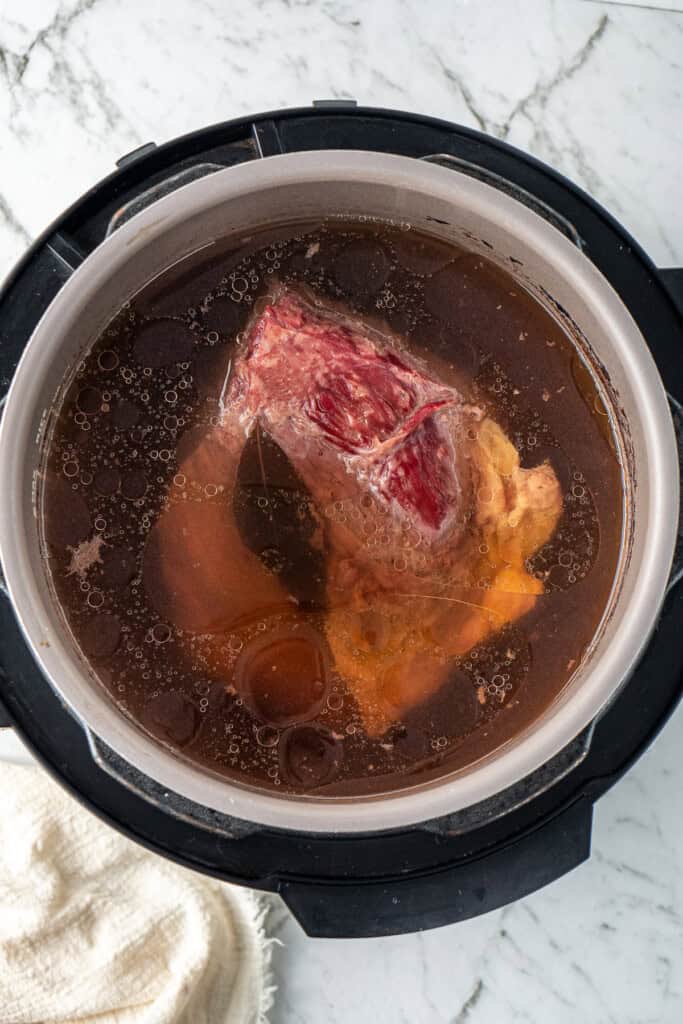
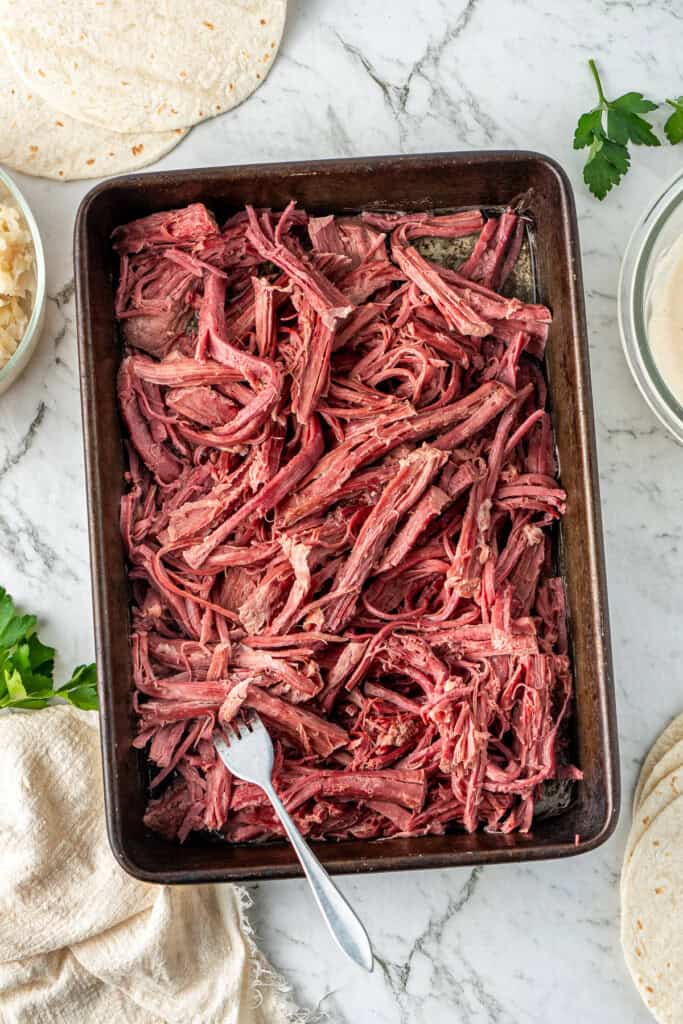
Step 2: Secure the lid, set the valve to sealed, and cook on high pressure for 90 minutes. Once the time is up, allow the pressure to release naturally for 15–30 minutes. Carefully lift out the beef and shred it into bite-sized pieces using two forks. Set aside until ready to assemble the tacos.
Step 3: While the beef cooks, if you’re making the sauce, do this by combining all the ingredients in a small bowl. Stir well until smooth, then taste and adjust the seasoning to your liking.

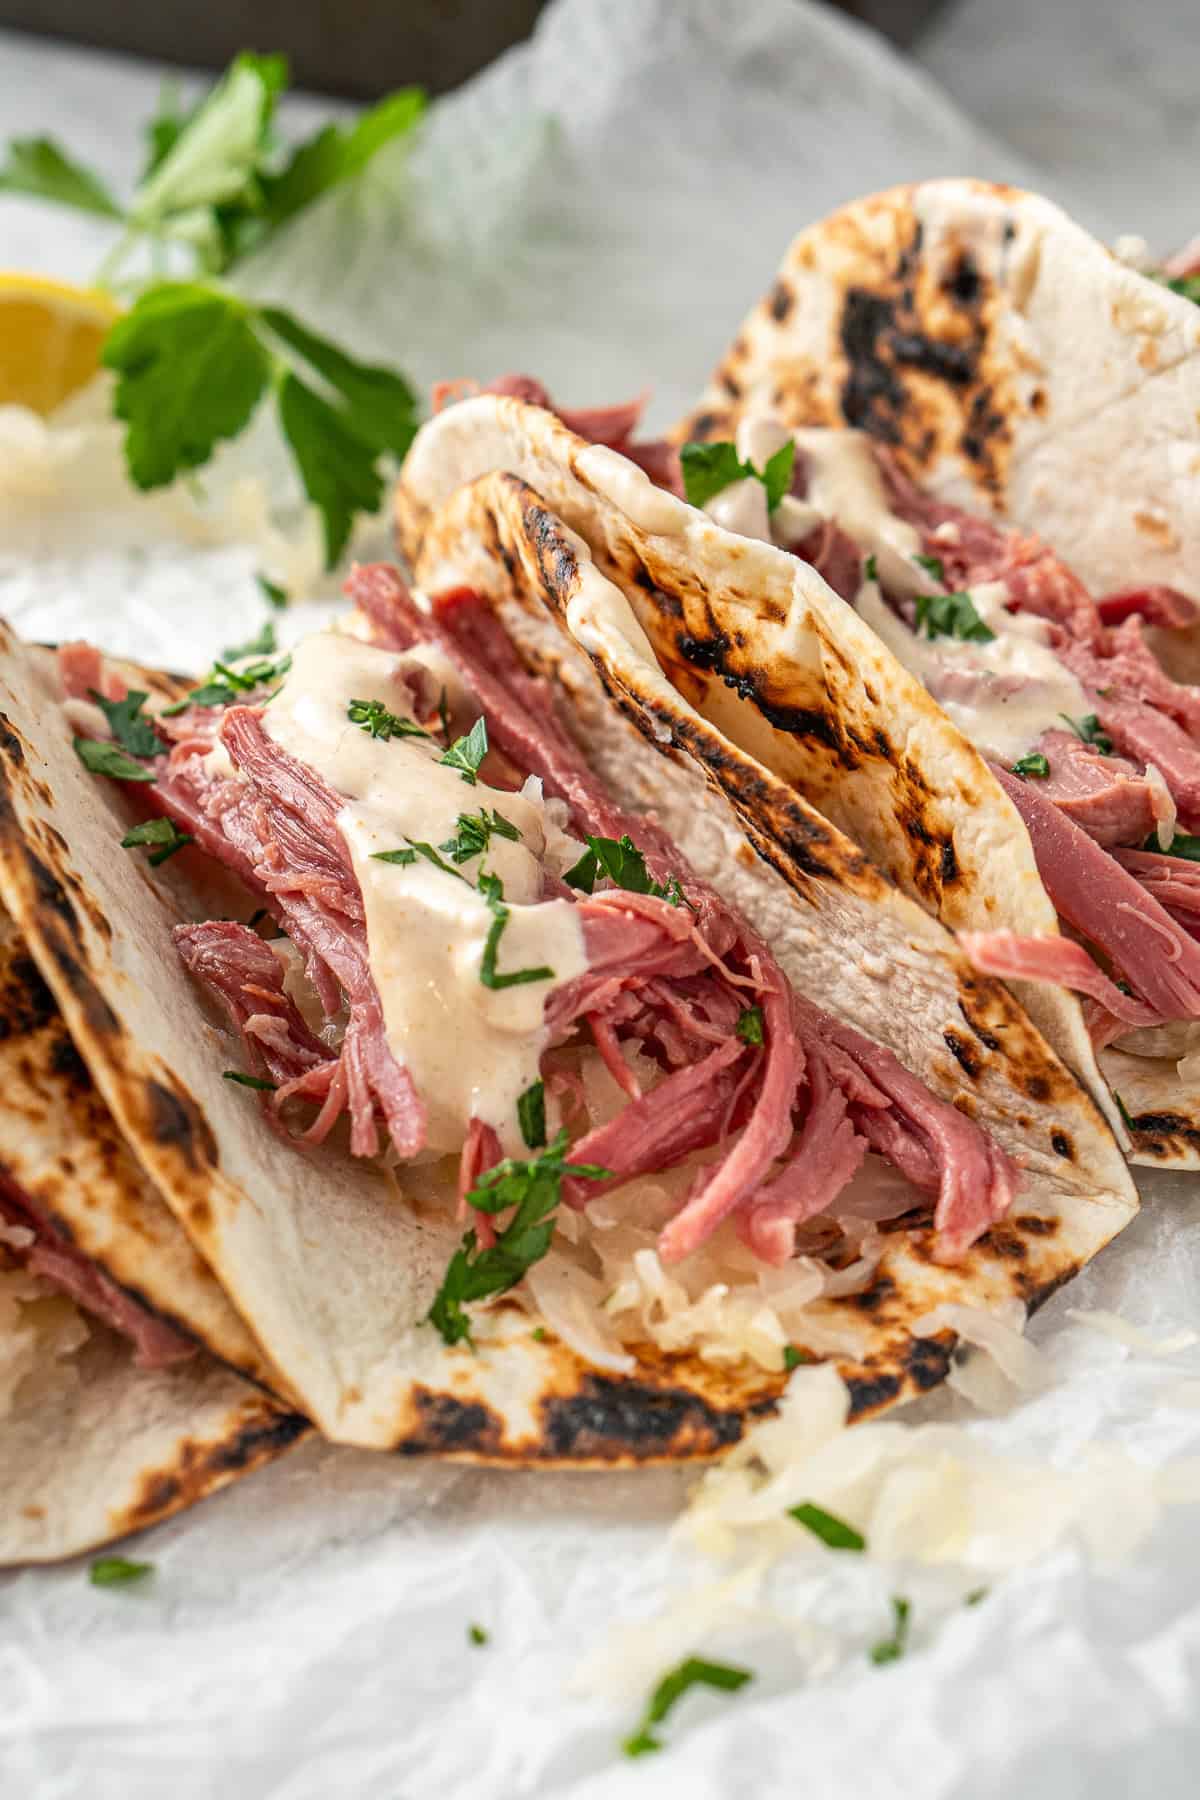
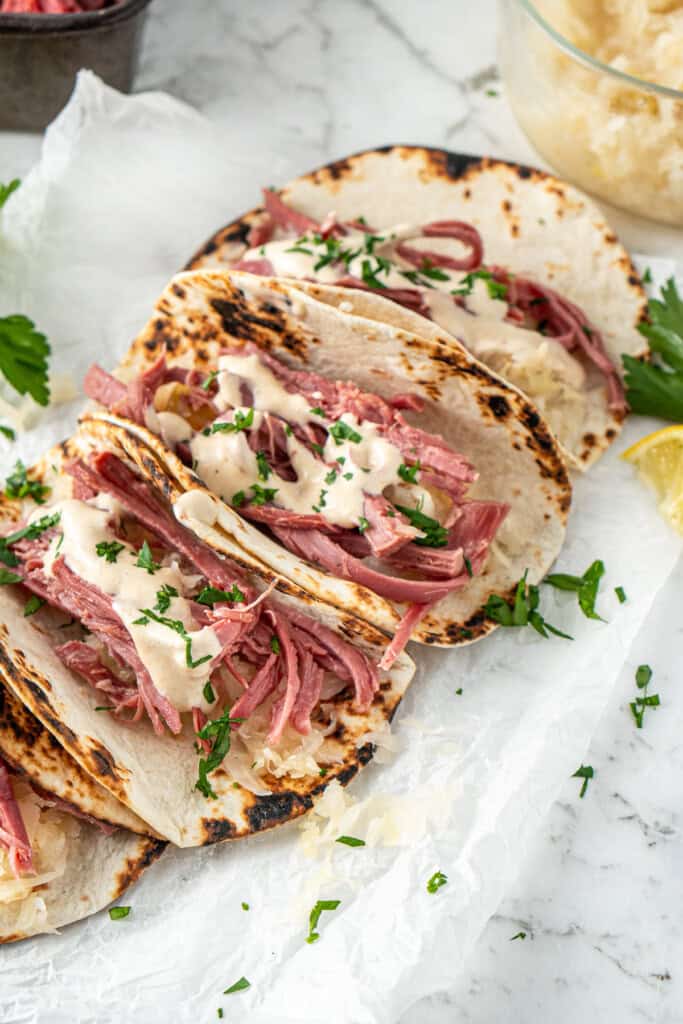
Step 4: To serve, warm the tortillas in a dry frying pan or directly over a gas flame until soft and lightly charred. Spoon some shredded corned beef onto each tortilla, followed by a little sauerkraut. Drizzle generously with the white sauce and finish with a sprinkle of fresh parsley.
Step 5: Serve immediately and enjoy! They can get a little messy but that’s all part of it right.

Recipe FAQs
Yes you can! Corn tortillas work well and are a great option to make this recipe gluten free. Just warm them gently so they don’t crack.
Yes, the sauce can be made up to 2 days in advance and stored in an airtight container in the fridge. Give it a quick stir before serving.
Store the shredded corned beef in an airtight container in the fridge for up to 3 days. The sauce can also be kept separately in the fridge. Reheat the beef before assembling tacos, or use leftover corned beef in these corned beef fritters.
If you do make this recipe, please be sure to leave a comment and ⭐⭐⭐⭐⭐ rating below! And tag any of your creations on Instagram with @eightforestlane as I would love to see.
More taco recipes:
Grilled Prawn Tacos
Slow Cooker Chicken Tinga Tacos
Grilled Salmon Tacos
Crispy Black Bean Tacos
Corned Beef Tacos
Equipment
Ingredients
For the corned beef:
- 1.3 – 1.5 kilogram corned silverside
- 2 tablespoons brown sugar
- 1 tablespoon apple cider vinegar
- 4 dried bay leaves
For the white sauce:
- ½ cup mayonnaise
- 1 tablespoon apple cider vinegar
- 2 teaspoons brown sugar
- 1 teaspoon dijon mustard
- 1 teaspoon worcestershire sauce
- 1 teaspoon hot sauce I use Franks Red Hot
- 1 teaspoon horseradish
- ½ teaspoon onion powder
- ½ teaspoon garlic powder
- Pinch cayenne pepper
- Squeeze lemon juice to taste
For the tacos:
- 1 – 1 ½ cups sauerkraut drained
- 12 street-style flour tortillas
- Chopped fresh parsley to serve
Instructions
- Remove the corned beef/silverside from its packaging and place it in the bowl of the pressure cooker. Add enough water to fully cover the beef, making sure not to go over the maximum fill line. Stir in the brown sugar and apple cider vinegar, and add the bay leaves.
- Secure the lid and set the valve to sealed. Cook on high pressure for 90 minutes, then allow the pressure to release naturally for 15-30 minutes. Carefully lift out the beef and shred it using two forks. Set aside until ready to assemble the tacos.
- While the beef is cooking, combine all the white sauce ingredients in a small bowl. Mix until smooth, then taste and adjust the seasoning as needed.
- To serve, warm the tortillas in a dry frying pan or carefully over a gas flame until soft and slightly charred. Place some shredded corned beef on each tortilla, top with a little sauerkraut, and drizzle generously with the white sauce. Finish with a sprinkle of fresh parsley and serve immediately.
Notes
Nutrition
Nutritional information is provided as a guide only and is calculated using automated online tools, therefore we cannot guarantee the accuracy. We encourage you to make your own calculations based on the actual ingredients used in your recipe.

Never wonder what's for dinner again
Get a brand new dairy free meal plan every week, plus members only recipes and the whole of Eight Forest Lane with no ads. The planning is done, you just shop and cook.
Start your 7 day free trial →