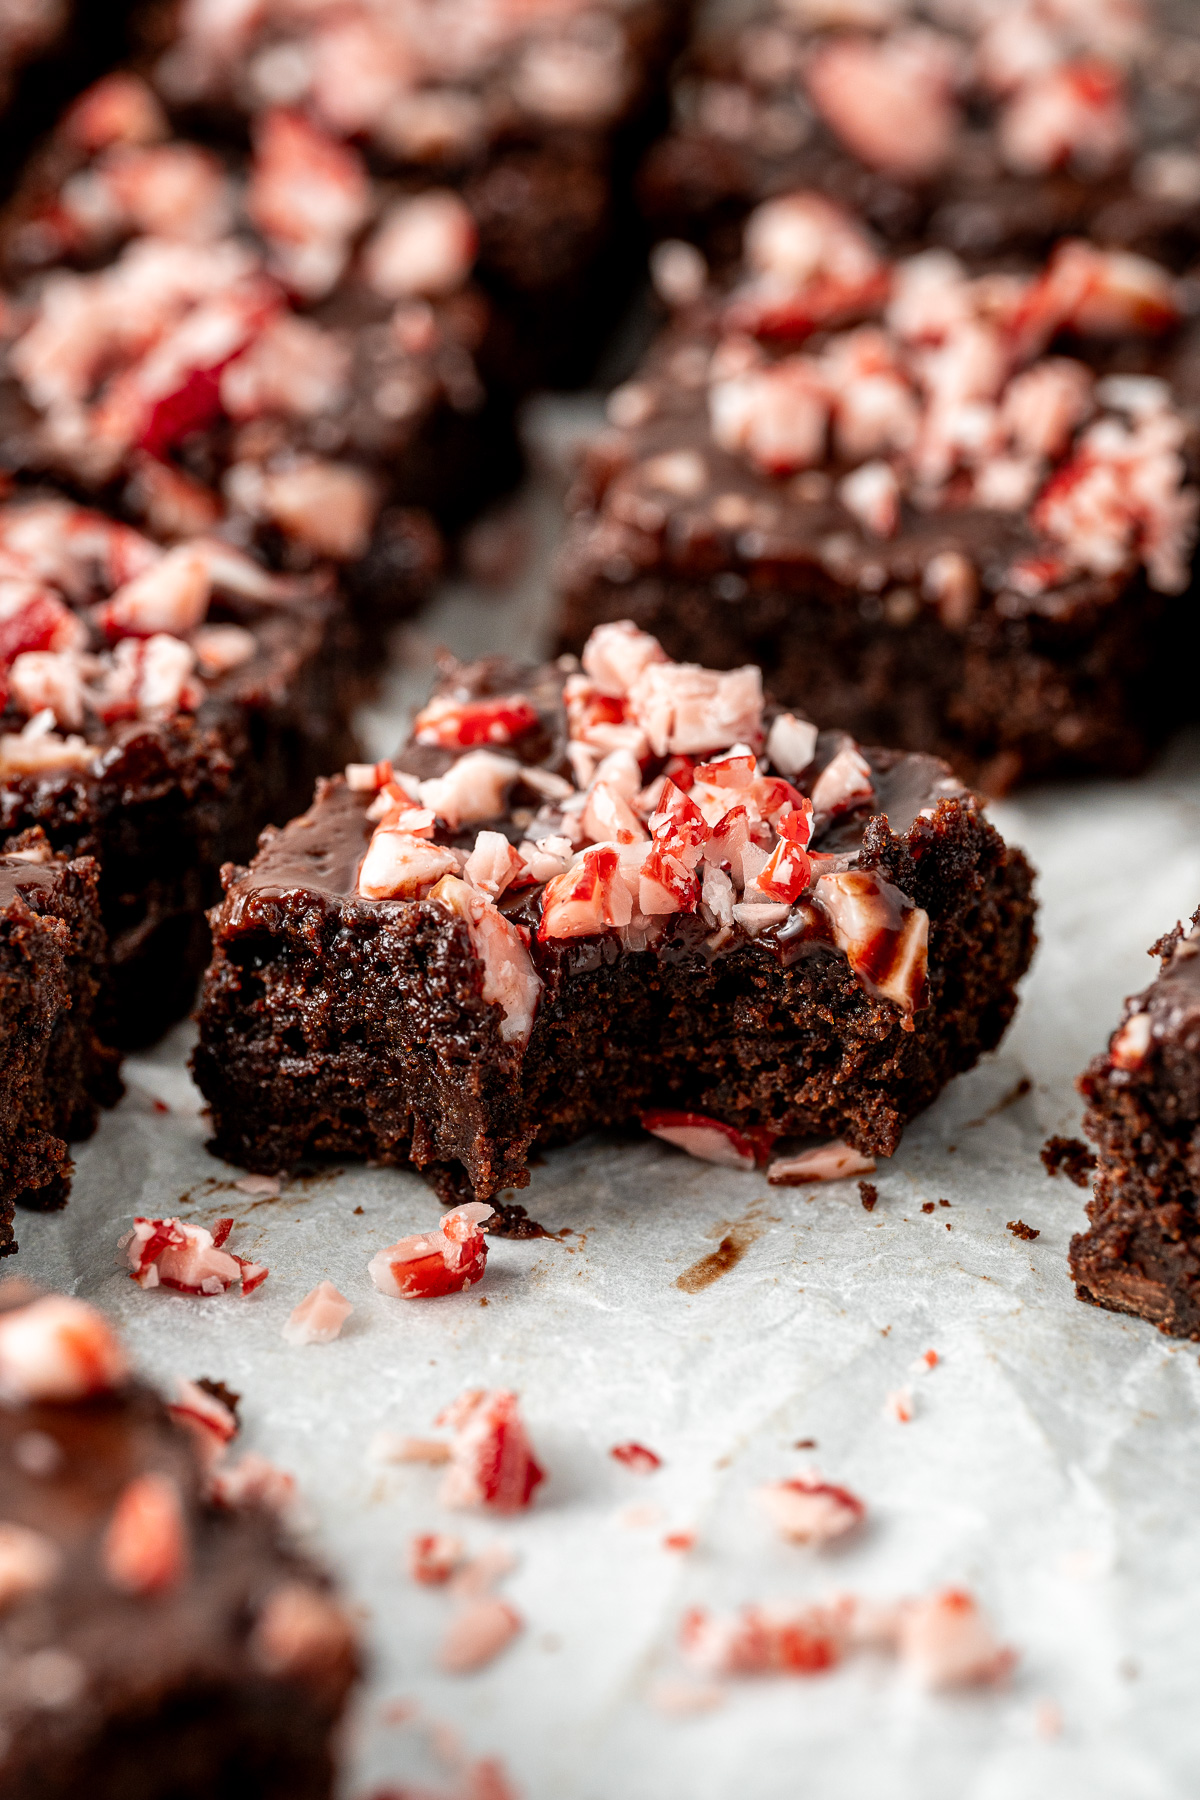
These easy chocolate peppermint brownies come together in just 30 minutes! Both gluten and dairy free, these fudgy brownies are packed with chunks of rich dark chocolate and a hint of peppermint extract for maximum flavour. They’re topped with a lush dark chocolate peppermint ganache and finished with crushed candy canes for the ultimate festive treat.
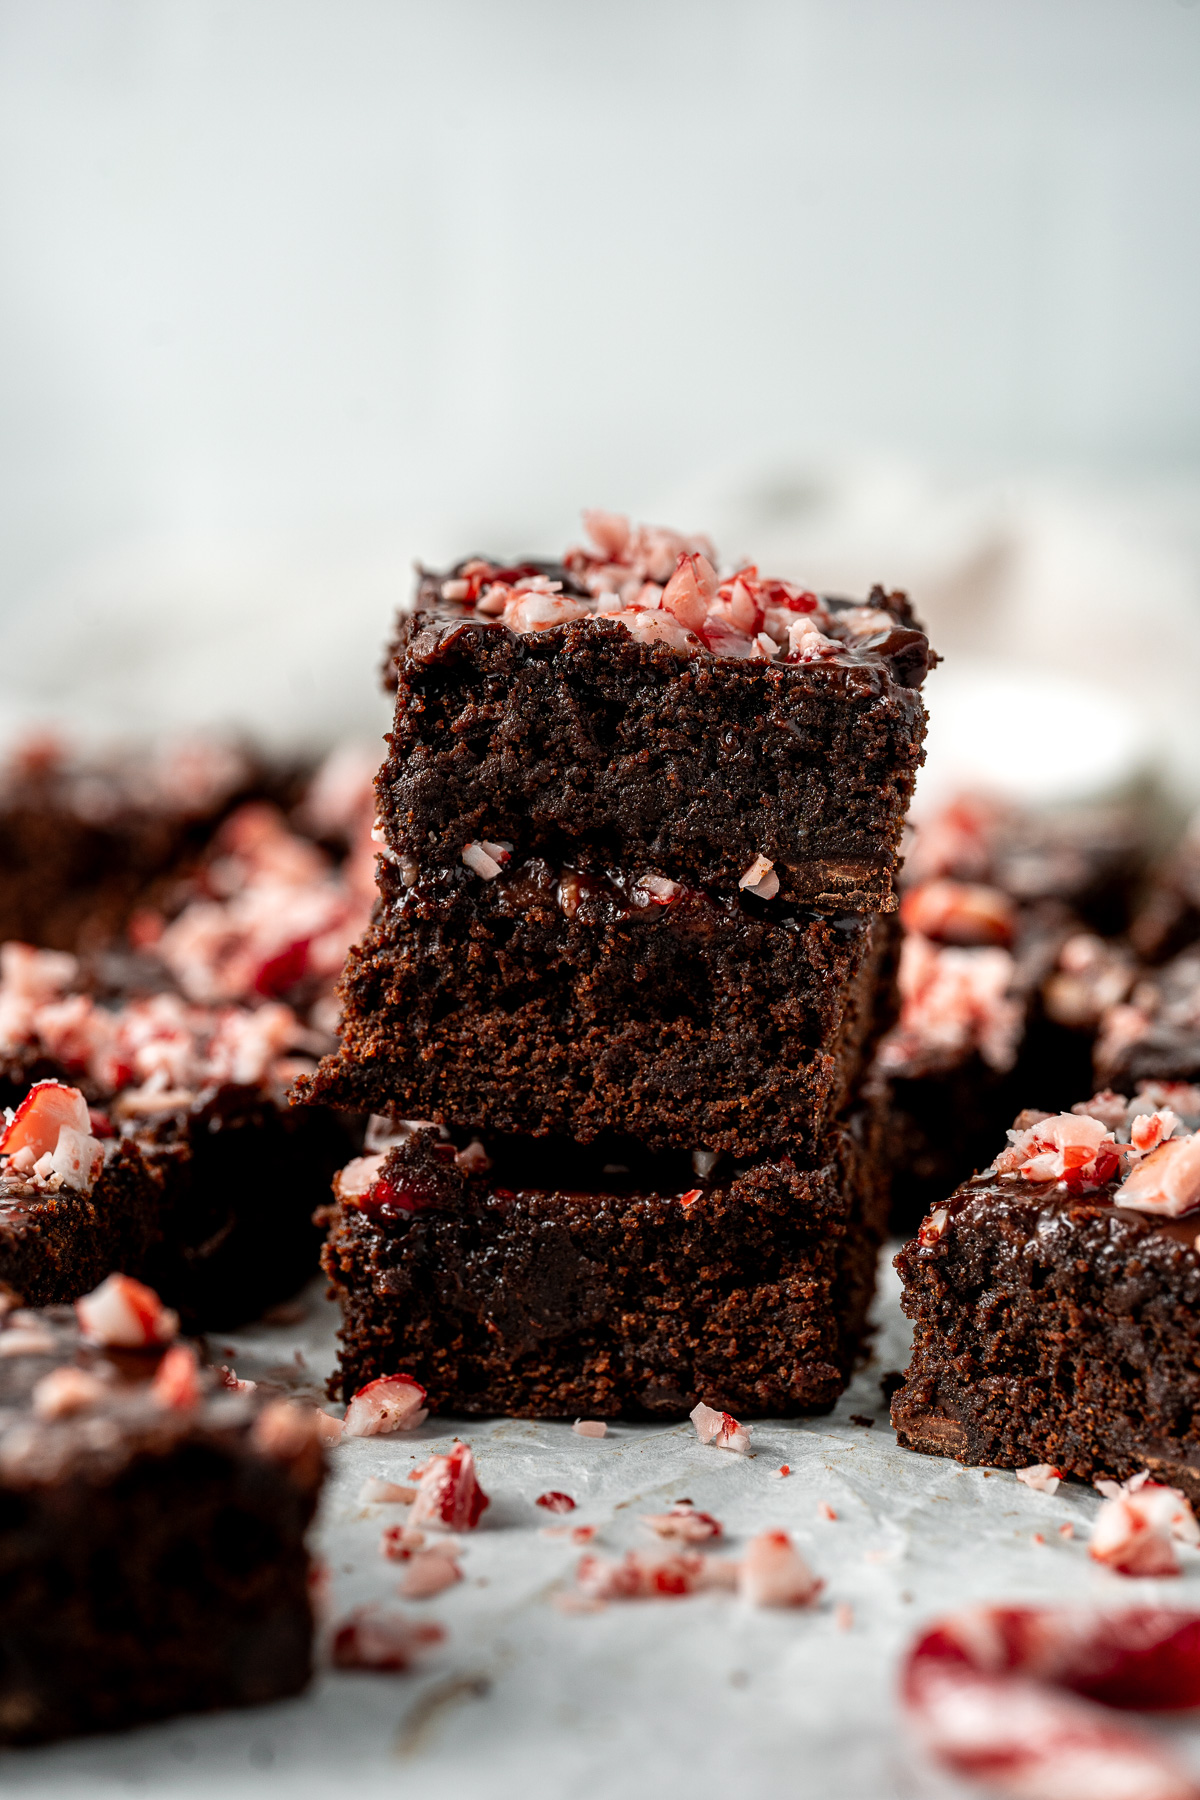
Chocolate and peppermint are just meant to be together. I have been completely obsessed with this flavour combination this December, and if you are too then you need to also try these chocolate peppermint thumbprint cookies and these vegan chocolate peppermint cupcakes!
But back to the brownies. I love these brownies because they are super quick to make but taste so rich and indulgent. They are my go to when I need to bring an easy dessert to a party or I want to make something easy but still festive for after dinner when the chocolate craving hits.
There are a few other reasons I love this recipe and keep coming back to it;
- Allergy friendly. These brownies are both dairy and gluten free in a way that no-one who doesn’t mind will notice, but those who do will be thankful they too can enjoy them.
- QUICK. Brownie recipes often take 40 mins or so to bake, but with this recipe we have delicious, perfect brownies in 20 mins.
- Small batch. This recipe makes 16 small brownies, or 9 large ones as you probably don’t need tonnes of extra leftovers at this time of year.
- Delicious! Perfect for taking to holiday themed work morning teas or Sunday BBQs as they are easy to transport and insanely popular.
Key Ingredients
These brownies use just a few simple ingredients that you may already have in the pantry this time of year, so you can easy make a batch in no time!
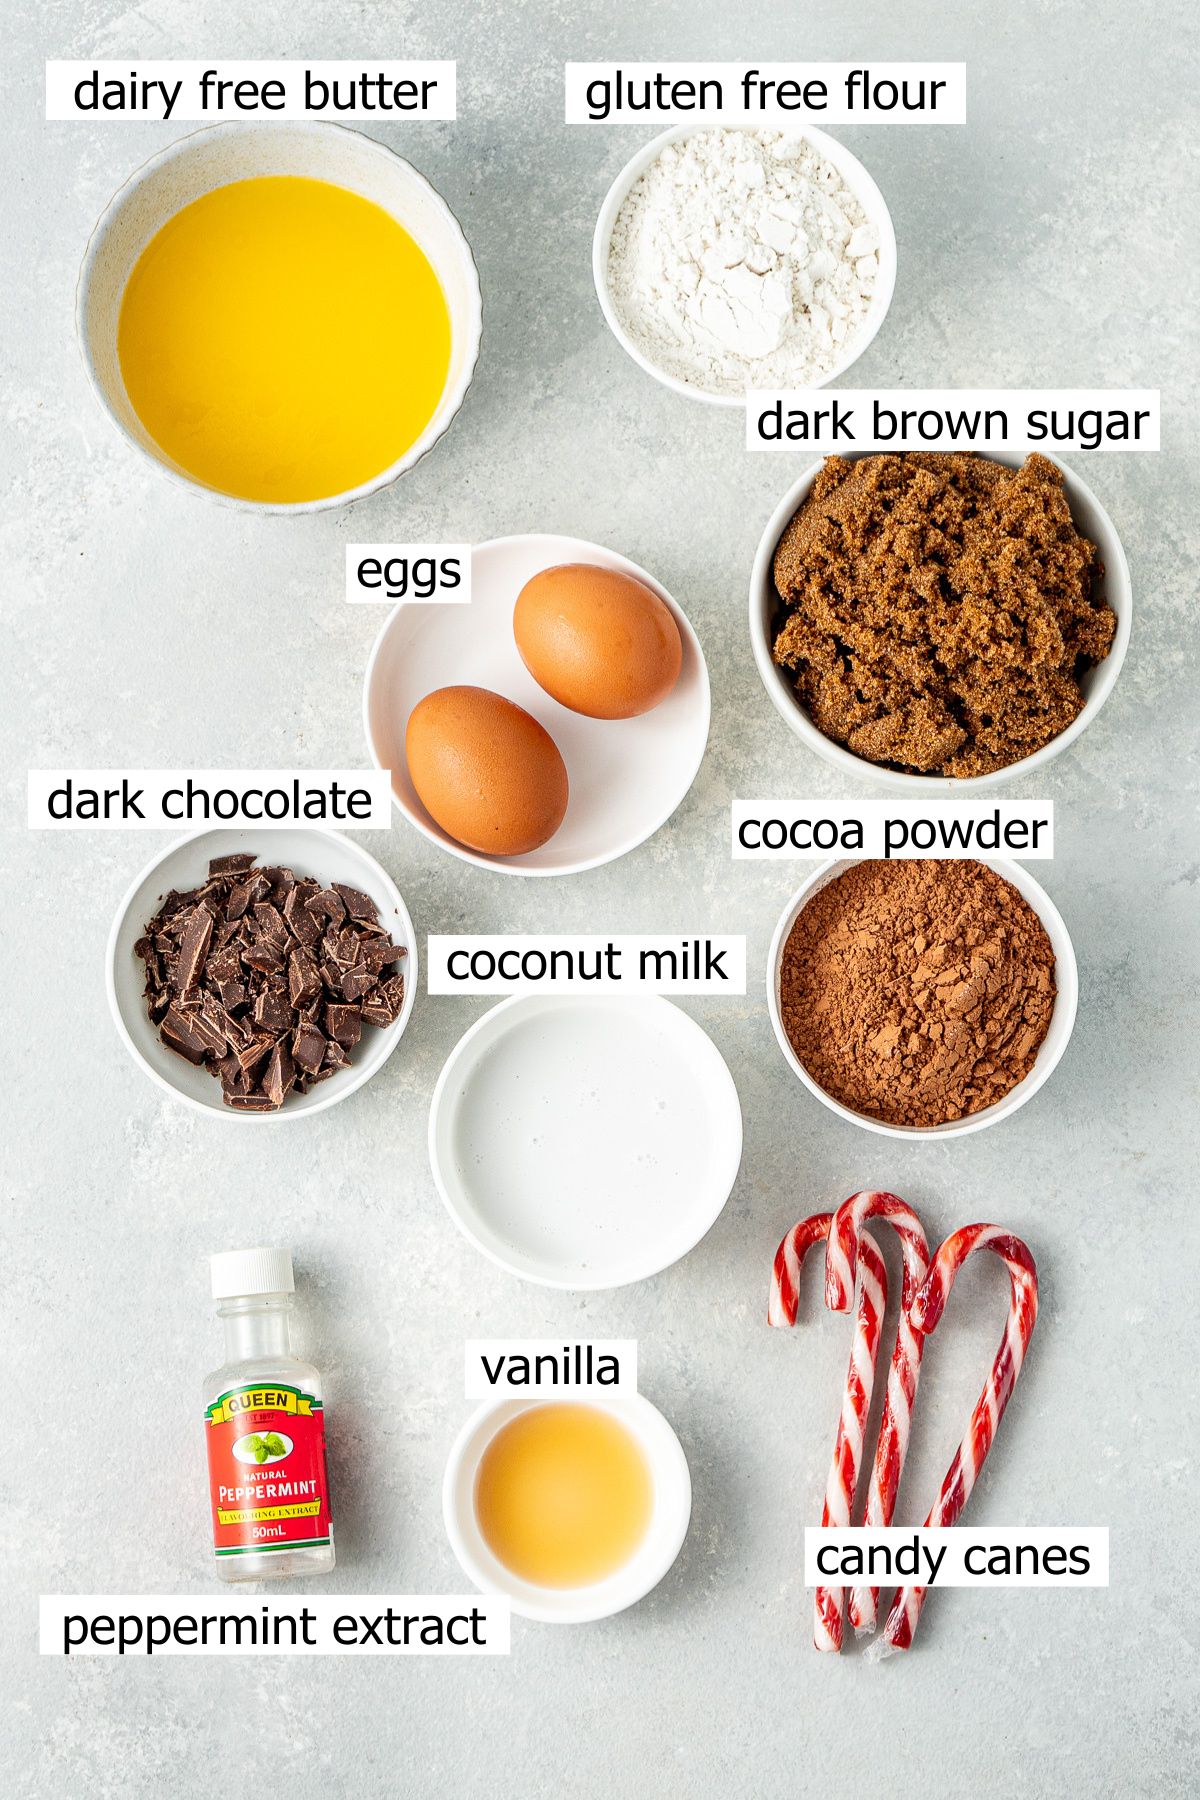
Note all ingredients and their quantities are laid out in the recipe card at the bottom of this post.
- Dairy-free butter – I like to use a vegan butter substitute rather than oil in these brownies to keep them rich and soft. Use a quality dairy-free butter here for the best flavour. I always use Nuttelex Buttery which is an Australian product. In the US, the closest alternative is Earth Balance which I understand to be very similar.
- Dark brown sugar – adds extra richness to the brownie and helps give a dense chewy texture. You can use regular brown sugar instead.
- Vanilla & peppermint extracts – for flavour!
- Eggs – help ensure the brownie is stable and the perfect, soft and fudgy texture.
- Cocoa powder – always use a good quality cocoa powder for the best, rich, chocolate flavour. I’ve used Cadbury Bournville cocoa powder my entire life because it’s made from the same beans Cadbury uses to make their chocolate so you know it’s going to taste good. For those in the US, this is a Dutch-processed cocoa powder.
- Gluten-free flour – brownies are one of those foods that are actually better made gluten free but you can use regular plain flour if you don’t need them to be gluten free. Always use a good quality gluten-free flour such as Bob’s Red Mill for best results.
- Chocolate – you can use either dairy-free chocolate chips or chopped up chunks of your favourite dark chocolate. I find the chopped chocolate much better as it will melt into gooey little pools within the brownie.
- Coconut milk – combined with even more dark chocolate to create the peppermint chocolate ganache on top.
- Candy canes – adds that final peppermint crunch on top!
Step-by-Step Instructions
These brownies are so simple and quick to make with no electric mixers required. All you need is a 20cm square baking pan, a bowl and a whisk.
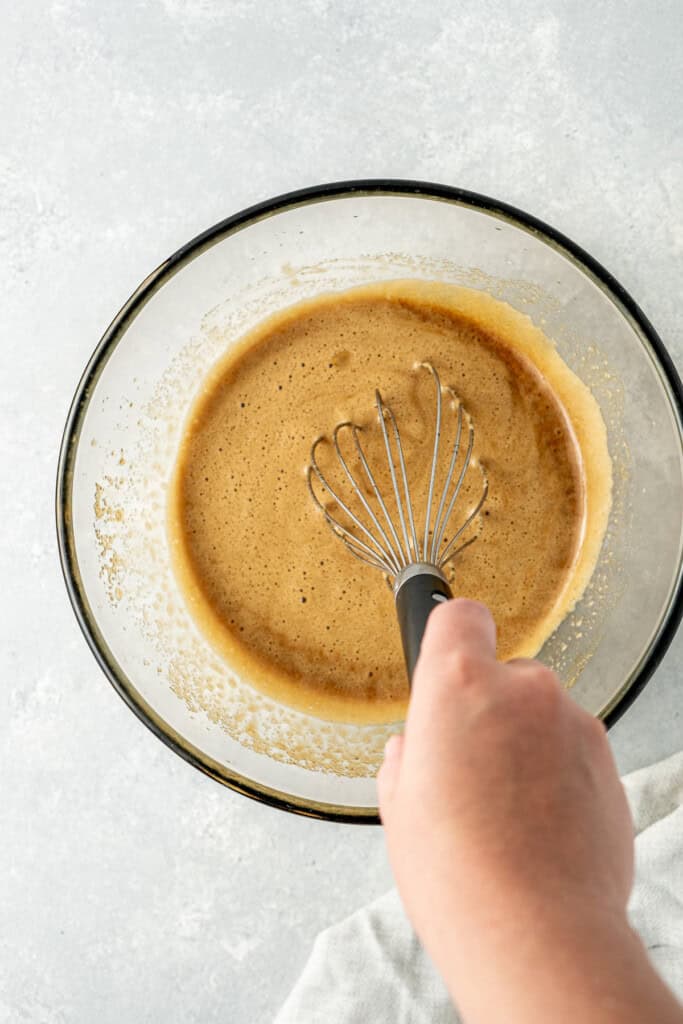
Start by whisking together the eggs and both the vanilla and peppermint extracts really well until it starts to get foamy. Add in the brown sugar and melted dairy free butter and continue to whisk until combined.
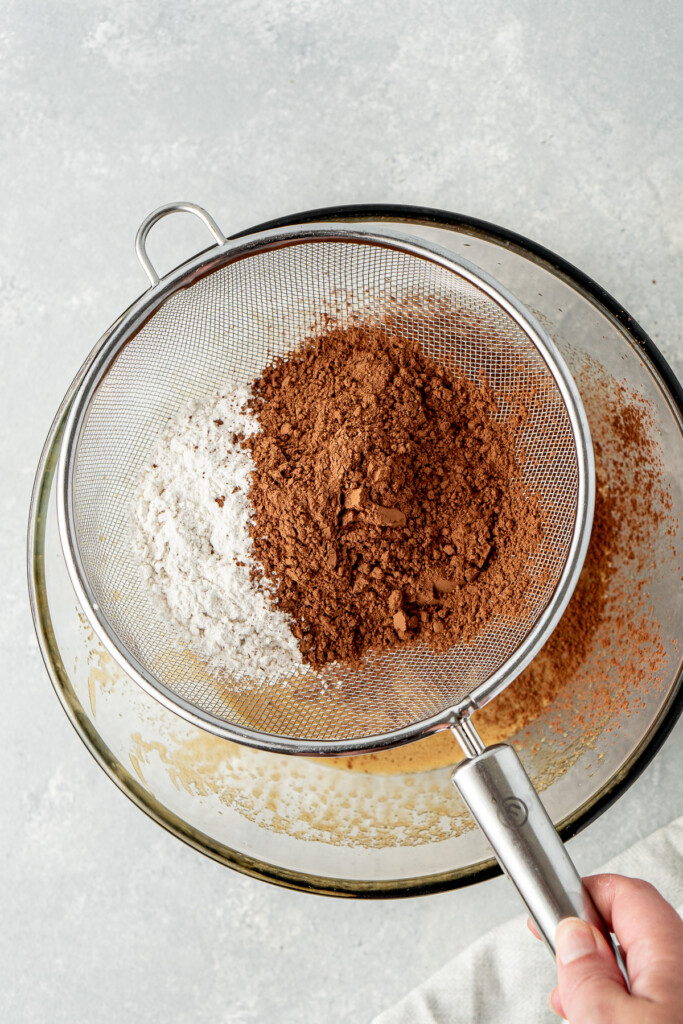
Sift the cocoa powder and gluten free flour into the bowl with the wet ingredients and gently whisk through until combined.
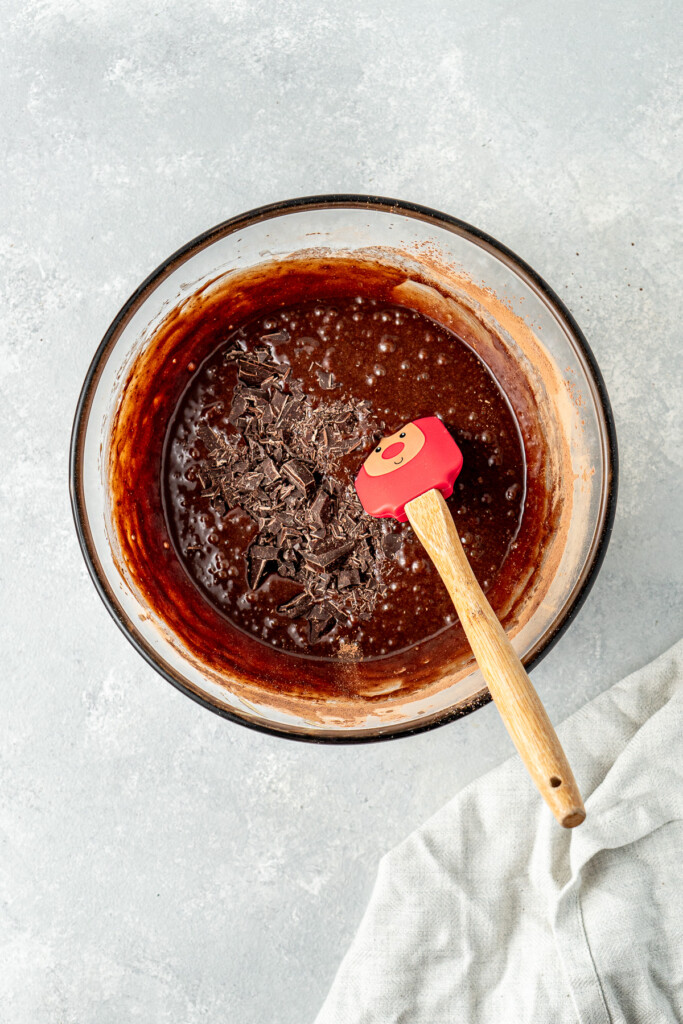
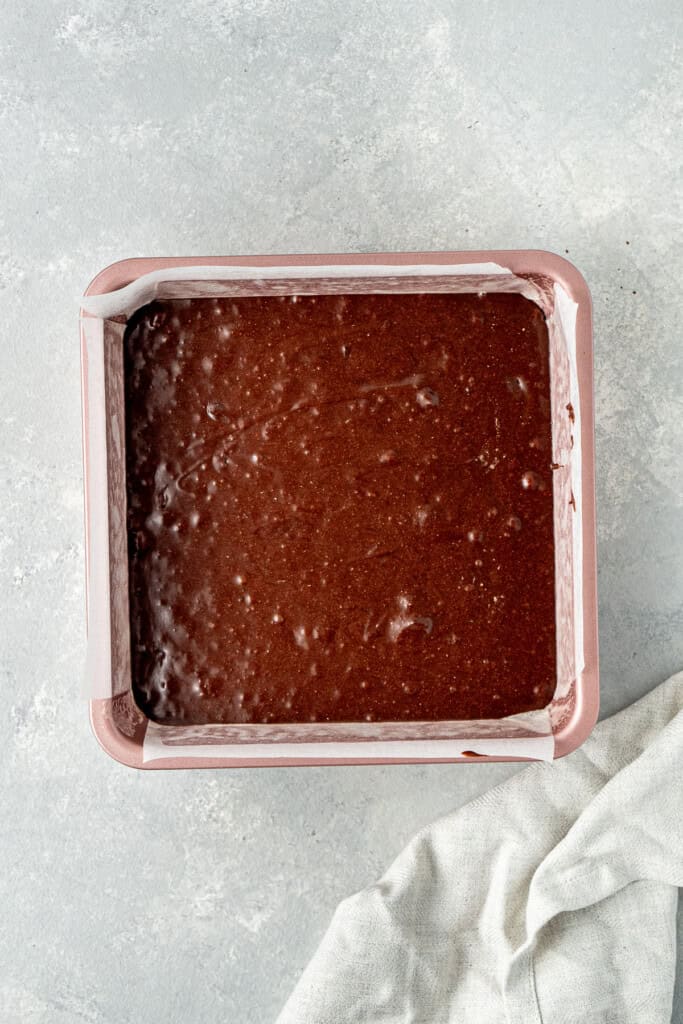
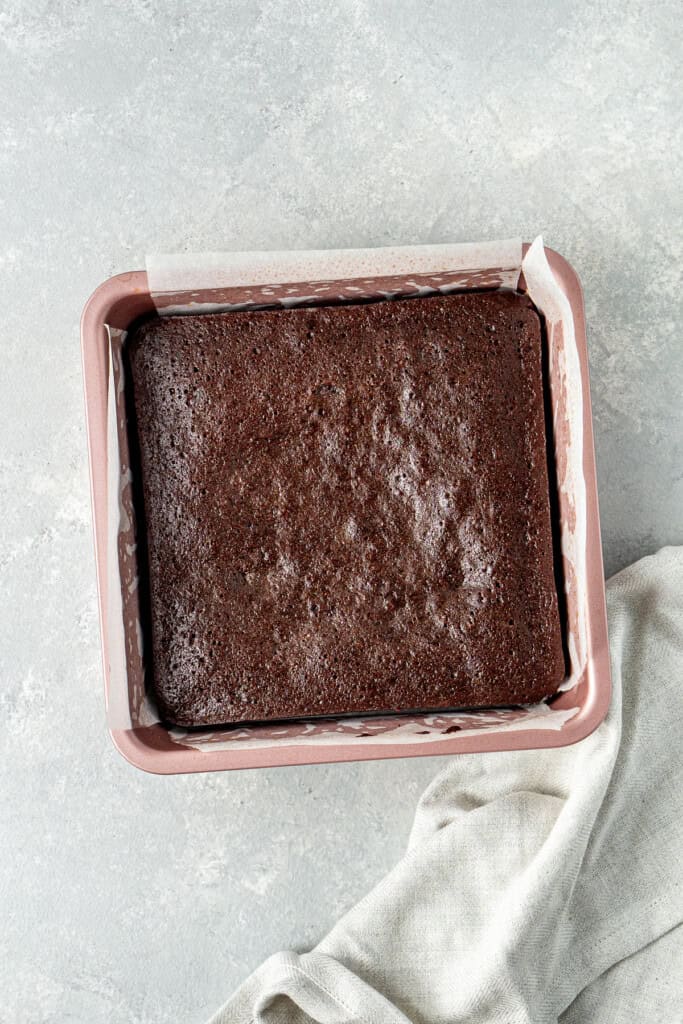
Once the batter is nice and smooth, add in the chopped chocolate or chocolate chips and mix through. Pour the batter into the pan that’s been greased and lined with baking paper and bake in a preheated oven for 20 minutes or until just set in the centre.
Set aside to cool completely on a wire rack or in the pan for an even fudgier brownie.
Make the chocolate ganache frosting
Make these chocolate peppermint brownies even more rich and indulgent by adding a thin layer of rich, dark chocolate peppermint ganache.
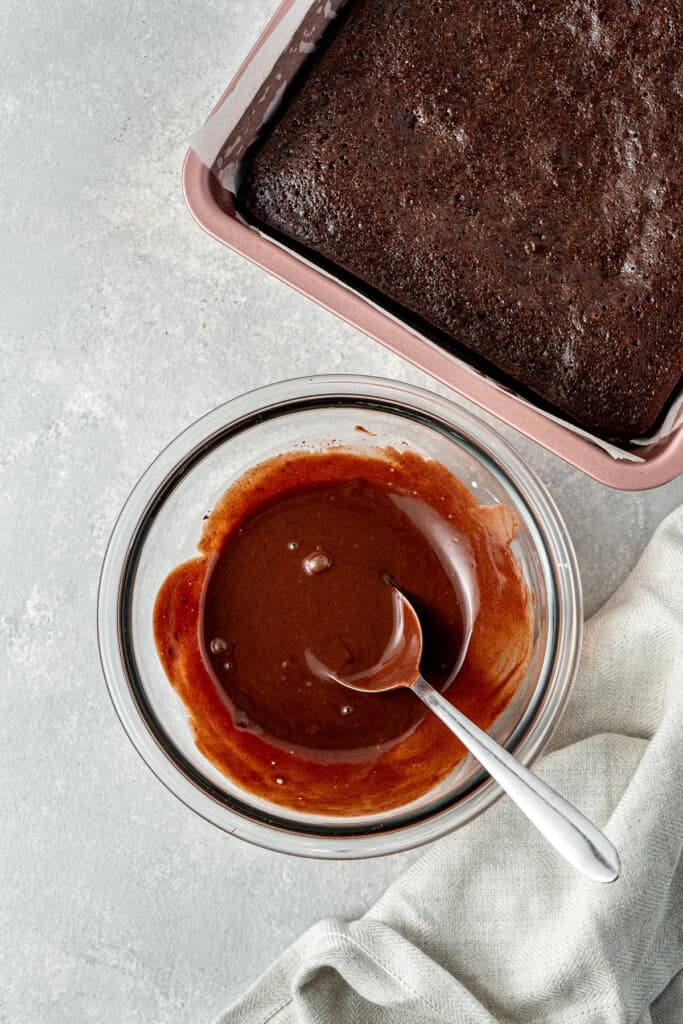
Start by chopping up the dark chocolate and placing it in a glass bowl. In a small microwave safe bowl, heat the coconut milk until warm but not boiling.
Mix the peppermint extract into the coconut milk mixture and pour the coconut milk over the chopped chocolate and leave to sit for 5-10 minutes. Mix the ganache well using a metal spoon until smooth and glossy. Pour the ganache over the top of the brownies, smoothing out with a metal spoon.
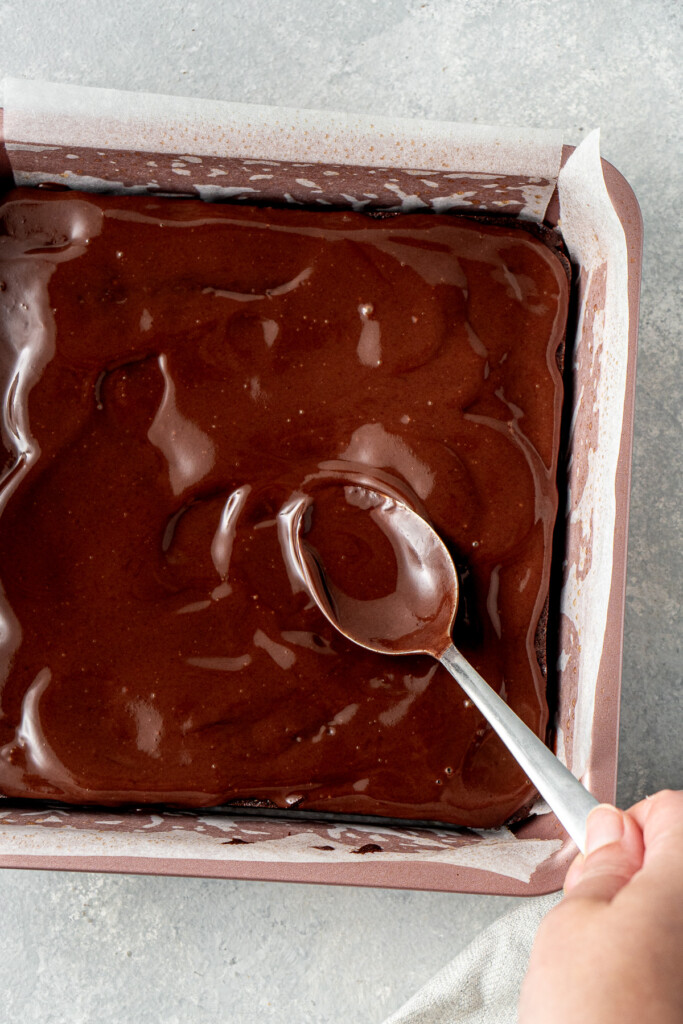
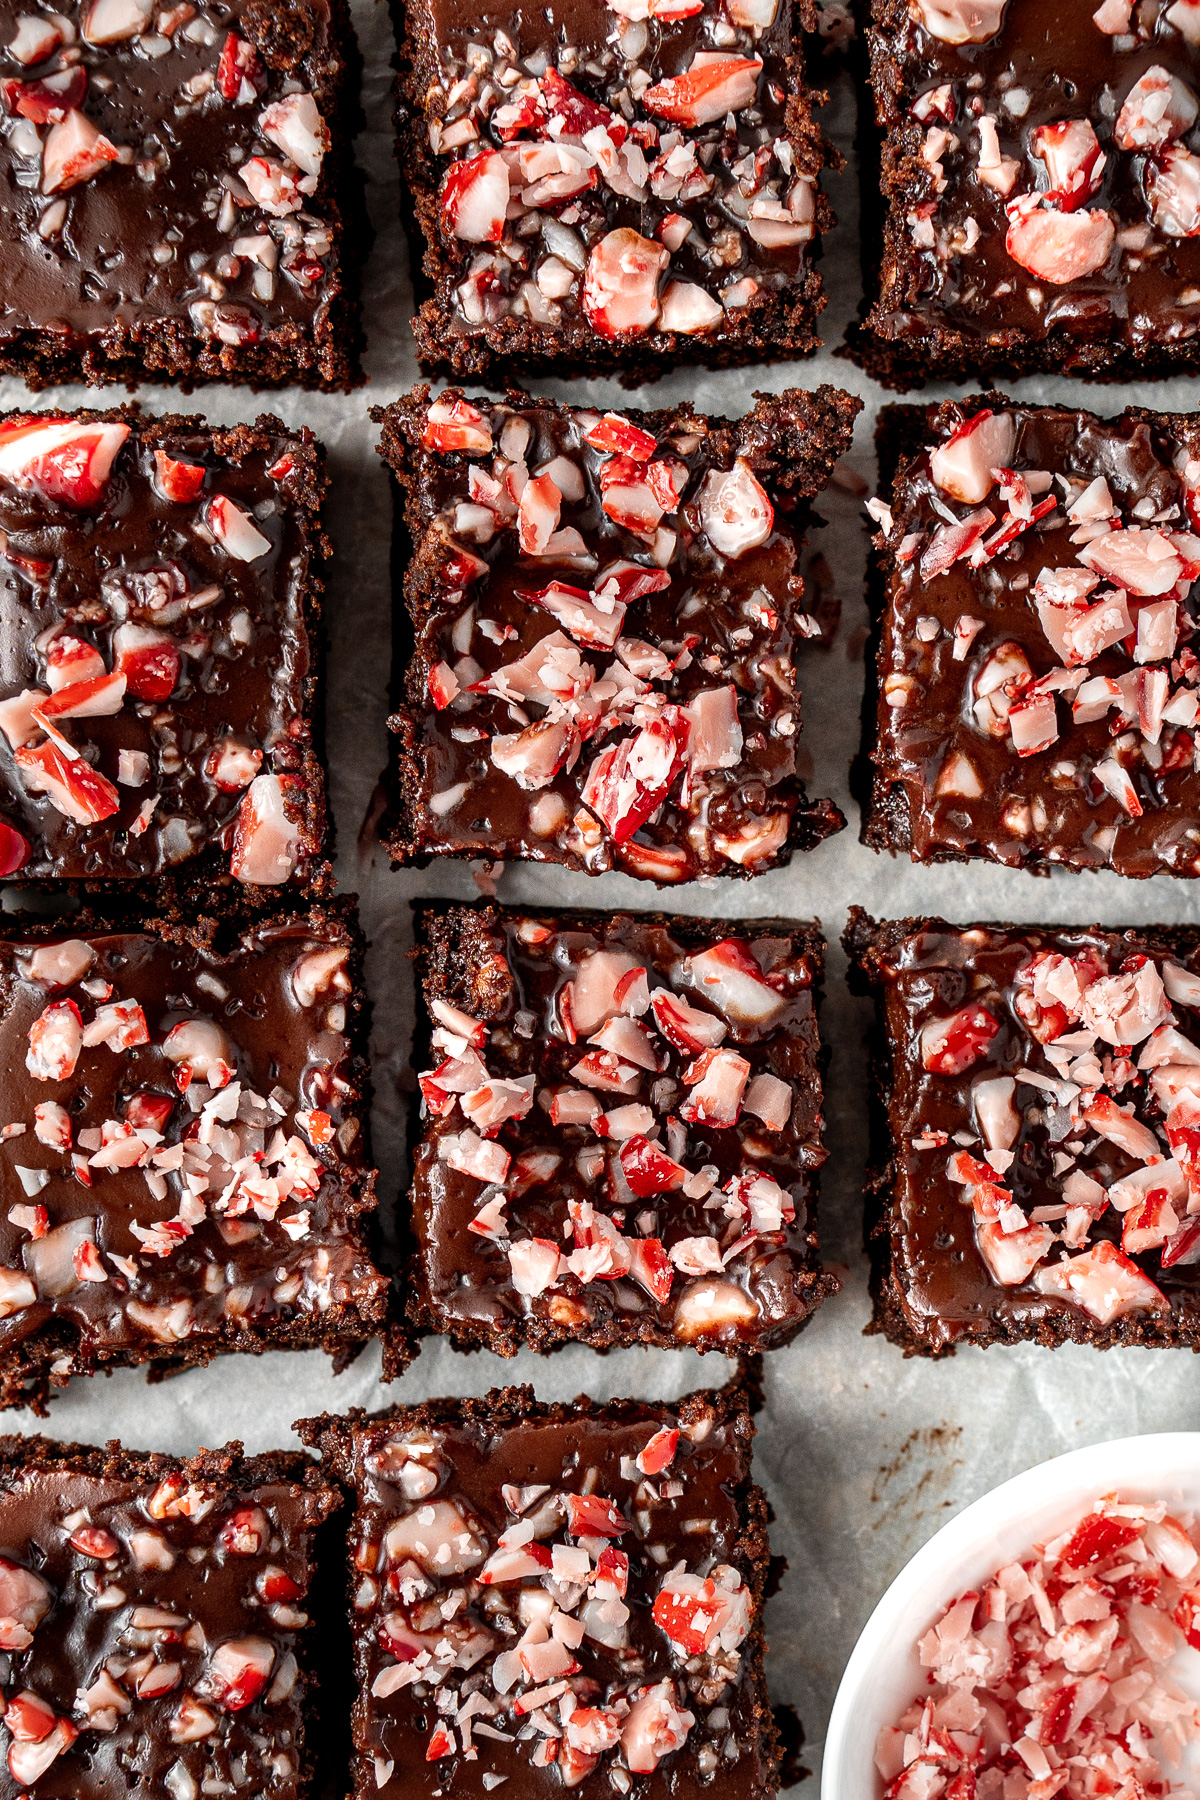
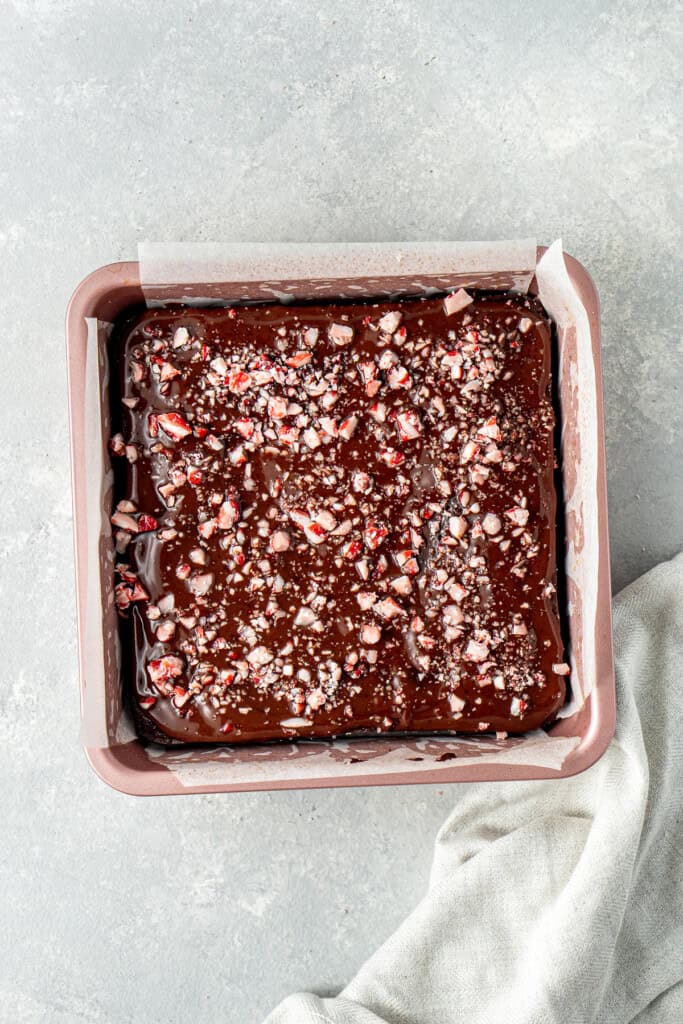
Once the ganache is over the top of the brownies, crush up some candy canes by either placing them in a zip lock bag and carefully hitting with a rolling pin, or use a mortar and pestle.
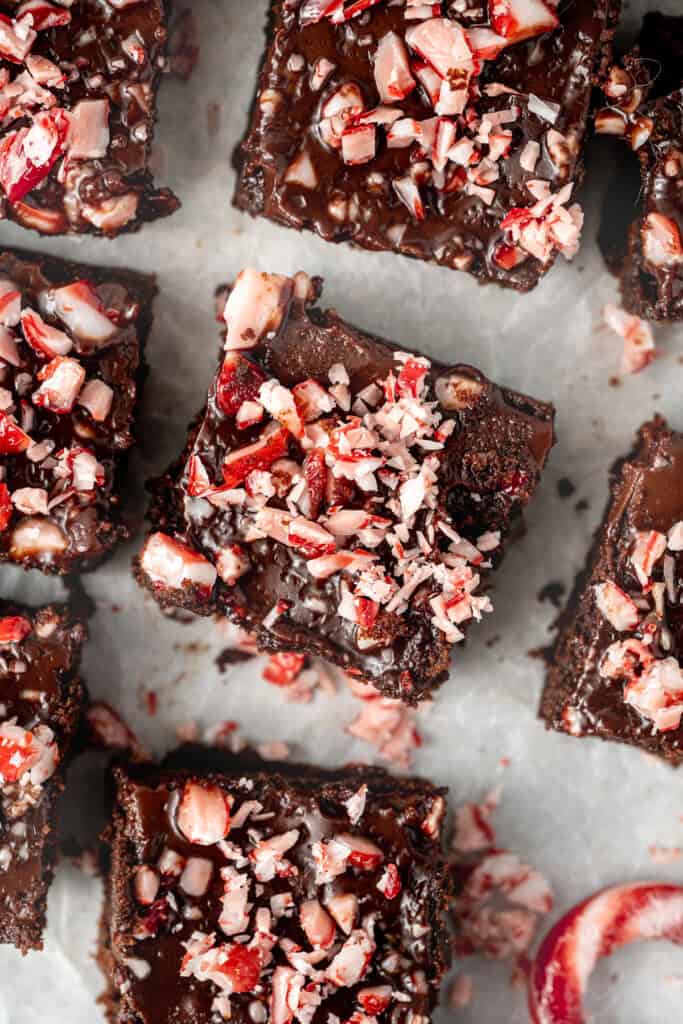
Sprinkle the crushed candy canes over the top of the brownies and set the pan aside in the fridge to allow the ganache to set. Slice into squares and enjoy!
Recipe FAQs
Yes, you can substitute plain gluten-free flour with regular plain flour in the same quantity if you don’t need the recipe to be gluten-free.
I recommend using my vegan brownies recipe instead as it’s been specifically developed to be made without eggs. You can add peppermint extract into the brownies and finish off still with the ganache and candy canes as per this recipe – ensuring your candy canes are vegan, as not all are.
Store the brownies in an airtight container in the fridge for up to 5 days. You can warm them in the microwave for a few seconds before serving, but I find they are more fudgy when cold.
Yes, these brownies freeze well. Once the ganache is set, slice them into squares and store them in an airtight container with parchment paper between the layers to prevent sticking. Freeze for up to 3 months and thaw in the fridge or at room temperature before serving.
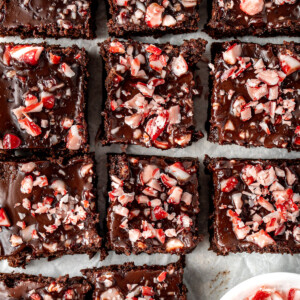
More Easy Christmas Baking Recipes:
Christmas Wreath Doughnuts
Chocolate Crinkle Cookies
Poinsettia Christmas Cupcakes
Vegan Cinnamon Sugar Cookies
Chocolate Puff Pastry Christmas Tree
Chocolate Peppermint Brownies (Gluten & Dairy Free)
Equipment
Ingredients
- ½ cup dairy-free butter melted and cooled
- ¾ cup dark brown sugar
- 1 teaspoon vanilla extract
- 1 teaspoon peppermint extract
- 2 eggs room temperature
- ½ cup cocoa powder
- ½ cup plain gluten-free flour
- ¼ cup chopped dark chocolate
For the chocolate ganache:
- ¼ cup chopped dark chocolate
- ¼ cup coconut milk
- ¼ teaspoon vanilla extract
- 2-4 candy canes crushed
Instructions
- Preheat the oven to 180°C (350°F) and line a 20cm (8-inch) square baking pan with baking paper.
- In a large bowl, whisk the eggs, vanilla extract, and peppermint extract until foamy. Add the dark brown sugar and melted butter, whisking until fully combined.
- Sift the cocoa powder and gluten-free flour into the bowl. Gently whisk until the batter is thick and smooth. Fold in the chopped dark chocolate. Pour the batter into the prepared baking pan, spreading it out evenly.
- Bake for 20 minutes or until the top is set but still soft. The brownies should feel firm to the touch but remain fudgy inside. Allow to cool completely.
- To make the dark chocolate peppermint ganache, place the chopped dark chocolate in a glass bowl. In a small microwave-safe bowl, heat the coconut milk until warm but not boiling. Stir the peppermint extract into the warm coconut milk, then pour it over the chopped chocolate. Let it sit for 5–10 minutes before stirring with a metal spoon until smooth and glossy.
- Pour the ganache over the cooled brownies, smoothing it out with a spoon or offset spatula. Sprinkle the crushed candy canes over the top. Refrigerate until the ganache is set.
- Slice into squares and enjoy!
Notes
Nutrition
Nutritional information is provided as a guide only and is calculated using automated online tools, therefore we cannot guarantee the accuracy. We encourage you to make your own calculations based on the actual ingredients used in your recipe.
This recipe was originally published on December 4th, 2021 and has been republished to include a slight change to the recipe, more helpful information and new photos.



Made this recipe? Leave a review!