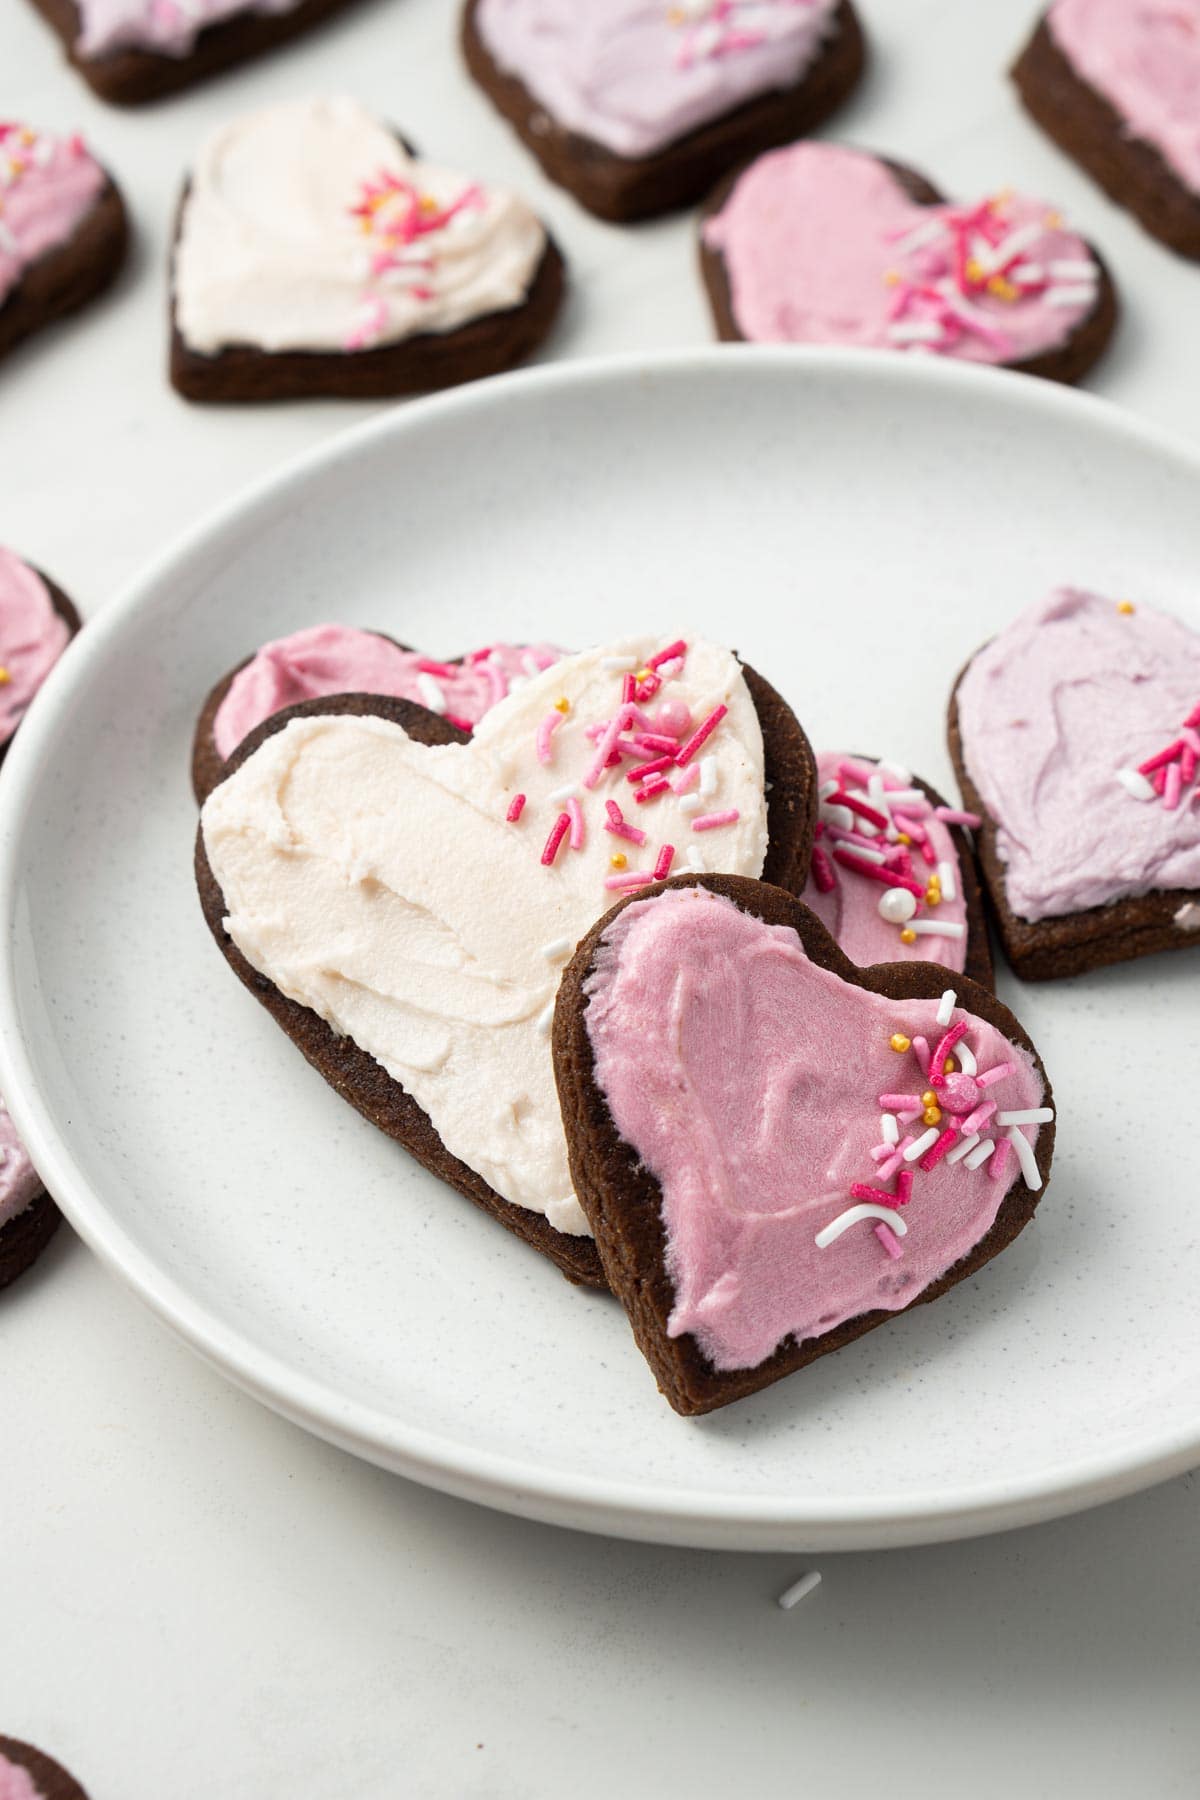
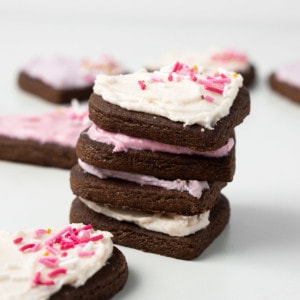
These vegan chocolate sugar cookies are soft and thick with a rich chocolate flavour and fudgy texture that reminds you of a brownie that is perfect when decorated with a thick coating of vanilla buttercream. These are very versatile cookies and make great gifts for special occasions like birthdays, anniversaries or Valentine’s Day!

Sugar cookies are my go to for special occasions. They take a little more work than regular cookies thanks to the chilling, rolling out of the dough, and baking in batches thanks to my small oven. But they are not difficult to make and I’d 100% consider this a beginner baker recipe.
Sugar cookies are fun though because of how you choose to decorate them! Of course these cookies can be left plain but there is something just that little bit extra about adding some colour and of course some sprinkles!
I’ve used my favourite vegan vanilla buttercream to dress these chocolate cookies up for Valentine’s Day but you can of course tint your icing any colours you like depending on the occasion, or simply leave the icing white.
Giving freshly baked and decorated cookies is such a wonderful way to share the love and tell the people in your life you love them.
These particular cookies are fudgy, soft and delicate but not crumbly. They are rich in chocolate flavour which I find is perfectly balanced by the buttercream.
The other bonus of the buttercream? Decorating is a third of the time it would take to use royal icing and the only special tools you need is a butter knife!
Making Sugar Cookies WITHOUT Baking Powder
This recipe doesn’t use baking powder and doesn’t need to as enough aeration is gained when creaming together the butter and sugar initially allowing small pockets of air to form which when baking will allow the carbon dioxide to expand causing our cookies to puff up when placed in a hot oven.
It is therefore important that we take care in this initial step when making these cookies and unlike every recipe for cookies that will stress the importance of room temperature dairy butter, for our plant-based butter we actually need to use it straight from the fridge as it won’t ever get as hard as regular butter and if we leave it to come to room temperature the results will be similar to using regular butter that is too warm – flat, overspreading cookies.
These cookies are therefore not super light but they are really soft and delicate giving them that chewy, fudgy texture when you bite into them that is absolutely what you want from a chocolate cookie.
Key Ingredients
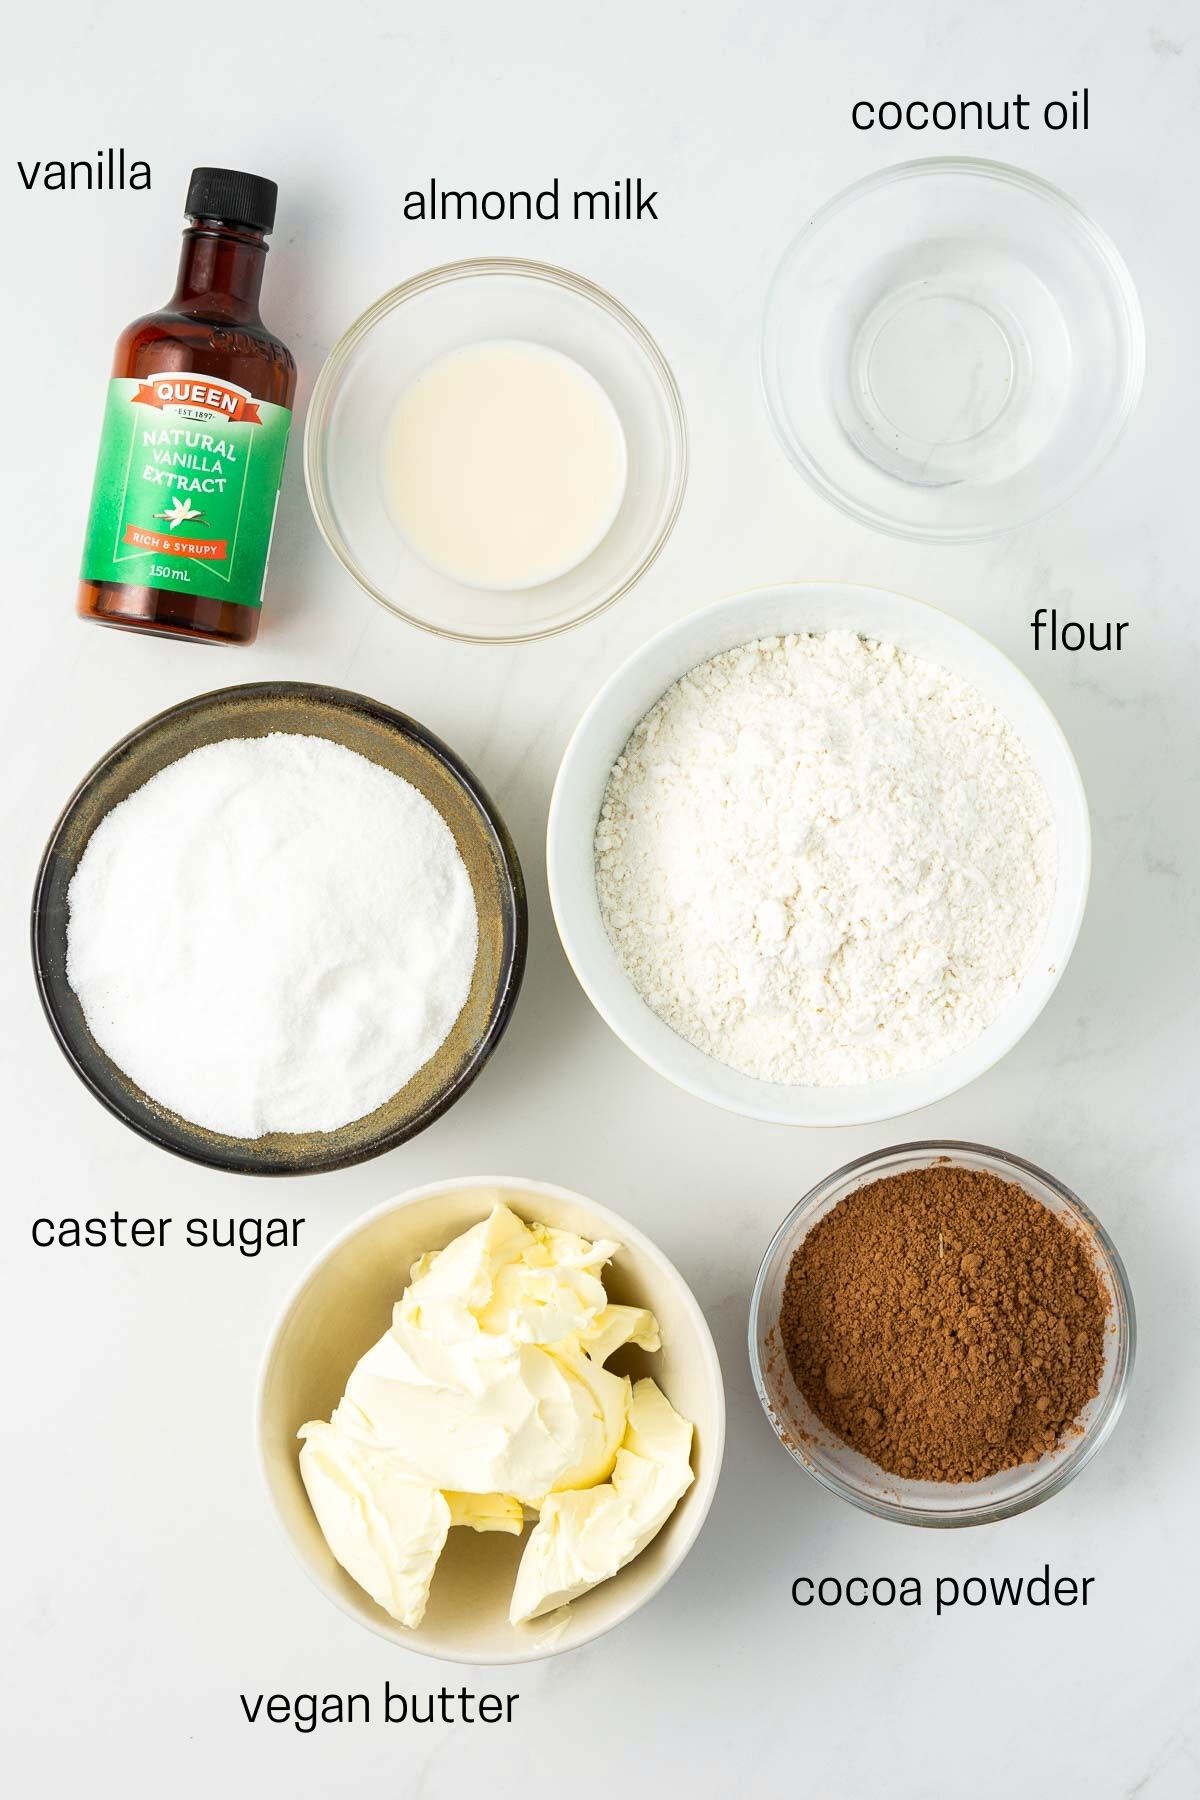
Sugar cookies are a great option for a special occasion because they are so pretty, but they also use just 7 ingredients that you probably already have in your pantry!
- Flour – just regular plain flour or all purpose flour in the US is used for these cookies.
- Cocoa powder – these cookies have a rich chocolate flavour thanks to the cocoa powder. I’ve used Cadbury Bournville cocoa powder my entire life because it’s made from the same beans Cadbury uses to make their chocolate so you know it’s going to taste good. For my US friends, this is a Dutch-processed cocoa powder.
- Dairy-free butter – I always use Nuttelex buttery as it has the best flavour and texture that I have found and doesn’t leave the dough oily like some margarines. This is going to give our cookies that classic ‘buttery’ flavour and texture.
- Caster sugar – known as superfine sugar in the US, this is always my preference in sugar cookies and it keeps the texture super smooth. You could use regular white sugar as a substitute but for best results, use caster sugar.
- Vanilla extract – vanilla always enhances the chocolate flavour and brings extra richness to the cookies.
- Coconut oil – as we’re not using eggs in this recipe, we need a little bit of oil to help bind the dough together.
- Almond milk – again as we’re not using eggs, we just need a little bit of milk to bind the dough and help it come together and remain nice and soft.
Step-By-Step Instructions
There are a few key steps to making this recipe that will ensure you have success the first time and everytime.
Start by sifting together your dry ingredients.
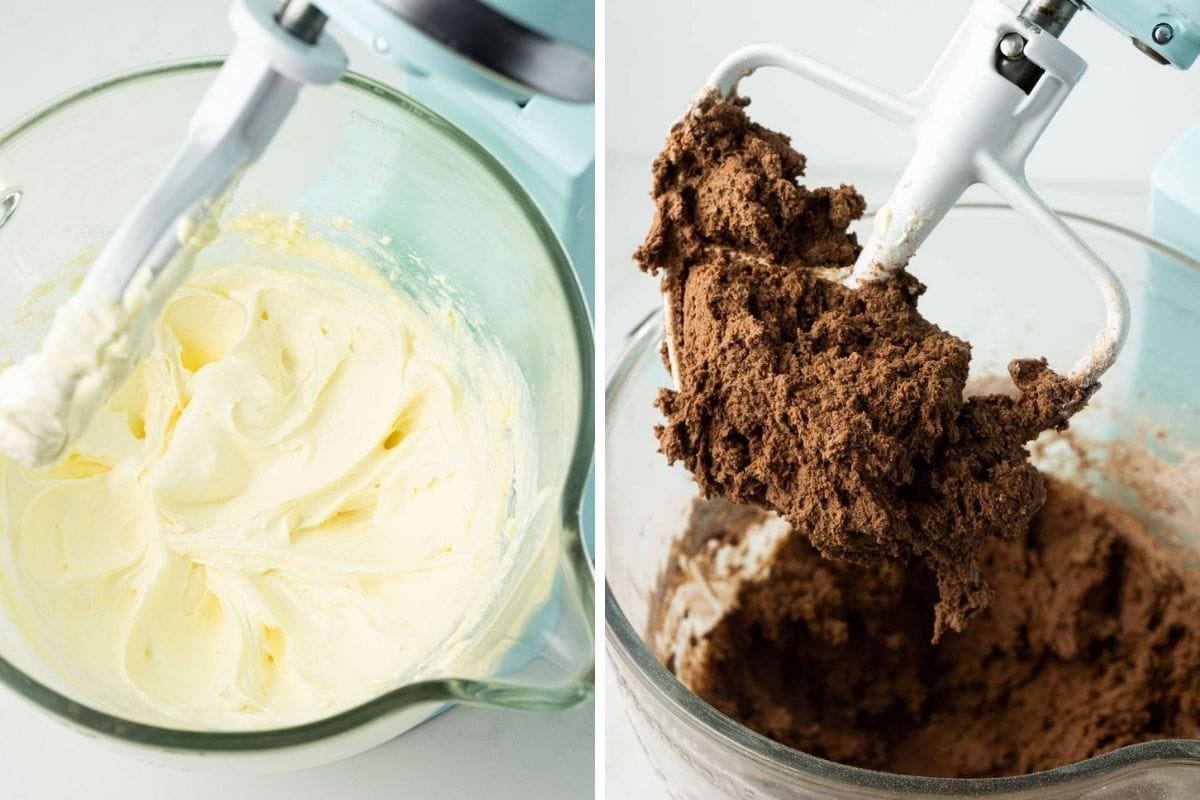
Next, you’ll want to cream together the dairy-free butter and caster sugar. As mentioned earlier, this step is really important to ensure our cookies will puff up a little but when we bake them.
I love to make these cookies in my stand mixer as I know I can really cream together the butter and sugar well however you can still use a handheld electric mixer for the same results.
Once the butter and sugar are light and creamy, add in the coconut oil and almond milk and continue to beat together to mix through.
Add the flour, a little at a time and beat until the dough just comes together. It will still be quite soft.
Separate the dough into 2 pieces and on a floured piece of baking paper, roll out the dough to roughly 5mm thickness.
I like to use a combination of flour and cocoa powder to flour my hands and surfaces when working with the dough. I do this because plain flour will make your chocolate dough white, and plain cocoa powder can be a bit bitter on your cookies. This way I’ve found is perfect.
Also you want to roll the dough out directly onto the baking paper as this will make moving the dough around so much easier.
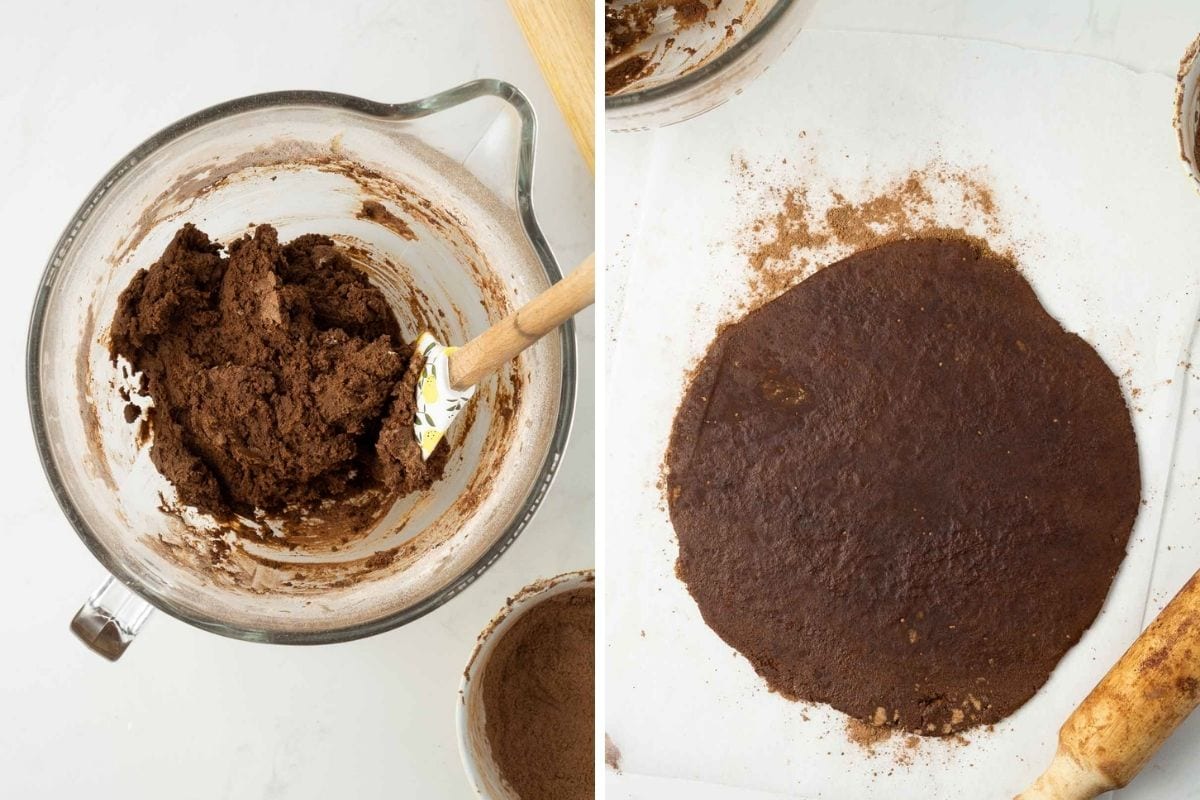
I like to place my two rolled out pieces of dough onto a baking tray to make transporting it to the fridge easier. Place your dough in the fridge for a minimum of 3 hours, and up to overnight before cutting your shapes.
Using your favourite cookie cutter, cut out your shapes and place on a lined baking tray and bake for approximately 8 minutes depending on your oven. They will be done when the edges are just getting darker.
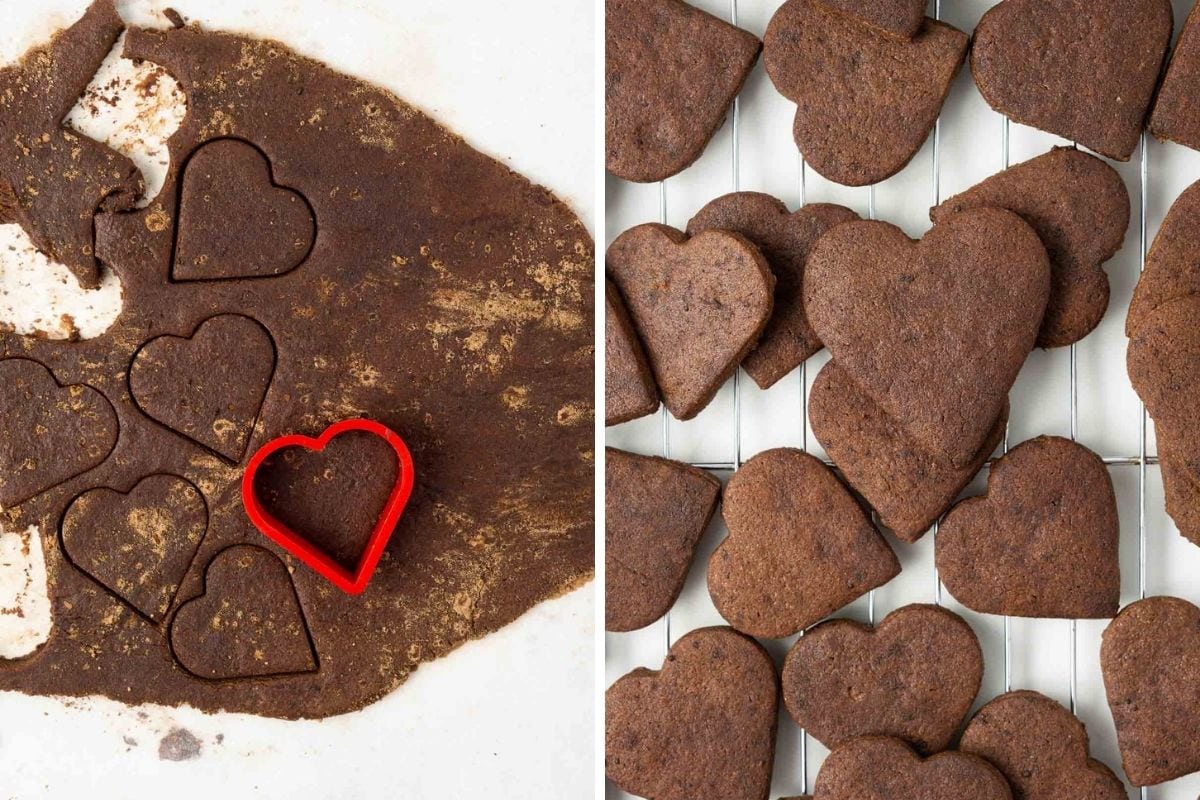
The cookies will be very soft when you remove them from the oven but this is ok – cooking them for longer will result in hard, crumbly cookies which we don’t want.
Let the cookies cool for a few minutes on the tray before moving them to a wire rack to cool completely before decorating.
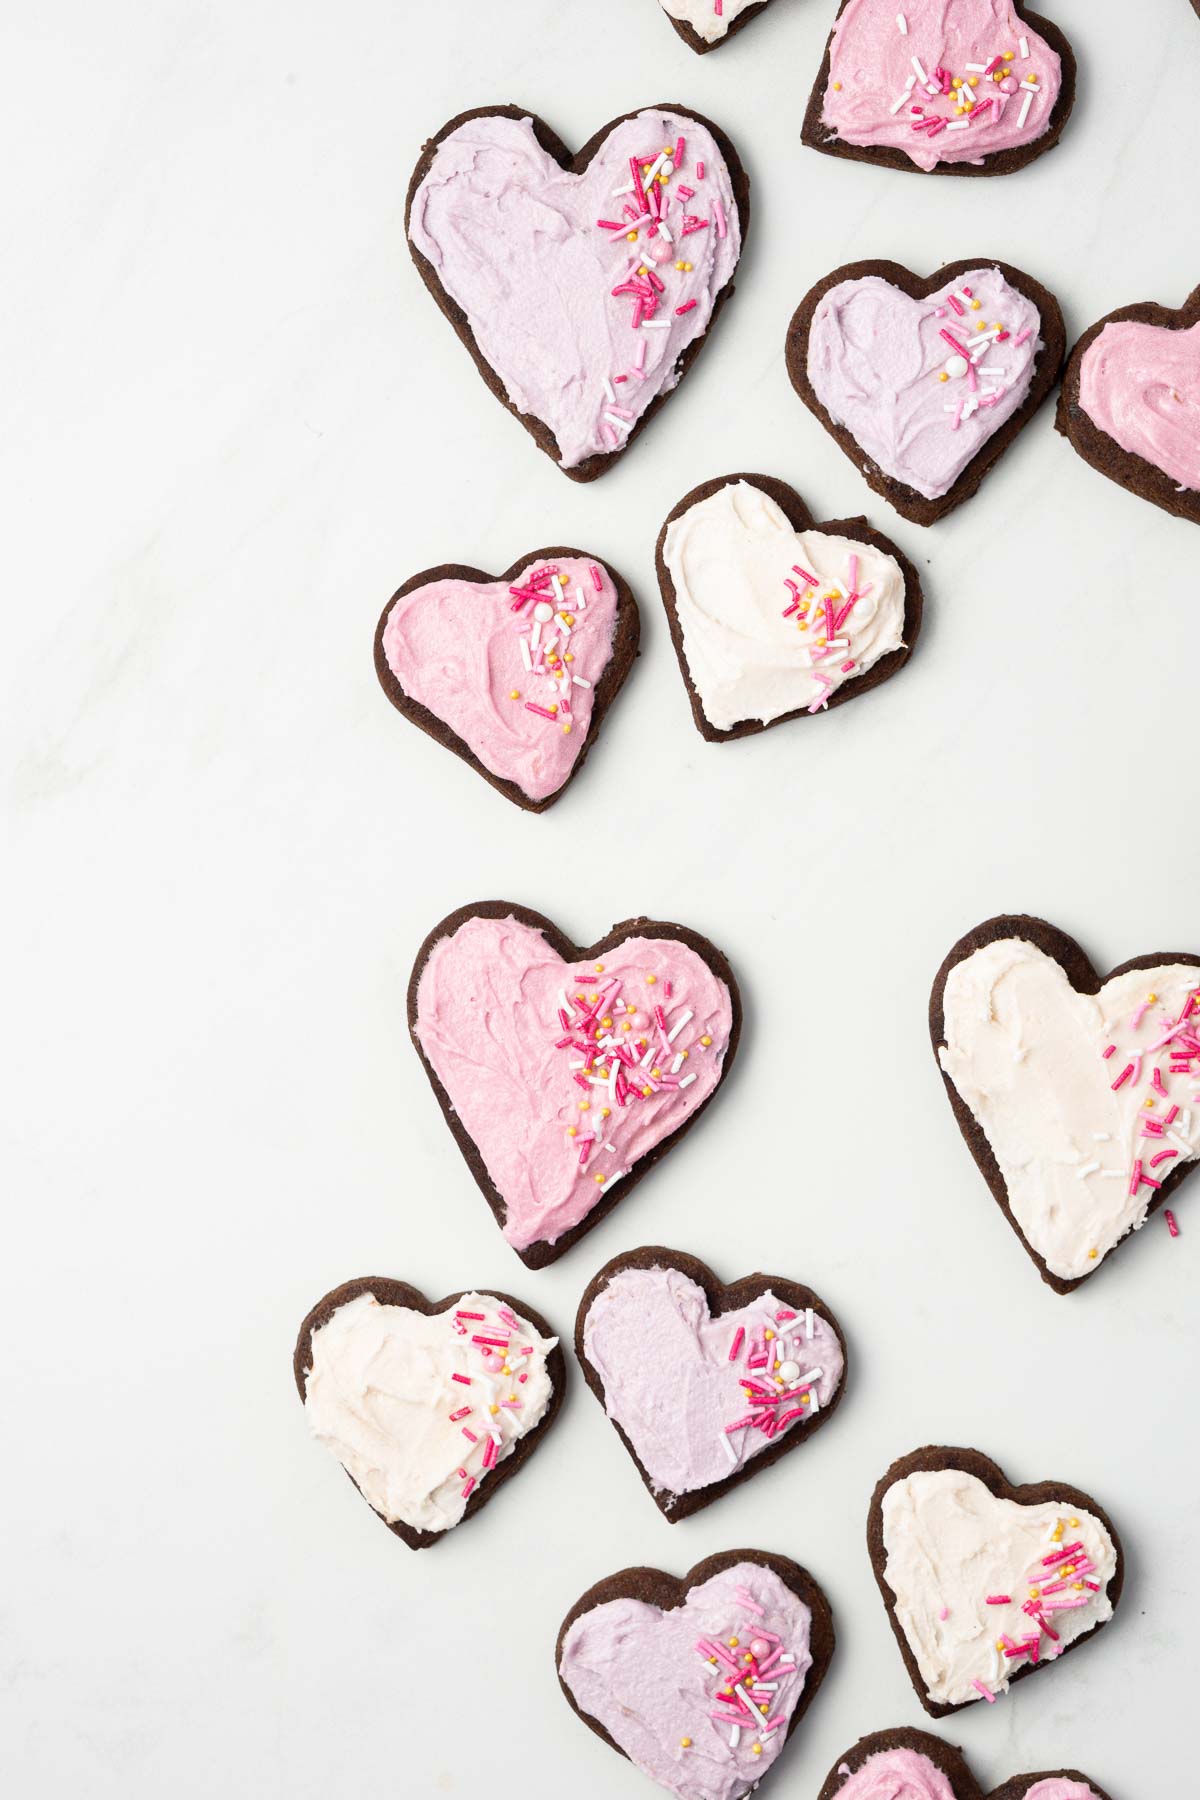
Icing and decorating your cookies
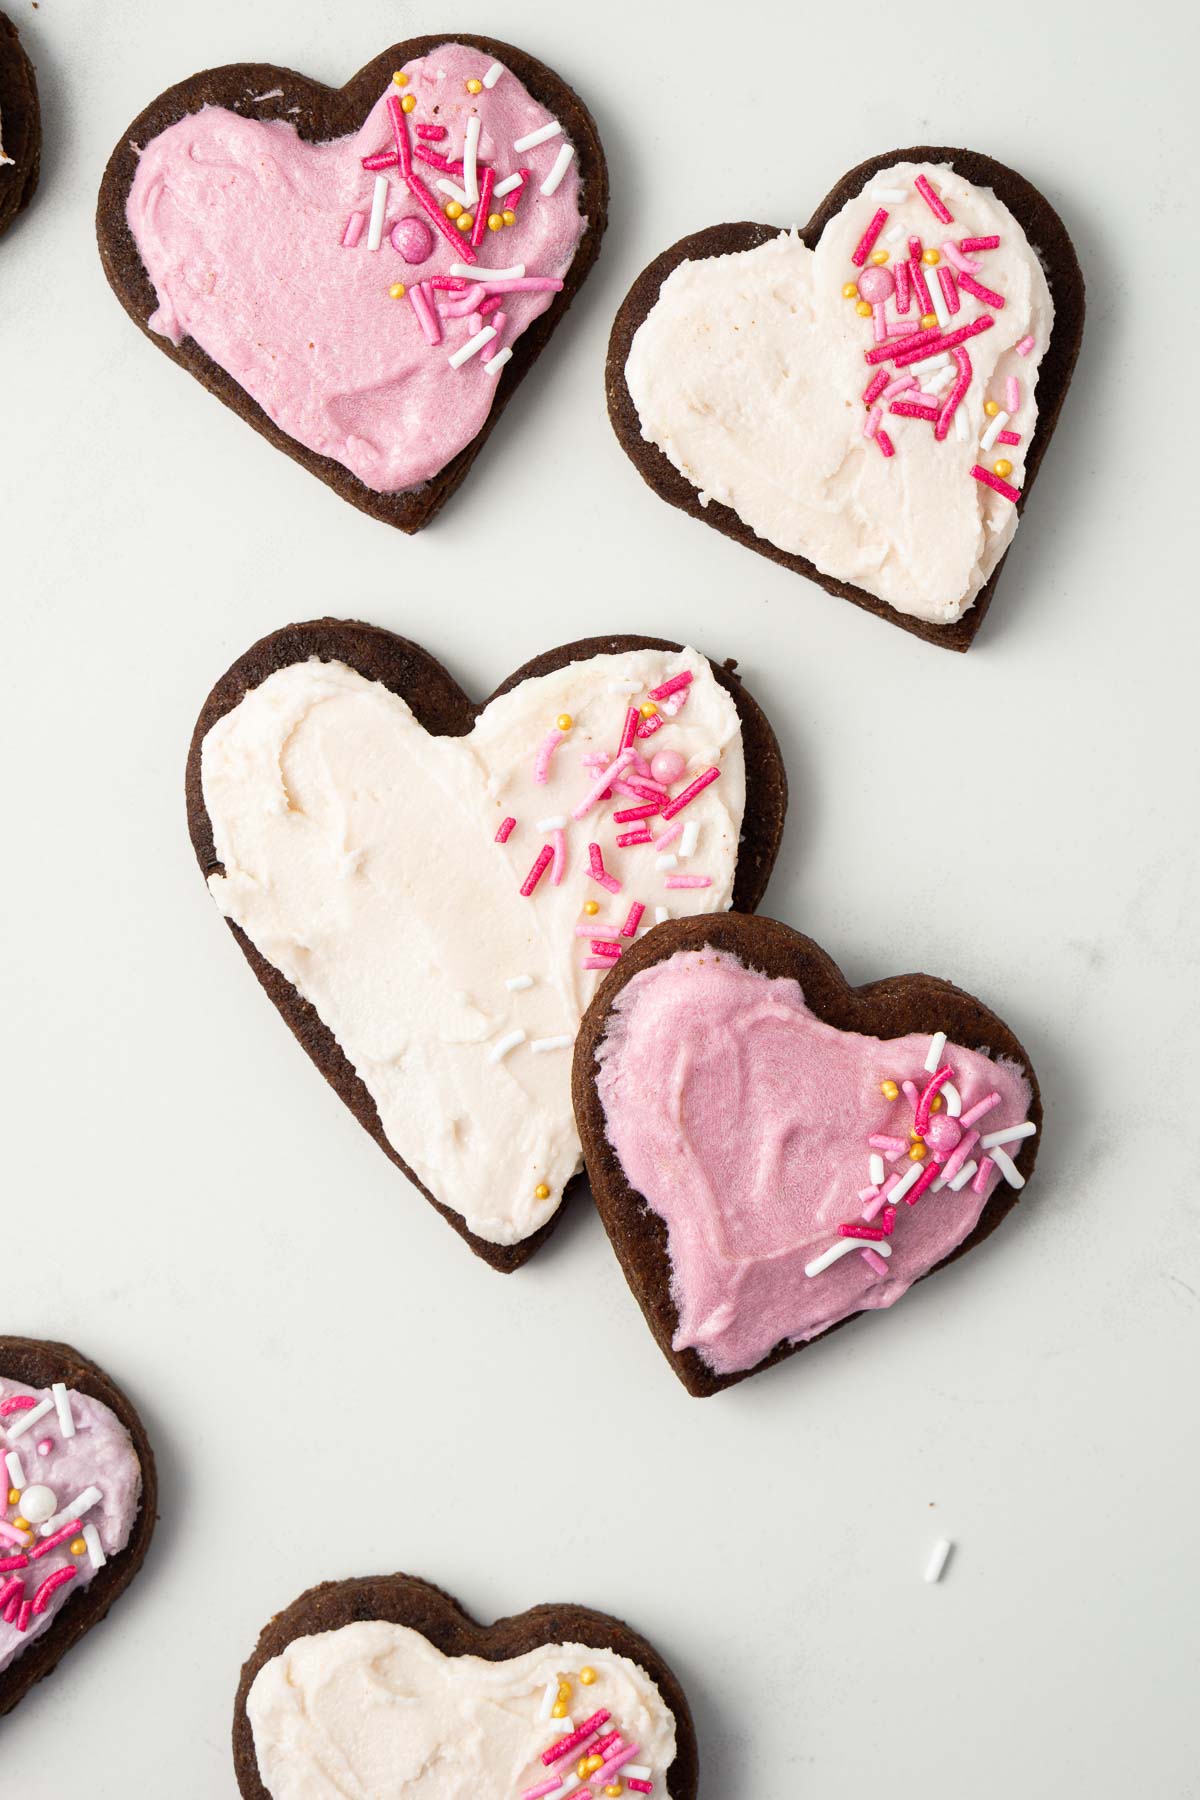
For this recipe, we’re using my all time favourite vegan vanilla buttercream tinted with Americolor gel food colouring that is easily spread onto each baked cookie with a knife and then topped with sprinkles for something extra.
I love the flavour of the vanilla buttercream which is super sweet paired with the rich chocolate cookie, plus it’s probably the easiest both skill and time wise to achieve a really pretty and decorative cookie.
This buttercream will crust and get hard however it will never be rock solid like a traditional sugar cookie.
If that’s what you’re looking for you can choose to use the easy vegan icing from my cinnamon sugar cookie recipe instead.
If you’re not vegan/egg-free and just need a dairy-free icing, you can use my royal icing recipe which is beautifully shiny and sets hard.

Recipe FAQs
Yes, this recipe is great to break up and make in batches (ie cookies one day, frosting the next) and can be made in full a few days before you need them as they’ll store well in an airtight container for up to a week.
If you want to make the buttercream ahead of time, store in the fridge covered until you’re ready to use it. When you are ready, let it come to room temperature and whip up again with your mixer and it will be smooth and creamy and ready to use.
Absolutely yes. Chilling the dough is essential when baking sugar cookies as this is what prevents the cookies from spreading in the oven, meaning your cookies will hold their cut out shapes and not end up looking all wobbly.
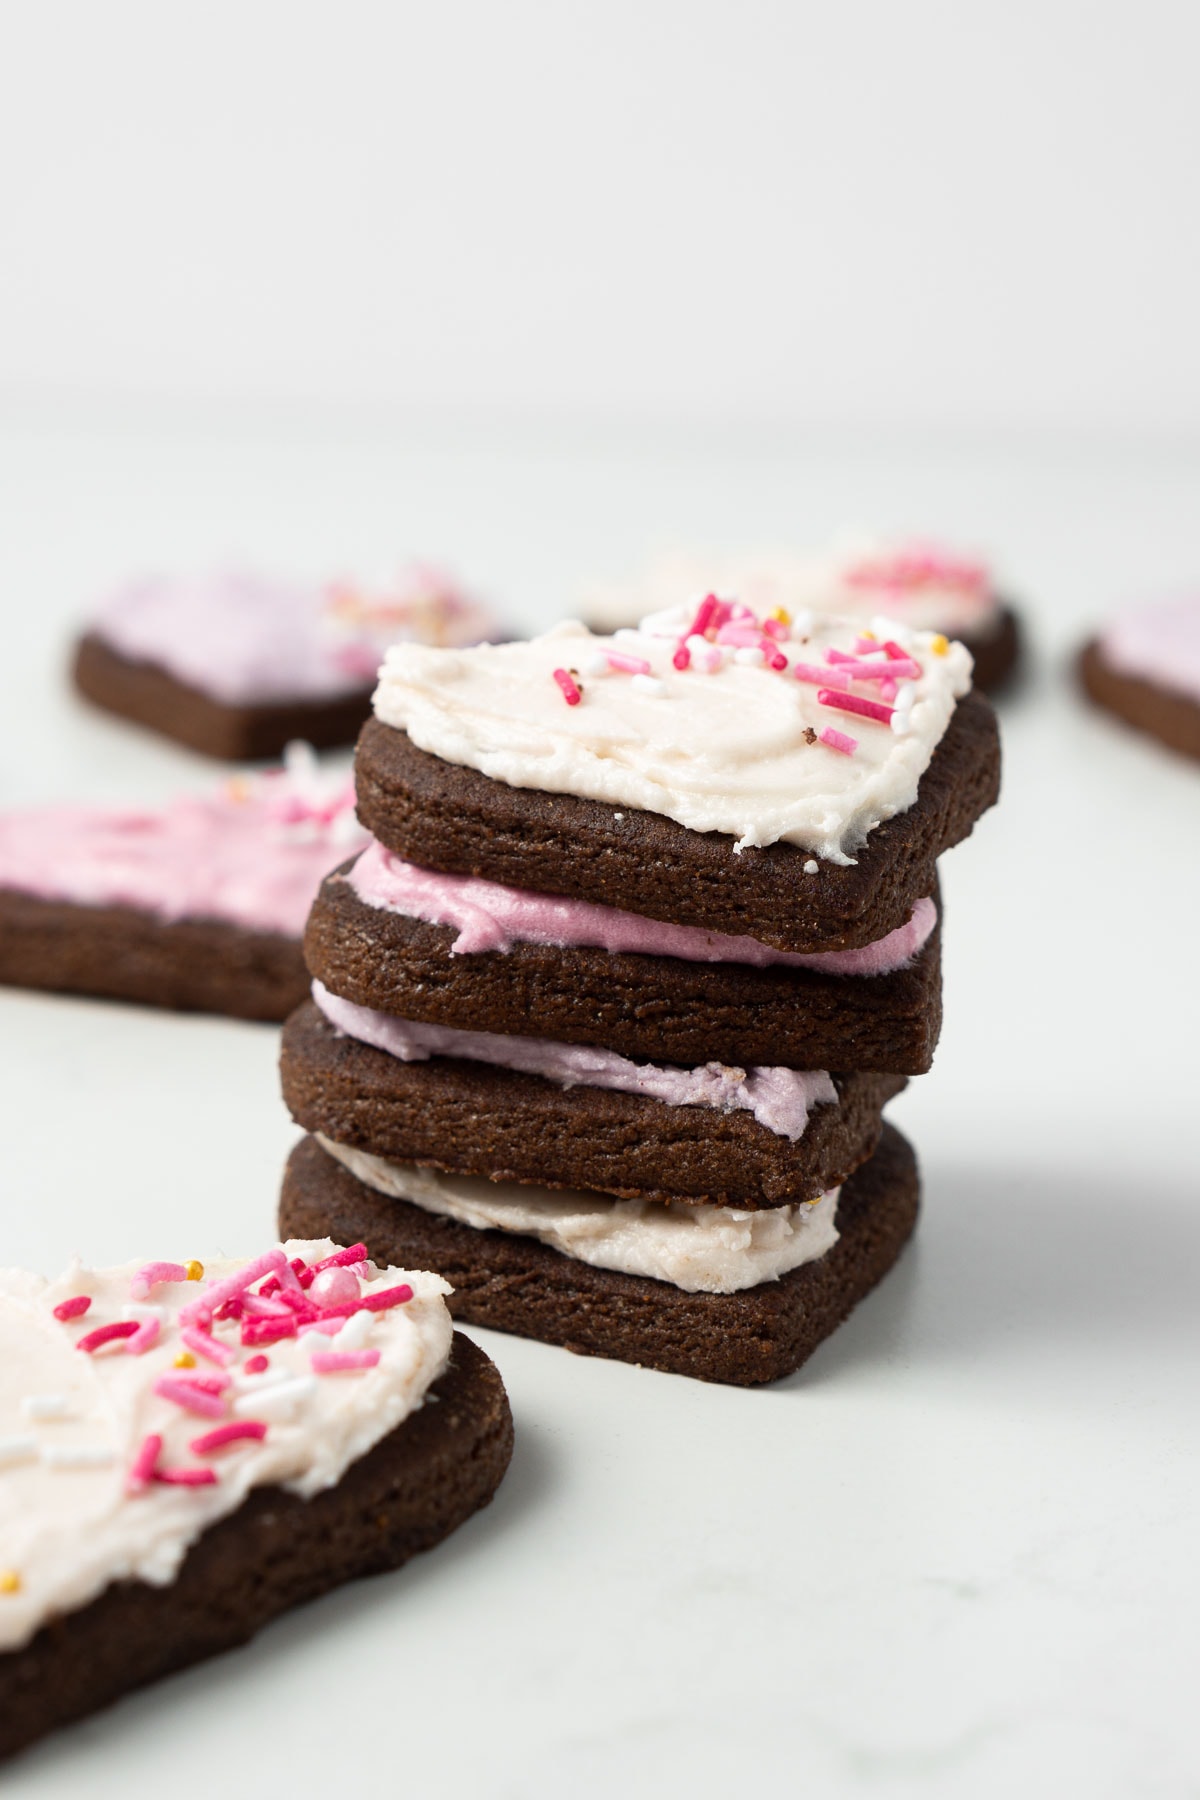
Once the buttercream has hardened, you can stack the cookies in an airtight container and keep in a cool, dry spot for around 5 days.
You can also freeze them for up to 3 months. Let them come to room temperature before eating and they’ll taste just like freshly baked!
More vegan cookie recipes:
Melting Moments
Homemade Tim Tams (Vegan)
Vegan Cinnamon Sugar Cookies
Vegan Chocolate Sugar Cookies
Ingredients
For the chocolate sugar cookies:
- 1 ¾ cups plain flour
- ½ cup cocoa powder
- ¾ cup (185 grams) dairy-free butter
- ¾ caster sugar
- 1 teaspoon vanilla extract
- 1 tablespoons melted coconut oil
- 1 tablespoon almond milk
- plain flour and cocoa powder extra for rolling
For the buttercream:
- ¼ cup (65 grams) dairy-free butter
- 2 cups icing sugar
- ½ teaspoon vanilla extract
- ½ tablespoon almond milk
To decorate:
- pink and purple gel food colouring
- sprinkles
Instructions
- Make the cookies. In a medium size bowl, sift together the plain flour and cocoa powder and set aside. Using a handheld or stand mixer with the paddle attachment fitted, beat dairy-free butter and caster sugar in a large bowl. Add vanilla, coconut oil and almond milk and continue mixing on high for 2-3 minutes until fully combined and creamy.
- Mix in sifted flour mixture slowly until the mixture just comes together.
- Divide dough evenly into 2 parts and roll each out to 5mm thickness. You’ll need to lightly flour the baking paper and rolling pin to prevent sticking as the dough is quite soft. So that you don’t end up with white flour all over the dark cookies, I use a mixture of extra cocoa powder and plain flour mixed together for this step. Cover with another sheet of baking paper and place into the fridge for at least 3 hours or overnight to chill. This step ensures the cookies hold their shape in the oven.
- Preheat the oven to 180°C and line 2 baking sheets with baking paper. Remove the dough from the fridge and use a cookie cutter to make shapes, rolling out again until all the dough is used. Anytime you are not actively using the cookie dough, such as while waiting for a batch to cook, cover dough with baking paper and place back in the fridge. You want to always be working with cold dough.
- Place cut out shapes onto the baking sheet and bake for 8 minutes or until cookies start to darken around the edges. They will still be soft when you remove them from the oven but will firm up as they cool so leave them for a few minutes on the tray before transferring them to a wire rack to cool completely before icing.
- Make the buttercream icing. Using a handheld or stand mixer with the paddle attachment fitted, beat dairy-free butter and vanilla for a minute or two until creamy. Add in half of the icing sugar and beat until combined. Add in the remaining icing sugar and as the icing comes together add the milk a little at a time until you get a really creamy consistency that is still still enough for spreading. If the icing starts to split, add a little more icing sugar and beat well.
- Decorate the cookies. To decorate, add amounts of icing to smaller bowls and tint your desired colours. Use a butter knife to carefully spread the buttercream onto each cookie. Finish with sprinkles if desired. Let the cookies sit at room temperature to allow the buttercream to crust and harden slightly before stacking.
Notes
Nutrition
Nutritional information is provided as a guide only and is calculated using automated online tools, therefore we cannot guarantee the accuracy. We encourage you to make your own calculations based on the actual ingredients used in your recipe.


Made this recipe? Leave a review!