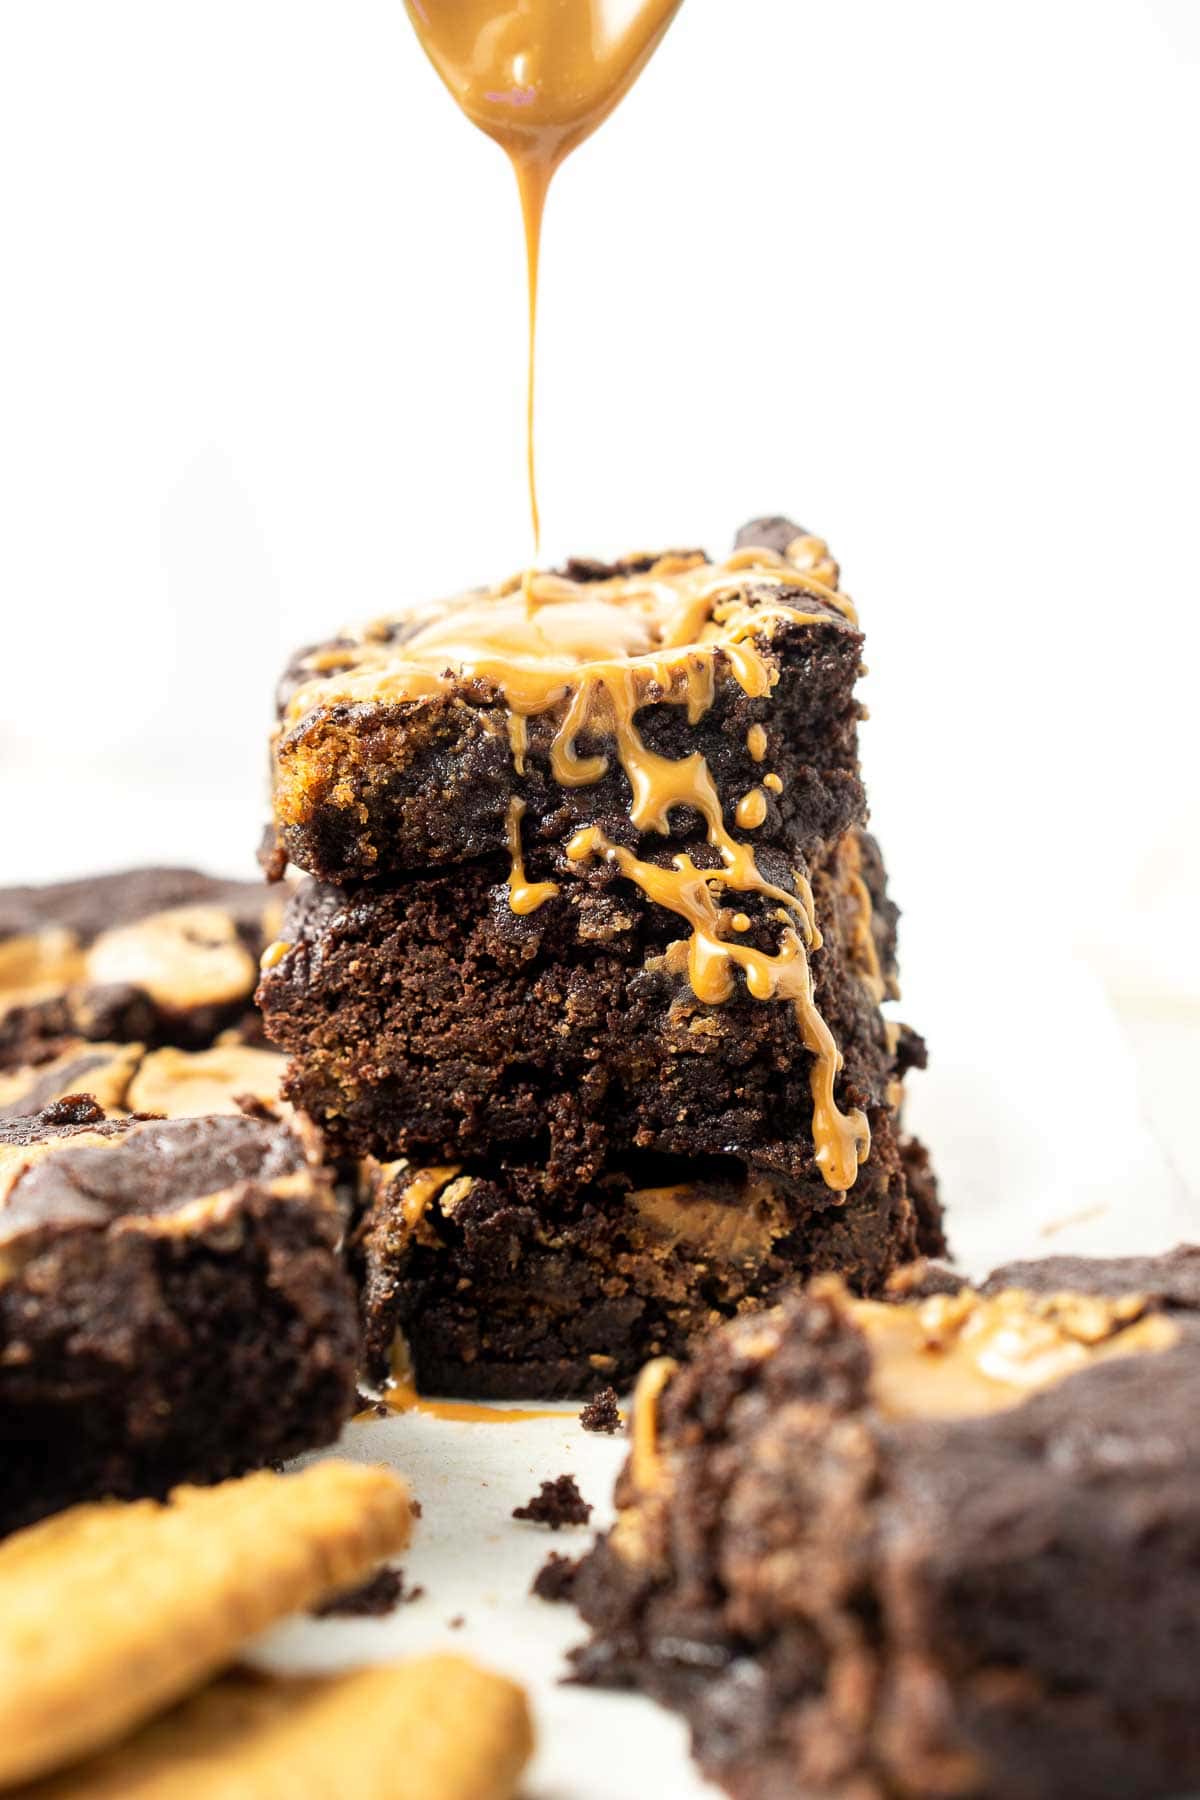
Soft and fudgy vegan biscoff brownies will be your new favourite easy treat! They are the perfect combination of rich dark chocolate and creamy spiced biscoff spread plus they only take 30 minutes, are dairy free and can easily be made gluten free.
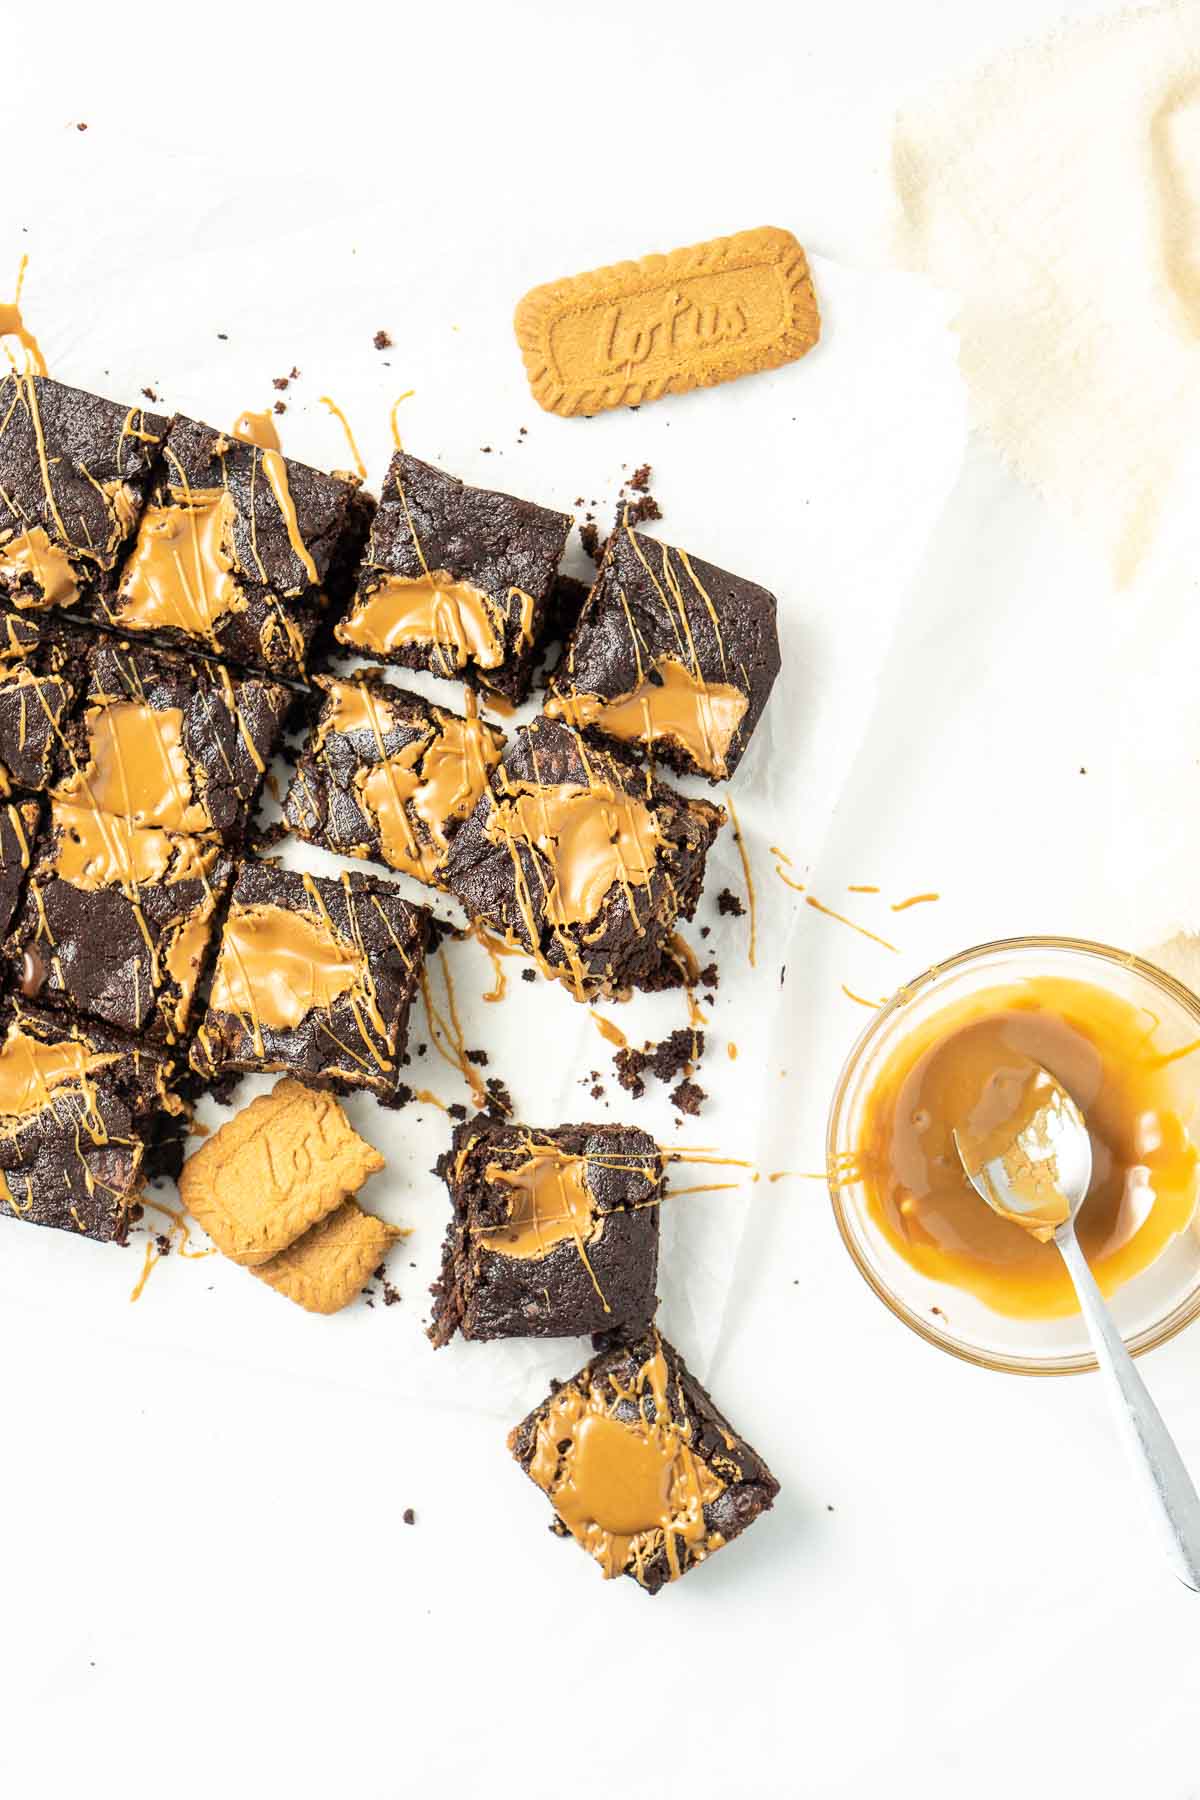
I bake a lot of things and hands down the most popular in my house is anything that contains biscoff. Whether it’s vegan biscoff fudge, vegan biscoff cupcakes, or this small-batch biscoff cheesecake (which still might be the best thing to come out of my kitchen last year), I can guarantee that this incredible cookie spread makes the most delicious desserts.
These brownies are certainly no exception. They disappeared from my kitchen so fast, and I promise it wasn’t only me eating them!!
Brownies for me are the best when they are slightly under baked and super fudgy. A simple trick to achieve this is once they’ve cooled in the pan for a little bit, place them into the fridge straight away for about 2 hours until chilled through. This will ensure that super fudgy texture.
If you’re like me and get too excited about them and cut into them before they’ve completely cooled, they will tear apart a bit and it will be harder to get clean slices. Not really an issue as they are so delicious when still a bit warm, but letting them cool properly will prevent this.
Also, you can always zap them in the microwave for 15-20 seconds to warm them back up if a warm brownie is what you need.
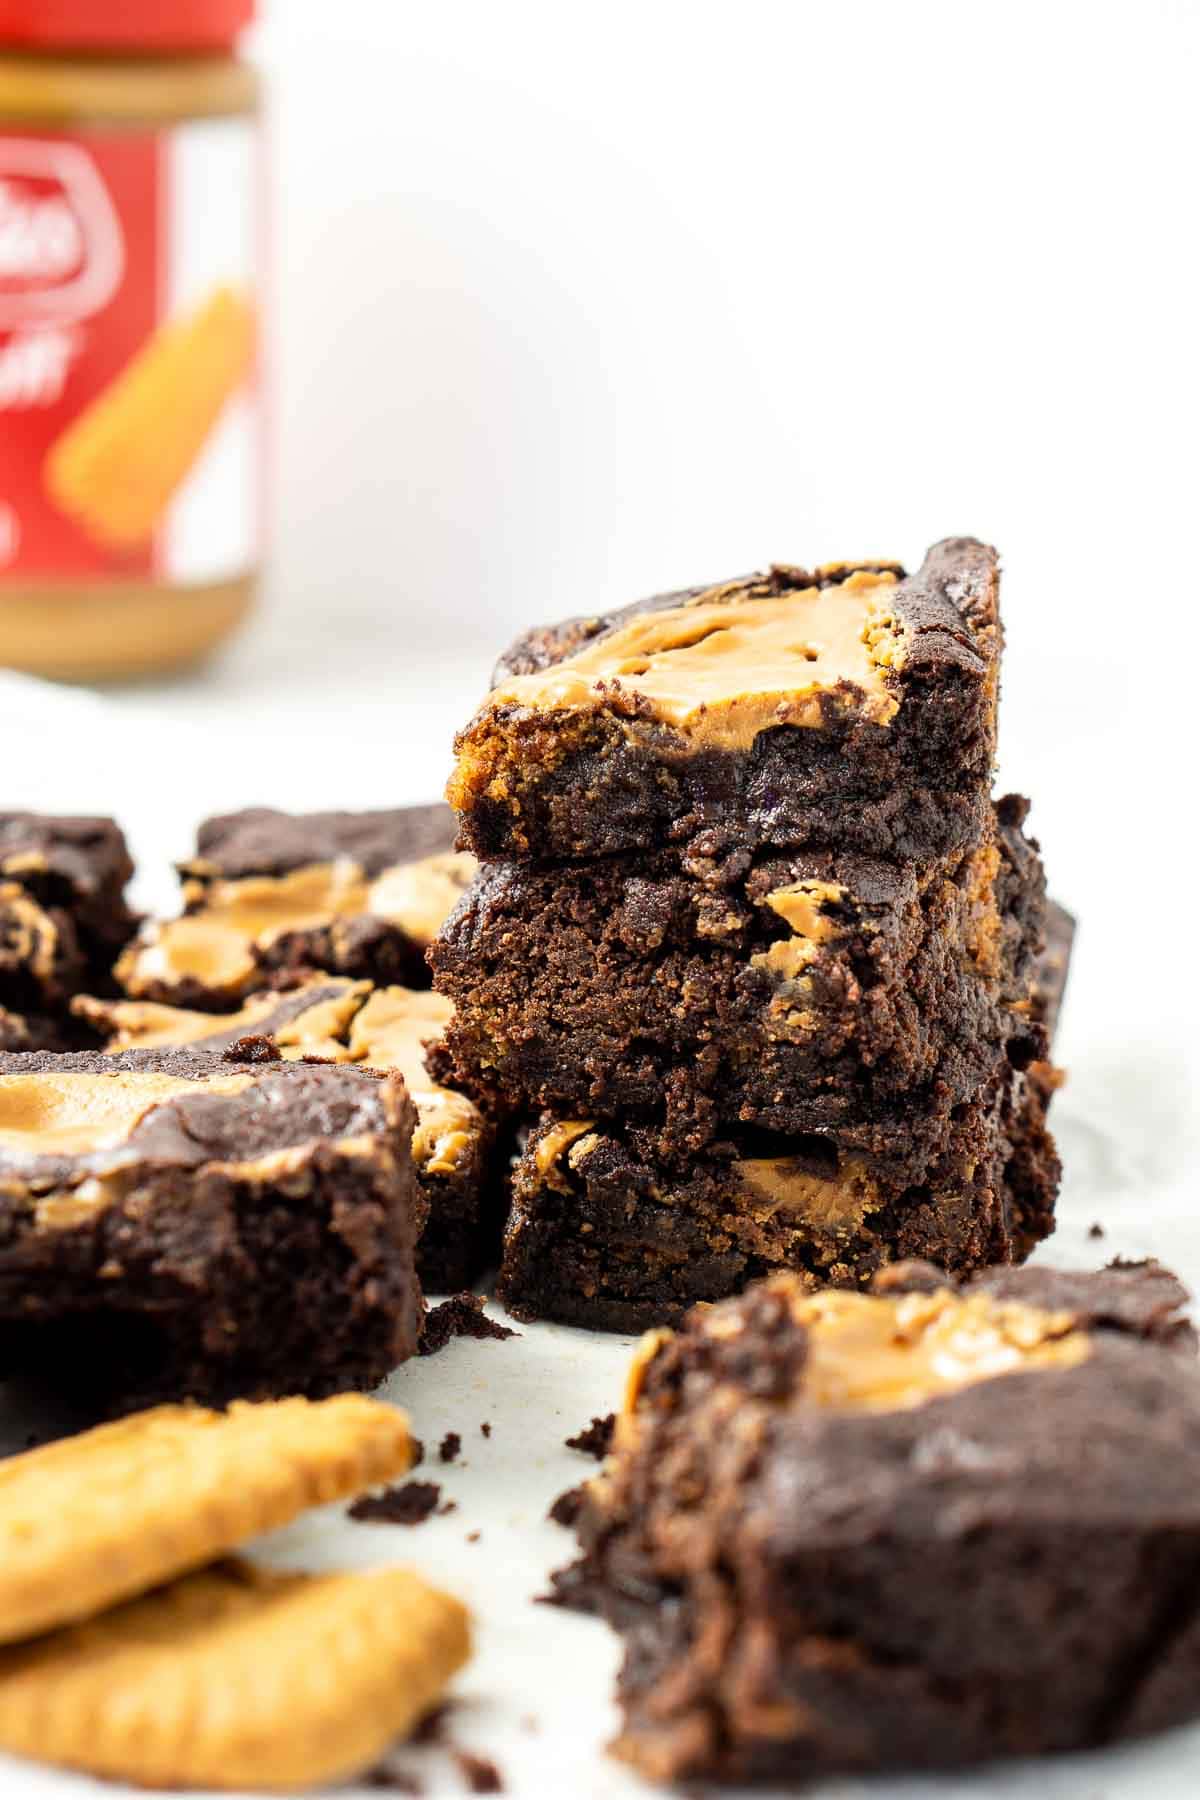
These brownies are vegan which means they do not contain any eggs. Eggs in brownies play a pretty big role in terms of texture, so these brownies are always going to be slightly different than a classic version.
This is because I wanted to ensure this recipe was as easy as possible and could be made with everyday ingredients – I didn’t want to worry about an egg replacer. And to be honest, I actually prefer them this way.
They are super soft and mega fudgy, the only thing is that they are a little more delicate without the binding power of the egg. They don’t really have that ‘chew’ to them, but rather have that stick to the roof of your mouth texture which sounds weird as I write it but is actually amazing and what you’re looking for when we say ‘fudgy’.
So whether you need to make treats without the dairy and eggs, or simply are looking for a recipe that’s pretty basic and foolproof that is insanely delicious – this is it. It’s a totally elevated brownie recipe that is just so good, you’re going to love it.
Key Ingredients
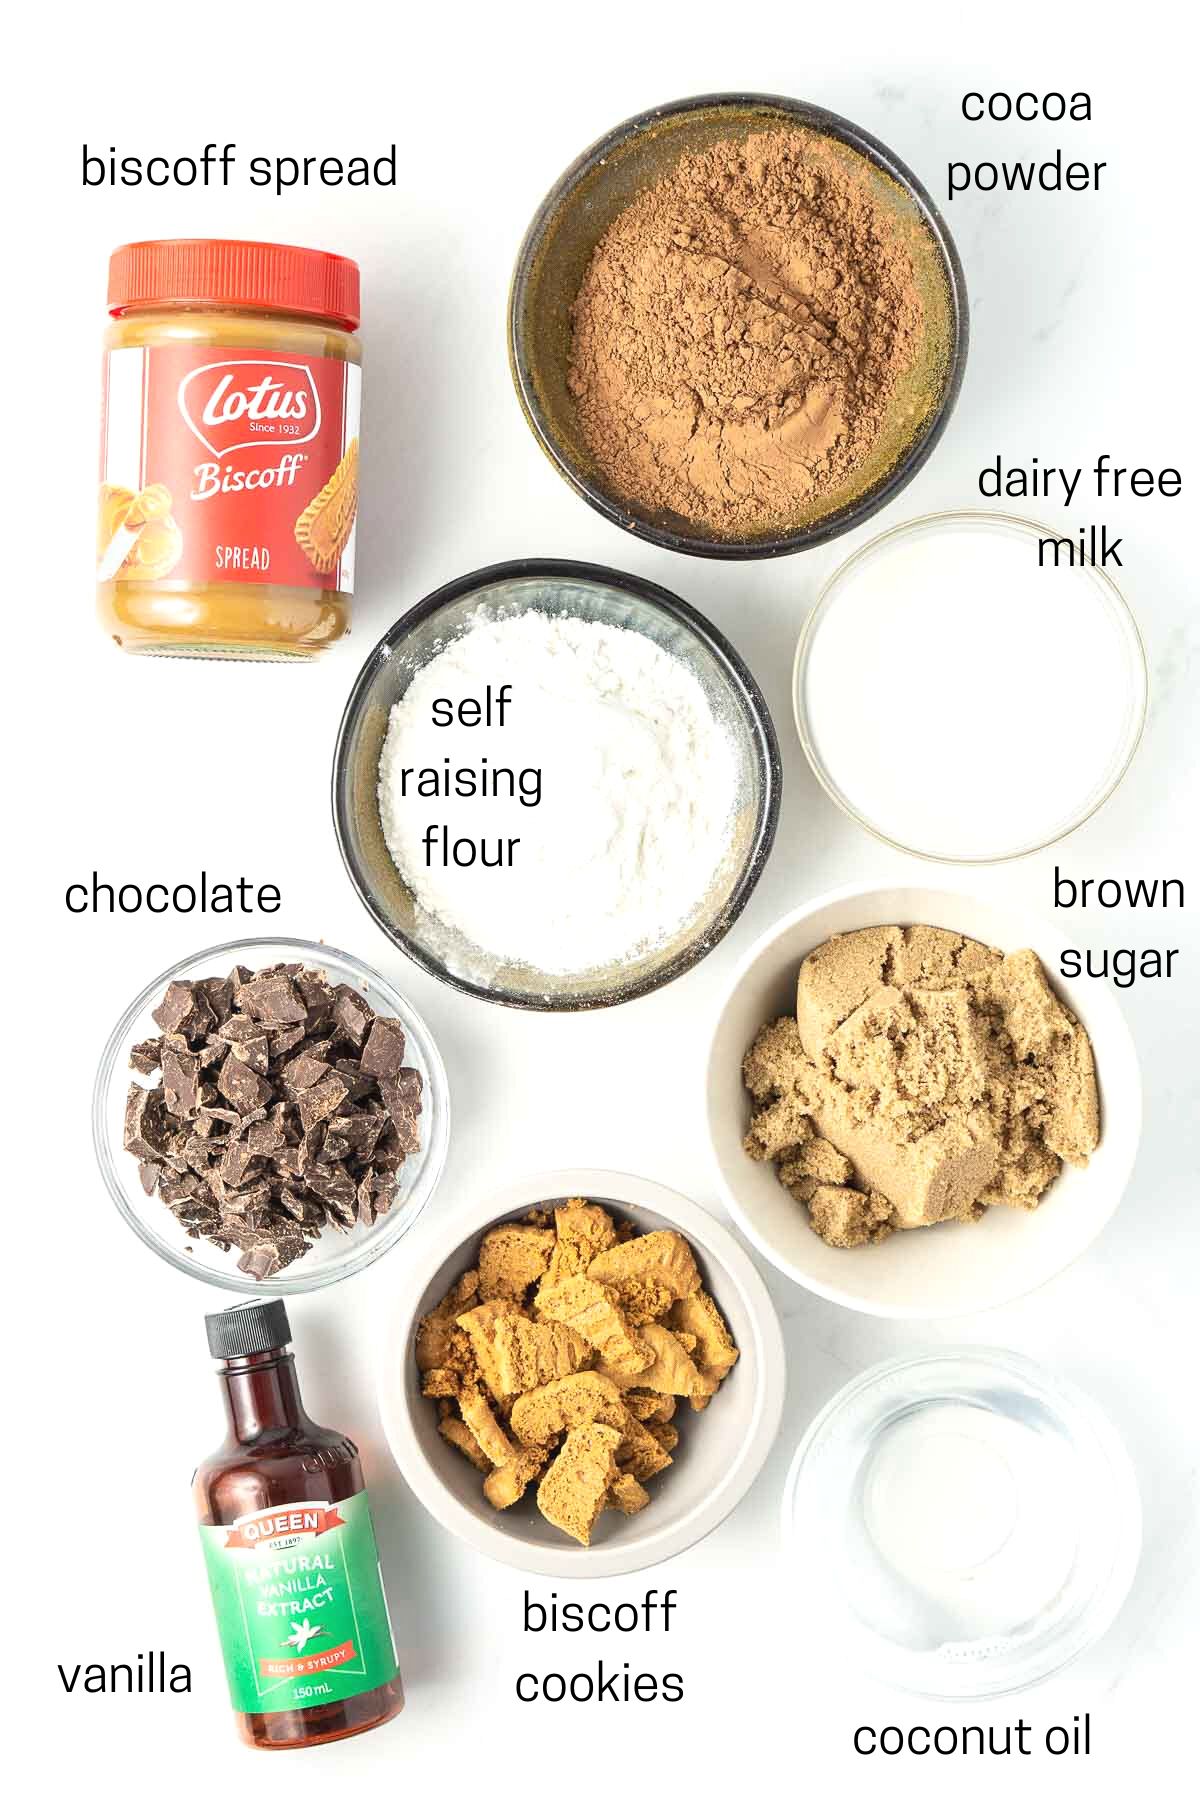
These vegan biscoff brownies are made using simple pantry ingredients with the addition of both Lotus biscoff biscuits and cookie butter spread for maximum flavour and deliciousness.
- Cocoa powder – for that rich chocolate flavour.
- Self raising flour – important to note that we’re using self raising flour not plain flour, meaning a leavener has been added. You can make your own if needed by using the ratio of 2 teaspoons of baking powder to every 1 cup of plain flour. Make sure to sift together well before using.
- Brown sugar – adds flavour that enhances the carmels of the biscoff and moisture so your brownies don’t end up dry.
- Coconut oil – acts in place of butter to give a rich, soft textured brownie. You can’t taste the coconut flavour over the chocolate.
- Vanilla – enhances the flavours.
- Dairy free milk – I usually use almond milk or oat milk, but you can use any you prefer.
- Vegan dark chocolate – for extra chocolate in each bite and helps create that fudgy texture. I use a chopped up dark chocolate bar, but you can also use vegan chocolate chips.
- Biscoff biscuits – adds extra texture in each bite of brownie as well as a little extra biscoff flavour.
- Biscoff spread – I’ve used smooth but either the smooth or crunchy versions will work for this recipe.
Step-By-Step Instructions
These brownies couldn’t be easier to make, the prep time is about 5 minutes and you only need a large mixing bowl and a rubber spatula.
You’ll also need a 20 cm or 8 inch square baking pan. To prep it, I give it a good spray with cooking oil and then line the inside with baking paper ensuring that it is covering both sides and allowing a slight overhang to make removal easy. I then finish with another quick spray of oil and this guarantees no sticking!
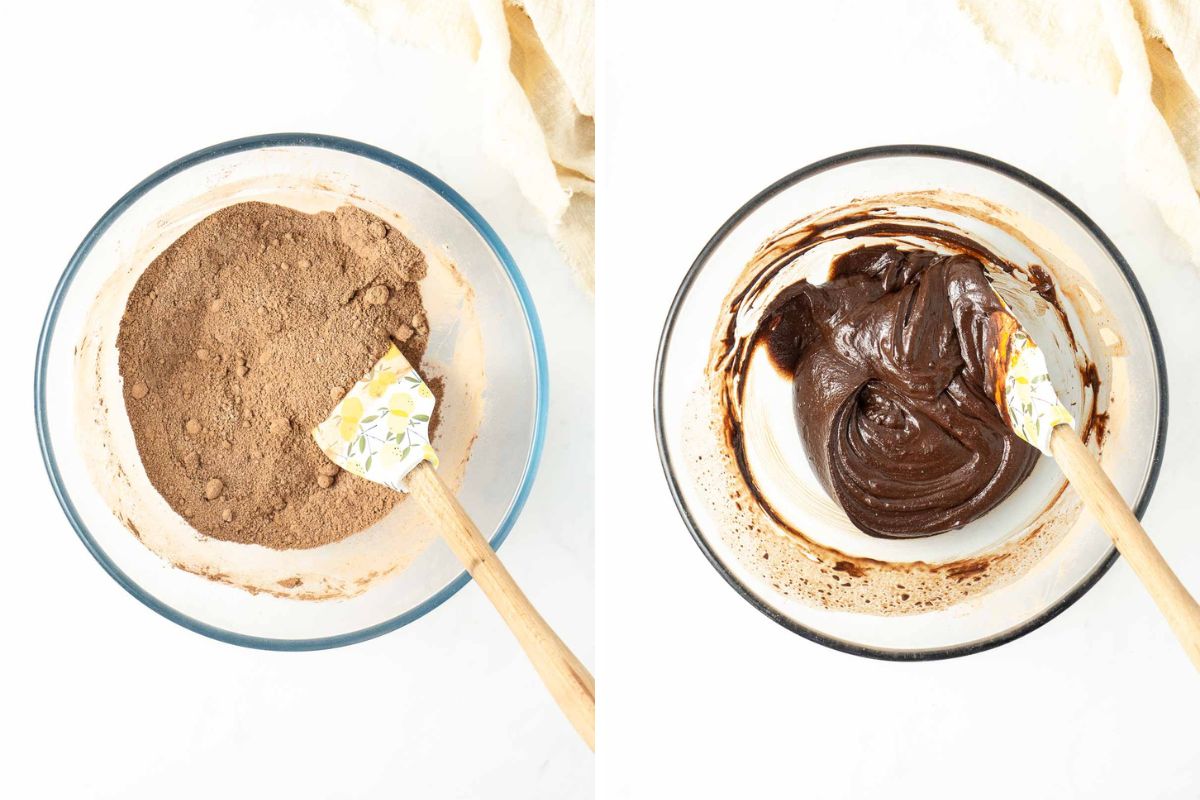
In your large mixing bowl, add the cocoa powder, self raising flour and brown sugar and mix to combine. Add in the melted coconut oil and the vanilla extract, followed by the milk a little at a time and mix until a thick batter forms.
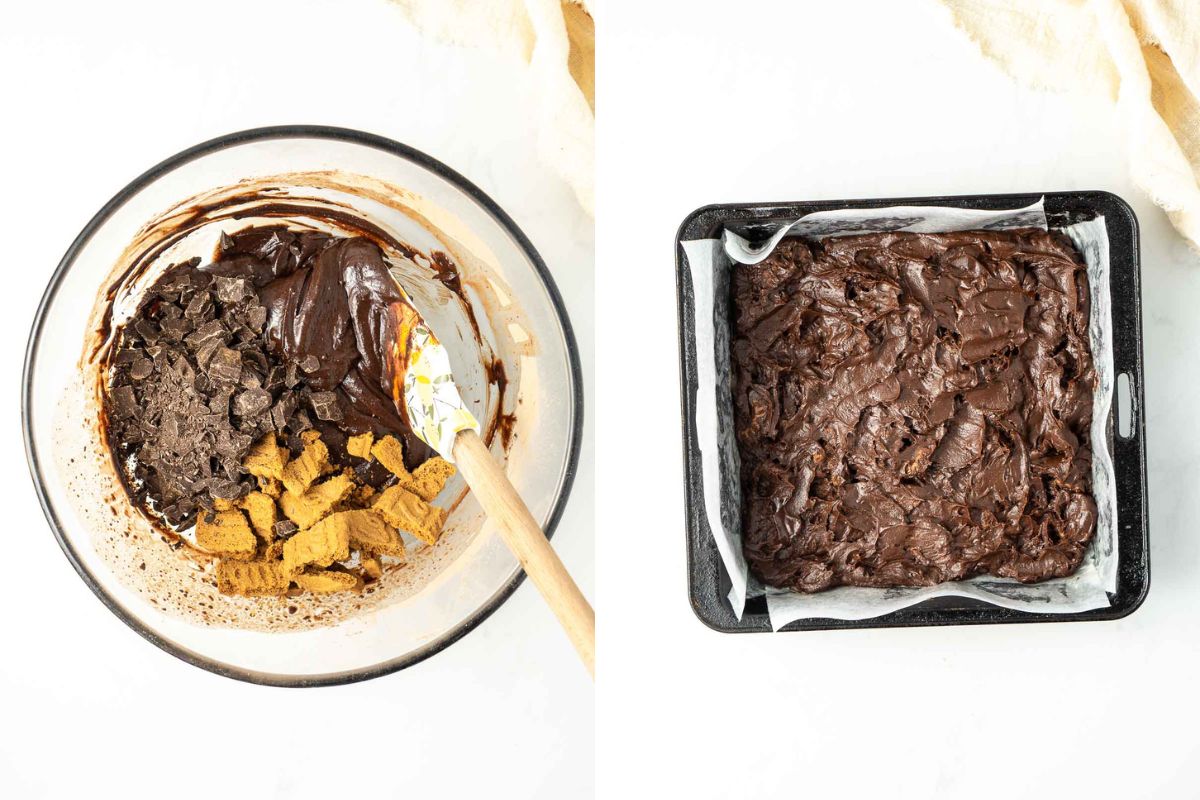
To the batter, add in the chopped up chocolate and chopped biscuits and fold through the batter. Pour the batter into your prepared tin and use the spatula to spread it out into the edges.
Using two teaspoons, add dollops of biscoff spread over the top. You can measure this part with your heart – doesn’t need to be specific.
Place in the oven and bake for approximately 25 minutes or until set in the middle – you don’t want any wobble. You also don’t want to overcook your brownies so I’d recommend checking at 20 minutes and go from there as each oven will cook differently.
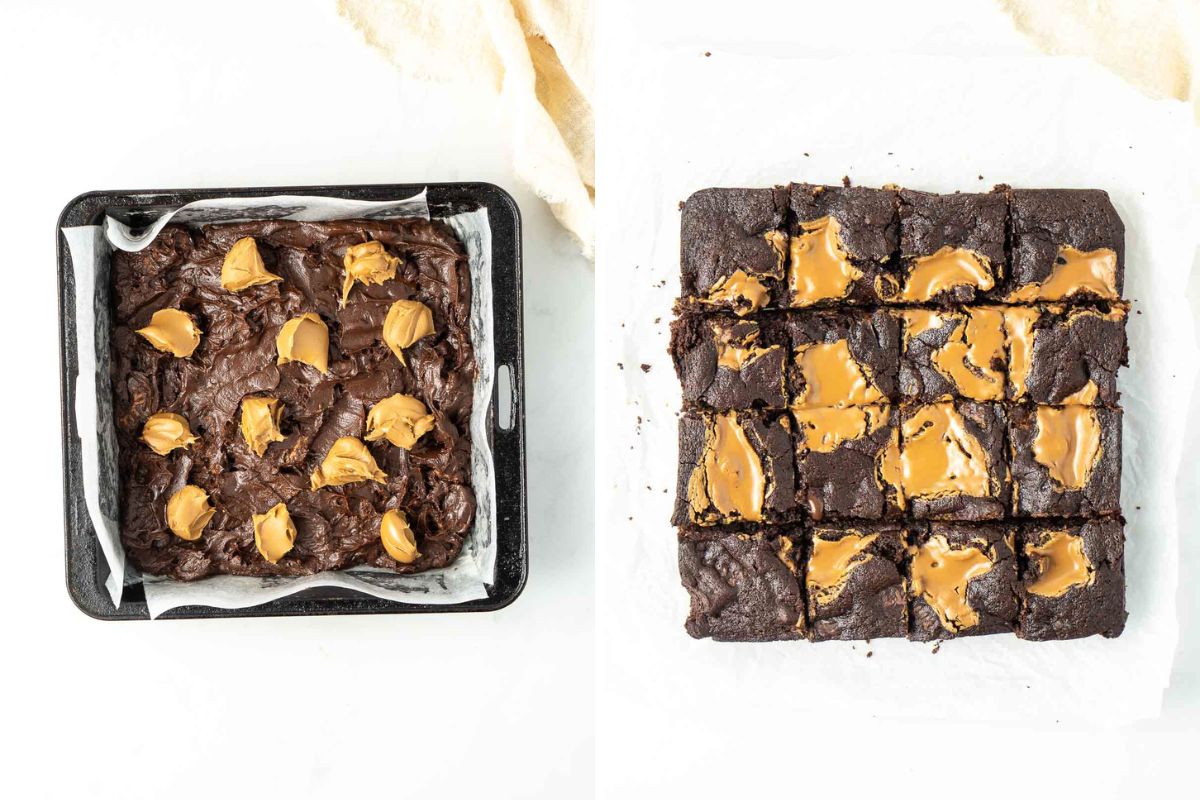
Let the brownies cool in the tin for a few minutes before lifting them out of the tin and placing in the fridge for 2 hours. The brownies will sink in the middle a bit as they cool but that’s ok. Letting them cool completely in the fridge is essential to ensuring that you end up with that epic fudgy texture.
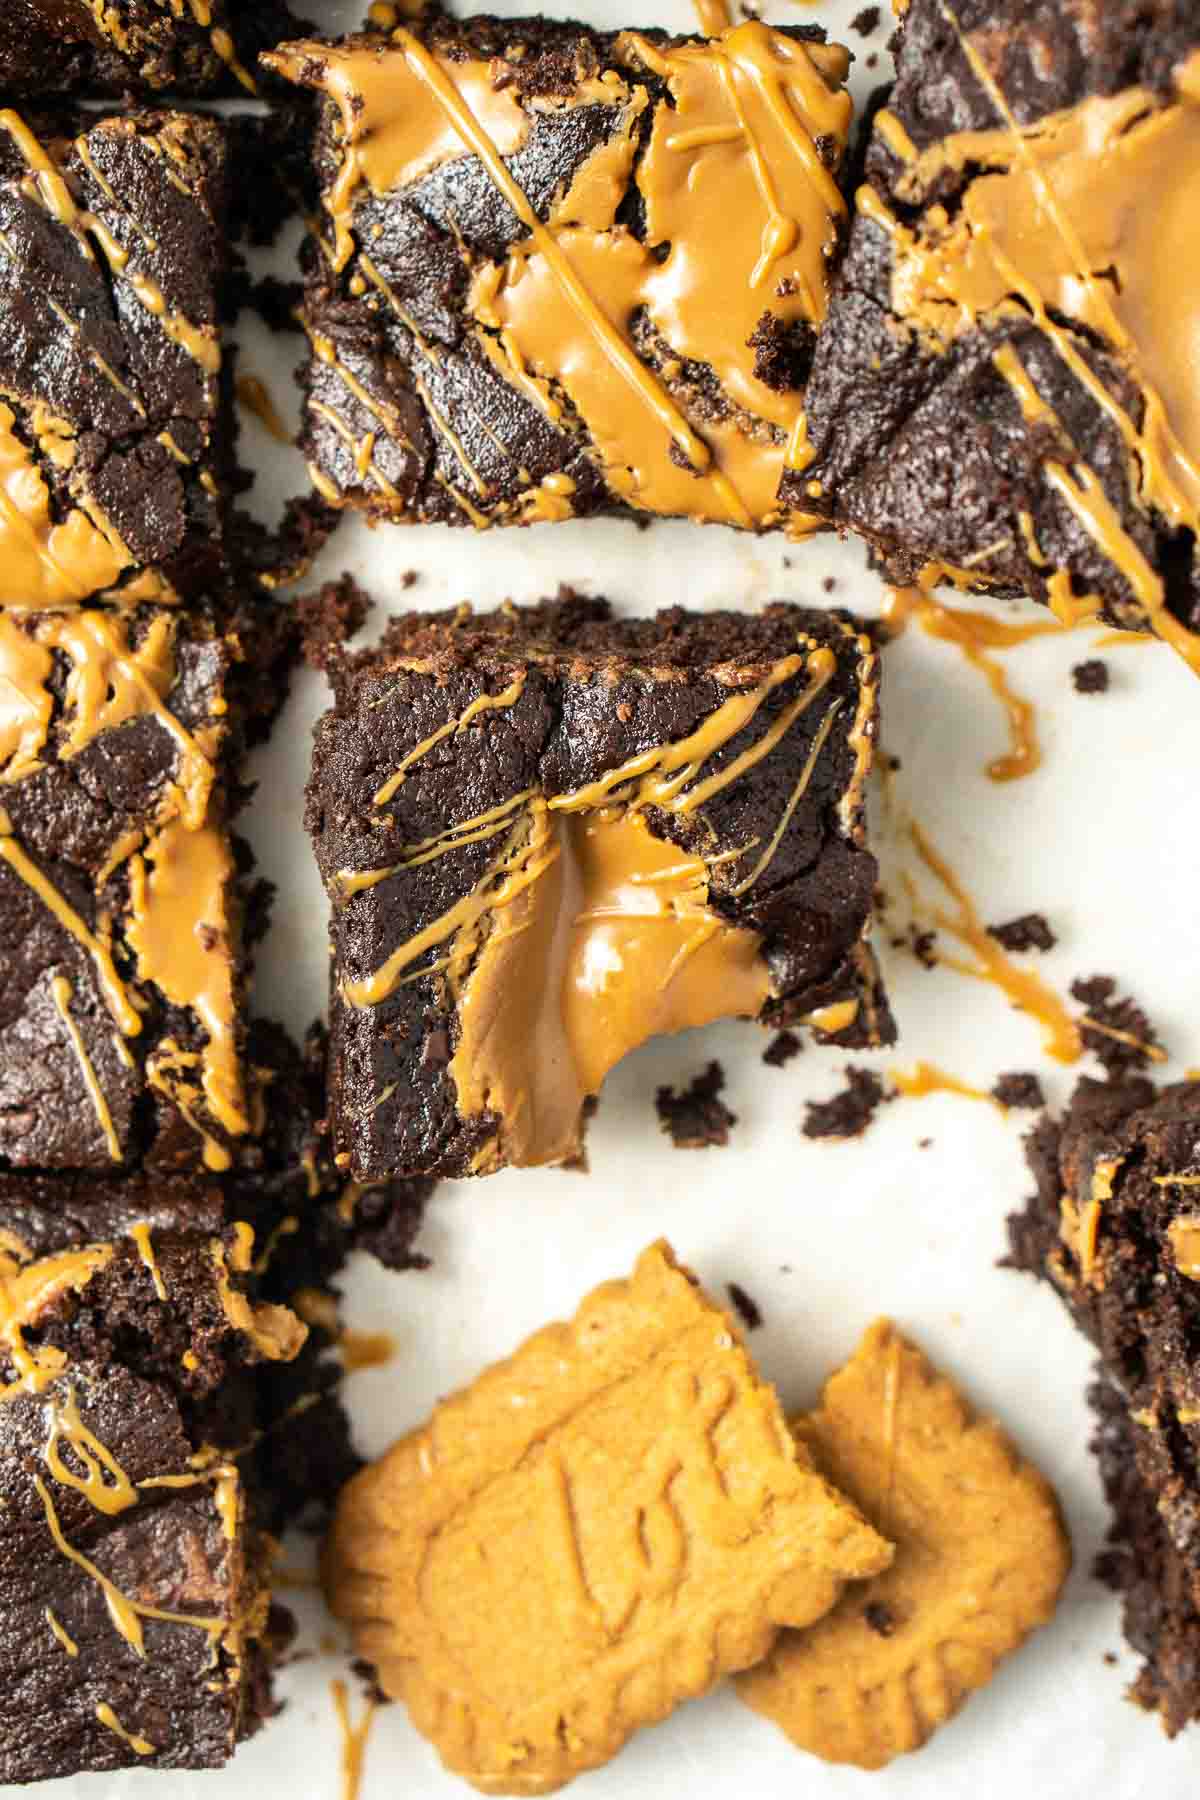
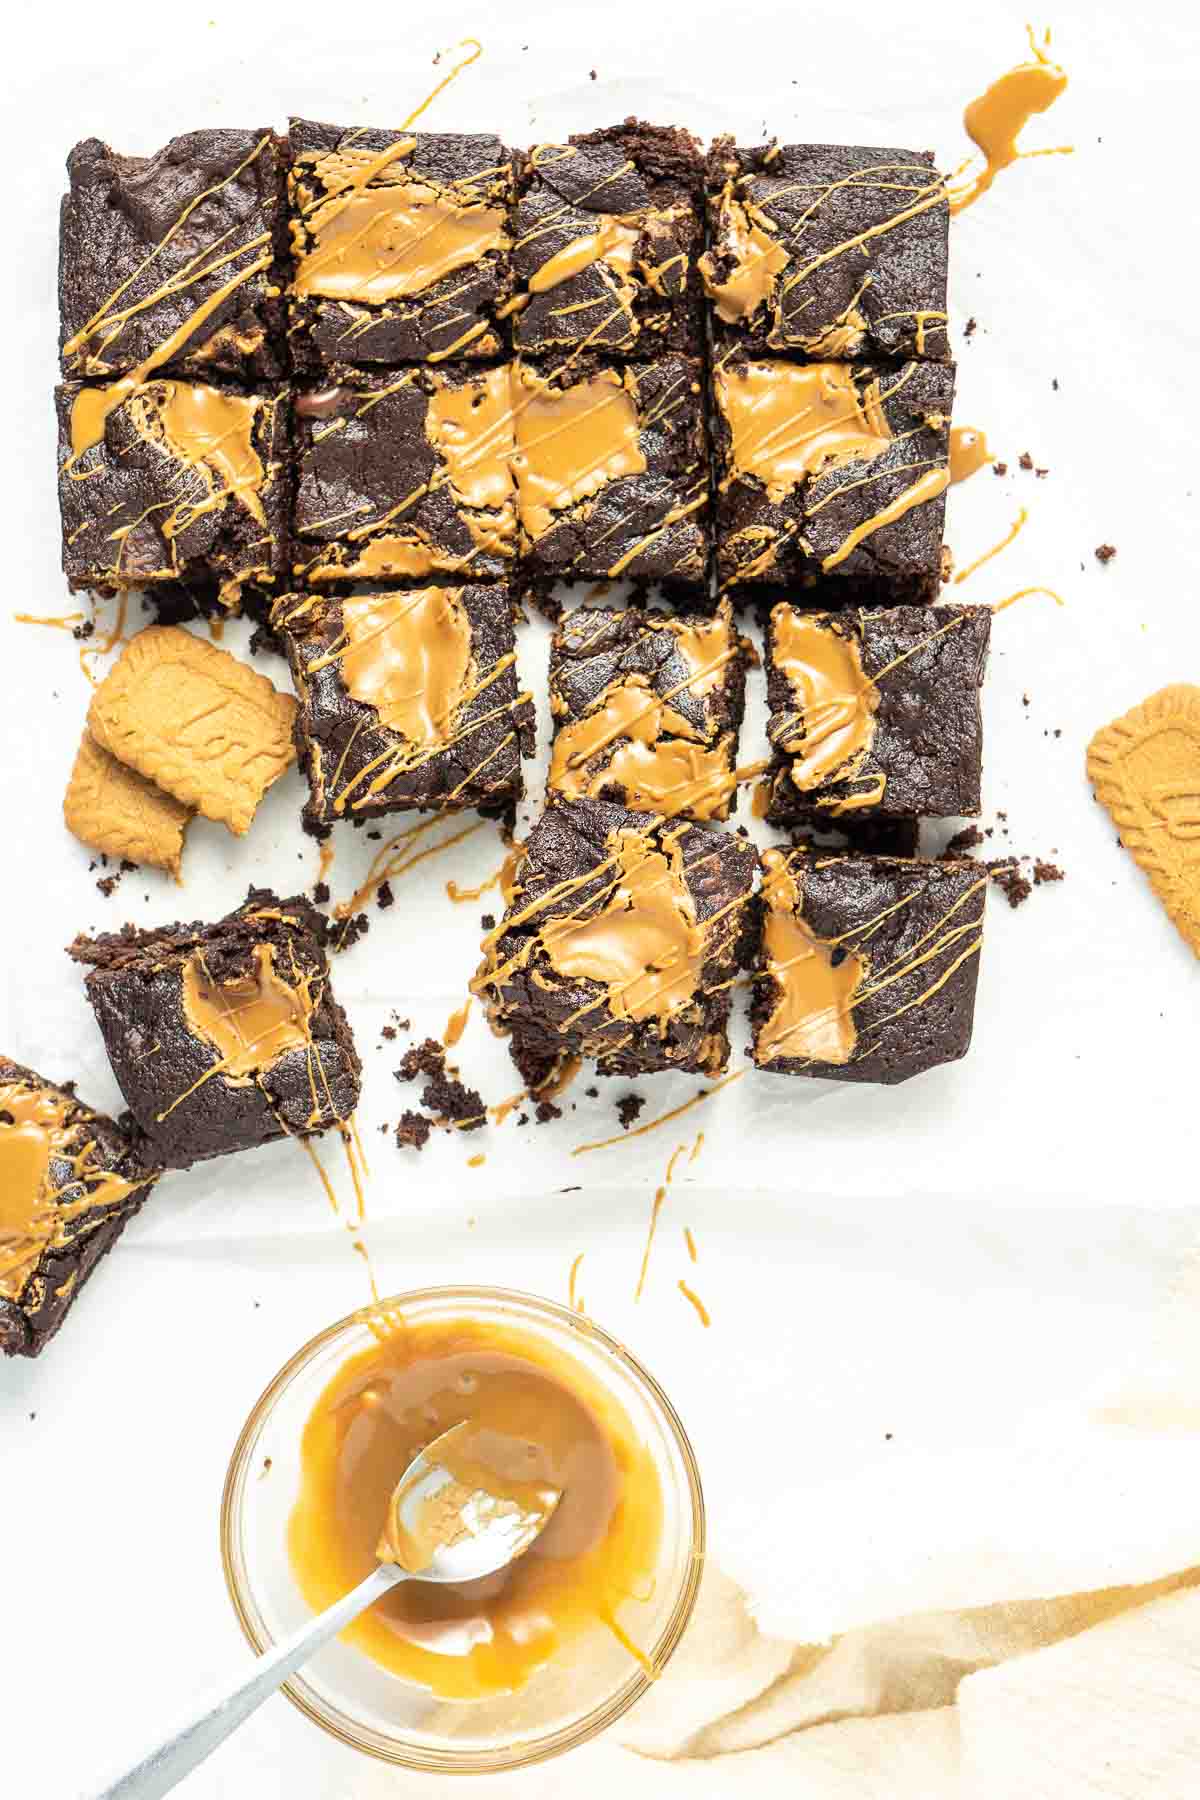
Once cool, slice them into squares and serve. You can warm them up in the microwave if you want and serve them with ice cream, or you can drizzle them with extra biscoff spread that’s been melted. Or you can just grab them as a snack each time you walk past the kitchen. It’s really up to you!
How to store brownies
These biscoff brownies will keep in an airtight container for 3 days at room temperature and up to a week in the fridge.
Keeping them in the fridge will also ensure they keep that fudgy texture and don’t dry out, however I don’t usually worry as they are usually lucky to last 2 days at my house!
These will also freeze well if you want to keep them for longer and will keep for up to three months. They are best defrosted in the fridge or at room temperature rather than in the microwave.
More brownie recipes:
Heart-Shaped Red Velvet Brownies
Chocolate Peppermint Brownies (Gluten-Free)
Vegan Brownies
Quick and Easy Chocolate Brownies
Vegan Biscoff Brownies
Equipment
Ingredients
- ½ cup cocoa powder
- ½ cup self raising flour
- ¾ cup brown sugar
- ⅓ cup coconut oil melted
- 1 teaspoon vanilla extract
- ½ cup dairy free milk
- ½ cup vegan dark chocolate chopped
- ½ cup roughly chopped biscoff biscuits
- 12 heaped teaspoons biscoff spread
Instructions
- Preheat the oven to 180°C and line a 20cm (8 inch) square baking pan with a light spray of cooking oil and baking paper.
- In a large bowl, add cocoa powder, self raising flour and brown sugar and mix to combine with a rubber spatula. Add in coconut oil and vanilla and start to mix, slowly adding in the dairy free milk a little at a time until the batter is smooth. Add in the dairy-free chocolate chips and chopped biscoff biscuits and stir through to combine.
- Pour batter into the prepared pan, scraping down the sides of the bowl with the spatula and smoothing out the batter into the edges and corners of the pan. Drop spoonfuls of biscoff over the top. Bake for 25 minutes or until set in the middle.
- Let cool in the pan for a few minutes (it will sink a bit in the middle, that’s ok) before lifting it out using the edges of the baking paper and placing in the fridge to chill for 2 hours.
- Cut the brownie into 9 or 16 squares, depending on how big you want your pieces. Drizzle with a little melted biscoff to serve if you’re feeling extra. Keep leftover brownies in an airtight container for 2-3 days.
Notes
Nutrition
Nutritional information is provided as a guide only and is calculated using automated online tools, therefore we cannot guarantee the accuracy. We encourage you to make your own calculations based on the actual ingredients used in your recipe.

Helen says
Hi there,
I’d love to make a biscoff birthday cake for my husband who is lactose intolerant.
Do you have a recipe which caters for x2 8inch cake tins please?
Thank you
Sally says
Hi Helen, that sounds like a great idea! I don’t at the moment sorry but you could certainly bake this recipe into a cake pan instead.
Sherry M says
i guess i could use something else instead of the coconut oil which sadly i find – am i allowed to say? – disgusting stuff 🙂 that ghastly feel on the lips! Sorry! But the rest of this recipe sounds marvellous.
http://sherryspickings.blogspot.com.au