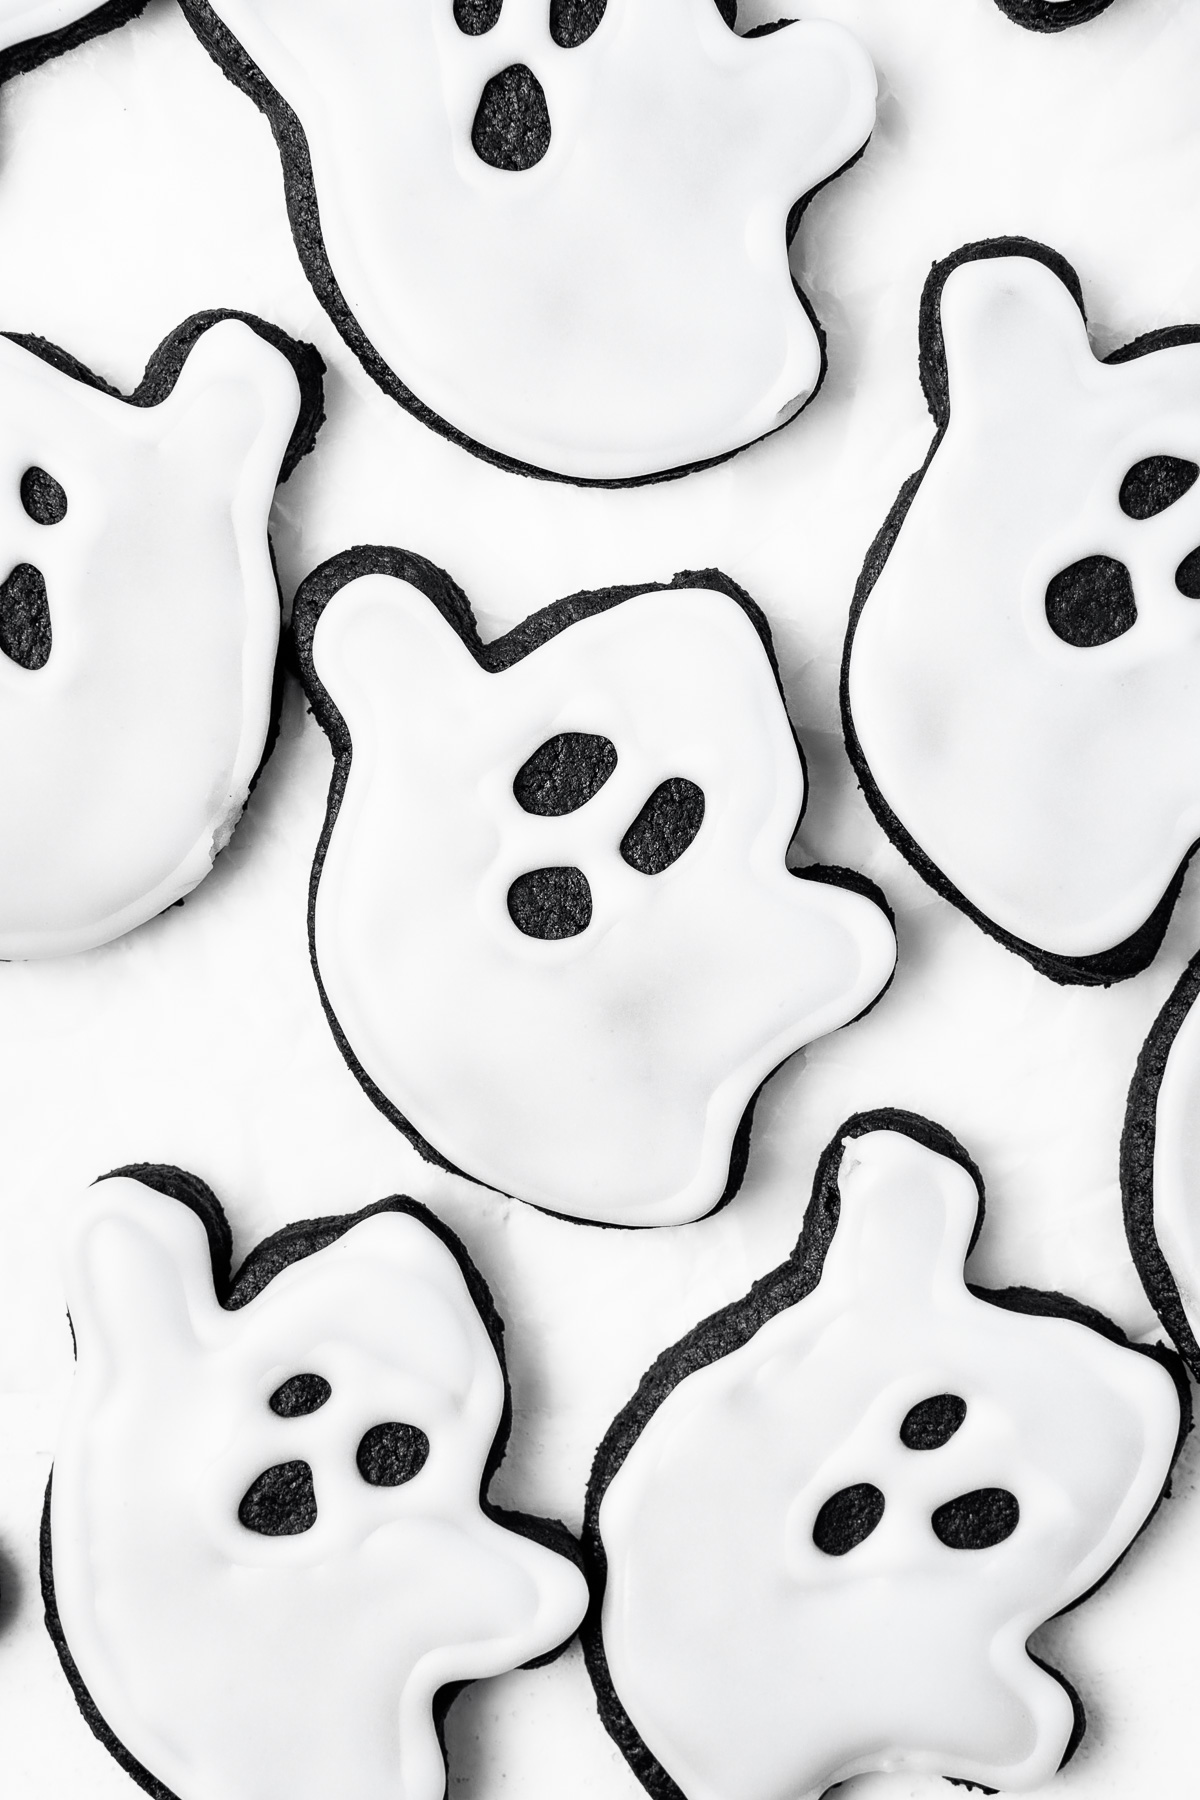
These black cocoa ghost sugar cookies are a soft, cut out dairy free sugar cookie recipe perfect for creating fun and festive shapes and decorating with royal icing. Let me show you exactly how to create these spooky ghosts for your Halloween table or to gift to family and friends.
For something a bit more quick and easy, try my black cocoa sugar cookies instead.
I will admit that I have a soft spot for a cute themed decorated sugar cookie. Whether it’s snowflake sugar cookies for Christmas, these Easter eggs and bunny cookies, or simple pink heart-shaped chocolate cookies for Valentines day – occasions are more fun with cute cookies!
And now I am no professional cookie decorator. I have the most respect for those that can create works of art on a sugar cookie. But that’s not what we have here. On my website you’ll find cookie recipes that taste amazing (yes these have a whole Oreo thing going on), and some simple tutorials for creating cute designs that let your creativity out.
Yes, making these cookies that look like cute little ghosts should be viewed as a creative activity rather than simply just baking. I want you to pick this recipe when you have an afternoon free that you just want to spend getting focused on a task but then be still rewarded with something delicious you can have with your cup of tea after dinner.
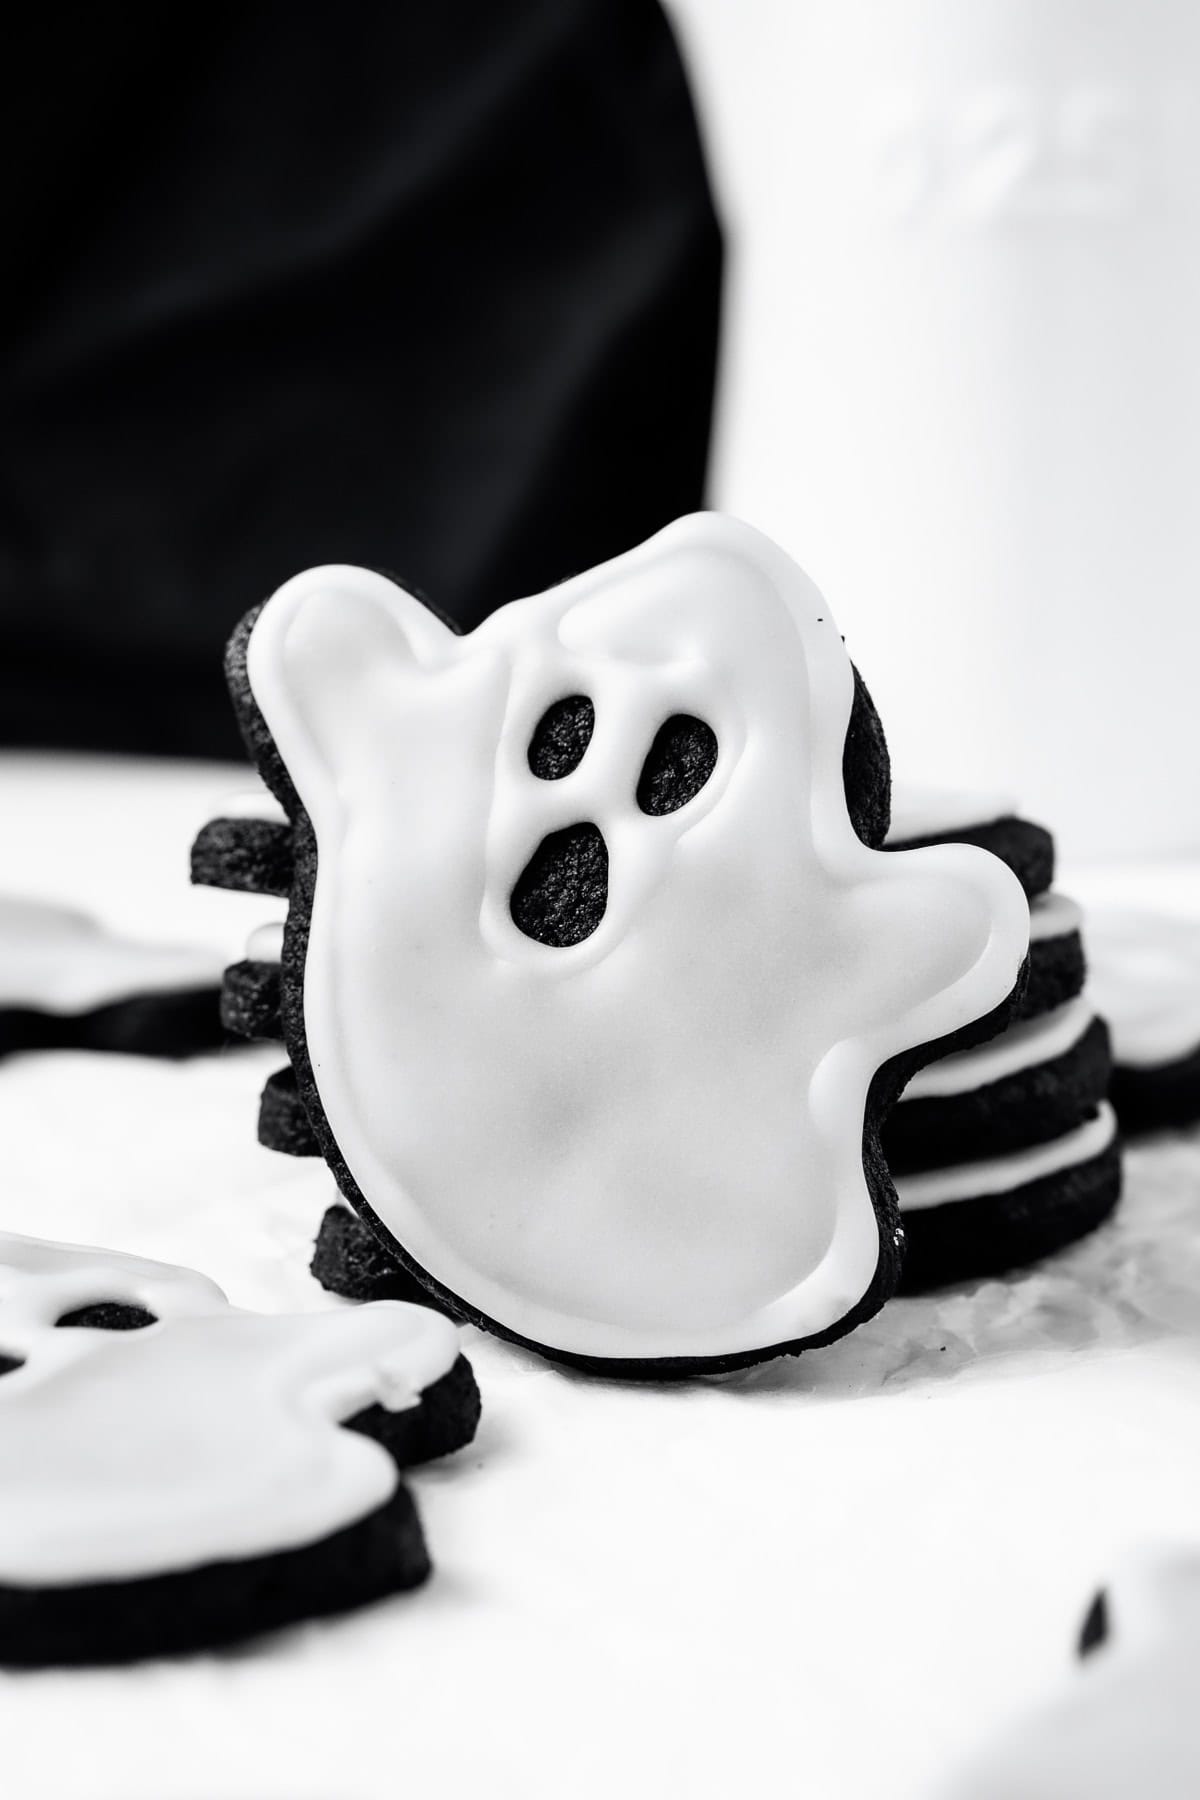
There is something meditative about decorating cookies, but let me tell you to leave your perfectionism at the door or it can get frustrating (possibly speaking from experience…). Honestly I actually love how each cookie ends up having its own little expression and personality!
Whether Halloween is something you celebrate or not, these are so fun to make and yes, they do taste amazing as well.
Key Ingredients
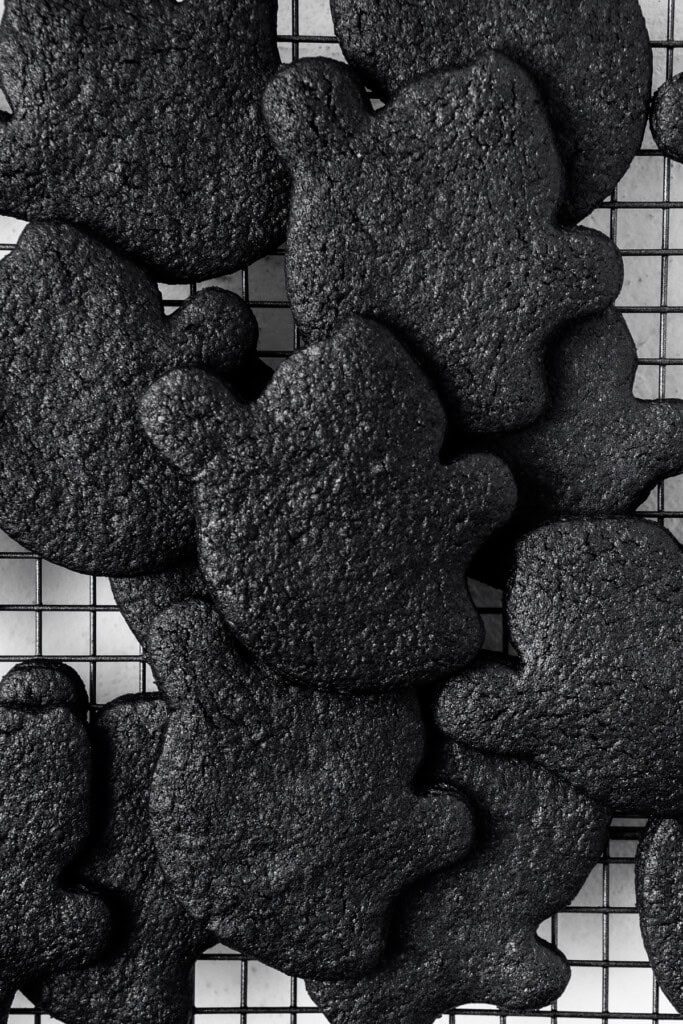
Just like any sugar cookie recipe, these use simple ingredients that are common for most bakers. The key difference is the use of black cocoa powder to create the jet black colour of the cookies without the need for any dyes.
I usually buy my black cocoa powder from specialty baking supply shops.
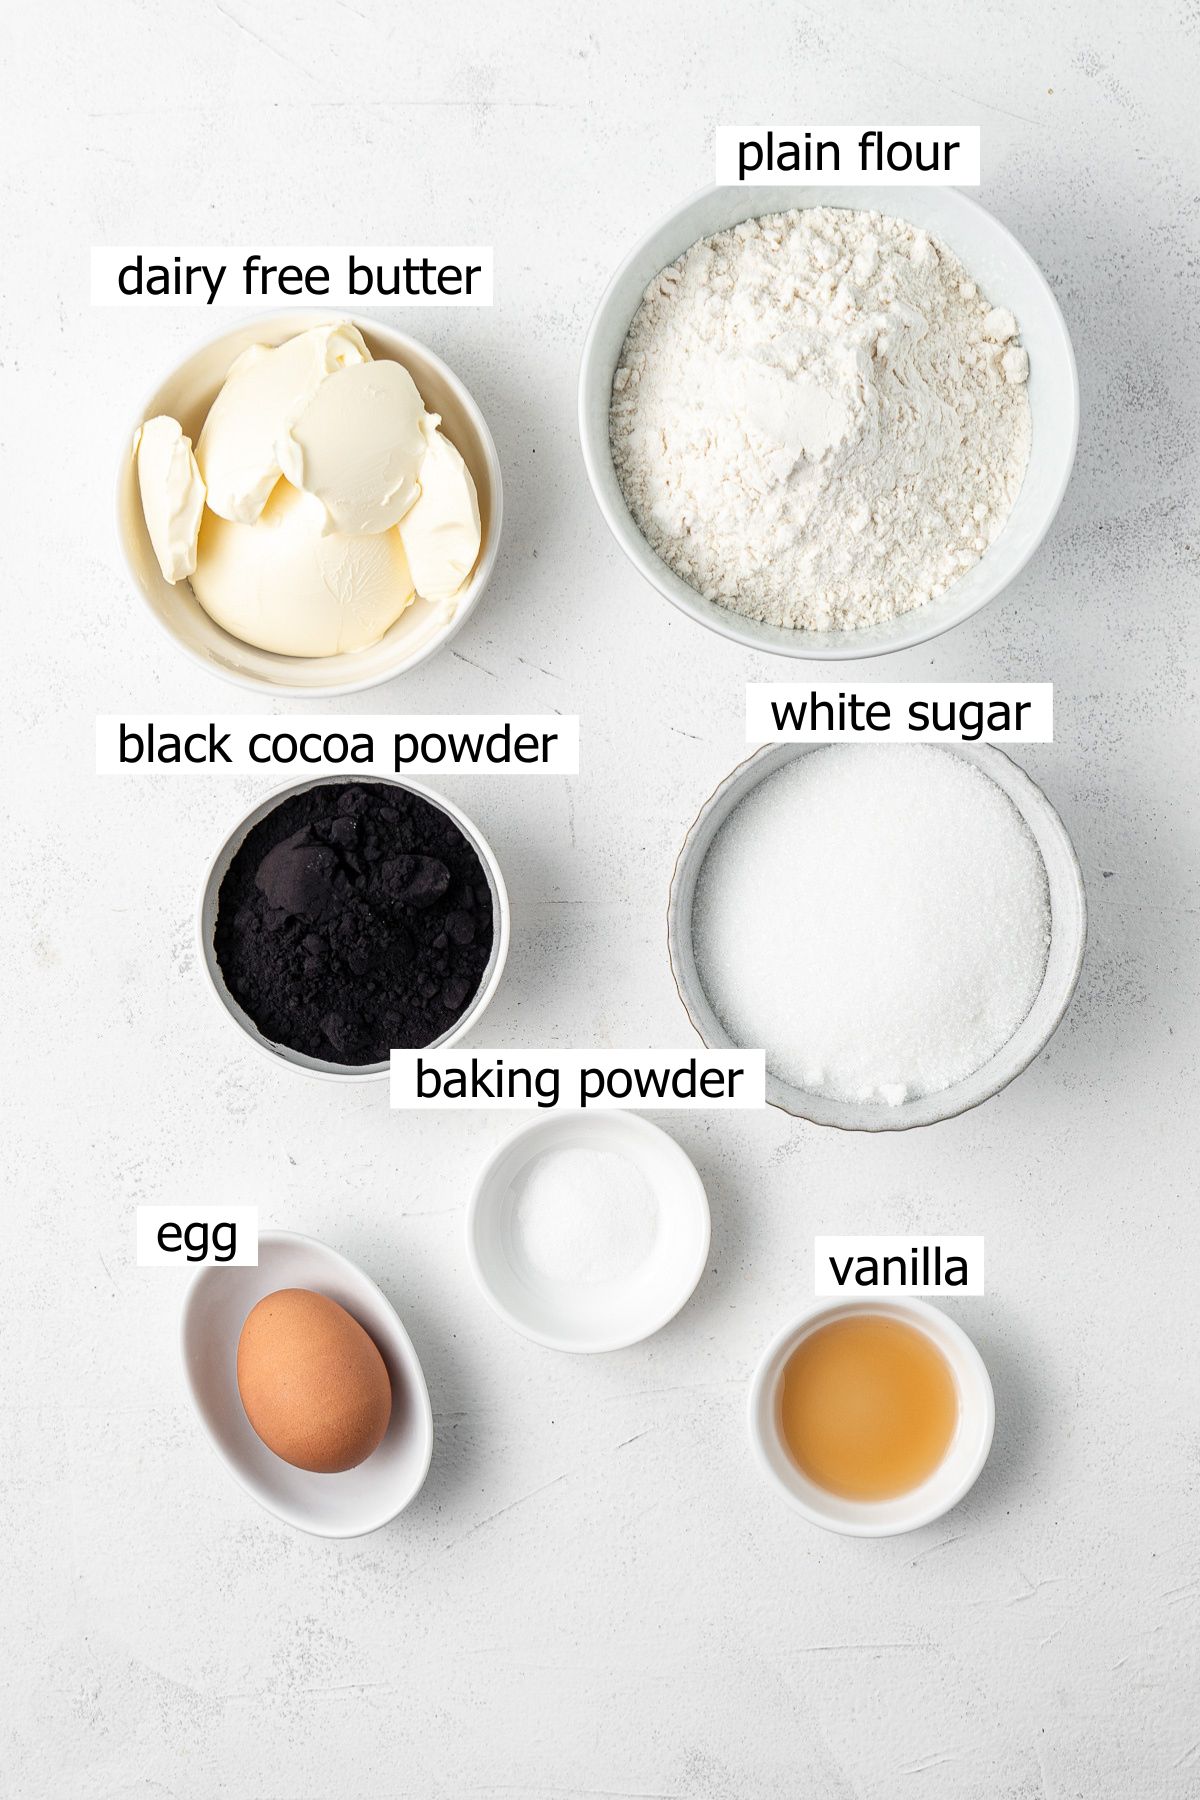
Note all ingredients and their quantities are laid out in the recipe card at the bottom of this post.
- Dairy free butter – use a quality dairy-free butter substitute here for the best flavour. I love and always use Nuttelex Buttery which is an Australian product. In the US, the closest alternative is Earth Balance which I understand to be very similar.
- White sugar – an essential ingredient in a sugar cookie!
- Egg – to bind the cookie together and ensure that classic soft texture.
- Vanilla extract – adding flavour and enhancing the chocolate taste.
- Plain flour – also known as all purpose flour in the US.
- Black cocoa powder – the key to the flavour and colour of these cookies. You can use regular dutch processed cocoa powder instead but these will look and taste like regular chocolate cookies, without the key characteristics of the black cocoa powder.
- Baking powder – just a little bit to keep the cookies soft.
💡To decorate these cookies as pictured, you’ll also need to make a batch of royal icing. Read the full post for how to make royal icing which includes a more detailed breakdown and step-by-step photos and instructions.

Equipment and Tools
This section may contain affiliate links which means I make a small commission on any purchase made with no extra cost to you. If you’re considering purchasing on Amazon I’d be so grateful if you would do so by first clicking one of these links. Thank you for your ongoing support.
- Electric mixer – I find that a stand mixer is the best way to make these cookies.
- Cookie cutters – I have this Halloween themed set of cookie cutters and it gives you the option of a few different designs including the ghost and the black cat featured below.
- Baking trays – I just started using these NordicWare baking sheets and they are insanely good quality – I wish I had upgraded sooner!
- Measuring cups and spoons – accurate measurements are crucial for baking, as even small differences can affect the texture and taste.
- Piping bags – I prefer to use disposable piping bags just to keep clean up super easy.
- Small round piping tip – a very versatile piping tip, perfect for creating these decorations.
- Cooling rack
Step-By-Step Instructions
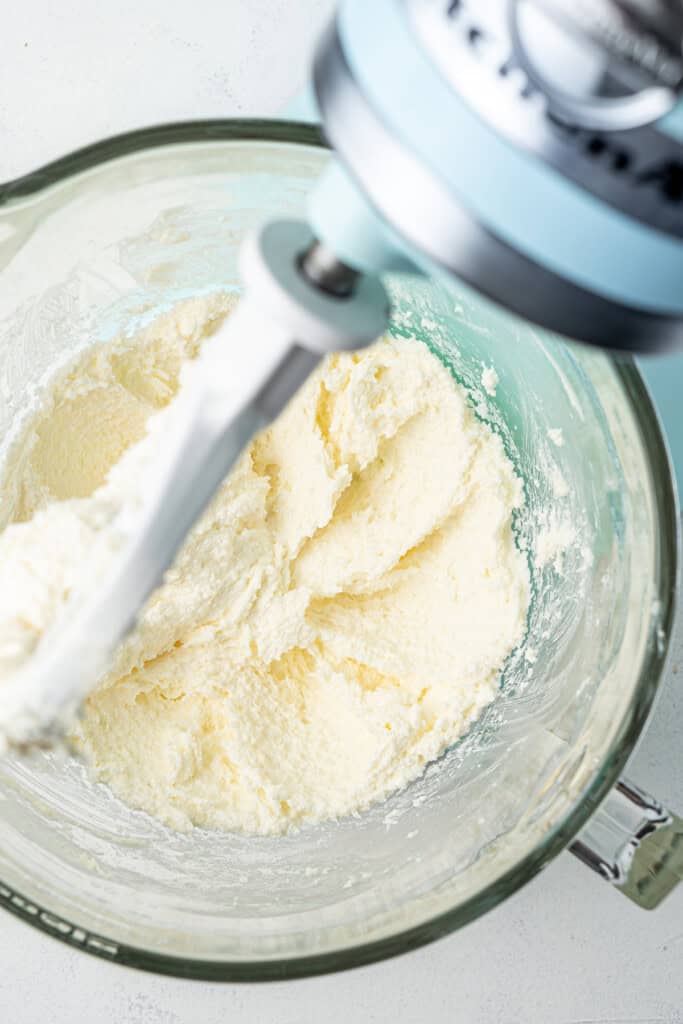
To make these cut out cookies, start by creaming together the dairy free butter and white sugar using your electric mixer. I like to do this using my stand mixer.
Once the butter and sugar mixture is slightly paler in colour, you can add in the egg and vanilla extract and continue beating for a few minutes until fluffy and combined. Scrape down the edges of the bowl as necessary.
In a separate bowl, sift together the plain flour, black cocoa powder and baking powder. Add the flour mixture to the bowl of your mixer and mix on low until it comes together into a soft dough.
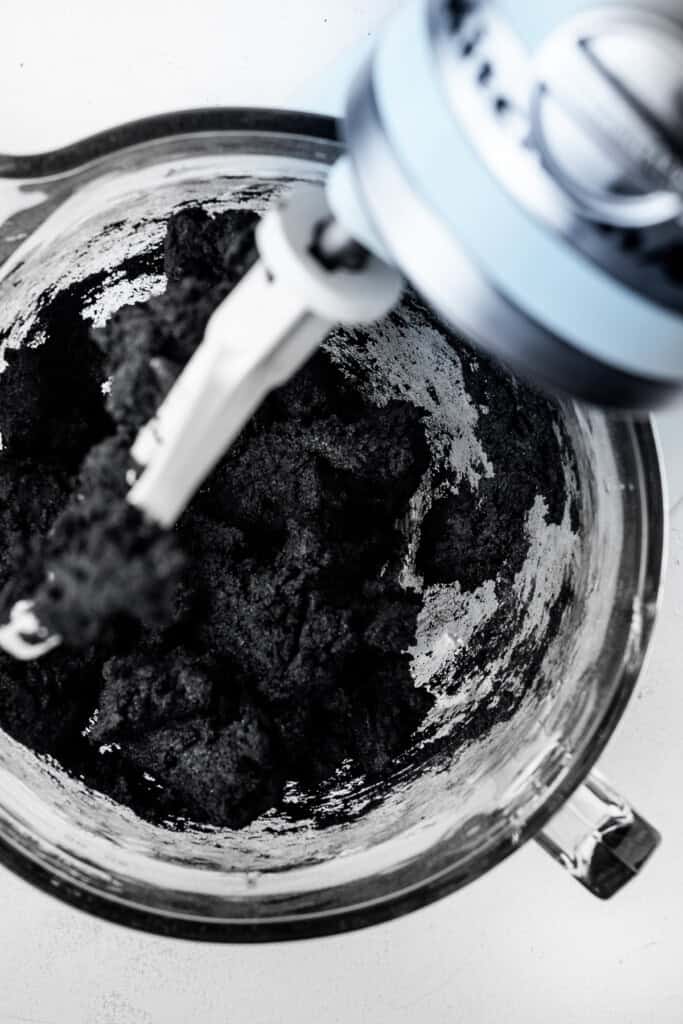
From here, I find it easiest to roll out the dough before chilling. If your dough is a little sticky you can coat the surface, your hands and rolling pin with a light sprinkle of a combination of flour and black cocoa powder.
Separate the dough into two and roll each out onto a sheet of baking paper, approximately 3 millimetres thick. Place the rolled sheets of dough in the fridge to chill for at least an hour. This step helps ensure that the cookies will not spread in the oven and will hold their shape.
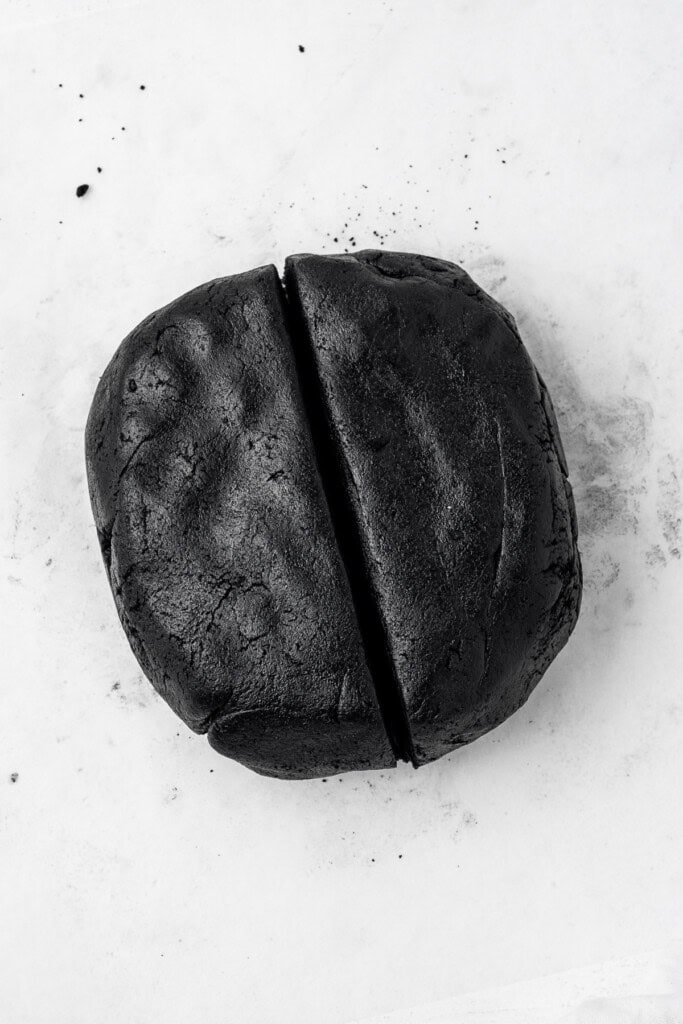
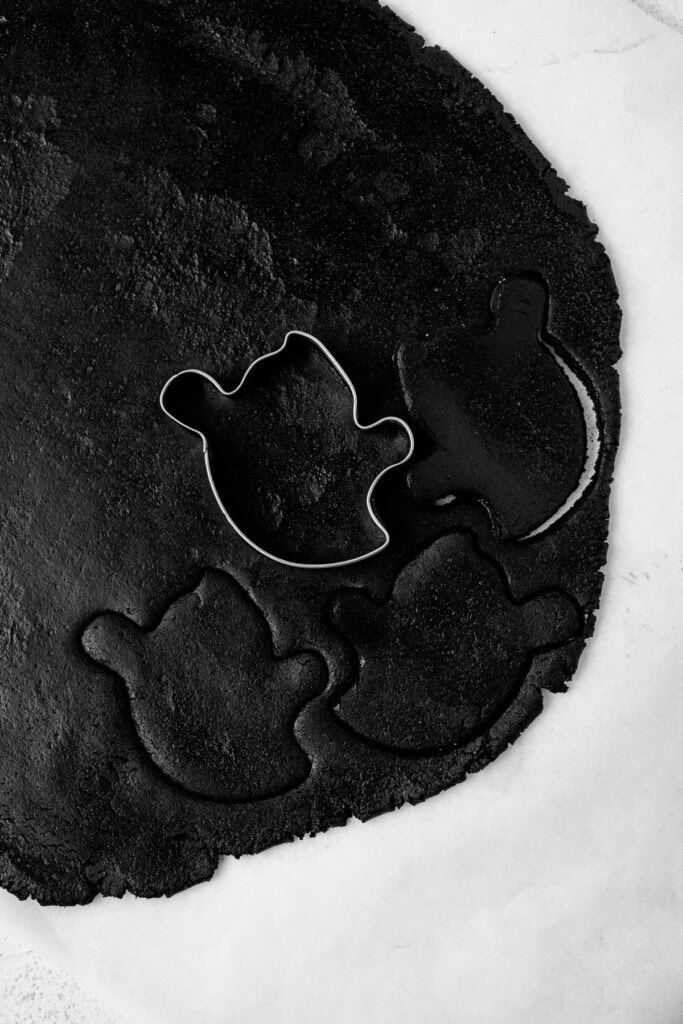
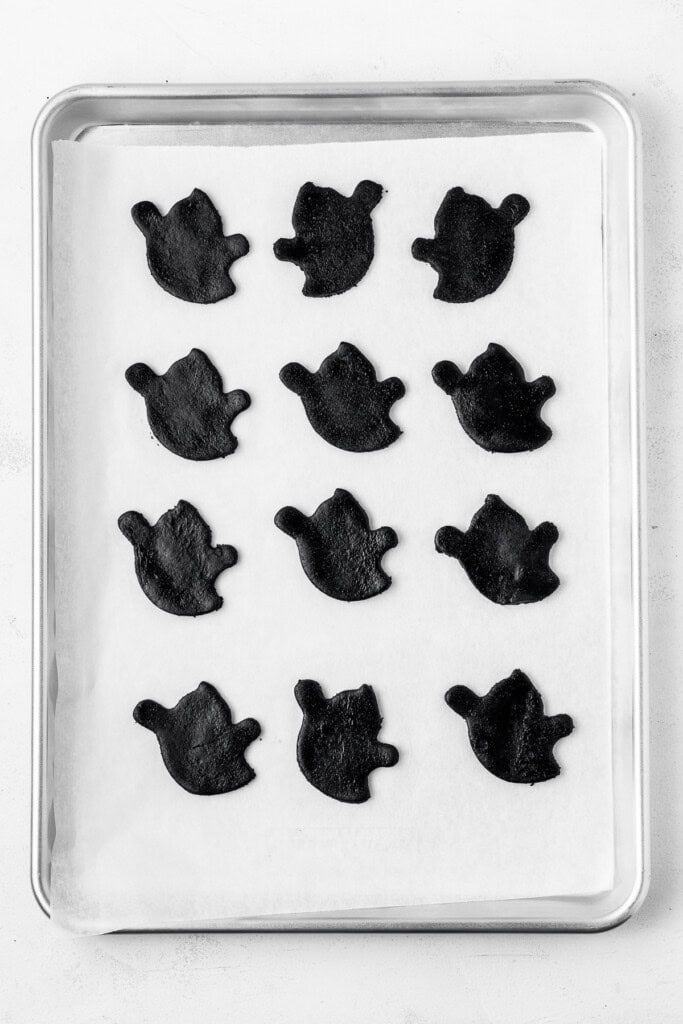
Once the dough has chilled, use your cookie cutters to cut your shapes and then place on a baking tray lined with baking paper. Bake the cookies for about 10 minutes or until just firm to touch. Allow them to completely firm up on the tray for around 10 minutes before transferring to a wire rack to cool completely.
Repeat these steps with the remaining dough until it’s all used, so you may need to work in batches.
👉 It is important that the dough is cold when you cut out the shapes as this will ensure the cookies bake evenly and do not spread in the oven. At any time when the dough is not being used, make sure to put it back in the fridge so you are always working with that cold dough.
Decorating the cookies
For these cookies, I really wanted to go with a fun ghost design. As the cookies themselves are black, it makes the perfect base for a simple white ghost.
Now I am no professional when it comes to decorating cookies with royal icing so I like to stick to simple and easy to achieve designs that are still going to look cute and give a little character and personality.
To make these simple ghosts, you will start by using a slightly stiffer consistency of the royal icing to pipe the outline of the ghost and then pipe circles for the eyes and the mouth (see photo).
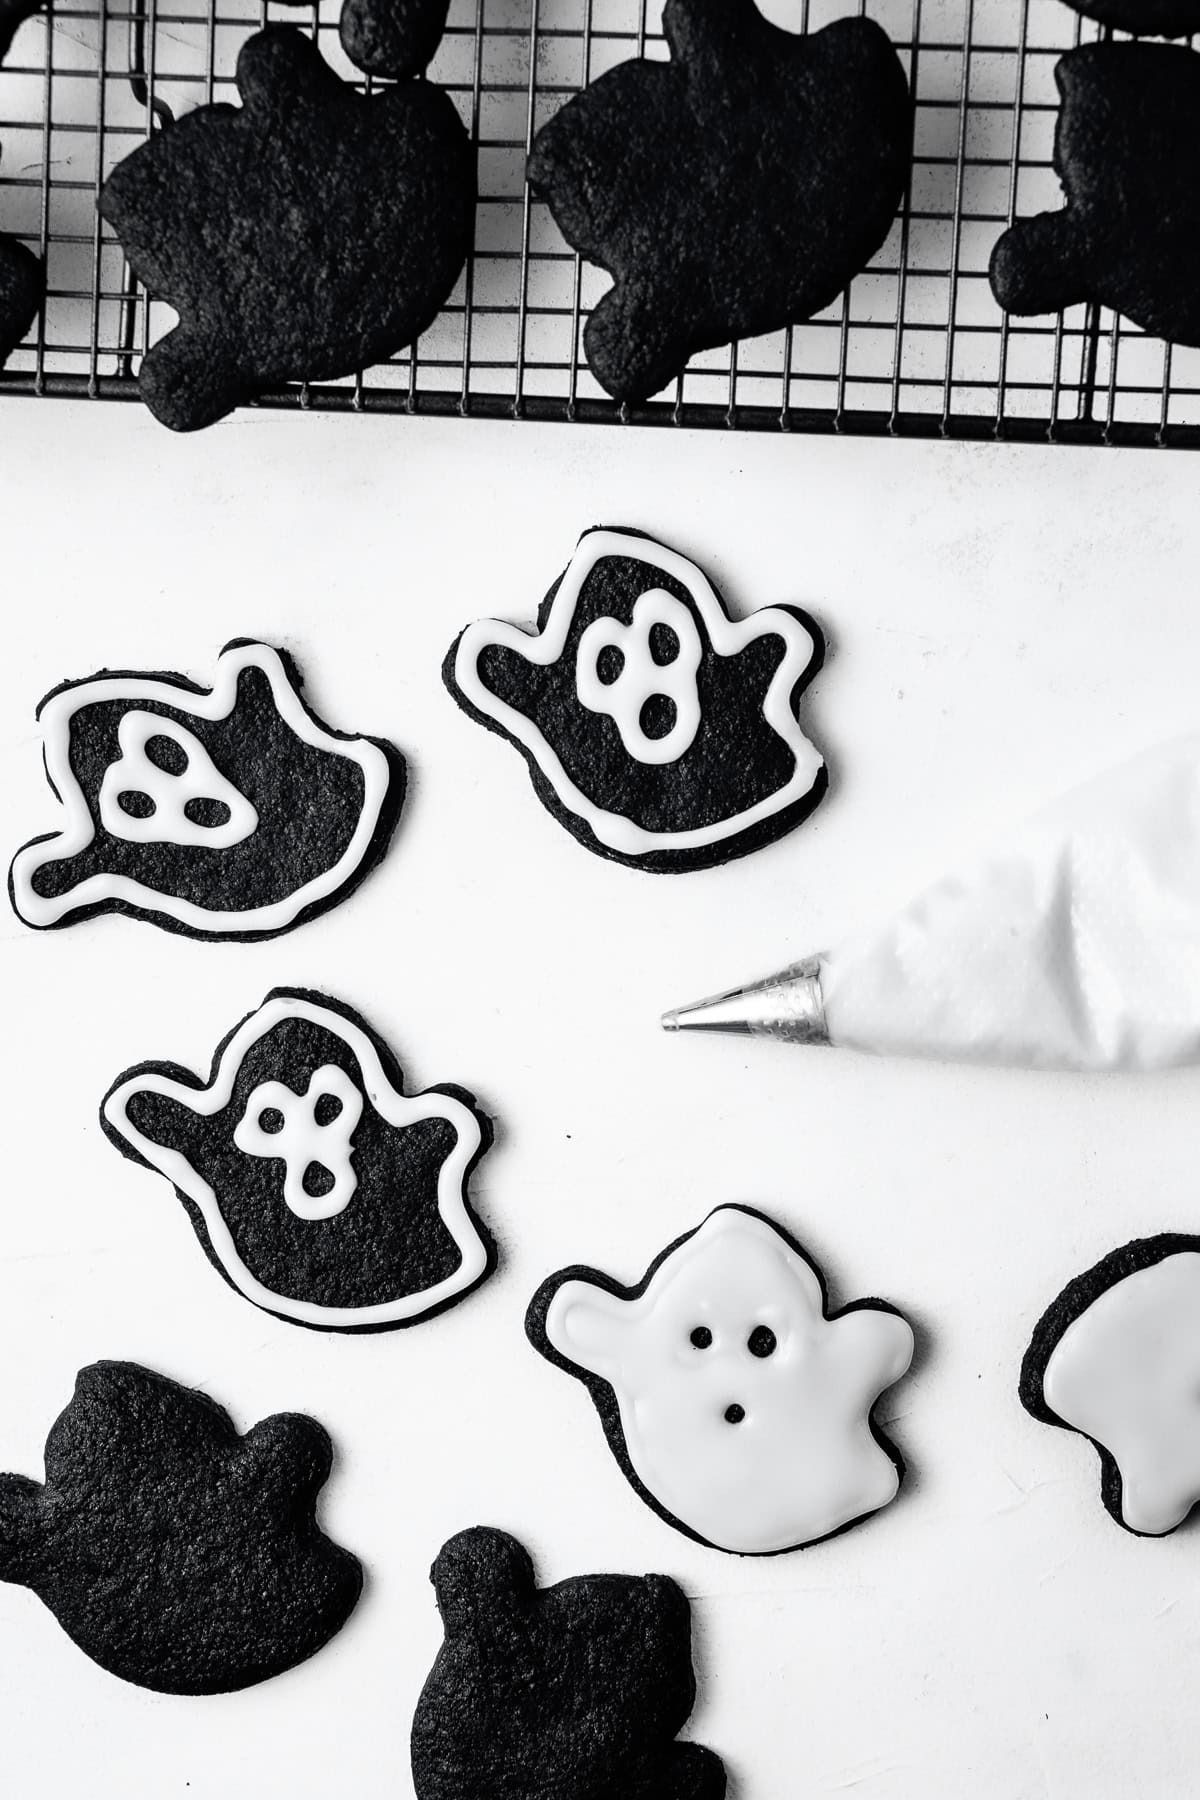
Once this is done, you’ll want to thin out the consistency of the icing a little as we’re going to take that and then ‘flood’ the outlines we’ve just created to fill in the ghost. This will leave the circles we drew for the eyes and mouth exposed, showing the black cookie. This method means we’re not having to tint the icing black to draw on the expressions making it super easy.
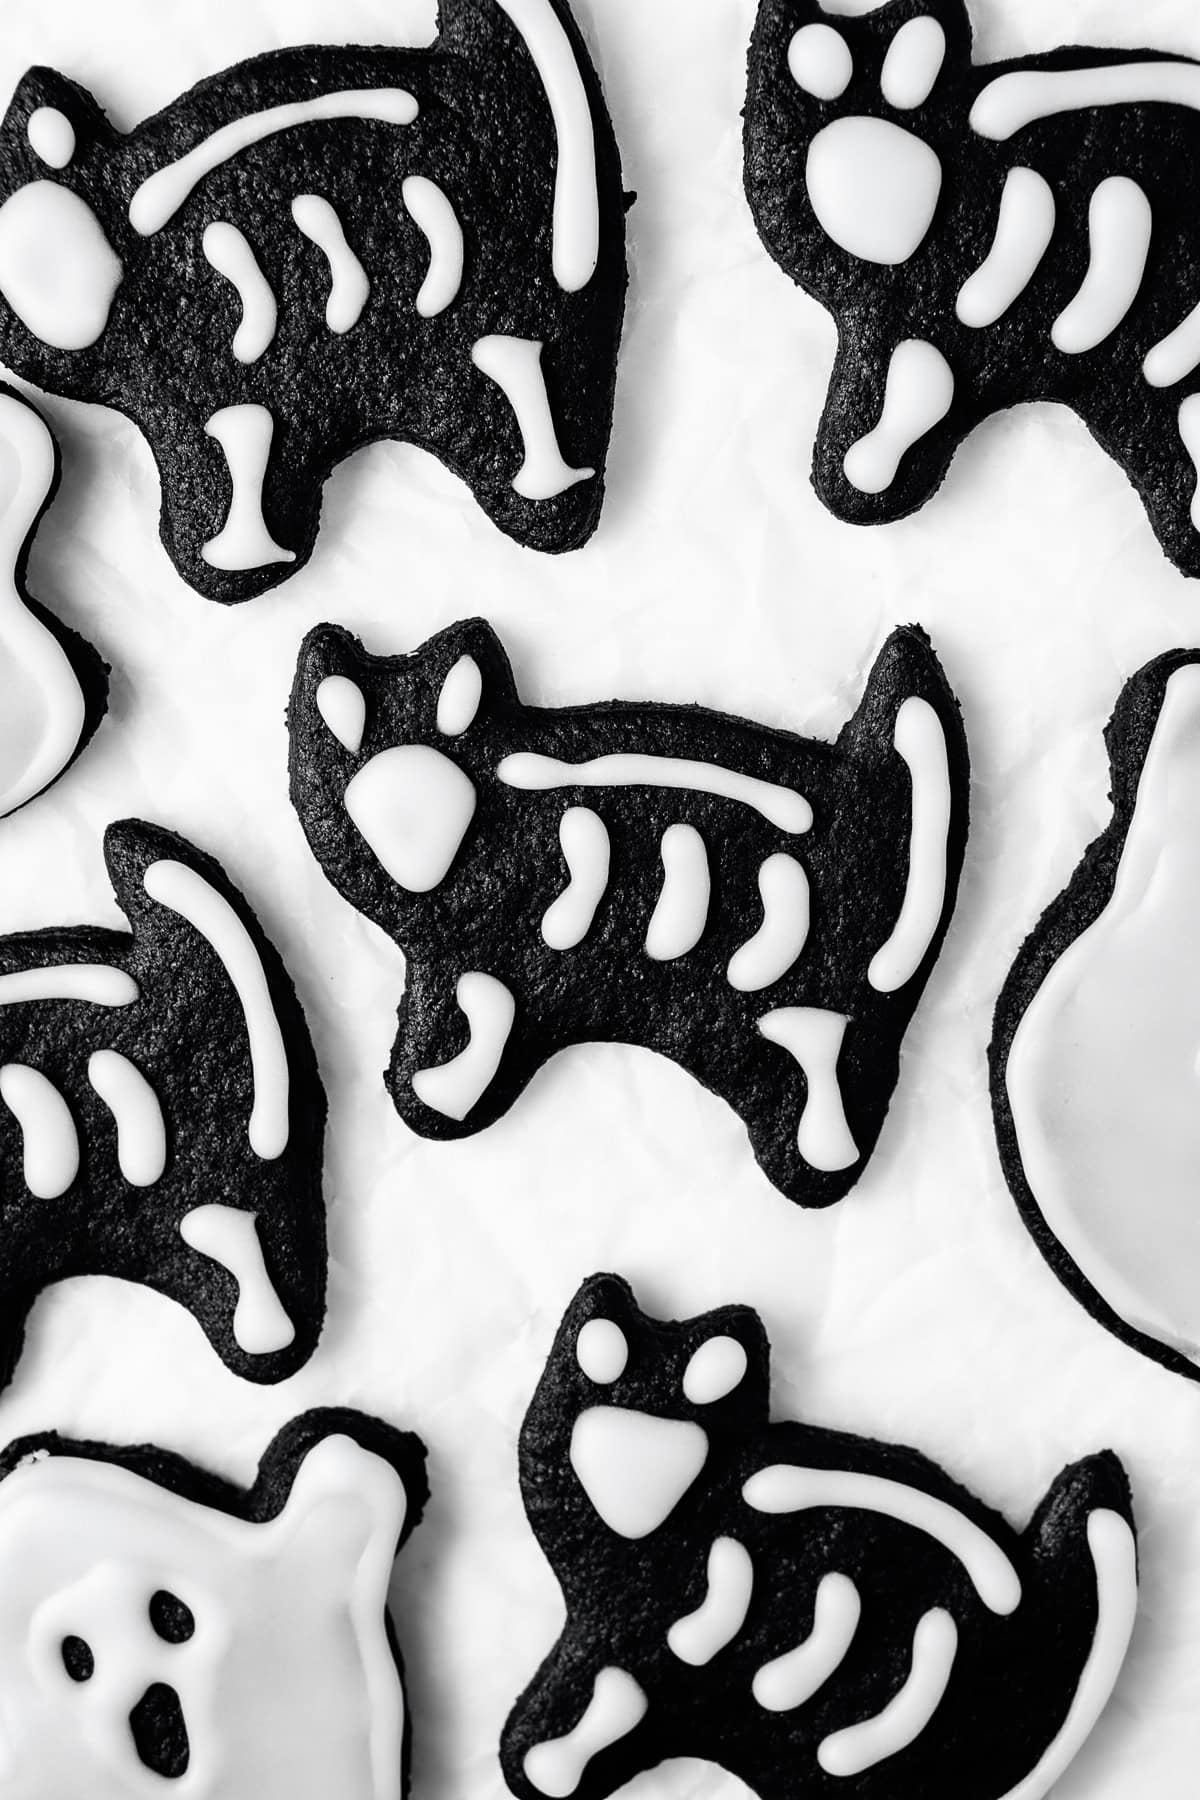
When making these cookies, I couldn’t help myself and I had to also create some black cat skeletons, just to show you how you can use this recipe as your base and get creative with different cookie cutters and icing designs.
Recipe FAQs
This recipe has been specifically developed to include egg therefore I don’t recommend adapting it to be vegan. Instead, I recommend making a batch of my vegan chocolate sugar cookies and replacing the regular dutch processed cocoa powder with black cocoa powder.
You can frost the cookies using the buttercream in that post or use the easy vegan icing from my vegan cinnamon sugar cookies recipe for a hard setting icing similar to royal icing.
More desserts for Halloween:
Vegan Pumpkin Cupcakes
Black Velvet Cupcakes
Vegan Pumpkin Chocolate Chip Cookies
Black Cocoa Sugar Cookies
Black Cocoa Ghost Sugar Cookies
Ingredients
- 170 grams dairy free butter
- ¾ cup white sugar
- 1 egg
- 1 teaspoon vanilla extract
- 1 ¾ cups plain flour
- ½ cup black cocoa powder
- ½ teaspoon baking powder
- 1 batch royal icing for decorating
Instructions
- Using a handheld or stand mixer, cream dairy-free butter and white sugar in a large bowl until light in colour. Add the egg and vanilla extract and continue mixing on high for 2-3mins until fully combined.
- In a separate bowl, sift together the plain flour, black cocoa powder and baking powder. Add the flour mixture to the wet ingredients slowly until the mixture just comes together into a soft dough.
- Divide dough evenly into 2 parts and roll each out onto baking paper until it’s approximately 3-5mm thick. Make sure to flour your hands and rolling pin using a combination of flour and black cocoa powder, if the dough is too sticky. Place the rolled out dough into the fridge for at least 1 hour to chill. This will ensure the cookie shapes hold when in the oven.
- Preheat the oven to 180°C and line two baking trays with baking paper.
- Remove each piece of dough from the fridge and use a cookie cutter to make shapes, until all the dough is used. Place shapes onto the baking sheet and place in the oven for 8-10 minutes or until cookies start to firm up.
- Repeat the above steps, combining any left over dough together and rolling it out again until all of the dough has been used. Make sure to keep your dough in the fridge when not working with it so it’s cold before you bake the cut out cookies.
- Let the cookies cool for a couple of minutes on the tray to firm up before transferring them to a wire rack to cool completely before icing.
- Decorate the cookies using royal icing as you like and let the cookies sit at room temperature until the icing hardens and sets before transferring to an airtight container for storage.
Notes
Nutrition
Nutritional information is provided as a guide only and is calculated using automated online tools, therefore we cannot guarantee the accuracy. We encourage you to make your own calculations based on the actual ingredients used in your recipe.


Made this recipe? Leave a review!