
If you’ve ever thought about baking homemade sandwich bread but felt a little unsure where to start, this recipe is for you. It’s soft, fluffy, and surprisingly easy to make with just a few simple ingredients. Whether you’re new to baking or just want a reliable loaf for everyday sandwiches or toast, this is a recipe you’ll come back to again and again.
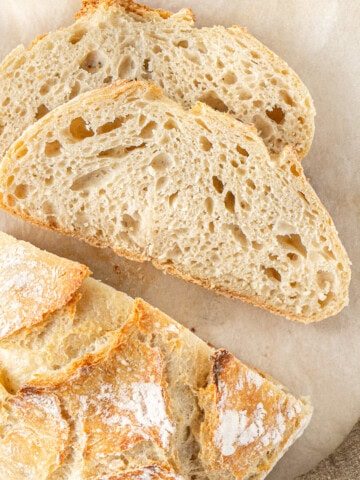
Looking for more homemade bread recipes? Try my favourite overnight no-knead bread recipe as well.
If you’re reading this introduction, chances are you already have the intention to bake yourself a loaf of bread. This is good because I know it’s a hard sell to tell you to take hours out of your day to bake something that is so conveniently available at the supermarket.
But if you’re just thinking about the possibility of trying out making your own bread at home, then let me tell you why I love this recipe so much.
Baking bread at home can be intimidating. This recipe isn’t.
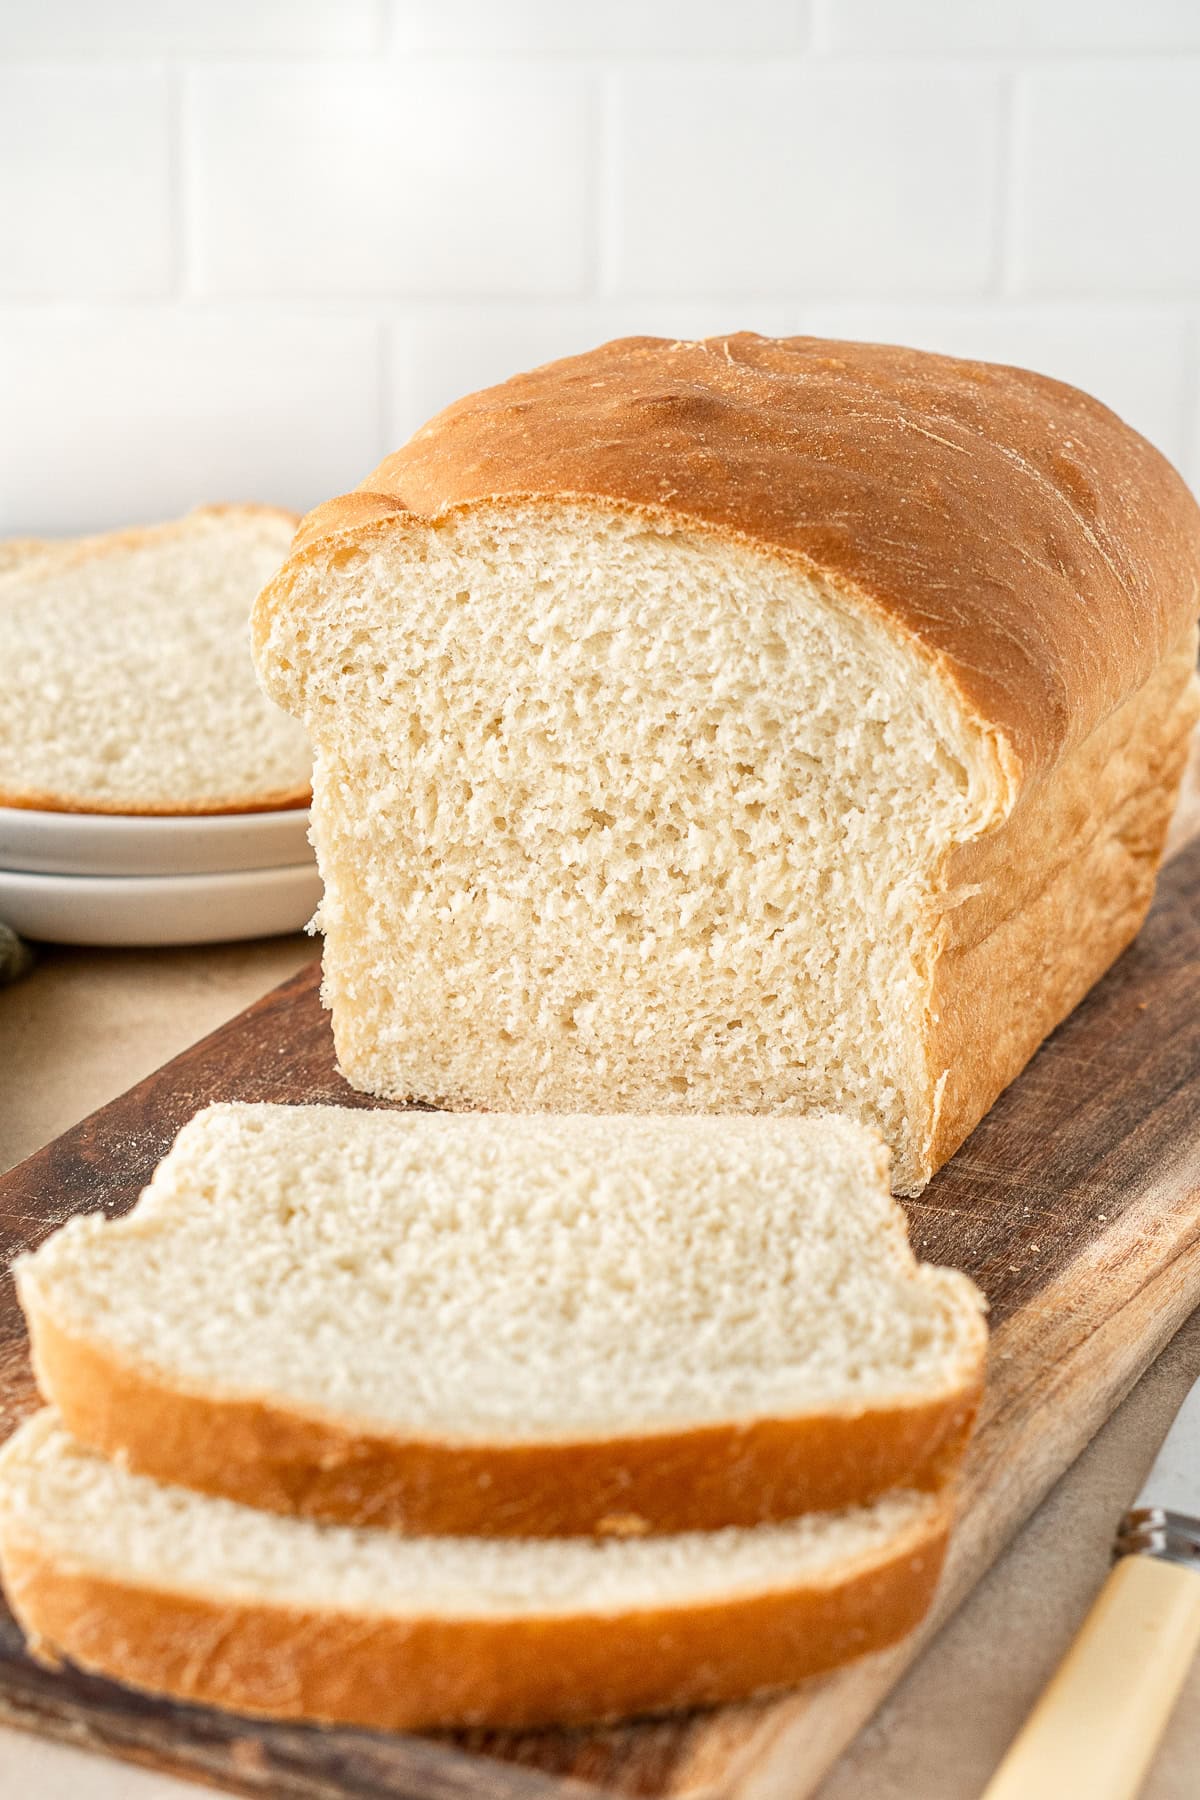
This is the recipe that I first developed as a beginner bread baker (no surprises, that was in 2020) so it really is perfect for getting started baking with yeast. This recipe creates a soft loaf bread that is perfect for sandwiches or toast, and doesn’t require any special ingredients. It is also completely dairy free as most sandwich bread recipes tend to use butter or milk to give them their soft texture.
And just quickly, this is not something I do all the time. I am mostly buying bread from the supermarket like most people. But sometimes, when I start thinking about wanting to lower the grocery bill, or knowing exactly what is in my food, or really just get a craving to enjoy freshly baked bread (seriously nothing else is this good!), this is the simple recipe I use.
Key Ingredients
This sandwich bread recipe uses simple pantry staple ingredients so you don’t need to run out and buy anything that you may not use again.

Note all ingredients and their quantities are laid out in the recipe card at the bottom of this post.
- Dry yeast – I use instant dried yeast for this recipe.
- White sugar – just a little bit activates the yeast without making the bread sweet.
- Olive oil – this is the fat that helps to create the enriched dough that results in a super soft and delicious slice of bread. I like to use a good quality extra virgin olive oil for the best taste.
- Dairy free milk – I use oat milk as that is what I always have on hand however any dairy free milk such as soy or almond will work here to provide the softness that characterises this sandwich bread.
- Plain flour – also known as all purpose flour in the US. You can use bread flour if you prefer but I don’t find the results are too different for this loaf, and plain flour is cheaper and more versatile.
- Warm water
- Salt – essential when making any homemade bread as it will taste very bland without it.
👉 Store your yeast in the fridge to keep it fresh for longer. You’ll know it needs replacing if it doesn’t become frothy after combining it with warm water and sugar.
Step-By-Step Instructions
To start, grab the bowl of your stand mixer and add in the yeast and sugar along with the warmed milk and water. Mix together and cover with a kitchen towel and let sit for 5 minutes until foamy.
👉 The water and dairy free milk need to be warm but not hot otherwise this will kill the yeast. If you can hold your finger in the liquid without it feeling uncomfortable, then that’s about perfect.
Add in 1 cup of flour and then using your dough hook attachment on your stand mixer, mix until combined. Add in the remaining flour and continue to mix on medium speed until the dough starts to pull away from the sides.
If you have a solid stand mixer such as a Kitchen Aid, you can continue to knead the dough in the mixer for a couple of minutes. Otherwise, if your mixer is struggling, you can turn the dough out onto a lightly floured surface and knead by hand.
The dough is done once it’s smooth and stretchy. If it’s a little sticky, that’s ok!


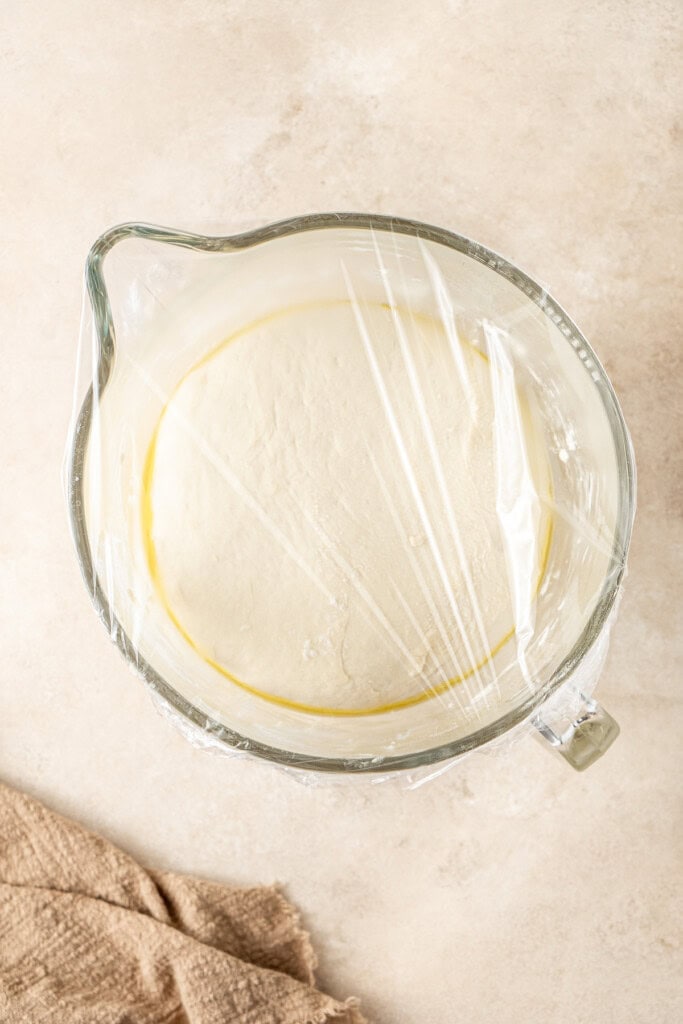
Using well floured hands, remove the dough from the bowl to the counter and shape into a ball. Place the dough back into the bowl that has been greased with olive oil. Turn the ball of dough to make sure it is covered in the oil to prevent drying out as it rises. Cover with a damp kitchen towel or plastic wrap and leave in a warm spot to rise until the dough has doubled in size (usually around an hour).

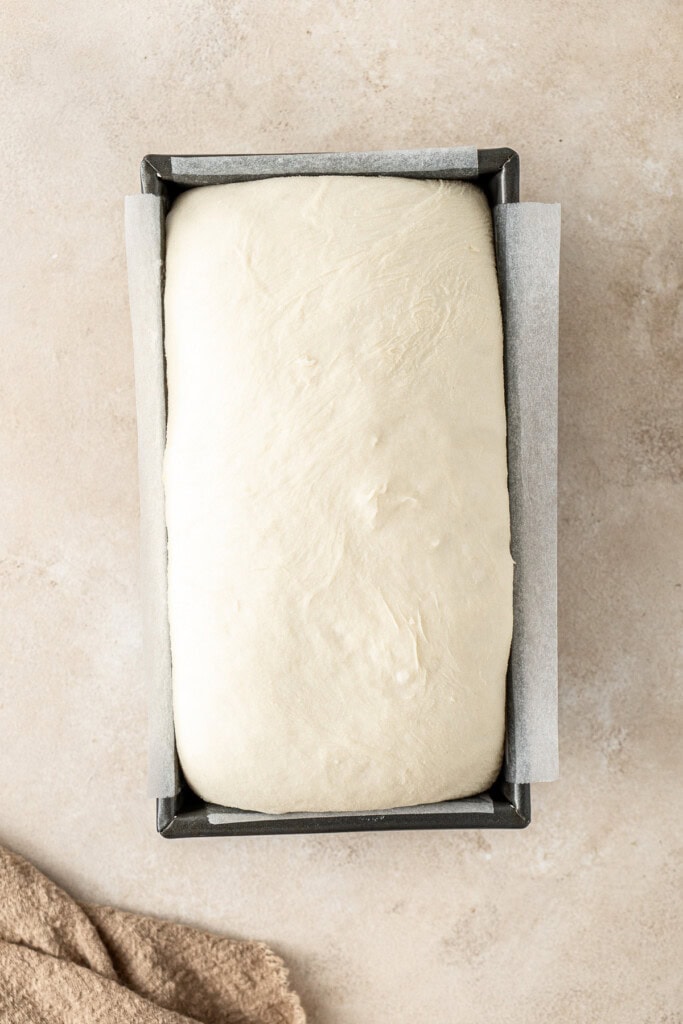
Once the dough has doubled in size, punch it down and knead it on a lightly floured surface for a couple of minutes until smooth. Shape the dough into a log and place into a greased and lined loaf pan. Cover again with a kitchen towel or plastic wrap and again let rise for about an hour or until the dough is about an inch higher than the pan.

Place in a preheated oven and bake for 30 minutes until golden brown on top. You’ll know it’s done if it sounds hollow when tapped on top.
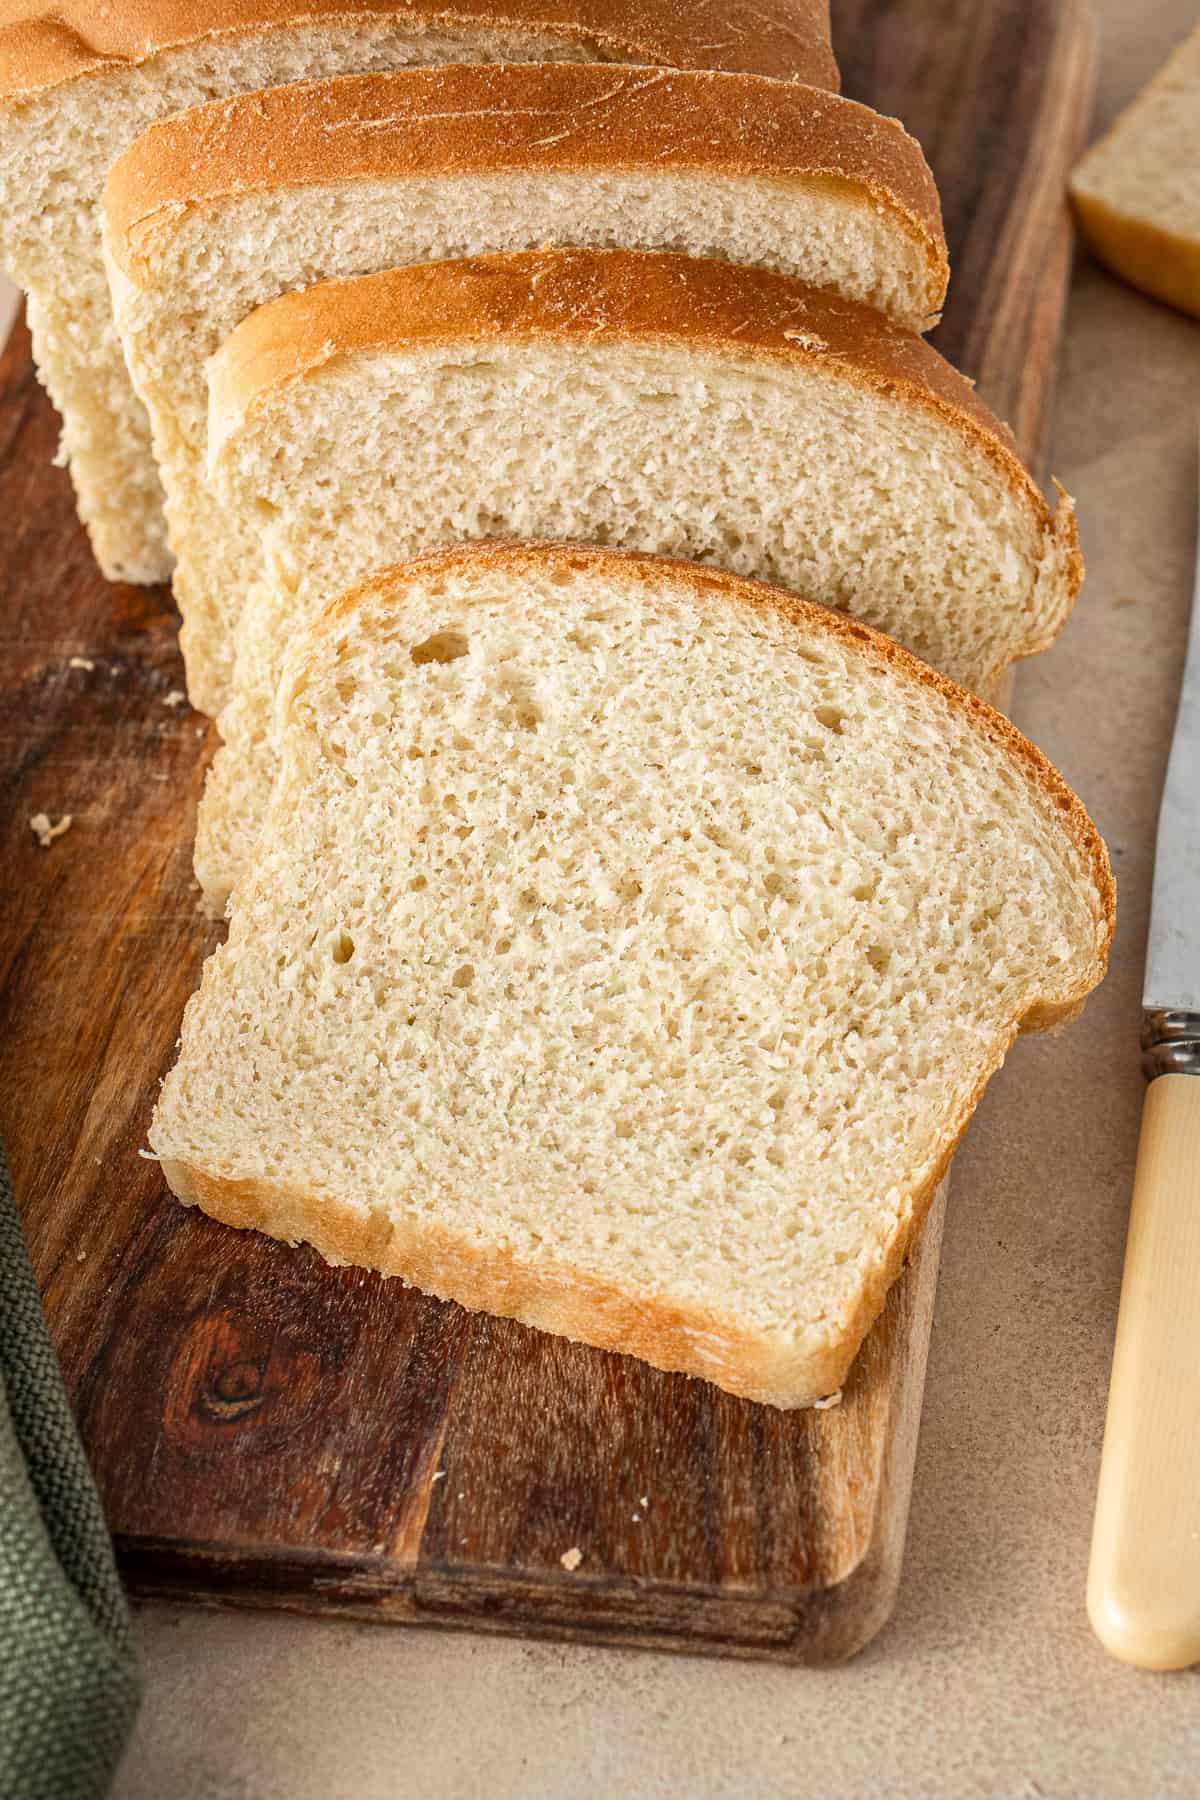
Let the bread cool in the pan for about 10 minutes (the top will soften, that’s ok!) before removing and allowing it to cool completely on wire rack before slicing. I know its tempting to cut into the bread early but you’ll get much cleaner slices if you wait.

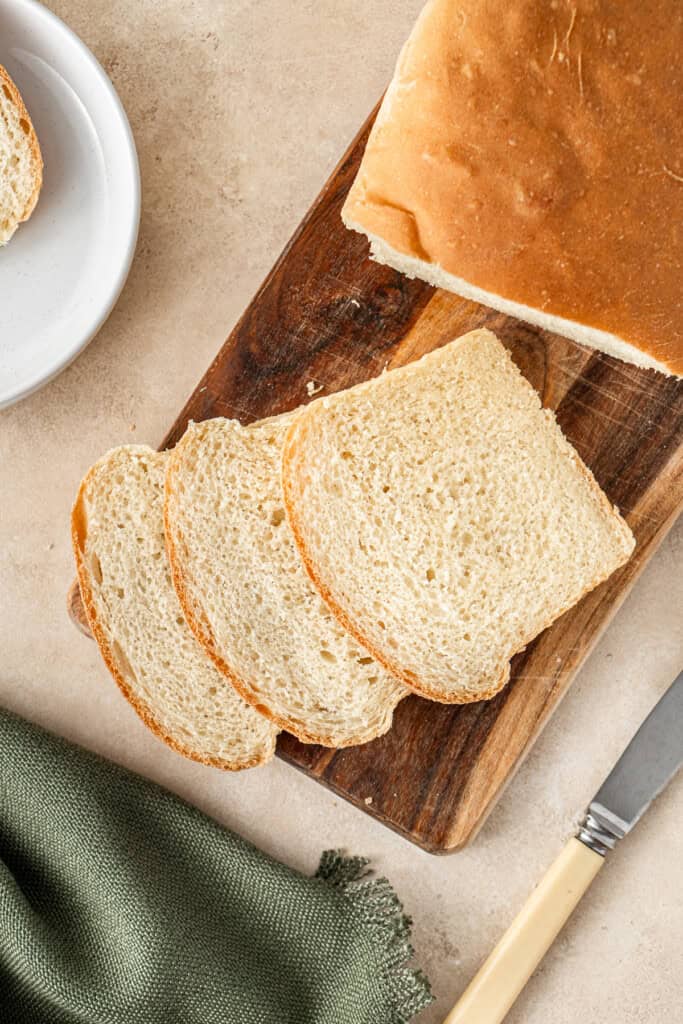
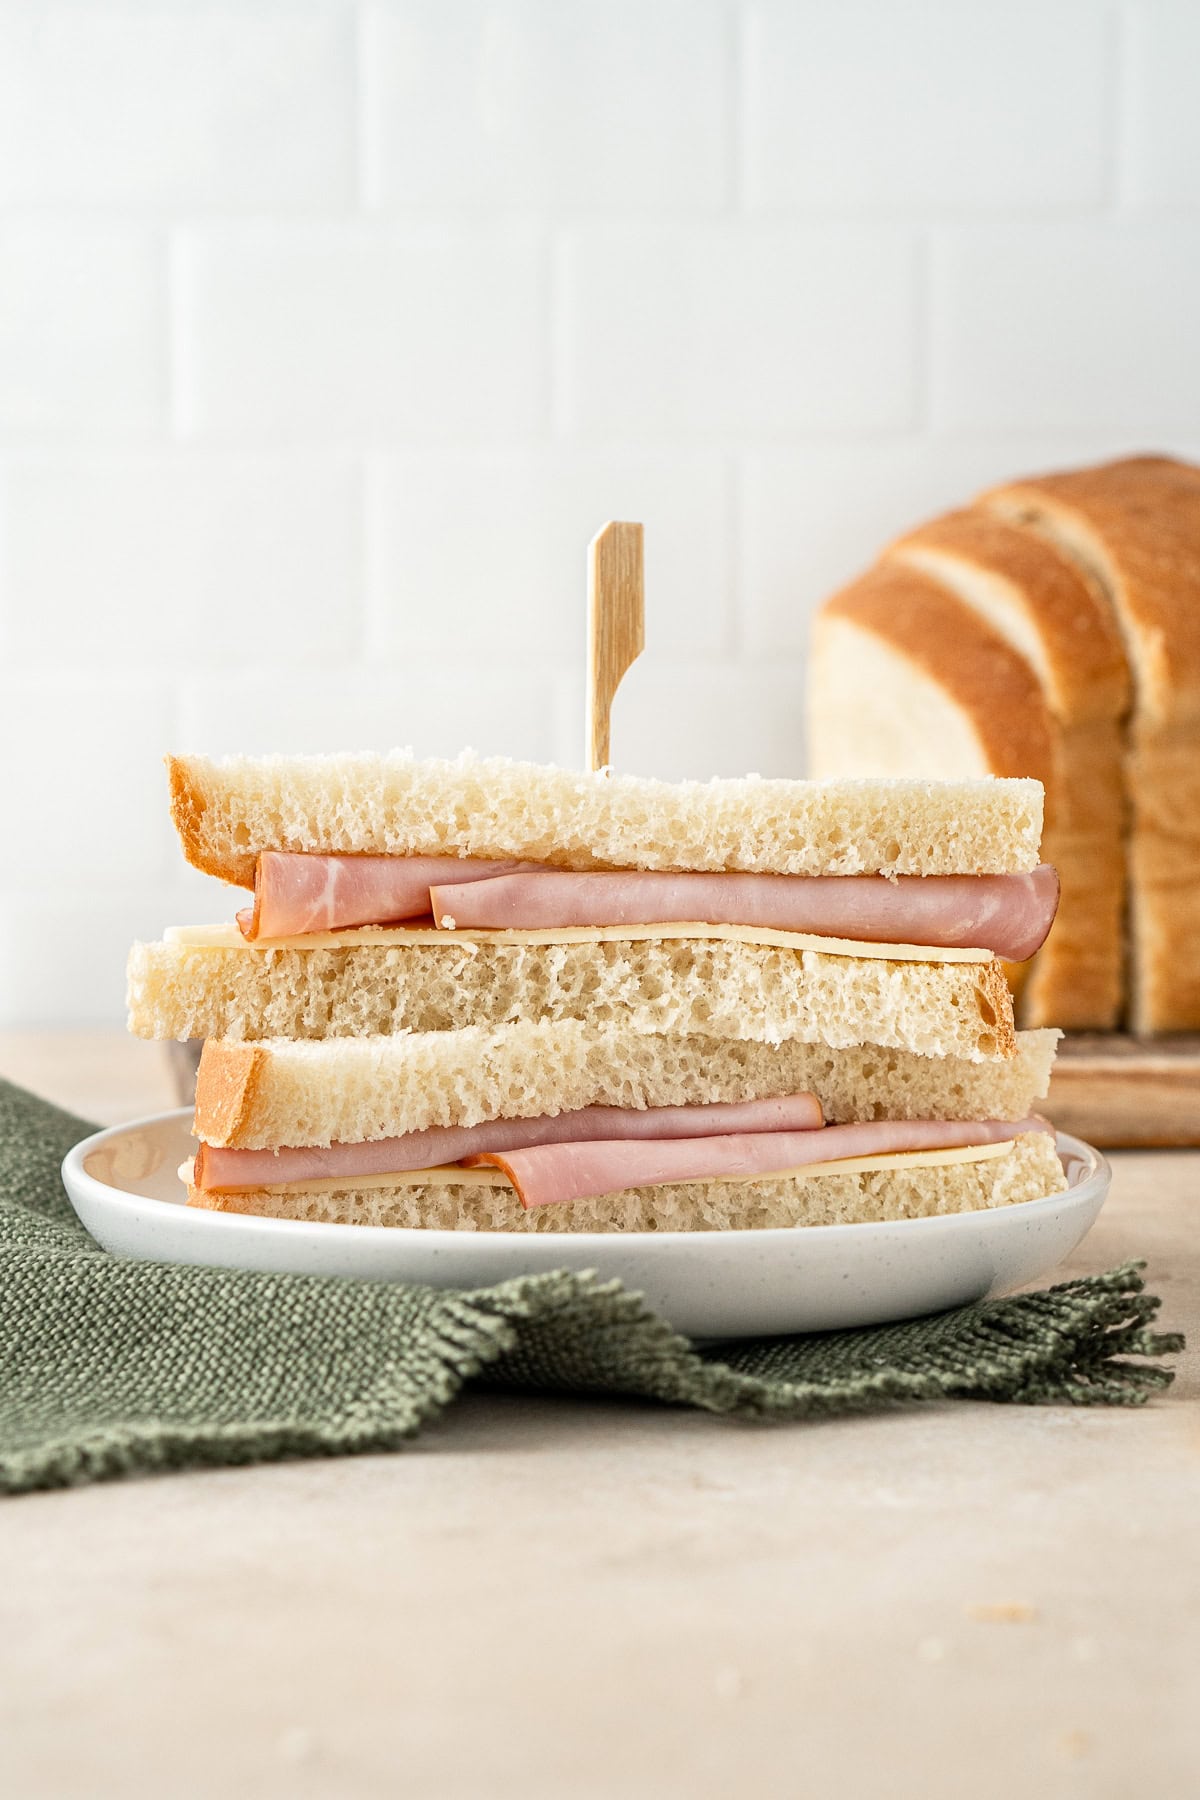
How to use this sandwich bread
Obviously you can use this bread in an infinite amount of ways as you usually would use any sliced bread, but here are a few of my favourites;
- Toast and use to make smashed avocado toast for breakfast!
- Make an easy chicken salad sandwich.
- Try my favourite healthy egg salad to make an egg salad sandwich.
- Make a classic toasted cheese sandwich to dunk into your tomato soup.
- Any stale leftovers can be thrown in the food processor to make breadcrumbs to use in these baked beef meatballs or in these chicken teriyaki burgers.
While making bread at home is not always the most convenient, if you have the time it can be super rewarding and I encourage you to give it a go.
If you do make this recipe, please be sure to leave a comment and ⭐⭐⭐⭐⭐ rating below! And tag any of your creations on Instagram with @eightforestlane as I would love to see.
More homemade bread recipes:
Vegan Naan
Overnight No-Knead Bread
Pull-Apart Garlic Bread Wreath
Easy Pizza Dough Recipe

Homemade Sandwich Bread
Equipment
Ingredients
- 1 cup water warmed
- ¼ cup dairy free milk warmed
- 1 packet (7 grams) dry yeast
- 1 tablespoon sugar
- ¼ cup olive oil
- 1 ½ teaspoons salt
- 3 cups plain flour/all purpose flour
Instructions
- In the bowl of a stand mixer, combine the warm water, warm milk, yeast, and sugar. Cover and let sit for 5 minutes until the yeast is foamy.
- Add the olive oil, salt, and 1 cup of flour. Using a dough hook, mix on low speed until combined, scraping down the sides of the bowl with a rubber spatula.
- Add the remaining cup of flour and mix on medium speed until the dough comes together and starts to pull away from the sides of the bowl (about 2 minutes).
- Keep the dough in the mixer and beat for an additional 2 minutes, or knead by hand on a lightly floured surface for 2 minutes or until smooth and elastic.
- Remove the dough from the bowl using floured hands and shape into a ball. Lightly grease the bowl with olive oil and return the dough, turning it to coat completely. Cover with plastic wrap or a clean kitchen towel and allow the dough to rise in a warm place for 1-2 hours, or until doubled in size.
- Punch down the dough and turn it out onto a lightly floured surface. Knead for a couple of minutes until smooth. Shape into a log and place in a greased 8 x 4 inch loaf pan. Cover again and let rise for about 1 hour, or until the dough is about 1 inch above the pan.
- Preheat the oven to 180°C (350°F). Bake the bread for 30 minutes, until the top is golden brown. The bread is done when it sounds hollow when tapped.
- Allow the bread to cool slightly before removing it from the pan and allowing to cool completely before slicing to prevent tearing. Store leftover bread in an airtight container at room temperature for 2-3 days, or in the refrigerator for up to a week.
Nutrition
Nutritional information is provided as a guide only and is calculated using automated online tools, therefore we cannot guarantee the accuracy. We encourage you to make your own calculations based on the actual ingredients used in your recipe.
This recipe was originally published in March 2020 (yes, it was part of the great bread making phase of the pandemic!), and has been updated in 2025 with new photos and more helpful information.


Kate Lake says
This is brilliant
Sally says
So glad you enjoyed it!